In this feature focus we'll take a close look at one of the Missions coming in the next release of Alone. This specific mission is particularly interesting because it can be resolved not only through combat, but players who have focused on the economic aspect can make use of that to make the mission much easier.
To start, here's a video showcasing some parts of the mission. But we'll go through it in more detail either way. As always, development is still in progress, so nothing is finalised and balance changes might be made.
This particular mission is spread over 4 stages and includes 5 maps - so it makes sense to go through them in that specific order.
Stage 1 - The Siege Camp
The player character uses the repaired ship to access the start of this mission.
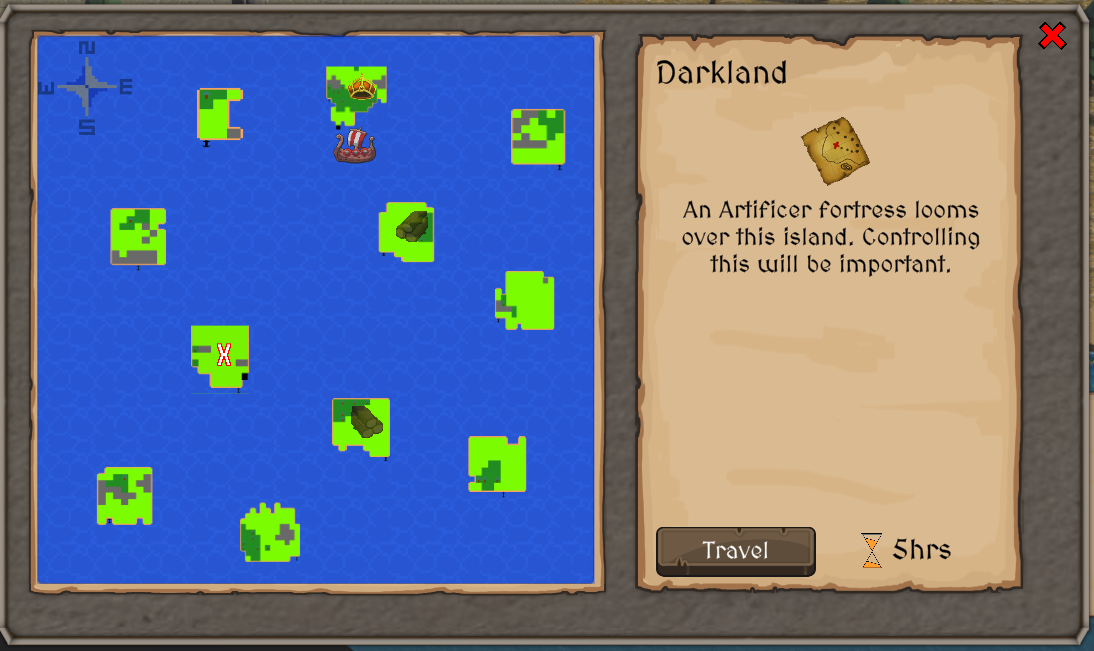
Each of the islands contains a different mission - this particular one is towards the late mid-game, so the player character is expected to be of a sufficiently high level at that time.
Landing on this island, the player enters a friendly siege camp, which is investing a fortress built by a precursor civilisation, and currently held by goblins. They are preparing to assault it, and are awaiting the player character's direction.
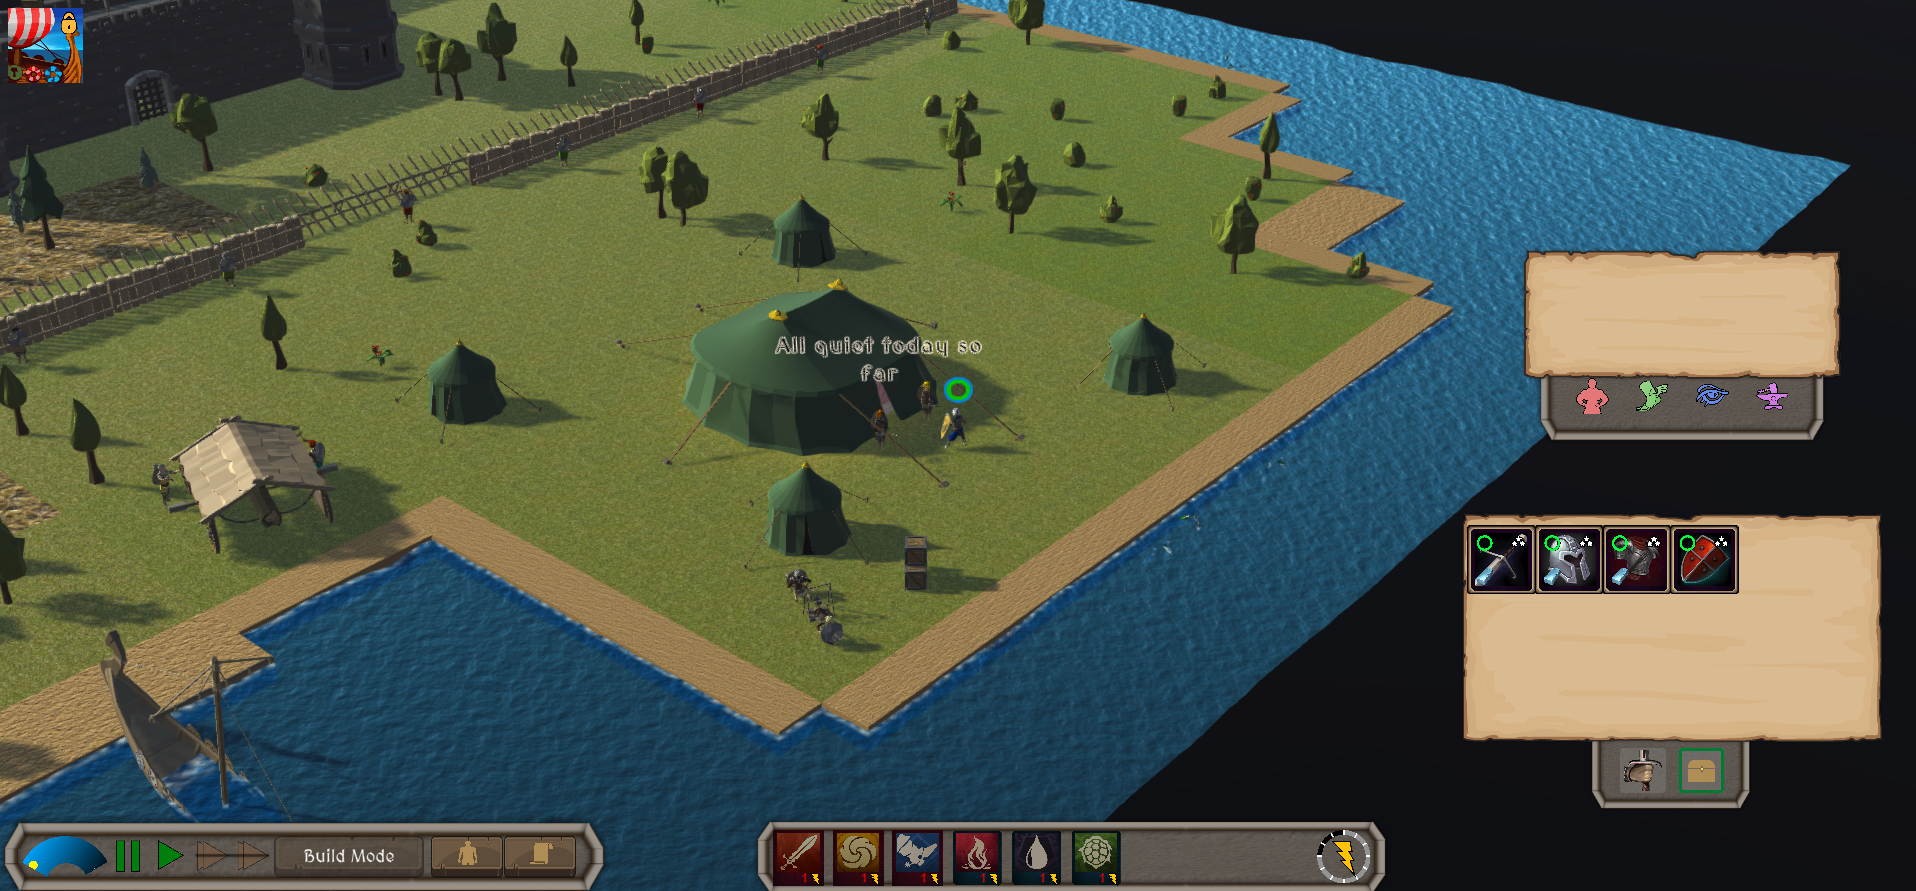
Entering the camp, the player can talk to the Captain there, to get an idea of the present situation, and use the planning table to purchase Mission Upgrades.
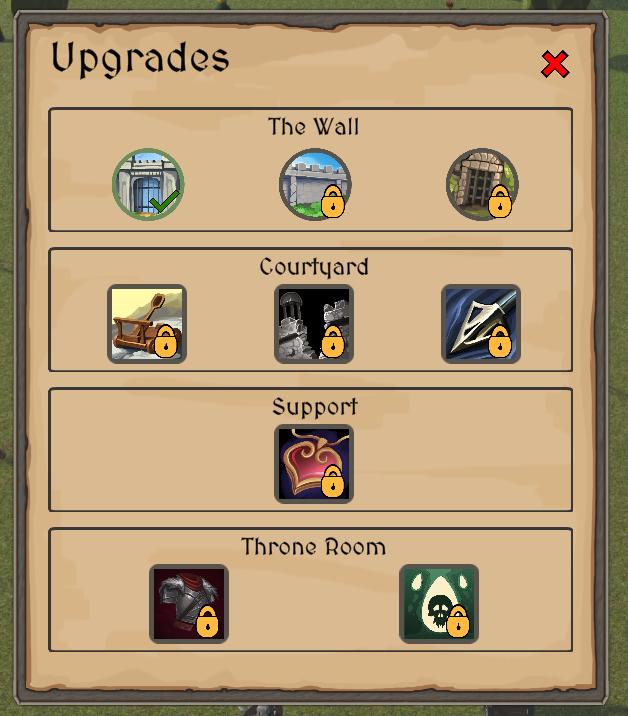
Mission Upgrades are bonuses that the player can purchase to help make the mission easier for them. Depending on the type of bonus, these will either cost coins or specific resources. The aim is to allow players who prefer to focus on the economic aspect of the game to make the combat easier. It is entirely possible to get through the mission without buying a single upgrade, but then it'll be much harder.
Of particular note is the first row of Upgrades - which determine what the first stage will look like - whether to use a battering ram to break down the gate, a siege tower to fight on the walls, or using a Secret Passage to bypass the walls entirely.
This choice determines what the first map will look like. Choosing the Secret Passage will bypass the first stage entirely.
It is important to note that if the player is defeated at any point, the mission fails entirely and they must start over - although upgrades will persist between attempts.
Stage 2 - Battering down the Gate
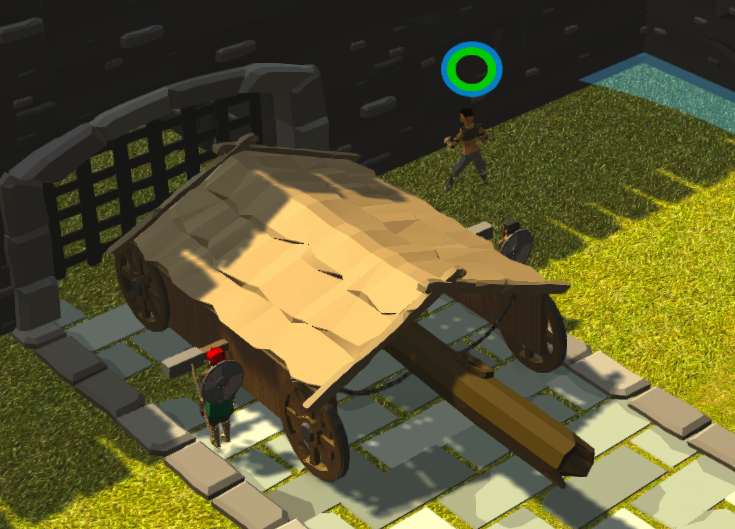
This is the default map for the first stage, and the hardest option. In this part of the mission, the player has to guard a battering ram whilst it slowly moves up towards the gate.
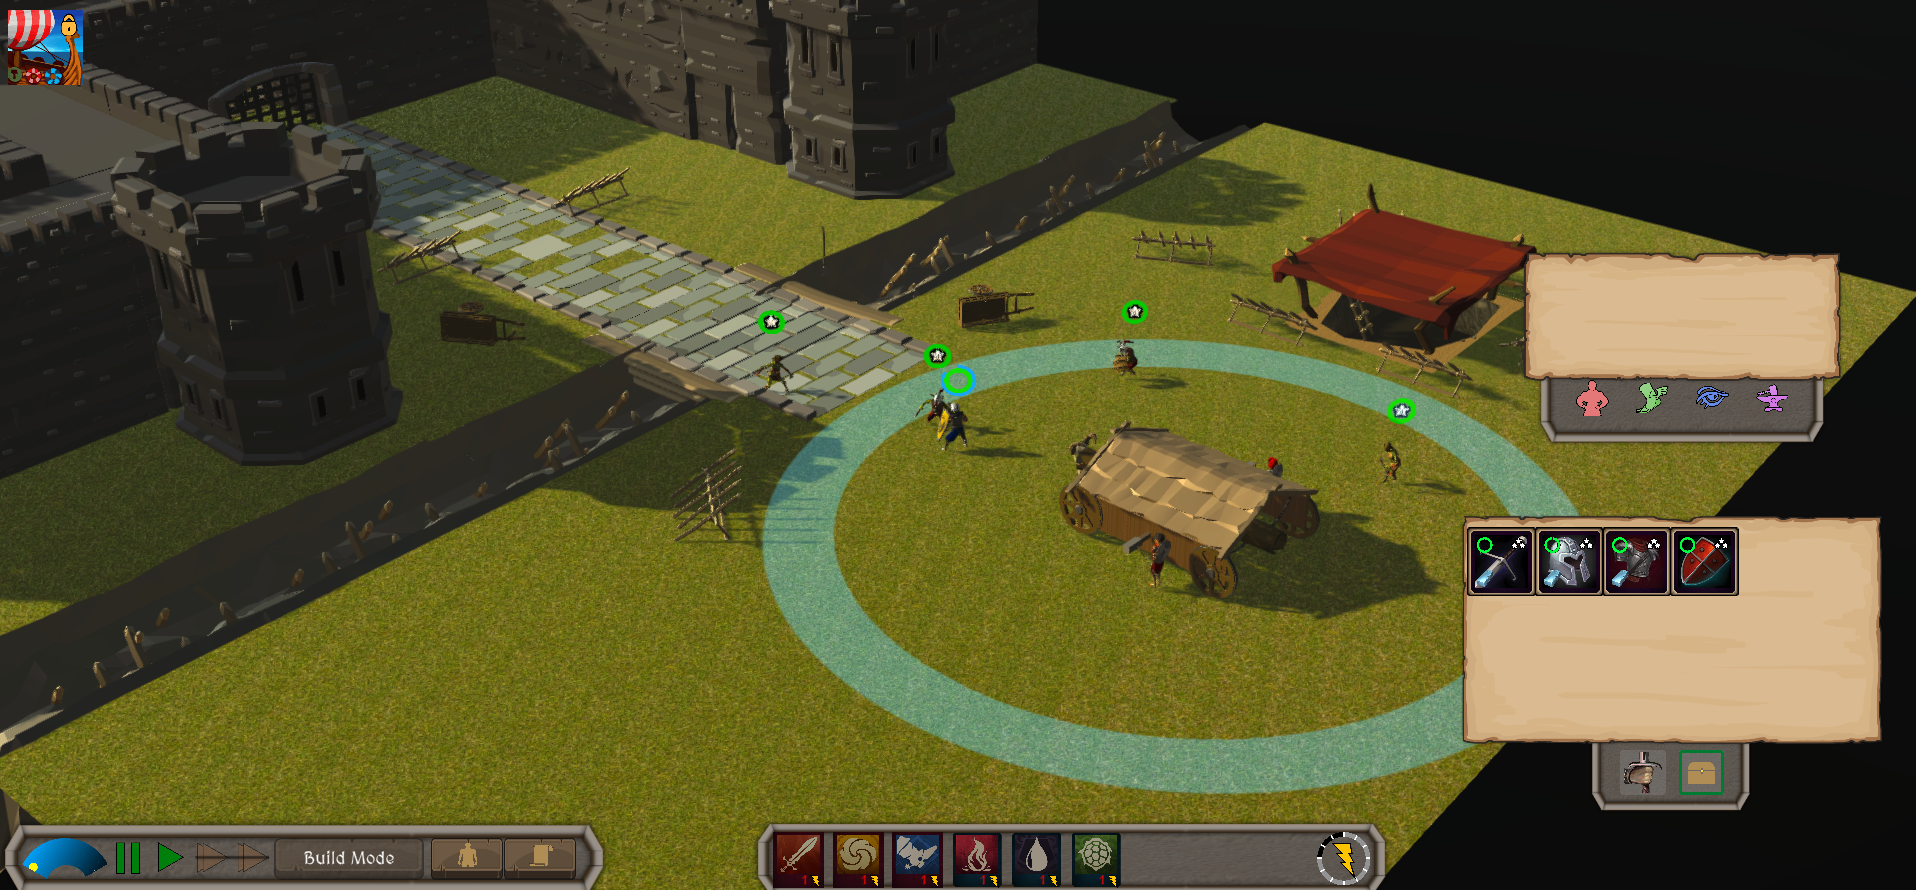
You'll notice a blue circle around the ram. If any enemies are present in that circle, the ram will stop moving until they are defeated - and then it'll continue moving. To keep the mission simple for the player, there's no risk of the goblins destroying the ram, it'll continue to wait there until the enemies are defeated, and the only way to fail this mission is for the player to lose all their health.
Enemies will spawn in a trickle from the two towers and the goblin pit.
If the player keeps the ram safe for long enough, it'll eventually reach the gates and start striking at it.
A short while after, the gates will be destroyed and this part of the mission will be over, leading to Stage 2.
Stage 2 - Fight on the Walls
If the player has paid the appropriate resources to afford a Siege Tower - then the first map will be a fight on the walls. This map is much easier than the Battering Ram map, as the amount of enemies spawned is fixed, and there's enough space to catch your breath between fights.
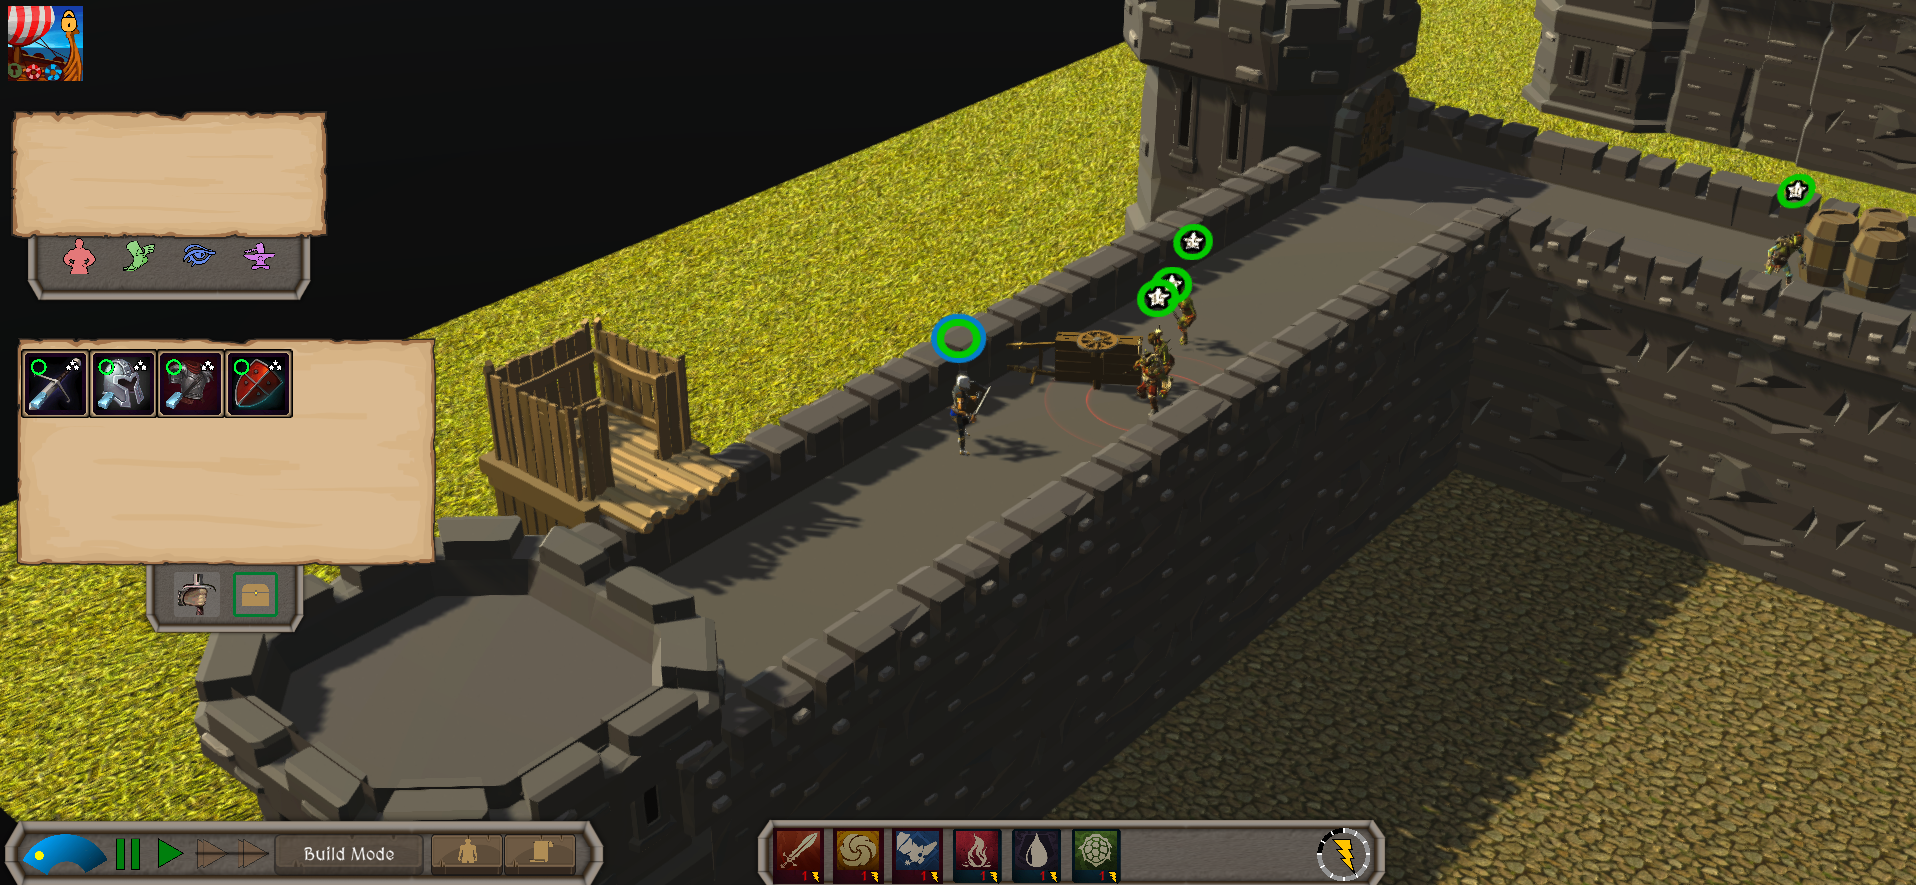
Starting at the top of the siege tower, the player must fight on the walls until they reach the gate controls.
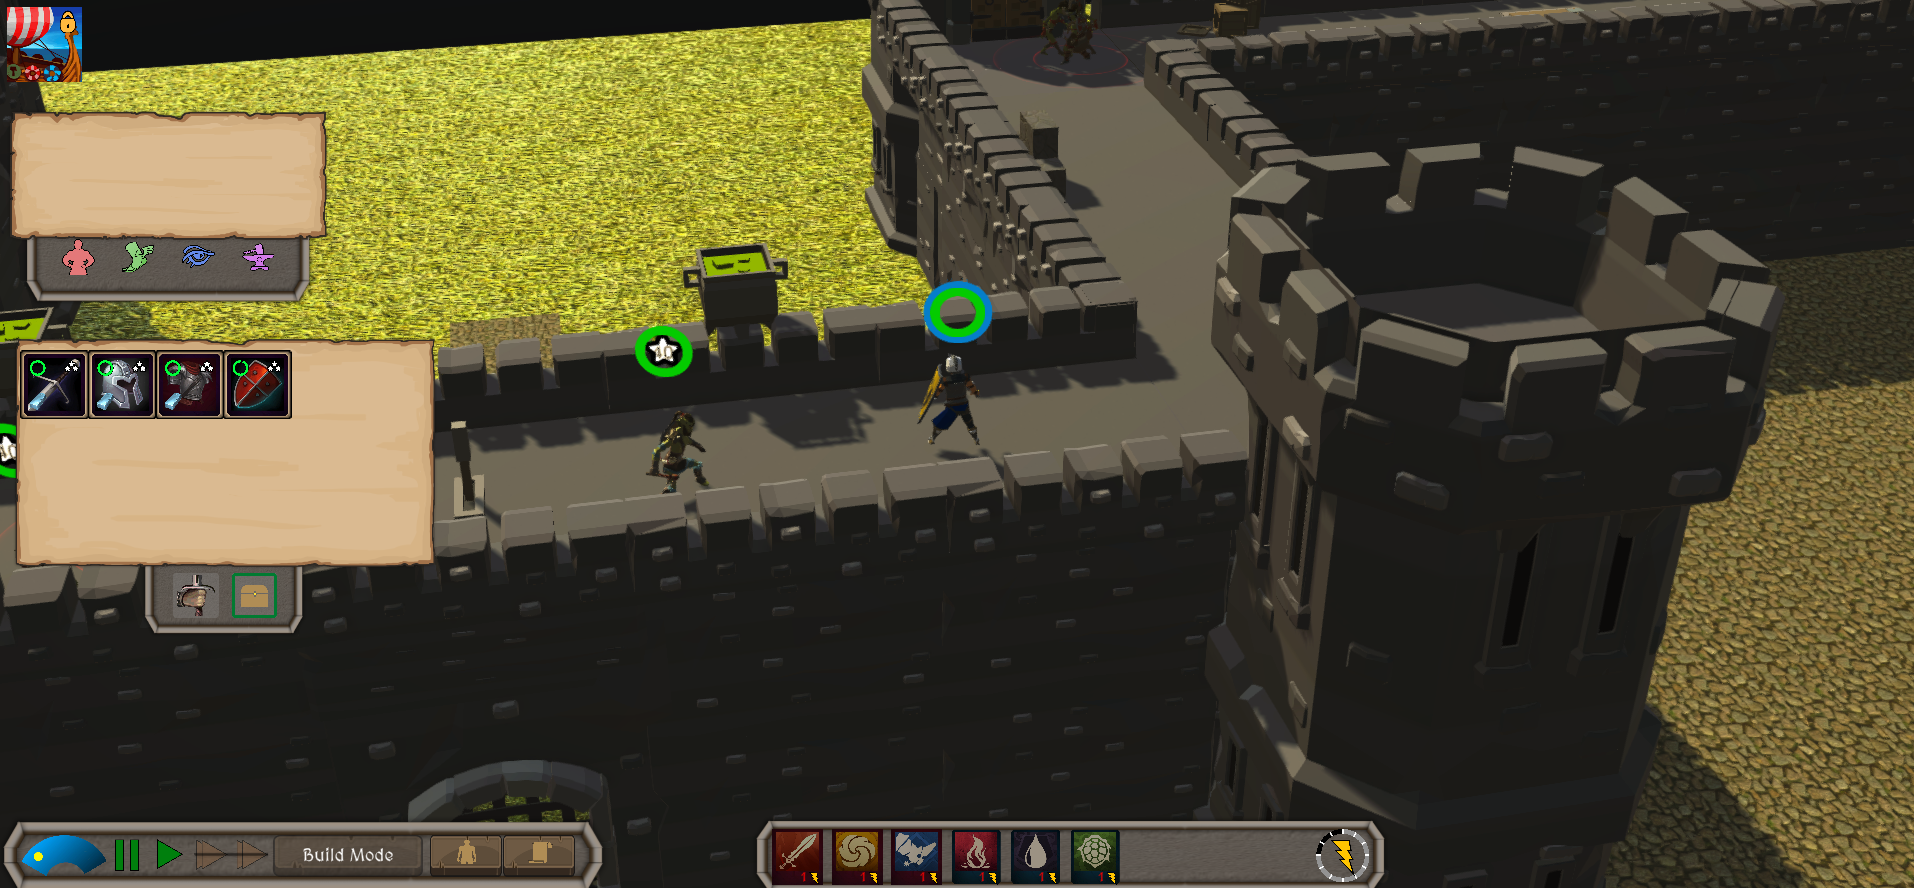
Defeating the enemies defending the controls, pulling the lever to open the gates and let allies inside, and then making their escape through the trapdoor - this stage of the mission will end.
It's a rather straightforward part of the mission - the only exception being the sentries patrolling the walls which will summon more enemies from the nearby towers if they spot you.
But with that all done, the player now advances to the next stage of the mission - the Courtyard.
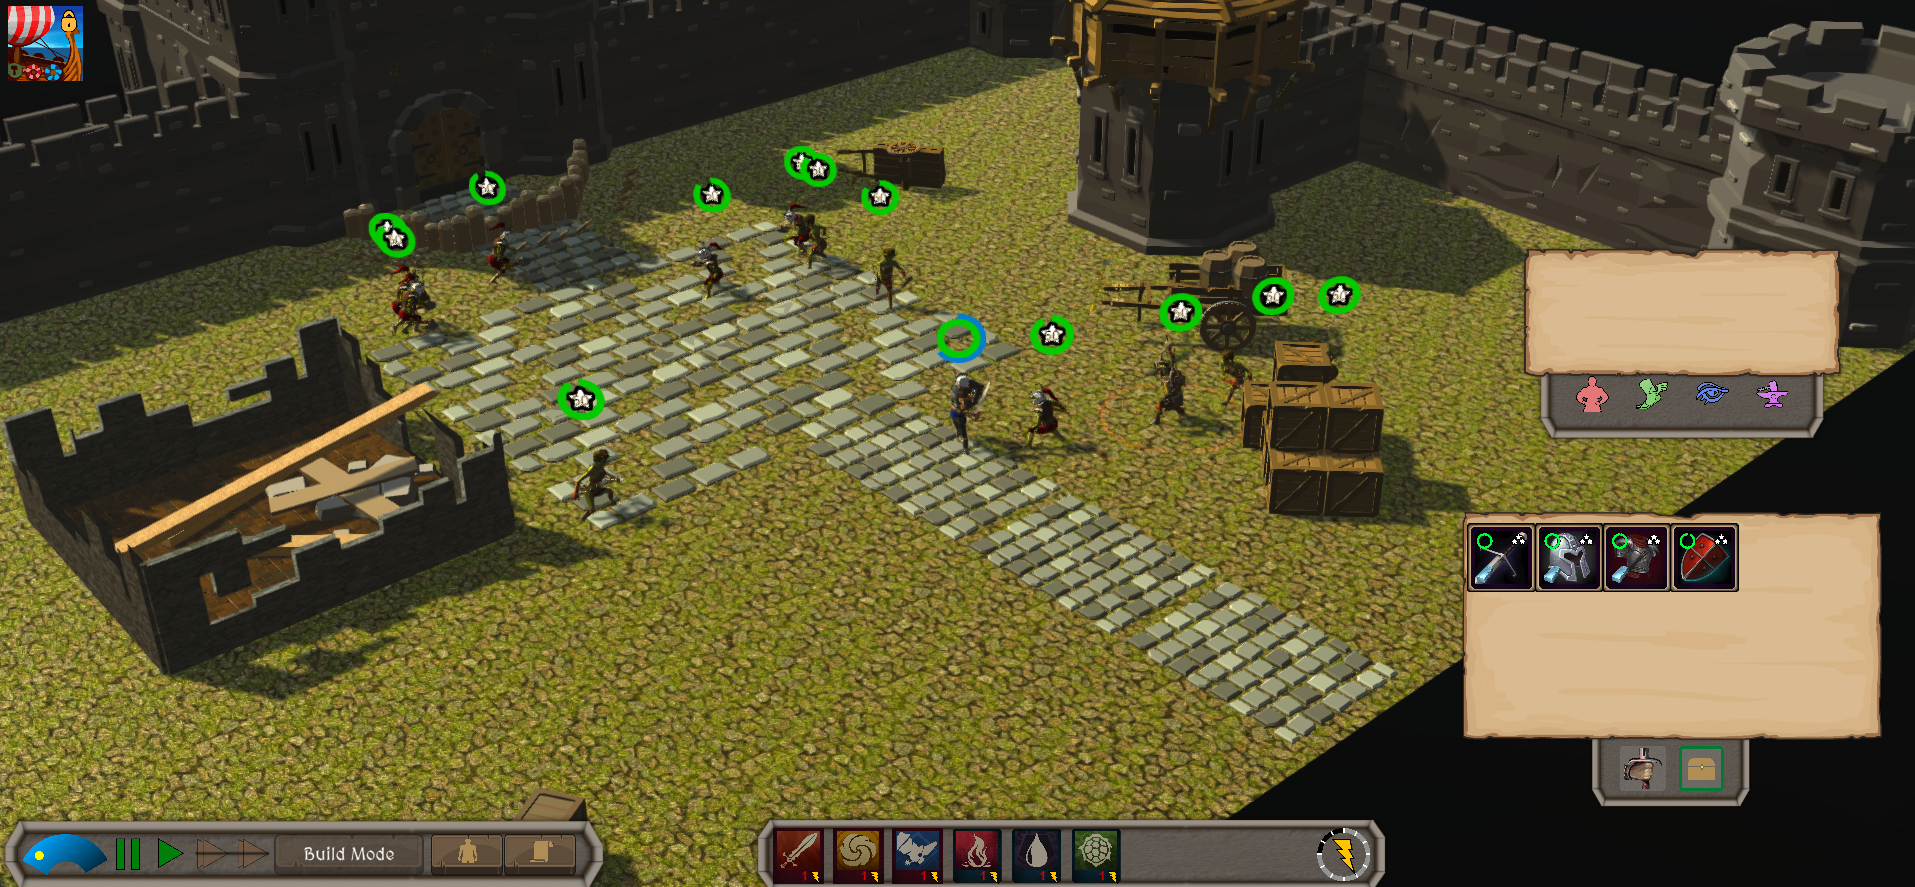
Stage 3 - The Courtyard
Having successfully broken through the walls, the player now needs to reach the keep. But the goblins have different plans, and have built a crude barricade to block the keep off.
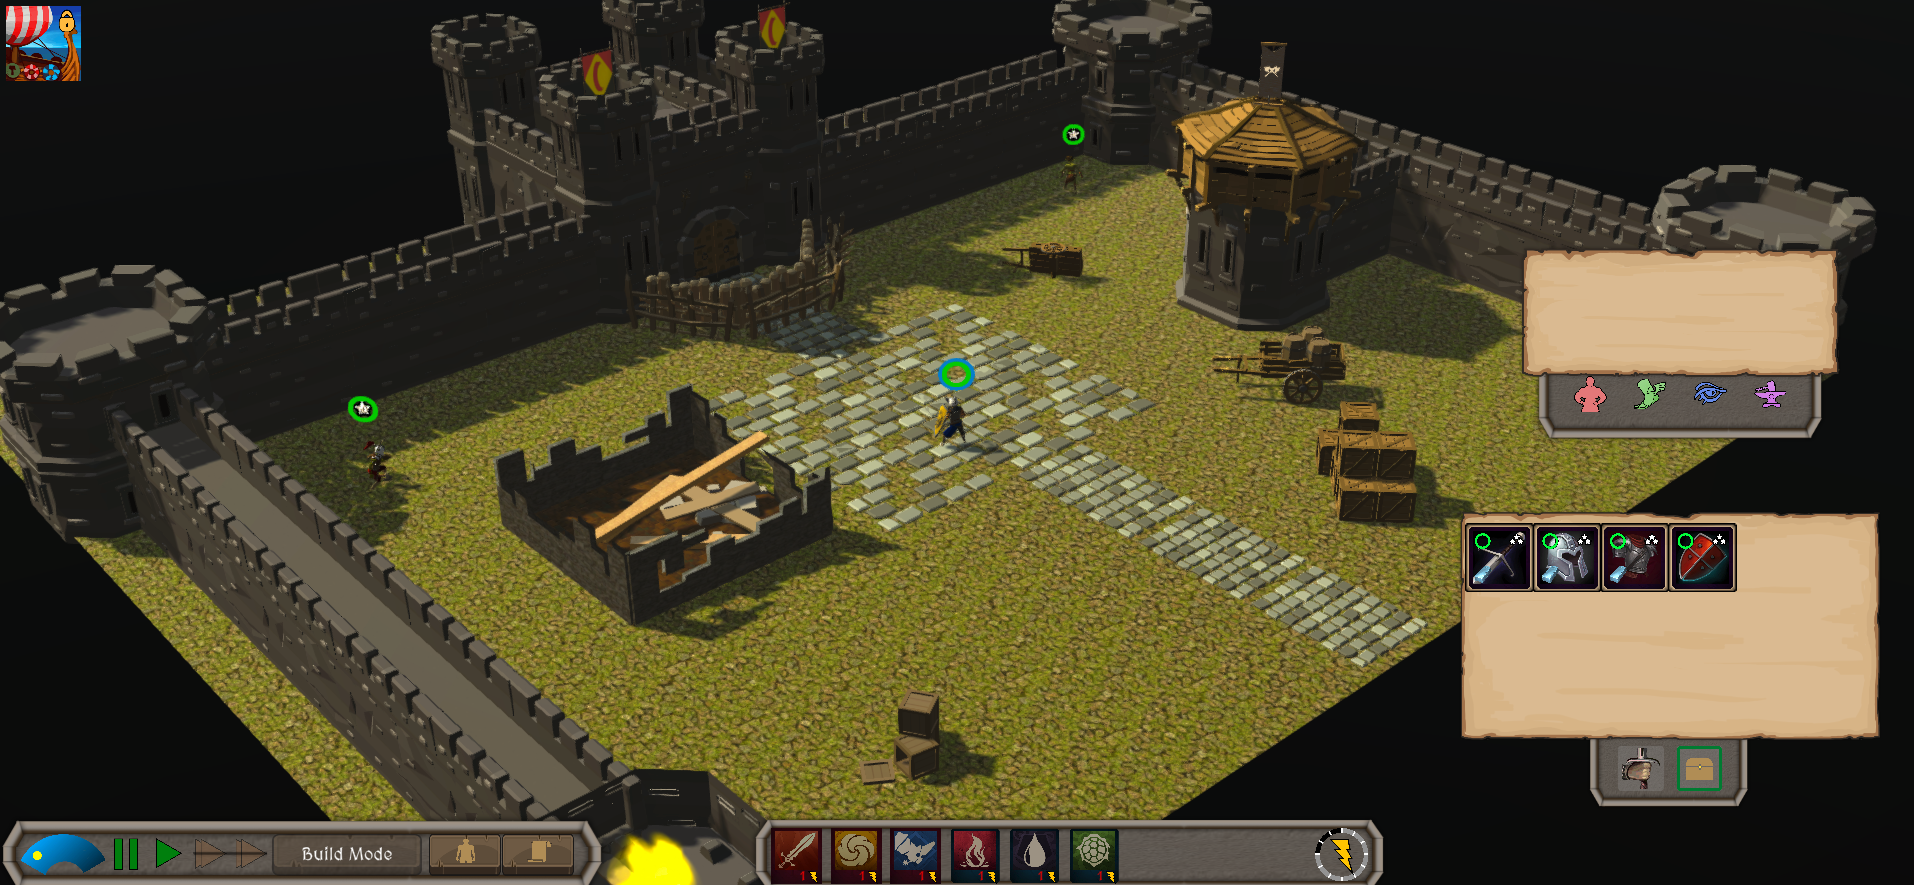
In this part of the mission, the player must strike a balance between defeating enemies, and destroying the barricade.
The barricade is gradually destroyed by moving the character next to it, and beginning to hammer at it.
However, in the nearby towers, goblins are spawned constantly, and unlike in the Battering Ram map, they will wait until they assemble in large enough numbers before advancing to defend the barricade. If the player neglects the amassing goblins, they might become strong enough to overwhelm them - like the below screenshot shows.
This stage has a couple of interesting mission upgrades specific to it. One of the upgrades destroys one of the spawning towers, making the fight much easier. Another of the upgrades increases the speed at which the player destroys the barricade.
The third upgrade involves the capture of a nearby tower, which will occasionally shoot arrows to damage your goblin foes.
With the barricade broken, the player advances into the last stage - the throne room.
Stage 4 - The Throne Room
This last stage is a boss fight. Having successfully fought their way to the leader of this particular tribe of goblins, the player comes face to face with a large orc.
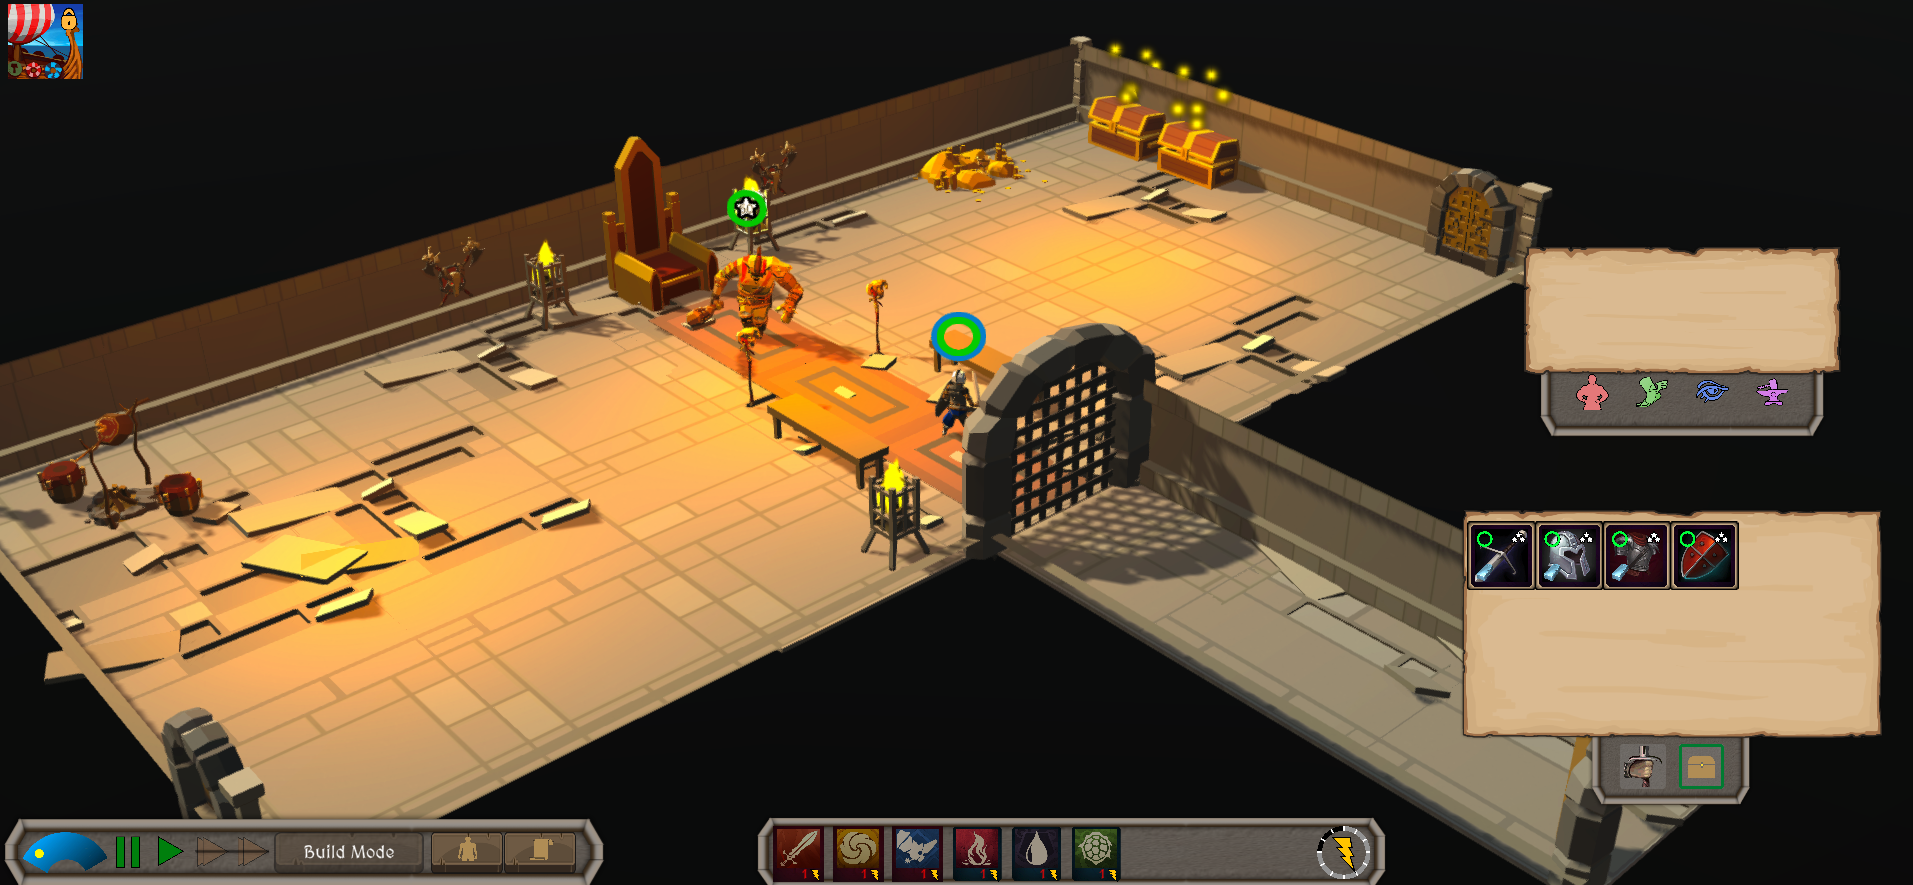
Aside from being a dangerous opponent in his own right, the orc also has a couple of nasty tricks up his sleeve. When his health drops below a specific amount, he returns to his throne, and summons some underlings to help deal with you.
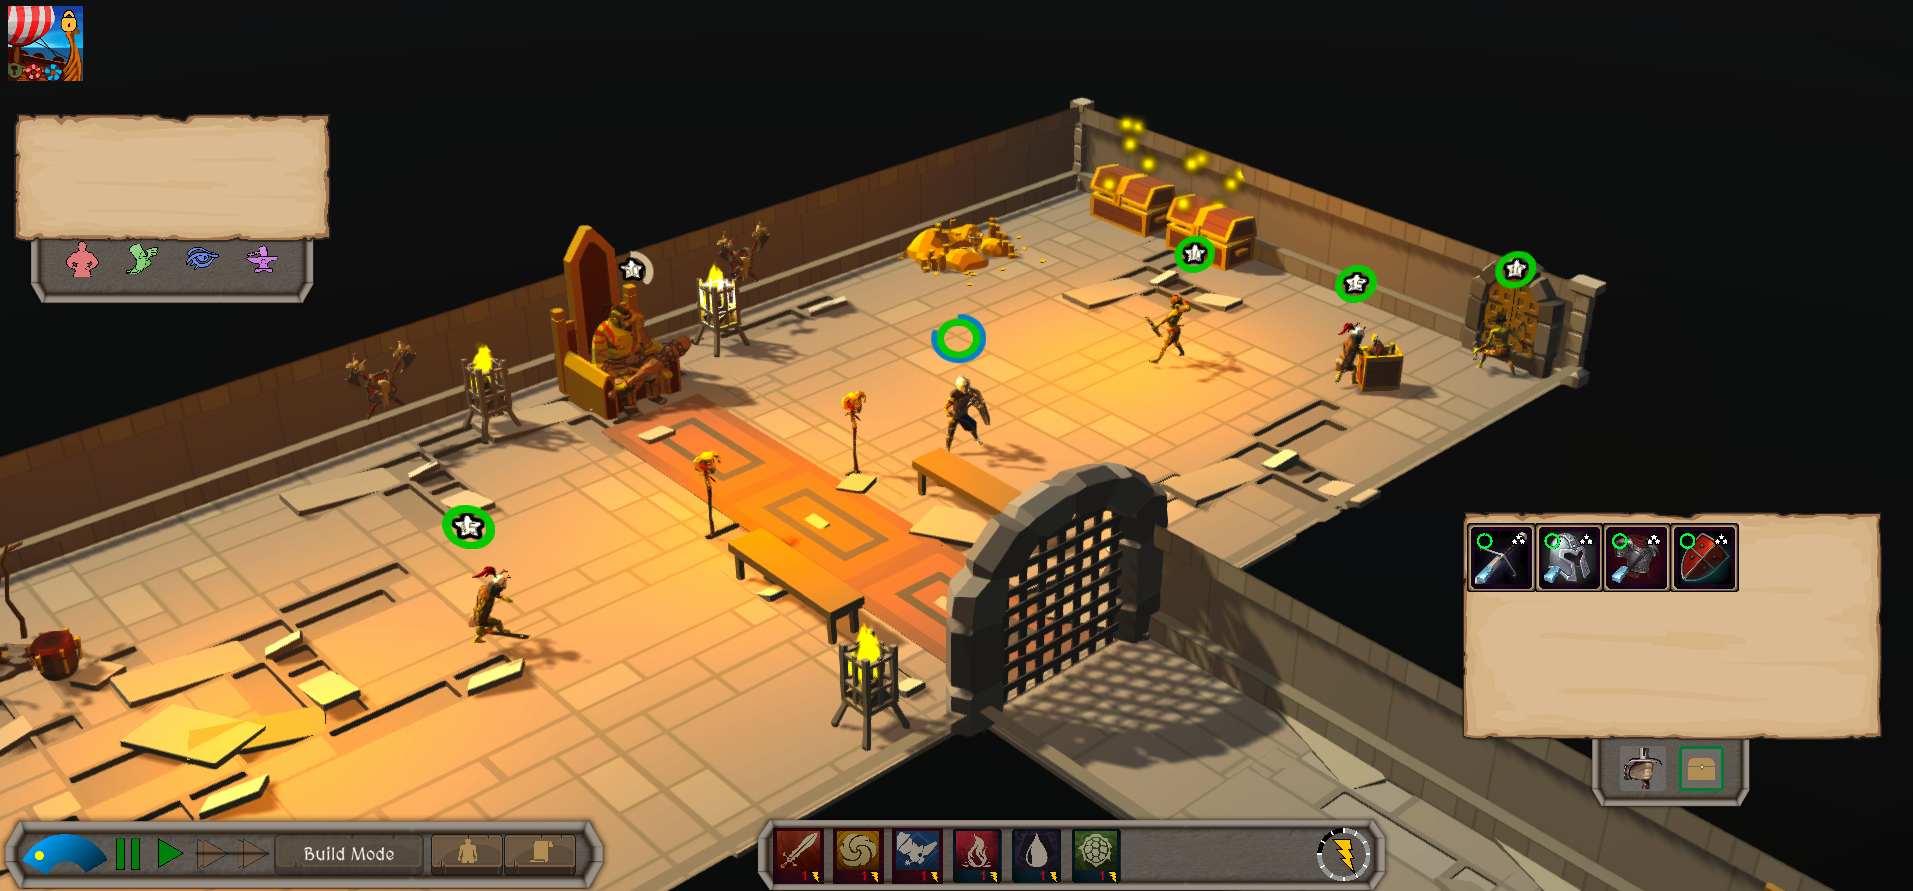
Additionally, one of his minions is dragging a treasure chest containing a health potion. If this goblin makes his way to the boss, the boss will drink it and restore some of his health.
And once this boss is defeated, the rest of the goblins flee, the fortress falls, and your Tribehome gets larger.
And that about covers this specific mission.