Wow, I was intending to have a blog post a month and it's been like 2 years... Going to try and keep things more casual while catching up on the engine and game development progress. There is plenty to get out there and I've tried to keep at least some screenshots of the engine's progress, but overall looking back it's pretty crazy how far things have come. This update will cover stuff I worked on all the way back in 2019, somewhere during the summer if I recall correctly.
Last blog post I was showing off some fairly basic rendering, and the next step wasn't terribly different in that department. Originally I was content with using my basic .obj importer I cobbled together, but there were many things I found unsatisfactory about it. So instead I decided to write my own exporter for blender, which also meant learning some Python. This wasn't too bad since the job I had changed to since last post had warranted learning Python to an extent anyway.
In addition to wanting a file format which prioritized loading quickly over being readable, I also wanted to start involving some real game related logic, so I included a first pass at collision data, a simple navmesh. The way I incorporated the mesh was to have it's borders act as collision in completely a 2D space. This made figuring out the math relatively simple as I set up methods to make the collision feel smooth and not sticky.
What do I mean by sticky? Simple logic could make you think: object hits wall; stop object. But this results in the player being required to direct their character precisely away from collisions in order to move. Instead I wanted to ensure the player would keep moving along the wall as much as they could with the input they gave to the game. This is seen in tons of games of course and if a game lacks it, it often results in a player feeling like they keep getting stuck. Pretty much any modern engine handles this in some way or another, from Unity to Godot. So I figured out a solution and I thought it felt pretty darn good.
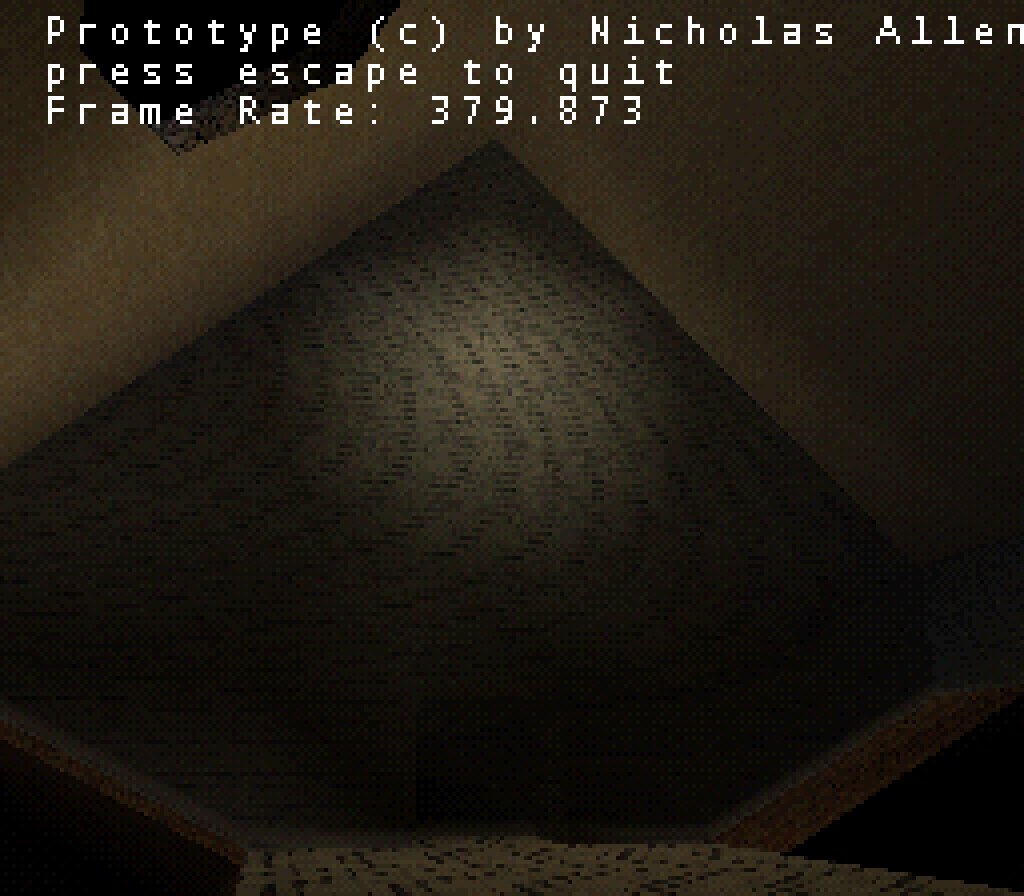
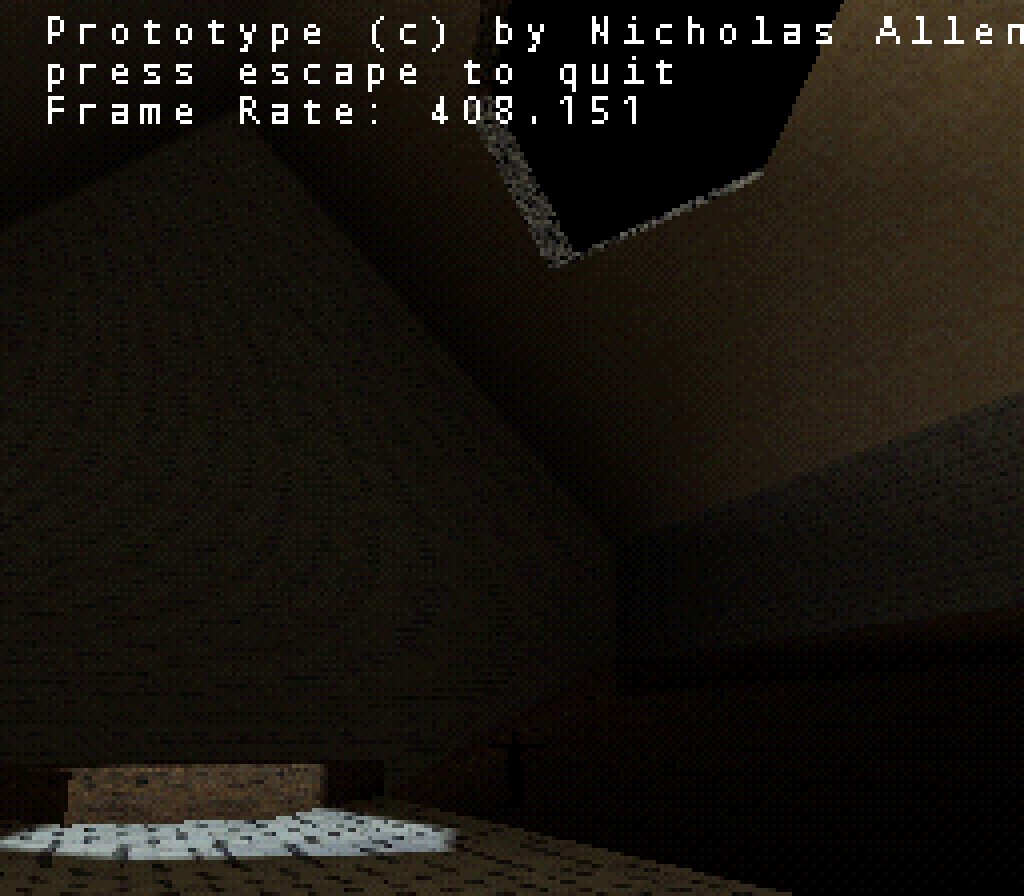
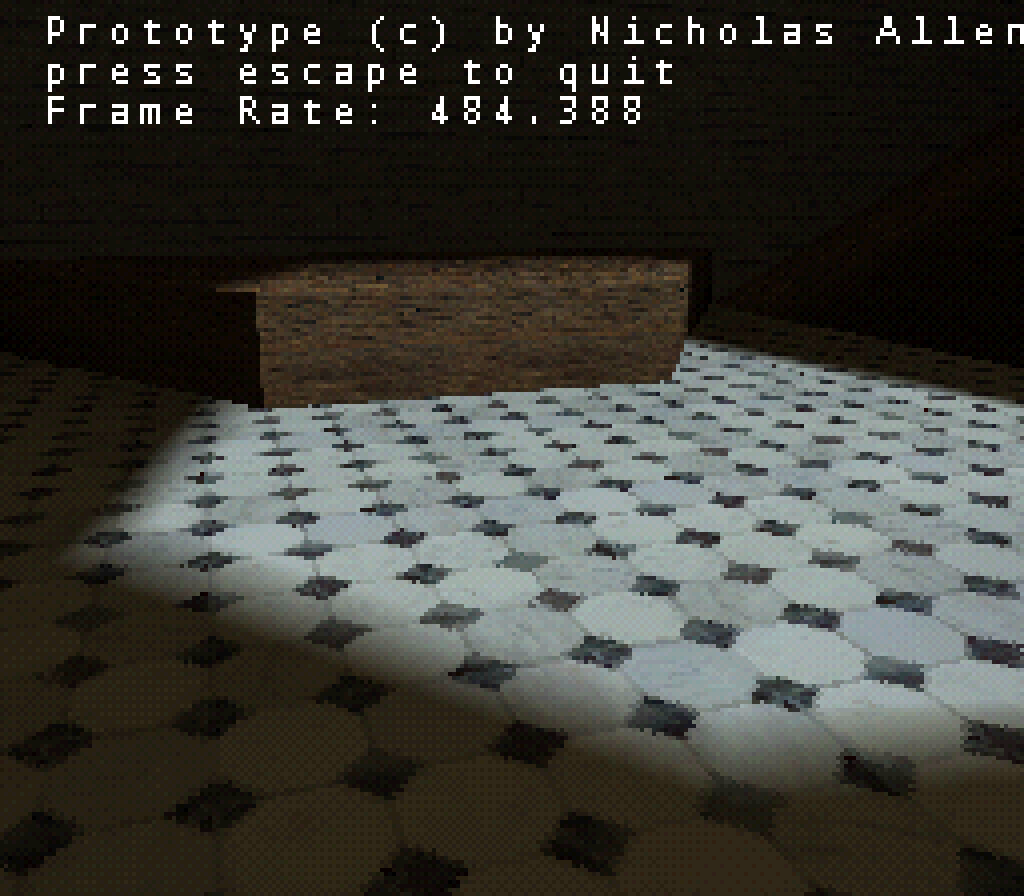
Though my collision solution was fully 2D, I did add some height resolve to the nav mesh to allow the player to go up and down. This was nice and fairly easy to figure out the math for, but as I'll talk about next time isn't an ultimate solution for a fully 3D game. In addition to these changes what the following screenshots will represent is one fun rendering addition I did make during this time period, ordered dithering. I absolutely hate visual banding (well unless it's stylistic and purposeful), and even at the higher bit depths of newer games you can see ugly banding at times, so I decided to use this method to combat banding, doing my color math at 10-bits and dithered down to 8 for desktops, I thought it looked pretty good. However, it is pretty common for less expensive portable screens to use only 18-bit color (like the game shell's), so I implemented other levels of the dithering method. In the screenshots below, I have dithered down to 5-bits per channel, to give a purposefully PS1 style to them.
Hope to be writing these more often now! See you next time!