Hold your horses!
We are still alive!... or at least most of us are.
Today I am going to reveal some of our secret tactics for designing things like weapons and equipment, characters and more. Tides of Truth will have a range of different characters too choose from and play with, and all characters will have their own class, weapons and mystic powers.
To explain everything to you i had planned to do an interview, but since interviewing myself
is pretty hard (i keep interrupting myself) I'm just going to do it the old fashion way; step by step!
So let's get started! Owh, small note, you can use these guidelines for more stuff like weapons design,
creation of creatures and more.
Step one; Get Inspired
The first - and my personal favorite - step is getting inspired!
Inspiration comes in many ways, and can be found everywhere; newspapers, magazines, tv-shows, books, music lyrics, and so on. You can even use the looks of that random guy at the trainstation or the clothes of the new girl next door. Real inspiration is like a spark, at the most random time you suddenly get a brilliant idea. Write those ideas down on paper, so be sure to carry a pencil and some paper with you - always.
When you can't find those sparks, you have to search for them. Browse on the internet, read books, encyclopedia's, shuffle through pictures and photo's. Small details can be the key to a succesfull concept, so watch the small things.
Example:
I needed inspiration for the population of one of the coast area's. Browsing on the internet, i found many pictures of greek, roman and prehistorical ships. I found pictures of fishermen, fish, coastlines
and much more. Next I was going through one of the many encyclopedia's from my bookshelf, and combined photo's and pictures to create moodboards. Moodboards are used to figure out what kind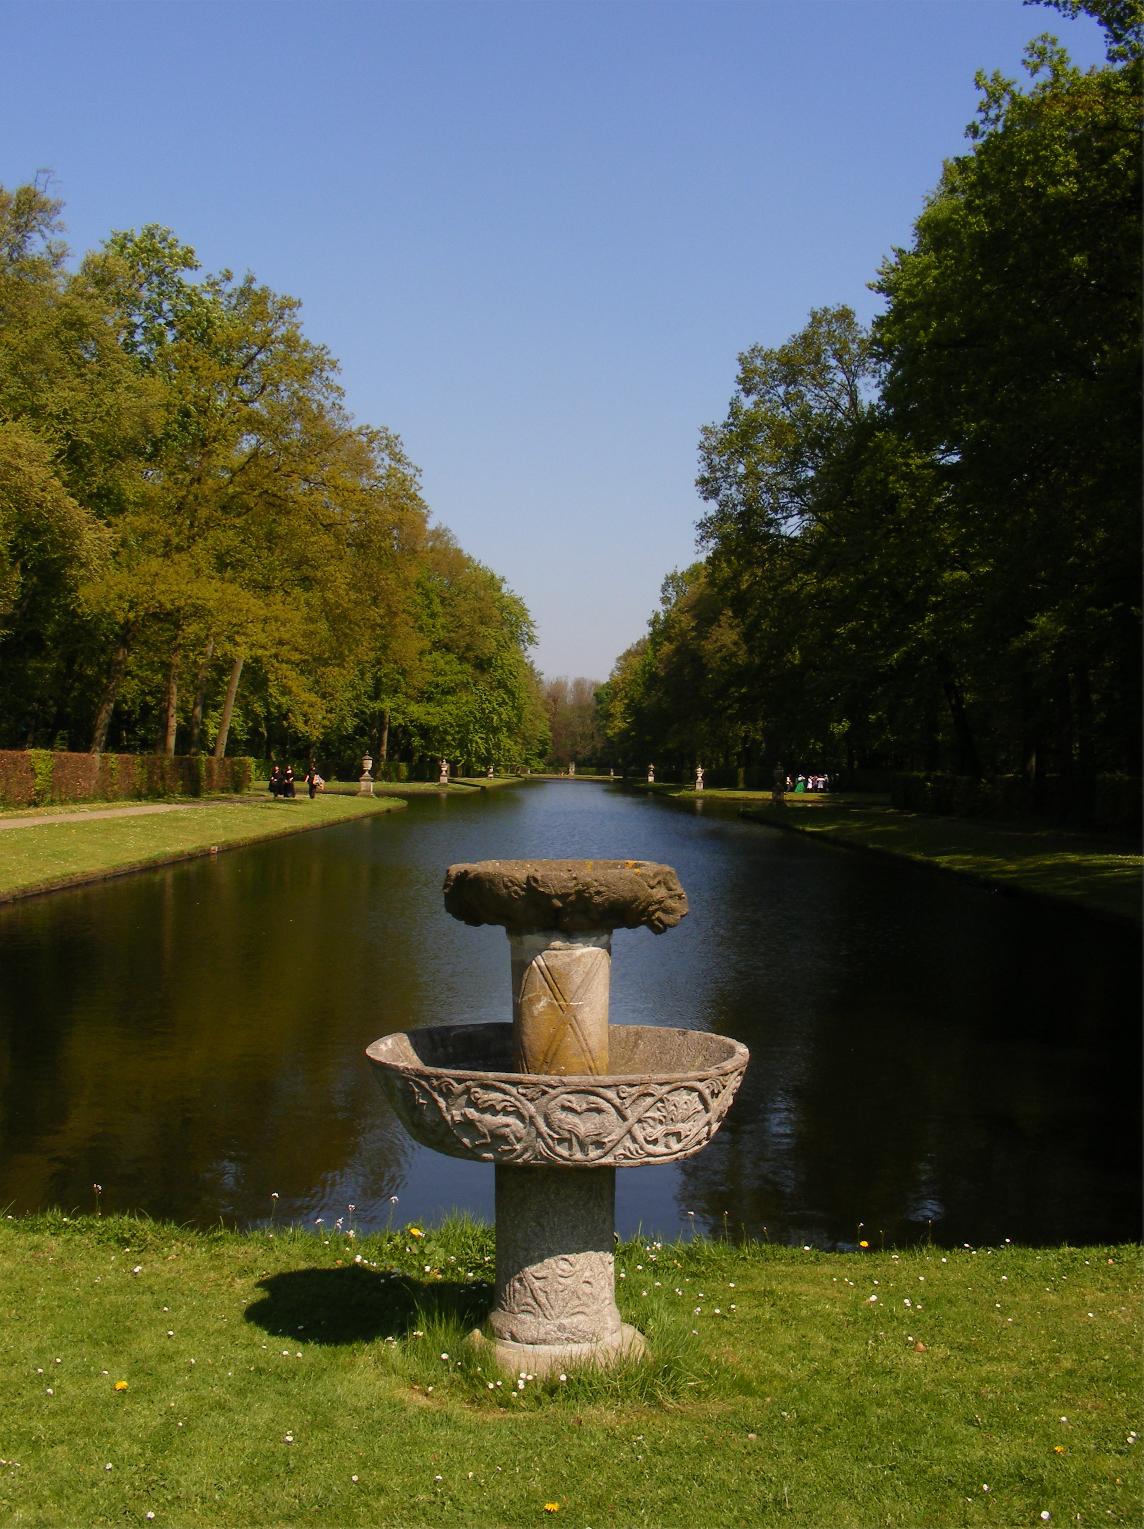 of style and colorscheme you want to use. When you're getting further into the design process, you can look back to your moodboard to see if your still on the right way. Next day, when I readed the newspaper, I found an article about the artic sea. I got fantastic ideas to use, and added those to the moodboard. And voila, i got enough inspiration for the next step.
While wandering through a garden, I stumbled upon this fountain.
It is important for the gamedesign phase to make loads of photographs, and adding these to a library. This offers you a way to shuffle through a database full of inspiration, ideas and textures. We use loads of pictures like this one to get inspired. When you look at the fountain, can you feel the magic?
Step two: Create a data sheet
When you have some ideas about the way you want to go with you character, you can write down some static information. Write down the name, gender, race, skills, job, history, weapons, equipment and everything you know about your character. Combine those things to create more information about your character. For example, if you're an archer, and skilled in stealth, you need arrows and a bow, subtile cloths, preferrable dark colored, maby a cape or long coat, a bit like a spy. Perhaps some rope, a grappling hook, a few small bags and whatever related pheripials you can think of.
Example:
One of our characters is called Aike. Aike is the daughter of the king. Why did we choose a girl? We like girls. And it gave possibility's to use in the story. Since Aike was a girl, she had to be though, but not extremely strong. We thought she would be a good archer. Archers wear light cloths and armor, like leather. Leather is mostly brown, but since she's the daughter of the king, she has to wear
exclusive leather armor. Do you see where we're heading? Starting with "daughter of the king" we filled in the holes; her class, weapons, clothes etcetera. Enough information to make some visual artwork!
Step three: Making concept art
You have inspiration and a datasheet of you character, so it's time to visualize! By now you should have an idea of what your character would look like. Get pencils and some paper and draw everything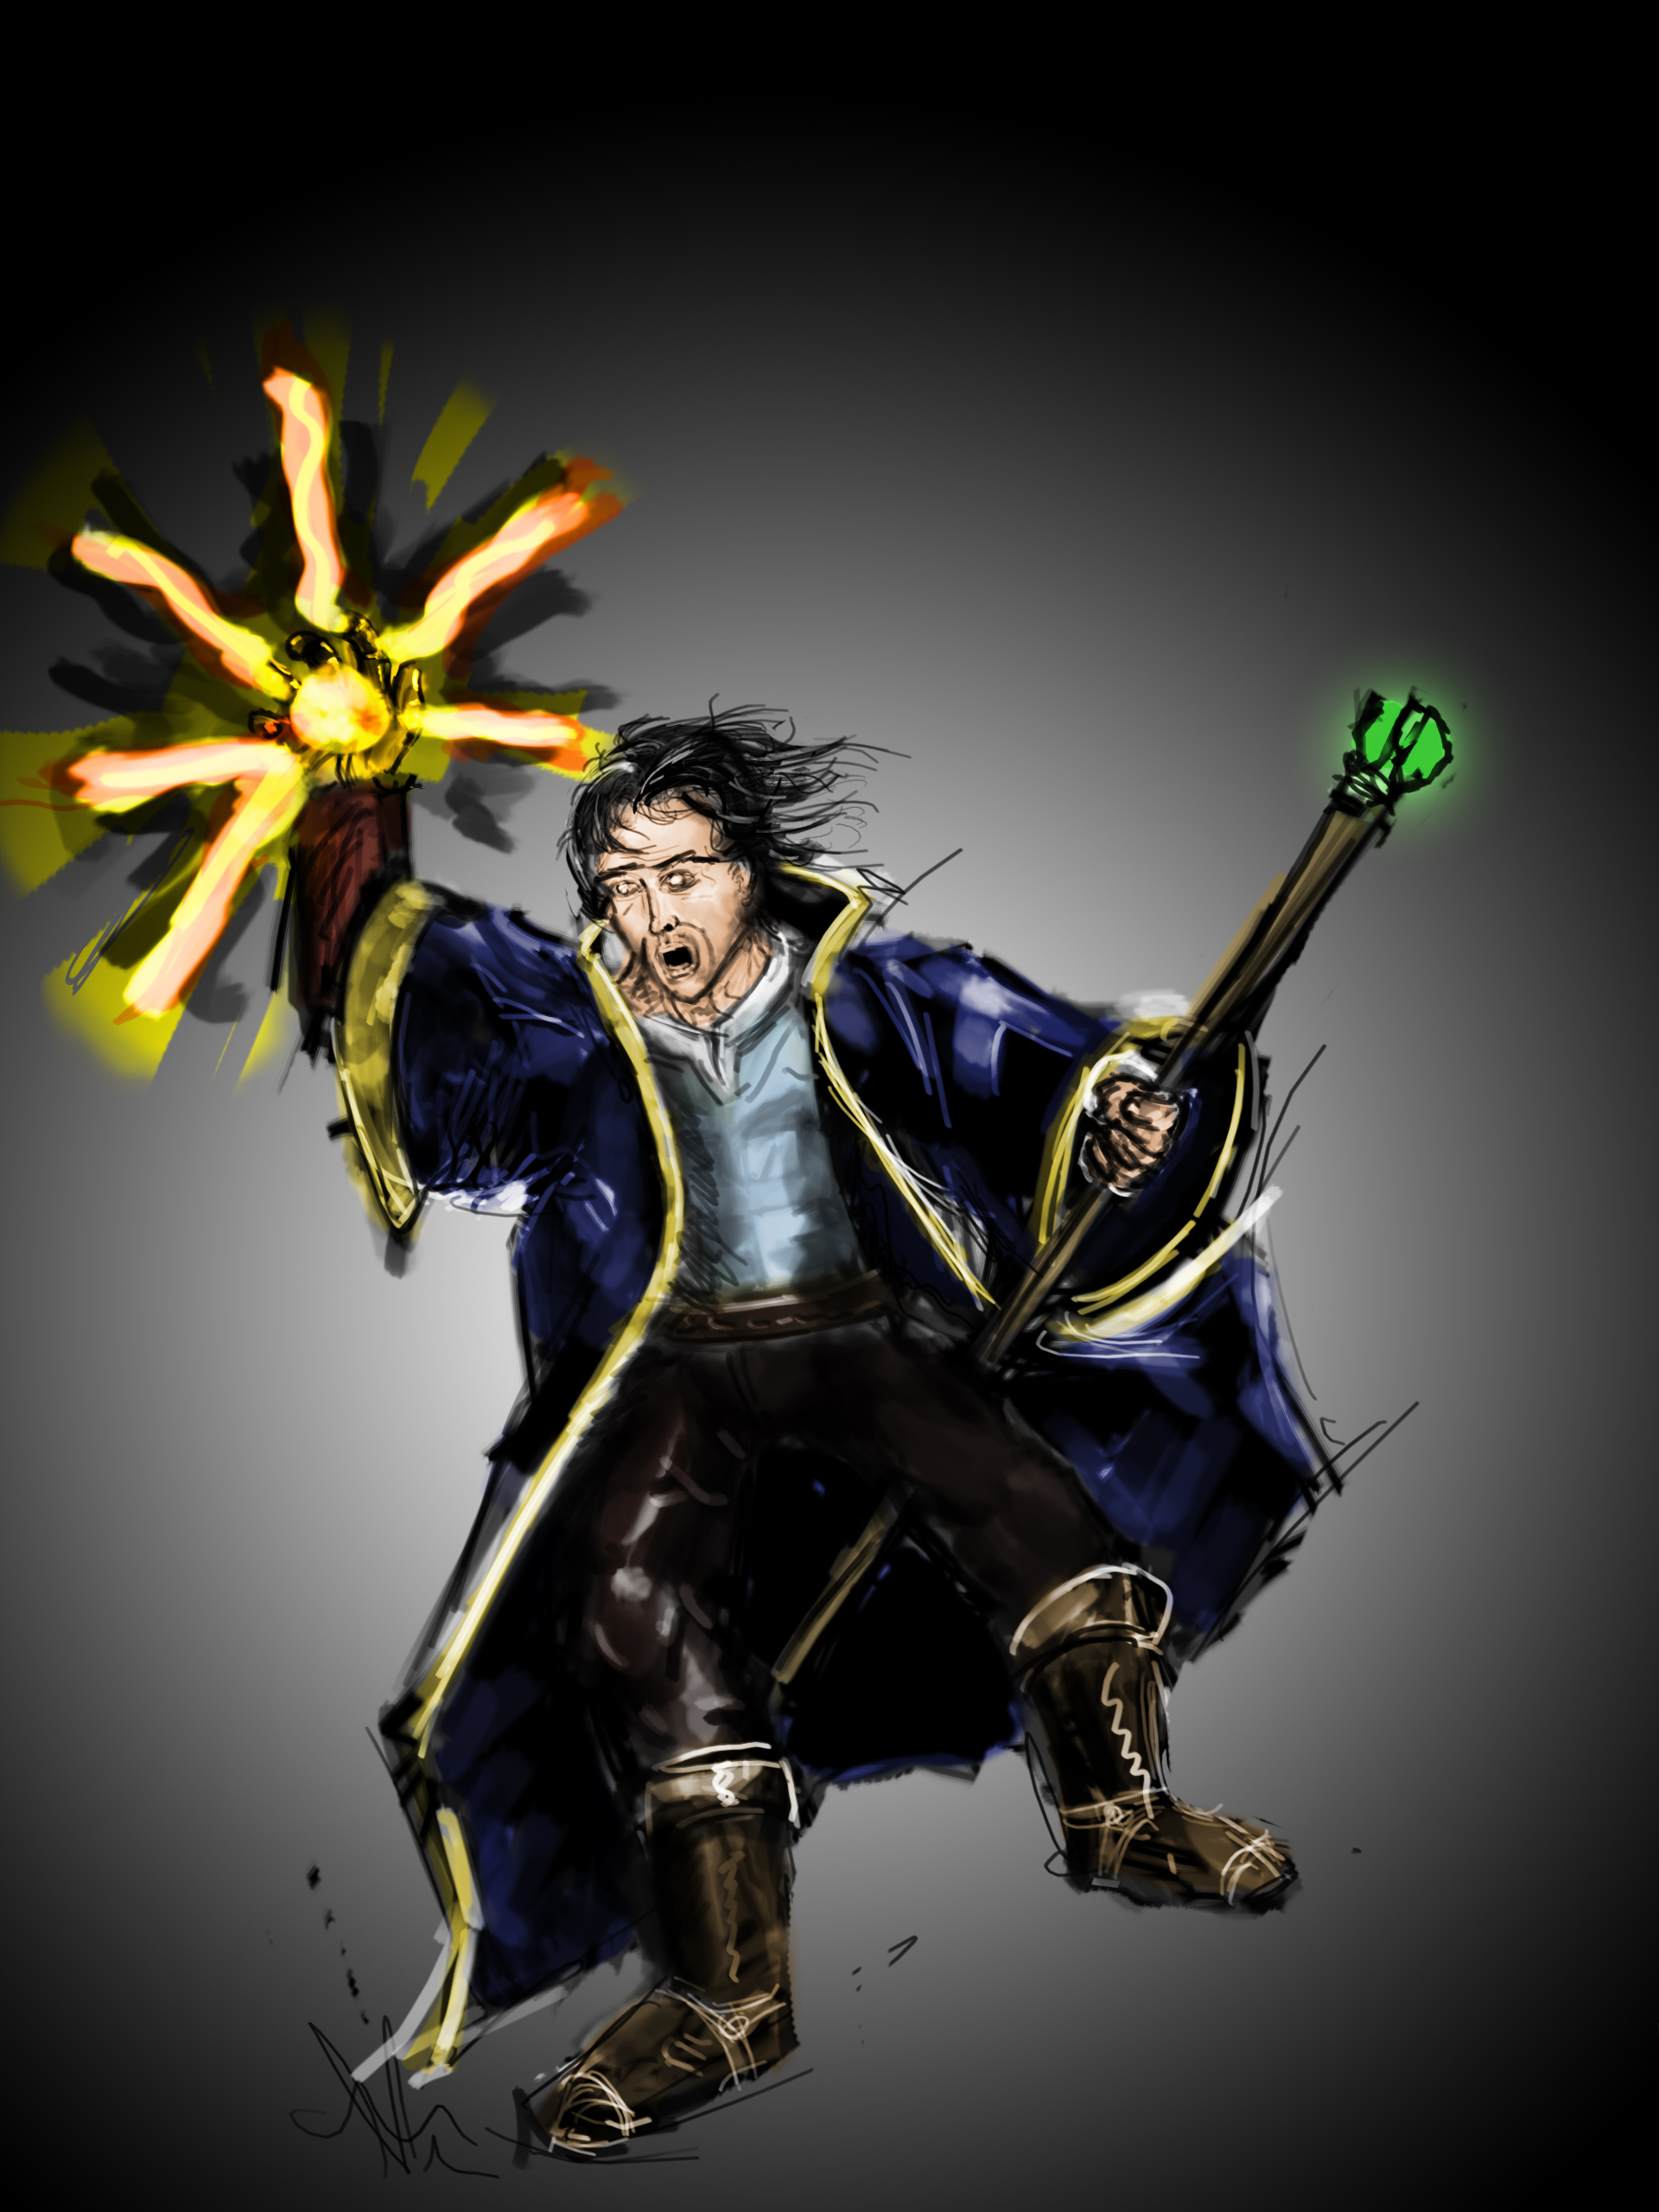 you can think of. Try to draw as many aspects of you character as possible. Clothing details, jewelry, armor, weapons, hairstyles. If you have a tablet or tablet pc you can use programs like open canvas or sketchbook pro to draw digitally. Try many different colorschemes to find the perfect look. Add and remove details, try different styles. For short; keep changing till you have the perfect visualisation of your idea. I does not have to be a state of the artfrawing, thats not neccesary yet.
After some research our visual artist created this reflection of what a wizzard could look like. Although it is a very nice drawing, we're missing something. What is he doing, why is he dressed like that? We need more information about him!
Step four: Writing a story
This step is neccesary to give your character an own expression and personality. In order to give your character a realistic touch, you have to know how he would react in certain situations, what he would say or do and what kind of decisions he would make. To reach this level of knowledge of your character, you can write a short story about what your character would do on a normal, random day in his life. Discribe everything, from what he says when he wakes up till what he does when he goes to bed.
Example: Diaries
We are writing diary pages from our first three main characters to gain knowledge about those characters. How did they met eachother, how do they interact with others, what do they say, what would the do when they are under attack, every page reveals more about their meanings and personality. We will release those diaries later. For example, Aike lived almost her entire life whitin the walls of the castle. She is young, she can be shy and unsure in certain situations but she respects others and listens to advice from her friends. The Wizard is a cranky old man, and dislikes everything. He lives all alone in some old barn in the middle of nowhere, but altho he looks like an old idiot, he has much knowledge about war tactics, magic and survival techniques and his loyalty to the king is beyond compare.
Step five: Making more concept art
With moodboards, datasheets, concept art and a personality combined togheter you can create a more realistic presence of your character. Try to add all the details you've made up in the last few steps. Where to put ammunition, potions, 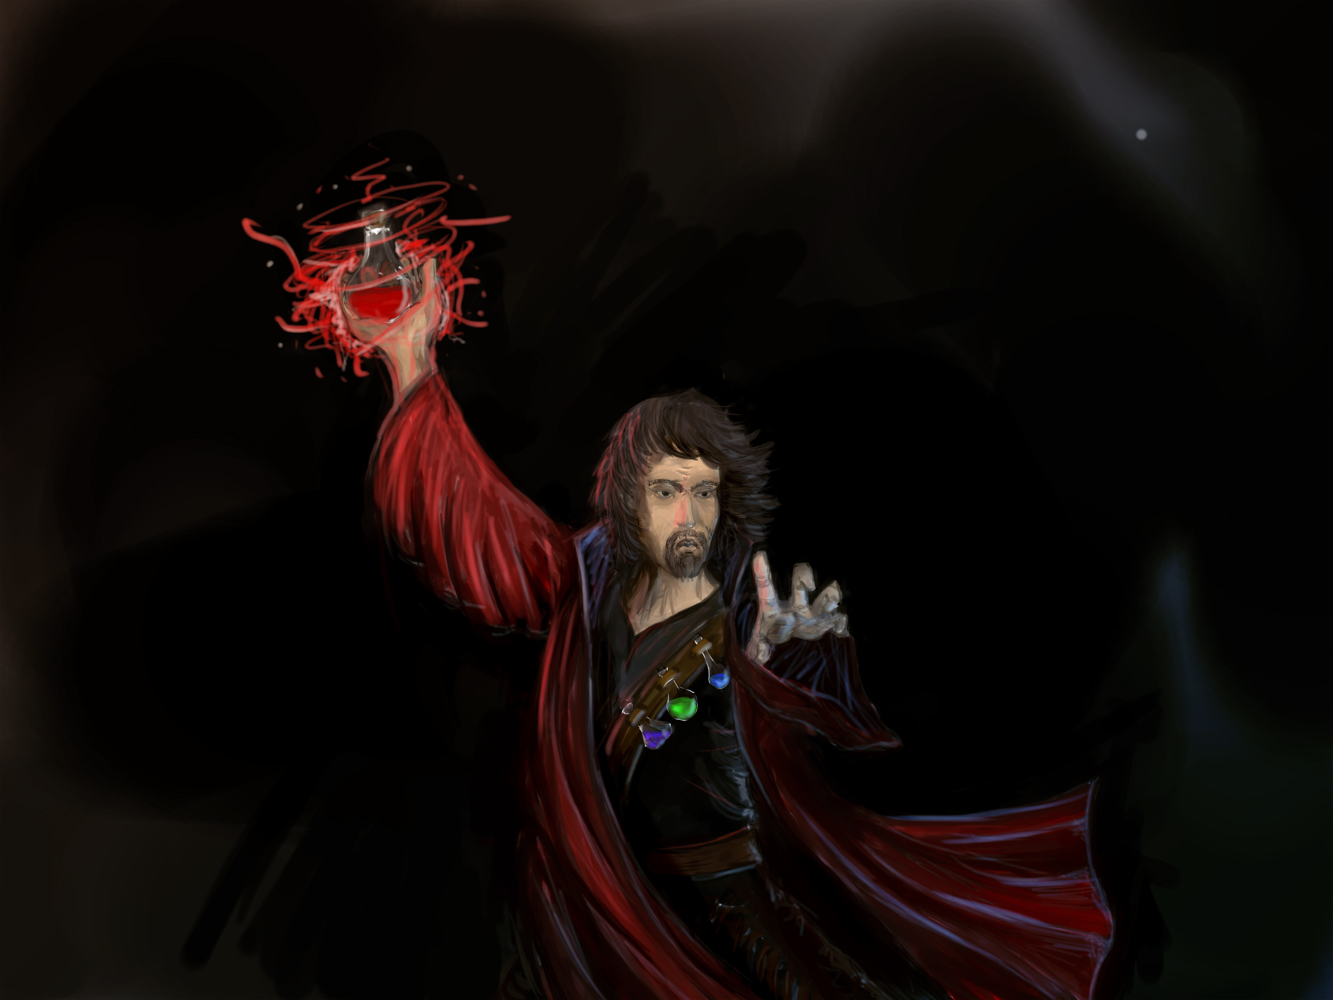 what kind of earrings do they wear, jewelry, weapons, try to draw as detailed as possible. Does your character have a though personality? Give him a dark look, fuzzy hair and a long coat. Is your character a sweet little girl? Bright, happy colors all the way. Skirts, dresses, flowers, a pony, big lolly-pops, giant... well i think you get the point by now.
Our visual artist got inspired by knowing how the wizzard would dress, how he would act in battle and so on. Based on this information he made this drawing.
Much better then the first one, isn't it?
Step six: Simple modelling
Your making progress! You already made it this far, and now, the hard work is about to begin!
3D modelling is not easy. Period. Follow tutorials as much as you can. Modelling a head => use tutorial. Modelling feet => use tutorial. Big pimple on the nose => use tutorial. Try to keep you model simple, stick to the basics. Test and see if certain details are usefull, of perhaps impossible to create in 3D.
Clothing like capes are hard to make looking realistic, so if it's not neccesary, remove it.
Beyond step six
The next steps are kind of blurry, and are depending on your own concept/taste. Do you like the concept you've created? Then u can start making some high poly models. Don't like it? Start all over, or edit some steps you already made.
Ofcourse you may think, why all this effort for just one simple character? I made 20 whitin 5 minutes!
Well, our philosophy is that there has to be a reason for everything. We want to create realistic peronality's, almost like we copy-pasted them out of the real life. We want to know what they have been through, why they act the way they do. Where did Aike learned to use a bow? Why does the wizard hates people? Every small detail can help you with creating a character, or designing a weapon, of building maps, or writing story's. And one of the most important rules of all time: Nothing is perfect, everything can be improved. So never rush with your first idea, take time and keep an
overview on your progress.
Well, that's all for now. I hope you've learned a few things about the way we work here at Big Bunch Studio's. Perhaps you can now create your own characters, and maby you can use your newly created characters in your own self-made game. And if you do, don't hold back to use our names in the credits. Really, don't hold back. Just do it. Really. Hello?