Download Duke Nukem 3D: Blast Radius (last update: 03/04/2024; v. 5.0.2)
(This article is a split section from the main 'You're Not Supposed To Be Here - Level Lore - "Zarathustra" (level 12/BRL12.map)' post, which had to be cut due to excessive length.)

Walkthrough:
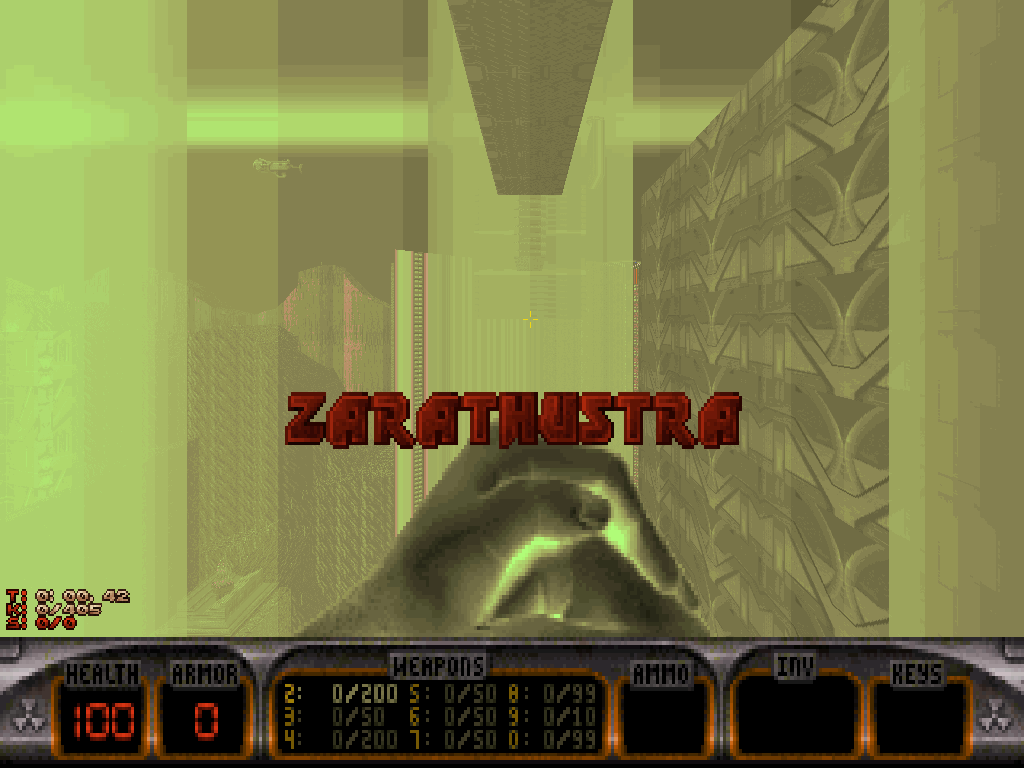
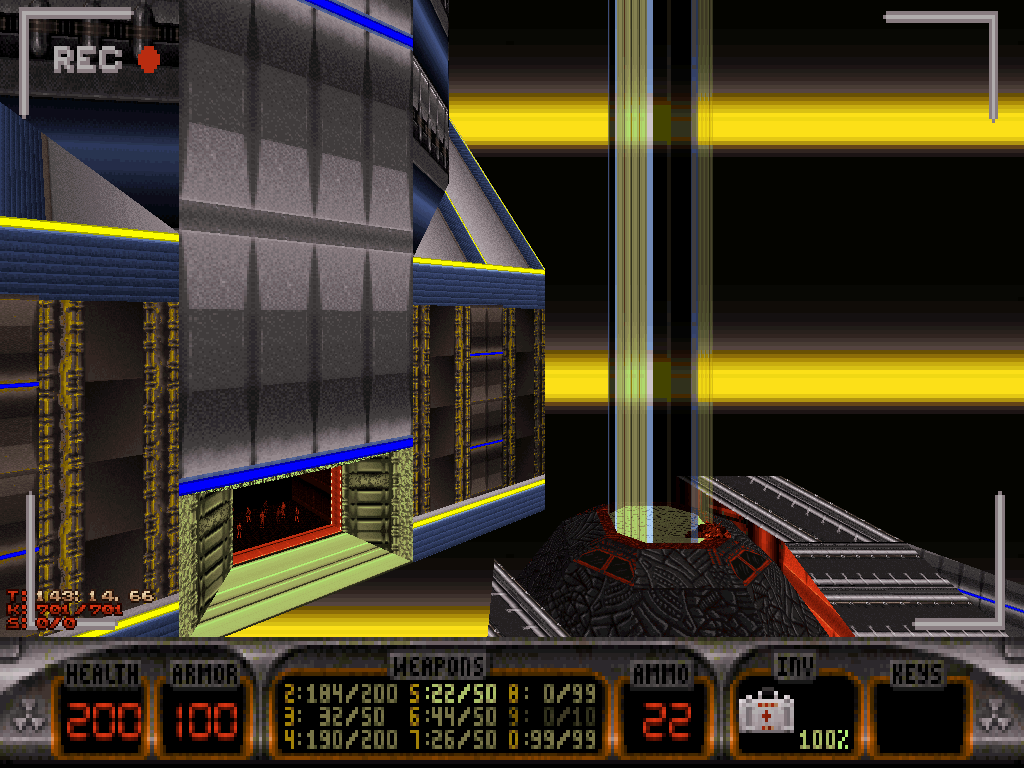
Duke Nukem, our hero (?) lands on the prison planet of Zarathustra weaponless and engulfed first in a beam of green light he should trust, for it will guide him towards a safe landing, and then in green fluid after his muscular physique has crashed into the pool, below, on top of some machine.
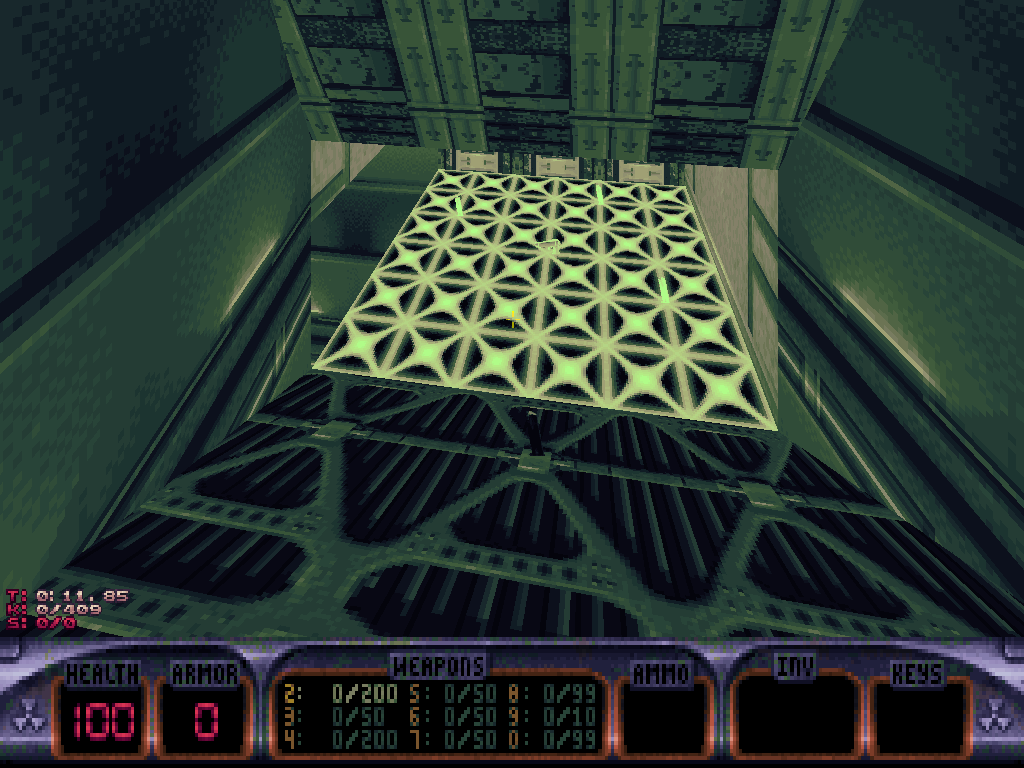
"Looks like I'm in a world of shit."
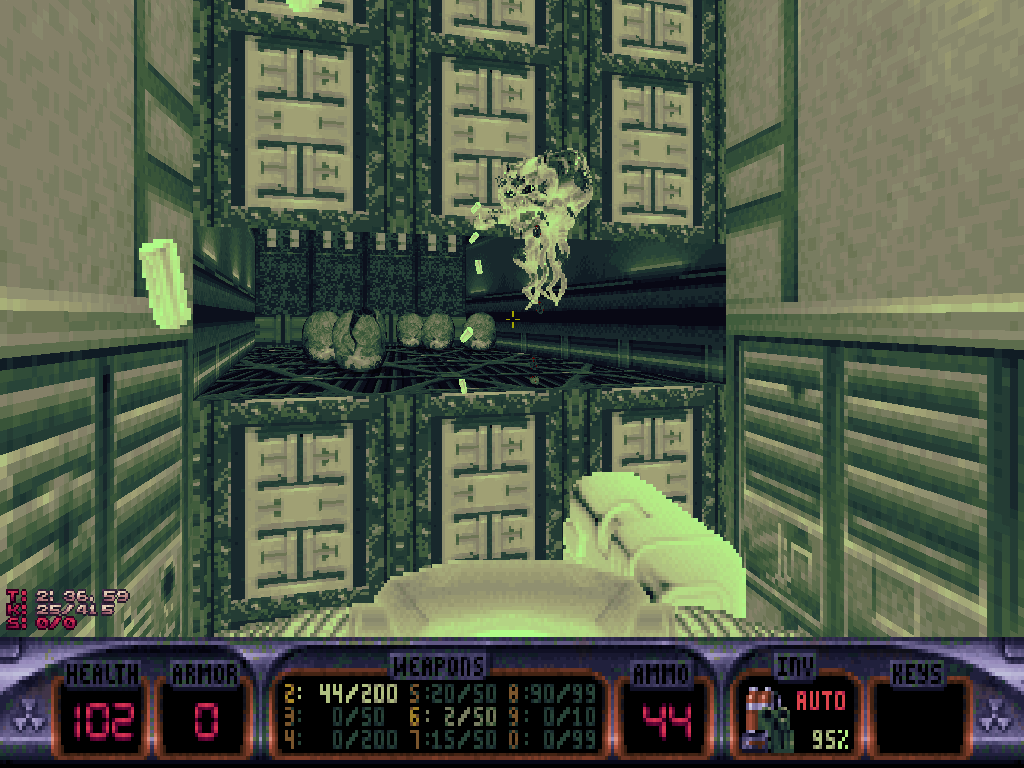
Underwater, Duke has two options: remaining down there for as long as his apnea is comfortable, to explore what shall reveal itself to be a web of mechanical tunnels that link to six different exits, scattered around a central unit at varying heights on the surface; down there, he might find some solace under the form of his pistol and some ammo he can retrieve, but also run into some undesirable Protozoid Slimer eggs and Octabrains.
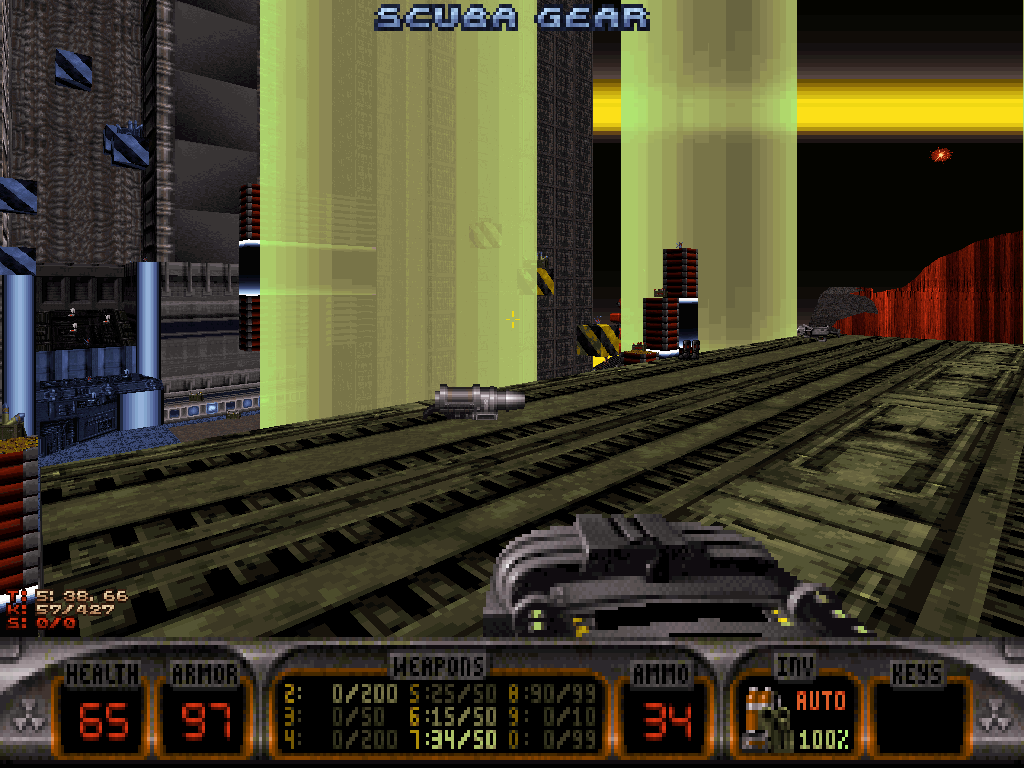
Or Duke could resurface instantly instead, and brave Zarathustra's first wave of Assault Trooper variants, Sentry Drones and Battlelords (both Sentry- and full-sized types) empty-handed for a split second which would be terminated for good by a run to the top of the machine, and fetching the RPG and/or the Devastator there in order to get to fight back on even terms.
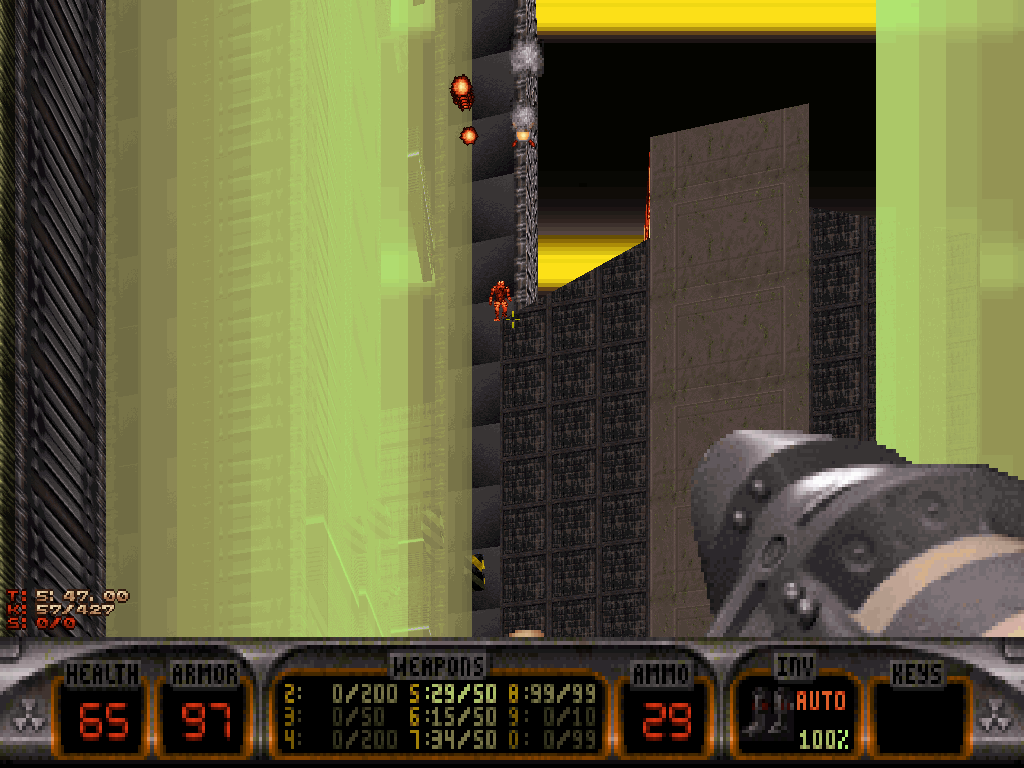
The newfound perspective there may reveal that the machine appears to be some type of gigantic, complex fuel tank/power source addendum that is attached to a proportionally massive building, so large it features its own intrinsic block of skyscrapers built on top, towering over the entire level.
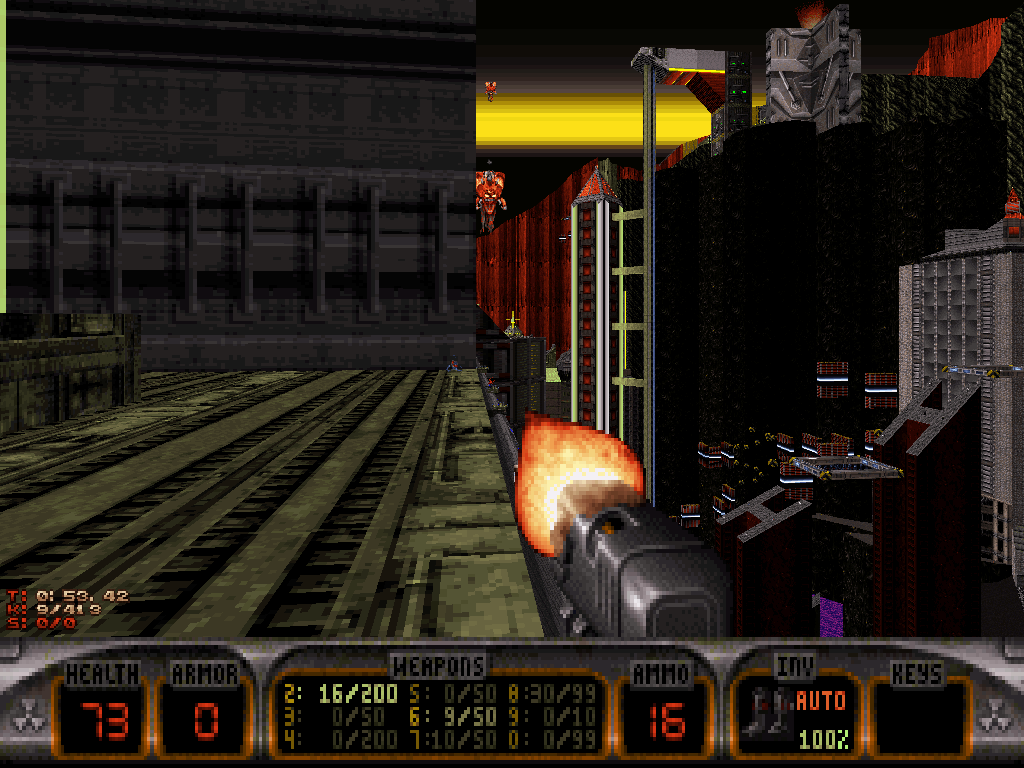
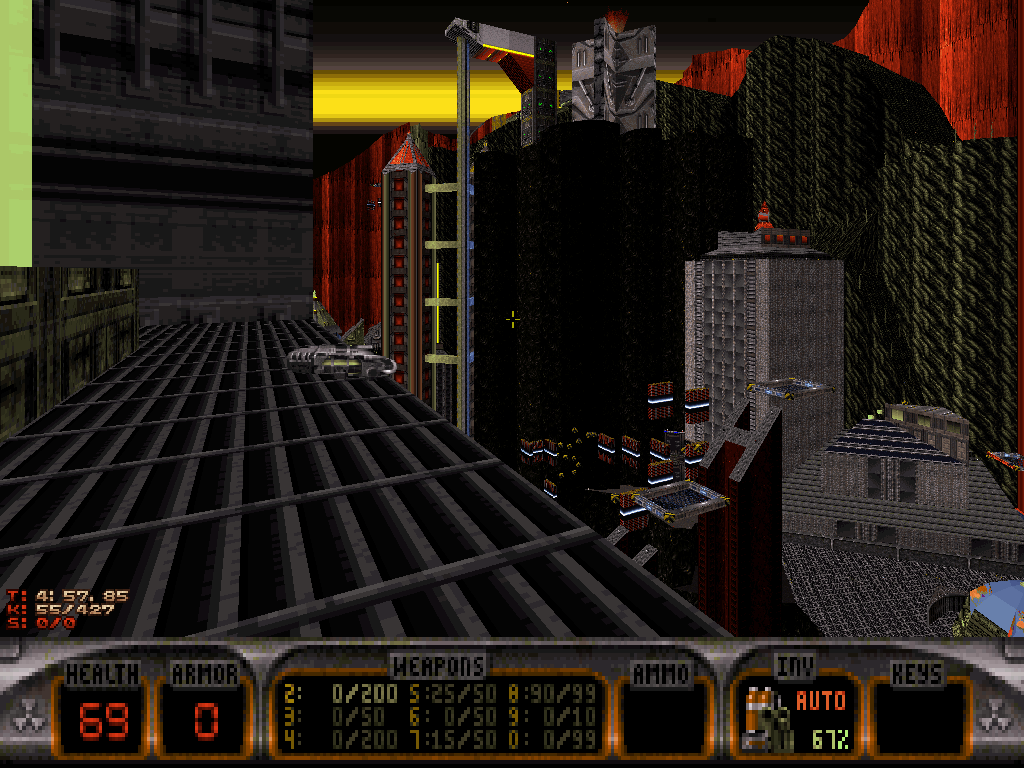
Before he gets any closer though, Duke would be wise to explore around all the exits out of the fuel tank (each one matches its respective beam of green light), for he shall get to disarm some opposition there but also to retrieve some potentially crucial goodies, including the Shrinker.
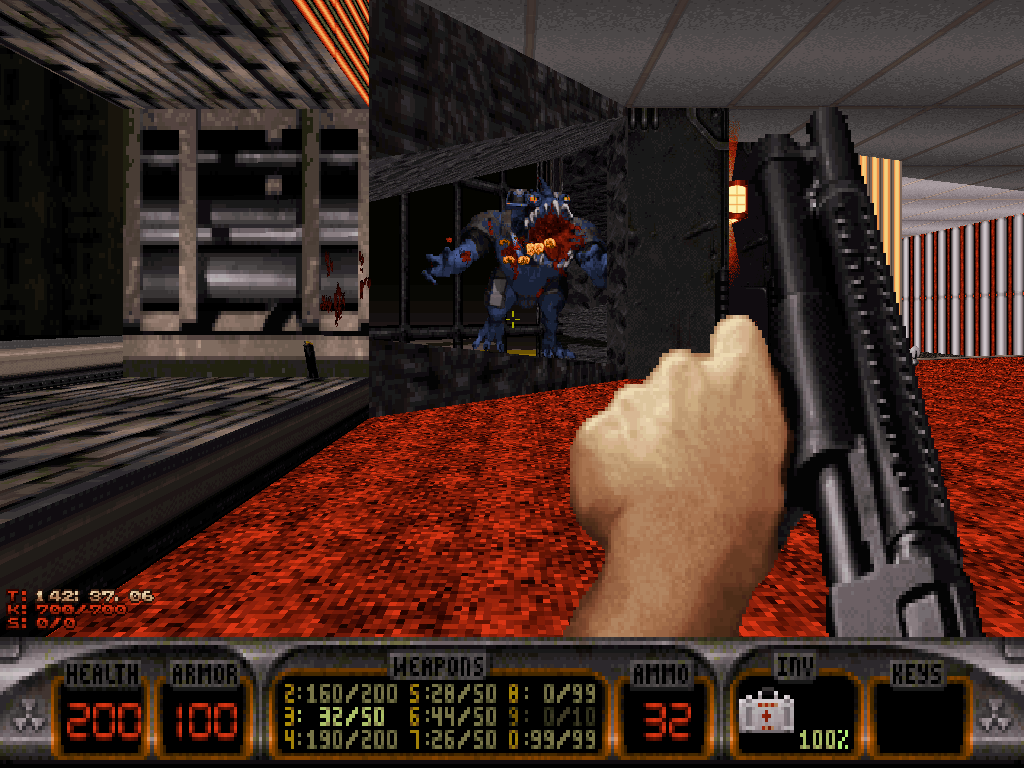
Once he's properly equipped, Duke can go and explore the courtyard around the skyscrapers on top of the colossal building, but is bound to promptly realize it's all punitive, electrified floor there. Thankfully, Protective Boots and Atomic Healths are distributed about in abundance and so Duke shall be able to survive the aggressive settings, and slay all the strong opposition that awaits him for as long as he watches himself.
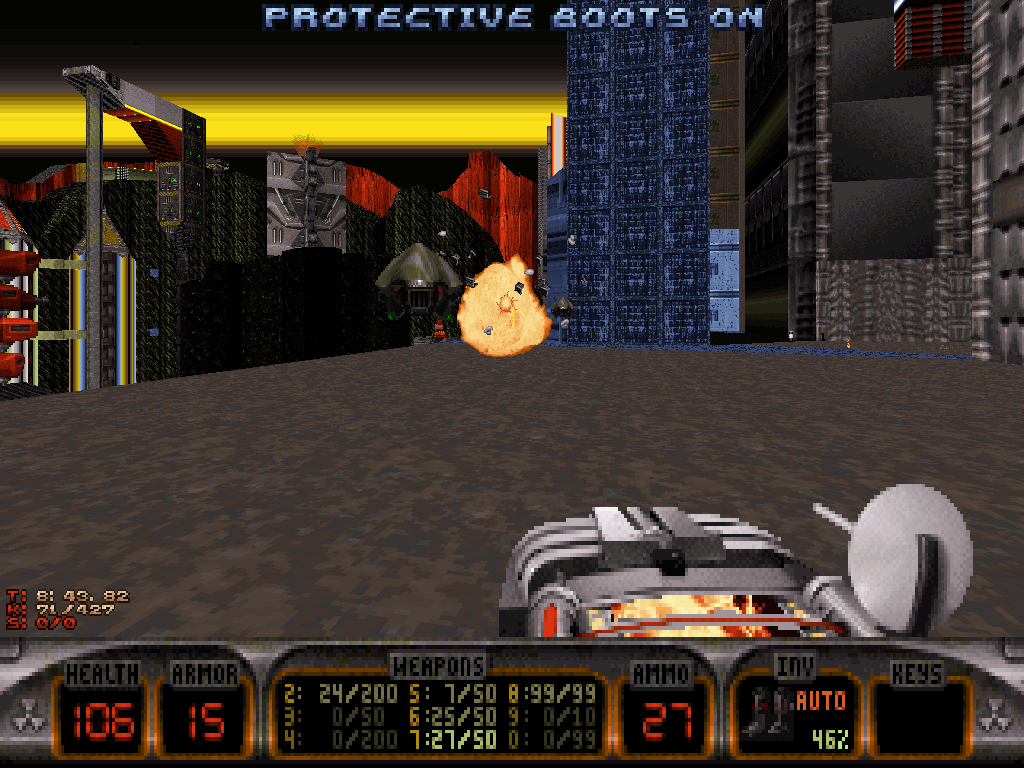
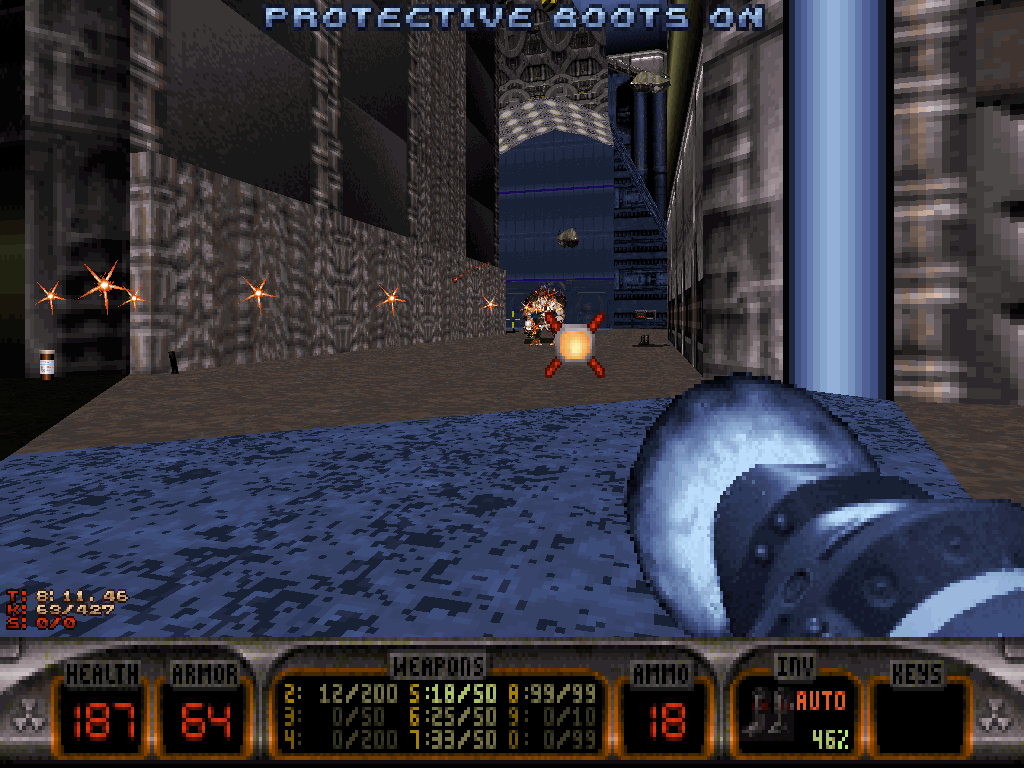
In the very back of the electrified courtyard, there is an enclave with a barred window Duke can shoot through to hit a switch, which will unlock access to the chaingun.
And behind the entrance the Permafrost Battlelord is or was guarding, a door into the main building can be found, but it's locked with the blue key pad.
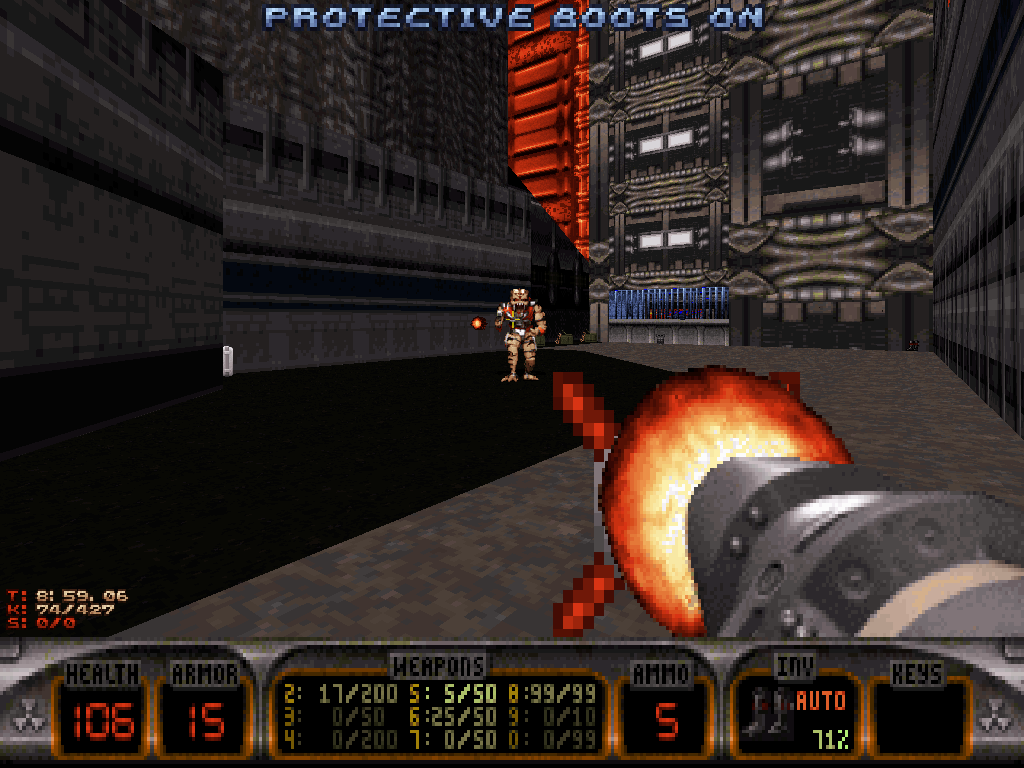
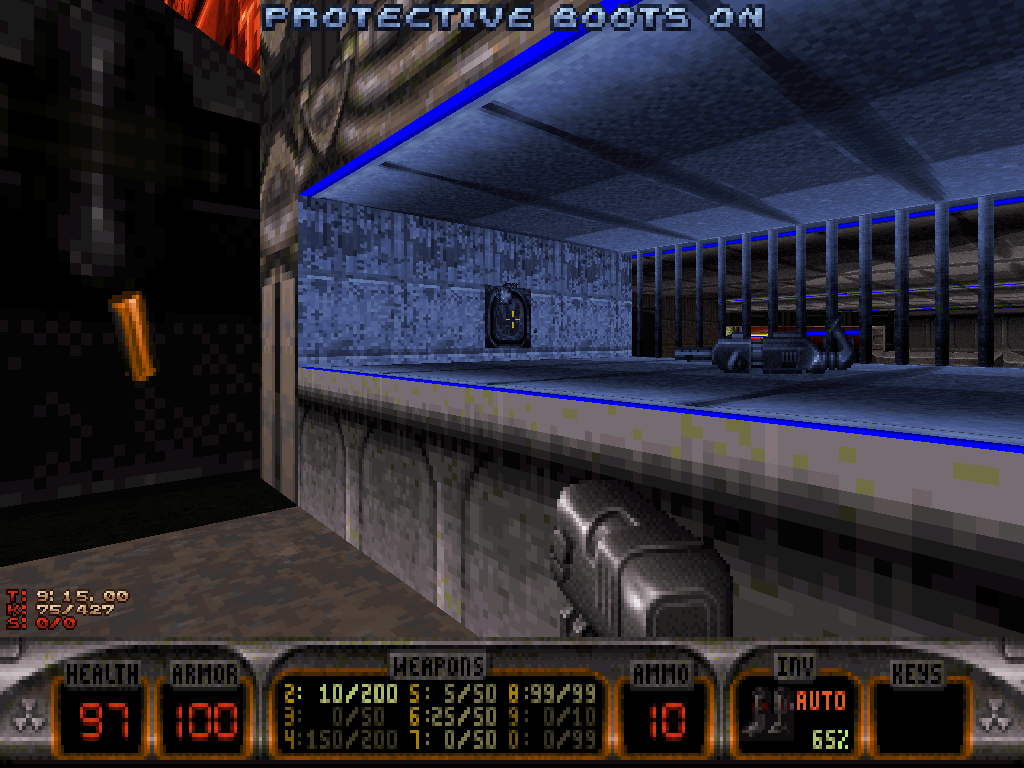
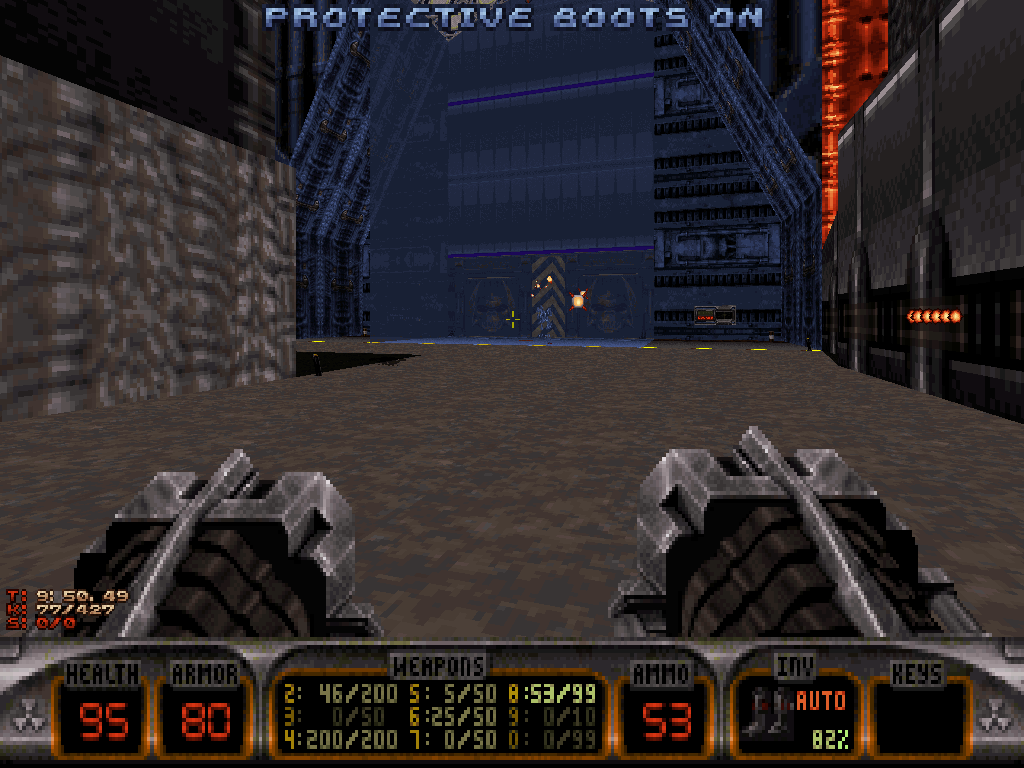
At this point, there are two approaches Duke can opt for, again.
There is the relatively perilous possibility of choosing to go down the main structure, by the means of some exploring and platforming which will permit some early clearance of, and recognition around the level at the expense of being totally equipped (and some deadly foes are waiting for Duke, below).
But there also is a way up, by using the tempting platforms Duke already can reach as soon as the start of the level, from the top of the fuel tank.
The latter way will mark the start of a lengthy platforming section taking Duke further and further up around the skyscrapers, one "Duke Nukem I"-styled jump at a time, also with diverging paths.
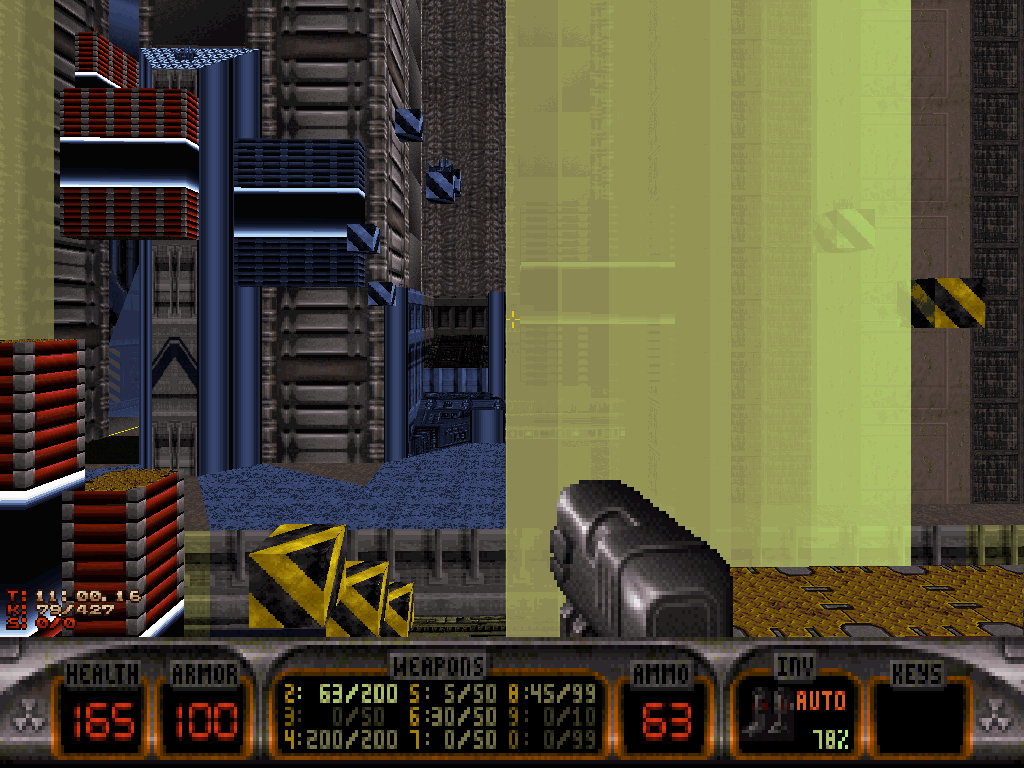
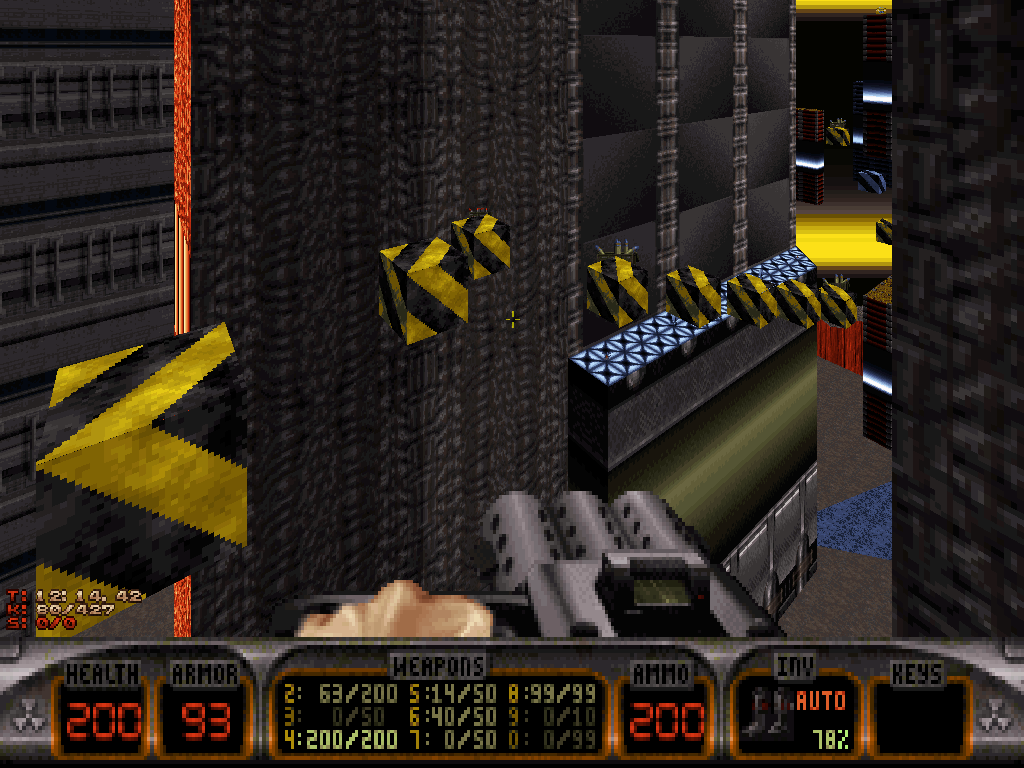
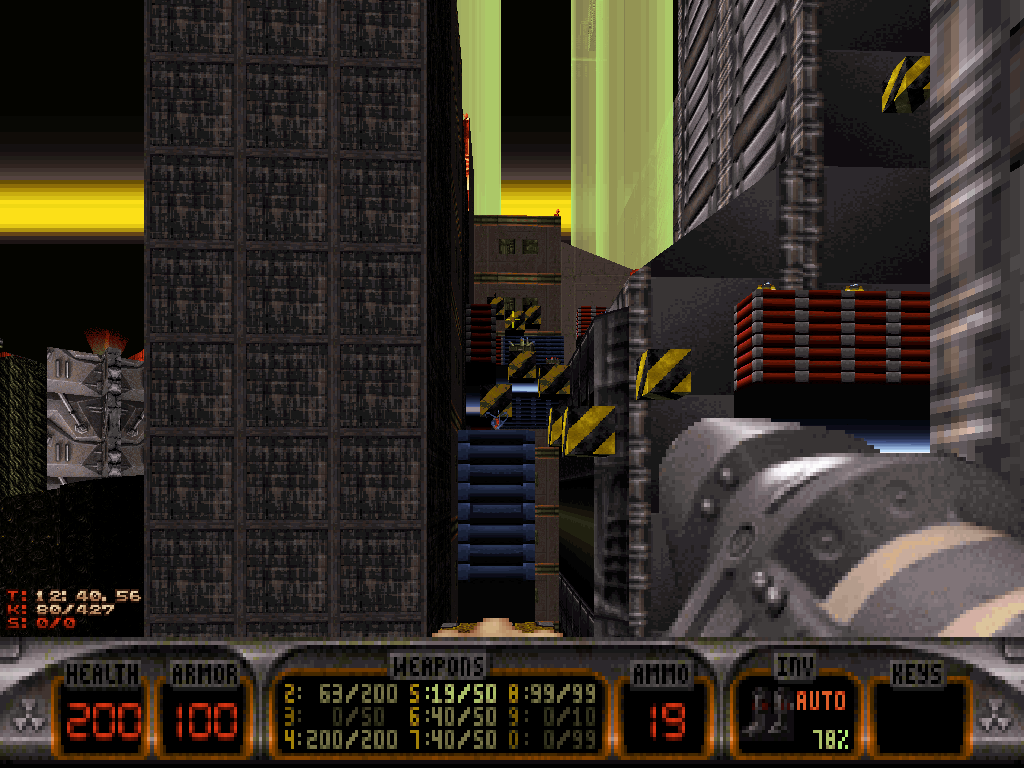
Halfway through the segment, the tedium finally will be alleviated as Zarathustra's first jetpack becomes accessible, sitting at the end of a branch off the beaten path, but may be dangerous to go fetch.
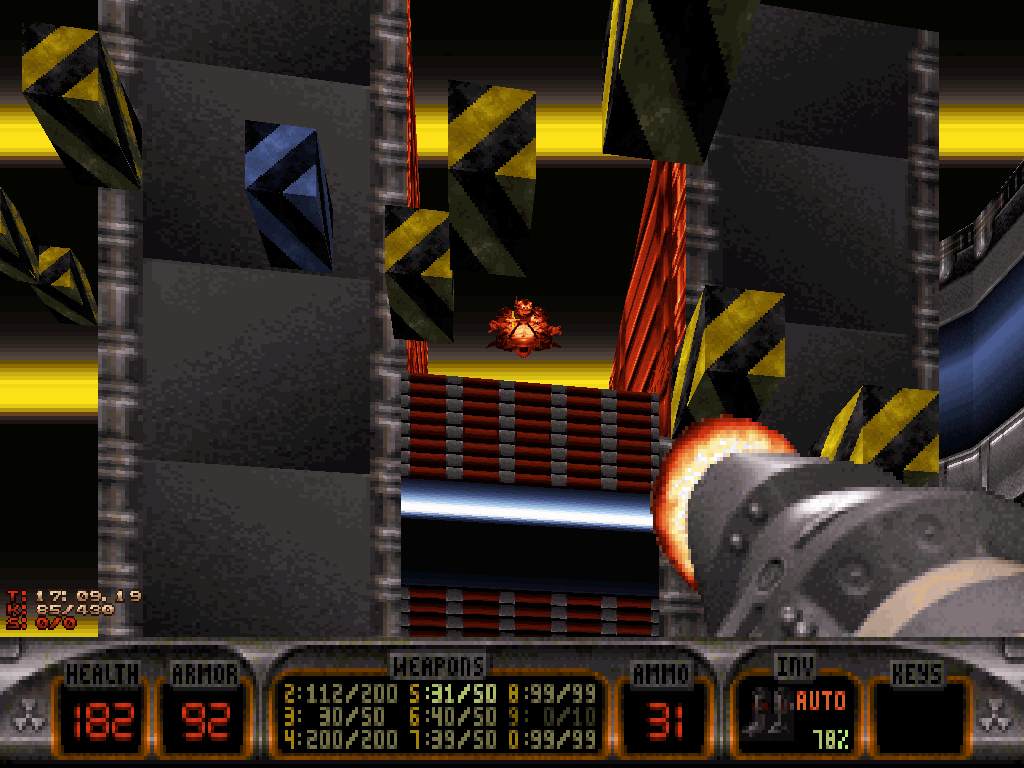
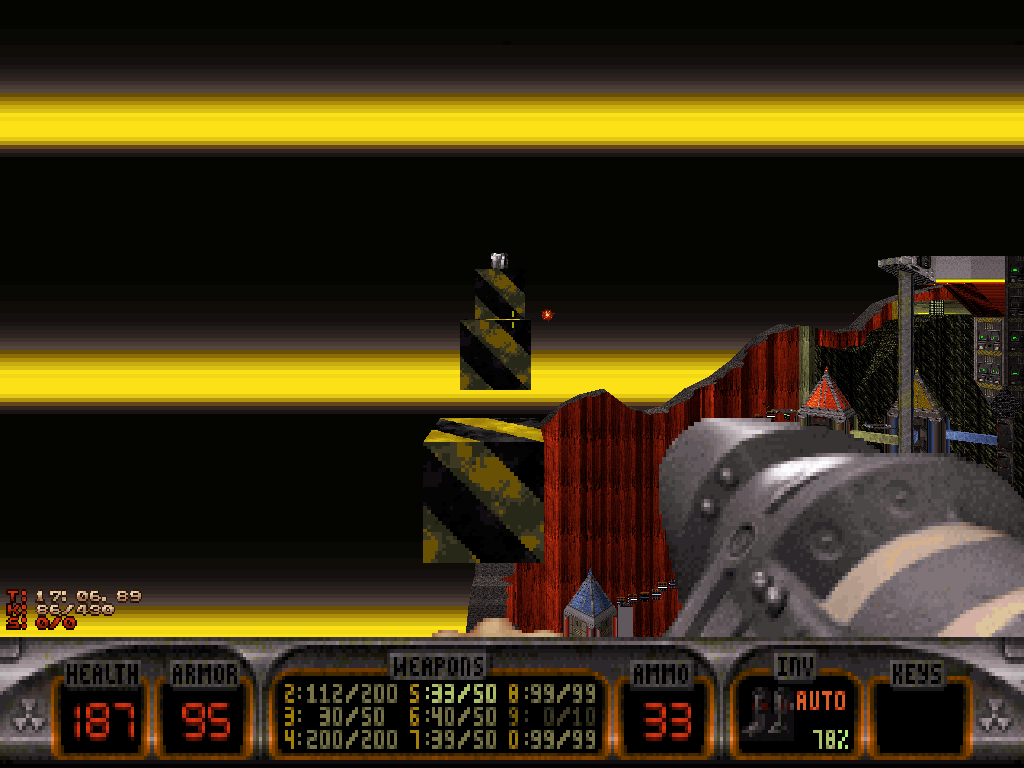
Either way, keeping going up, Duke shall be able to collect the Freezethrower, the shotgun and then finally reach the highest rooftops, where a lot awaits.
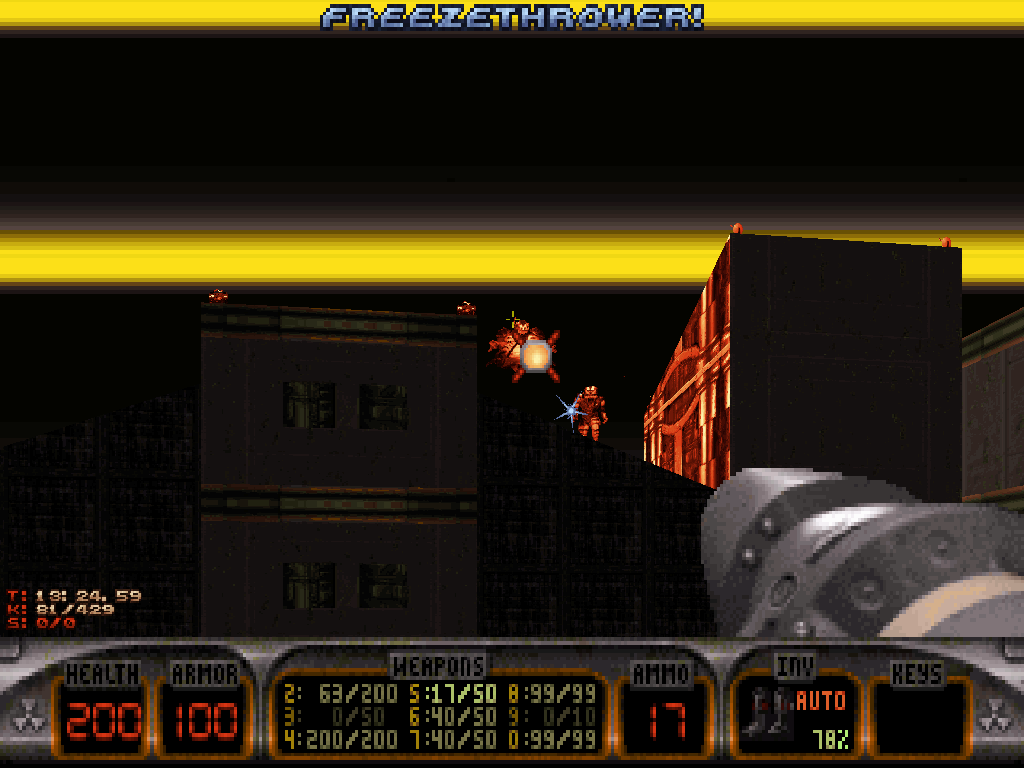
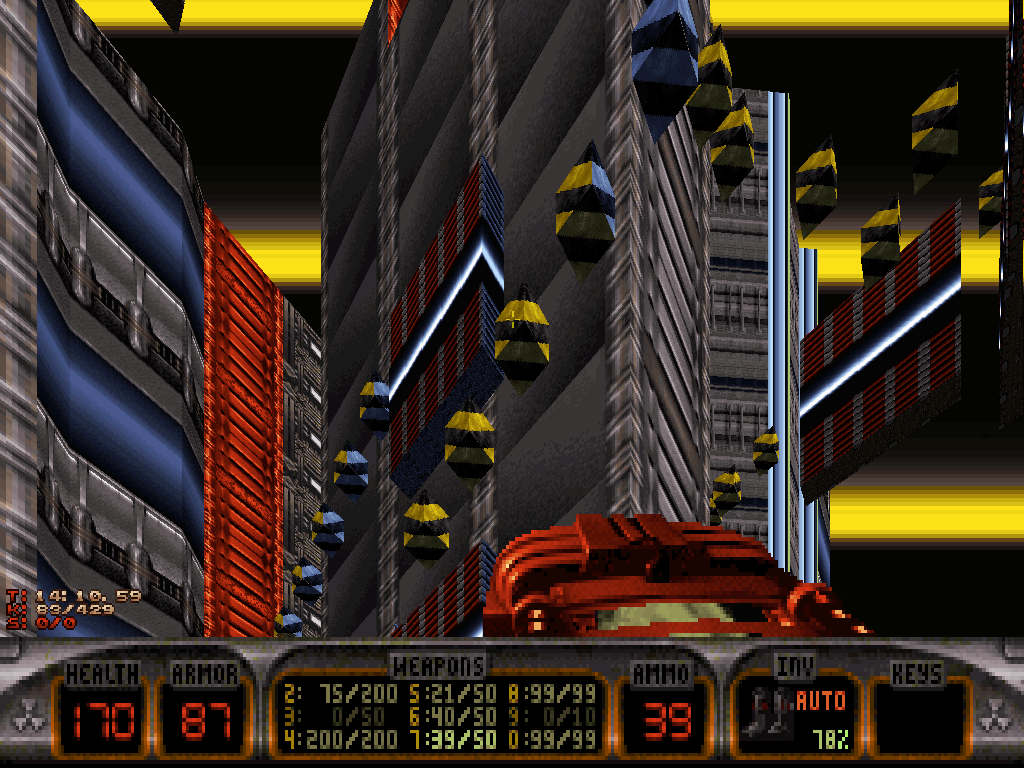
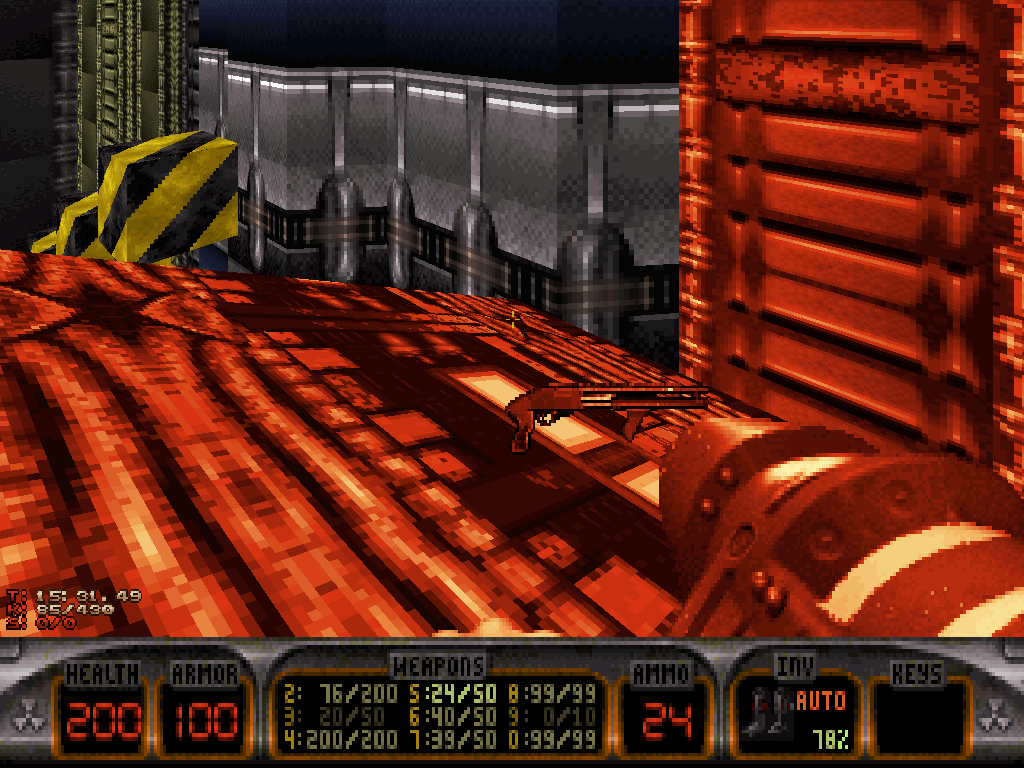
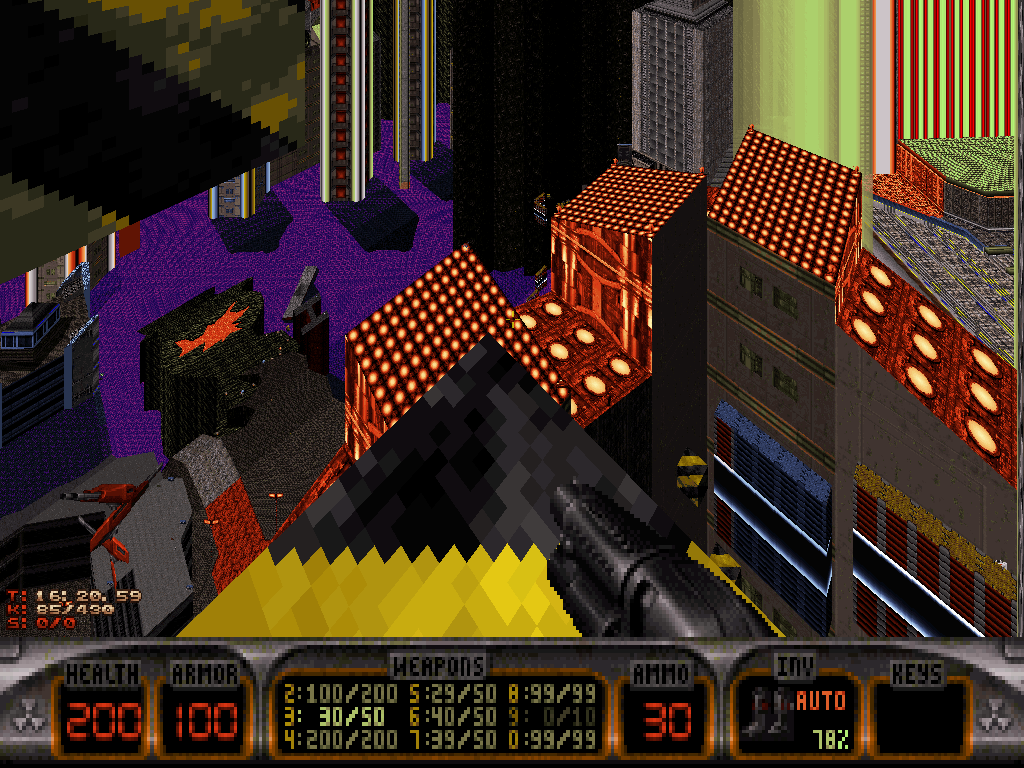
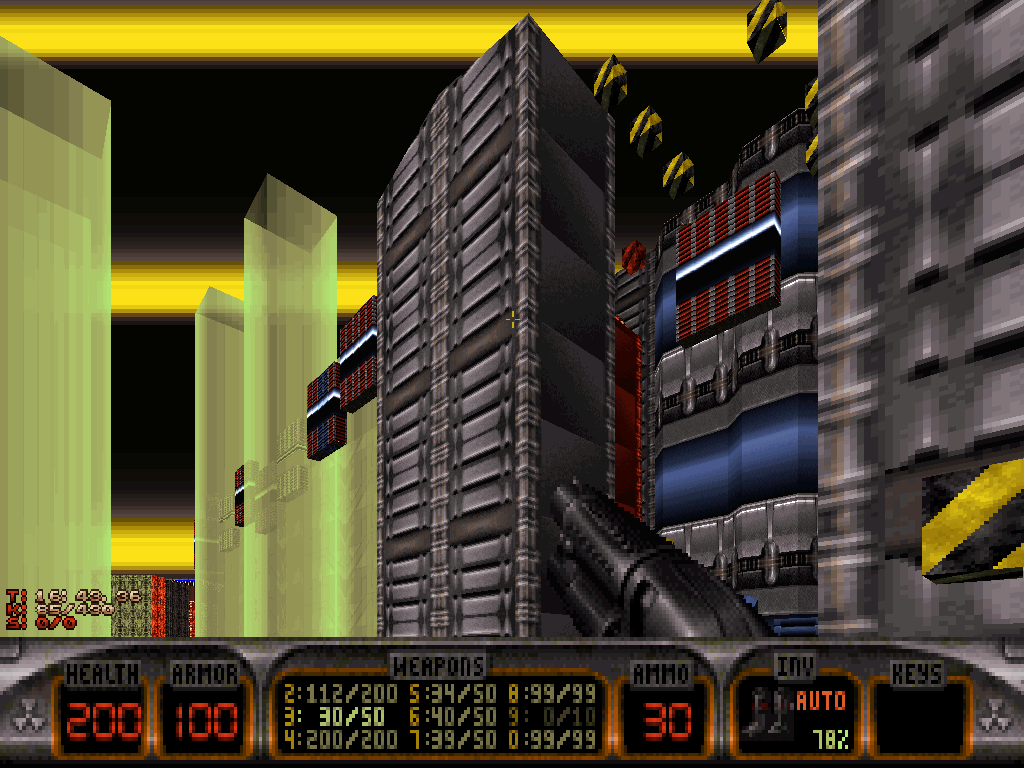
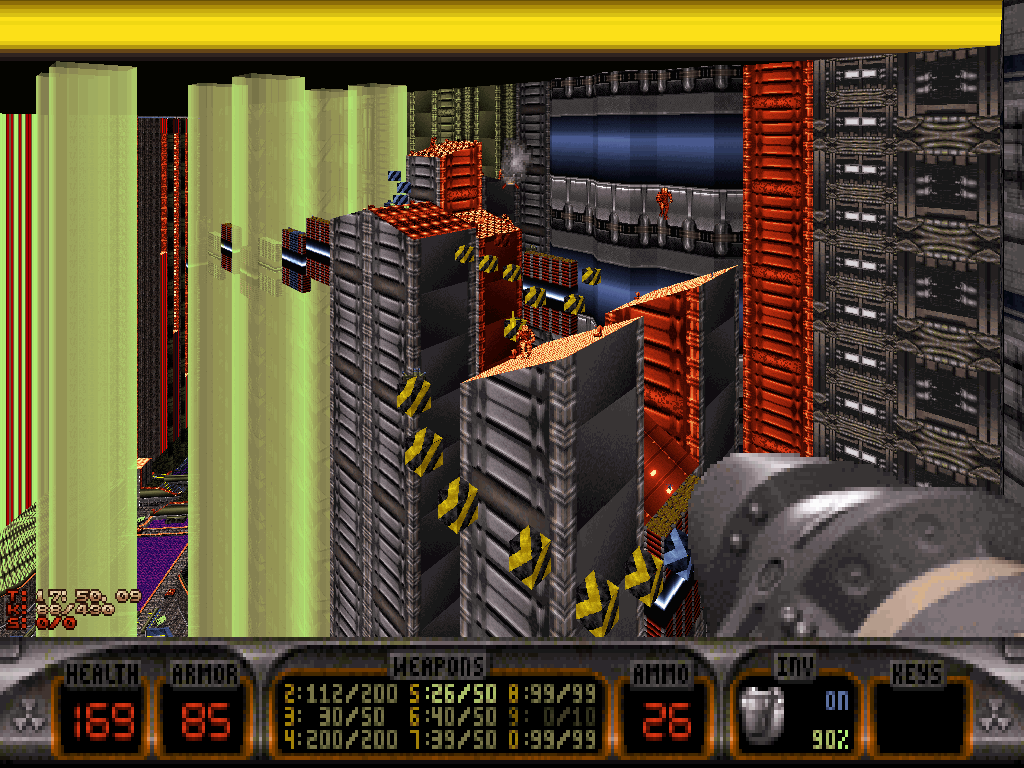
Amongst all the enemies, numerous goodies including extra boots and jetpacks can be found there, peppered over the rooftops but Duke's main objective really should be continuining along the very final platforms of the section, where the peregrination terminates with one huge power switch.
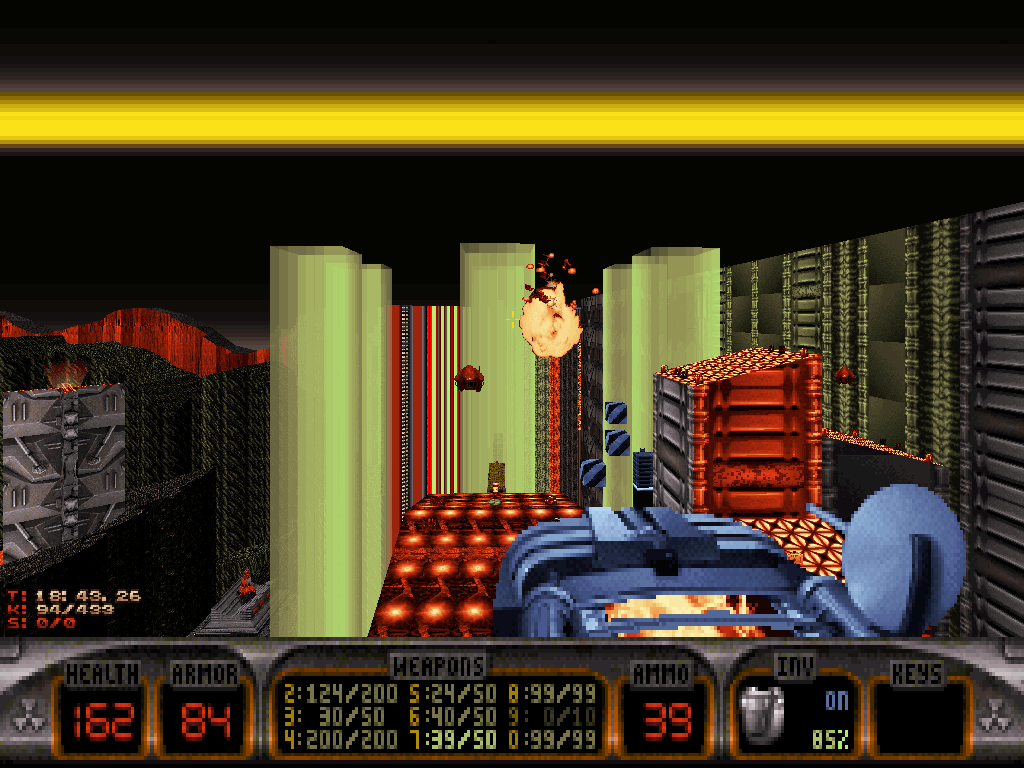
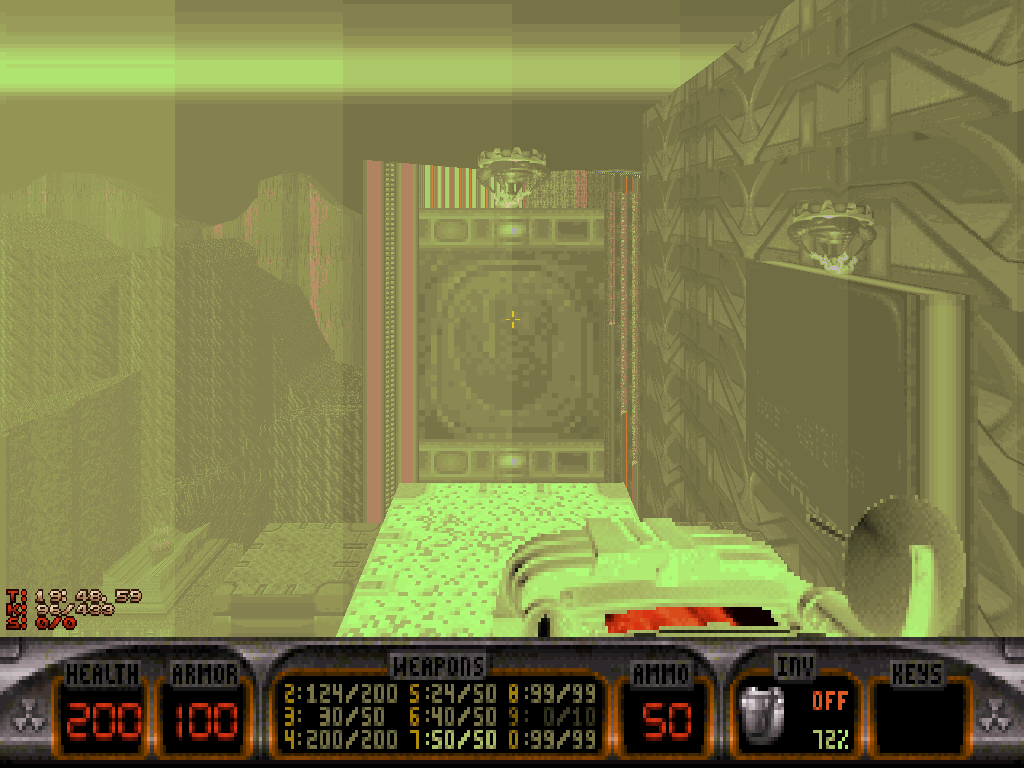
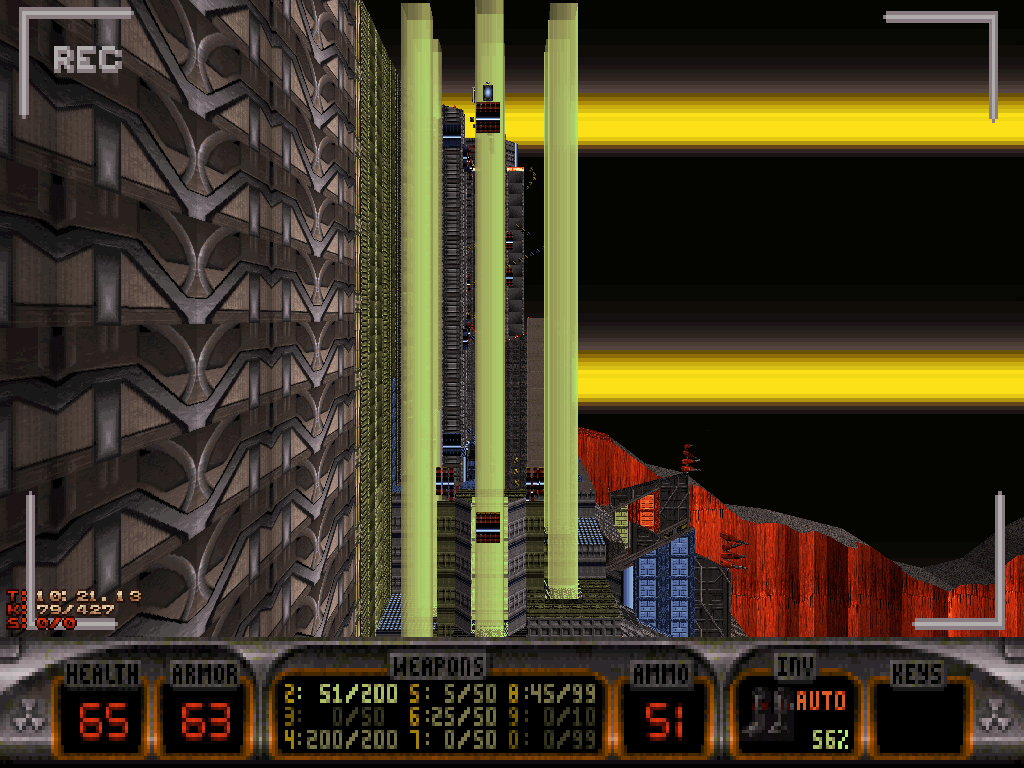
As hinted at by the nearby security camera screen, flipping it will explode the central walls of the underwater network of tunnels around the fuel tank, which is situated just below.
Now, Duke can just drop off the edge and trust the light once more into the pit of green fluid, then swim to the newly-revealed location in order to collect the blue key (whilst keeping an eye on the crusher, above).
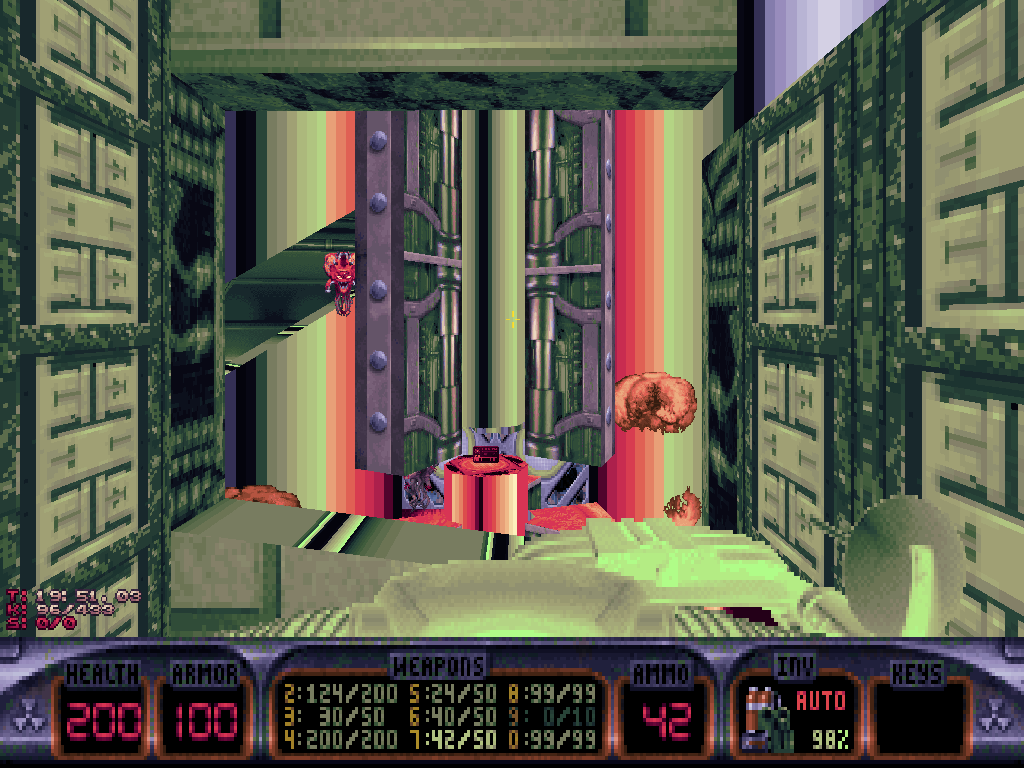
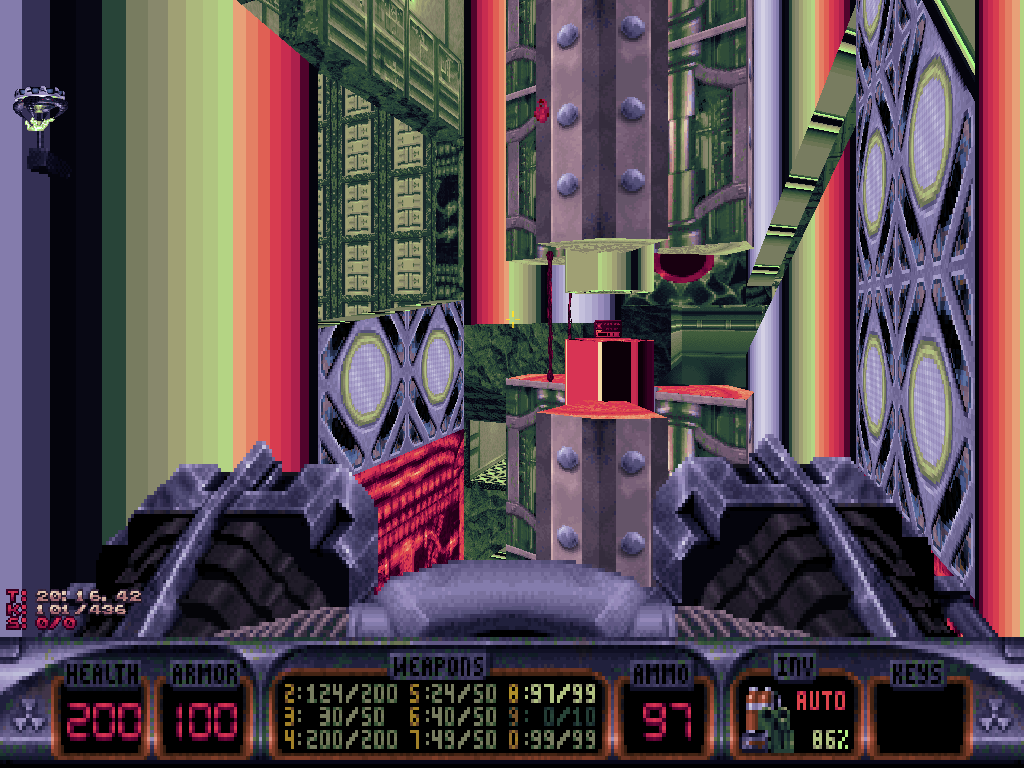
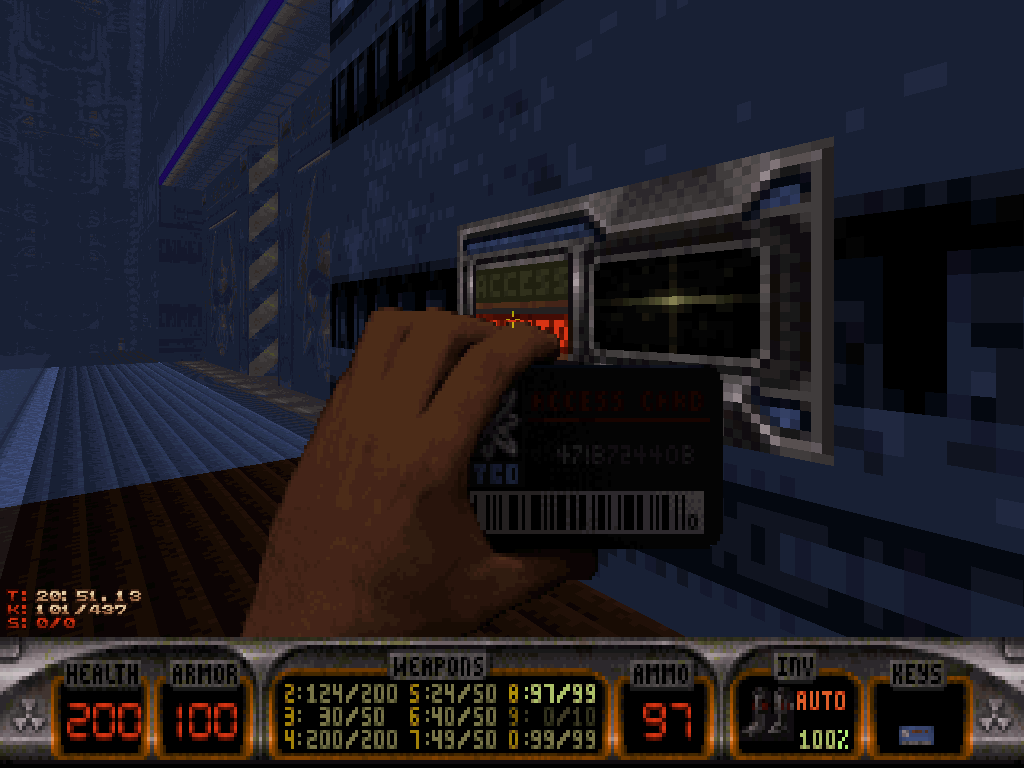
After he's grabbed the blue key, Duke can come back to the surface and then go unlock the main entrance into the building any time.
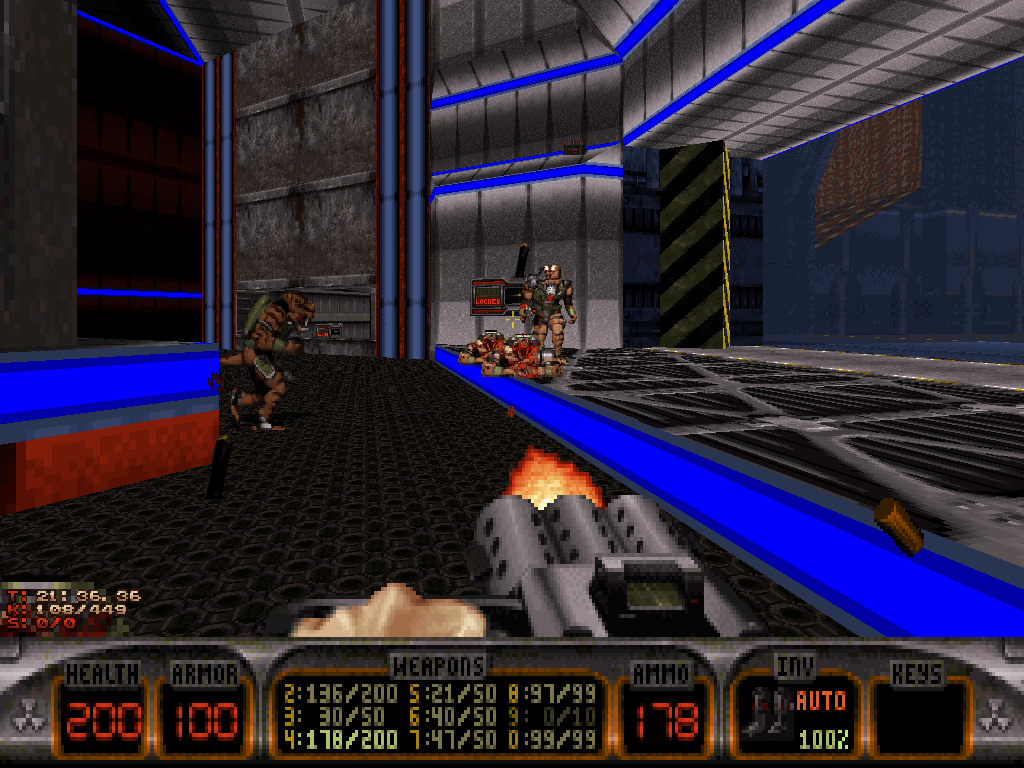
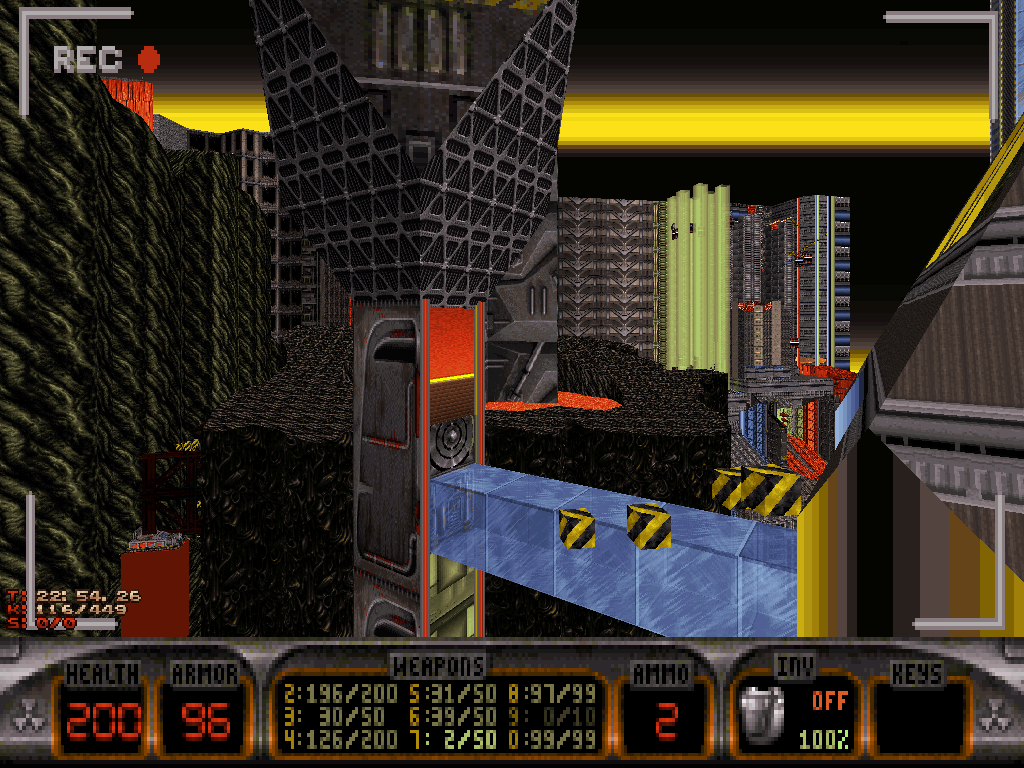
There, he shall realize that further progress is locked again, this time by the means of a forcefield that is controlled by the red key lock; but he also will be rewarded with extra items, as well as a security camera screen which hints at various destinations around the map.
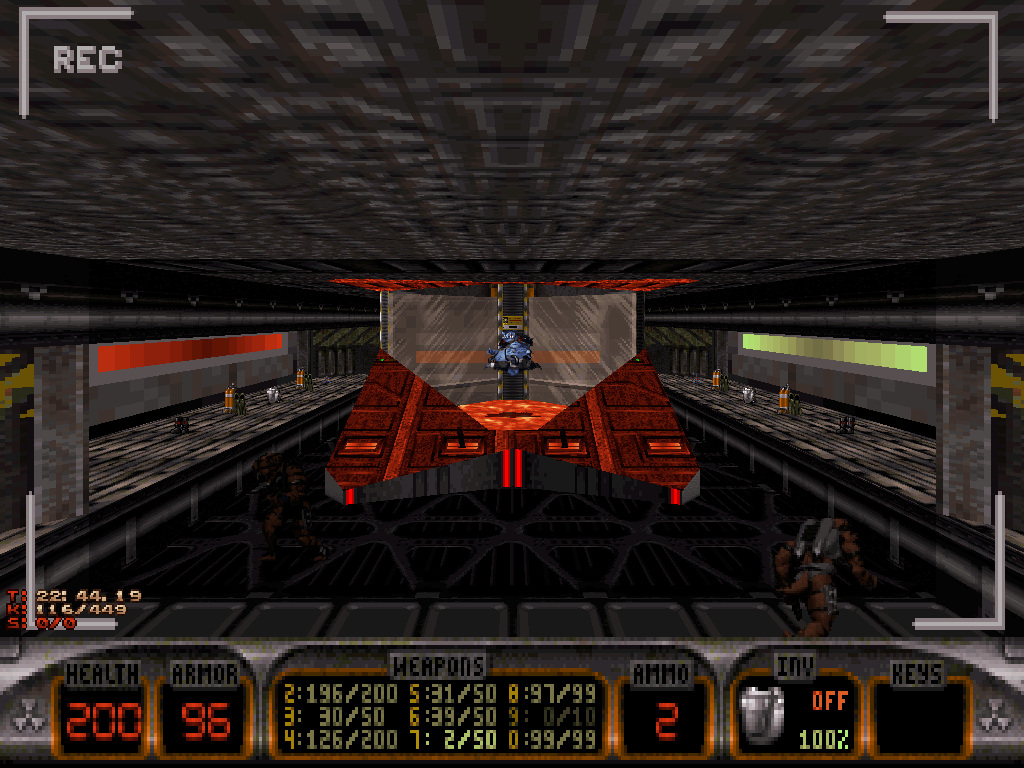
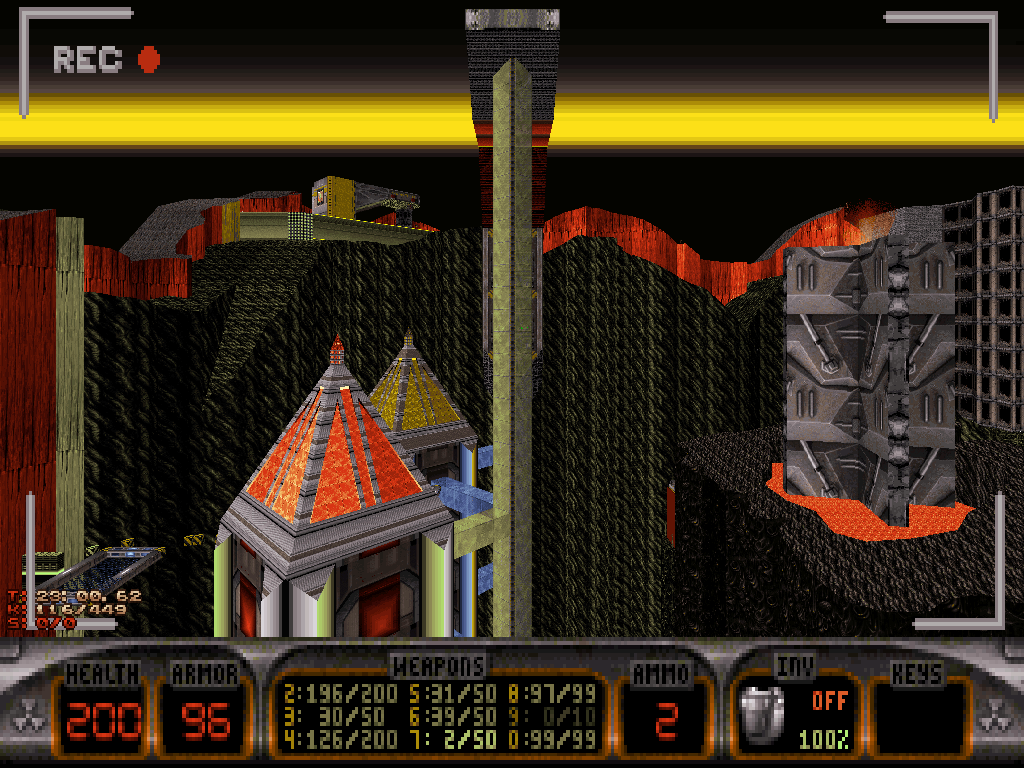
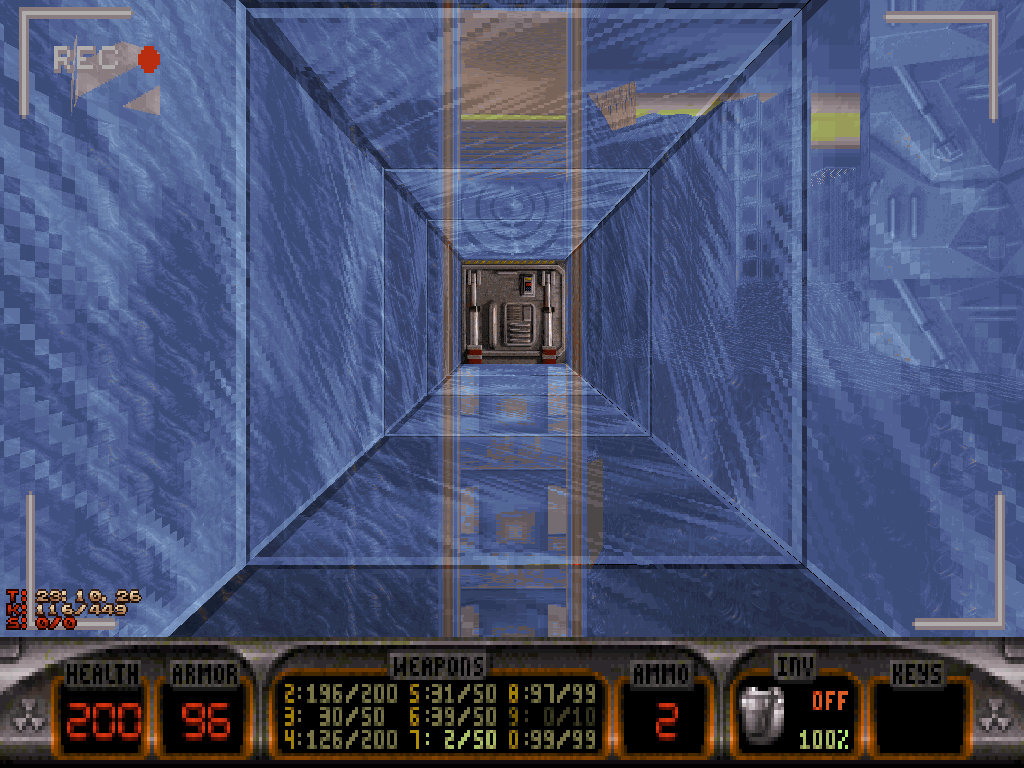
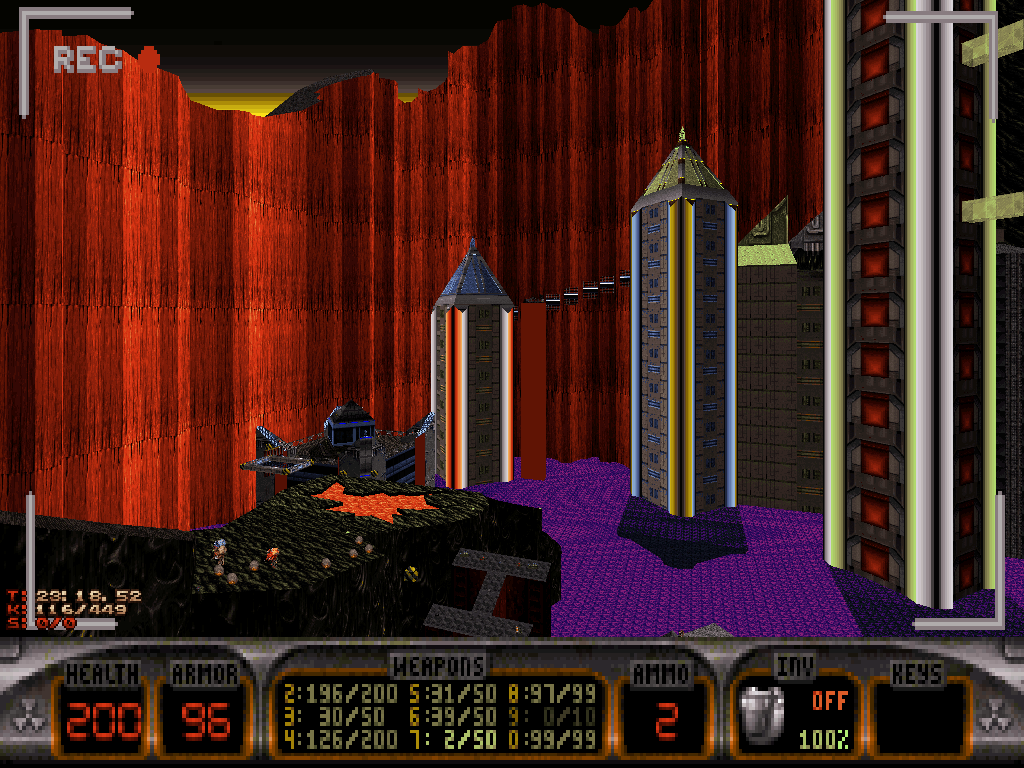
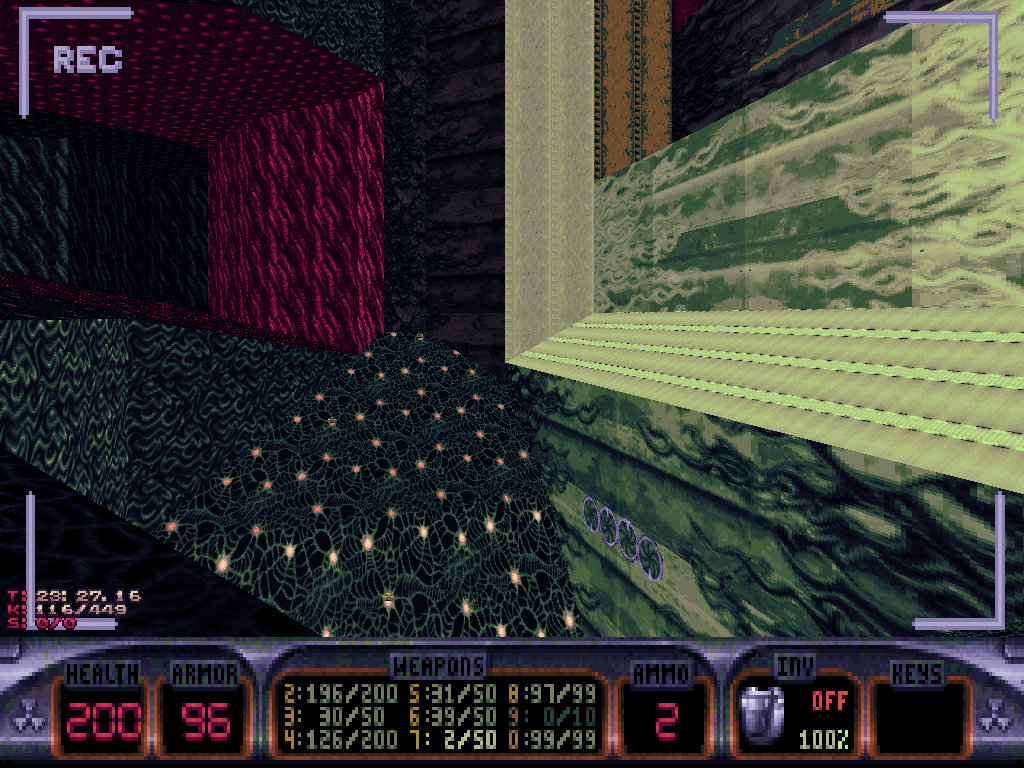
In one of the camera angles, the yellow key appears to be the next objective for Duke, but it's situated on top of a Fat Commander, inside a command center somewhere, itself floating above a lava pit.
The various other angles emphasize on (and around) a specific one of the several pointy towers that punctuate the eastern region of the level, bathing in purple lava; in fact, they seem to converge towards a particular door. Duke already can reach it by now, either by flying there with the jetpack or via some painfully convoluted platforming involving cliffs, buildings, "Duke Nukem I"-styled blocks and "Duke Nukem II"-styled ships that would be the price to pay for running out of fuel, and he can even pass the door by going through the vent on top, but the elevator on the other side is still locked.
The remaining camera angles are focused on the two lava pits in that same eastern region of the level, and on an underwater zone which features a set of alien switches. Those should be Duke's immediate next destination, since activating the correct combination will unlock the aforementioned elevator in the tower.
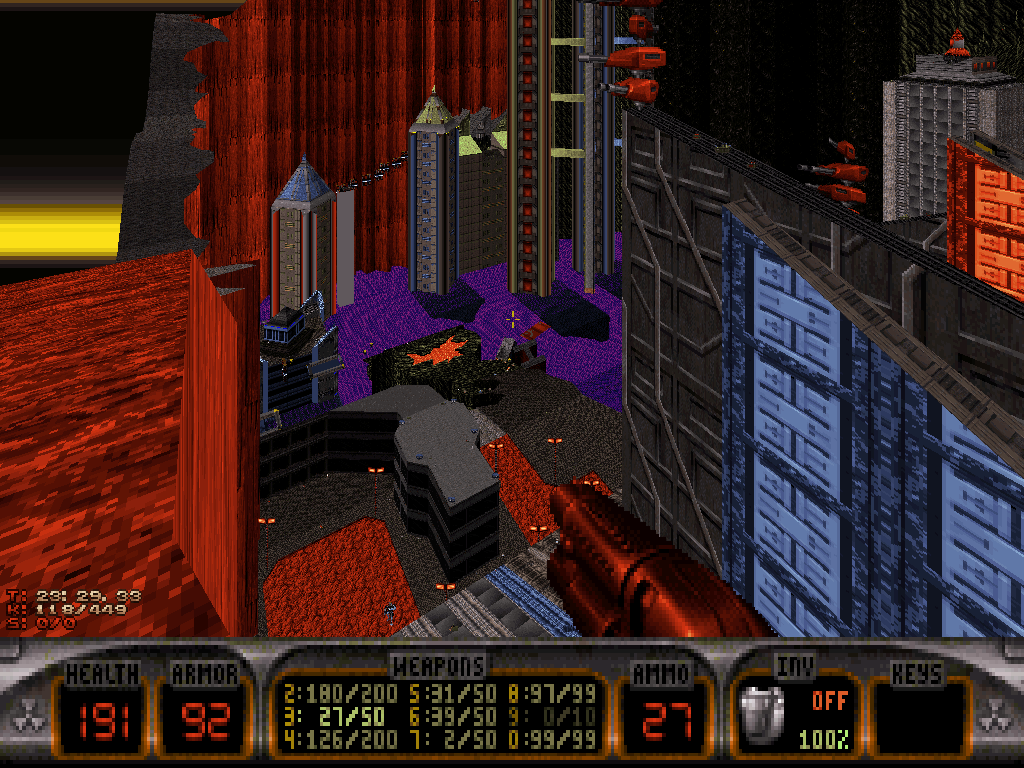
In order to reach the place, Duke shall either scale or fly down the colossal building now, and leave the starting area to make it to either one of the lava pits. The most convenient one is just down the building, on Duke's side of the toxic purple lava trench and so unless he feels like walking around the map by using the cliffs or flying across despite the damage to get to the other pit, he would be wise to enter this first one.
That isn't to say getting there shall be especially easy, since the area is very strongly and densely populated.
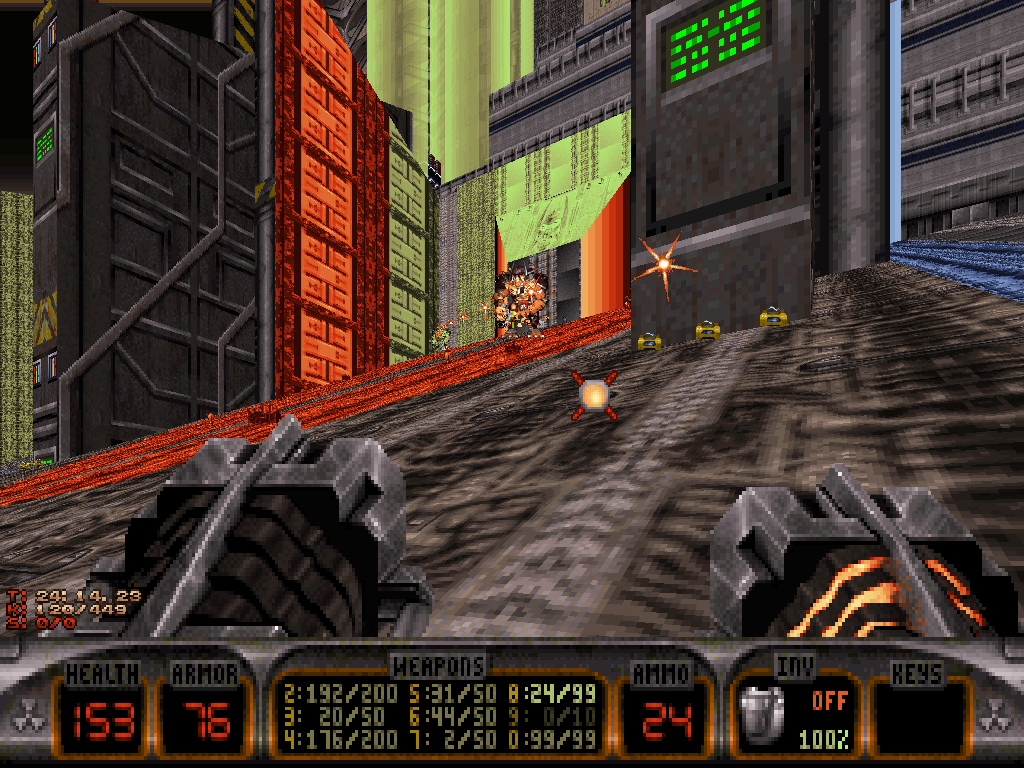
Just on the facade of the building, a bunch of (Sentry- and full-sized) Battlelord types are guarding what looks like a colossal defense weapon that is integrated in the construction, and pointed at the skies. They are also trying to protect a bunch of Atomic Healths and jetpack refills, plus a considerable ammo cache which just might come in handy within then next handful of seconds, once further down.
At the bottom of the immense building and across the distance to the lava pit span the remains of strangely familiar-looking architecture that looks like it belongs to a completely different civilization or era compared to all the more technical structures around.
The anachronism happens to serve as training grounds for a whole bunch of Assault Trooper recruits being coached by a bunch of minibosses: on the Come Get Some difficulty setting, that is one Ice Cold Cycloid Sentry with two Cycoid Sentries (one nearby, one at a distance), all under supervision from the top of the central building courtesy of one Ice Cold Battlelord Sentry plus several U.T.E.R.U.S. rocket turrets - but those easily can be sniped from distance, and taken out early.
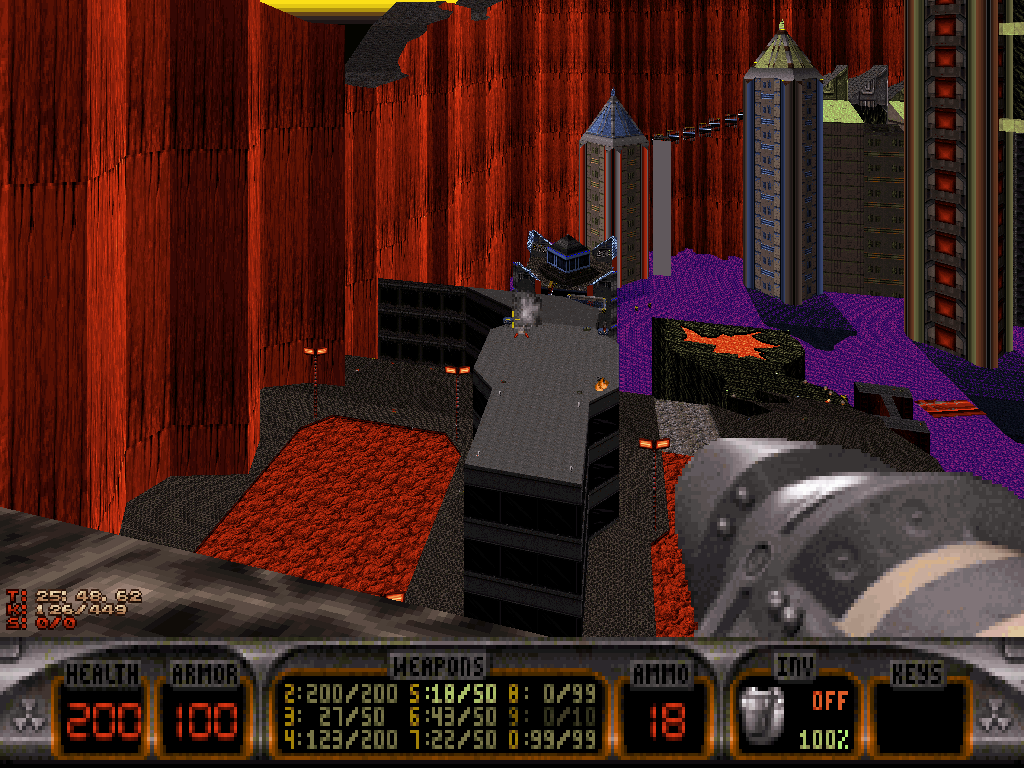
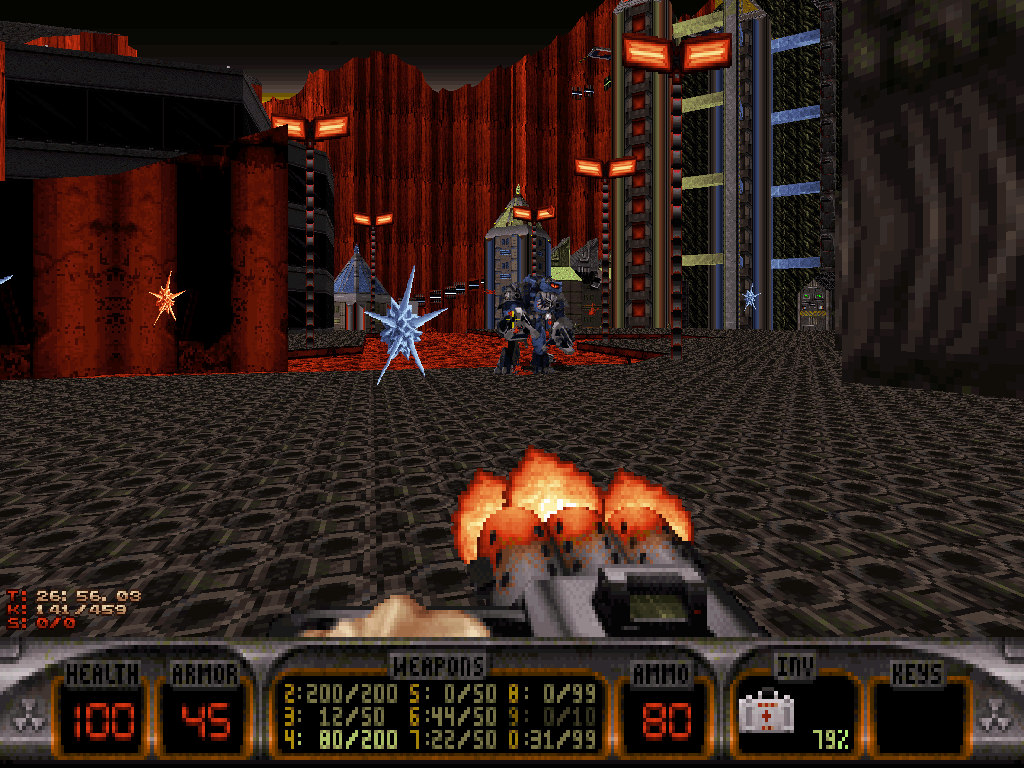
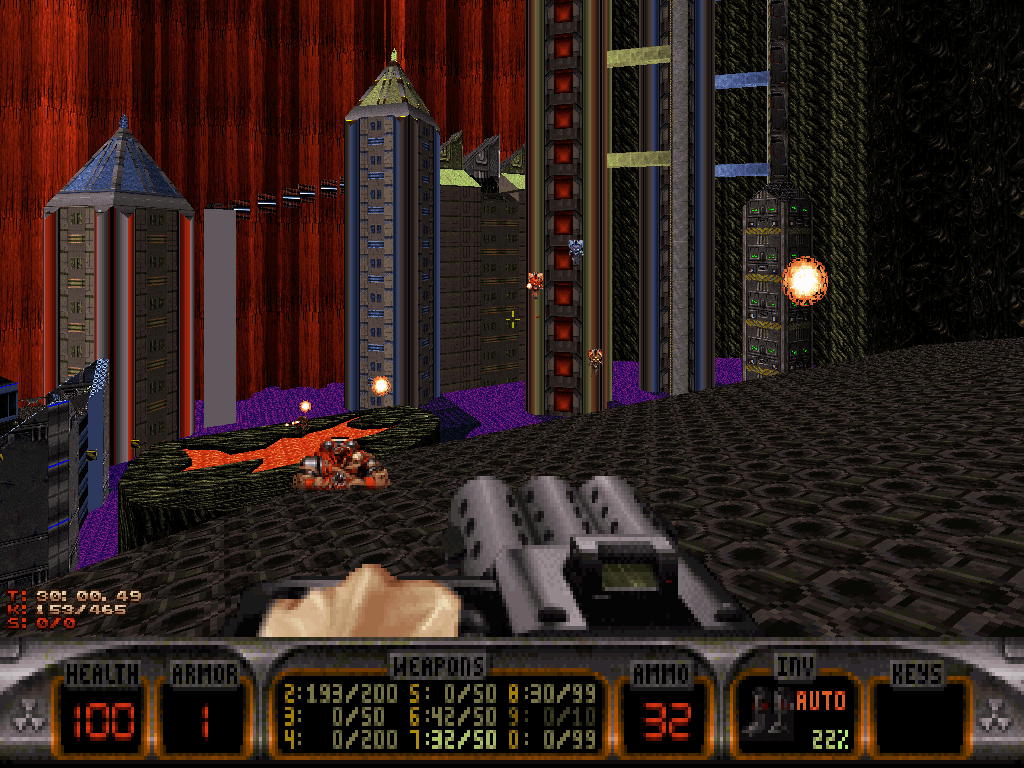
Once Duke's in town, the marching of the bosses will shake the ground and cause most of the terrain to deform. While he handles business, he probably should be wary of all the surrounding hazards, including the other enemies in the vicinity (which overly generous movement might attract), and the distant Cycoid Sentry were Duke to ever step in reach of its devastating qi energy balls.
That guy also is best dealt with from distance, and then finally Duke shall have conquered access to the lava pit.
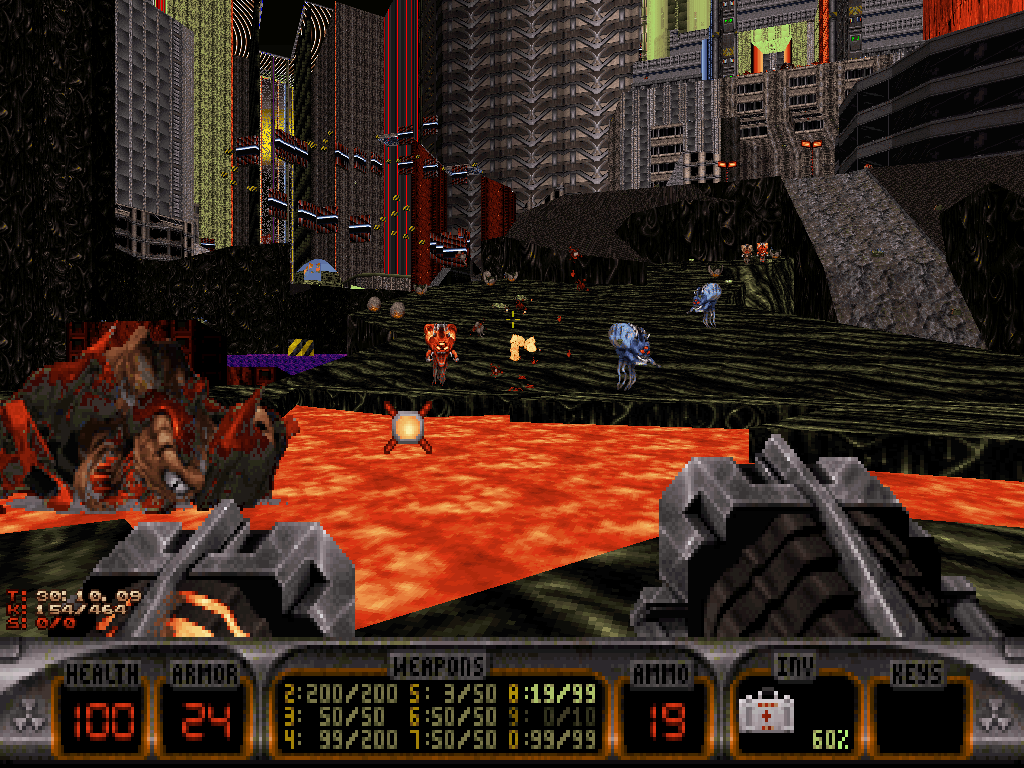
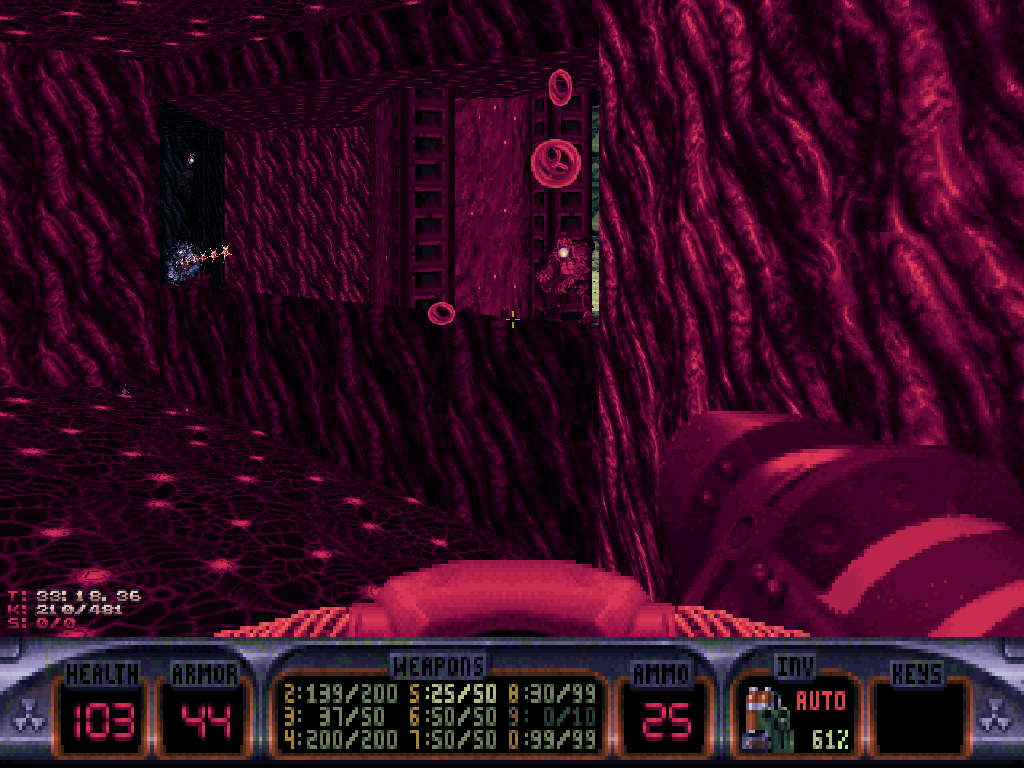
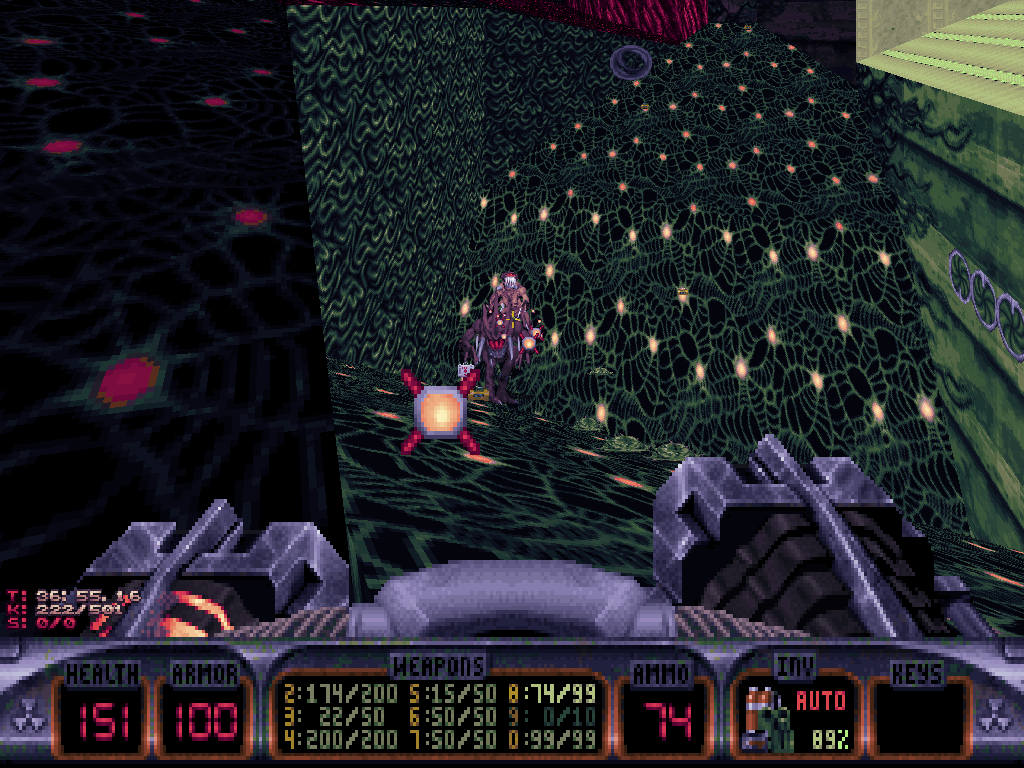
Our hero (?) shall experience baptism by fire, and straight up dip into the lava, but preferably after finding new boots and scuba gear.
It turns out, both lava pits are connected to one another via one long underwater intestine Duke can swim up to reveal that at the center is the cave with the alien switches - plus a whole bunch of Octabrains, Battlelord Sentries, Protozoid Slimer eggs and then a couple of Alien Queen, Jr. guardians.
Obviously, Duke would be better off sanitizing the entire cave before he can safely concentrate on the switches.
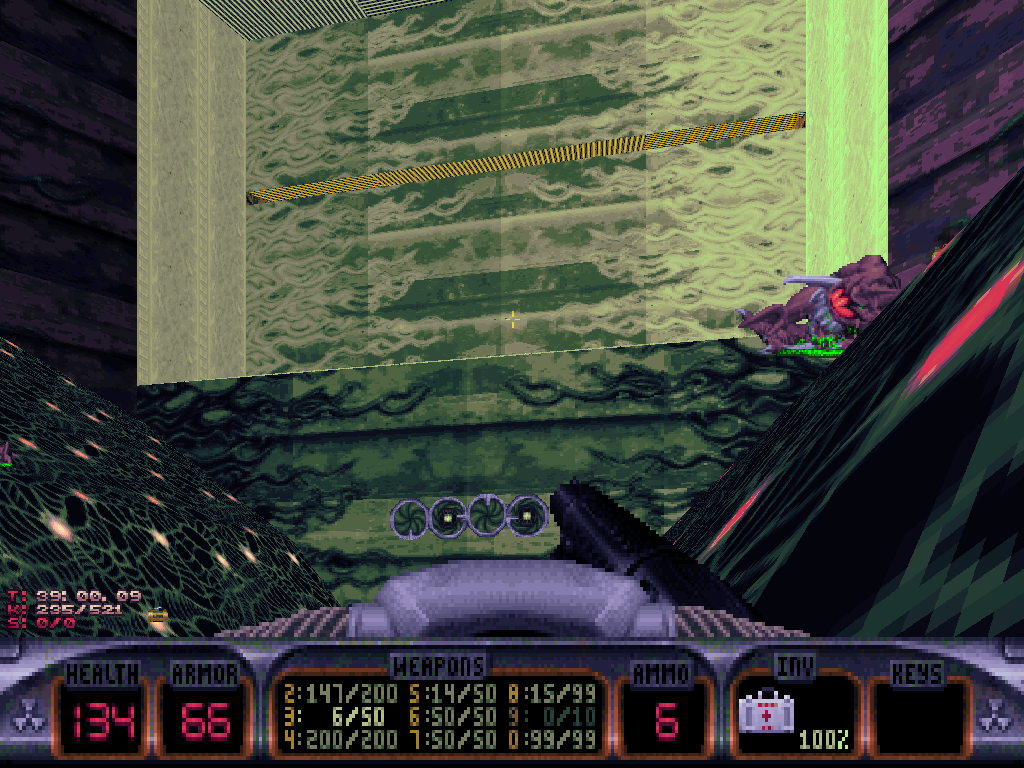
After he's done so and then cracked the correct switch combo, the elevator in the pointy tower will be unlocked, as hinted at by the security camera screen Duke may run into if he keeps going up the intestine and survives the set of central crushing pistons.
Swimming all the way across and up shall lead Duke to the bottom of the second lava pit eventually, on the other side of the purple lava trench; it is inhabited by all kinds of Octabrains, but that is no matter the Devastator can't scatter.
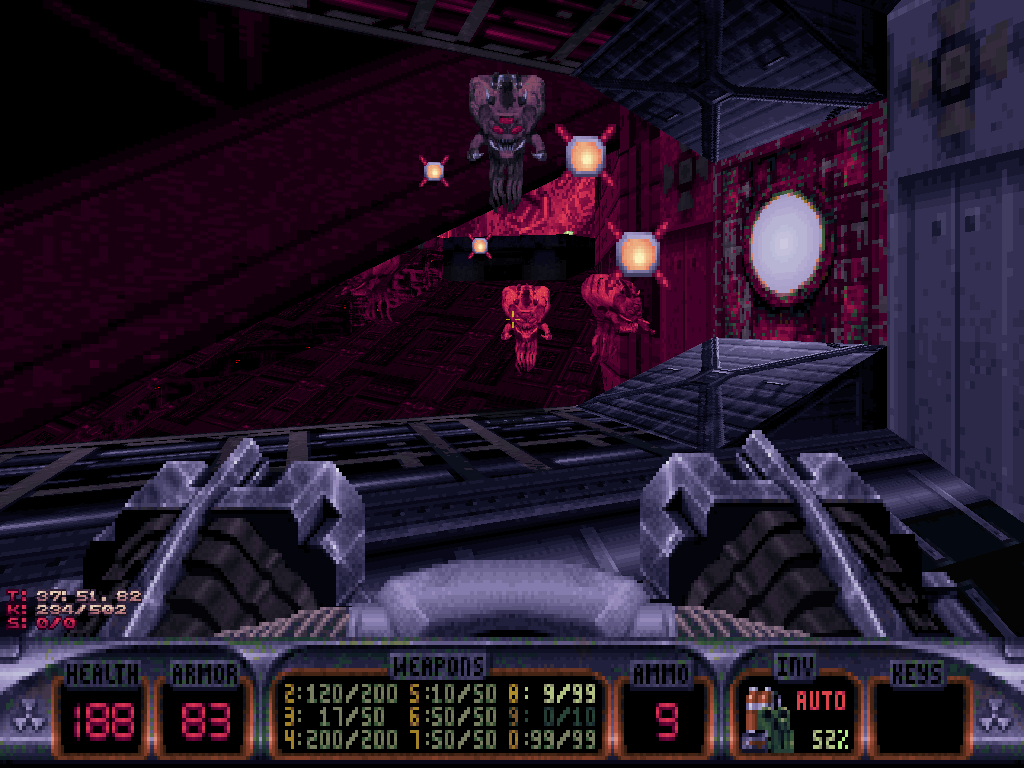
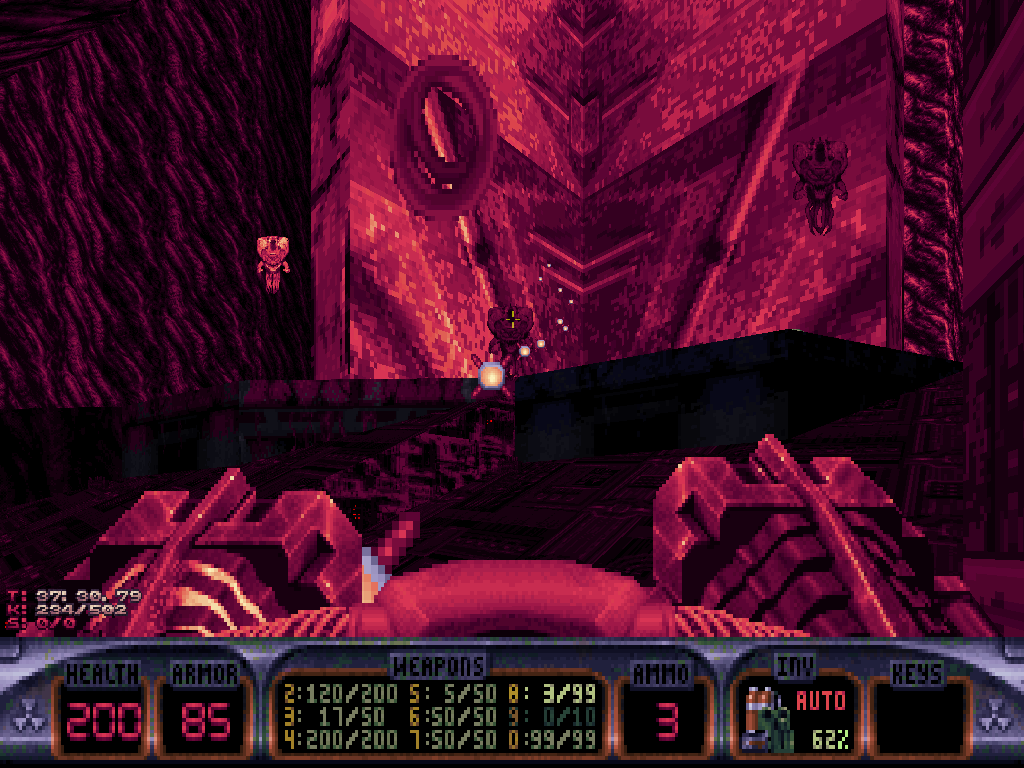
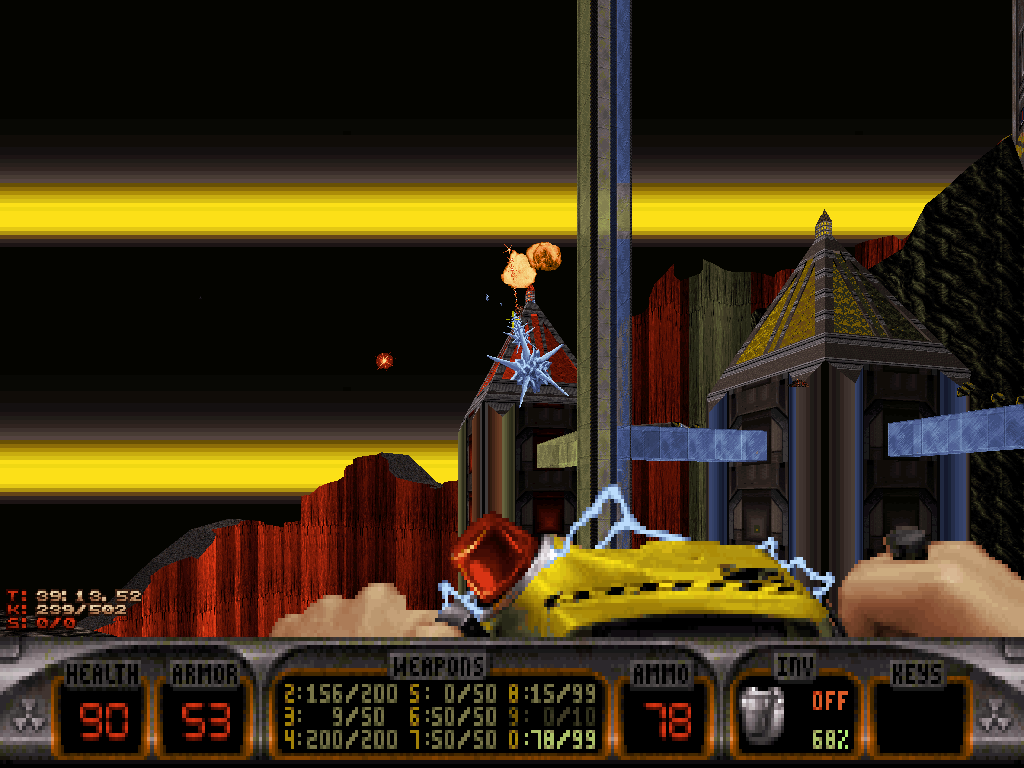
Emerging out of the second lava pit, Duke shall find himself on top of the alien mass that is adjacent to the pointy towers, with the giant, spinning cog; and also, face-to-face with a couple of different Battlelord Sentries trying to defend them.
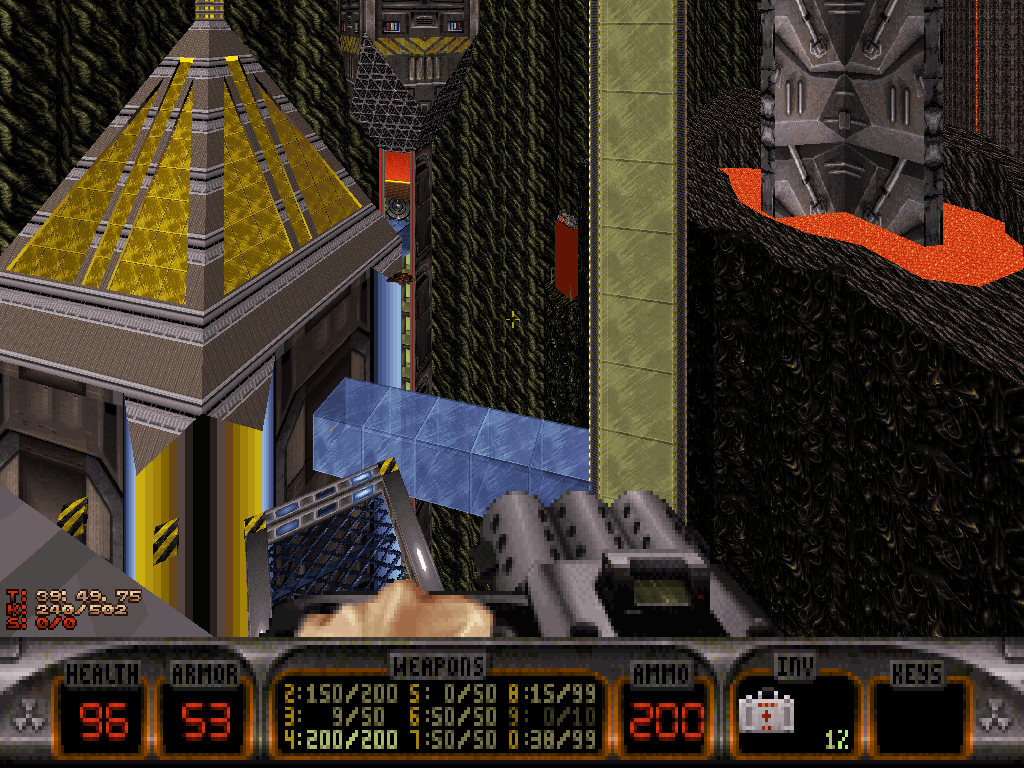
Once they're eliminated, Duke is free to fly (or very tediously platform) over to the door with the now functional elevator without a threat but the lake of purple lava, below. Even just hovering over its toxic fumes will harm Duke (or ruin his boots) but thankfully, standing on top of a platform will block them.
Without a jetpack at all, a viable route would be to trek around the alien mass until its very tip, past the giant drill in the northwestern corner of the level; from there, after he's made sure he's stocked up on health, Duke can drop down and onto the factory buildings below; and then, from that point on, start navigating the various "Duke Nukem II"-styled ships and platforms all the way up to the rooftops. Realistically however, the entire pedestrian route should never be needed since it is itself peppered with several jetpacks Duke is bound to run into before he completes it (but it does feature its share of items).
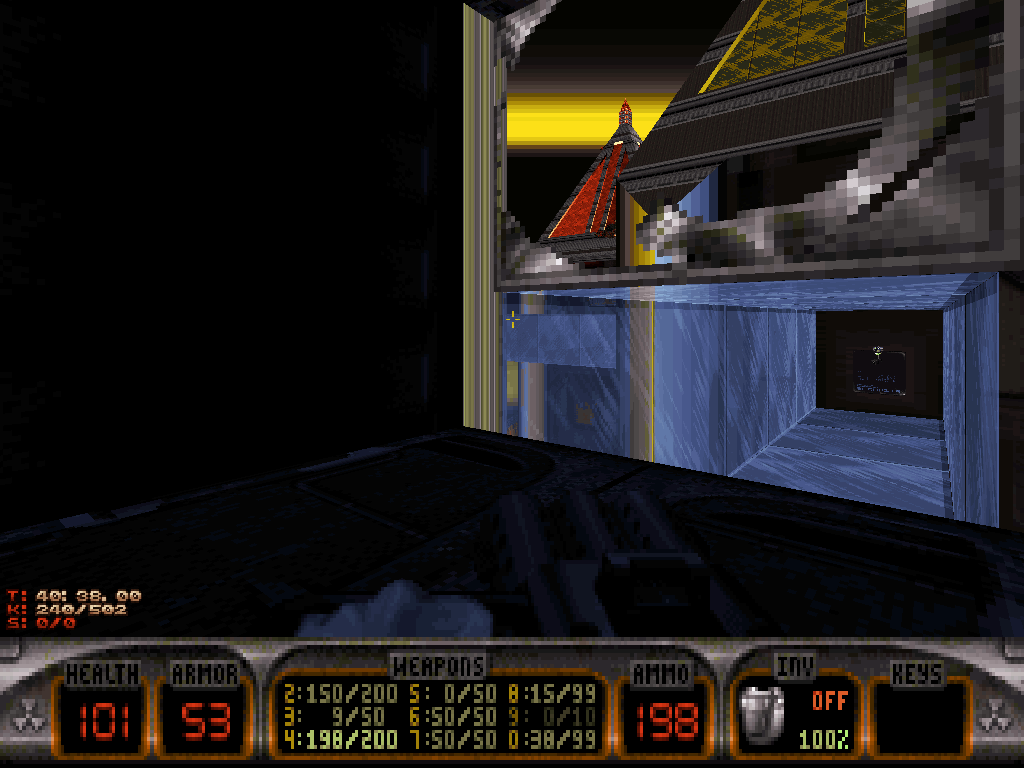
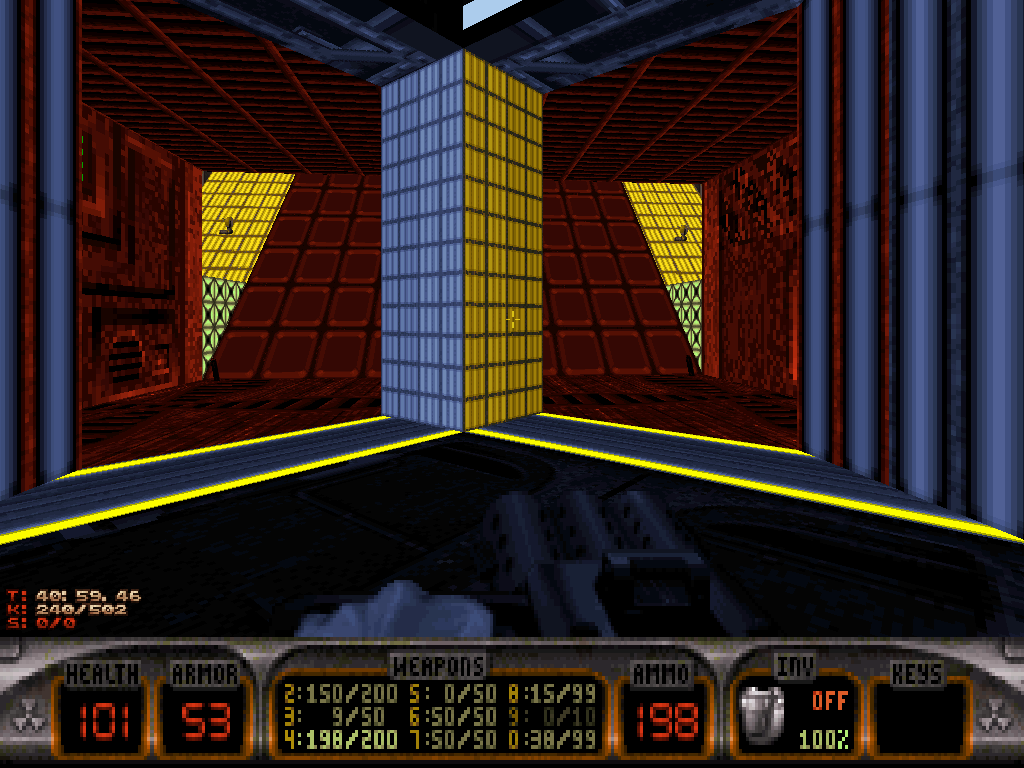
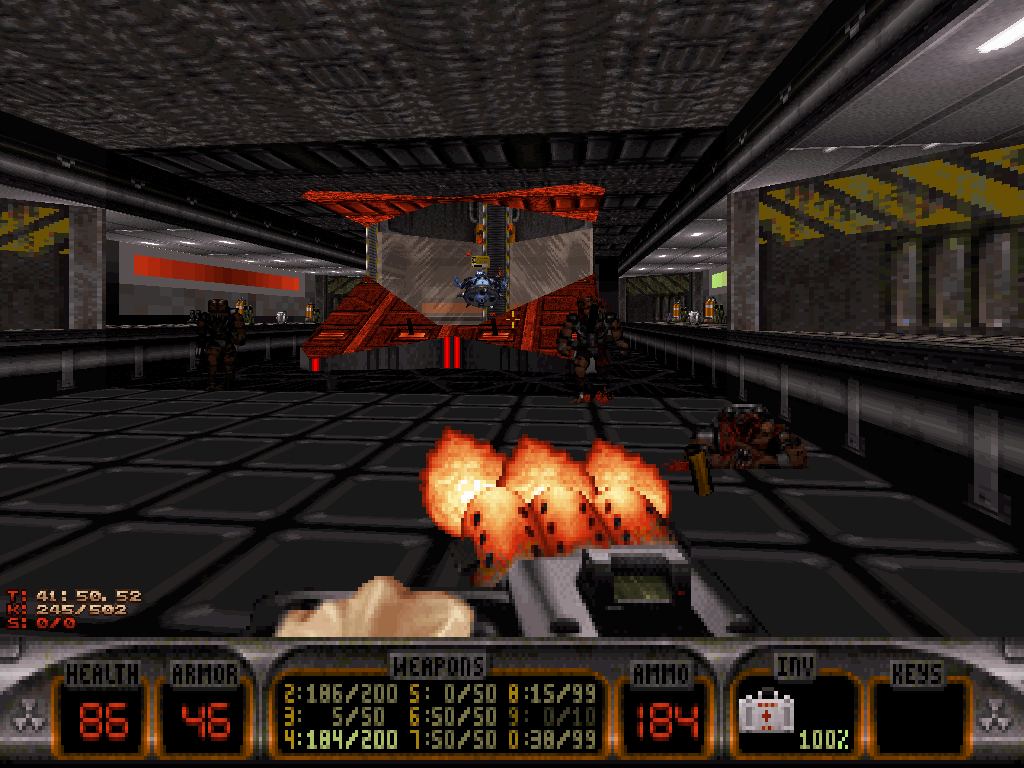
Riding the elevator up shall take Duke to the control room he had seen on security footage earlier, with the Ice Cold Commander holding onto the yellow keycard. It is revealed to be the command center of the giant pump that is at the center of the eastern region of the map, in the dead middle of the purple lava lake.
Upon Duke's approach, the enemy will react by moving and thus dropping the yellow keycard into the vat below, sending it down the pump.
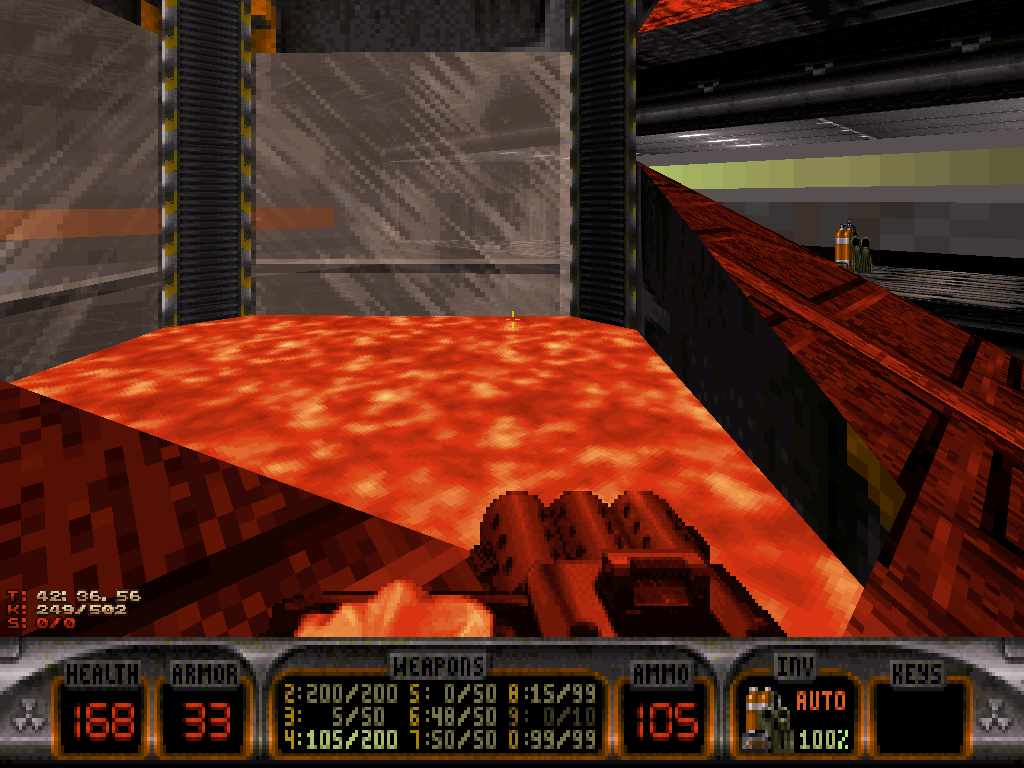
After he's cleaned up the room, Duke can use the inventory equipment that is stored on all the shelves to gear up before plunging down the vat; it's one long, slow vertical swim down the pump to go retrieve the keycard, and then back up and so, a Scuba Gear in decent enough condition is a must.
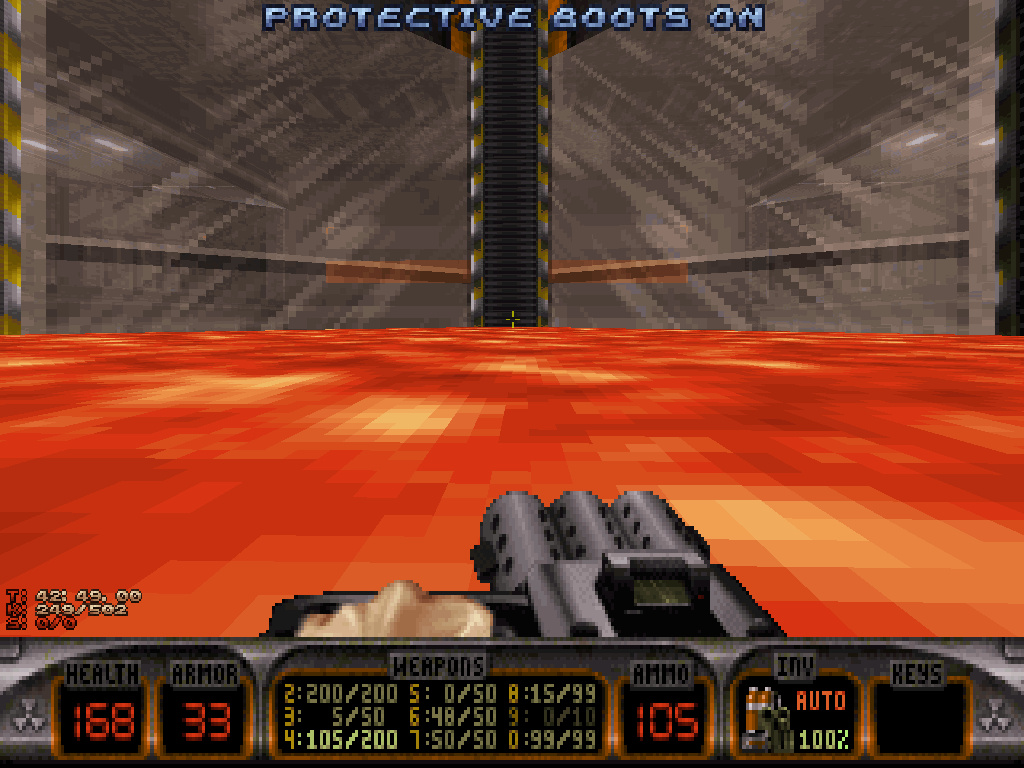
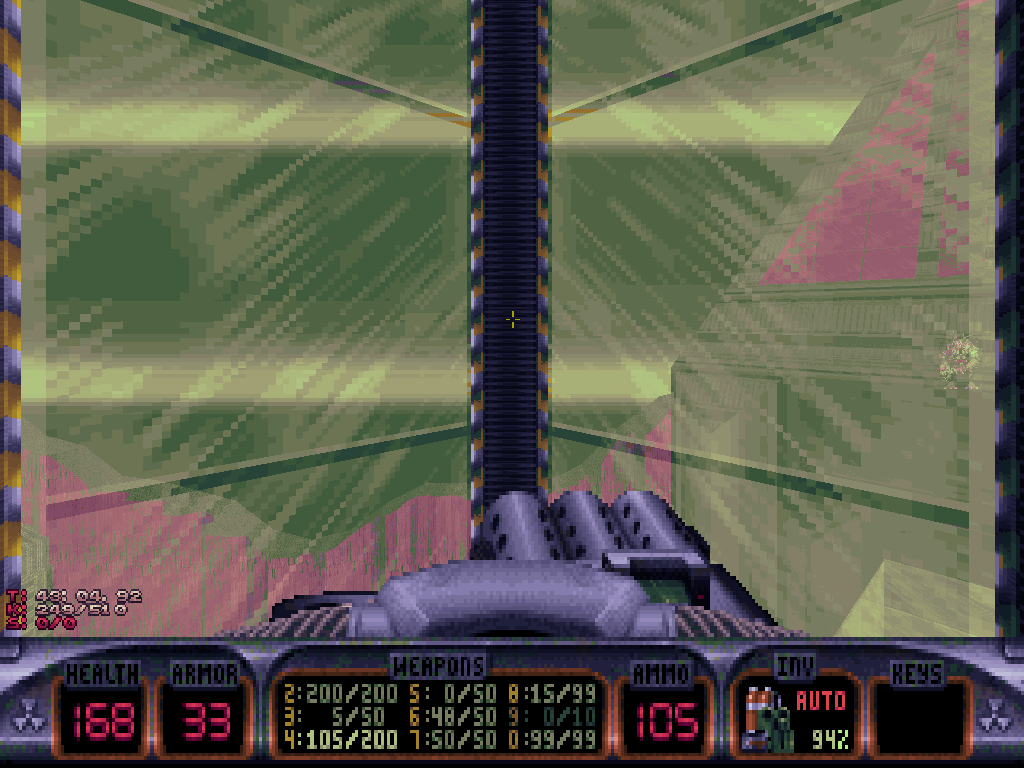
Duke's descent down the pump won't exactly be so quiet, as it becomes apparent more enemies have spawned outside the pump, on top of the various cliffs and towers.
Remaining away from the walls and closer to the center of the pump should suffice for protecting our hero (?) from the possible splash damage from all the mortars the Battlelord Sentries may throw, but, with no way of fighting back just yet, his vertical movement really should be what's most crucial.
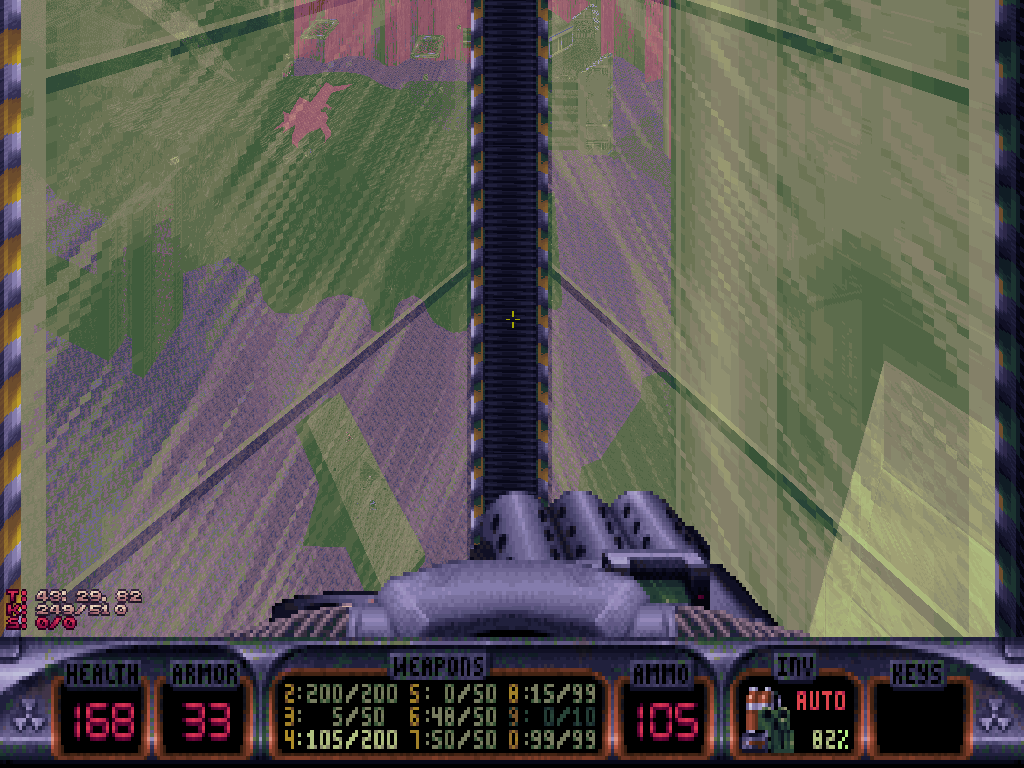
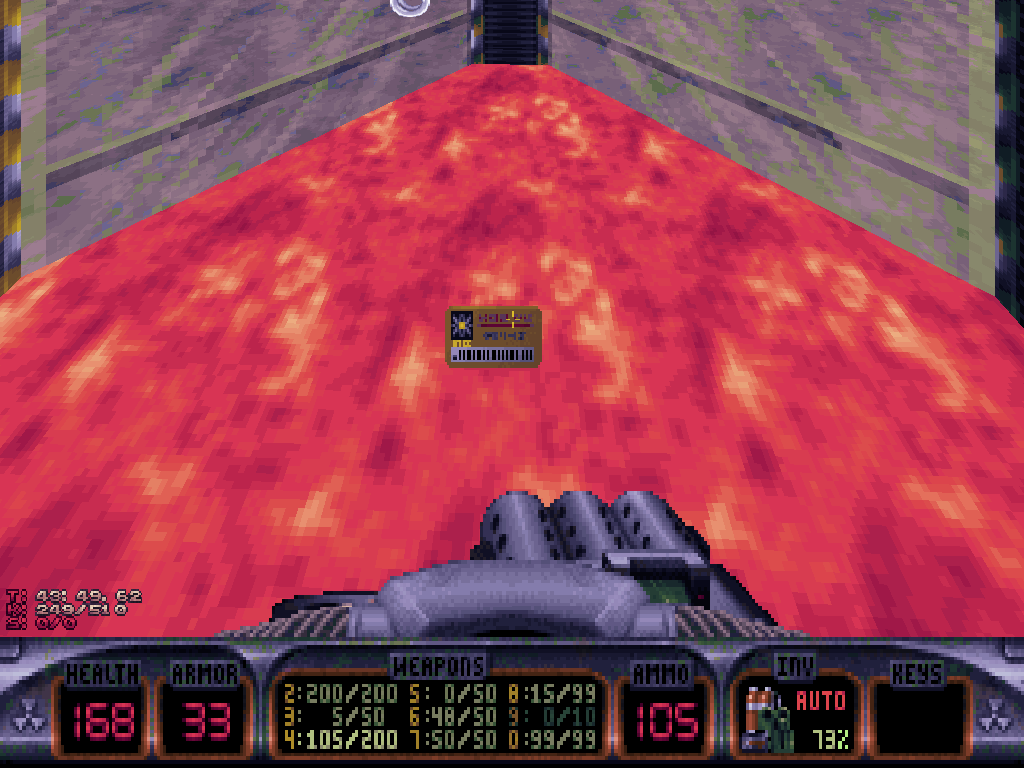
Keeping going down, Duke should reach the yellow keycard eventually, and probably should start swimming back up the pump the moment he's grabbed it, to save up on air; all the while remaining wary of the same Battlelord Sentries, in case they notice him again during his return trip to the surface.
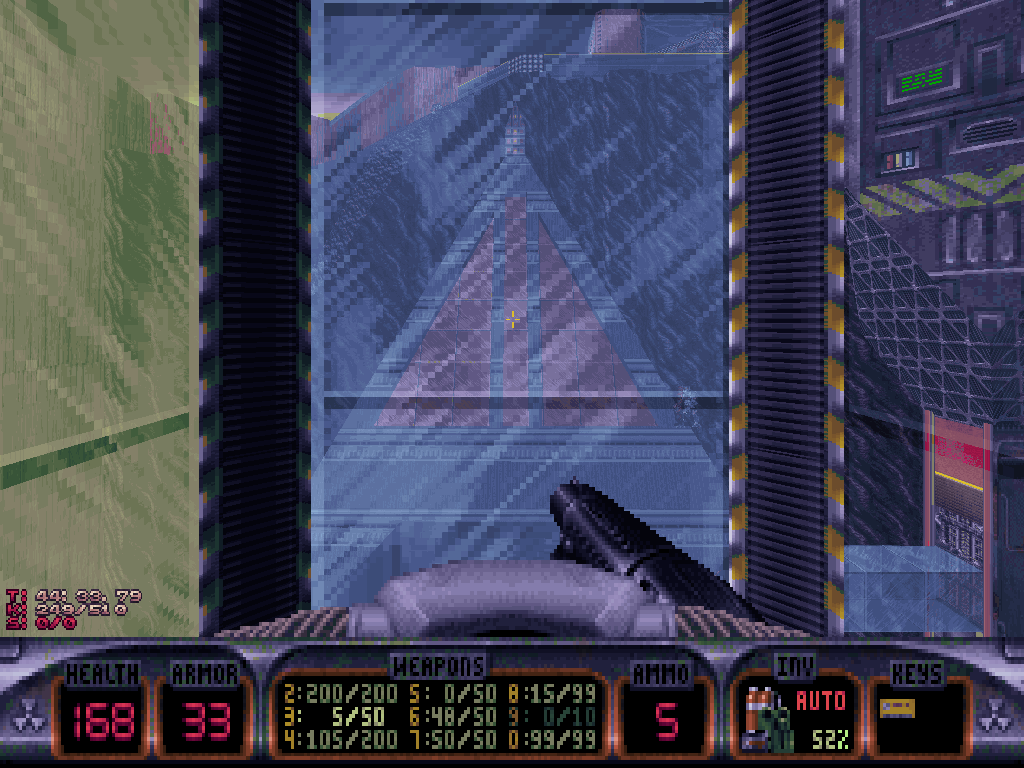
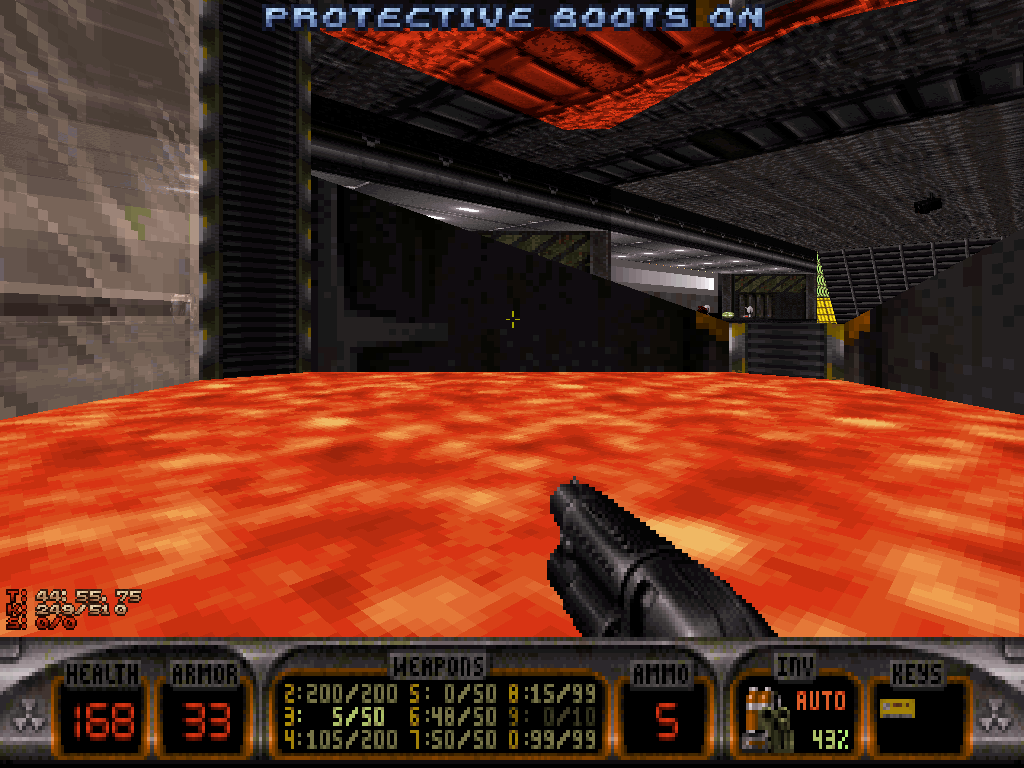
After he's retrieved the yellow key, Duke's next destination of interest would be the gigantic drill that is located in the northeastern corner of the map, towering over the purple lava and alien landmass.
Before he can get there however, it is important that he should take the time to suppress all the angry Battlelord Sentries as soon as he gets back out in the open, in order to eliminate the bullet hell.
Octabrains may be rising from the lava as well.
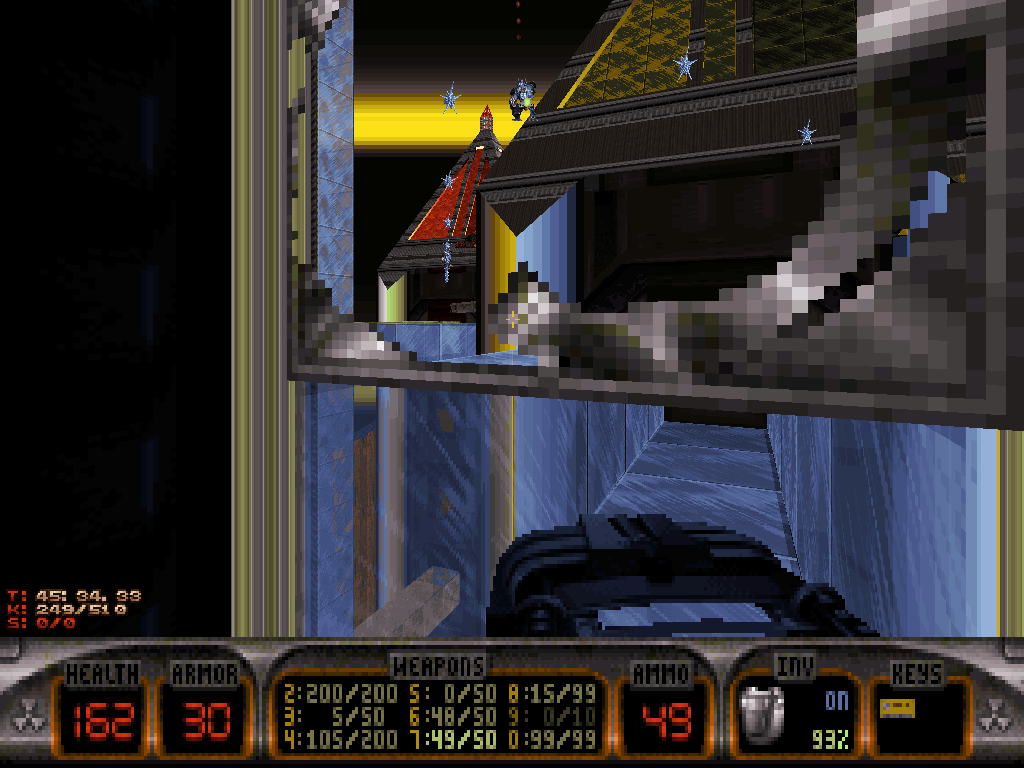
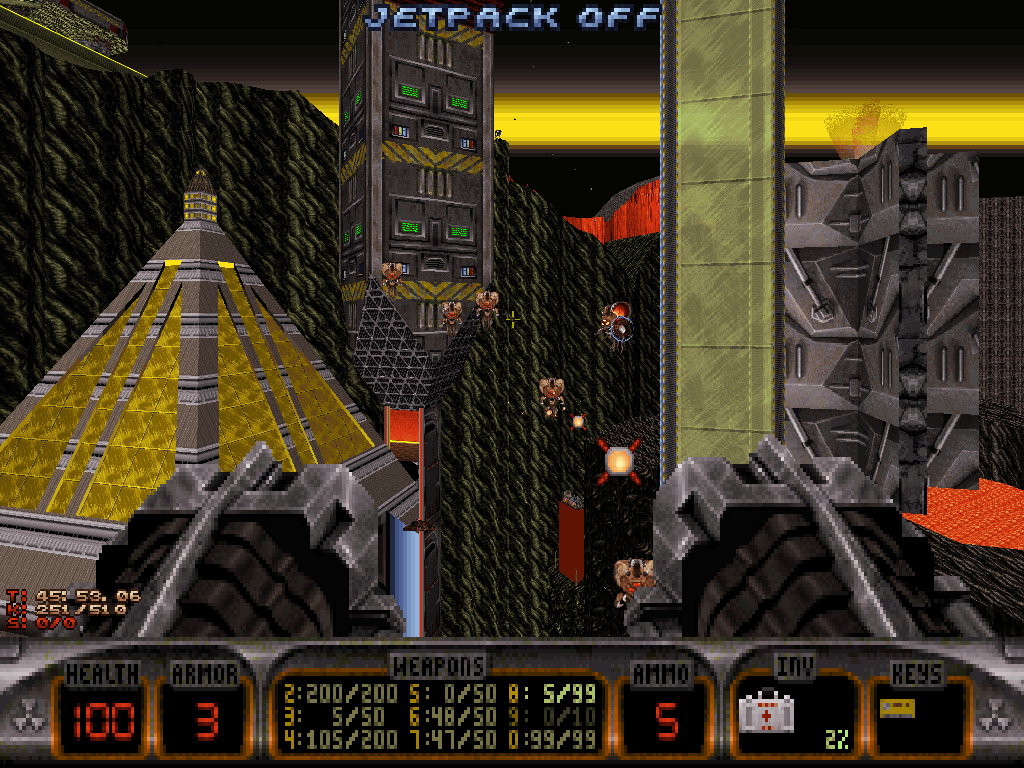
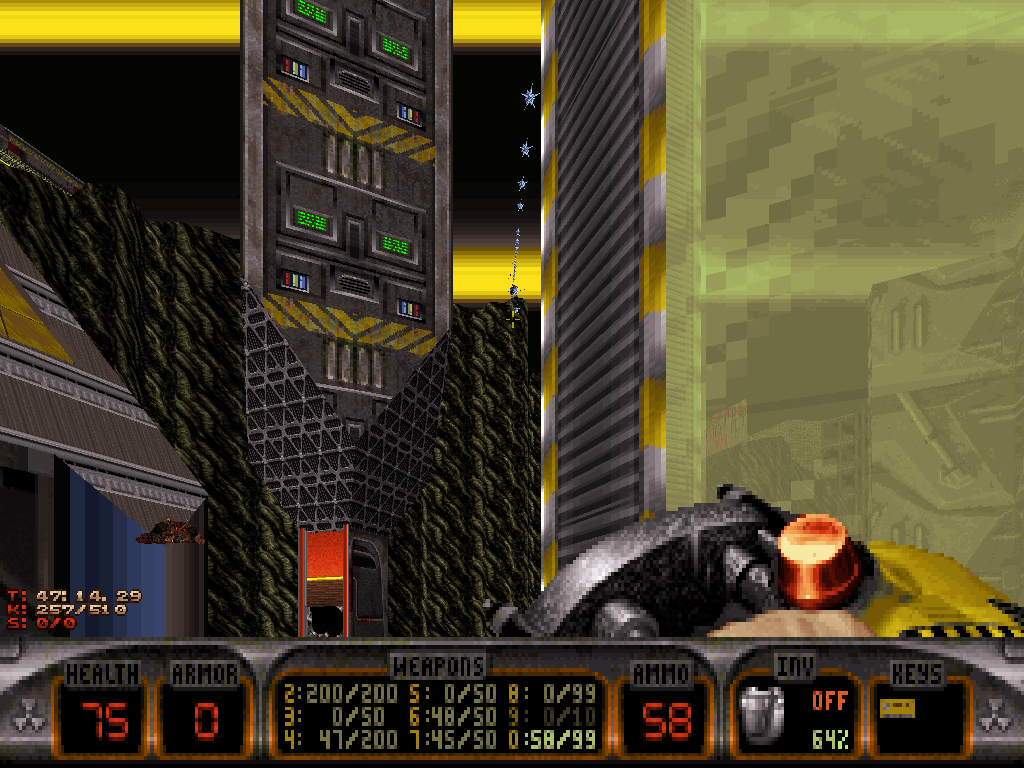
To the big drill too, it's possible to just fly; otherwise, Duke also can choose to go around, explore and disinfect the aforementioned alien landmass, which would be to his advantage as all the brown cliffs support heaps of possibly crucial supplies for facing the welcoming committee that awaits at the big drill.
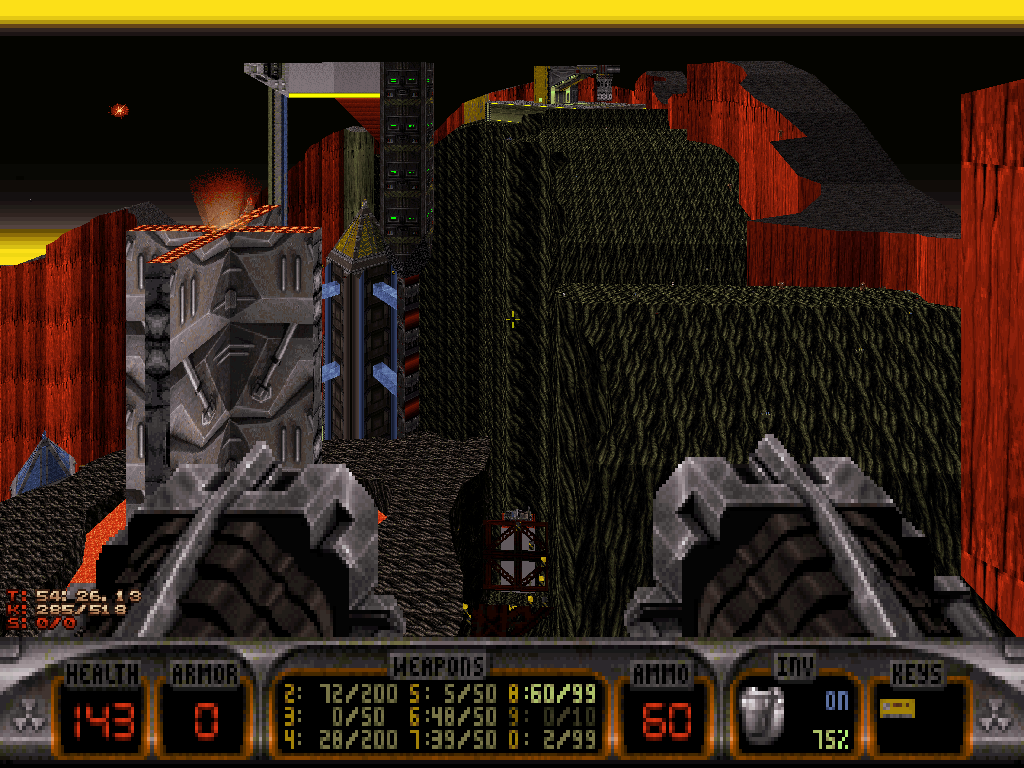
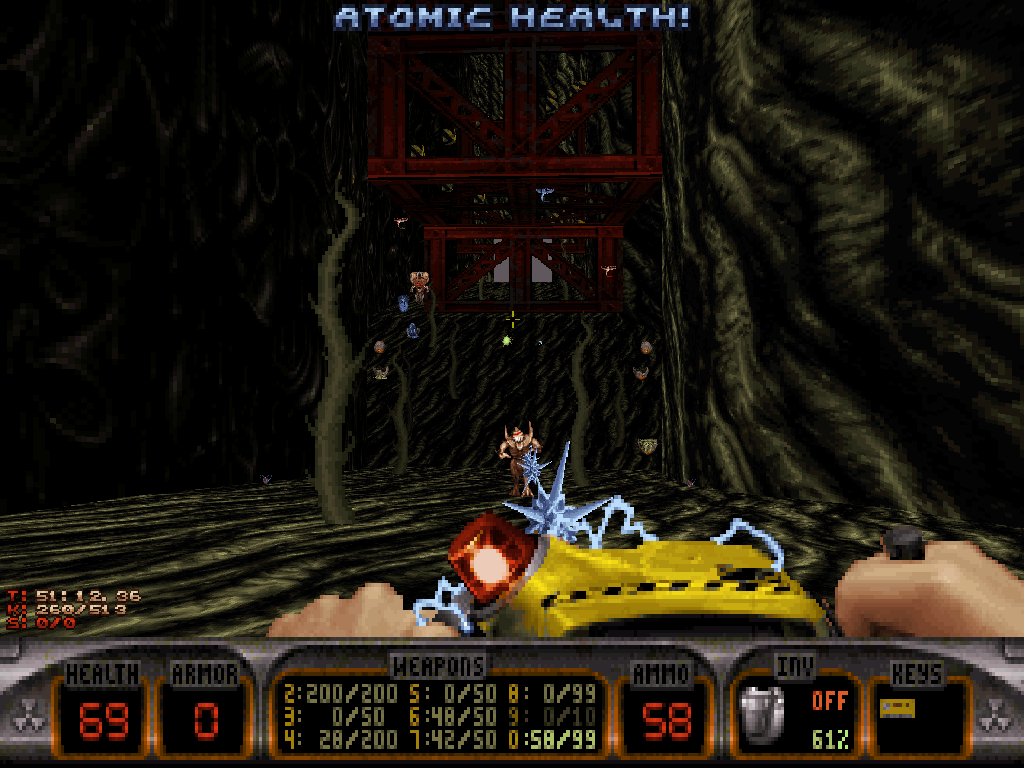
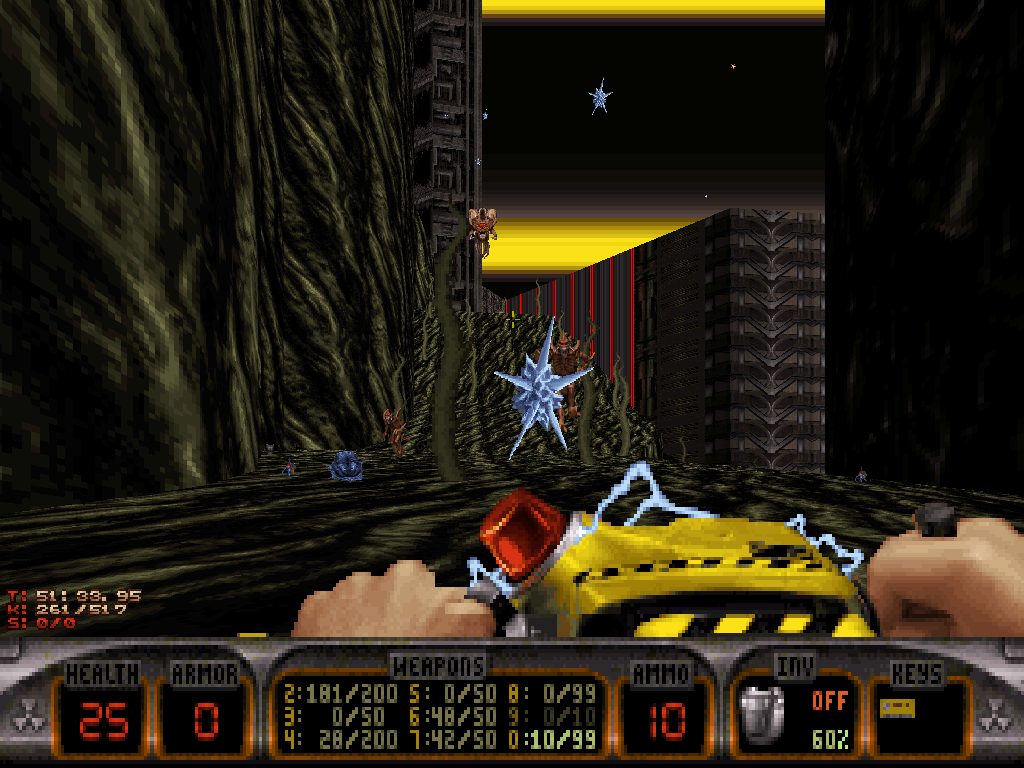
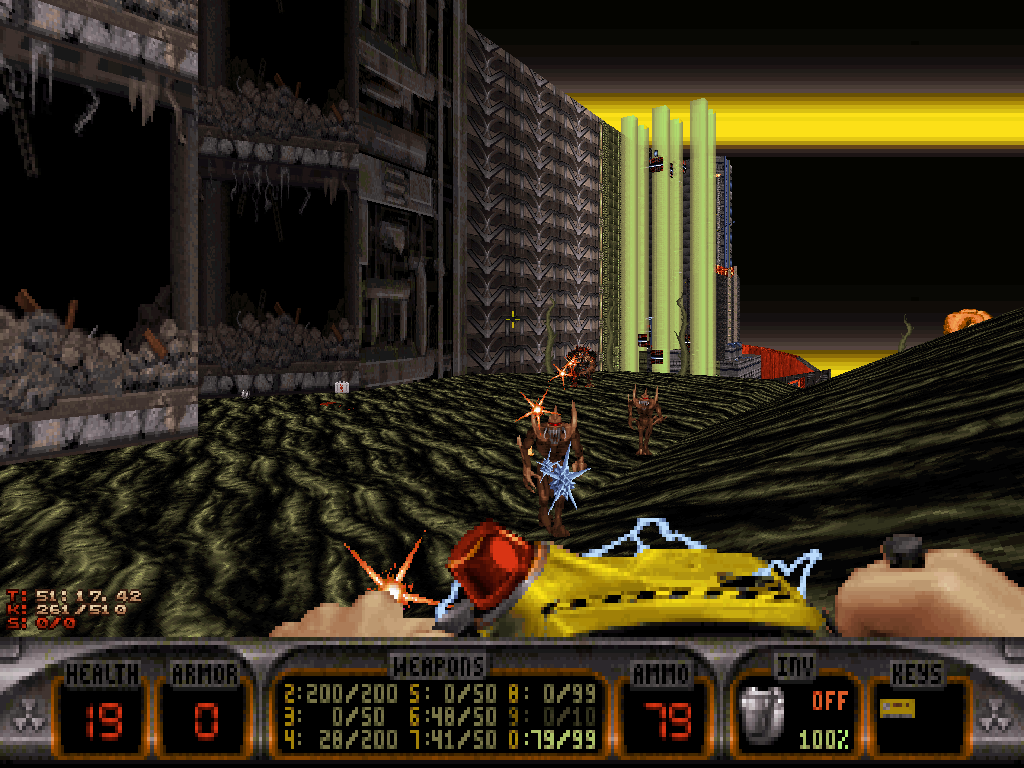
The landmass also is home to colonies of Protector Drones, on the other hand; and, halfway through his run through the cliffs, Duke may catch the wrath of a local Madlad Overlord, were he to get too close to the most important item caches.
Such an opponent would need to be disposed of as soon as possible, or it will chase Duke all the way to the drill to try and stomp him.
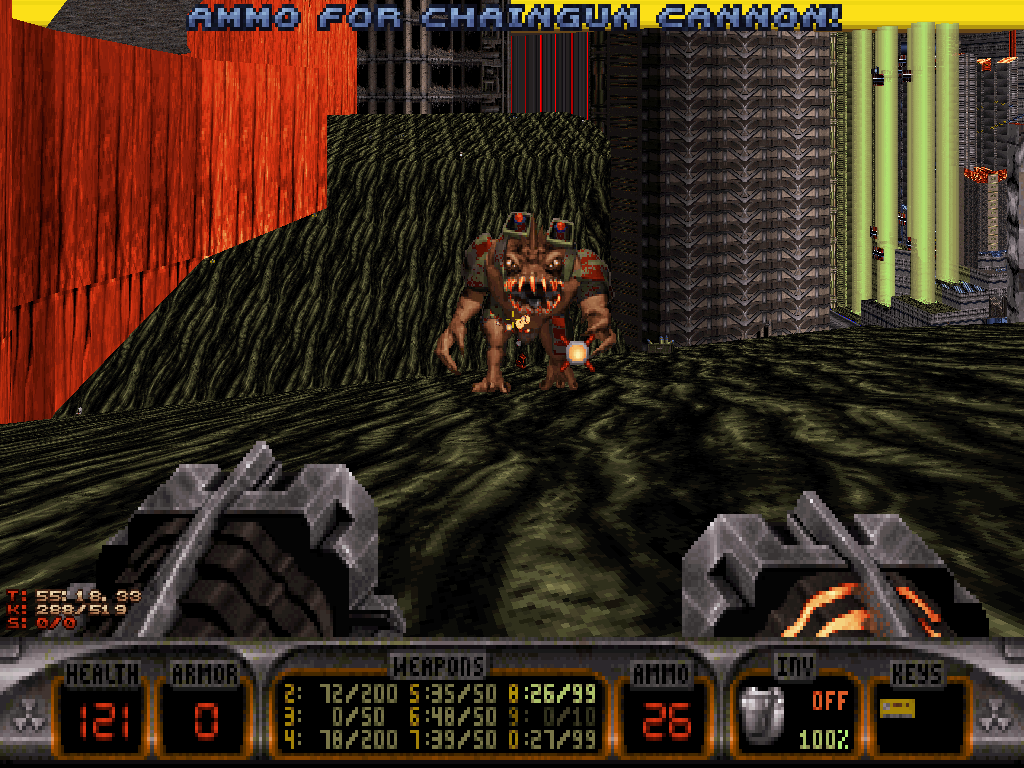
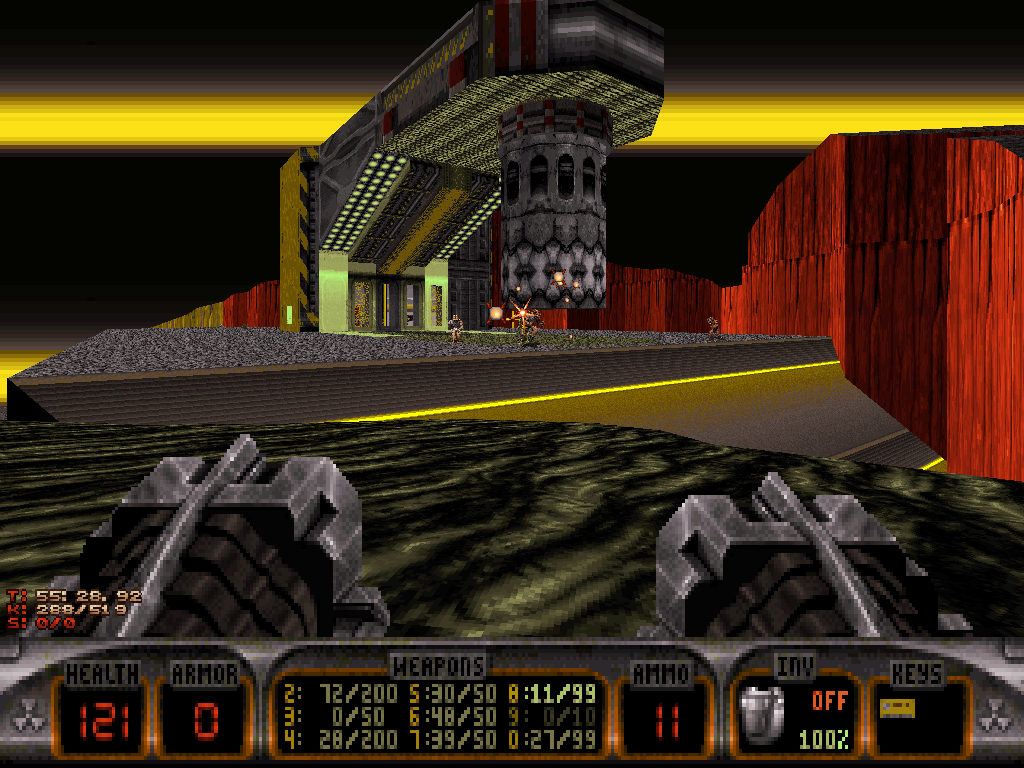
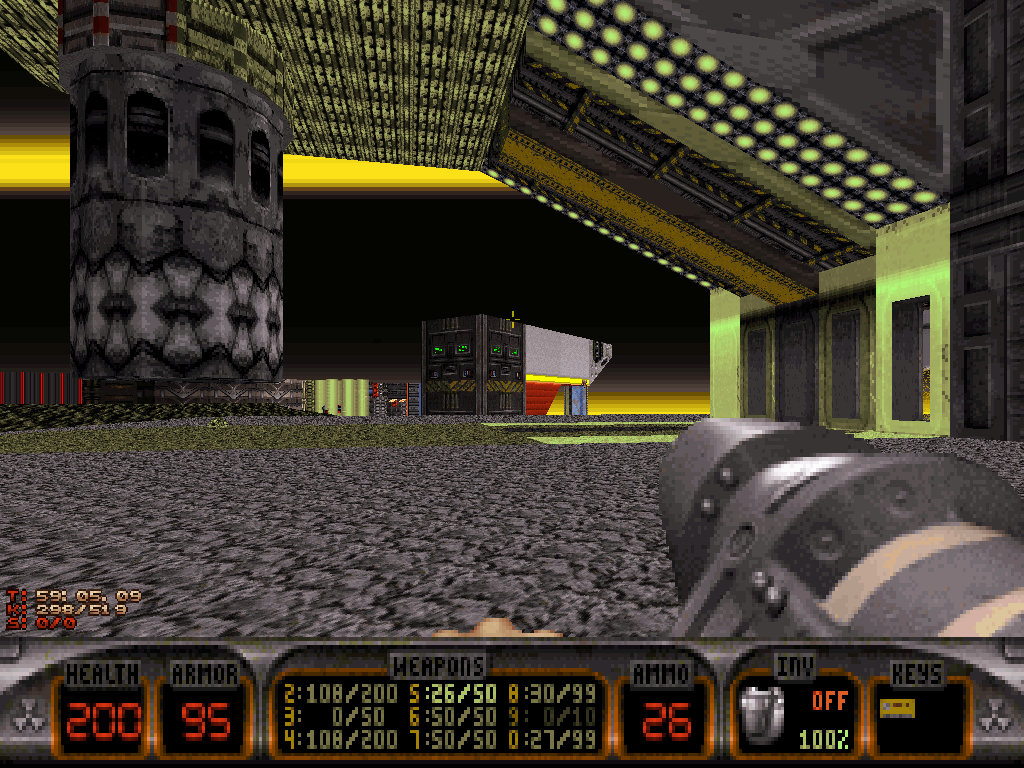
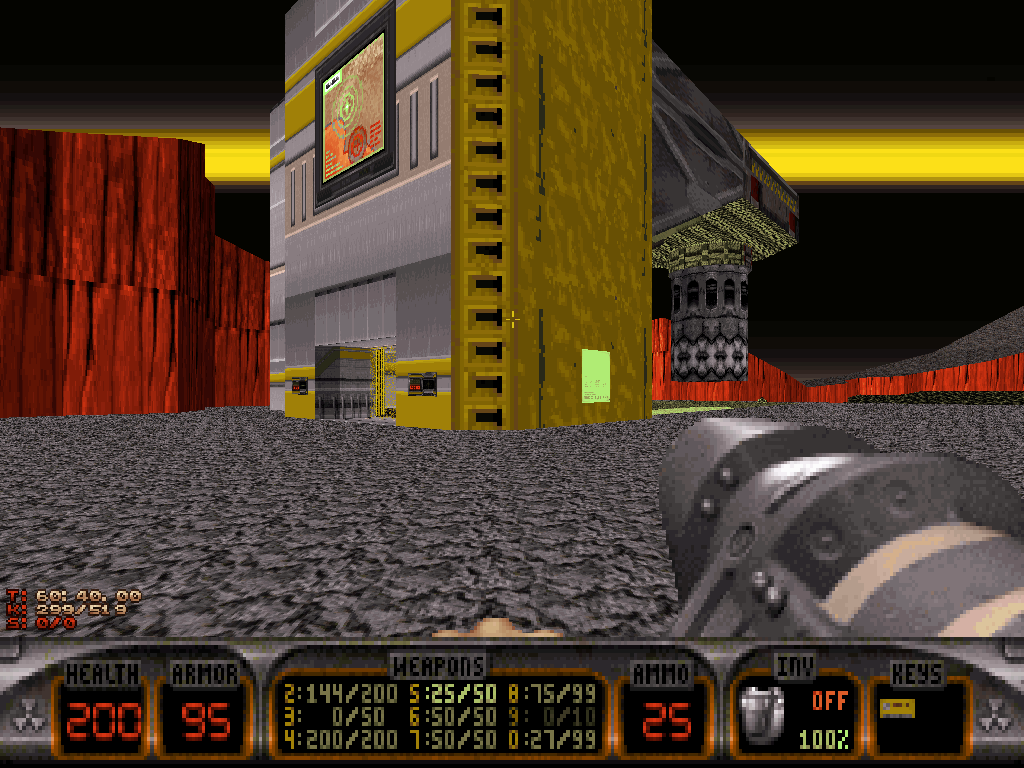
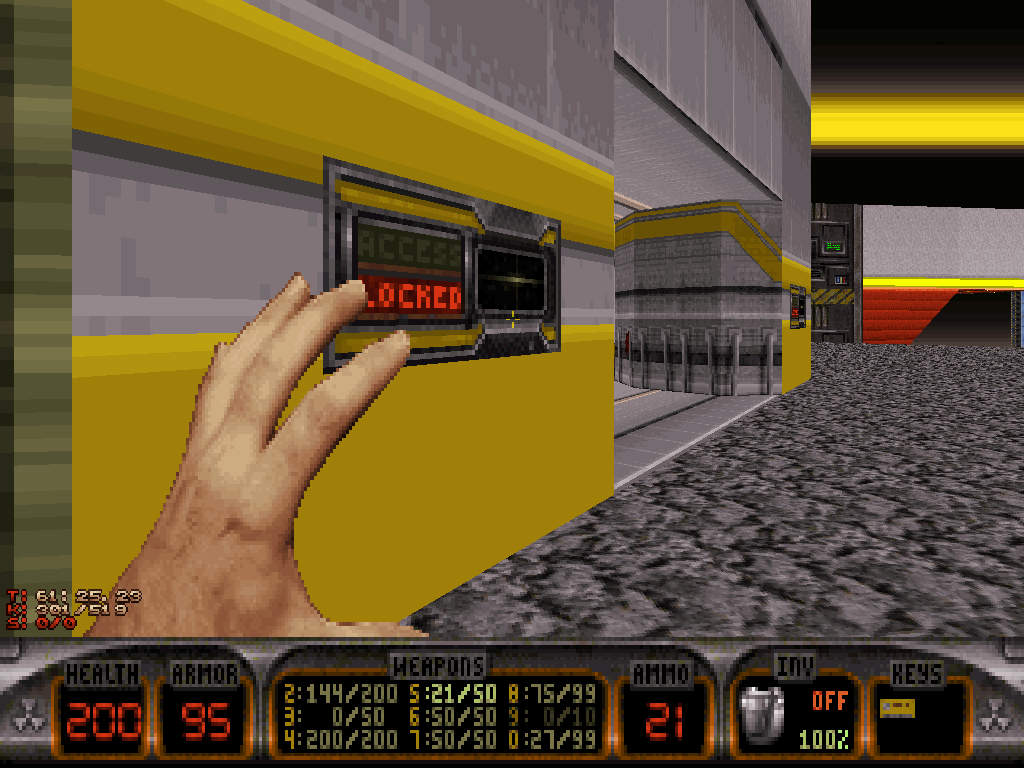
Around the back of the giant drill is the yellow keypad Duke can swipe by now.
Doing so will suppress the forcefield which so far had been blocking access to the controls, inside.
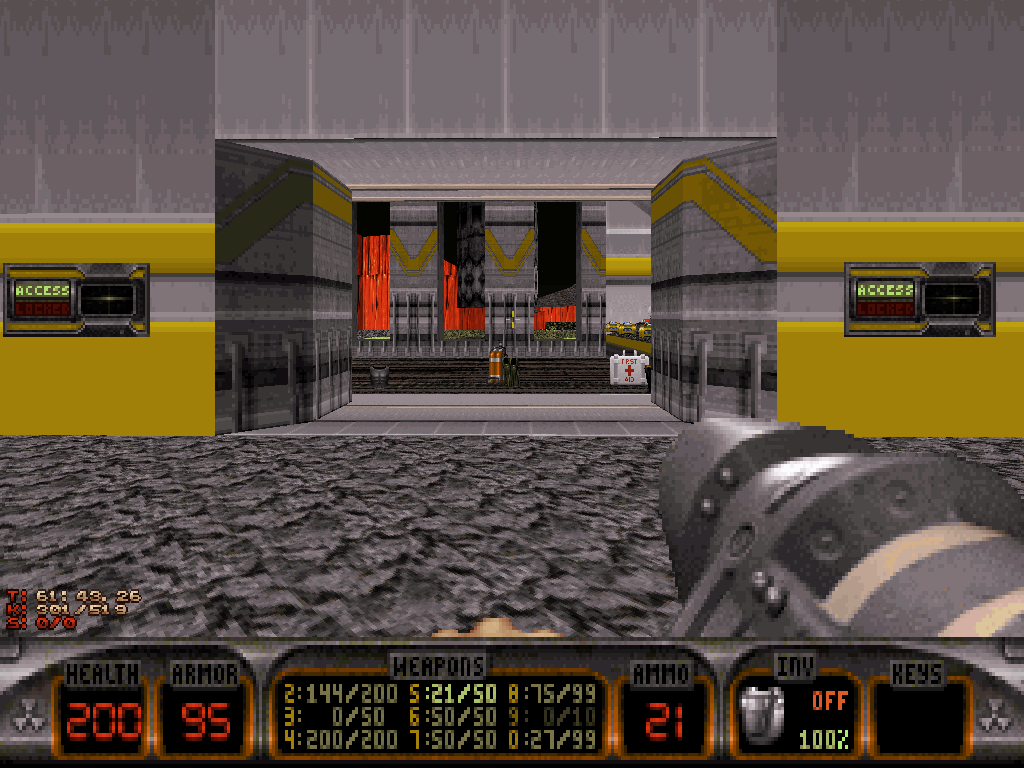
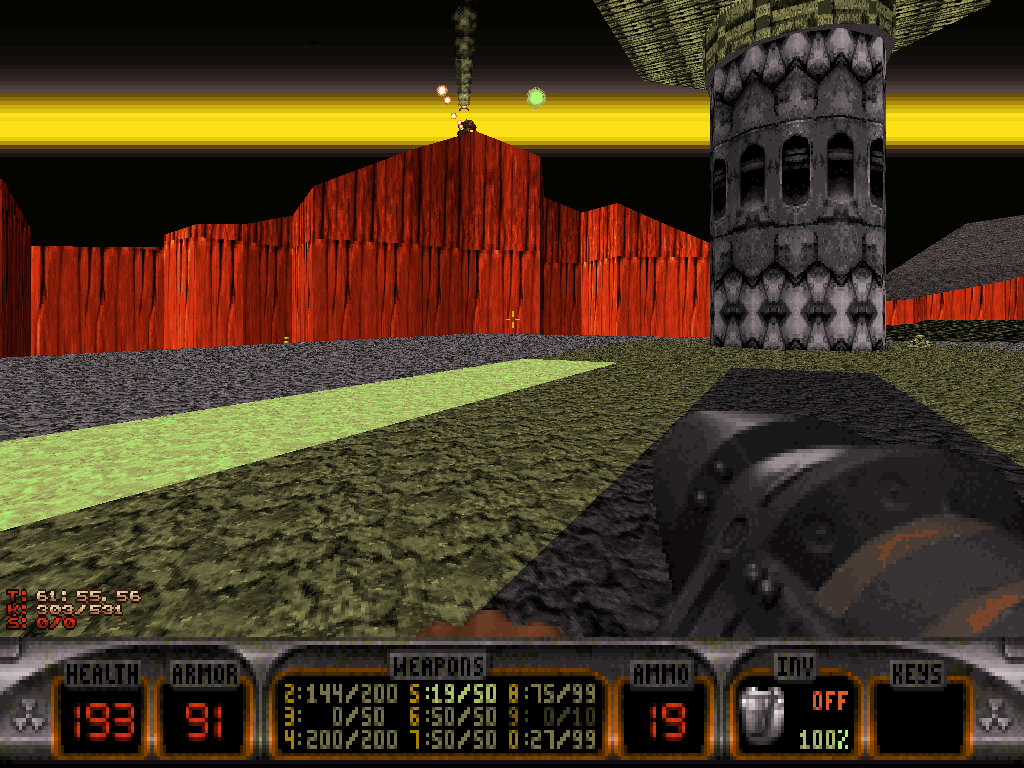
The moment Duke gets in, the machine will start operating in front of his eyes and drill a massive hole into the floor, outside. Which won't fly, according to a couple of Cycloid Sentry variants now breaking onto the set, just begging for Duke's rectification.
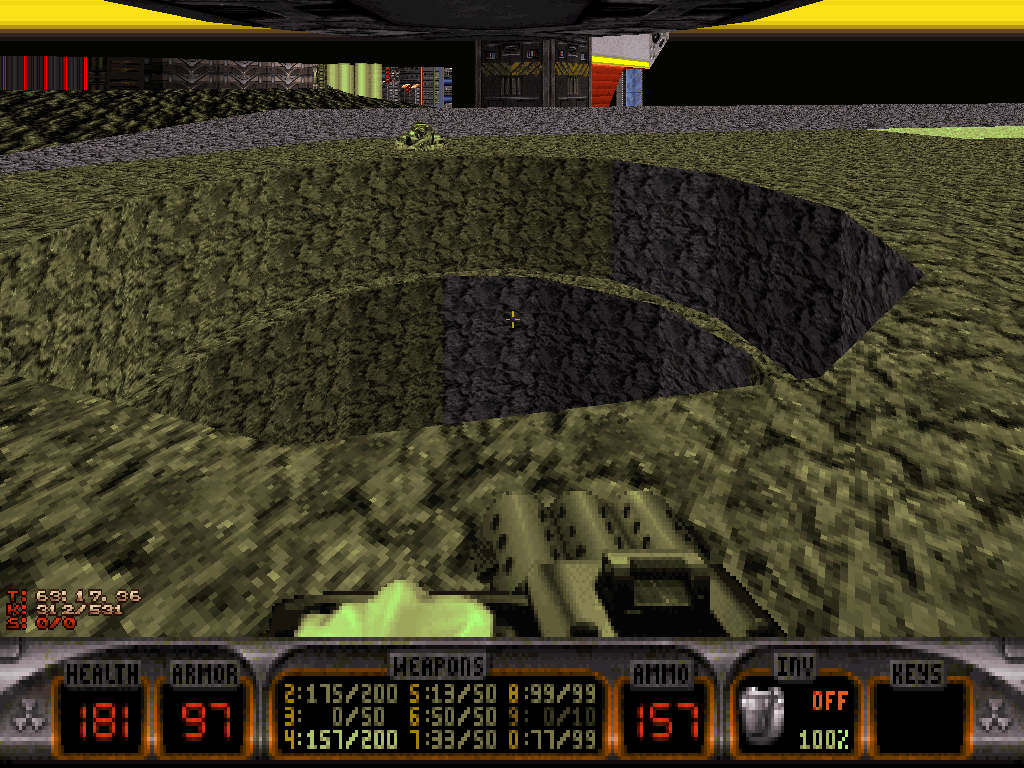
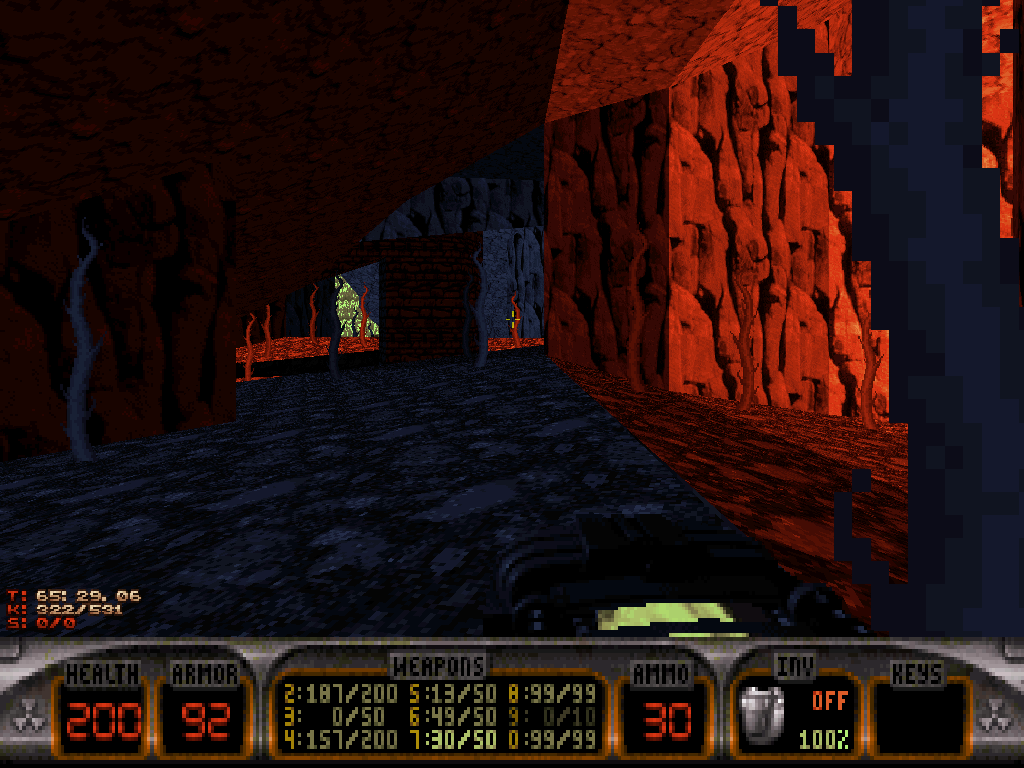
Duke shall go and jump (or fly) down the hole. There, after exploding a cracked wall, he'll be breaking into a strange underground cavern.
Just a few steps should suffice for verifying that it is, in fact, full of Octabrains as it is no less than a full-blown colony which seems established down there. Still, it shouldn't be very difficult for Duke Nukem to outsmart the representatives of the species that are there.
In such confined settings, the Shrinker may be the most optimal weapon against them.
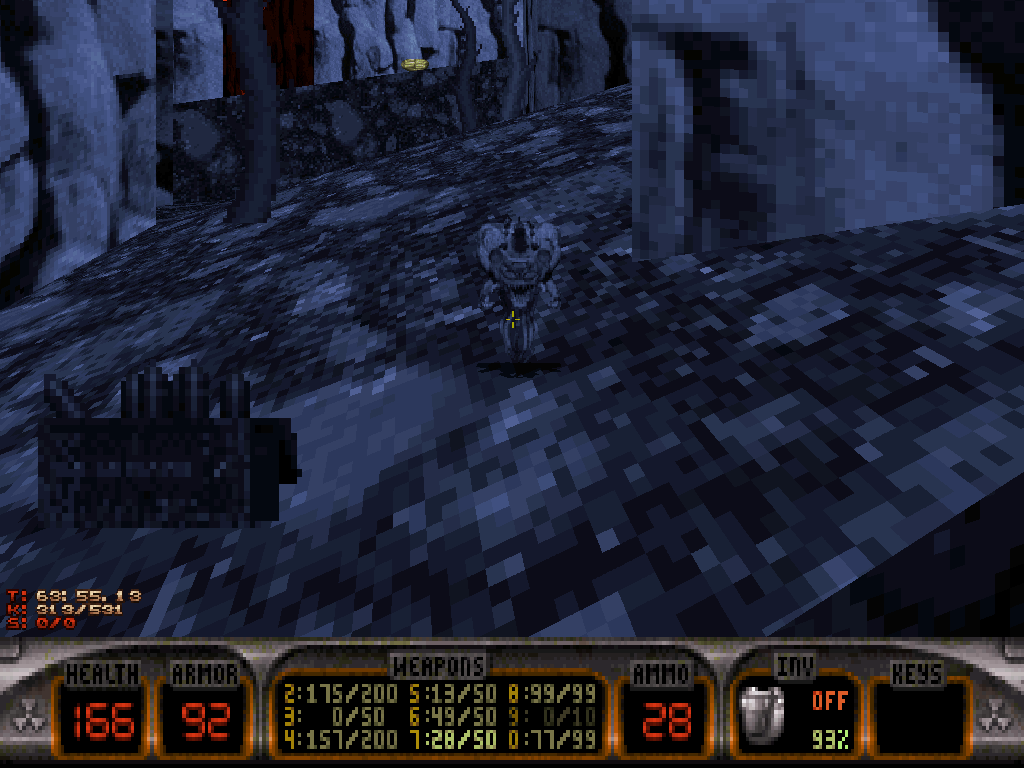
Keeping exploring the cavern shall lead Duke to apparent dead-ends, including a suspicious one, near a lava pit, where one of the walls looks like Duke could slip underneath and into a gap, if shrunk.
That part of the grotto is guarded by a Madlad Battlelord Sentry, from a niche inside the wall just on the opposite side of the lava, in relation to Duke. The enemy will wake up just about any time Duke comes too close and should be eliminated from distance, preferably, so that it can't block the continuation of Duke's operations.
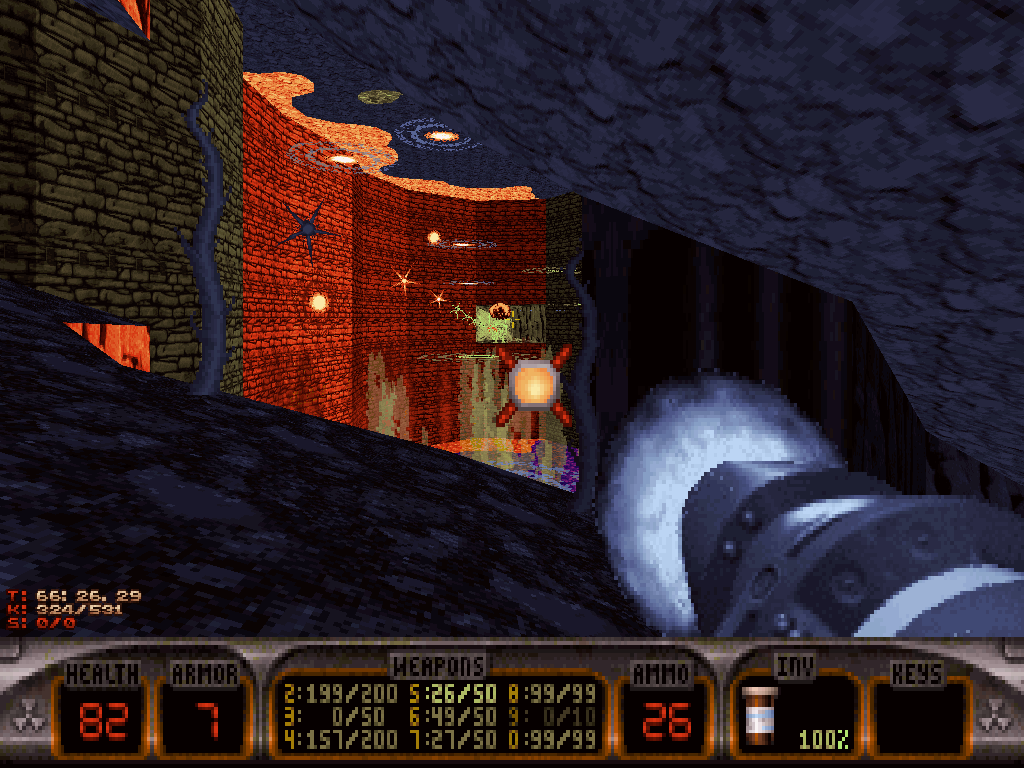
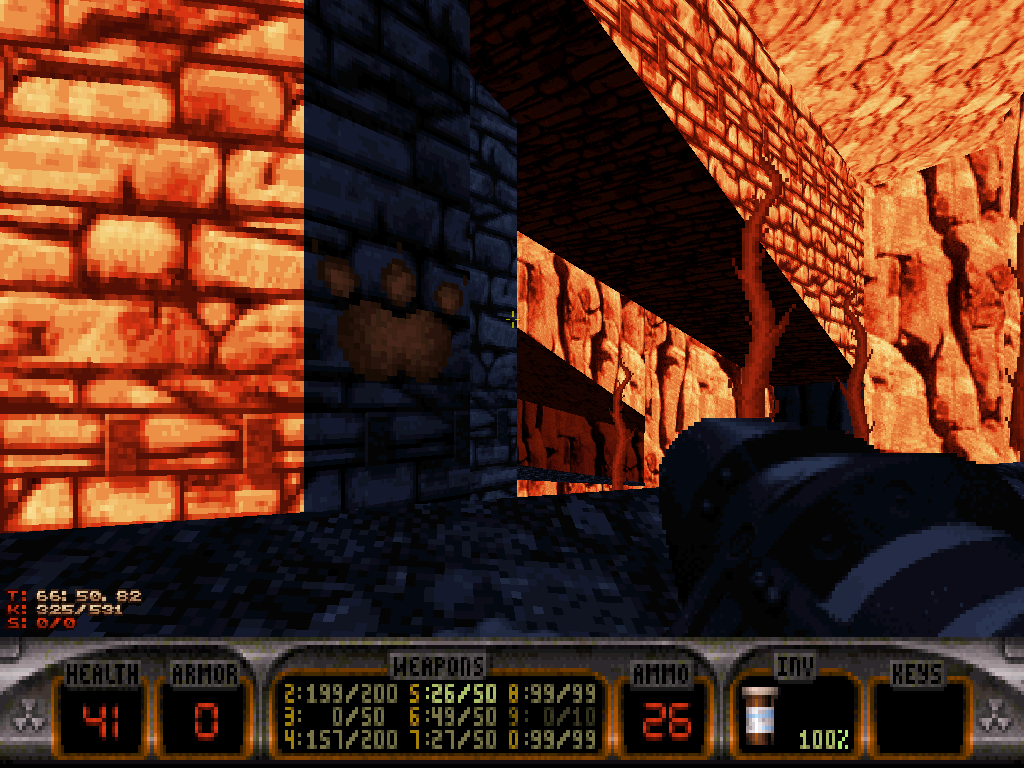
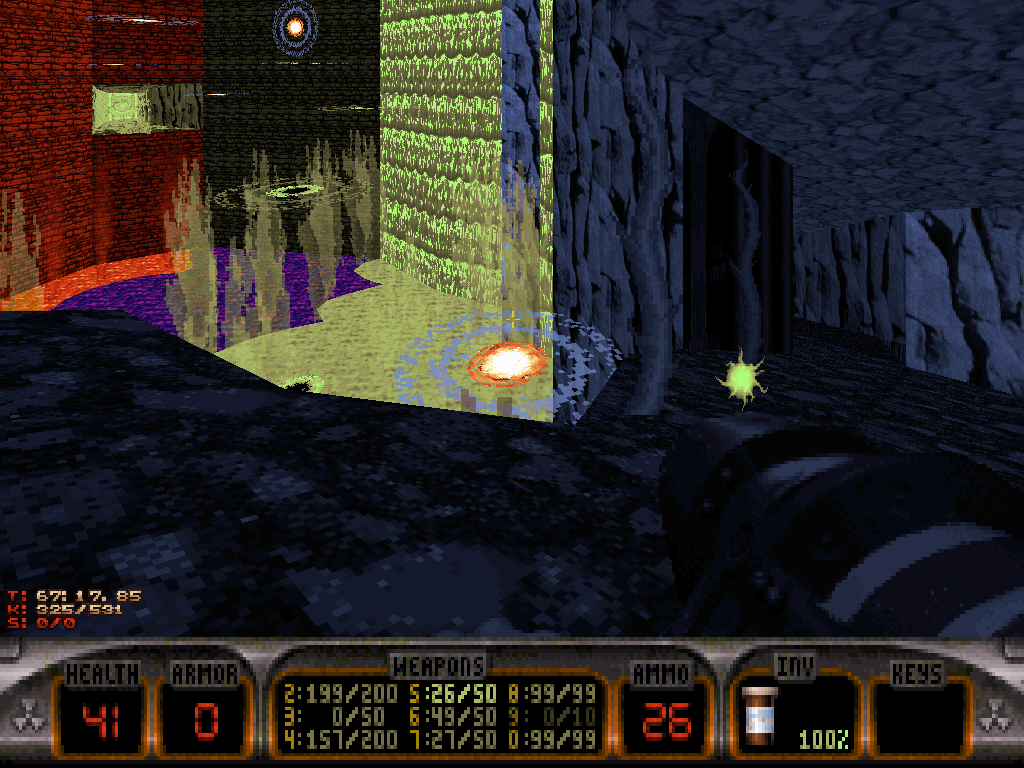
Turning back after the suspicious dead-end will reveal the presence of a pawprint type of design on the central pillar which was there all along, and Duke can press for the niche the Madlad Battlelord Sentry was guarding will start shooting Shrinker ray.
Duke should let the ray hit and shrink him, and then rush to the tiny gap under the wall in order to slip underneath. Just successfully reaching the area underneath will cause the wall to rise, thereby eliminating the chance of squishing Duke and also revealing convenient access back to the first cavern.
But it is what lies ahead which should be prioritized.
On the other side of the wall is a blue cavern that features a bunch of Atomic Healths and is traversed by a waterfall. In order to progress, Duke shall have to jump into the current and trust that it will carry him away into the next zone.
At the end of the stream, Duke will be precipitated down one more toxic pit and reach a mysterious underwater grotto.
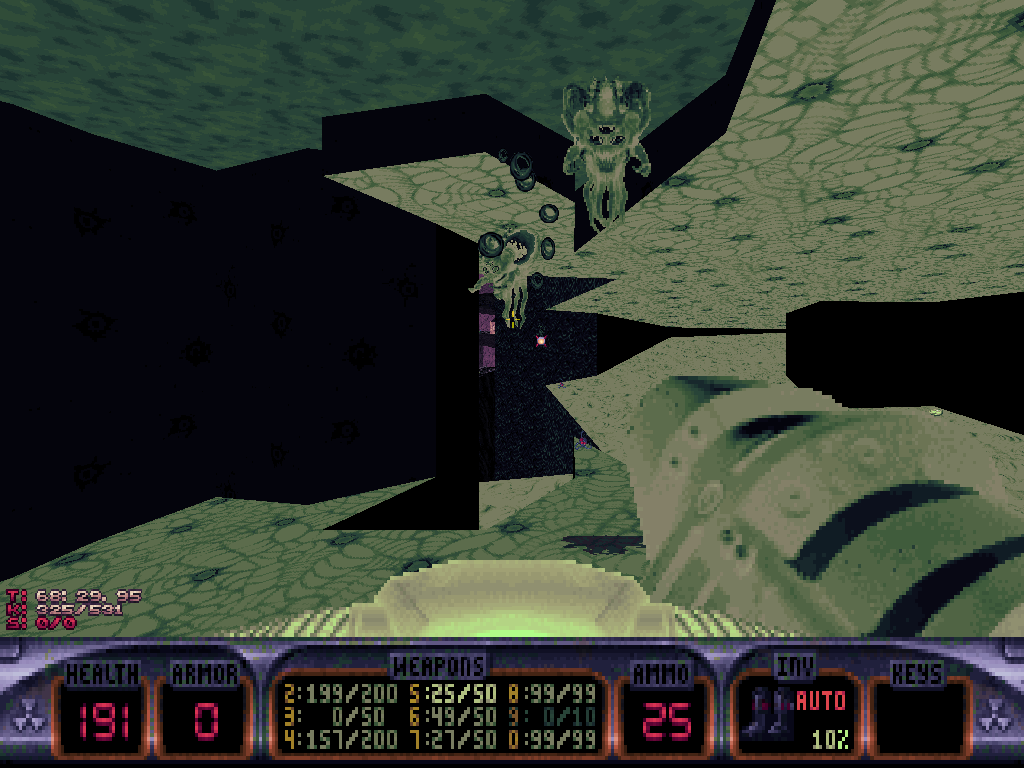
He'd definitely better be ready, because it's now mid-level boss fight time.
Duke is led into a giant, flooded cavern that is infested by alien vermin: one Alien Queen Jr., one Ice Cold Battlelord Sentry, one Madlad Battlelord Sentry (on the Come Get Some difficulty setting), dozens of Octabrain variants guarding dozens of Protozoid Slimer eggs; and they all have in common the mission to merely distract Duke from his main opponent: the Octadeity, the oldest, biggest, wisest, and source of life of all the Octabrains.
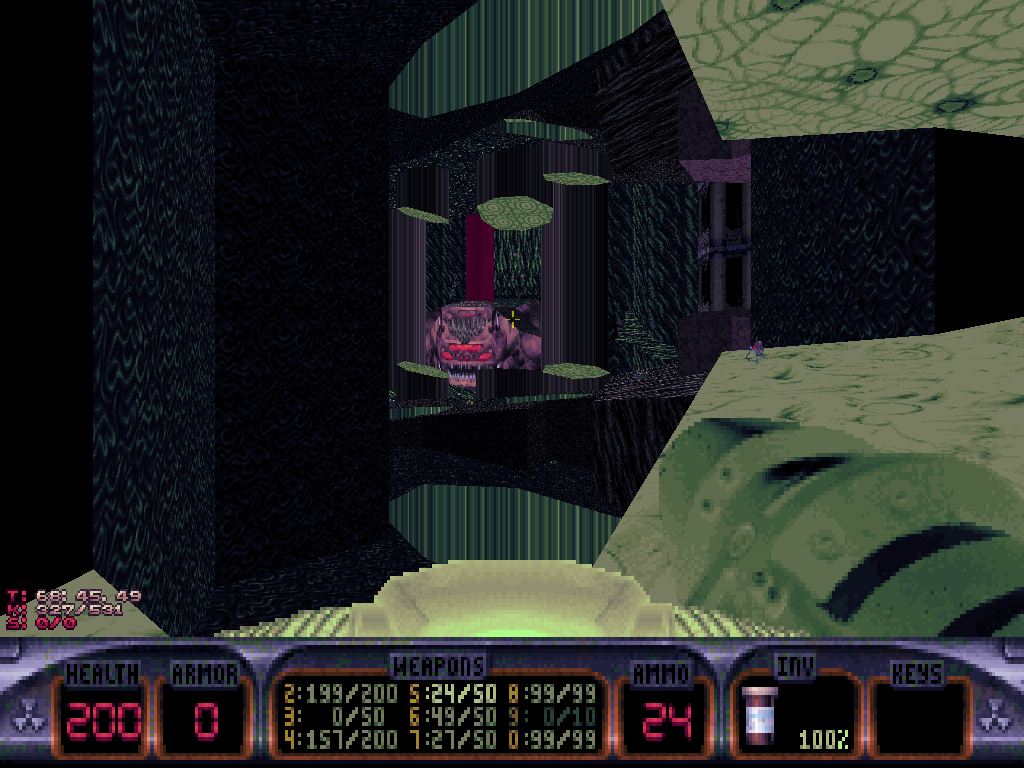
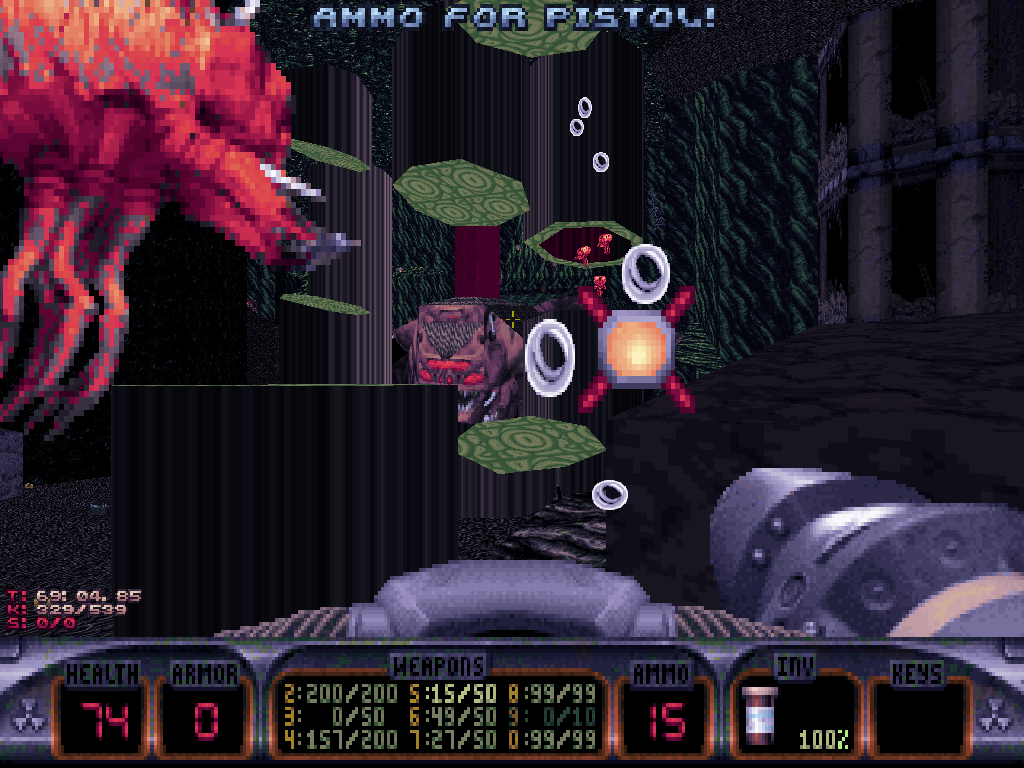
The Octadeity is too intelligent to move; but it can, and will, control the space by raising and lowering its gigantic tentacles that make all the pillars around the cavern, as an attempt to crush Duke underneath.
It also will progressively retract a few of them only to reveal whole new columns of Octabrains, which then will proceed to attack our hero (?).
The Octadeity also has projectile attacks: it will shoot Octabrain-type psychic blasts at short range, and try to get Duke with freeze ray at long range.
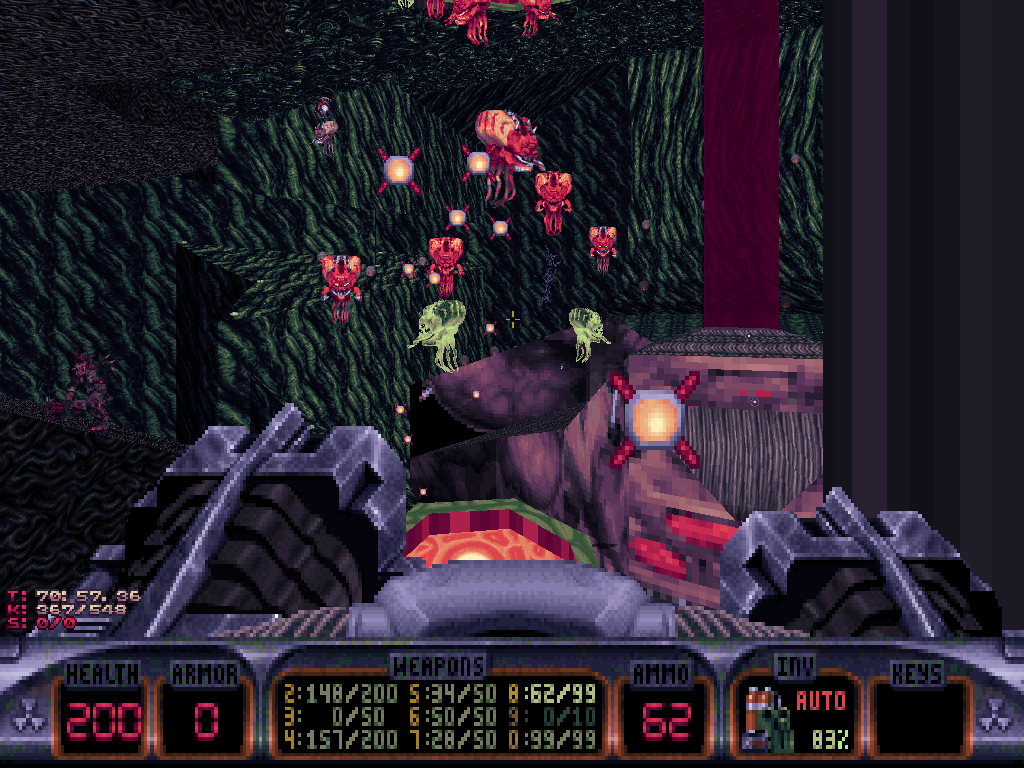
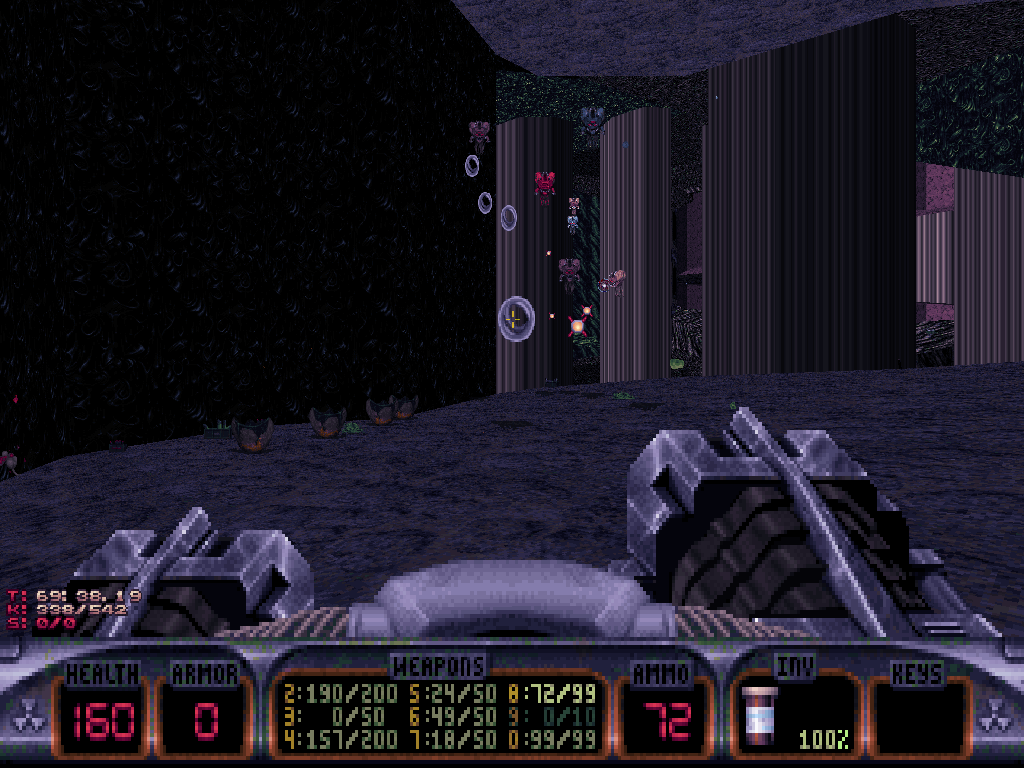
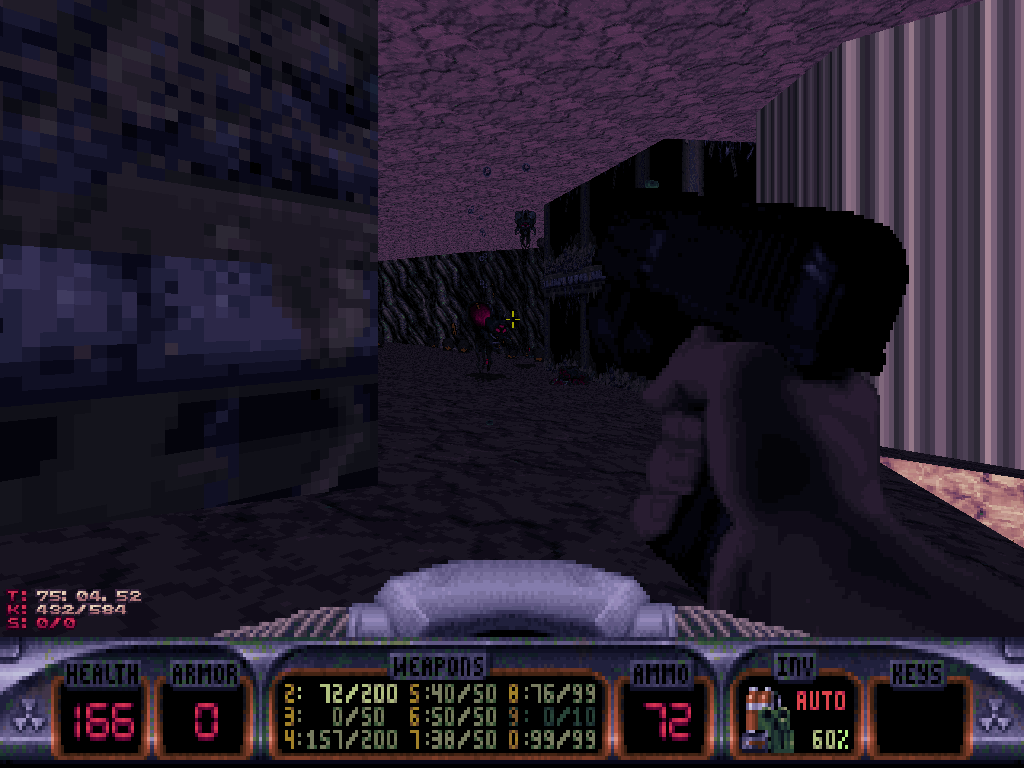
The key to the fight is to clean up the entire cavern first, in order to progressively get rid of all the side threats. Raiding every corner of the room also may be a good idea, for that shall allow Duke to run into extra supplies, including some precious Scuba Gear fixes.
Once that is done, Duke should have just enough tranquility to attack the Octadeity's weak spot, which just so happens to be its central eye, but can't be hit from the outside of its body.
That means, Duke is going to need to infiltrate the giant enemy's brain, in order to shoot the eye from the inside.
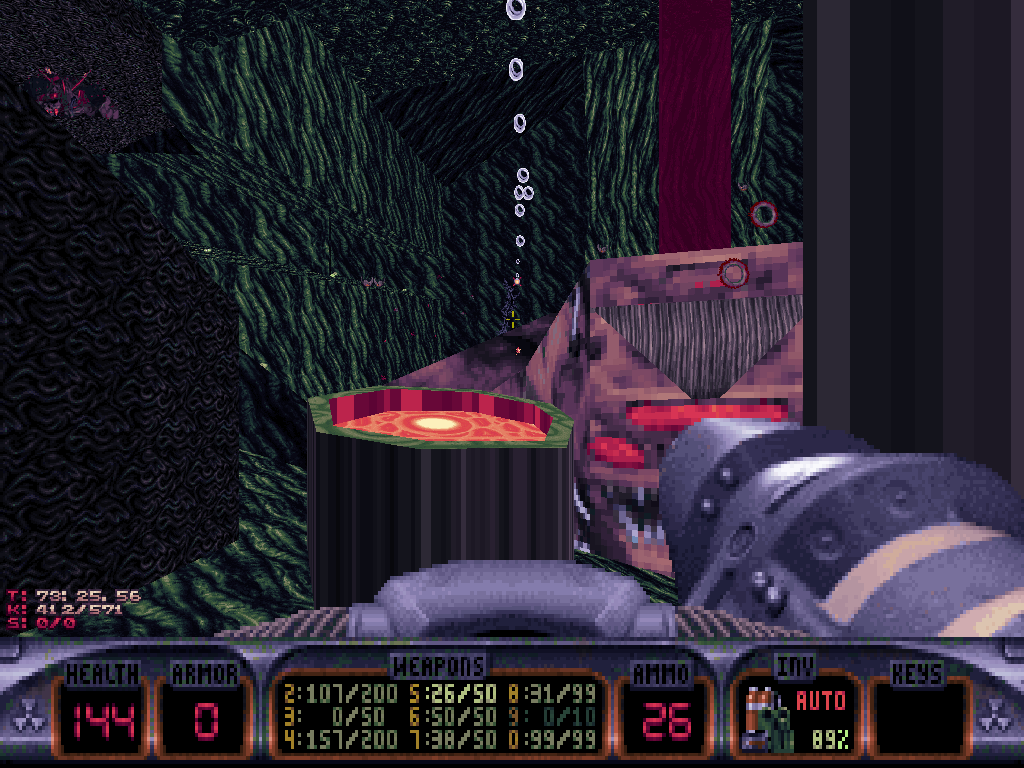
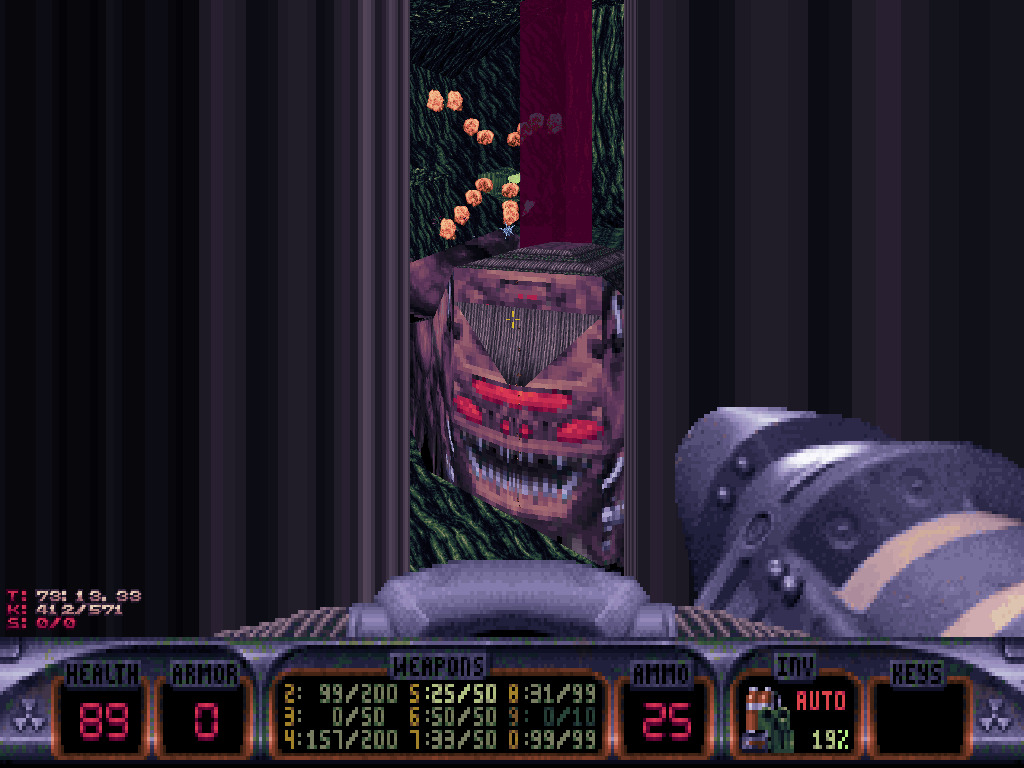
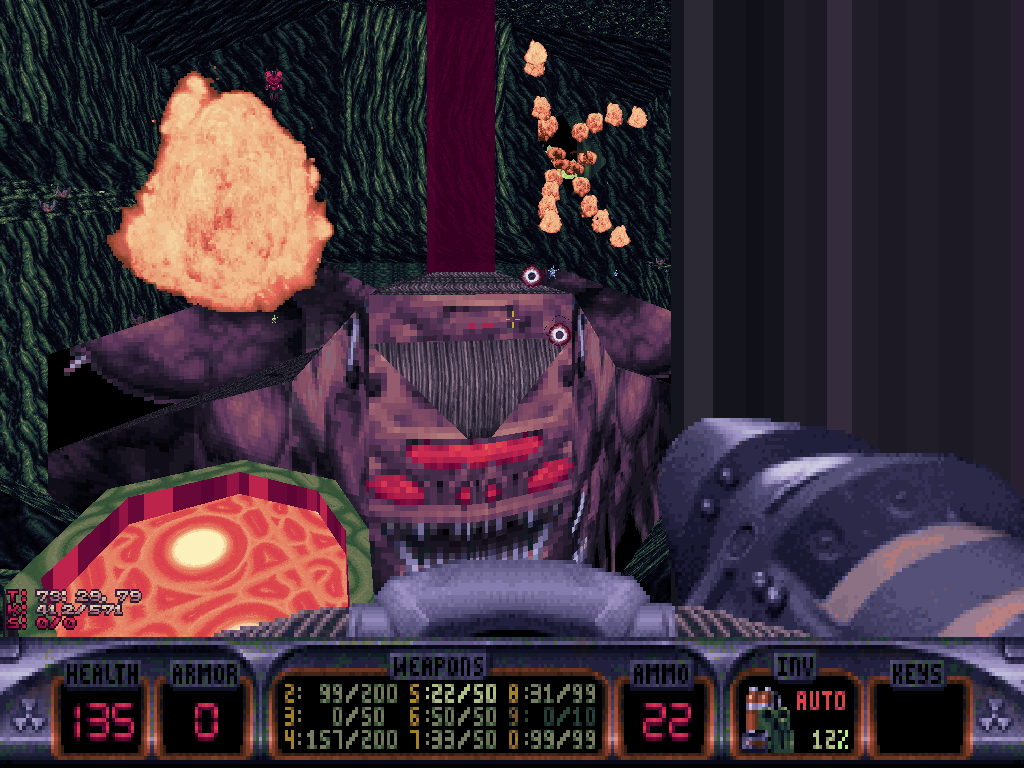
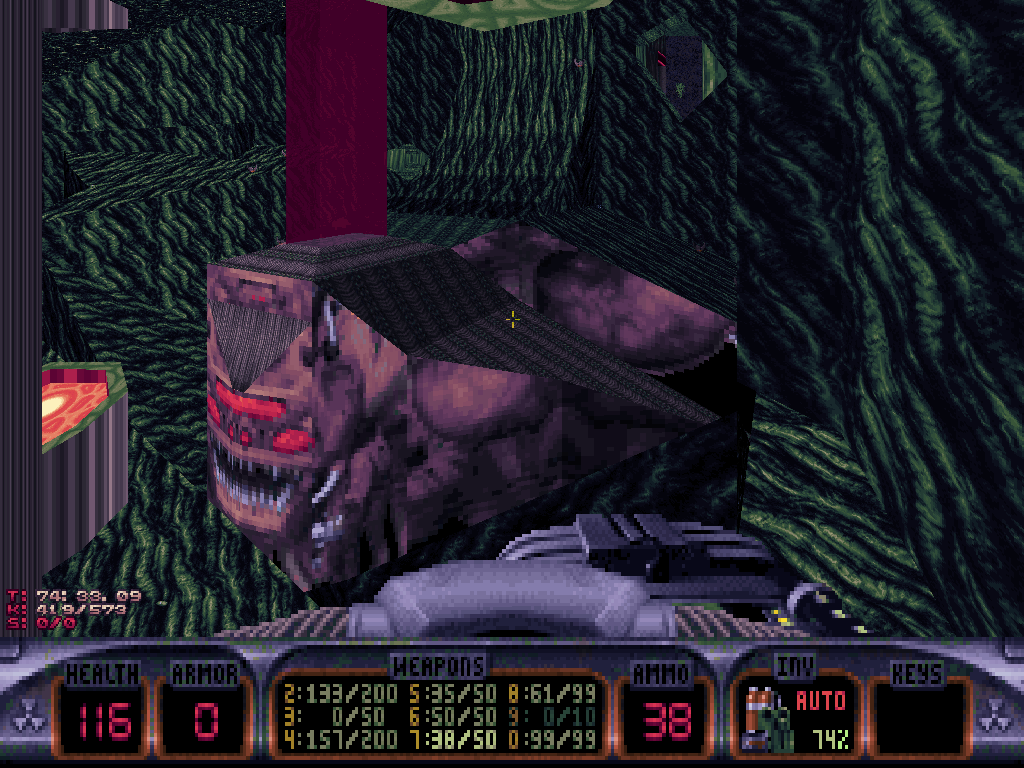
The organic walls on both sides of the Octadeity are cracked and thus, can be exploded by the means of just one masterfully-thrown pipebomb or rocket for each.
Once the holes formed, Duke already can visit the corresponding (left and/or right) hemispheres of the giant brain, but they still are both separated from the central cortex due to the activity of a duo of forcefields.
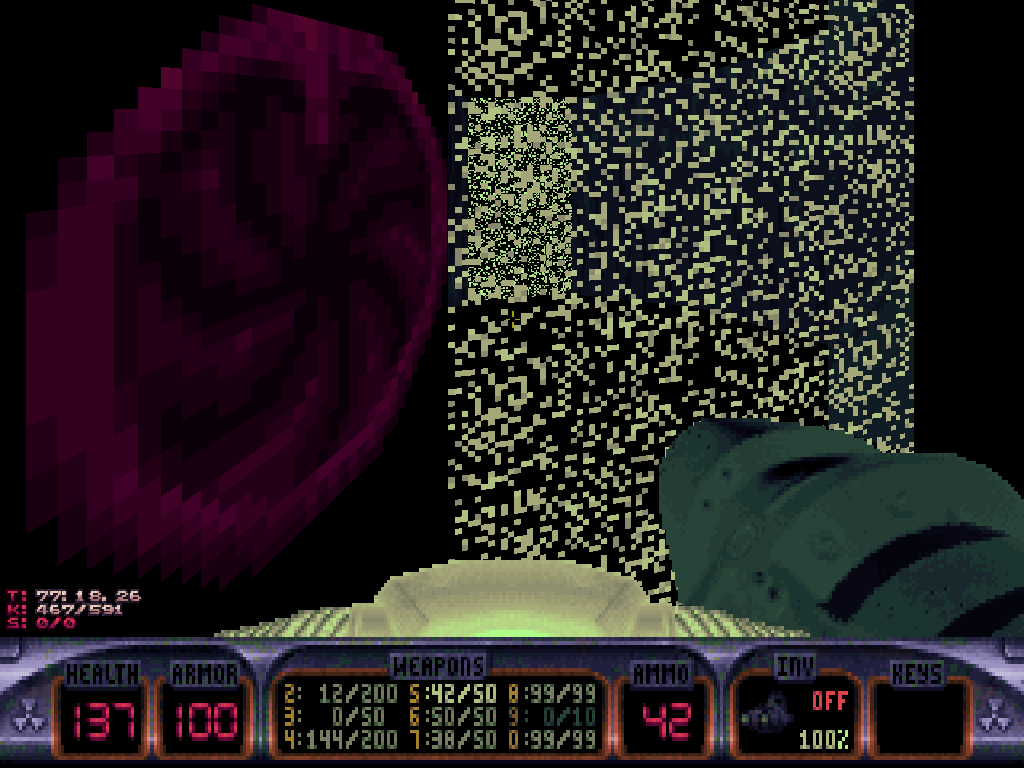
Each separate hemisphere contains a giant switch Duke can push. Doing so will deactivate the forcefield in the opposite hemisphere and, eventually, reveal the central cortex, where they meet.
There, one more Alien Queen Jr. parasite is waiting and breeding Protozoid Slimers, also providing electricity. After he's exhausted the nuisance, Duke shall notice a series of cracks he can shoot, at the center of the cortex, to progressively dig into the brain until the eye is apparent from the inside, under the form of a switch.
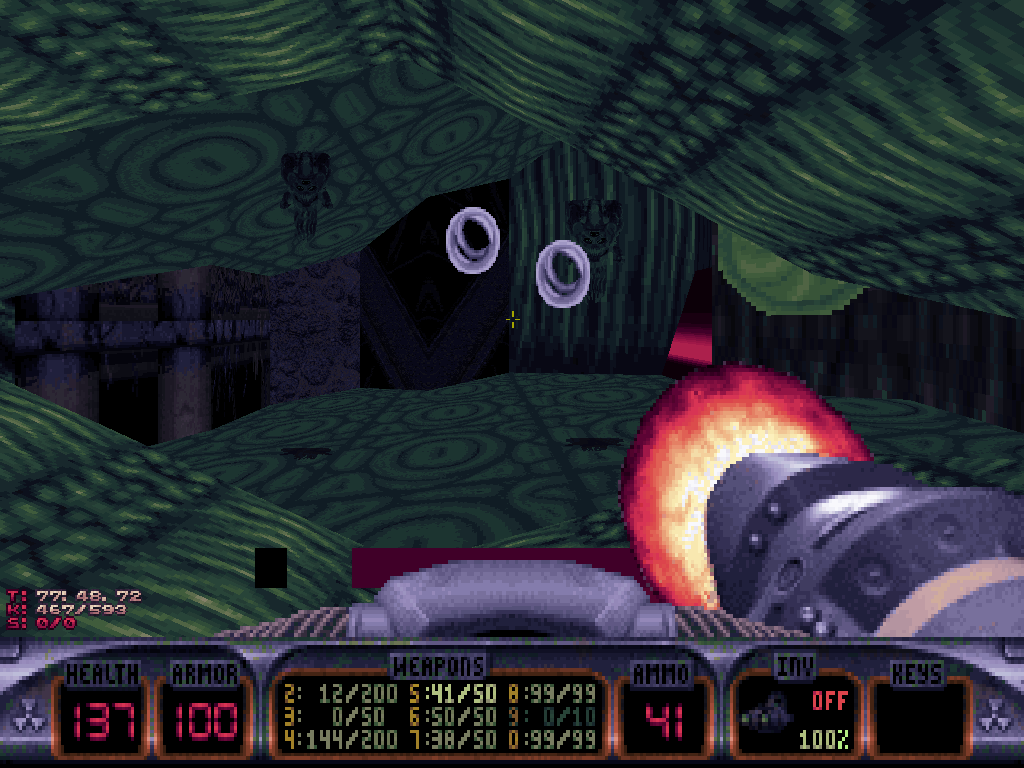
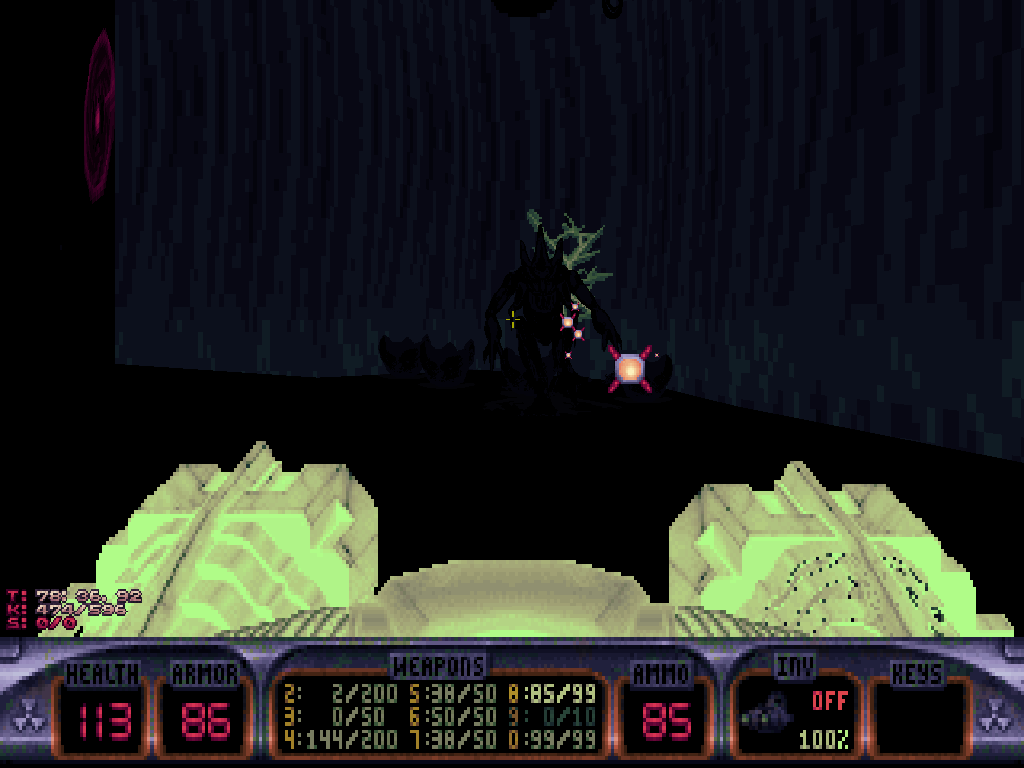
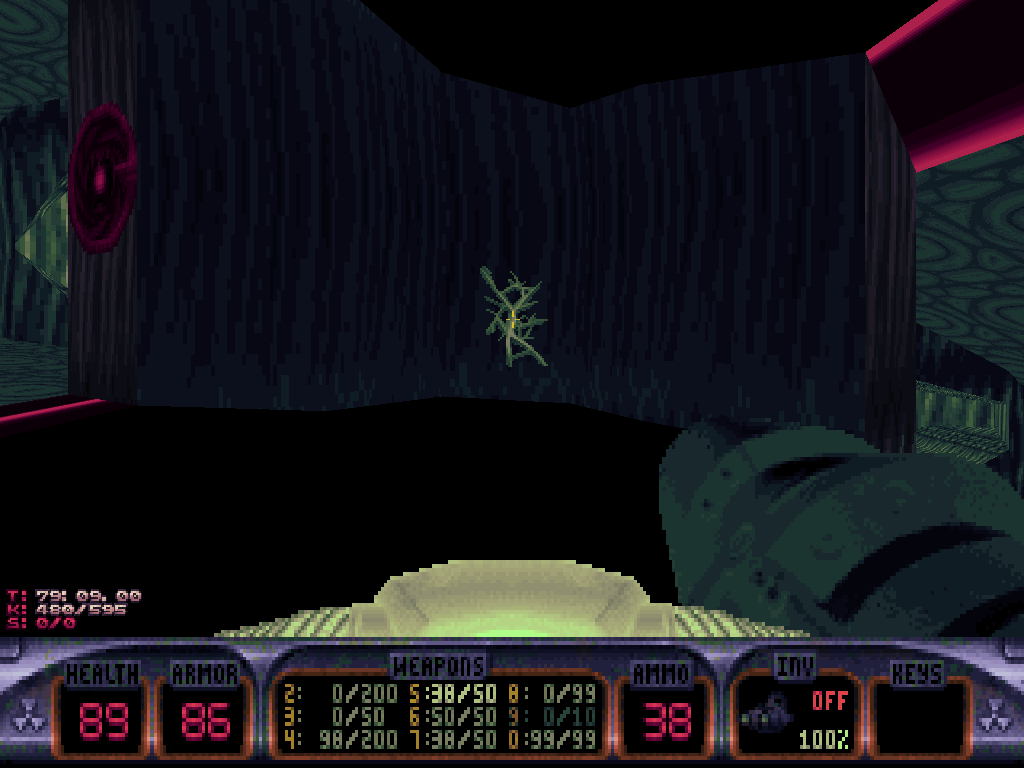
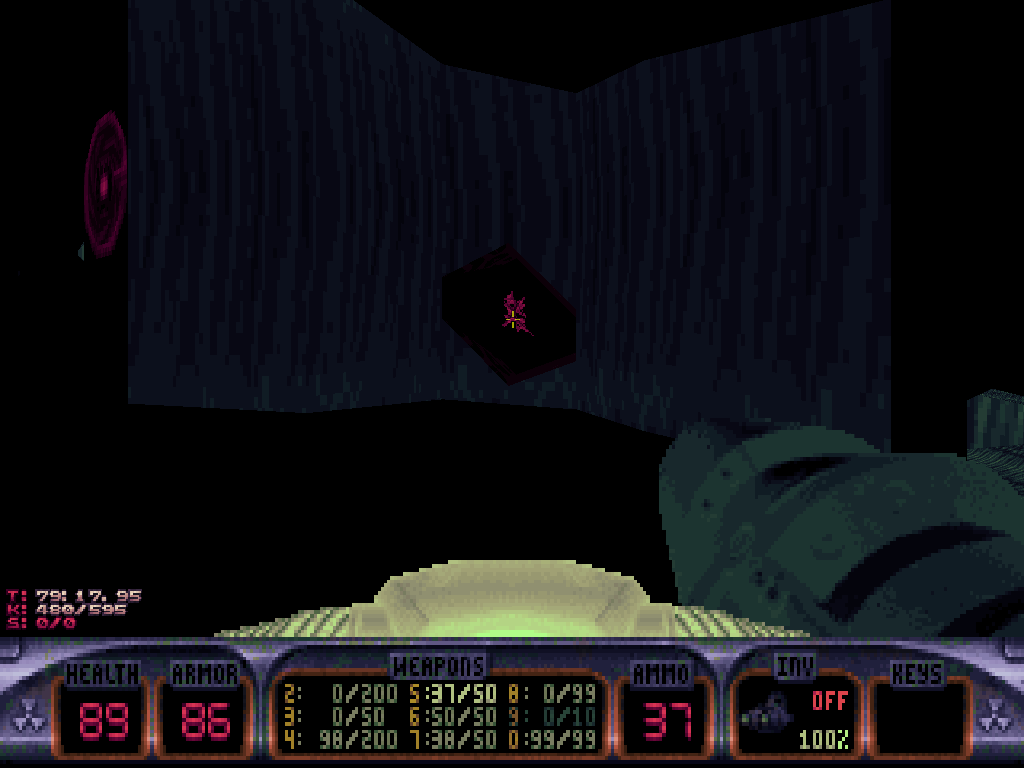
Shooting the eye just once from inside the brain will instantly kill the Octadeity.
That means its entire nervous system will give out, resulting in a progressive sequence of internal explosions Duke can dodge by being fast enough to retreat back to the cortex as soon as the eye is hit, and then swimming down for some shelter.
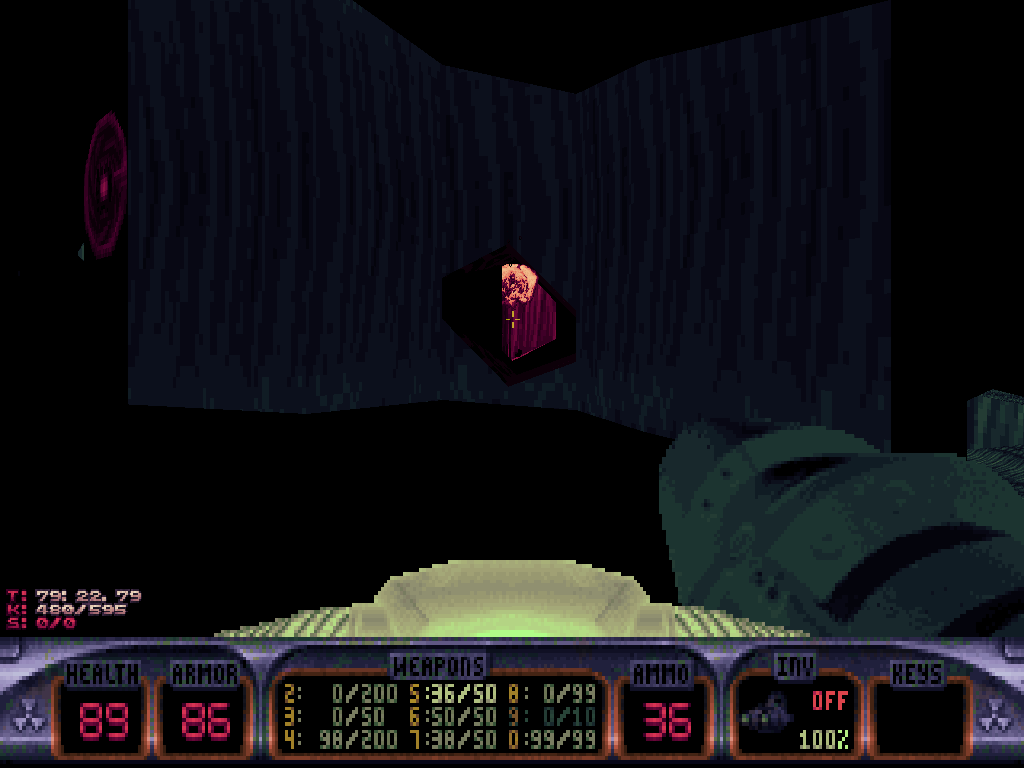
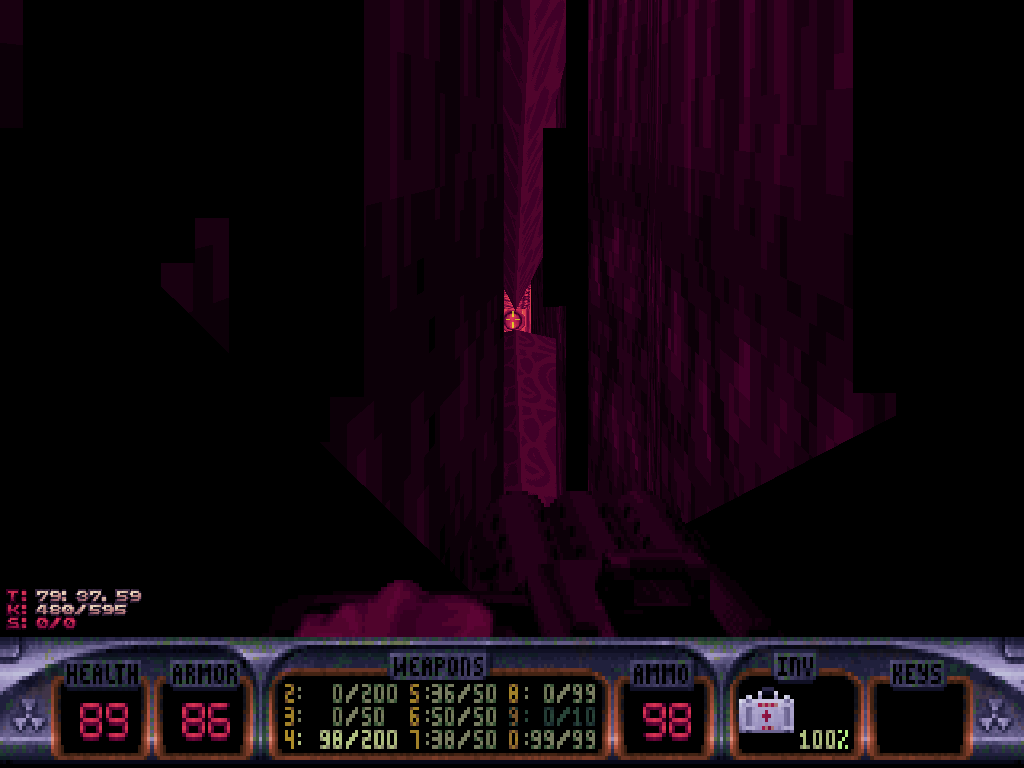
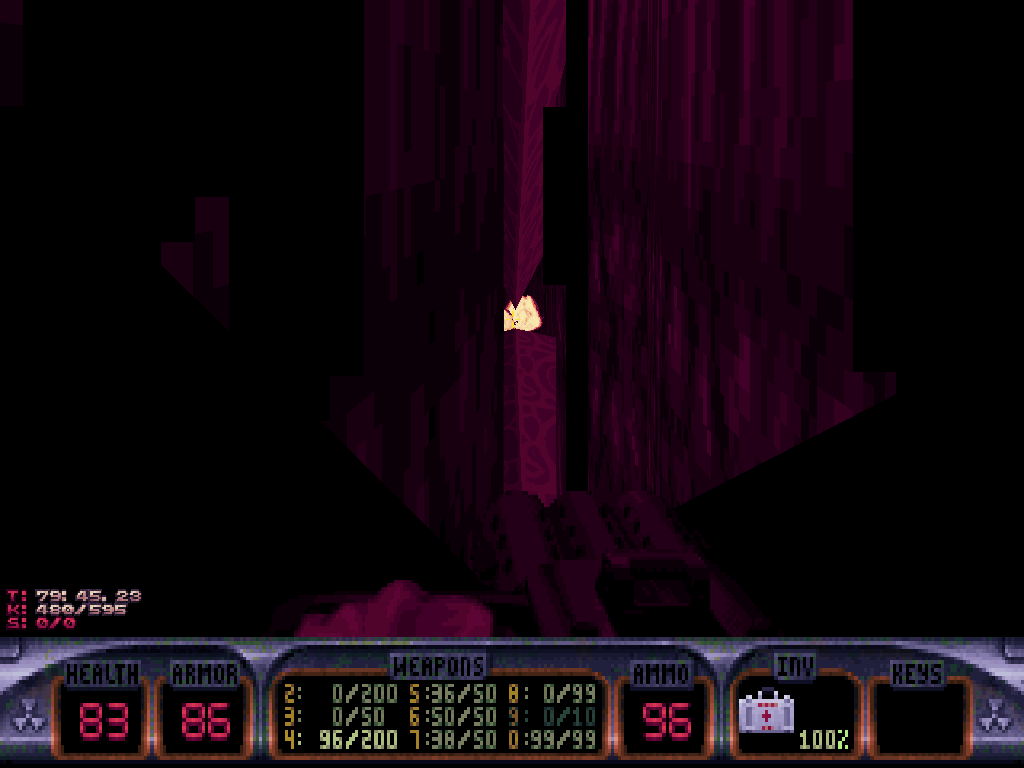
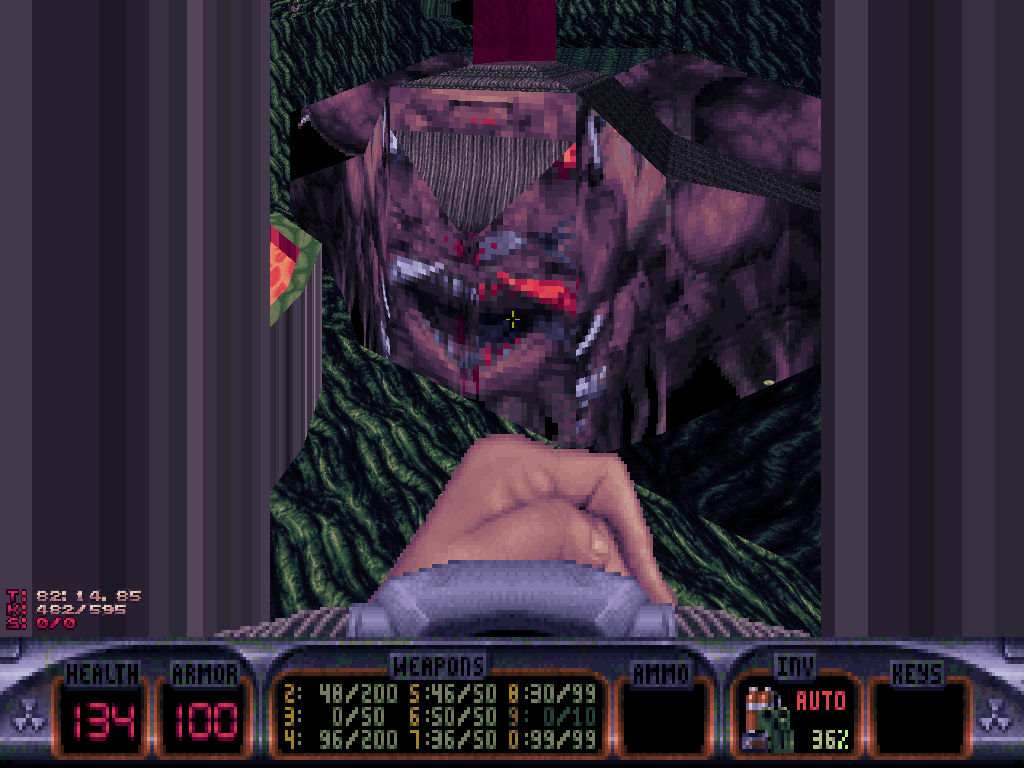
After he's done performing his explosive lobotomy and extinguished the source of the Octabrain species, Duke is free to progress through a newly formed hole in the back of the brain the organic shutdown just blew open.
Following the canal in the back of the brain, our hero (?) eventually will reach the sunken remains of another civilization from some forgotten and yet oddly familiar times.
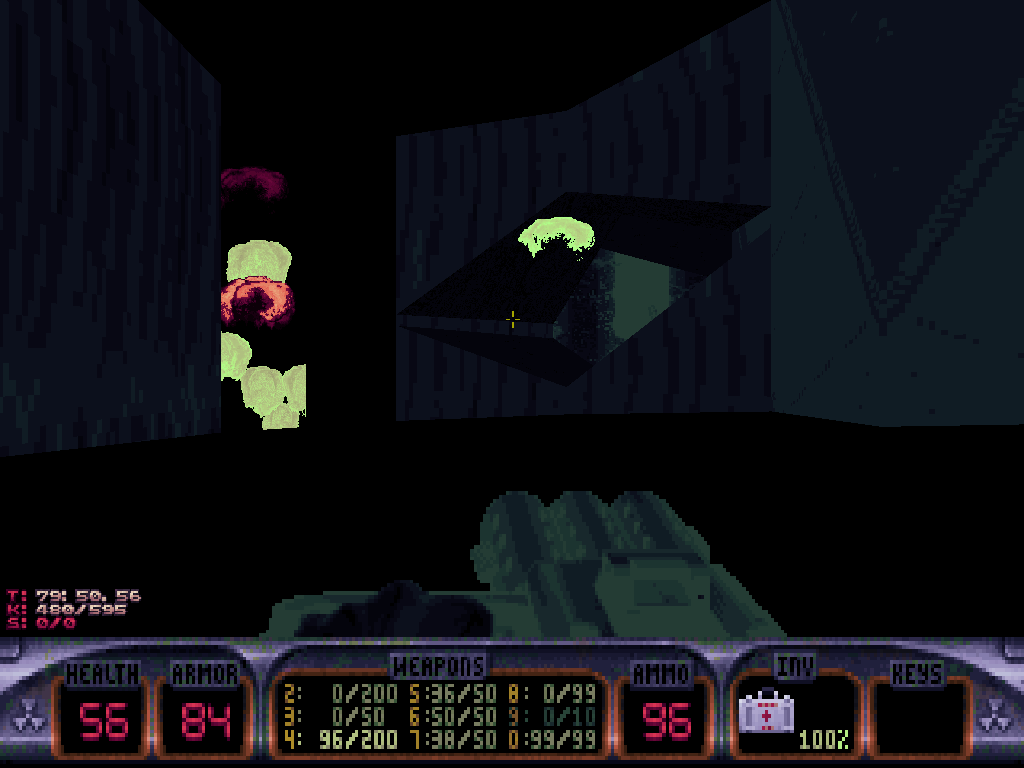
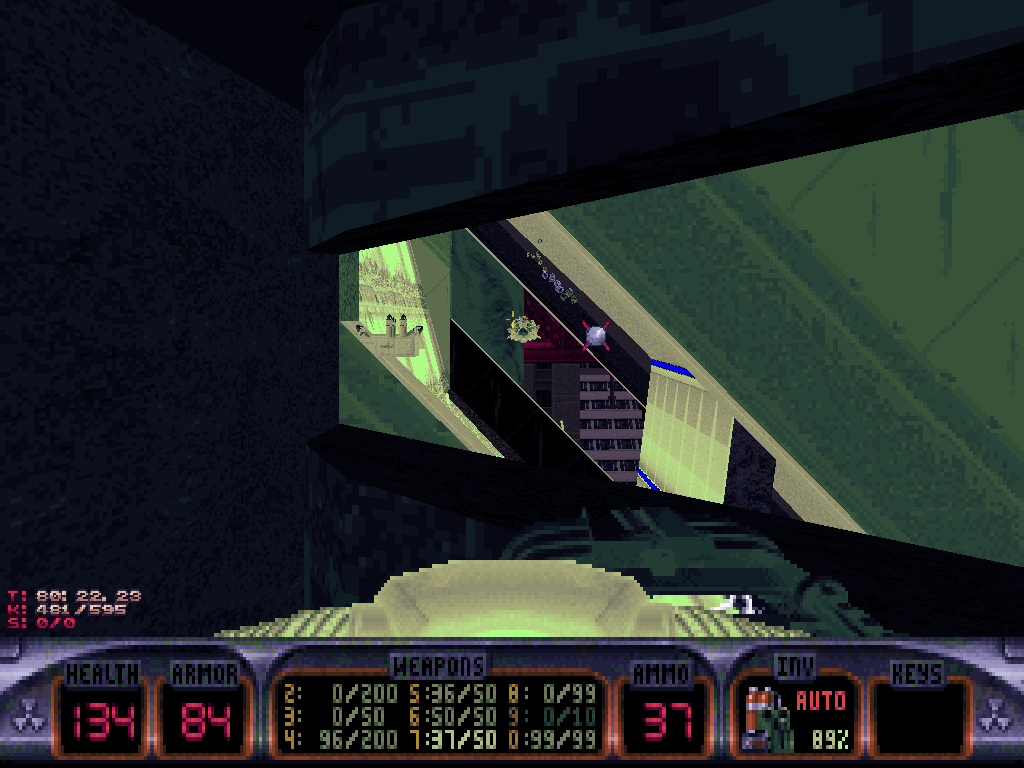
If the Octadeity's cavern was the Octabrains' nest, now it mostly is Assault Commander types aplenty that populate the sunken city.
The area has a few Scuba Gears scattered about, but way less than the cavern did and so that means Duke shall need to be relatively quick at traversing this section or, at the very least, watch his air supply closely in order to predict exactly when to go on a quest for its replenishment.
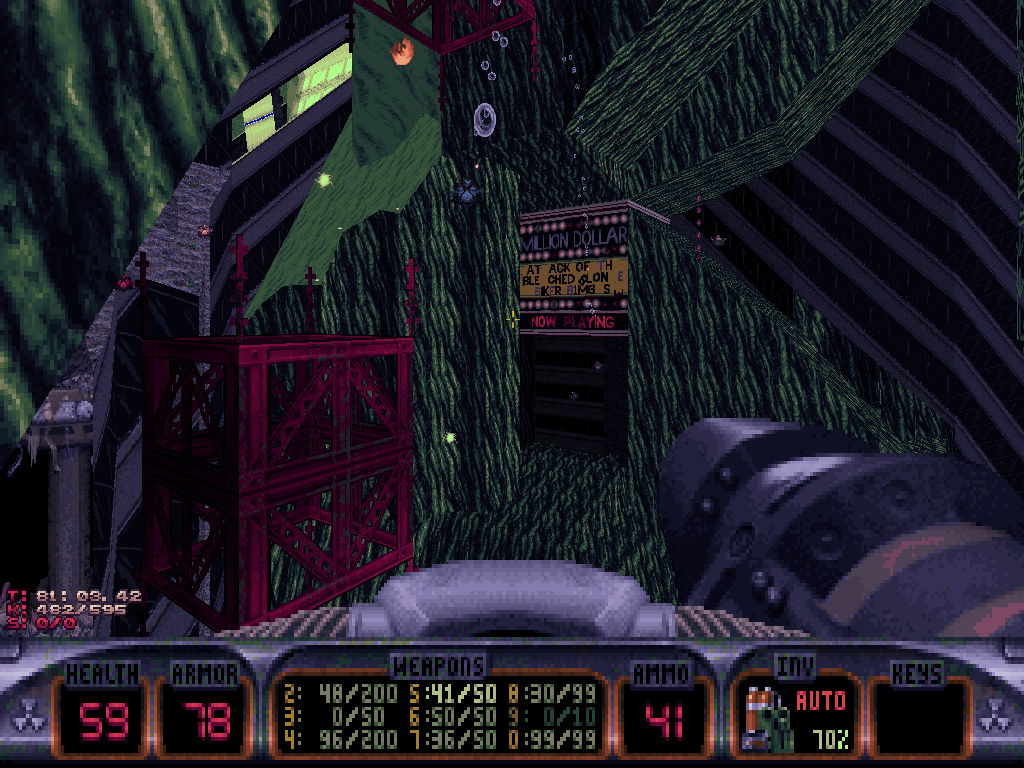
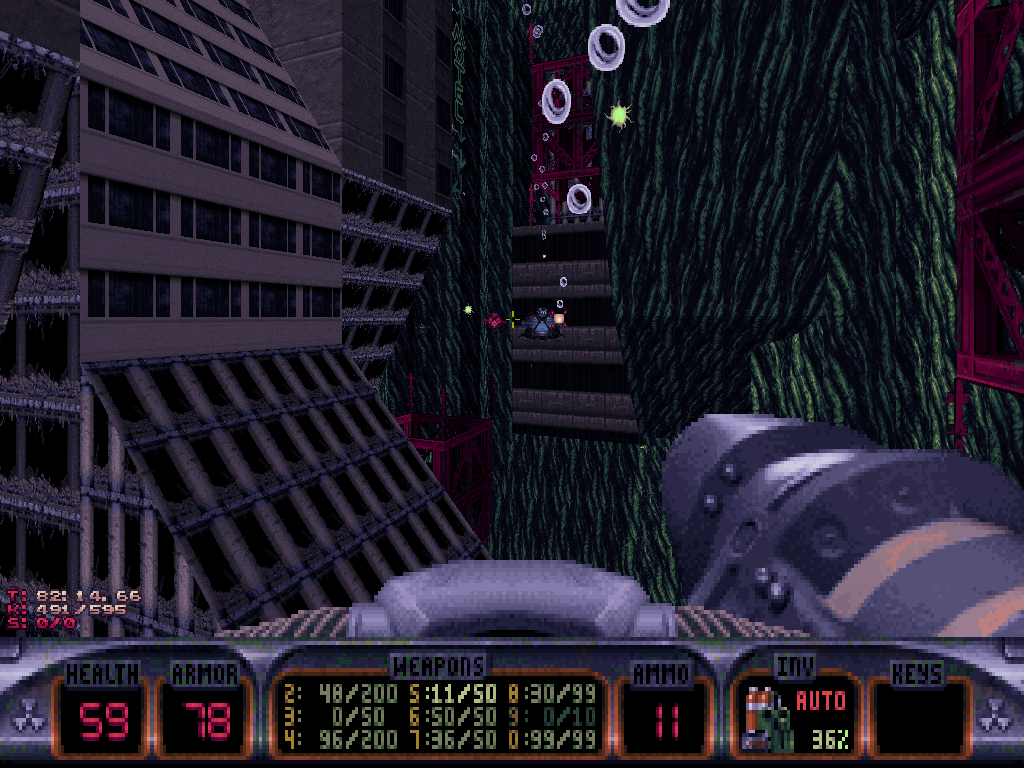
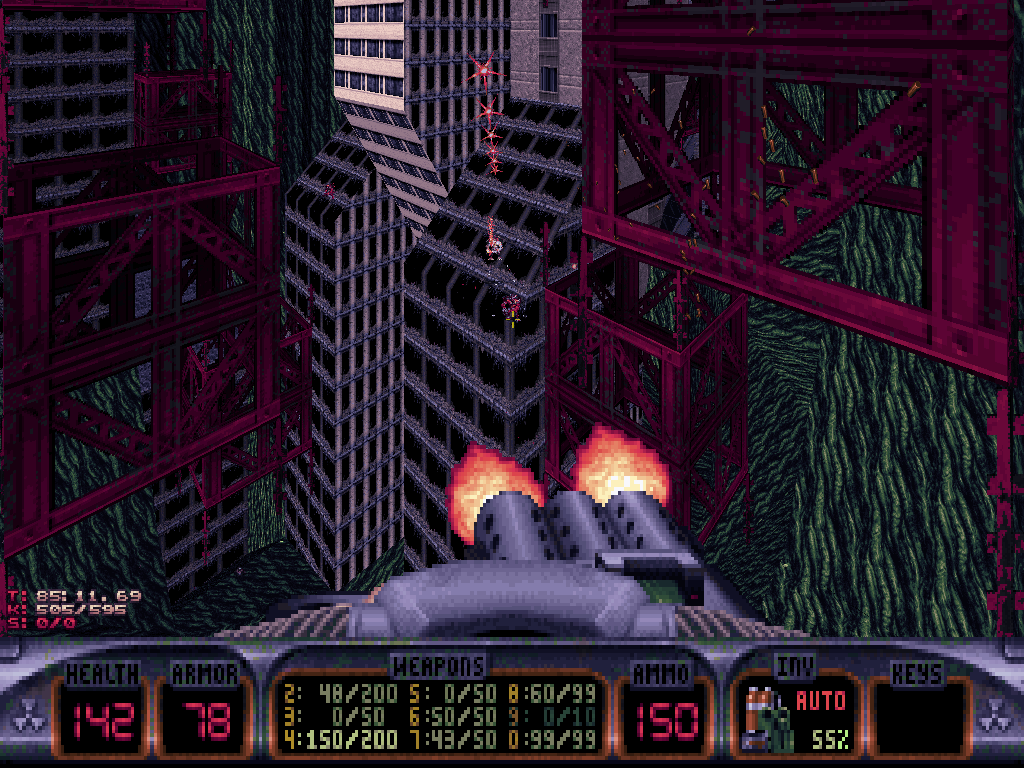
The submerged city is massive but its layout is basic, consisting in one central collapsed building some Battlelord Sentries may attack from (depending on difficulty setting), and two side areas, east and west respectively.
The easternmost one leads to an exit out of the water and into an overgrown lab of sorts. For now, it will seem relatively useless to visit (except for restocking on air and items), but the presence of a "Duke Nukem II" Hint Pedestal announces how that might possibly change under a certain, more or less mysterious condition.
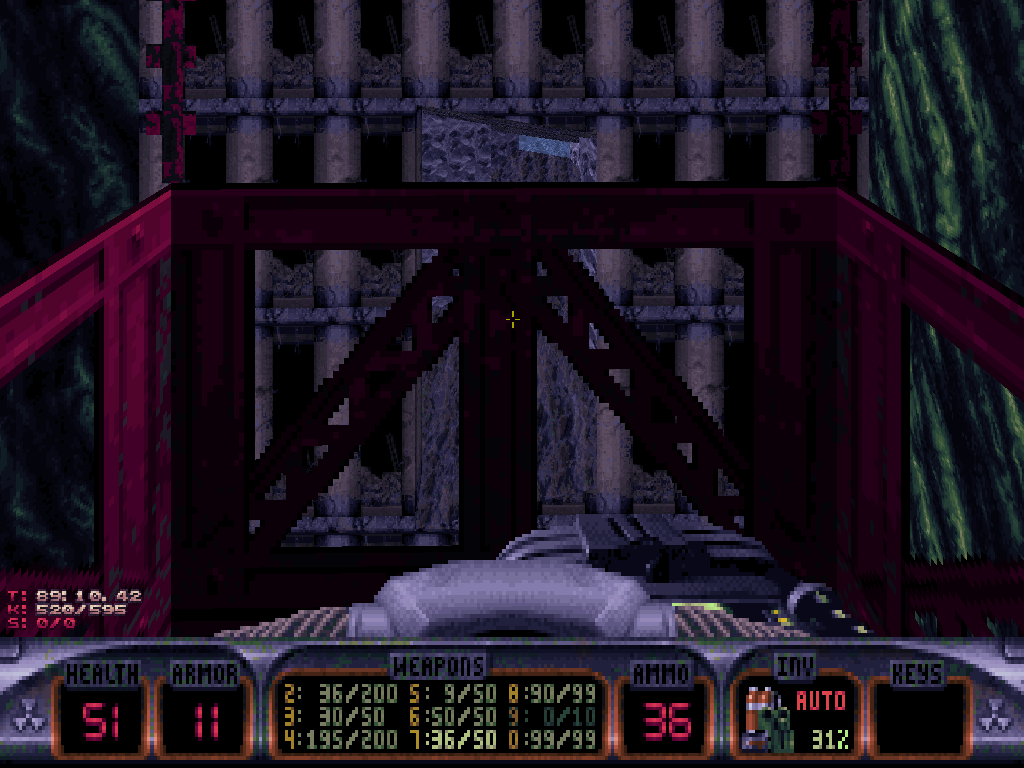
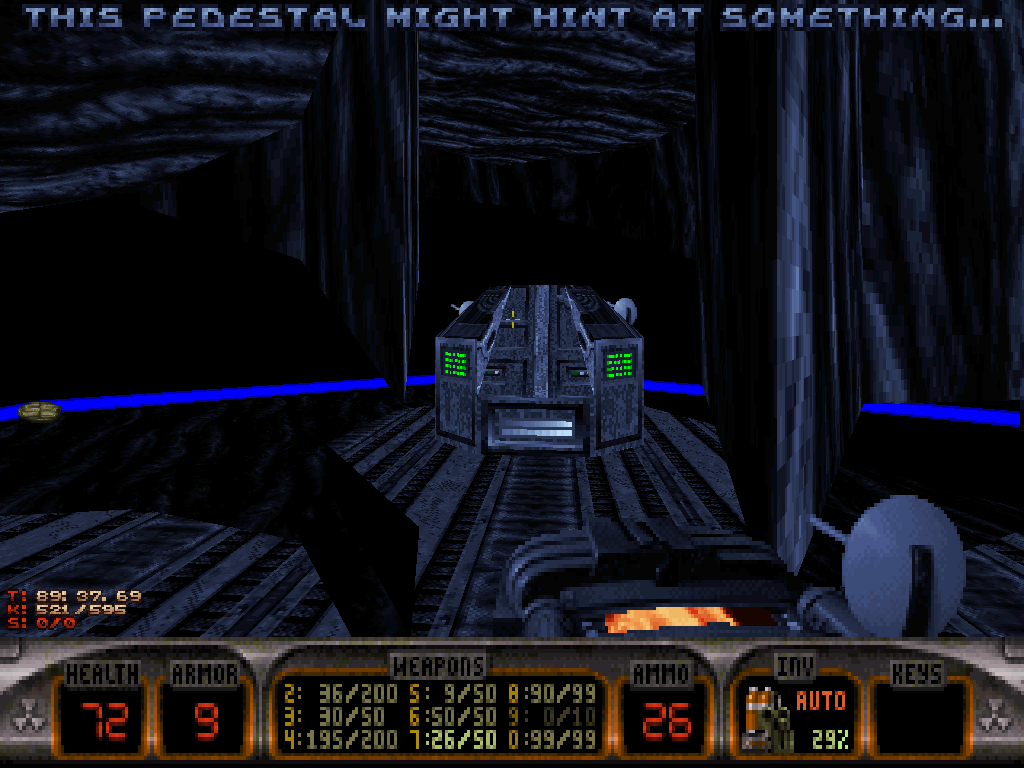
Duke might remember from his past how such pedestals only activate once the level's Special Crystal Globe is brought to them, and then help with progress.
And the Special Crystal Globe here just so happens to be the special item the other, westernmost niche of the sunken city conceals. Duke always could see it, but it seemed to be blocked by a forcefield.
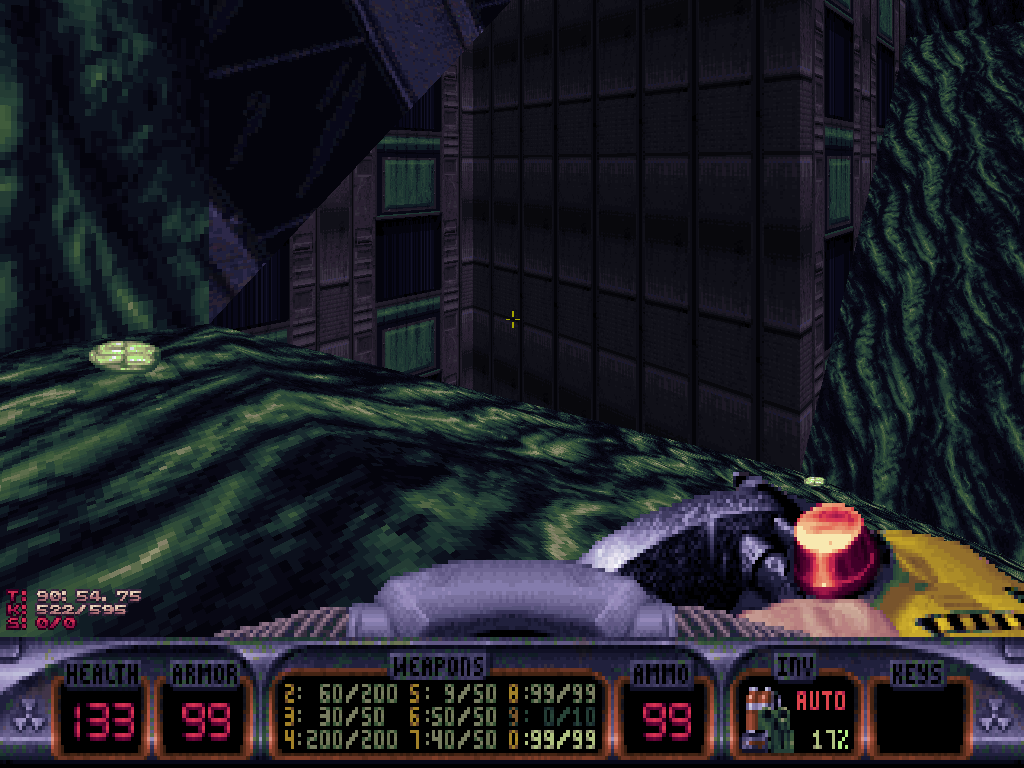
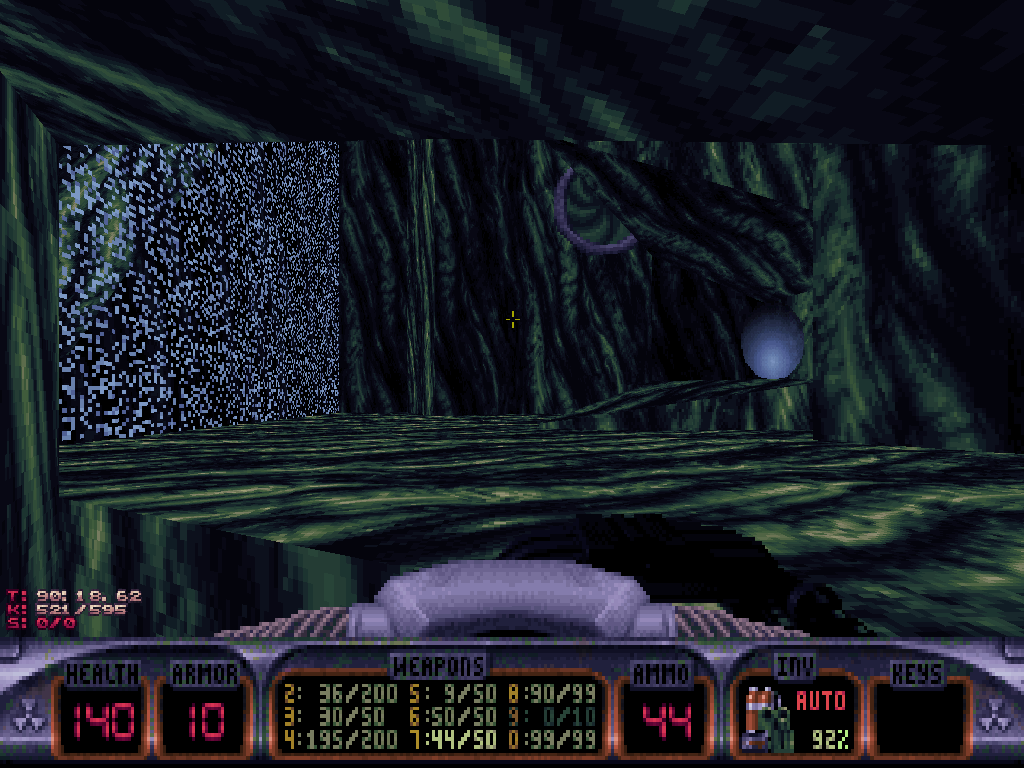
Rudimentary, but careful exploration of the city will reveal how there in fact is a way around and behind the forcefield, which is accessible by swimming underneath one of the collapsed buildings.
Once on the other side, Duke shall be able to deactivate the forcefield by pressing a switch, grab the Special Crystal Globe and then swim back to the lab to take it to the Hint Pedestal.
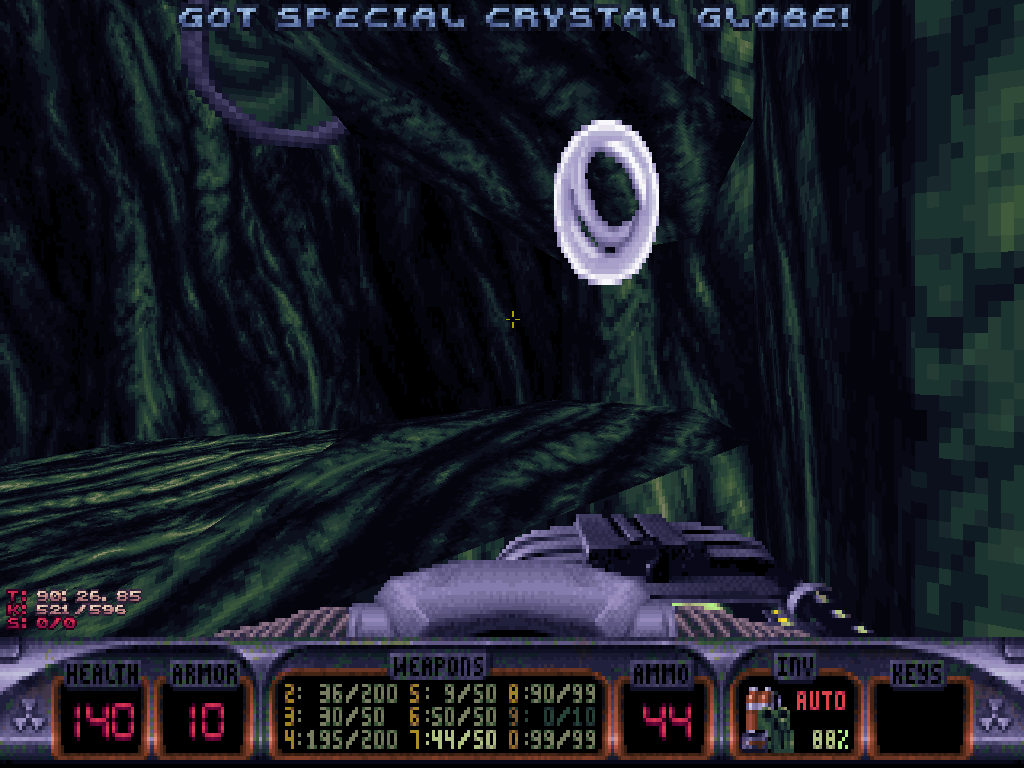
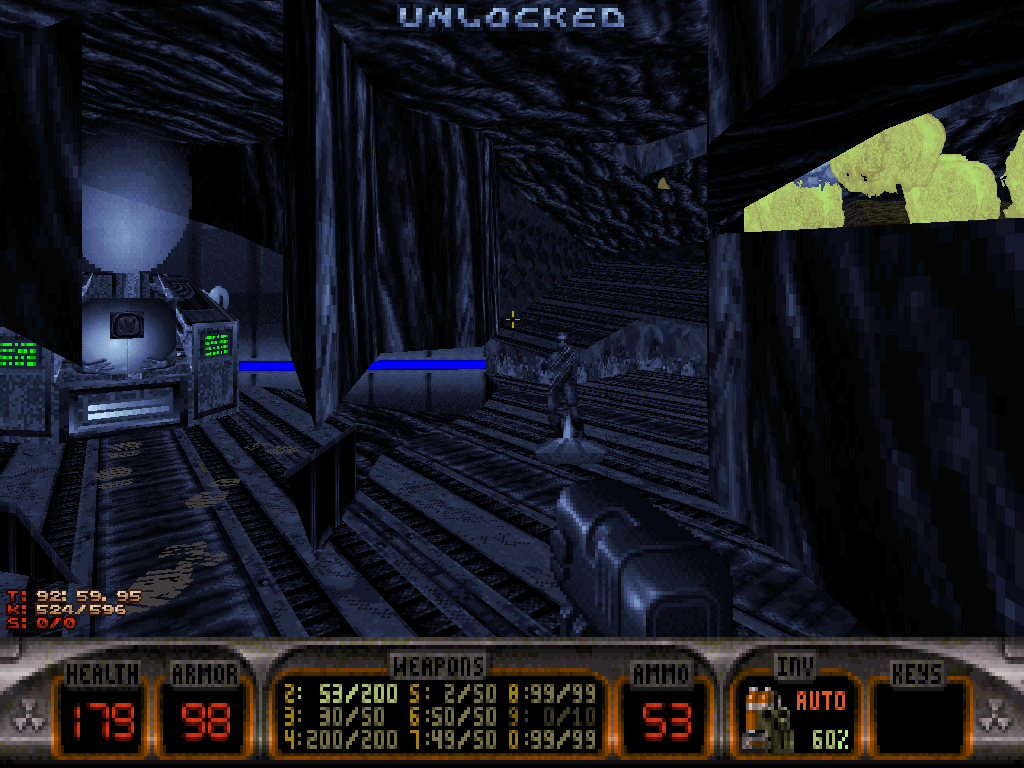
Placing the item on the pedestal will then reveal the way ahead by exploding the wall in the back of the room, allowing access to more of the labs.
The new room contains a giant Earth globe that is similar to another structure Duke may have seen earlier whilst exploring the level, outside, on the same side of the purple lava trench as the one of the giant drill and hole he just jumped into earlier but further east on the map, close to a gigantic building suspiciously comprehensibly marked as the "Earth Museum". (The lab also hosts a pack of Protector Drones Duke would be wise to wipe out.)
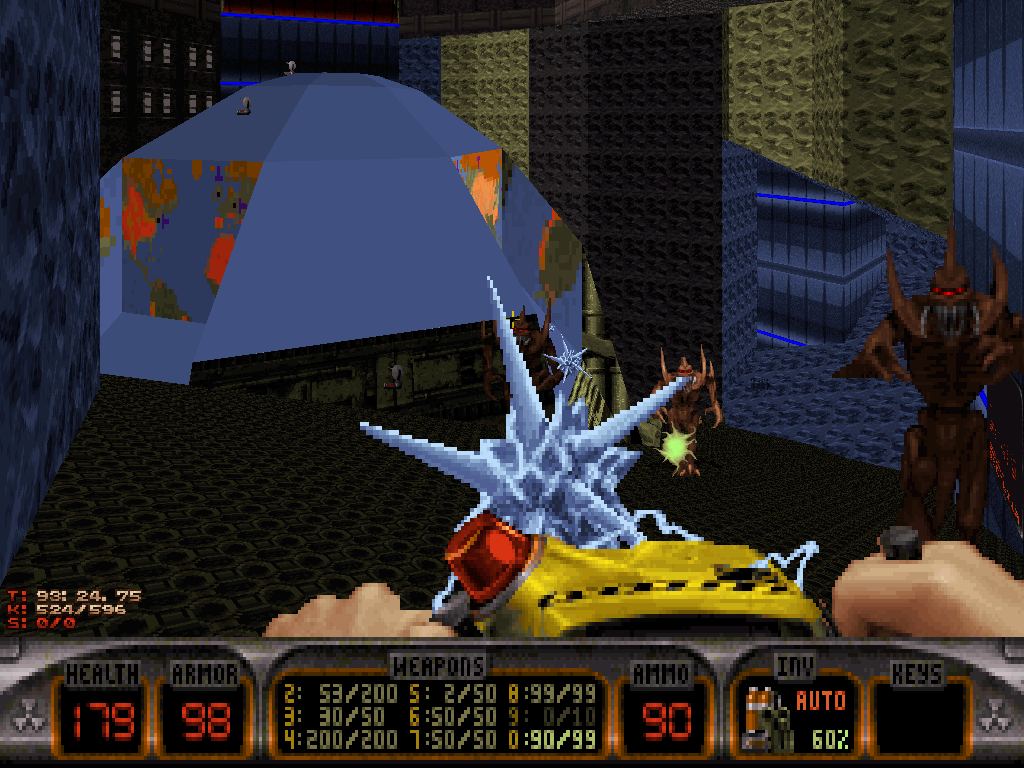
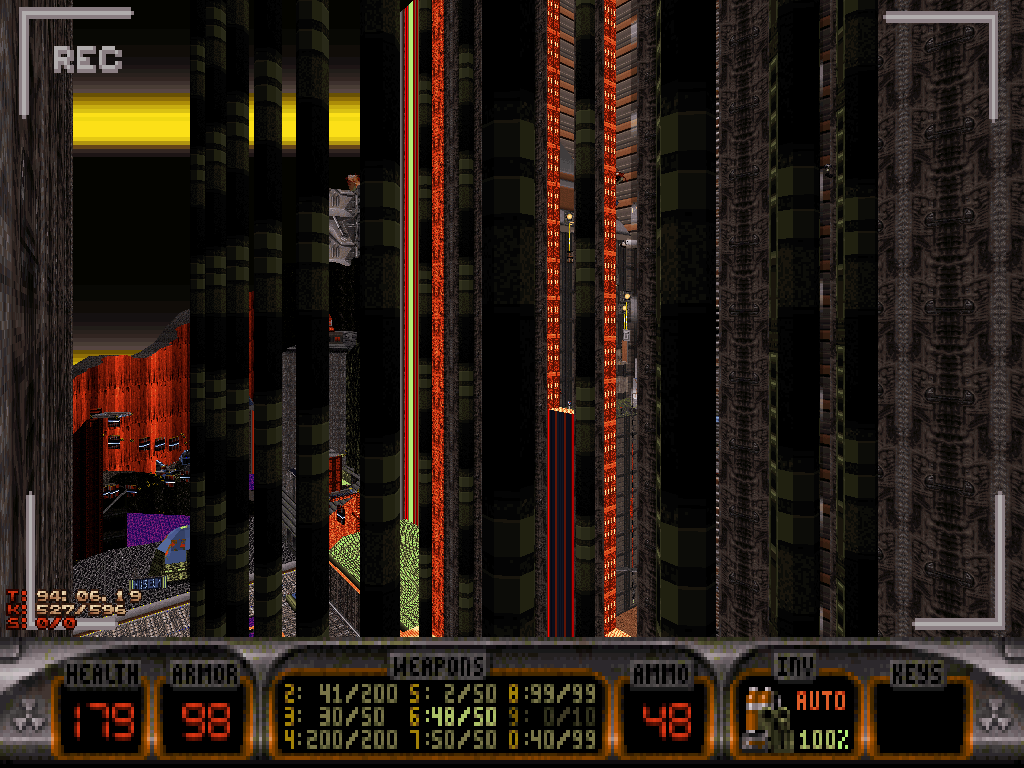
As suggested by the security camera screen inside the room, activating the Hint Pedestal achieved two things: the deactivation of the forcefields which, thus far, had been barring entry into the aforementioned Earth Museum; and the effective connection of both Earth globes around the map as teleportation devices from one to the other, interchangeably.
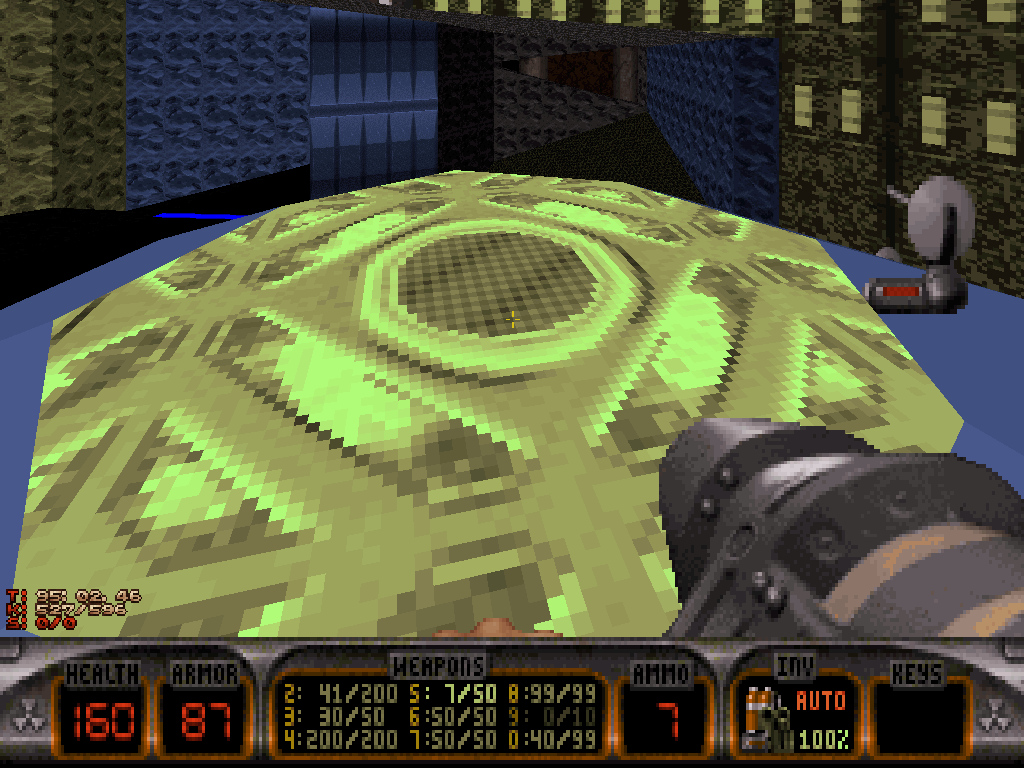
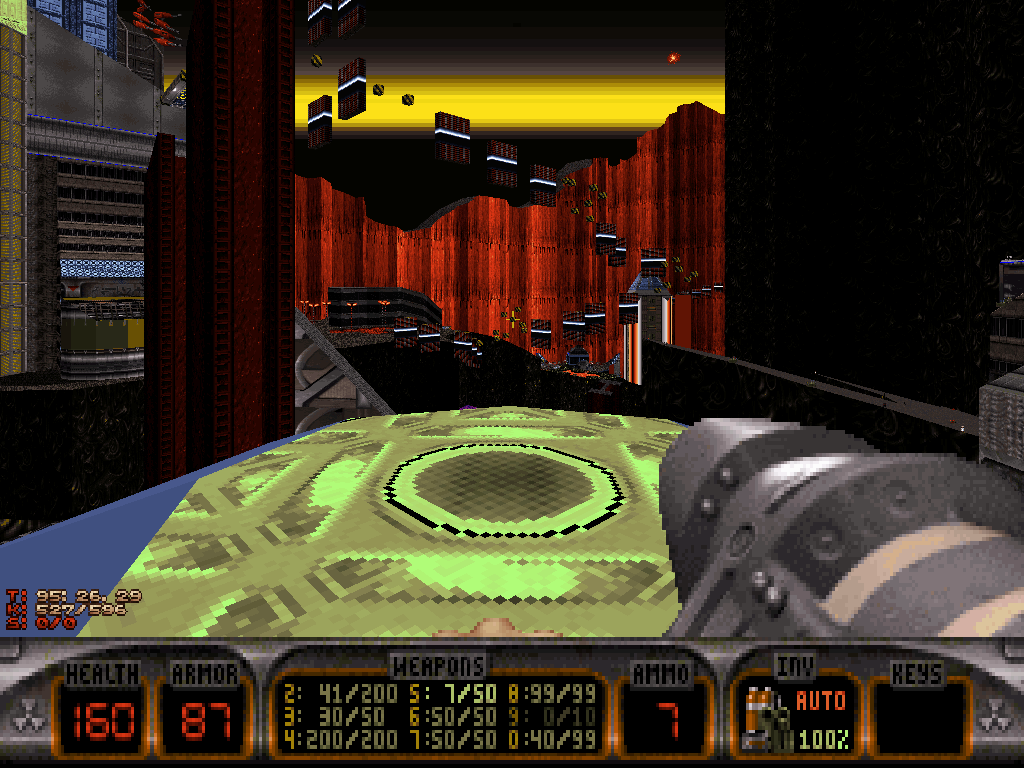
So, now that he's done it, Duke can climb on top of the Earth globe in the lab in order to warp to the one at the entrance of the Earth Museum.
There - unless he's taken the time for an earlier visit - Duke will have to make do with one particularly gnarly welcoming committee, consisting in one Permafrost Cycloid Emperor roaming around the entrance of the plaza, one Cycoid Sentry to keep it company, plus one Permafried Battlelord to snipe Duke with rockets and Microwave Expander hitscan from the top of one of the wings; then some fodder (and items) around the lower part of the plaza, followed by a duo of full-sized Overlords: one Permafrost, one Permafried which will drop down on Duke as he reaches the top floor, just about ready to chase him back down.
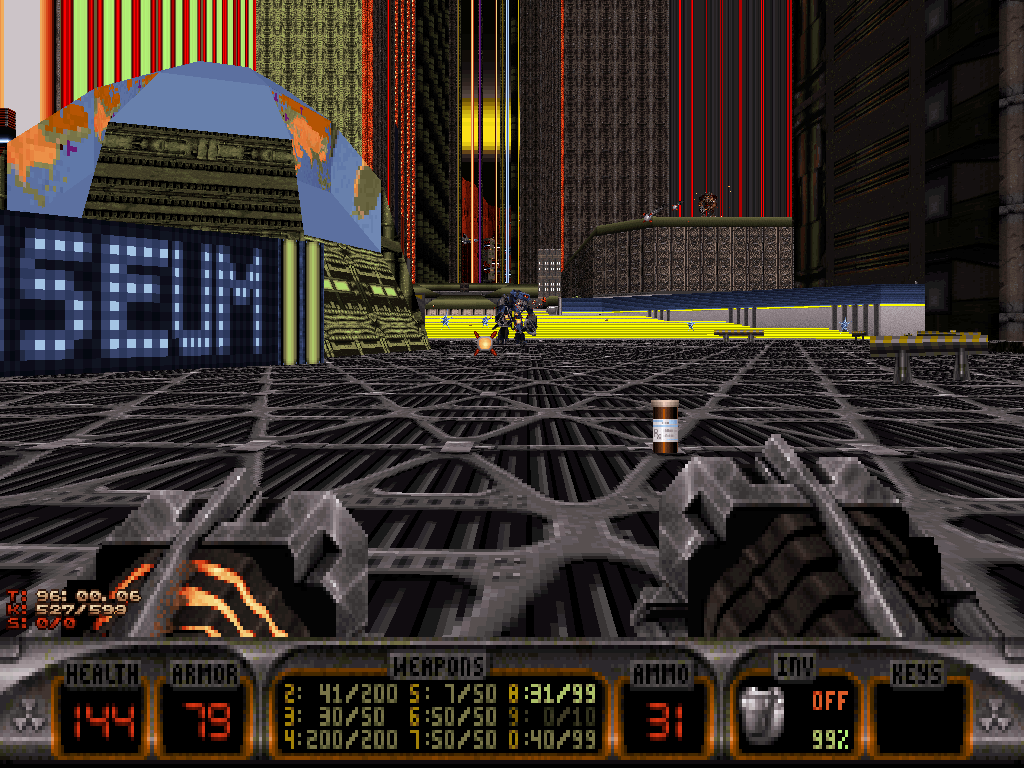
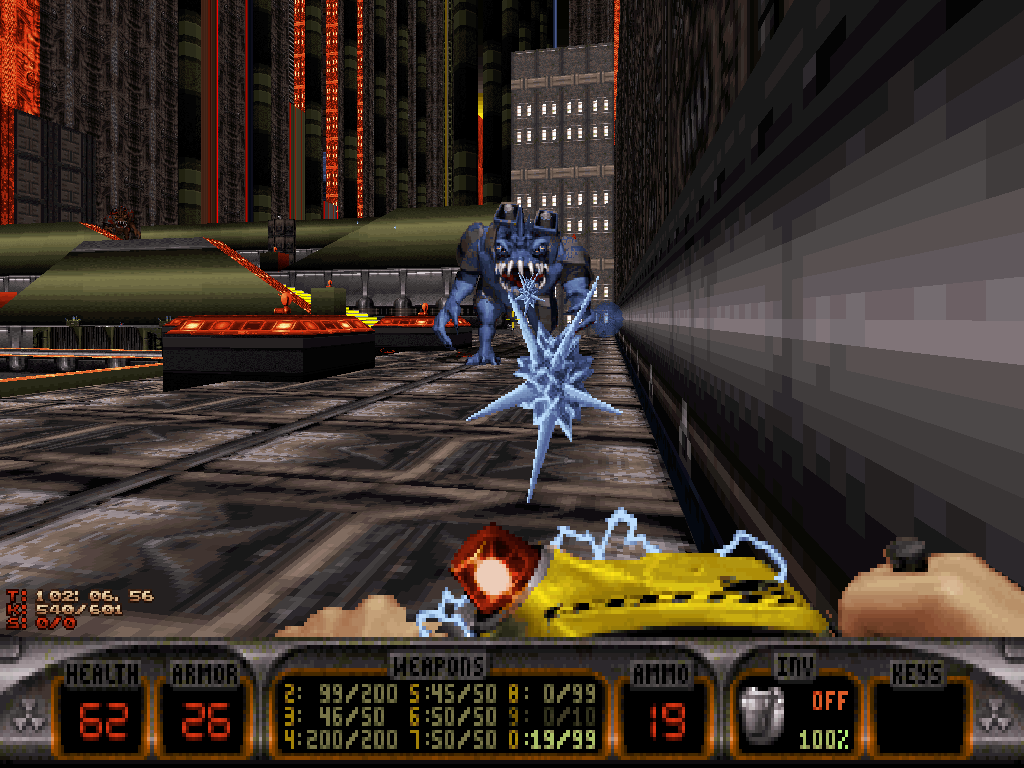
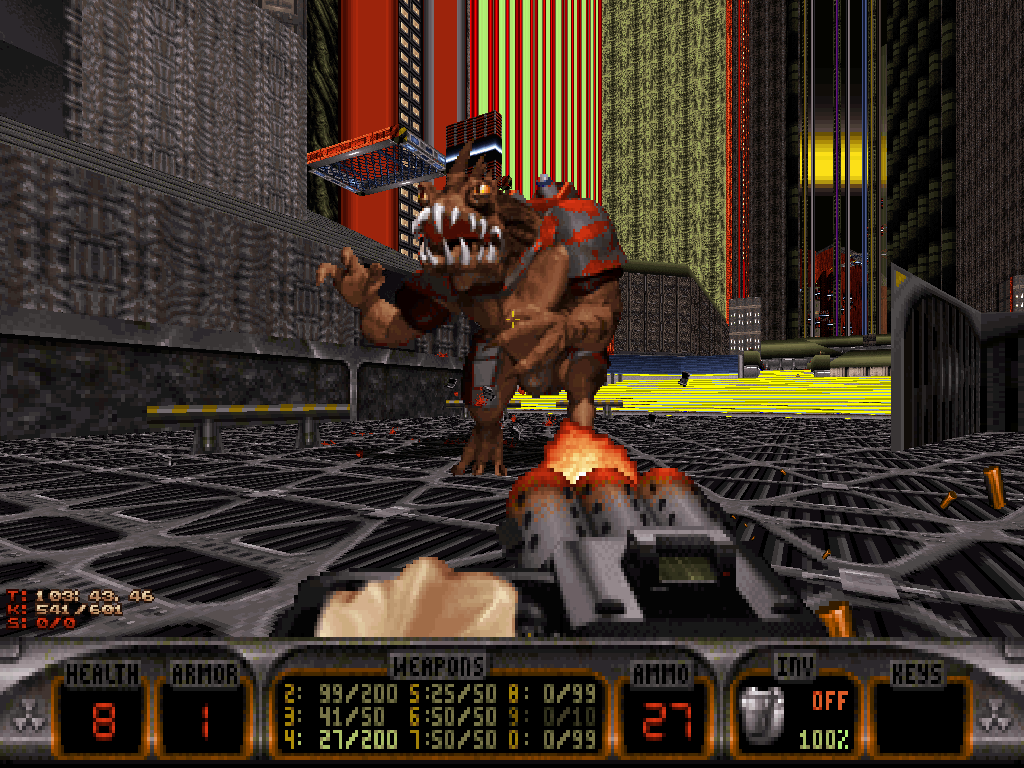
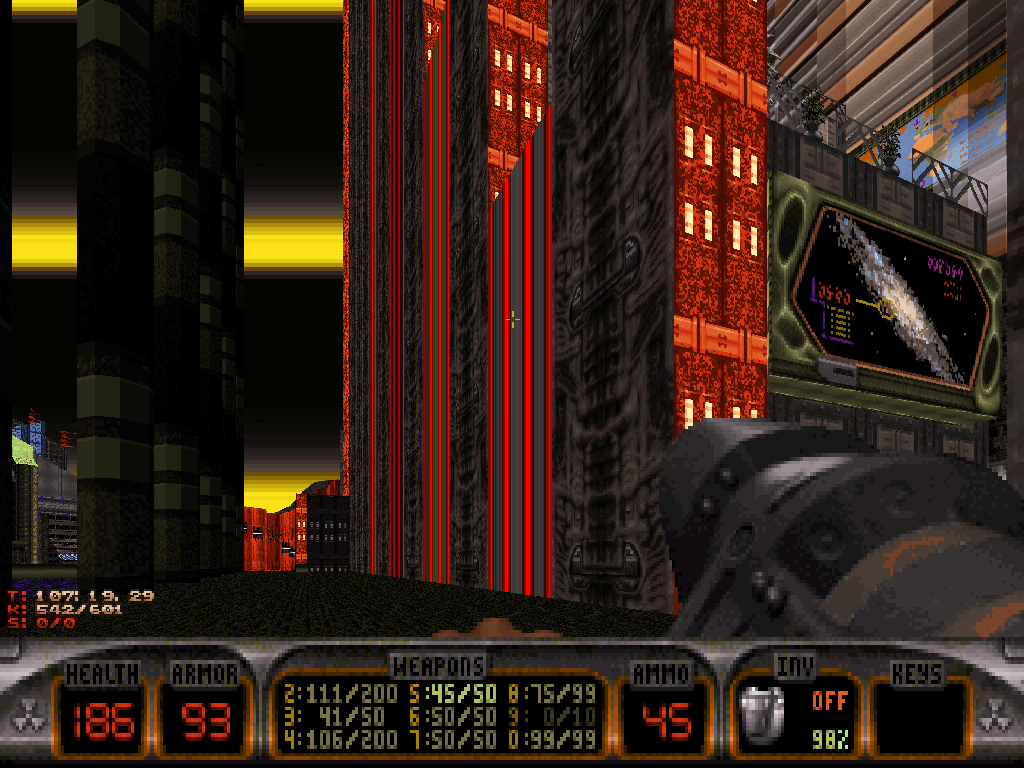
Thankfully, supplies and space are aplenty and so, as long as he behaves, Duke shouldn't be breaking any sweat conquering the entire plaza (which should be reminiscent of something and thus feel familiar already), before finally reaching the entrance of the Earth Museum.
Remember the red keypad and forcefield near the start of the level, past the blue key door? Well, the Earth Museum turns out to be where the corresponding red key is situated, and so Duke's imminent next objective should be to retrieve it there.
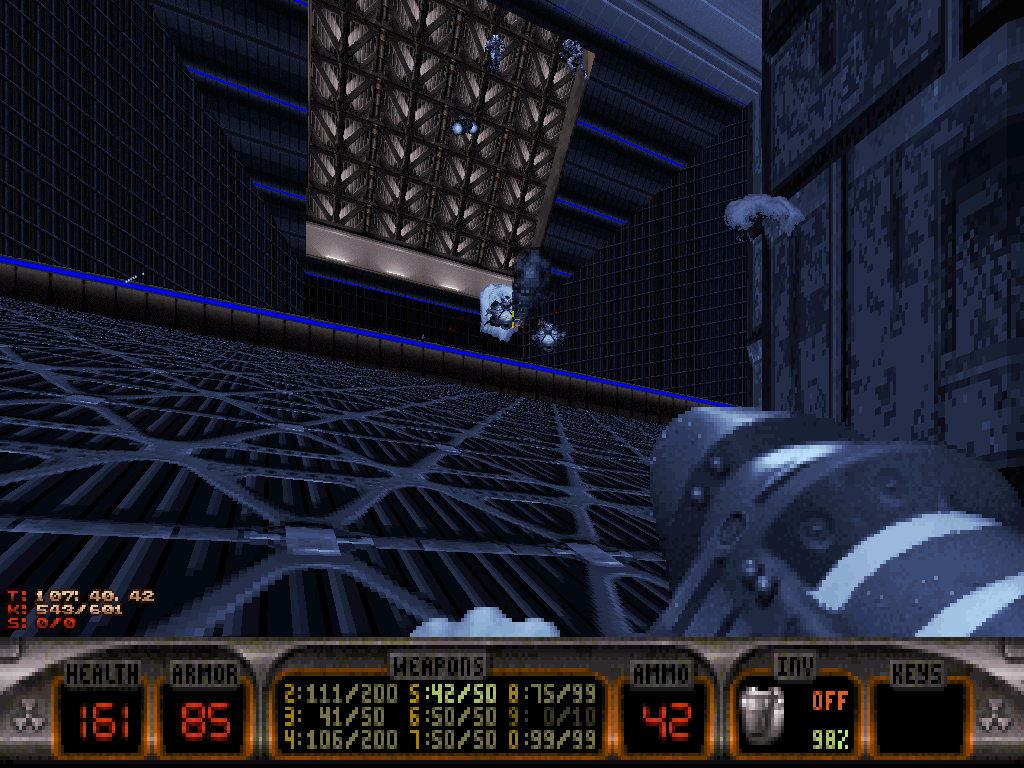
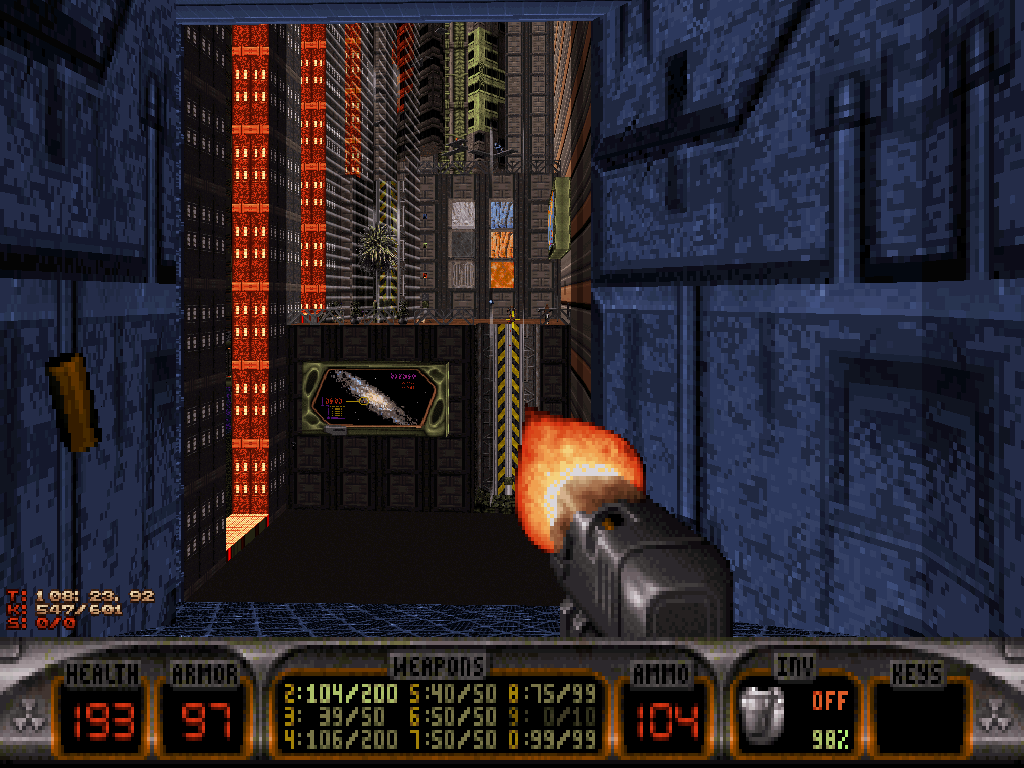
Entering the museum from ground level, through the lowest window, will expose its basic layout, featuring: a locked door across the lobby (which has electrified floor Duke should watch out for), a mechanical enclave up north (the ceiling of which seems to comprise a massive access hatch), and then a long, literal escalation of exhibitions, organized per floor, that spans for several stories all the way across to the southernmost part of the building.
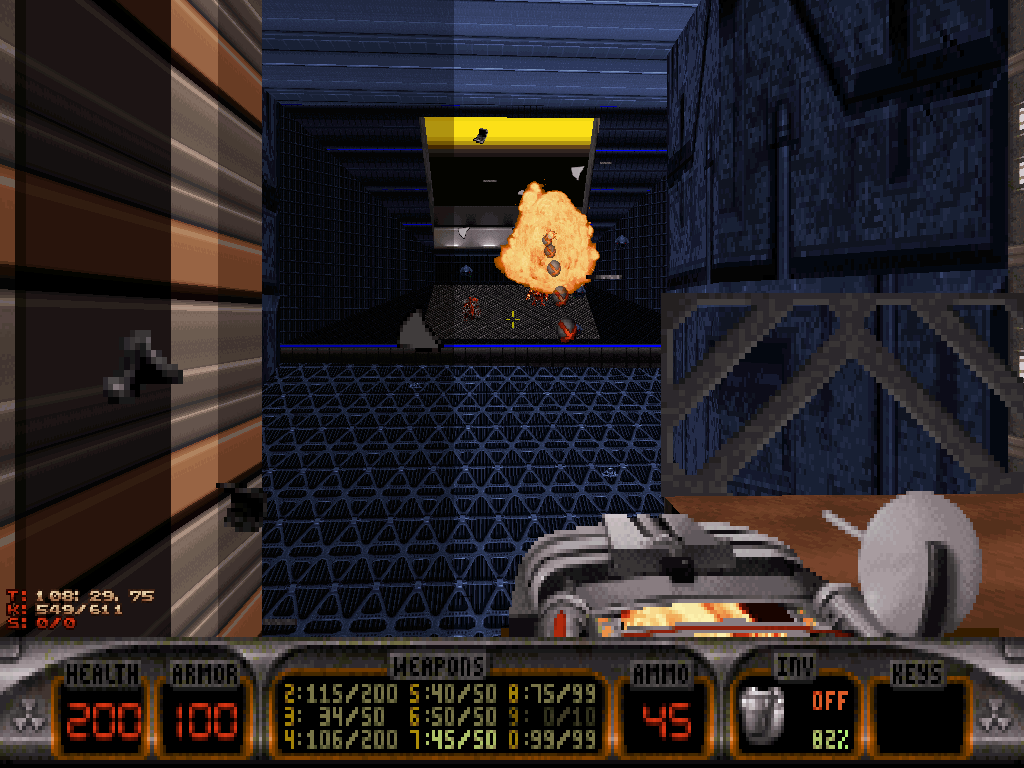
Any time, Duke can open the locked door in the lobby by pressing a specific switch on the first exhibition floor, but that also will open the access hatch Duke saw in the ceiling and thus, allow some more tough opposition to drop in. Behind the door is an elevator which is blocked by a forcefield for now, anyway and so whenever Duke goes to touch that switch should depend on his mood.
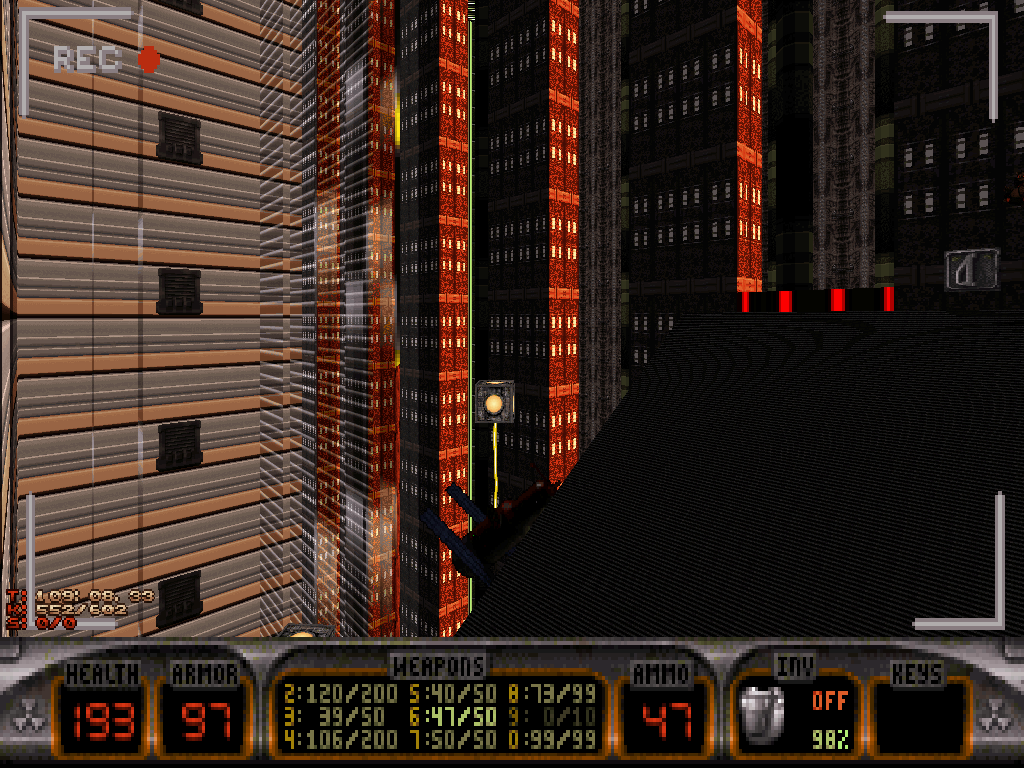
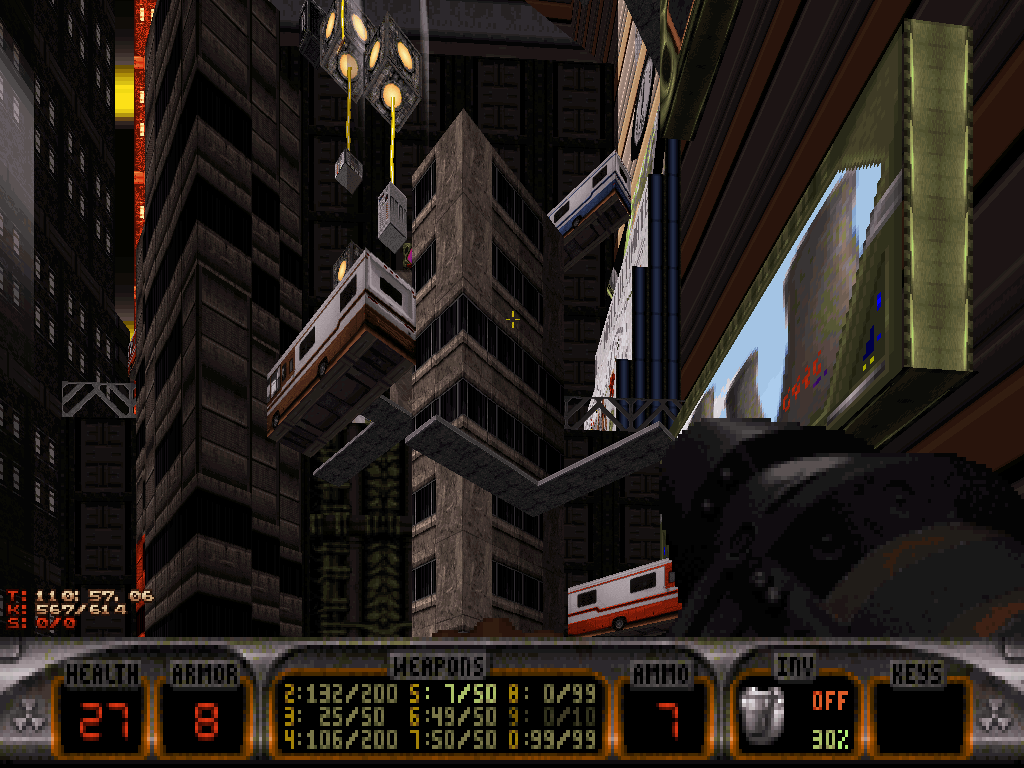
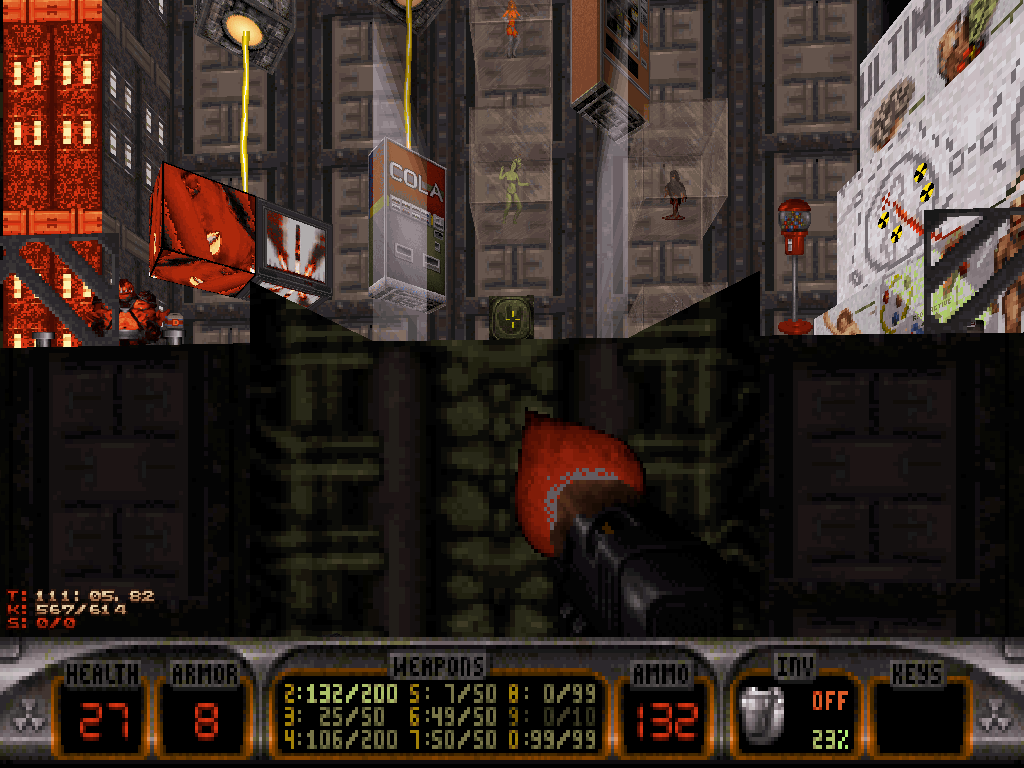
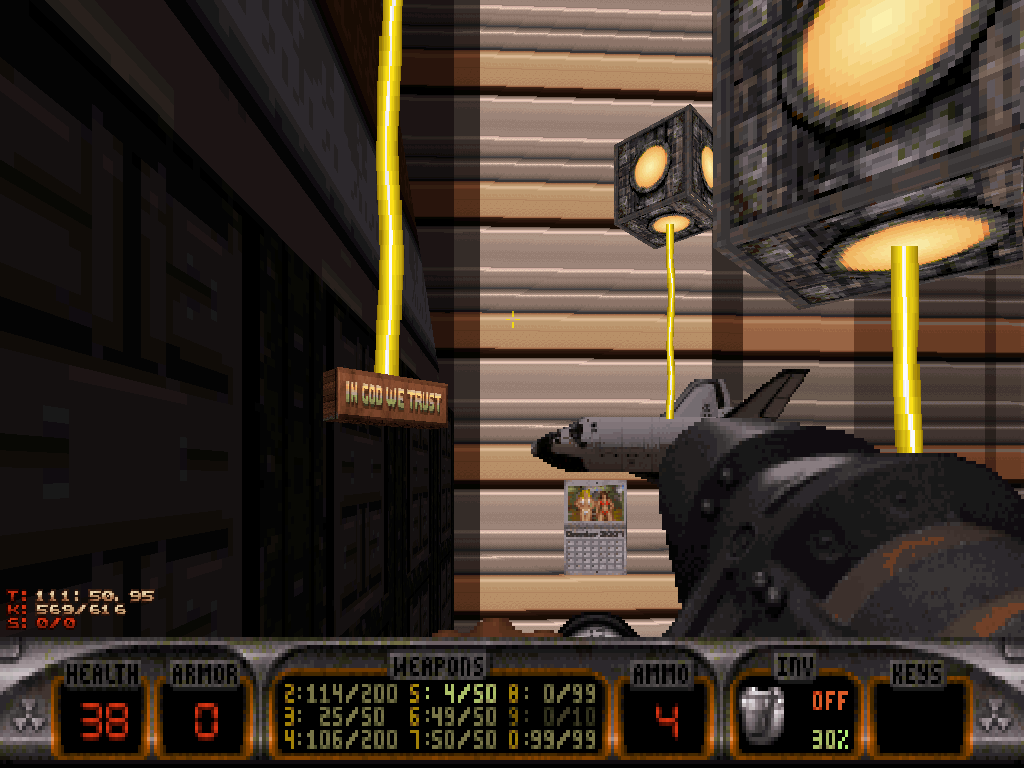
If Duke is fully stocked on jetpack fuel, then he probably can just fly to where the red key is from the get-go. Otherwise, he'll need to follow a rather complicated pedestrian route through each and every exhibition that involves playing around with several elevators and switches, as well as some increasingly extreme platforming until he reaches the very top floor that is accessible in this section, where a switch can be found.
Pressing the button will deactivate the forcefield behind the door Duke saw earlier, in the lobby.
After he's done that and taken profound care of the Assault Commanders and Sentry Drones that just broke out of the opposite building to disapprove, Duke can head back downstairs (if his boots are in great enough condition still, then jumping out of the window to relatively safely land into the central pool of purple lava outside, and then reentry the lobby is one possible quick way).
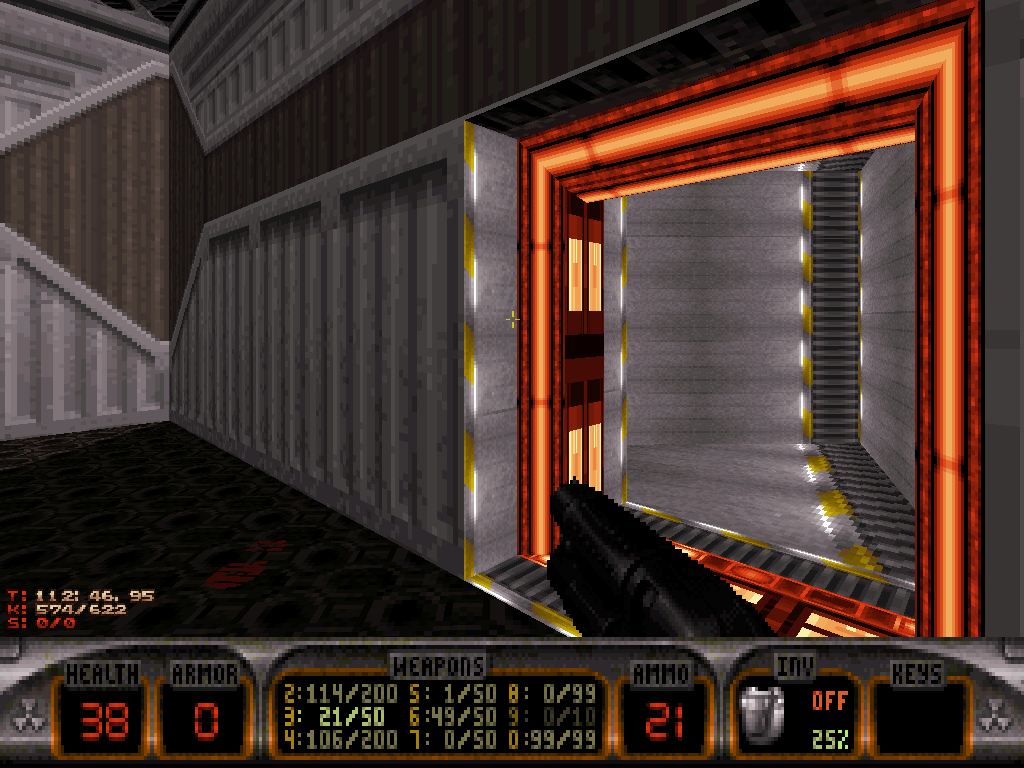
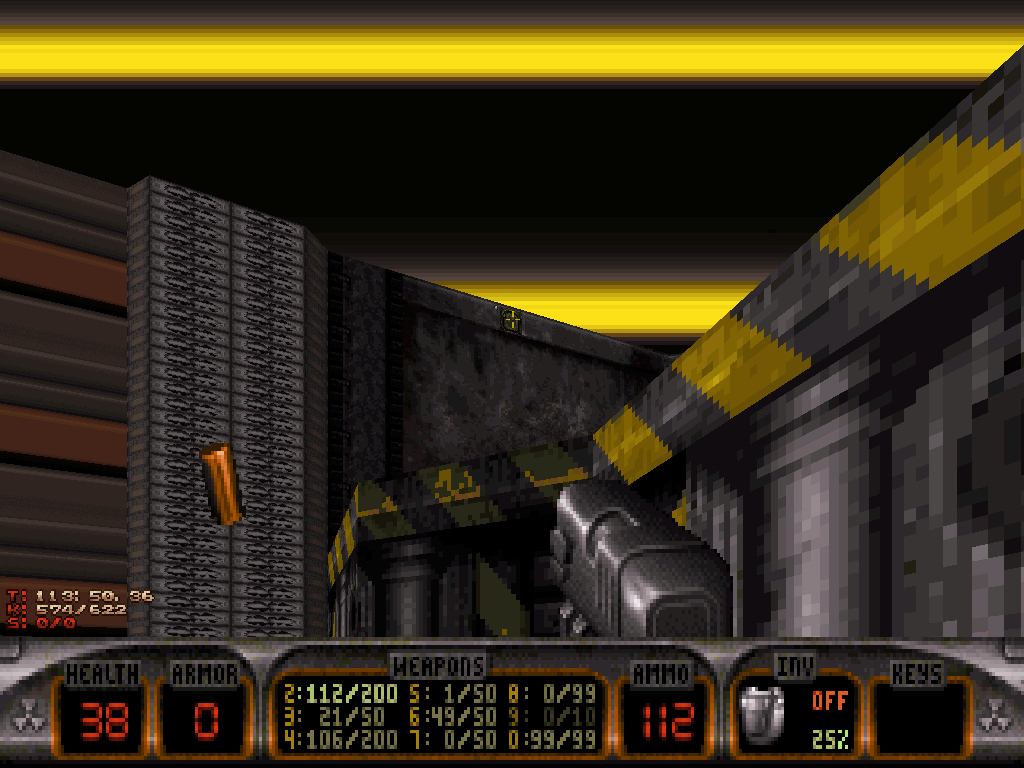
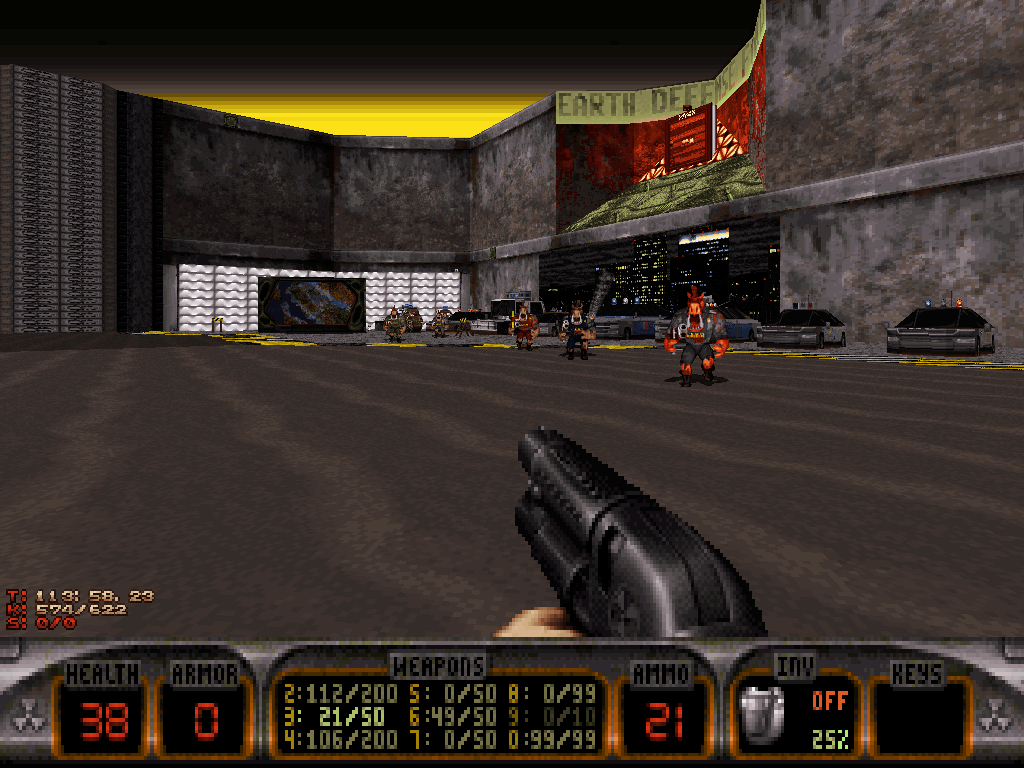
The newly unlocked door will lead Duke to an elevator which itself will take him to the very top floor of the Earth Museum, which towers over all the exhibition floors and is where the red key is situated, but also a very special, one-off show which shall reveal itself after Duke has shot a particular green switch on one of the walls; that will lower the central platform.
The theme of the special exhibition is the Earth Defense Forces, and it features every Pig Cop enemy variant (and their respective cars) Duke has been encountering in the game, all coming for him at once.
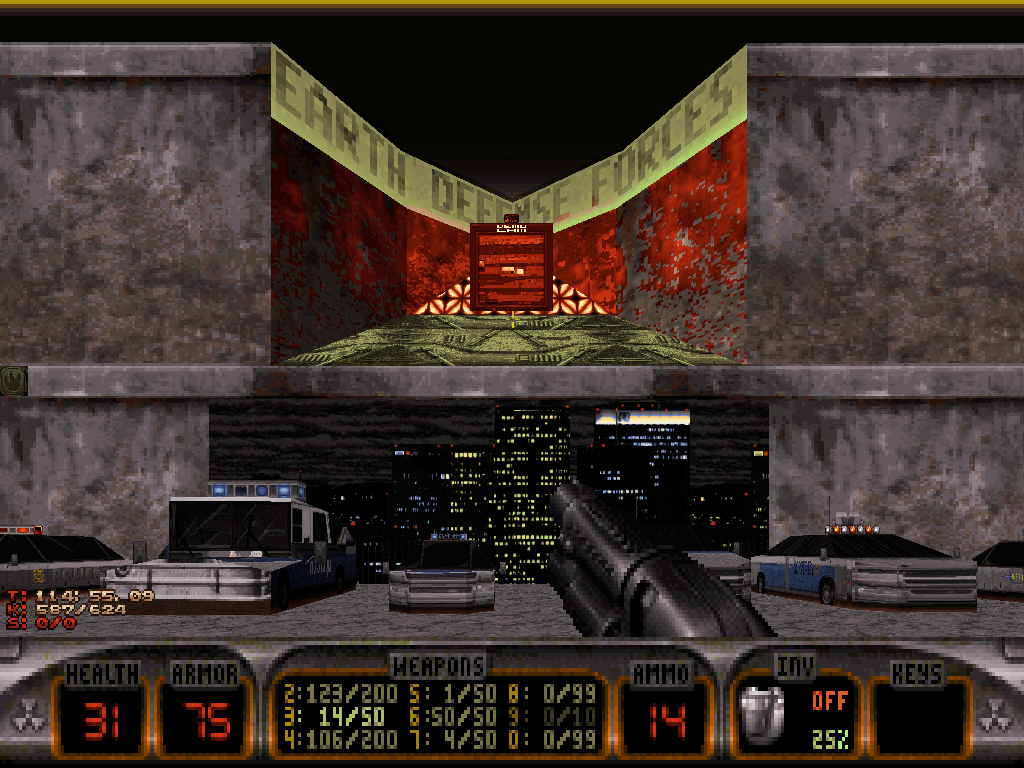
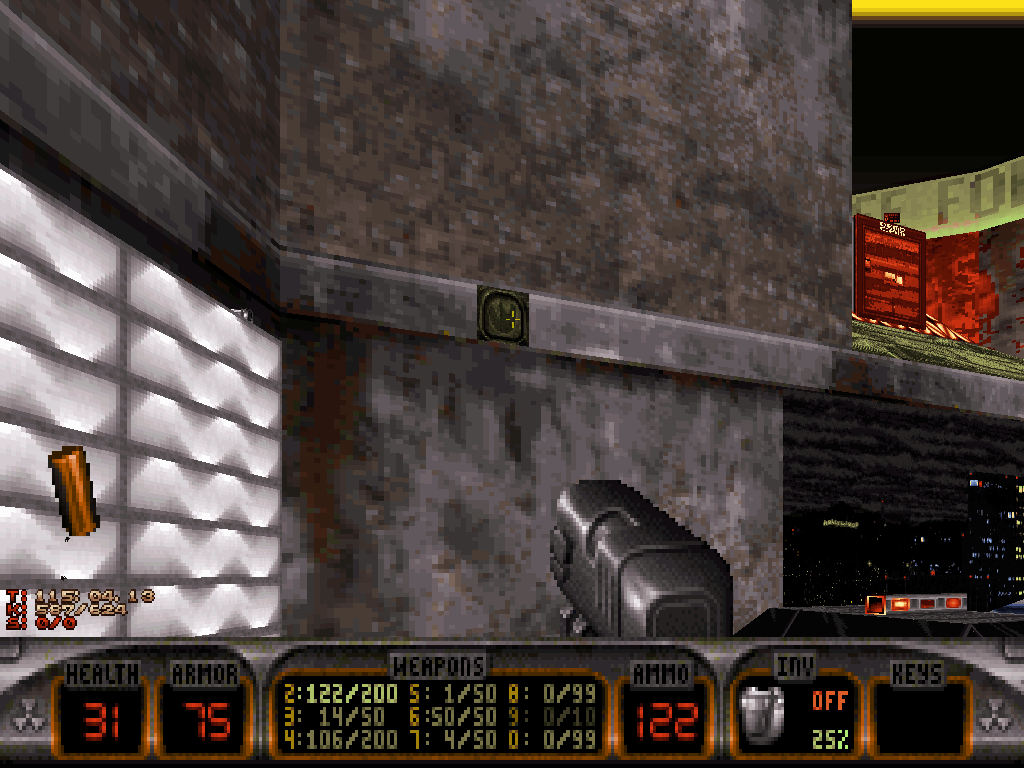
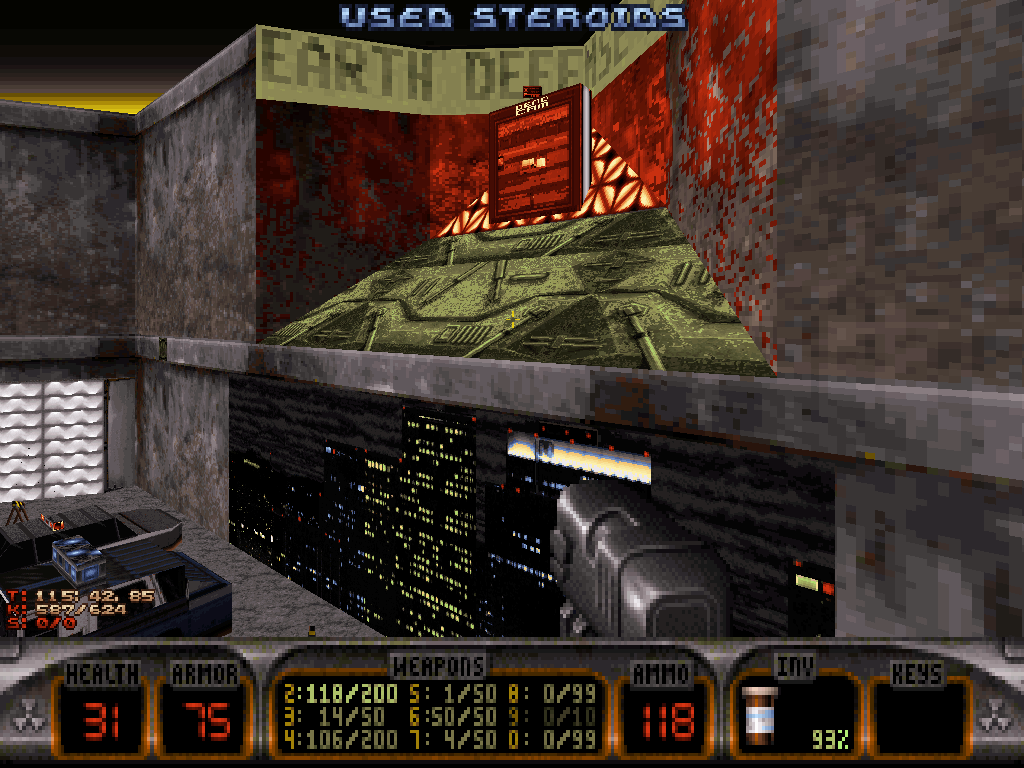
After he's grilled them all, our hero (?) shall be able to focus and spot the red key that is resting, high up, on top of a T.V. screen that is perpetually broadcasting the O.J. Simpson chase.
If he still can't just fly there or is feeling like some gymnastics, Duke can access it by shooting the switch for the central platform again in order to raise it all the while standing on it, and then performing a Steroids jump. There also is another button on the next wall that Duke can shoot which will raise a different element, and possibly allow pedestrian access to another platform with an emergency jetpack.
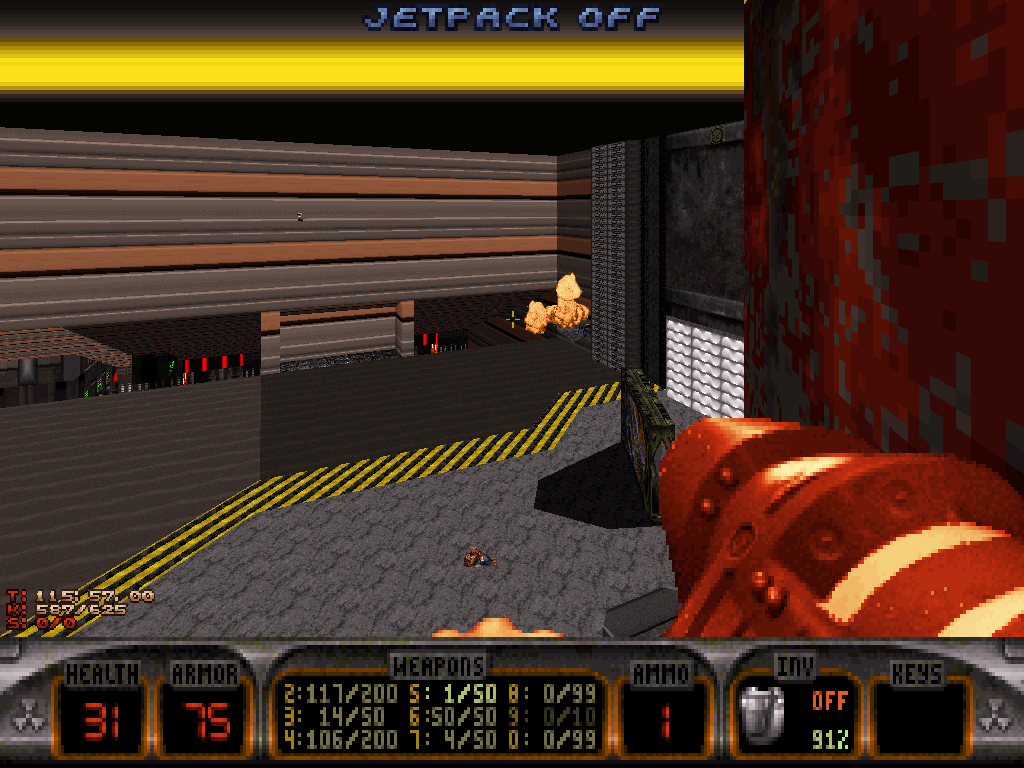
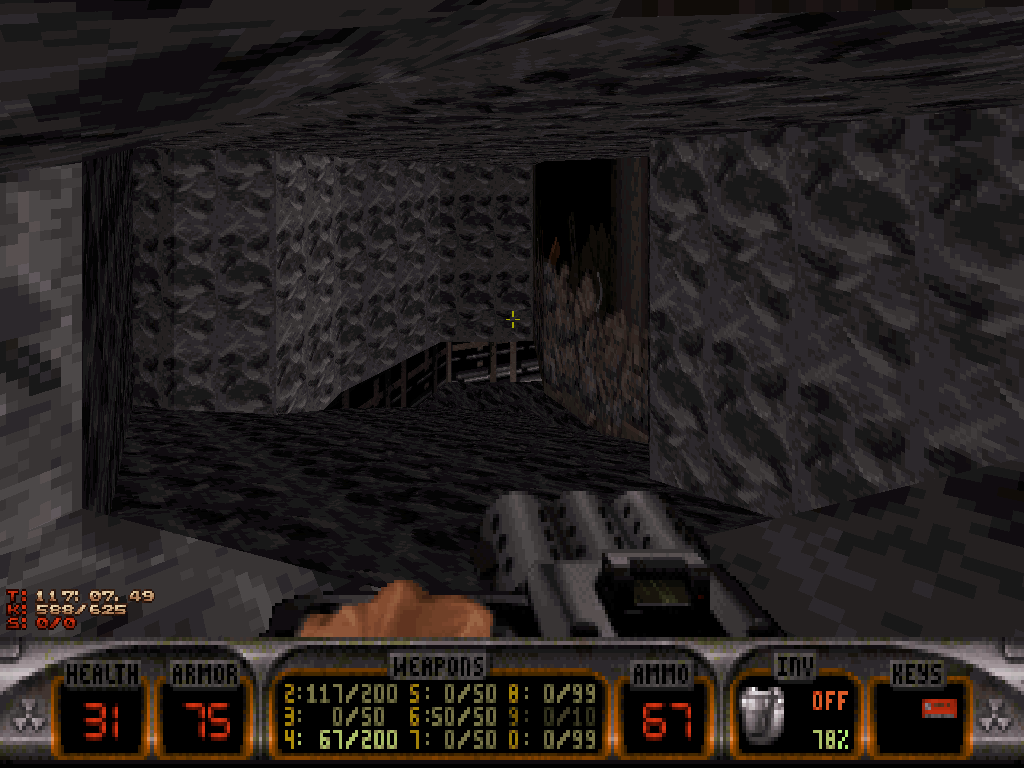
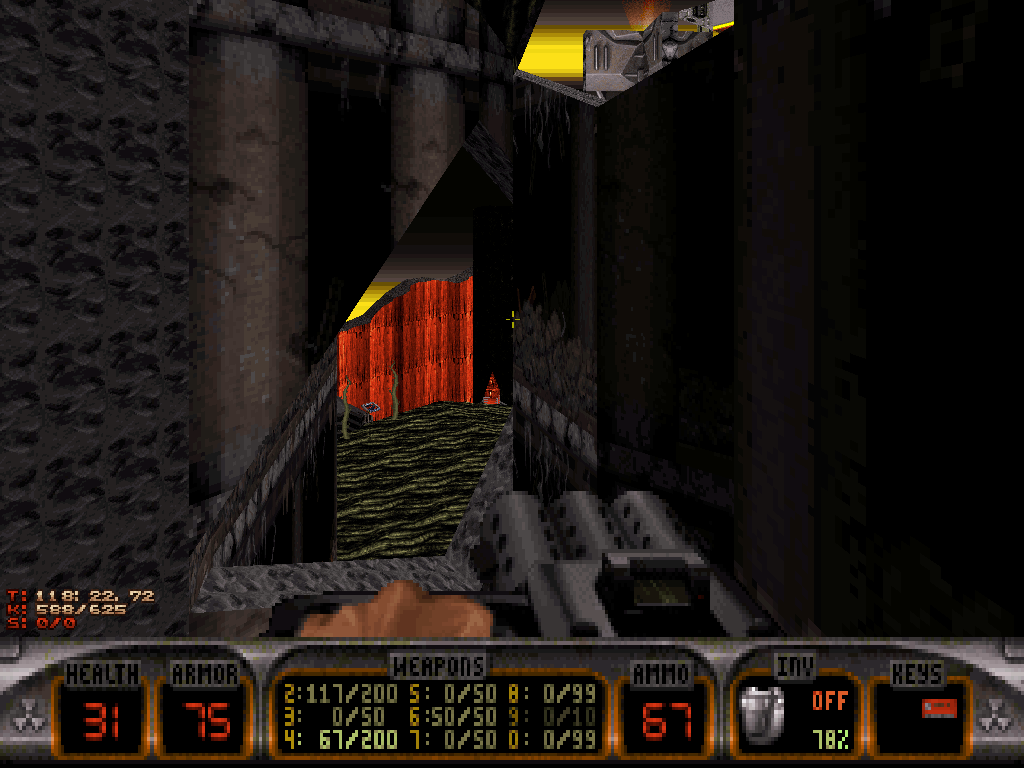
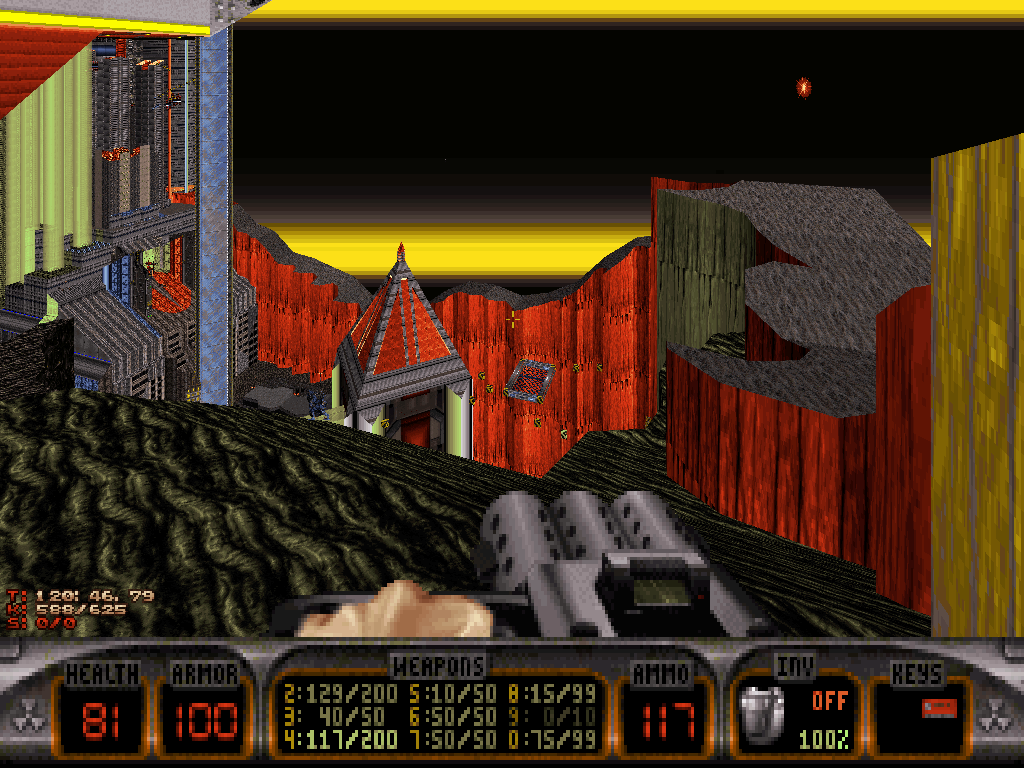
Duke snagging the key will provoke the intervention from an Ice Cold Overlord Sentry which will be coming in by blasting through one of the walls. Once that pest is exterminated, Duke can enter the newly accessible tunnel out of the museum, which will take him back to the alien landmass close to where the giant drill is, outside.
From that point on, Duke can use the cliffs to get around the map, avoid all the purple lava and slowly but surely make it back to the starting area, on top of the colossal building with the electrified floor, and then back inside to the red key pad. Or, again, he also could just fly across, his condition in the moment permitting (all the while anticipating that some new forces may have been intervening on location since his last visit).
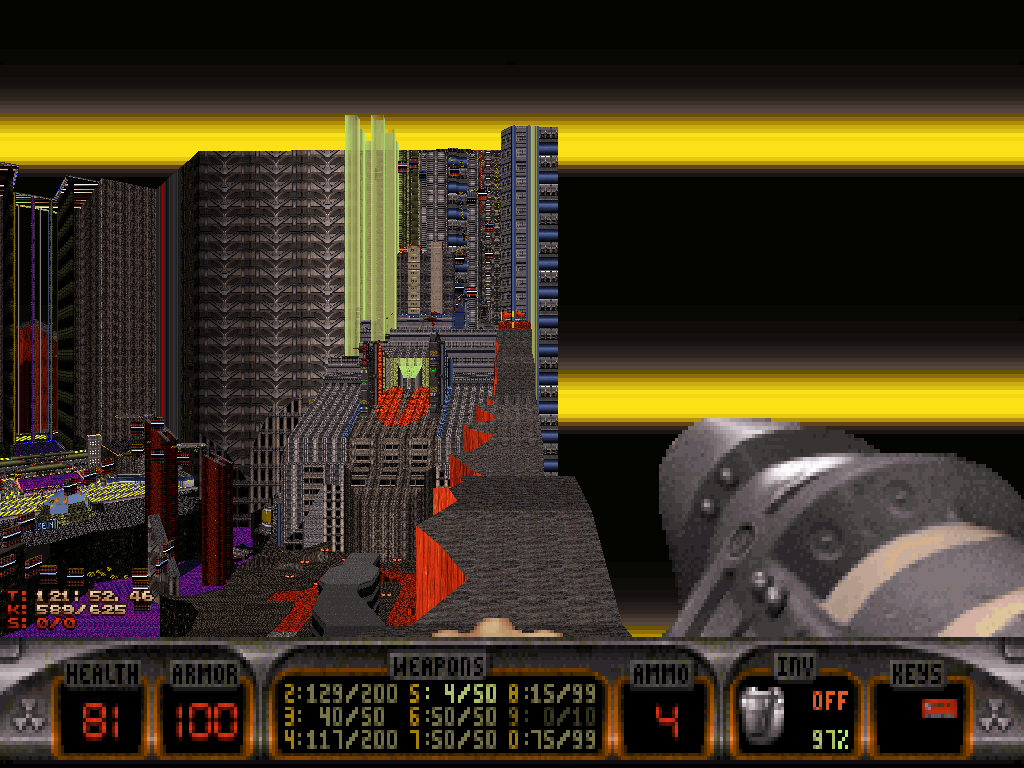
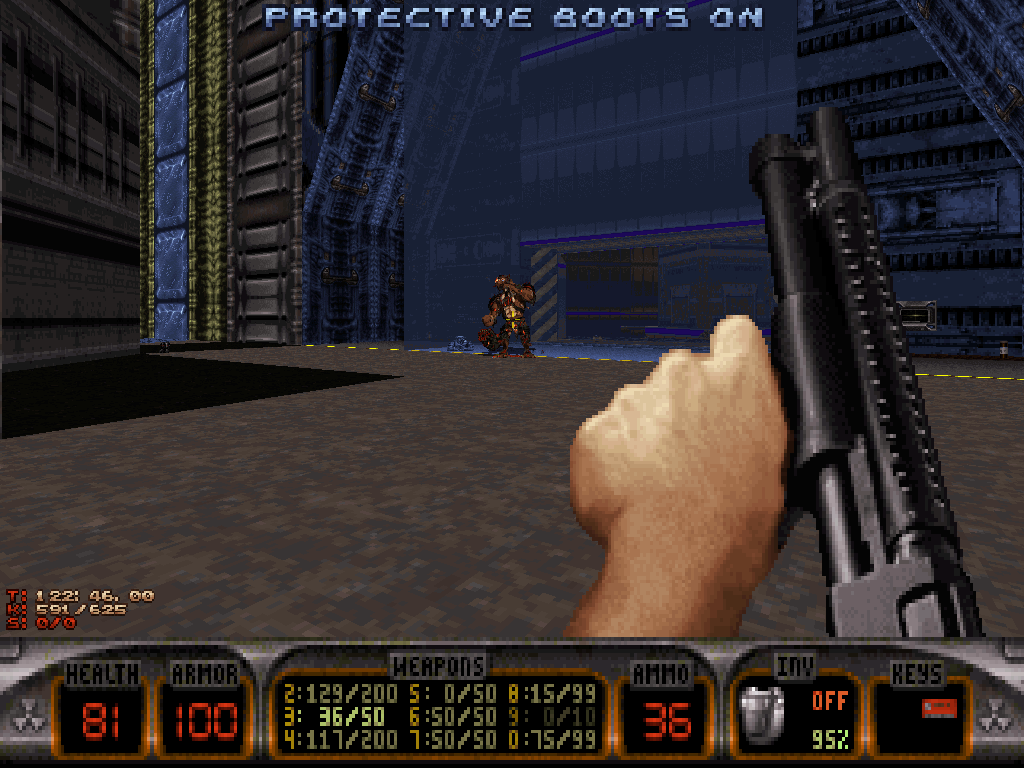
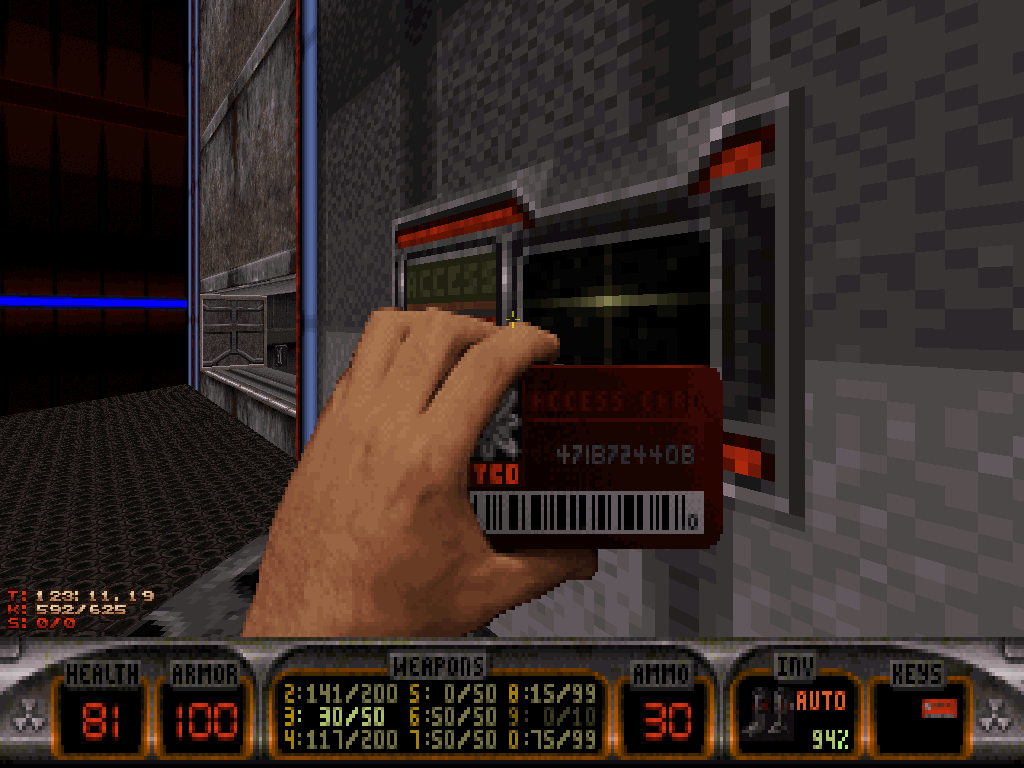
After Duke's used the red key, the forcefields will turn off and now, a new control room inside the building will become accessible (it is the room Duke already got to see through bars earlier, when he retrieved the chaingun).
One side effect of Duke entering said room is, the central pillar in the main hall will come down and reveal a column of Sentry Drones; the layout of the floor shouldn't make for a tough fight, but there is a button on a wall next to the window to lower the bars and allow for a quick exit out of the control room if such an escape ever is needed.
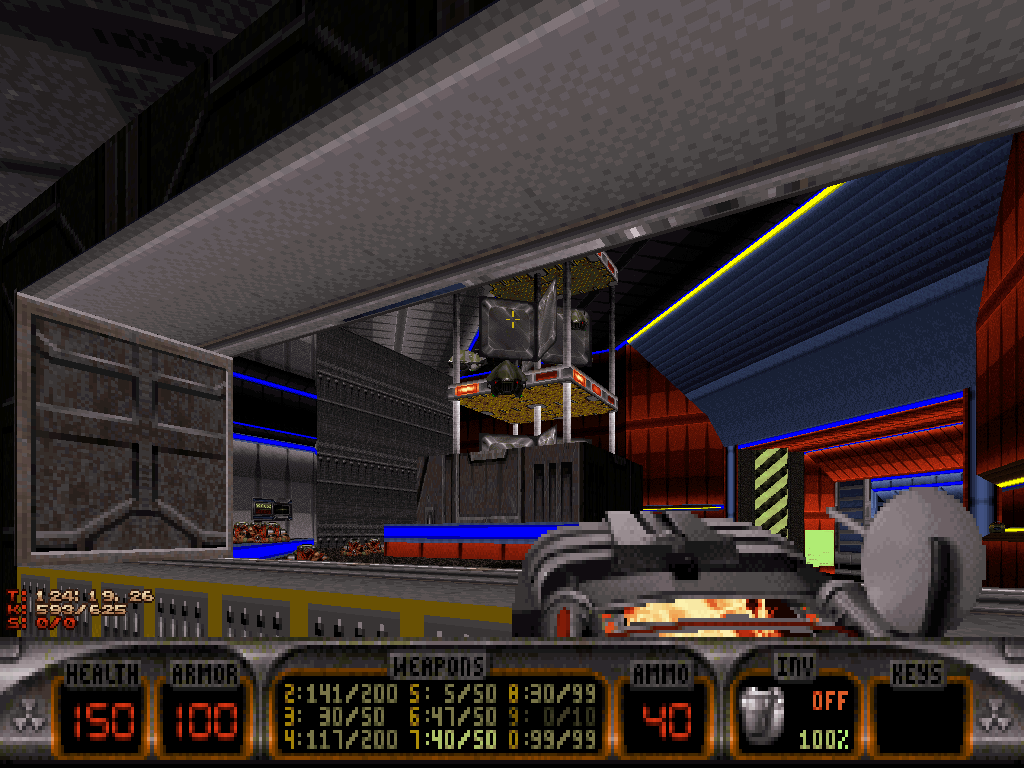
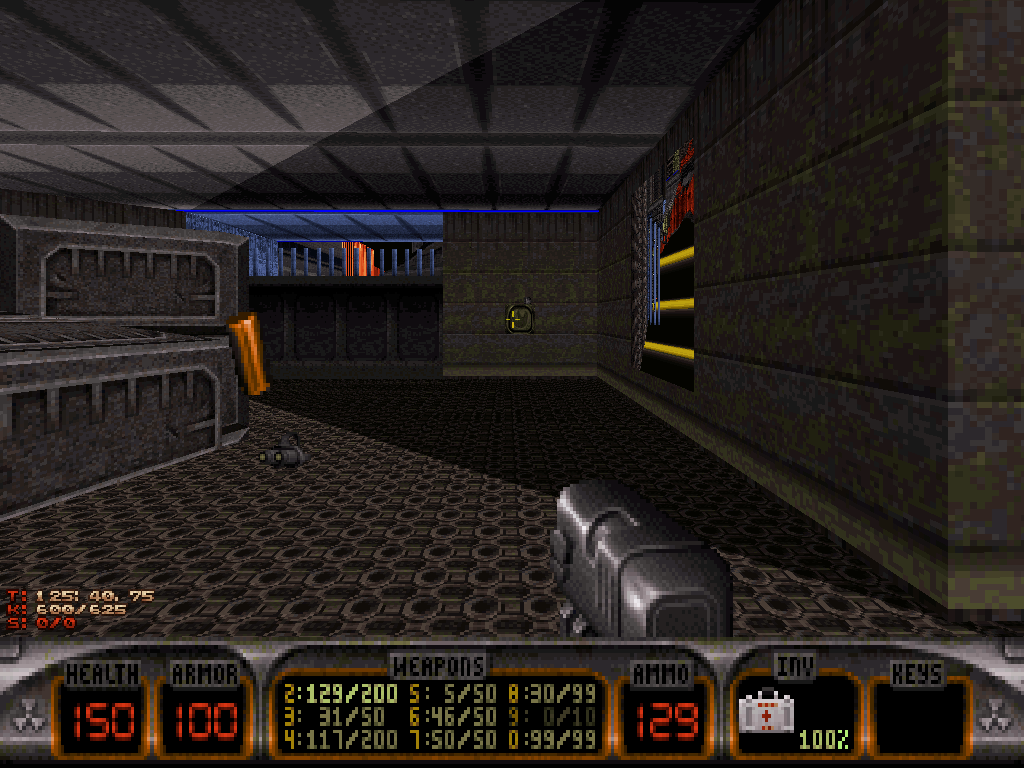
Another side effect is, Duke eventually shall find one particular switch, on a different wall, which causes a panel in the previous hallway to temporarily raise and reveal apparent progress after it is flicked.
The panel doesn't stay up for long after Duke's triggered its opening and so, some quick jogging may be in order as to make it.
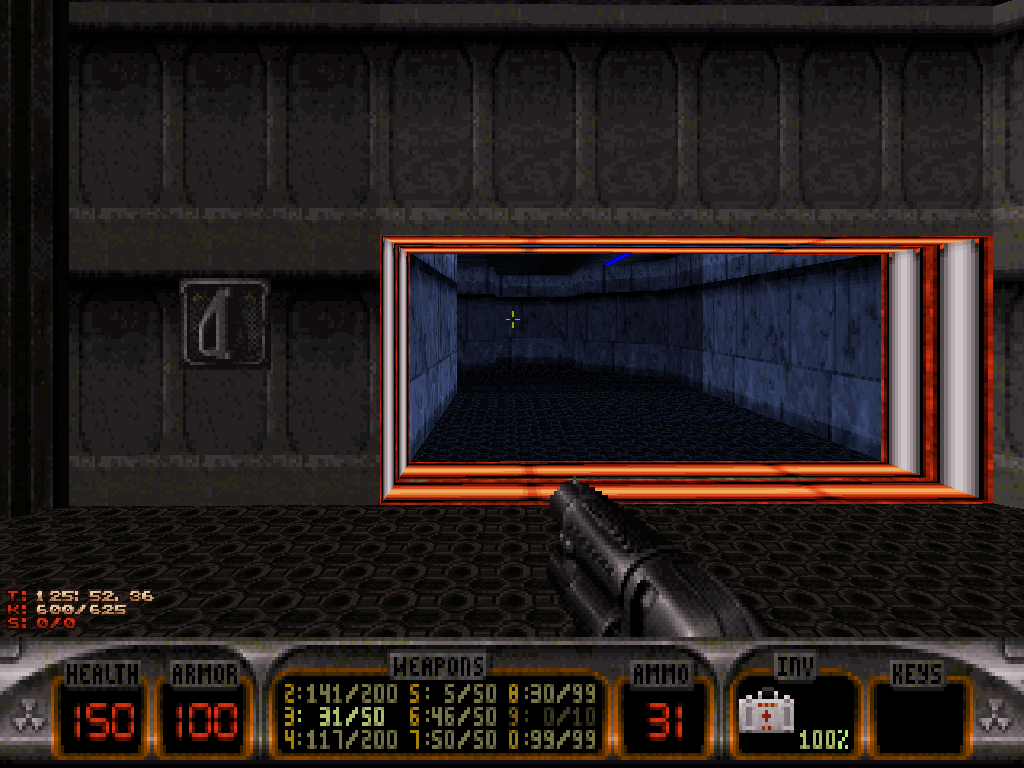
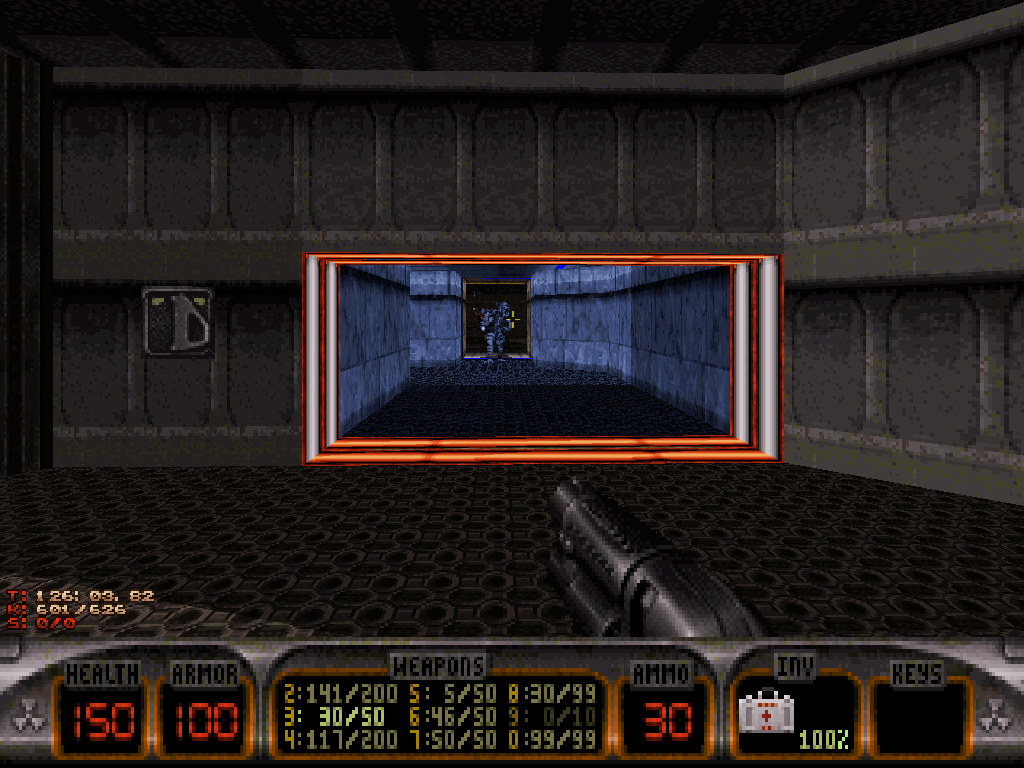
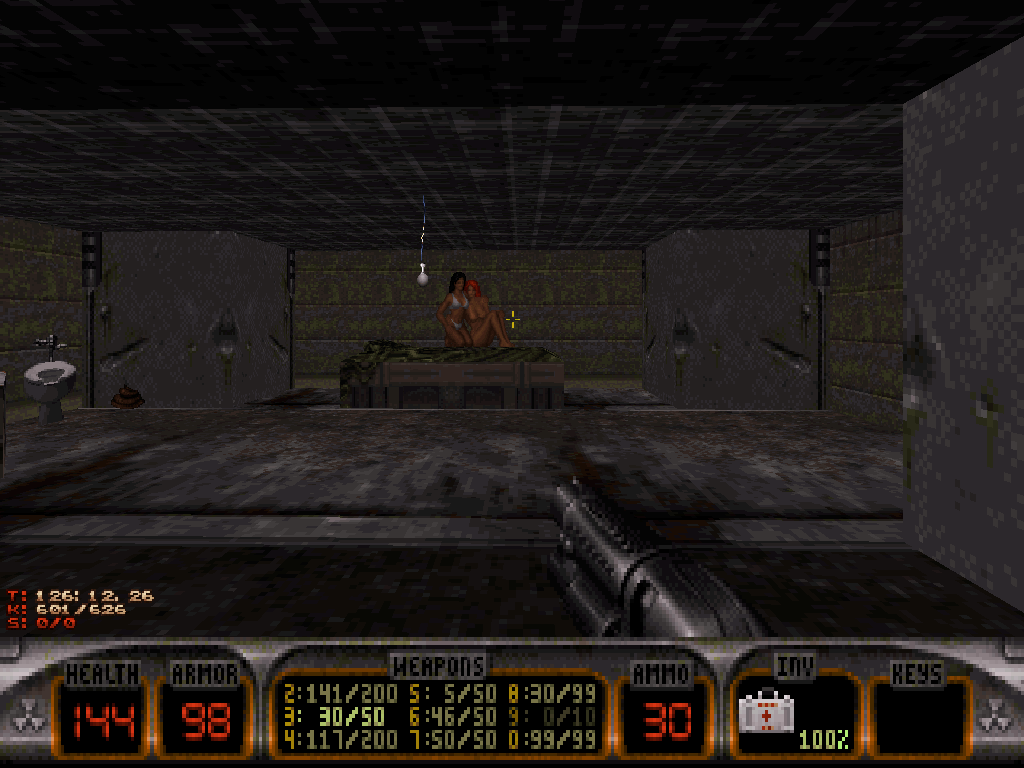
As the opening will shut close behind him, the entire room will drop down a floor, revealing itself to be a trap - and now, Duke Nukem is in jail.
Thankfully, he's been there before and thus, knows how to get out.
No secret Explodo-Molar needed this time around: there is a stash of pipebombs, behind the sink, which can be used to explode the door out of the cell.
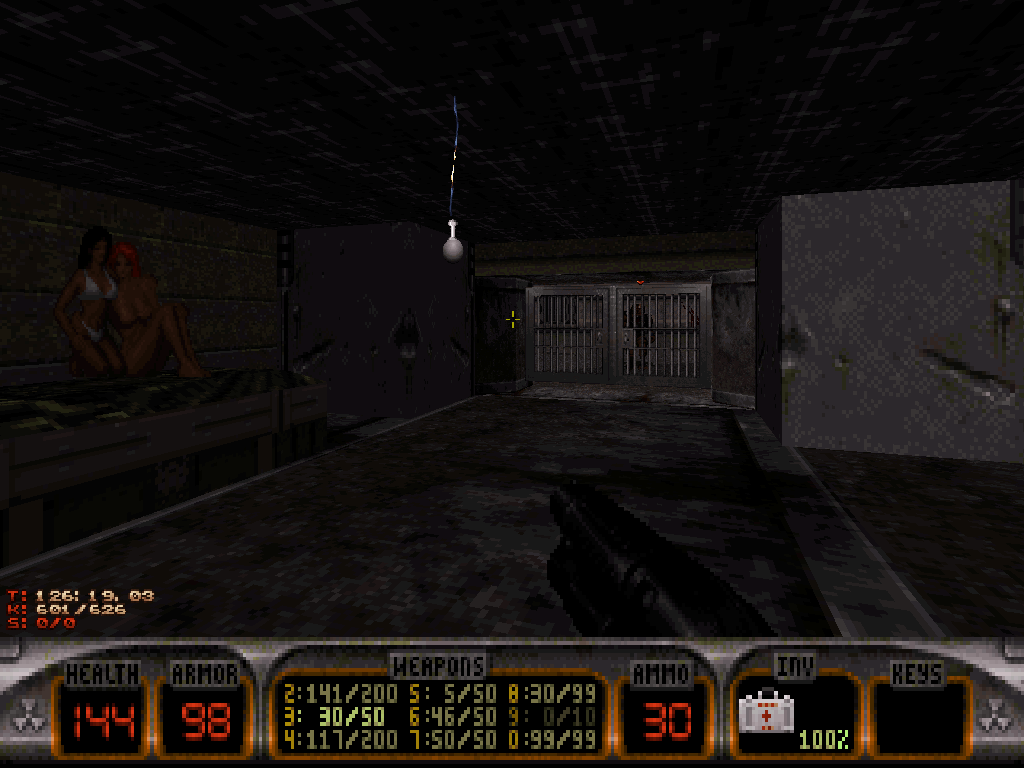
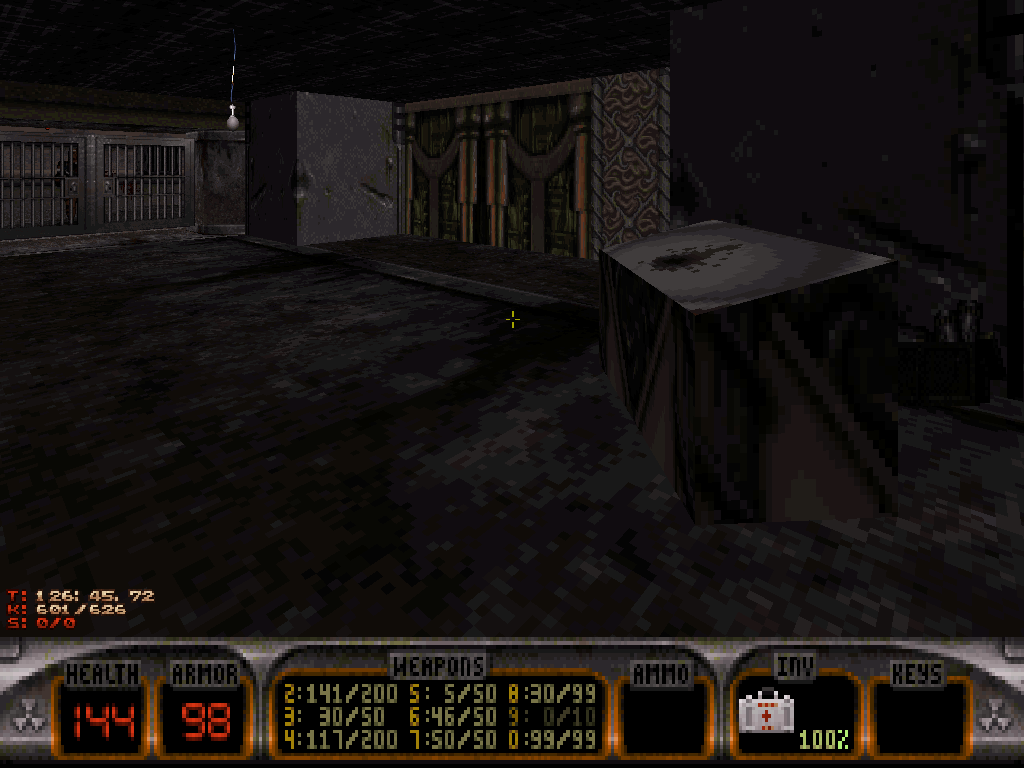
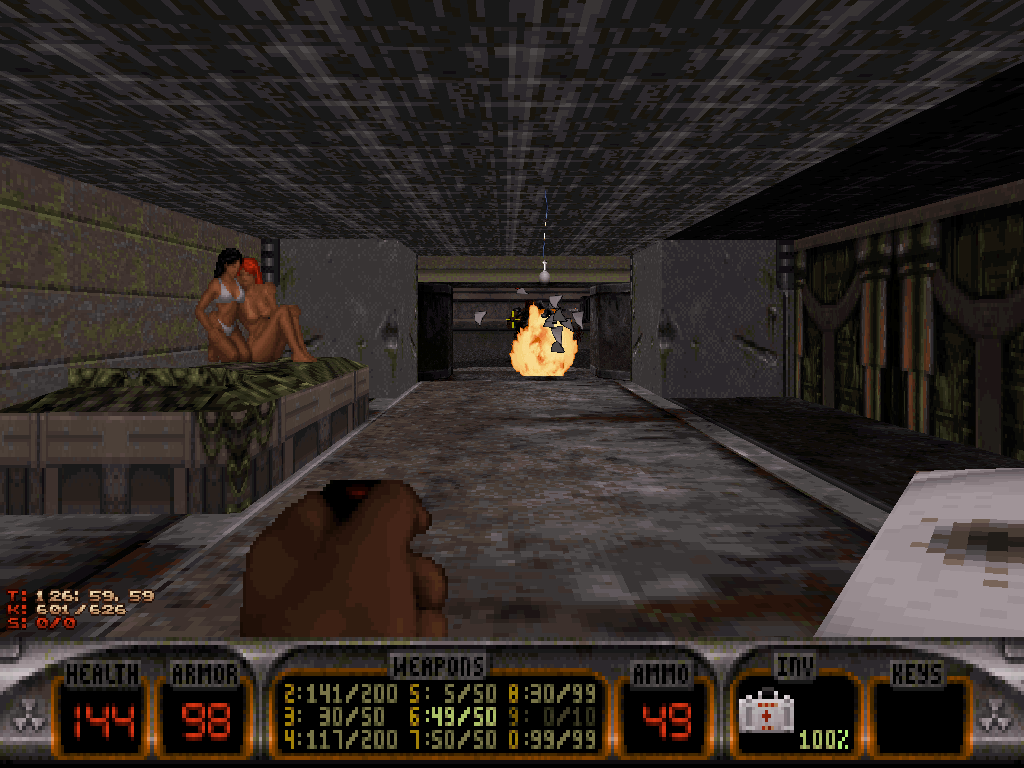
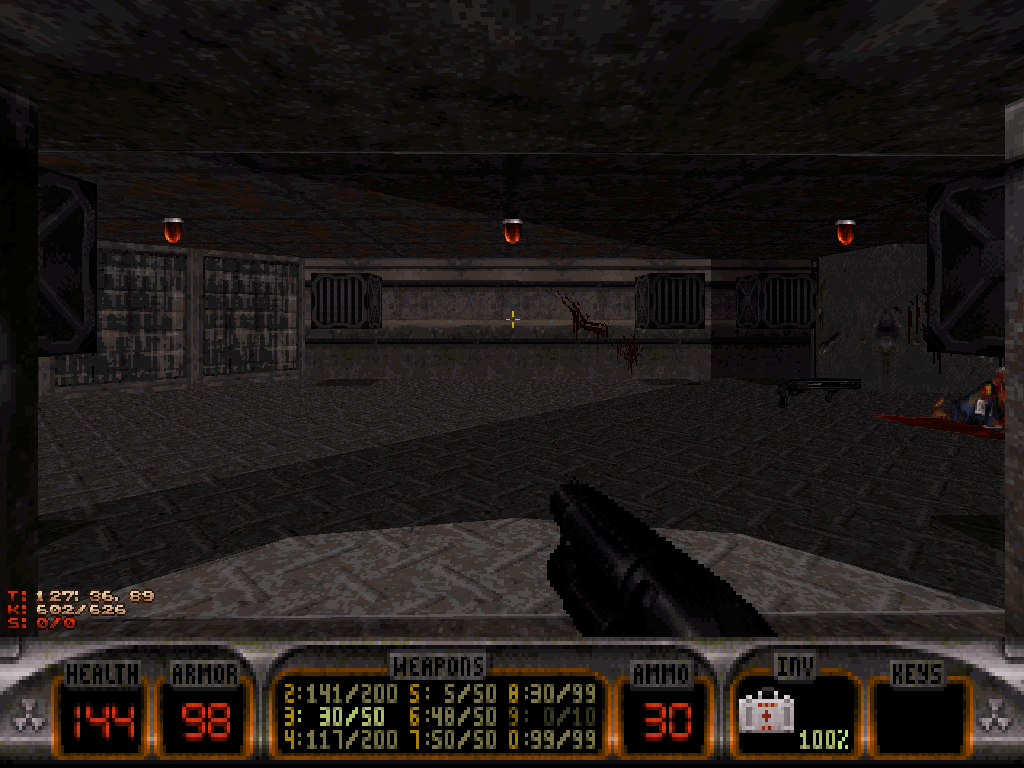
"I'm back."
And back he is, in the Rigelatin prison from the events of "Duke Nukem II", ready to reenact the carnage.
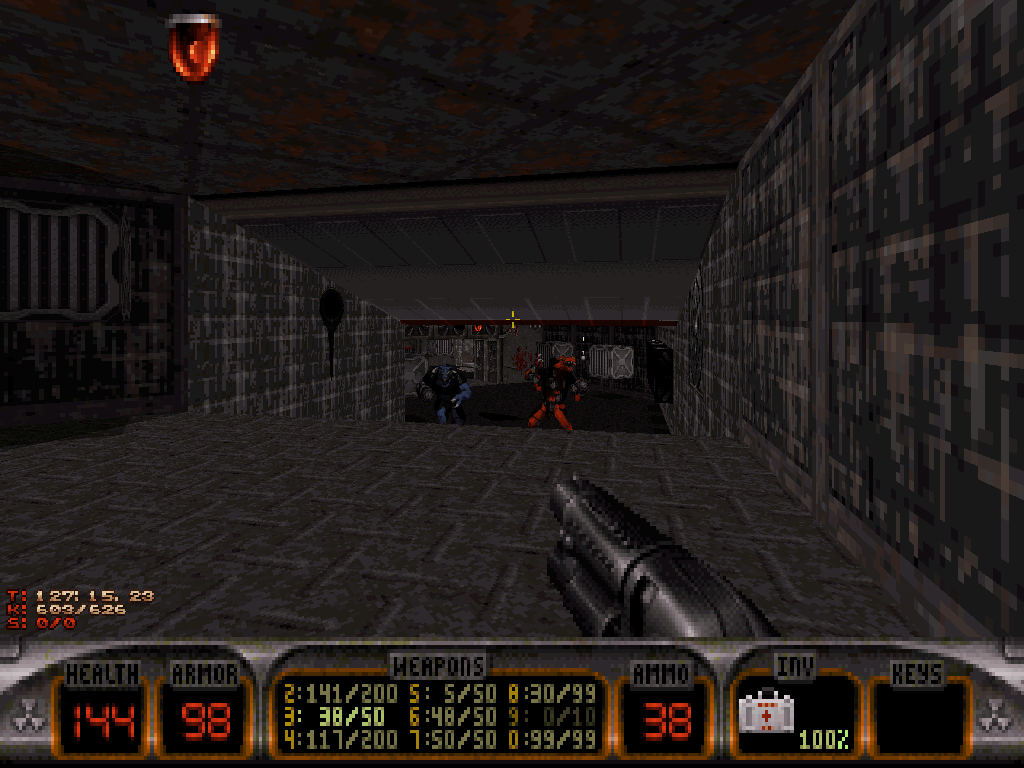
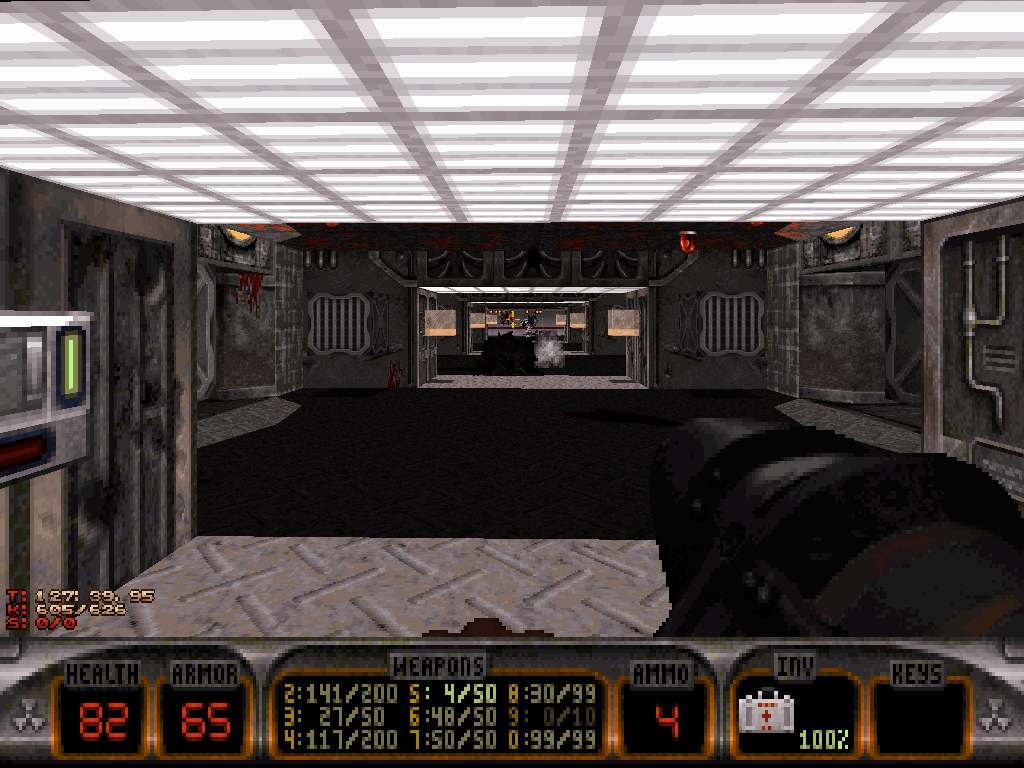
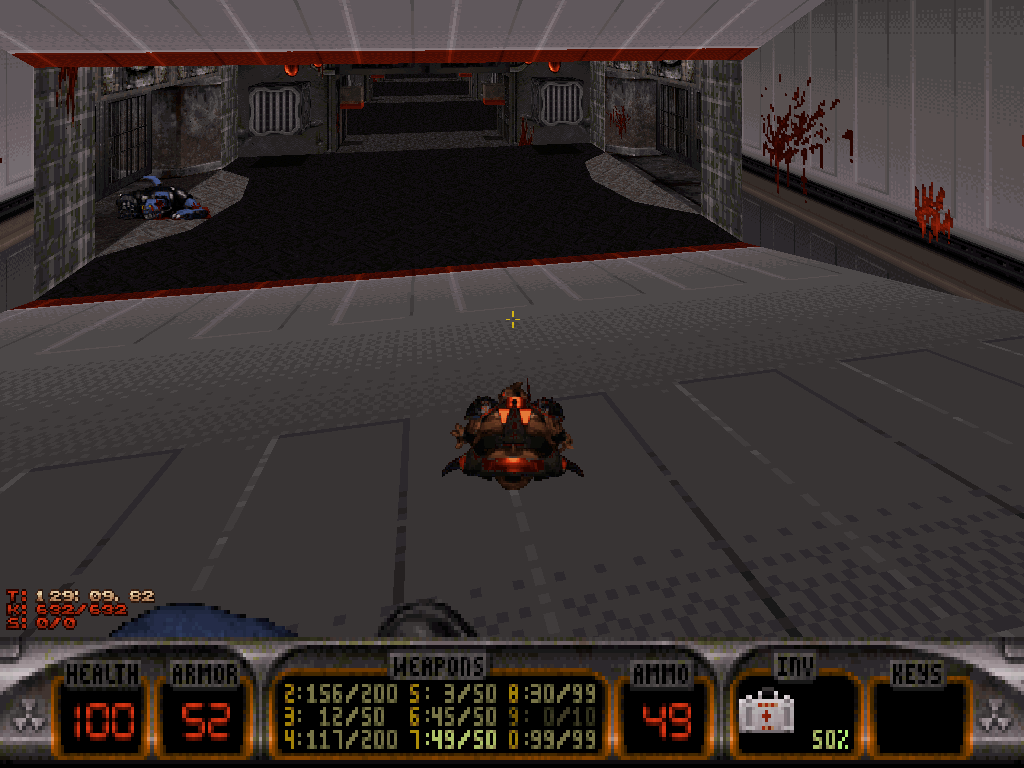
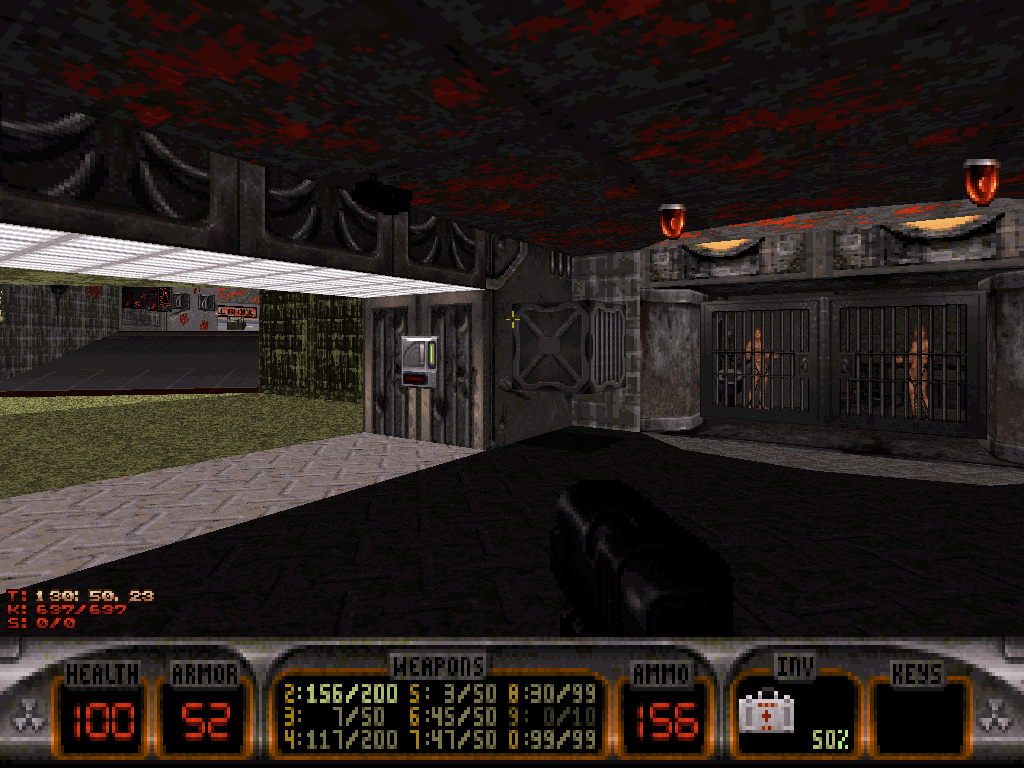
Progression through the prison is linear with multiple rows of individual jail cells, half of which contain plenty of captured, live humans (!), while the other half imprison potentially dangerous enemies.
There also is one control room in the center and after he's traversed all that, Duke eventually shall encounter an actual hindrance to his progress that is just as ephemeral as an explodable wall at a security checkpoint which, itself, is guarded by a Madlad Battlelord Sentry.
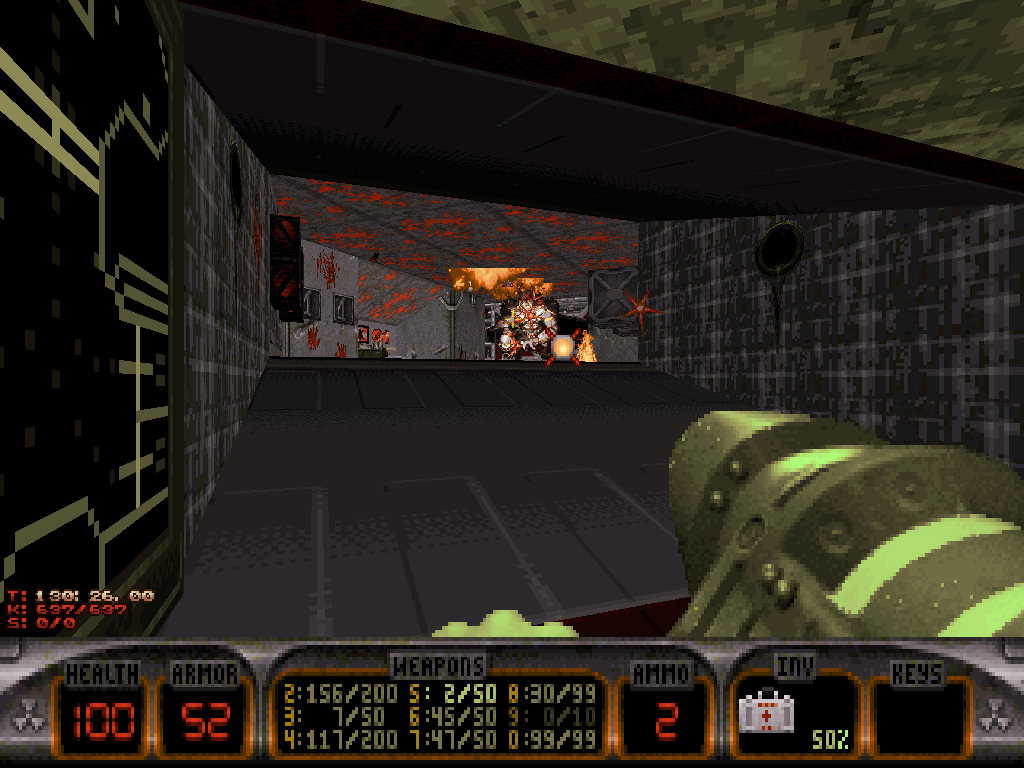
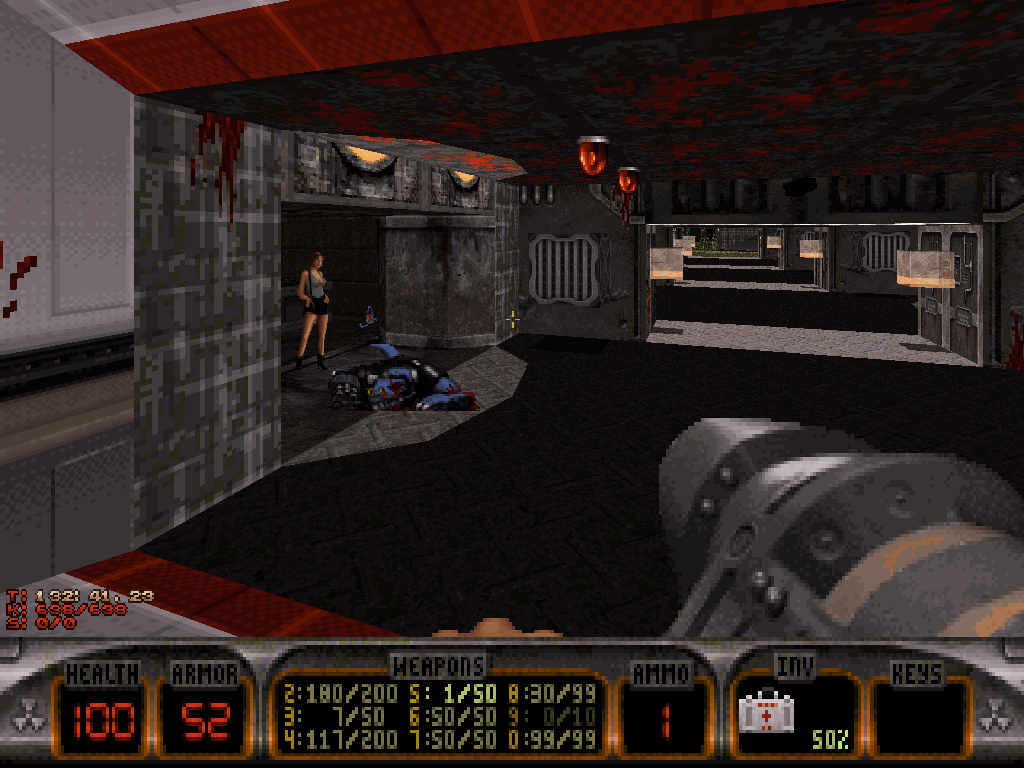
The angle of the room easily can make the rebounds of its energy projectiles deadly, but that's just one more aspect where Duke can outsmart the enemy by using the design to his advantage and reflect the enemy fire back to the sender, if so he decides.
Duke already can blow up the next wall at this point, but he would be wise to focus on the duo of switches that can be operated from the security checkpoint.
As evidenced by the security camera screen, each switch will open the cell doors of the two rows Duke just traversed, respectively. That will free the humans and grant Duke access to some useful items their cells concealed, but also all the monsters which may start roaming around the hallways and start trying to catch up.
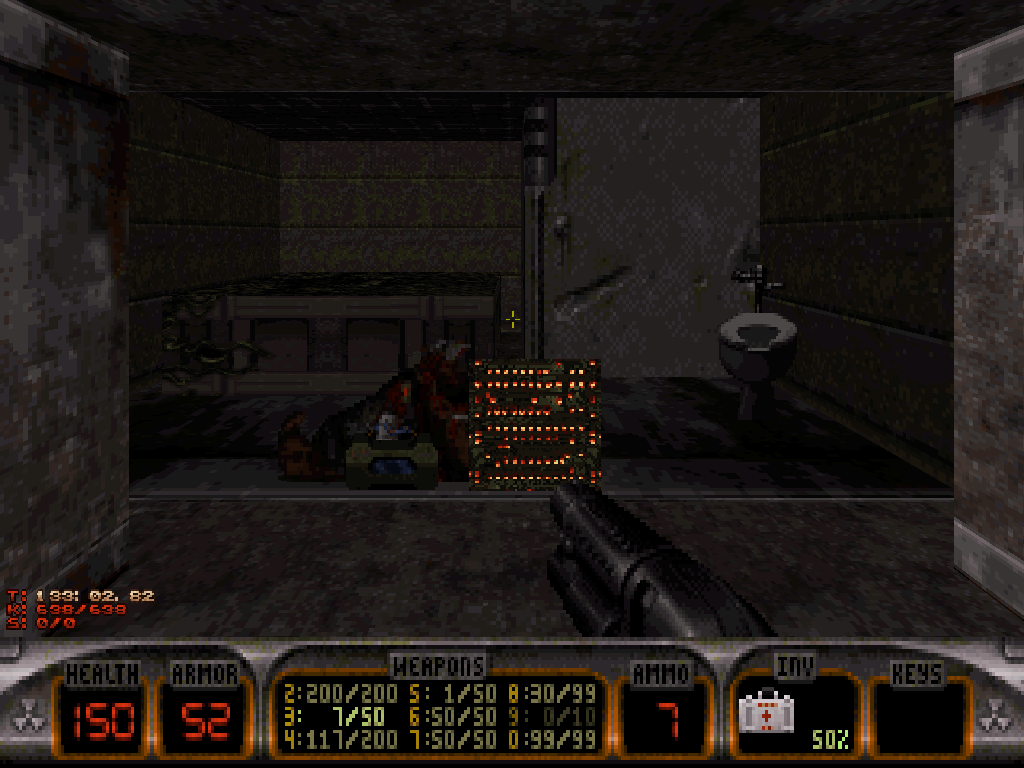
Out of the items Duke can retrieve from the cells, one of them especially matters if he's out of jetpack fuel. The one cell with an imprisoned Pig Cop also is home to a "Duke Nukem II"-styled Access Card.
The card can be used as soon as the very next room our hero shall visit, to activate the central Turbo Lift and reach the upper floor of the building without having to fly.
After he's exploded the wall past the security checkpoint, and into the next room (which appears to be some type of research lab), to his utter desbelief, Duke will meet the N.U.K.U.M, for New Ultra Killer Usurpator Man: an alternate version of himself.
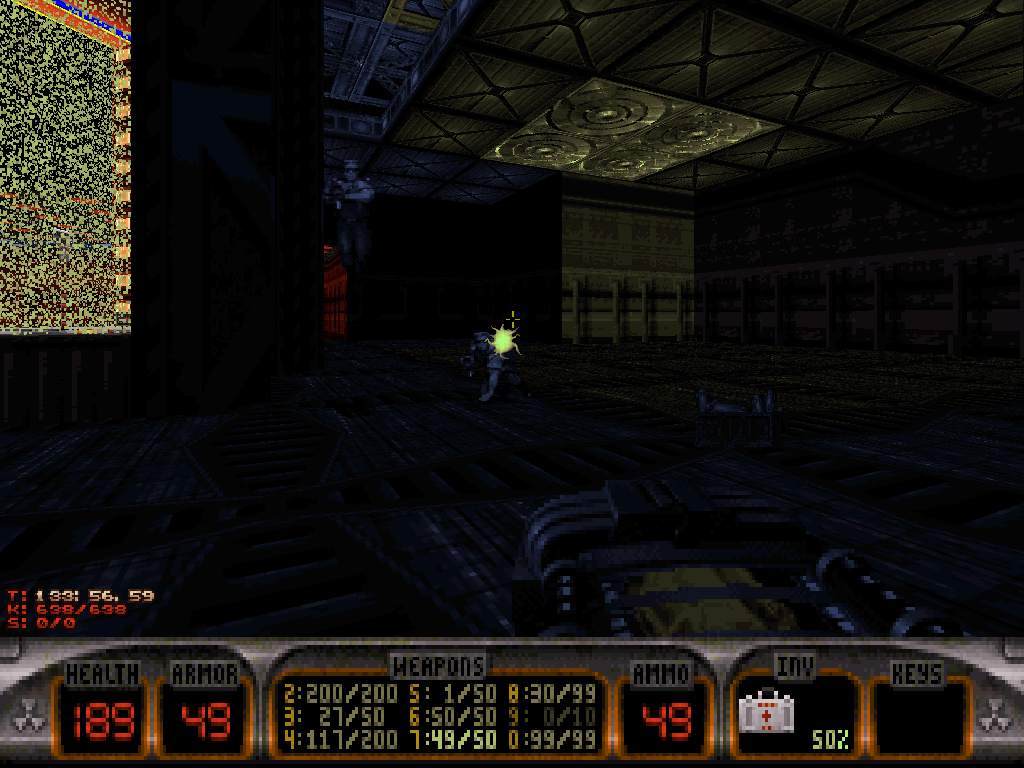
The N.U.K.U.M. has access to each and every one of our hero's weapon, can use the jetpack to fly, and has twice the health points of the Battlelord Sentry which makes it difficult to kill. It also makes "Duke Nukem I" PC speaker sounds, and disintegrates when killed with bullets.
On the Come Get Some difficulty setting, there are four of them in the room, but the face-off should be tolerable as supplies are scattered about everywhere. If our Duke still has Shrinker crystals, then he can choose to downright nullify the challenge by using just one shot against each enemy, to then stomp it with the mighty reality of his size 13 boot. The lab also comprises inventory items our Duke can find and use to its advantage during the fight, such as the Night Vision Goggles and the Holoduke.
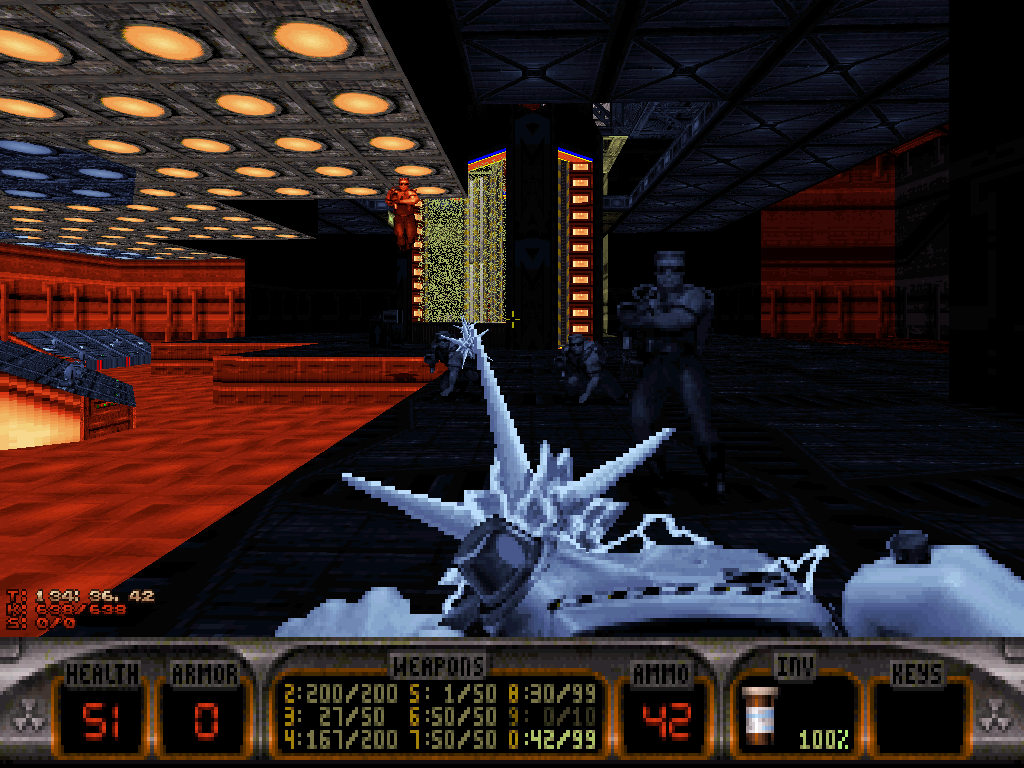
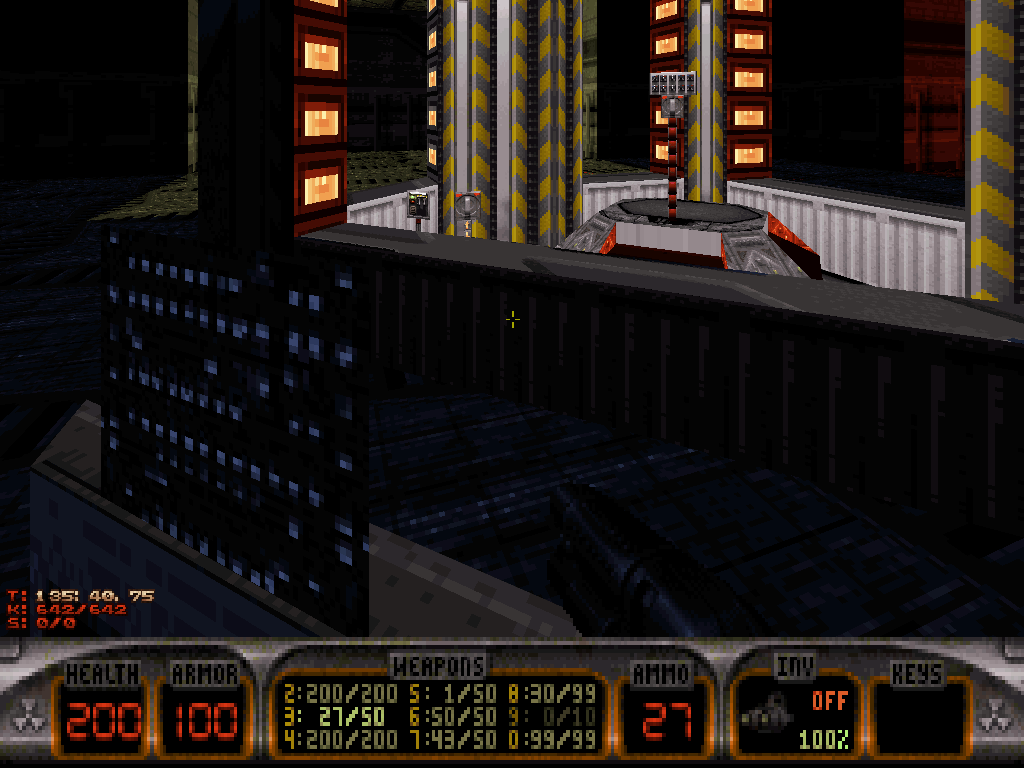
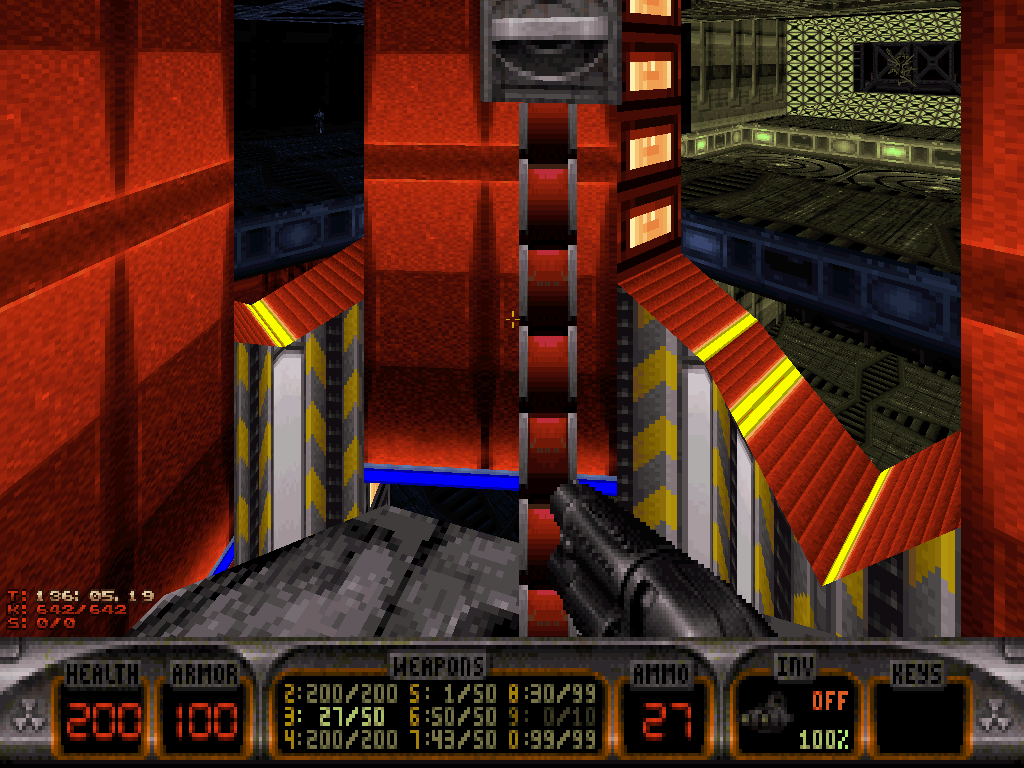
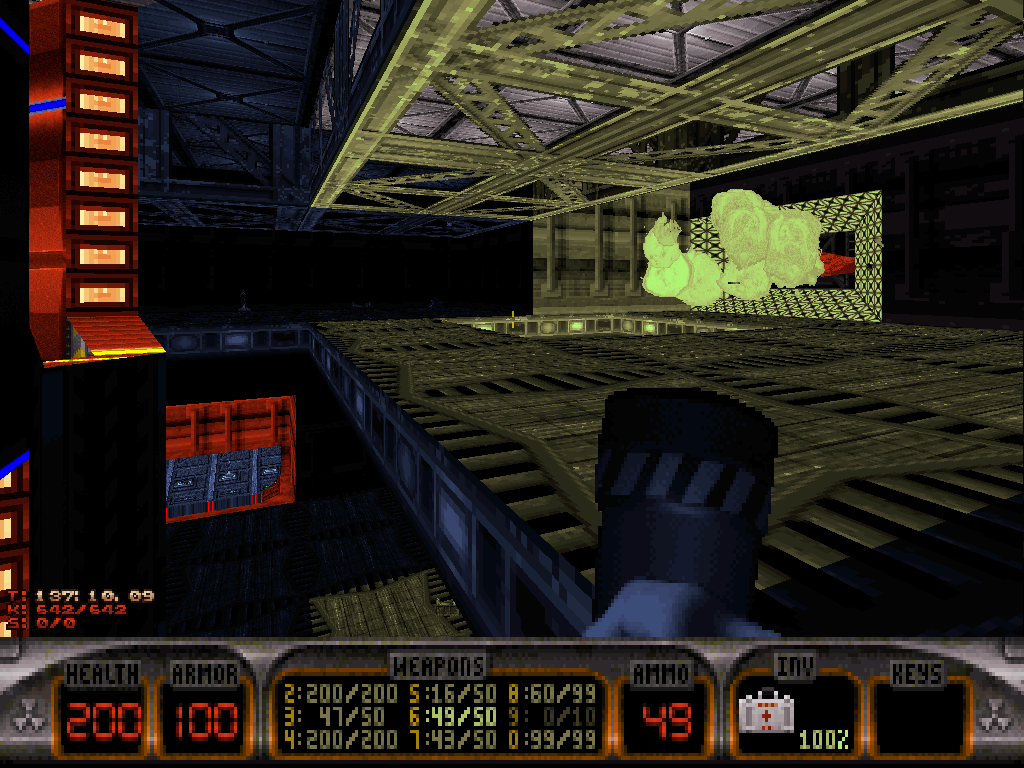
After our Duke's got the upper hand on the others, he'll be free to progress onto the upper floor of the prison, either by flying or with some assistance from the central Turbo Lift (if he's retrieved the Access Card from the cell); there, another explodable wall awaits, and then another entire prison floor, also with two rows of jail cells and a central command center.
On the Come Get Some difficulty setting and out of some other mean faces, Duke might meet another N.U.K.U.M. on the way, this time with red pants which signifies it is on 'evasive mode'; instead of coming for Duke, it will tend to prefer safe retreat only to then attack from a distance. Still shrinks in just one shot.
On this floor too, Duke can use a switch to open all the jail cells, with all of the consequences that would entail.
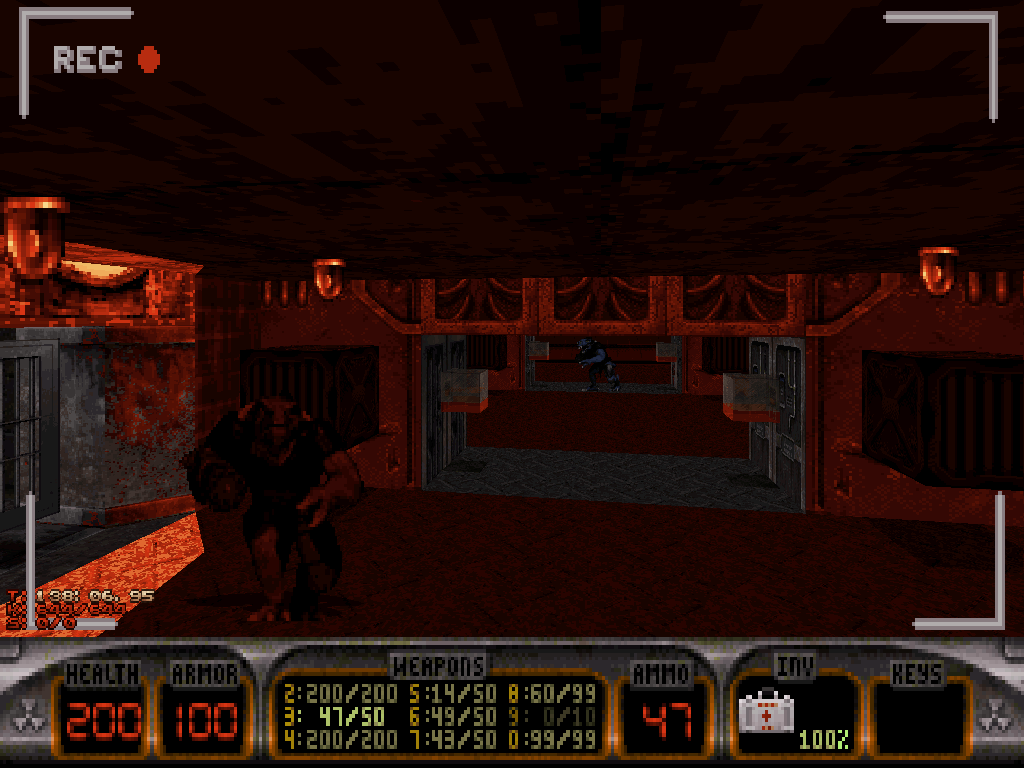
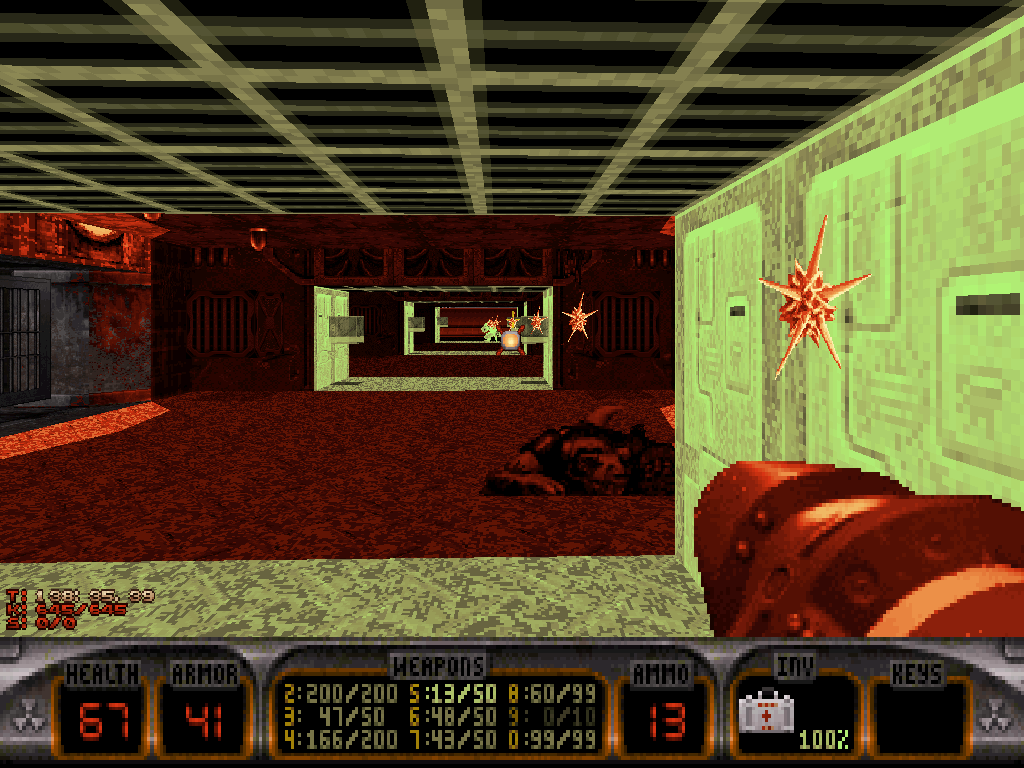
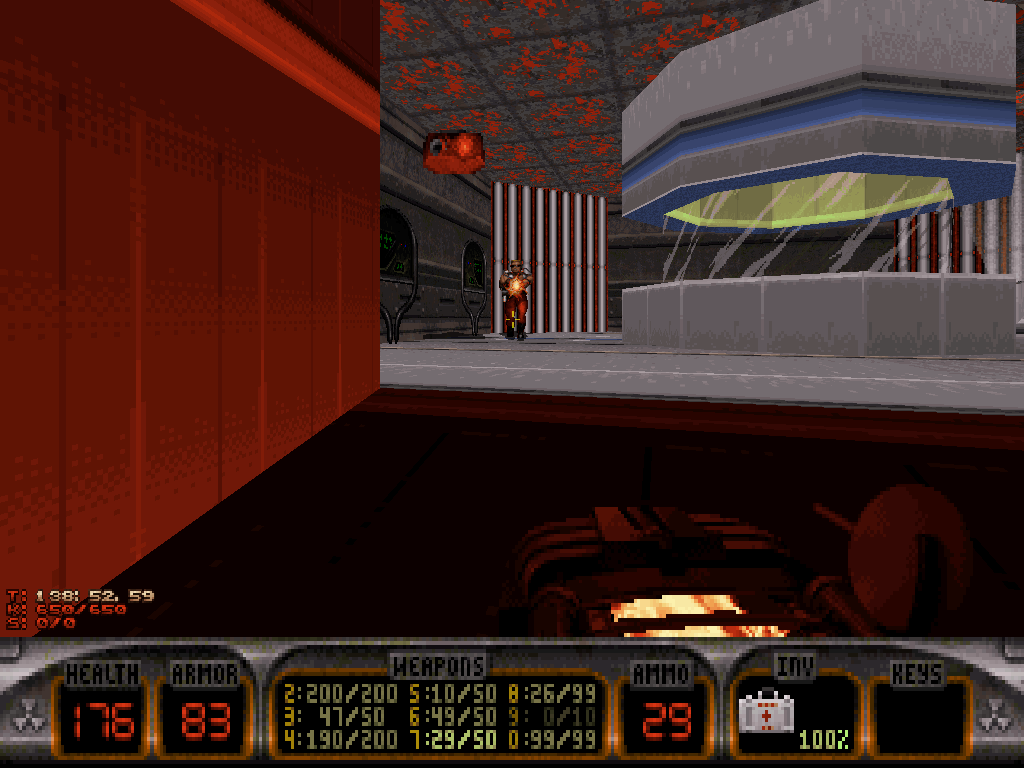
Now, this prison floor terminates with one final, bigger command center and access to a hallway, in the back. Entering the hallway, Duke will be greeted, first, by the sight (and possibly rockets) of a massive Rigelatin Battlenaut Planet-Threatener Symmetrocruiser Mark IV ship that is hovering outside the window, seemingly guarding what appears to be the front entry gate of the prison planet and mounted with U.T.E.R.U.S. turrets.
The explosions can only hurt Duke if he's close to hugging the window and so, he might want to stay clear of the wall unless he's keen to embrace some pain.
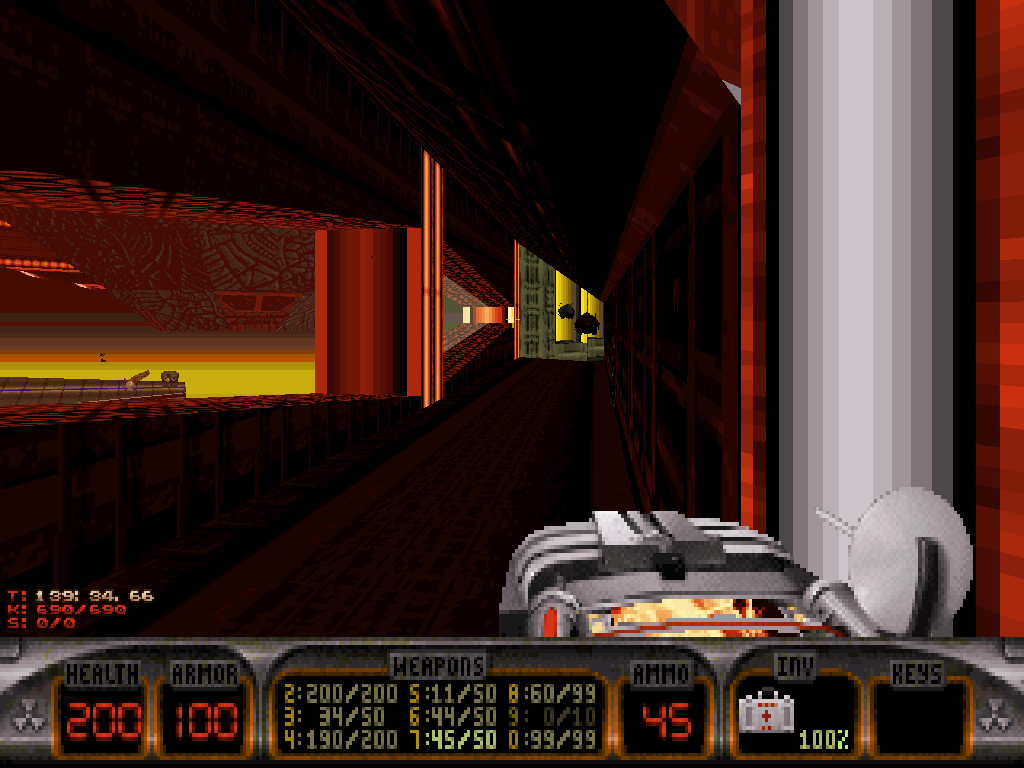
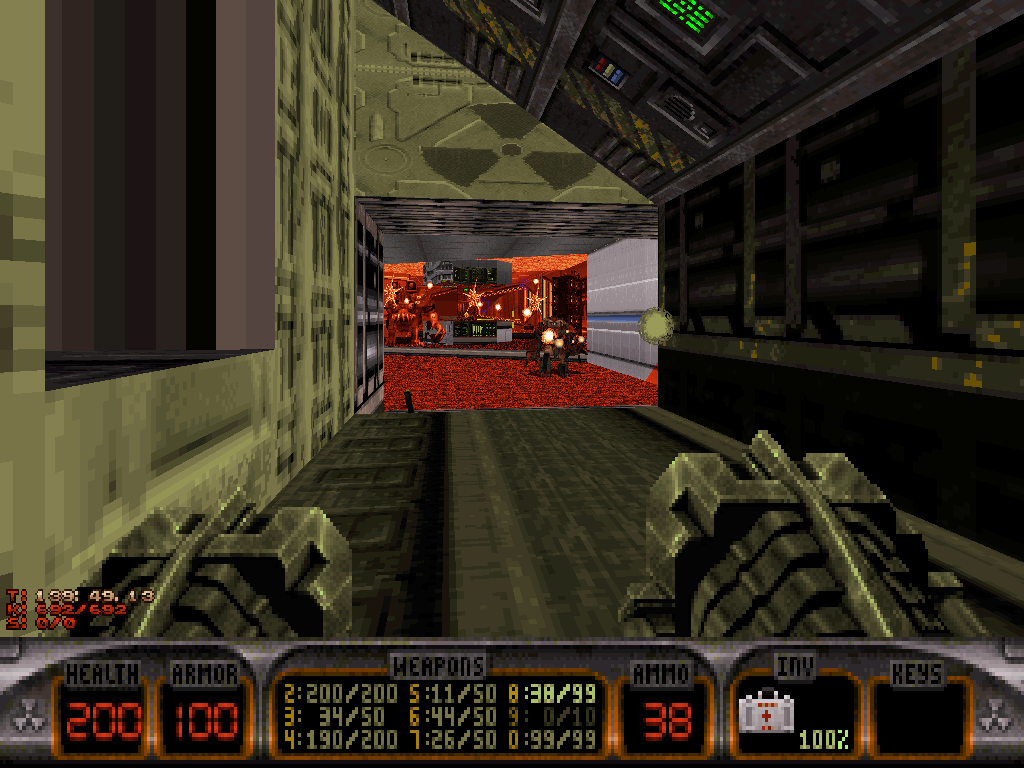
And then at the end of the hallway, it is a Cycoid Emperor Sentry that is waiting which may be the meanest one in the game. Due to the confined shapes and weird angles of the hallway, frontal approach of its energy projectiles may be absolutely devastating because of all the rebounds.
Our hero might need to consider a different strategy (especially if he can't downright shrink it), such as retreating back to the command center on the prison floor in order to lure the enemy into more controllable settings.
And in case of emergency, there is a ventilation shaft in the hallway, off the side, Duke can jump down in order to escape back to the first floor of the prison, and momentarily evade the fight.
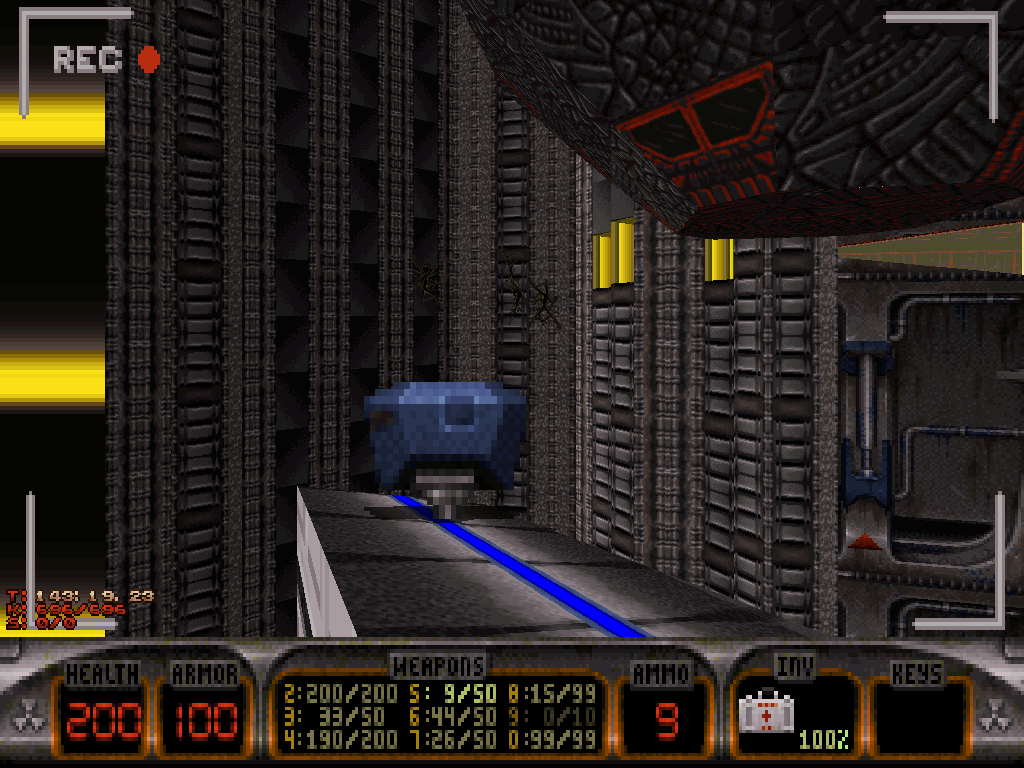
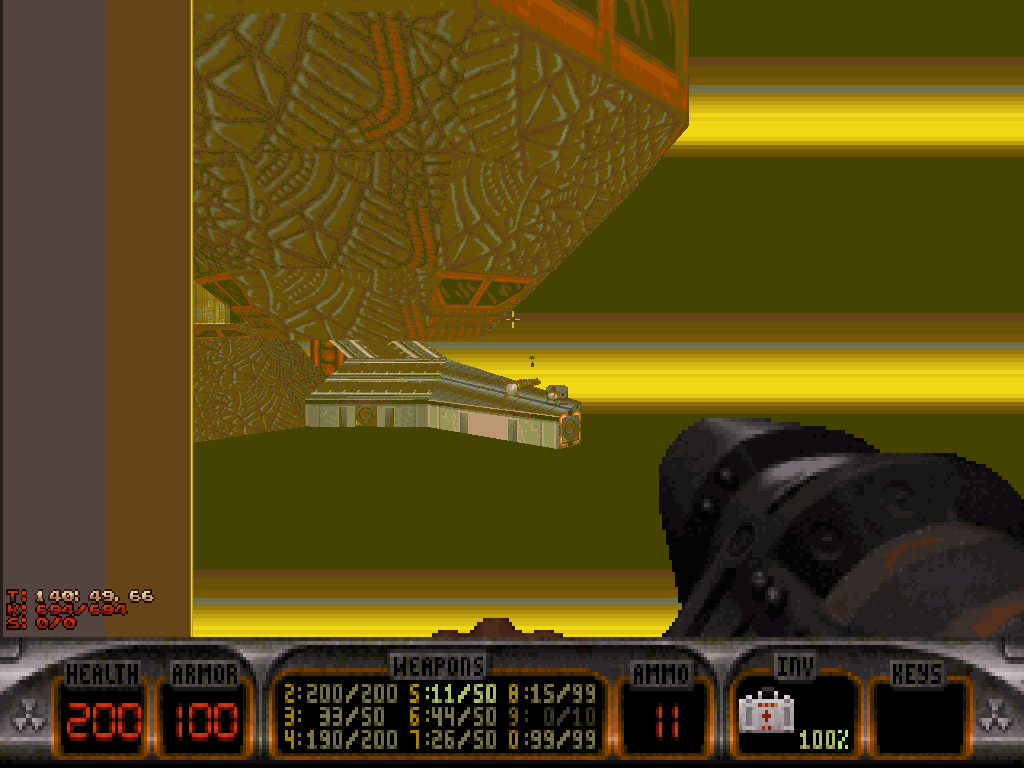
After he's slayed the beast, Duke shall reach the core of the command center of the colossal prison, which he might have noticed before as it features a large view out on most of the map, including the very first, electrified prison courtyard. The way ahead to the main room is blocked with a forcefield however, with no real convenient solution in sight.
A security camera screen in the room, underneath the red "SECURED AREA" sign, will show more of the Rigelatin ship at the front gates of the prison planet, but also reveal how the walls of the building are covered in cracks.
It is up to Duke to remember how the ship adorns U.T.E.R.U.S. turrets which typically will shoot rockets at him on mere sight, automatically aiming in his general direction; and to realize that means, he in fact has the power to manipulate the aim of those rockets, shot outside, from the inside.
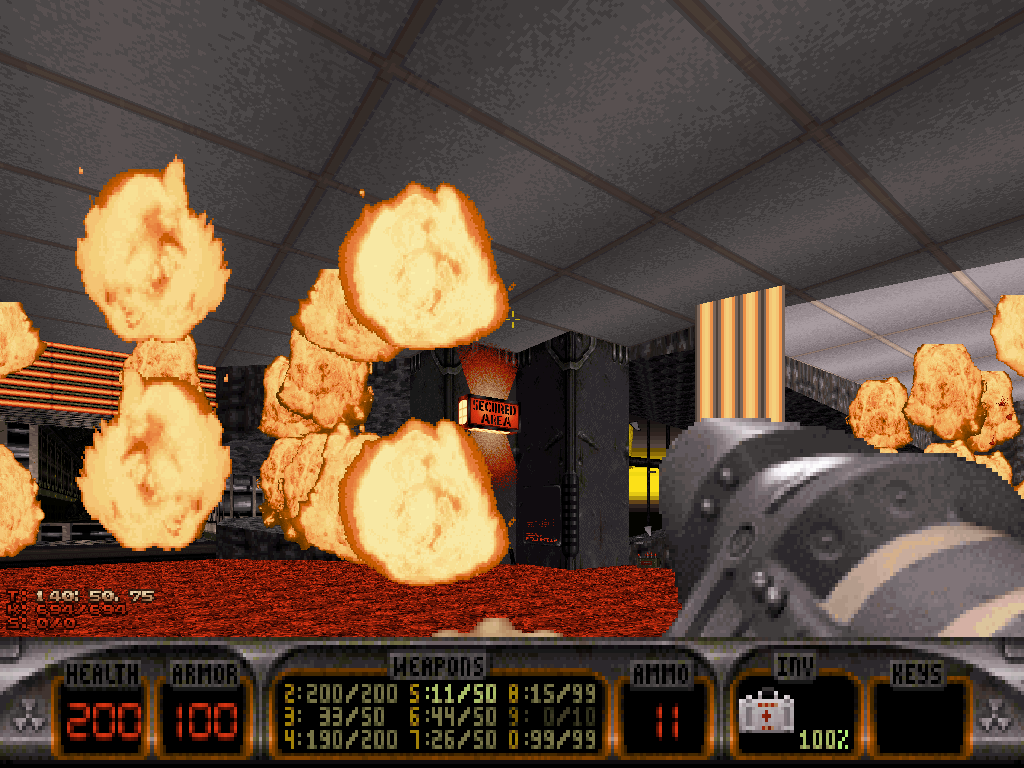
That can be achieved by just going anywhere near the closest window with a view out on the ship, to provoke the U.T.E.R.U.S. turrets and get them to start firing rockets for a brief moment; and then, instantly run back to the corner of the room with the security camera screen and "SECURED AREA" sign.
The spot indeed will work as shelter from the huge explosion as the ship's rockets blast the wall of the building away, thereby allowing not just access to a bonus item cache, behind one of the forcefields, but also downright fighting back.
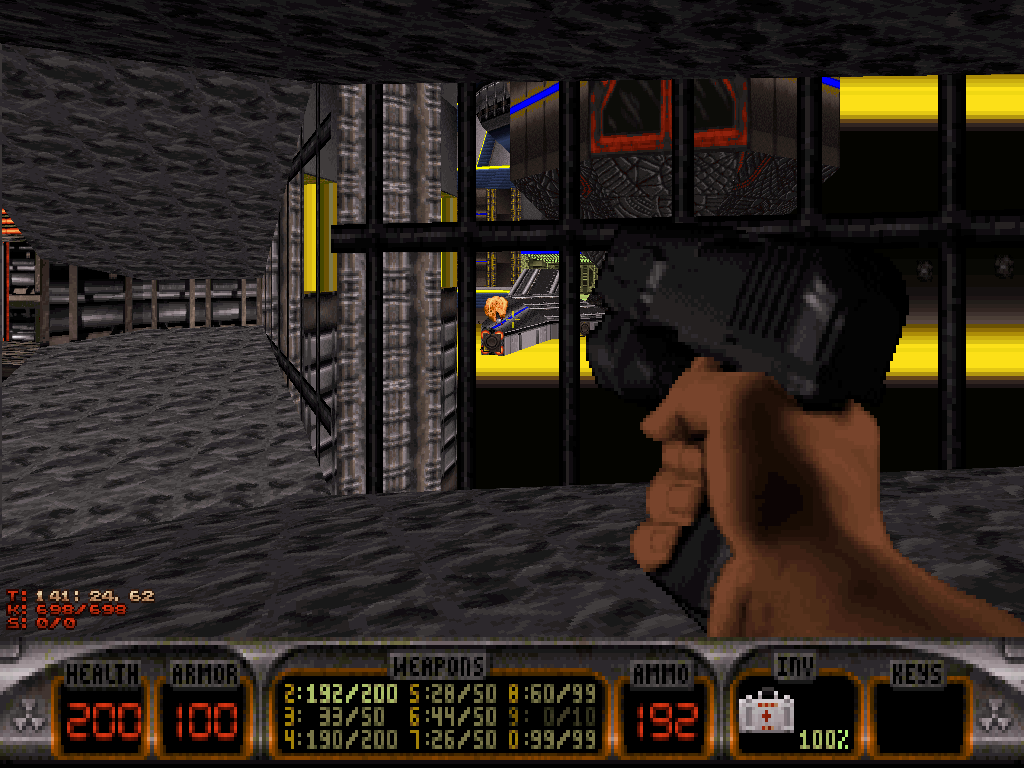
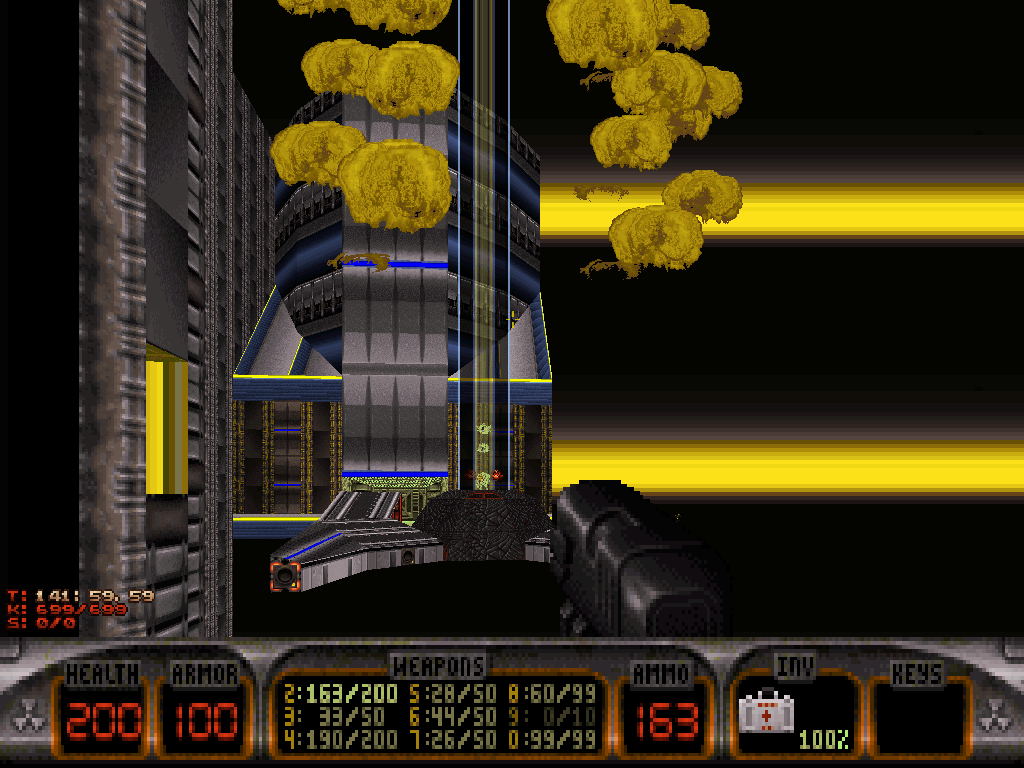
Upon close inspection, there are four switches on the ship Duke can shoot (preferably after he's destroyed all the turrets).
Successfully hitting all four targets will cause the upper part of the enemy ship to blast off into space and shut down a lot of the power nearby - resulting in the opening the front gates of the prison, the liberation of the captured humans right next to what is now an escape pod, and finally deactivating every forcefield around the room our hero fought from.
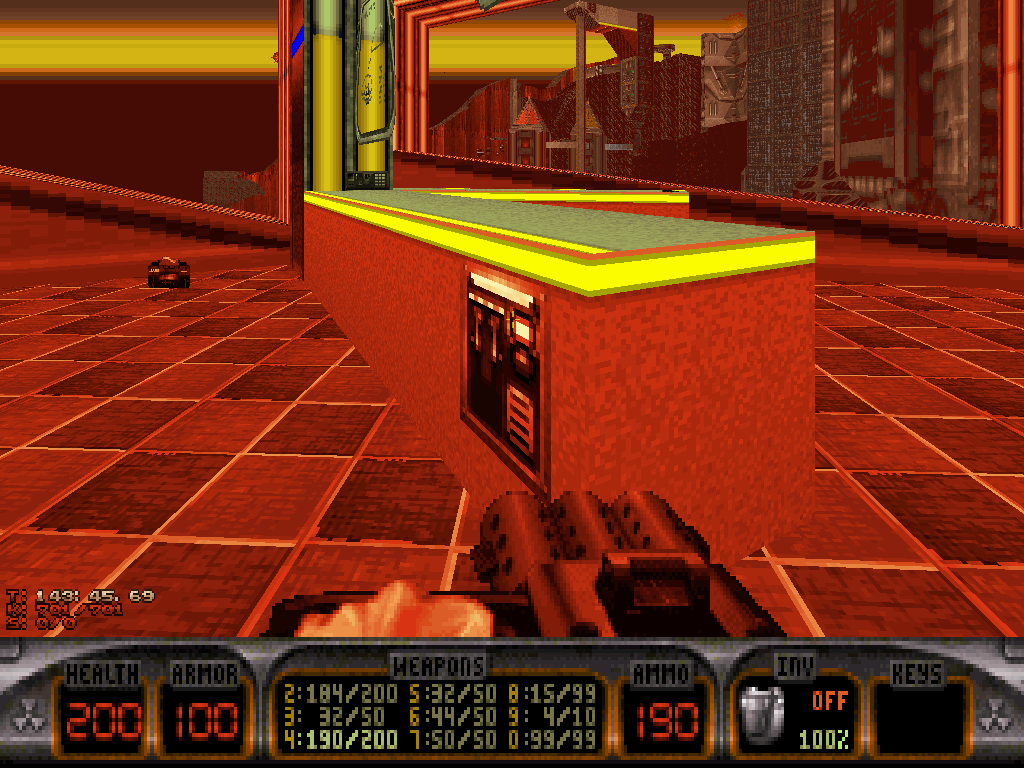
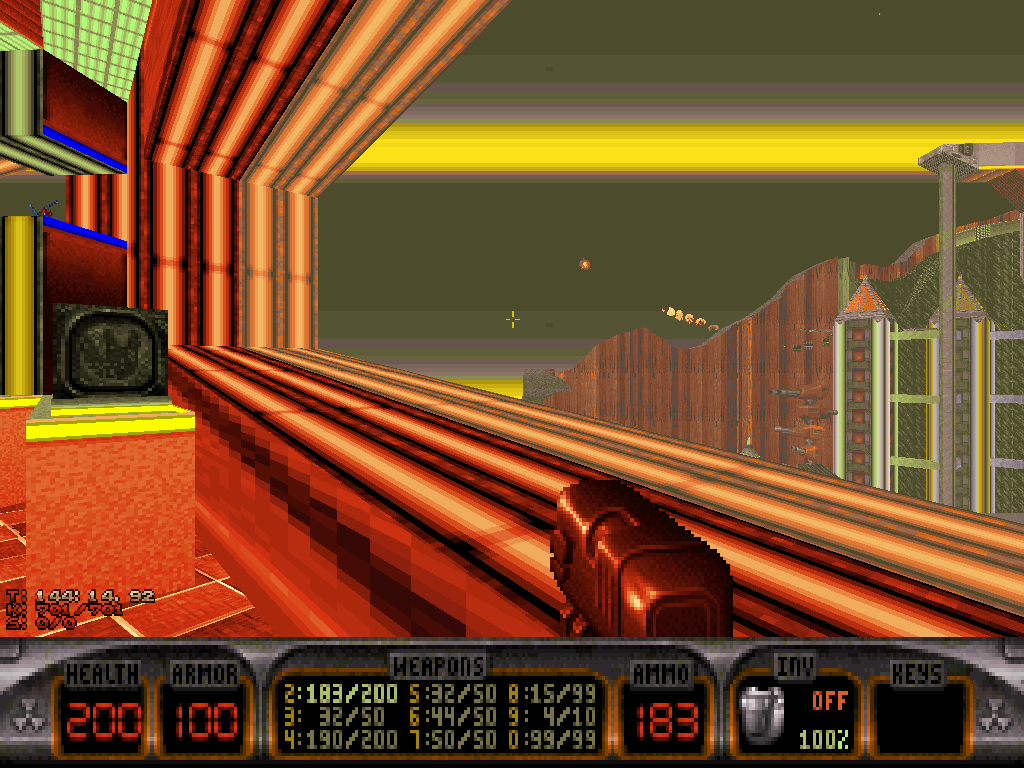
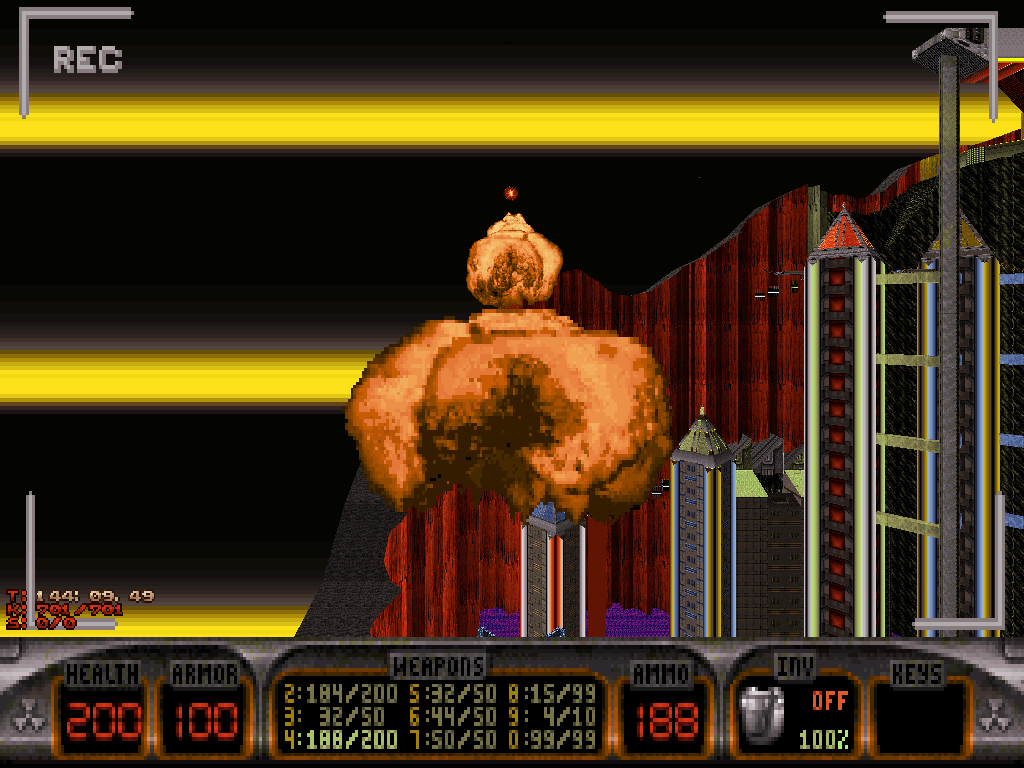
At this stage, after he's wiped one last, pissed off Madlad Battlelord Sentry off the top of the escape pod, Duke Nukem shall be free to get to the main control command, and defeat a final Permafrost Overlord there (if it hasn't spotted Duke before and rushed to him as soon as the forcefields went down).
After he's done, there is a sequence of buttons he shall manipulate and, eventually, the last switch will achieve two things: the deactivation of the massive, sun-powered forcefield which, thus far, had always been blocking one end of the upper plaza of the Earth Museum; itself a consequence of the more immediate activation of the colossal superweapon several Battlelord types were guarding earlier, attached to the prison, right out of the window.
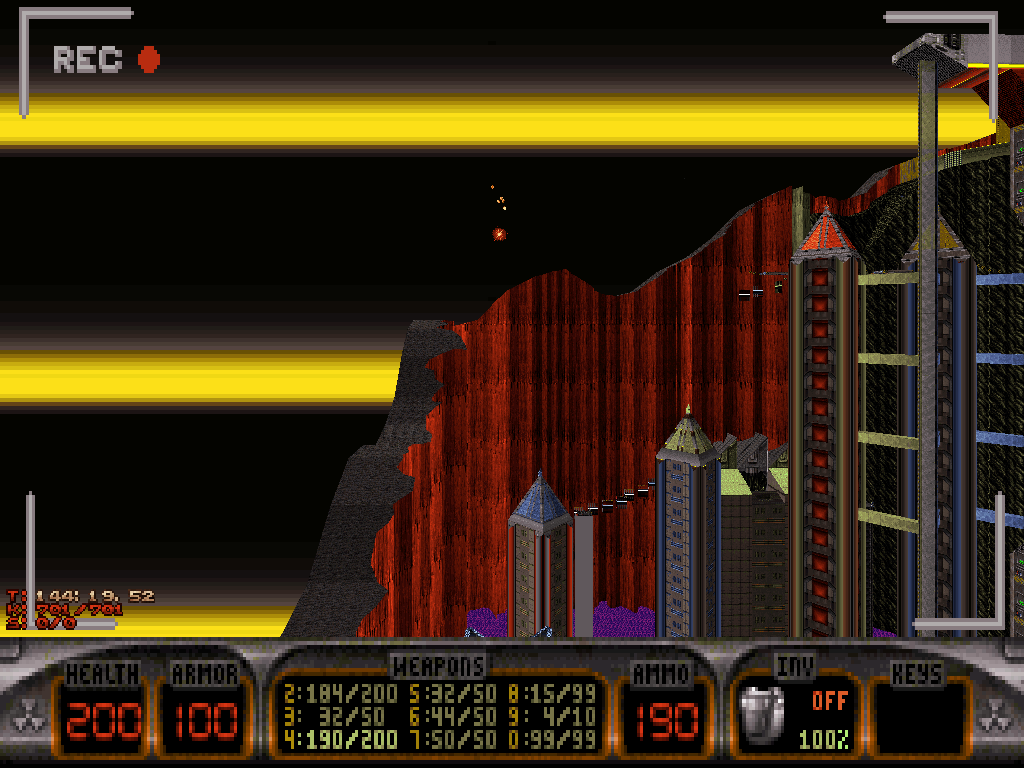
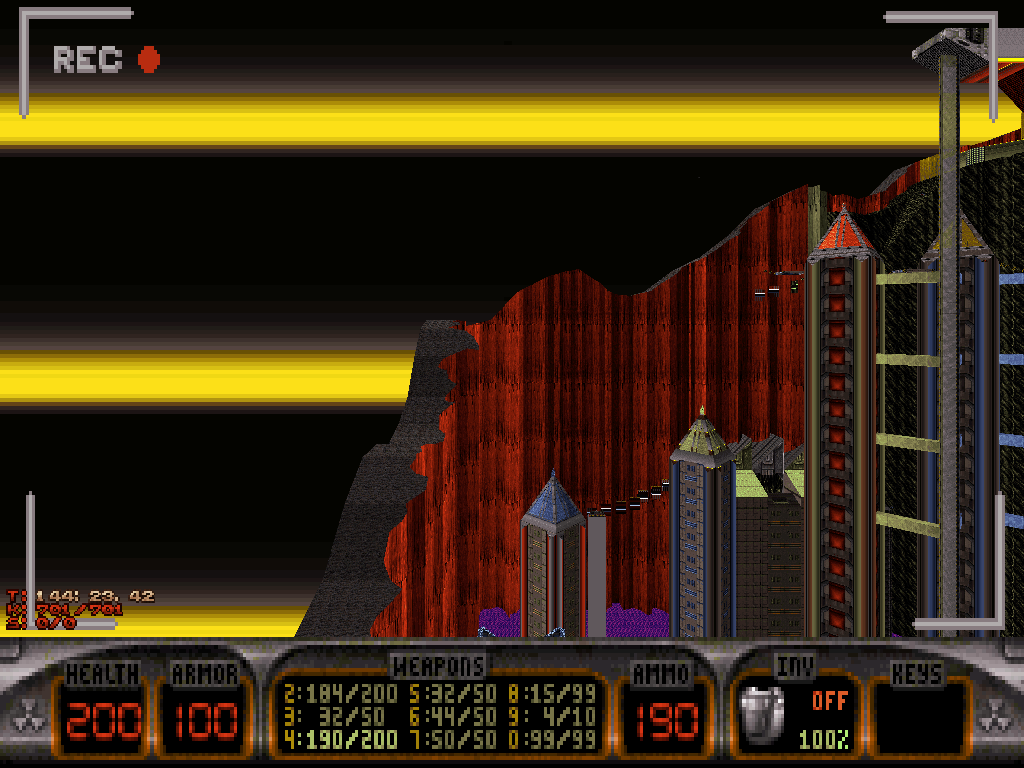
Pointed at the skies, the canons will go off in the direction of Zarathustra's crimson sun and, after a chain sequence of distant explosions, disintegrate it.
It is now time for Duke Nukem to go and face his most ultimate challenge.
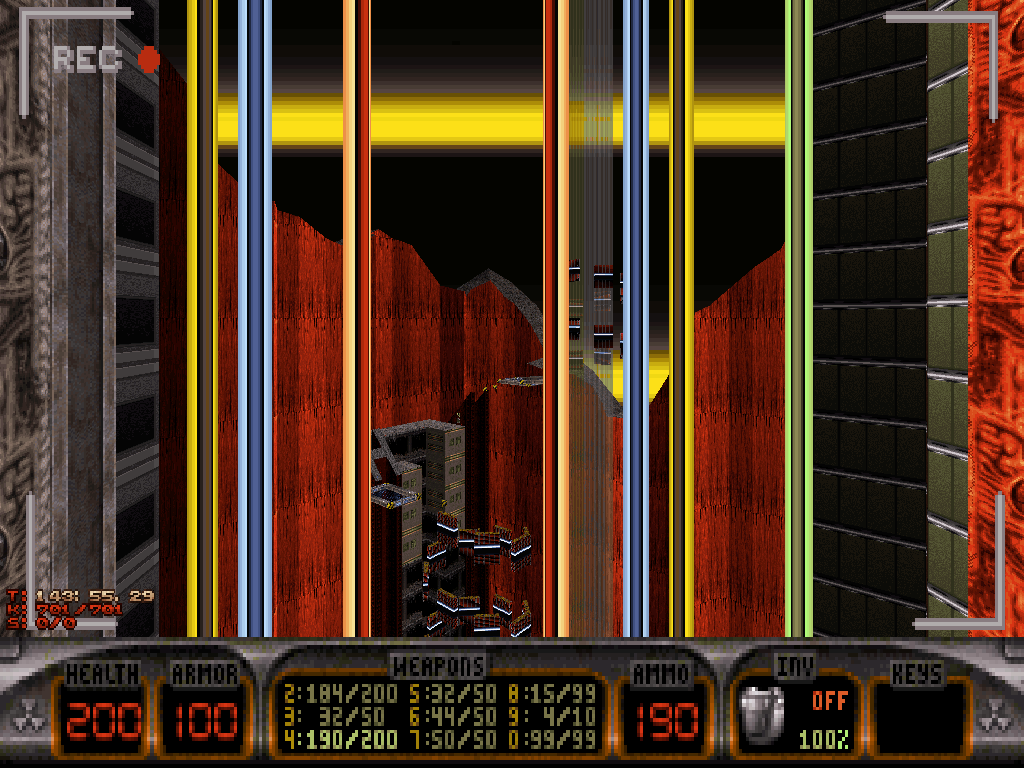
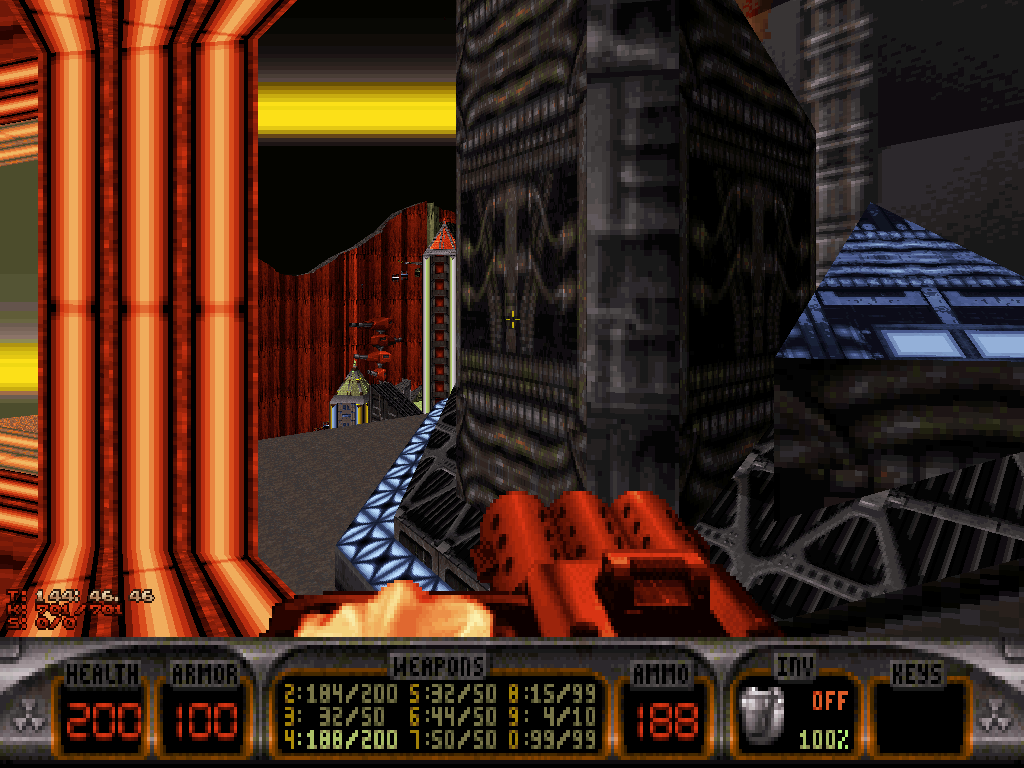
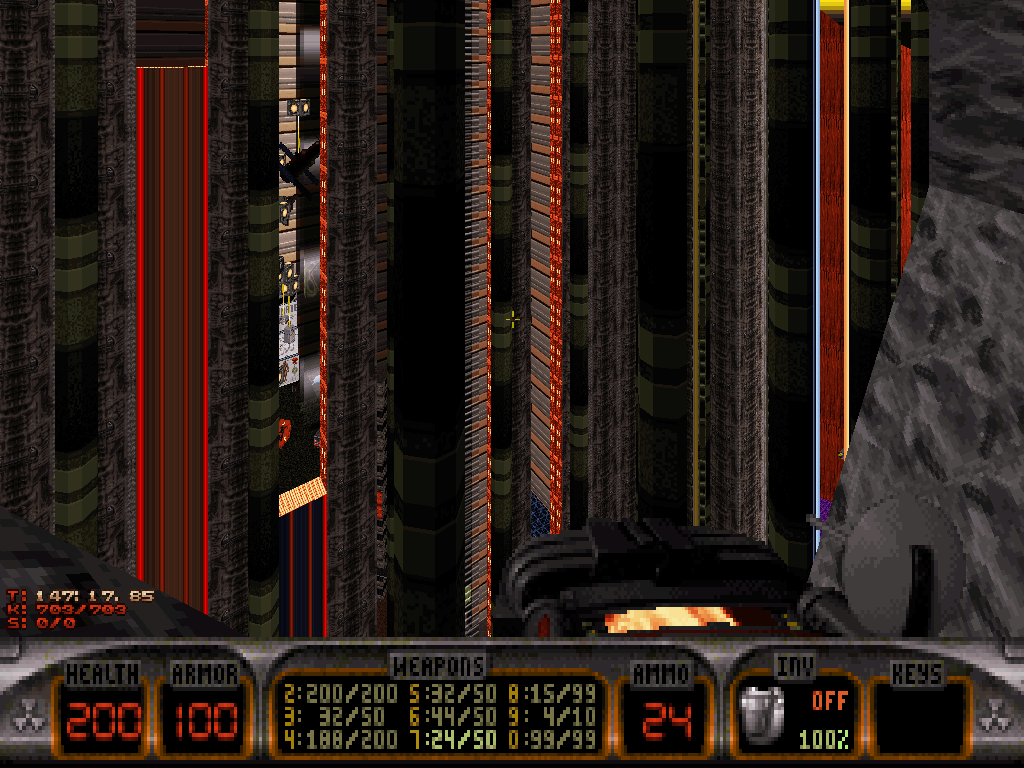
To go back to the Earth Museum plaza, Duke can now just leap out of the window and into the prison's courtyard, for those forcefields too have been turned off, and then go from there; more directly, he also can jog back to the central research lab where he just previously encountered his first N.U.K.U.M.'s and which features the Turbo Lift. There, a wall just exploded, making for a tunnel which conveniently connects right back to the desired destination that is the upper plaza.
"Are you gonna bark all day, lil' doggie, or are you gonna bite?"
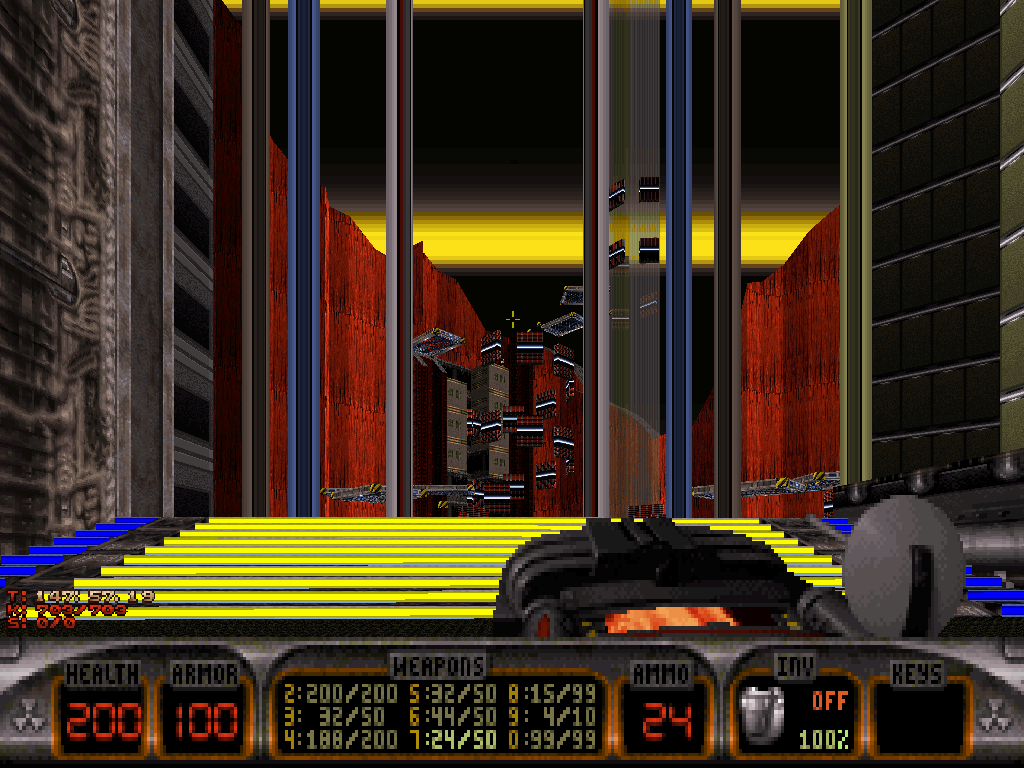
After he's climbed the final set of stairs and turned his back on the Earth Museum, Duke shall find himself on the edge of a ruined universe.
Only there and then, his most absolute foe shall rise.
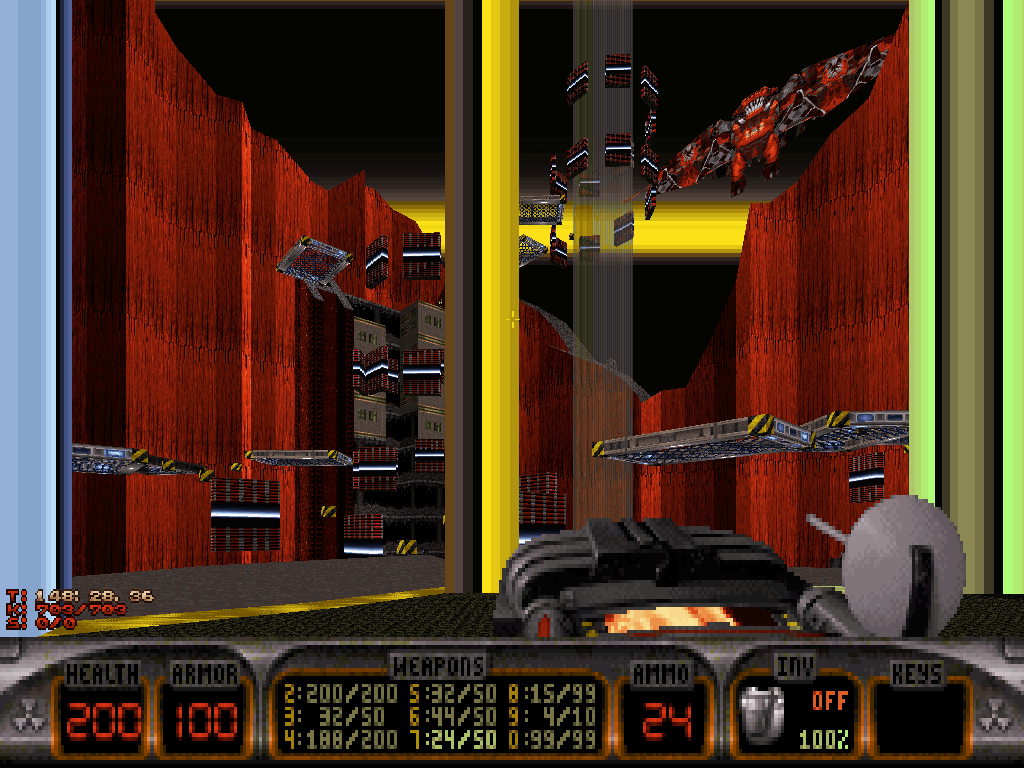
The Cycloid Archangel is the universe's embodied definition of adversity and, as such, the perfect mirror of the ego. Unlike the average avatar, it is an intrinsic part of the cosmic fabric which can and, by design, unquestionably will use its power to rearrange the forces of reality at will. It will only oppose, but can not be erased. It is Duke Nukem's personal, existential drive.
Direct, violent confrontation of course is absolutely vain, even though the Cycloid Archangel itself does vehemently attack. That is, by the means of endless, entire barrages of rockets and freeze blasts it will keep firing at Duke Nukem, forever, all the while being untouchable.
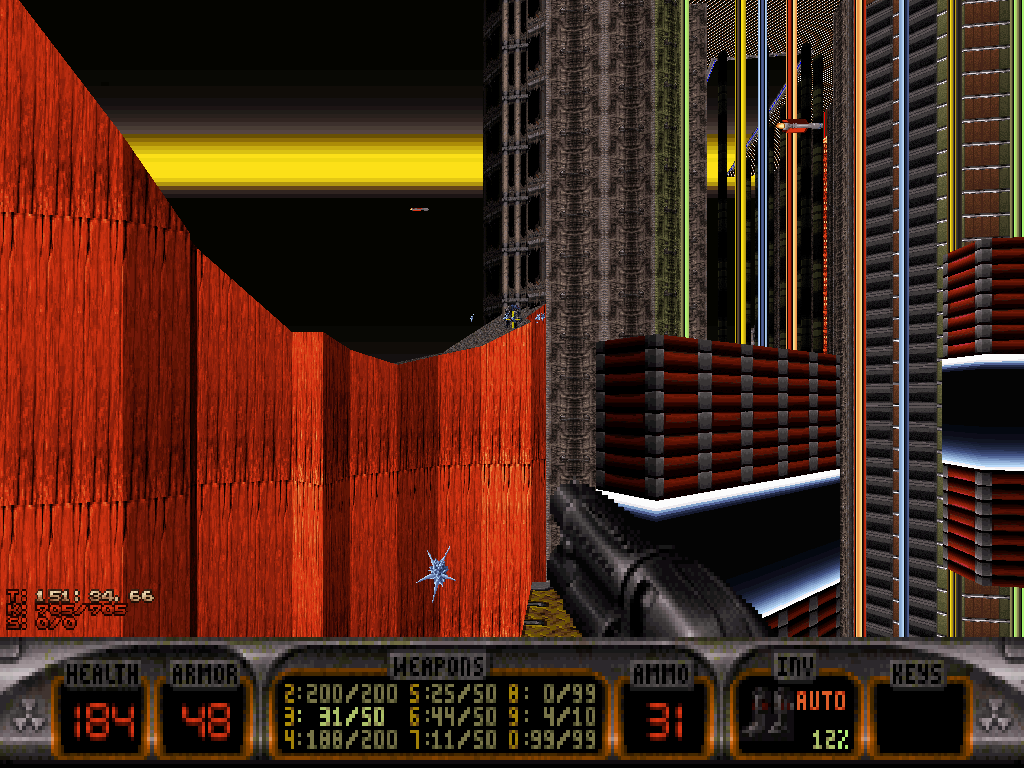
The area features a couple of torn buildings that are bathing in an ocean of purple lava, and is kind enough to provide our hero with a ridiculous abundance of "Duke Nukem I" blocks and platforms. It's also peppered with various item caches that comprise supplies of ammo, Atomic Healths, and various inventory items.
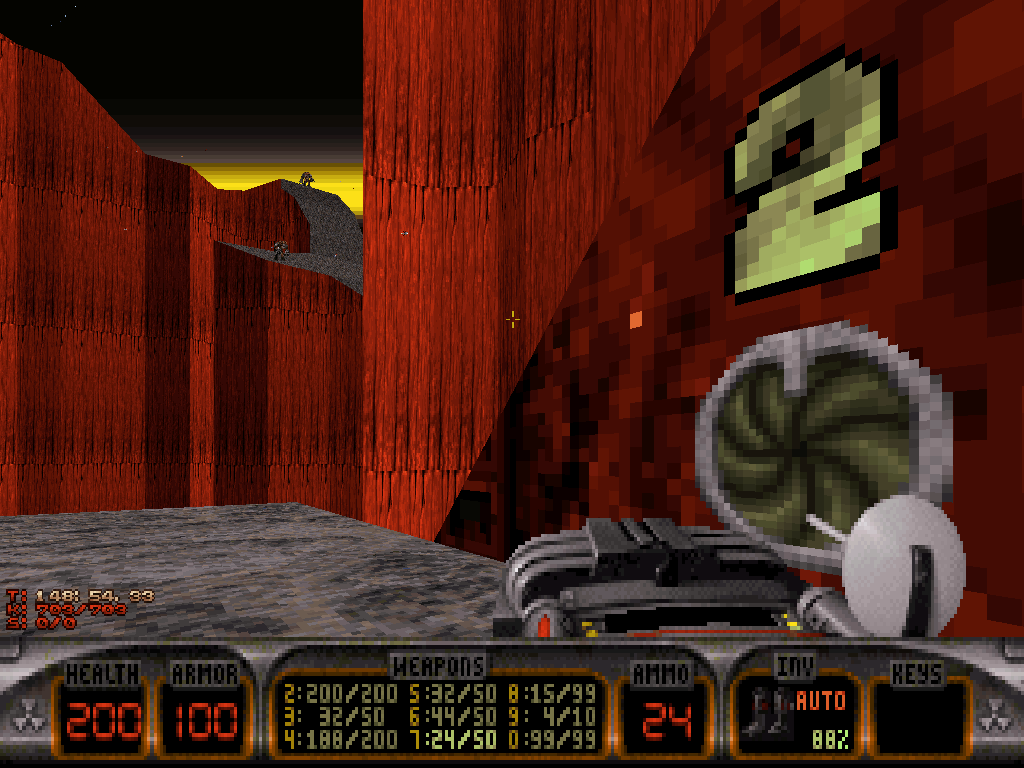
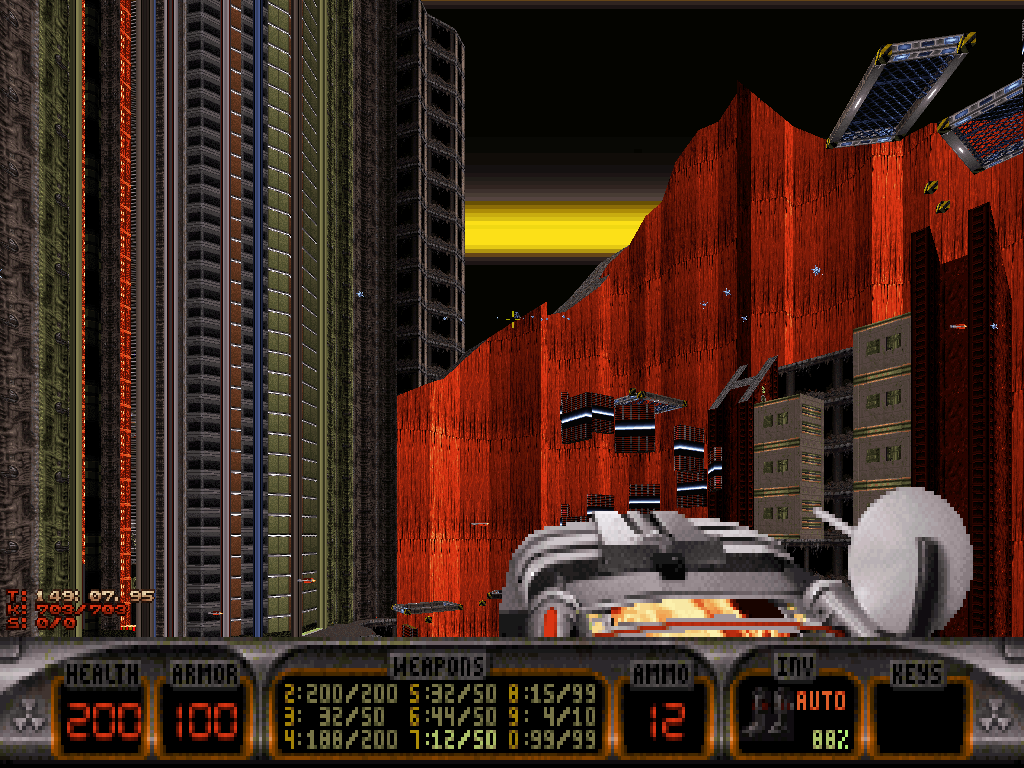
Duke's goal shall be to reach the two torn buildings in succession, for each structure conceals a pair of switches Duke can press (so there are four switches in total); this may be easier said than done, since the purple lava is bound to induce at least some damage with all the maneuvering; using the numerous platforms in a way is safer than trying to cut corners with the jetpack (even if it's for flying over them, so that they block the fumes).
And Duke's platforming needs precise attention to its pacing, because of the constant barrages of rockets from the Cycloid Archangel which may be destabilizing (at best).
When a new building finally is reached, more full-sized Cycloid Emperor of various types will creep up and emerge from all the cliffs, joining in on the battle just to fuel the non-stop stream of projectiles even harder. Thankfully, those snipers can be taken out from distance to alleviate the situation as long as Duke is patient, for those are some tanky bastards.
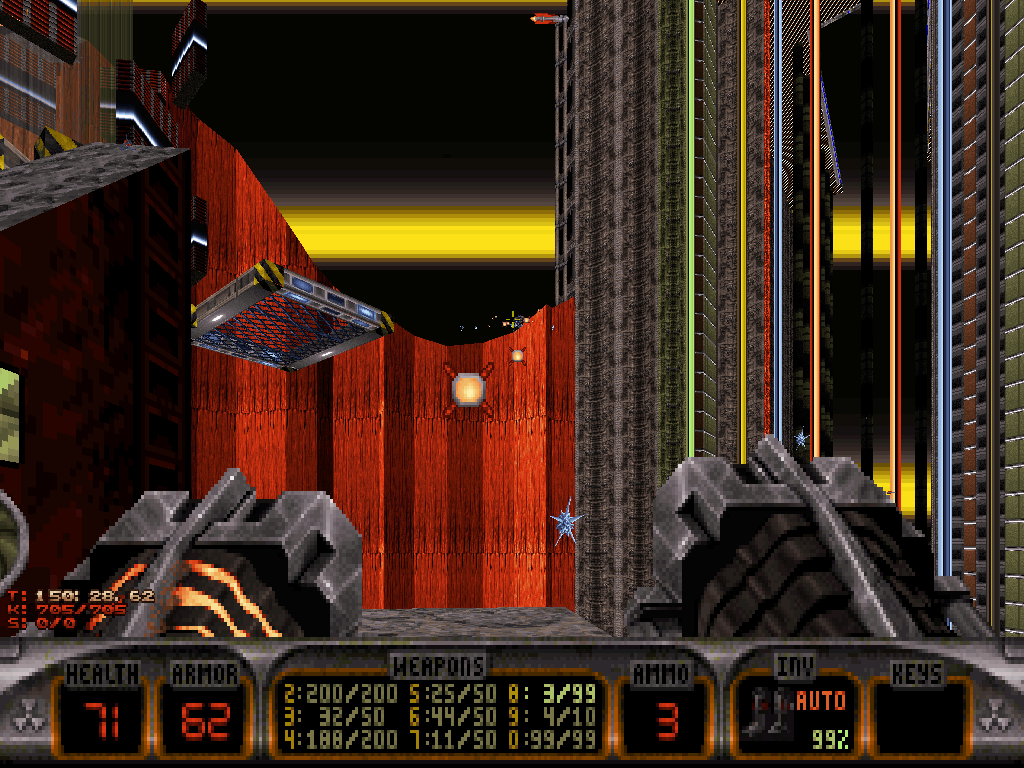
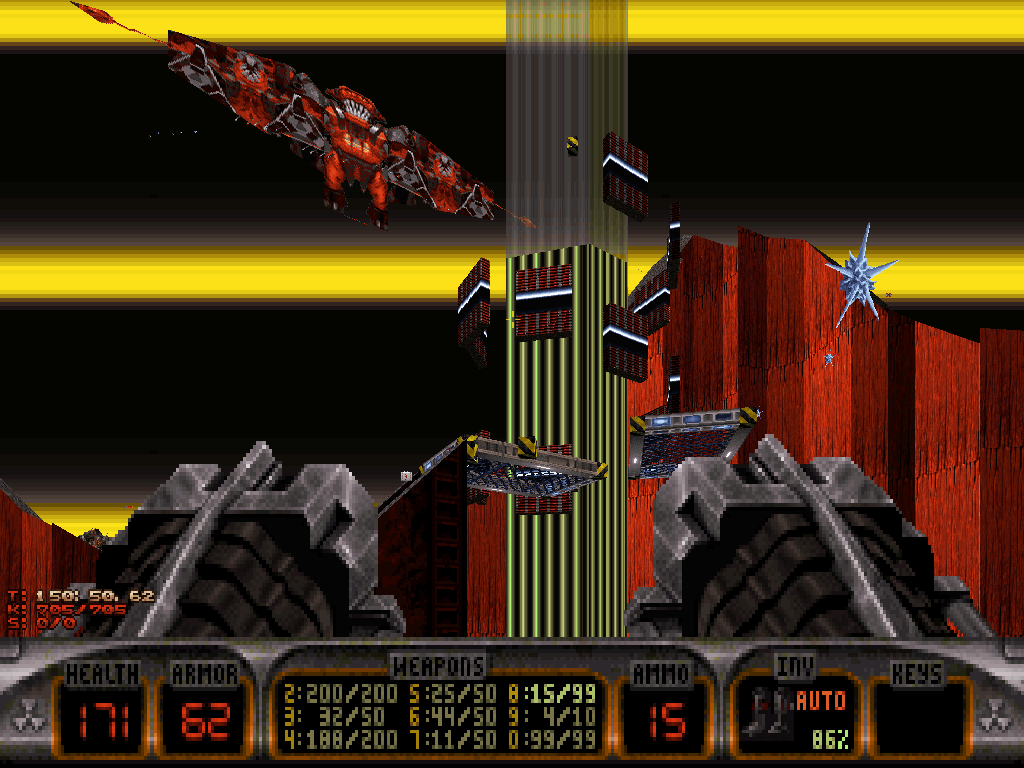
After he's finally pressed all four switches, a central platform will emerge from the ocean of purple lava, rise to the skies and become Duke's final destination on Zarathustra.
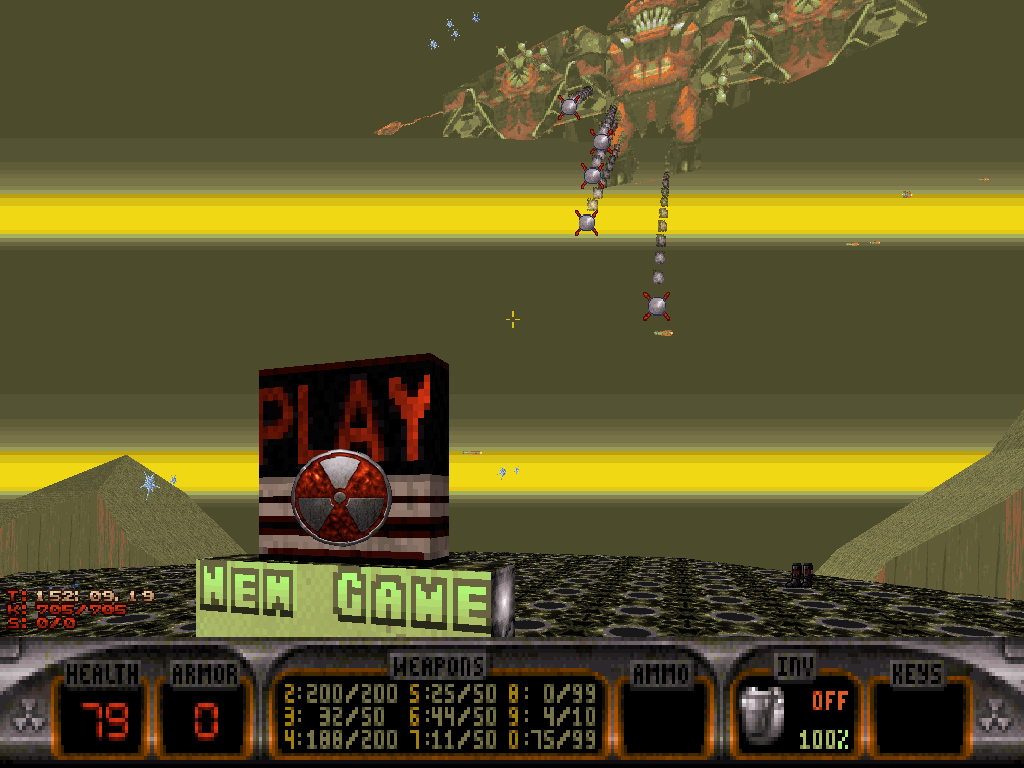
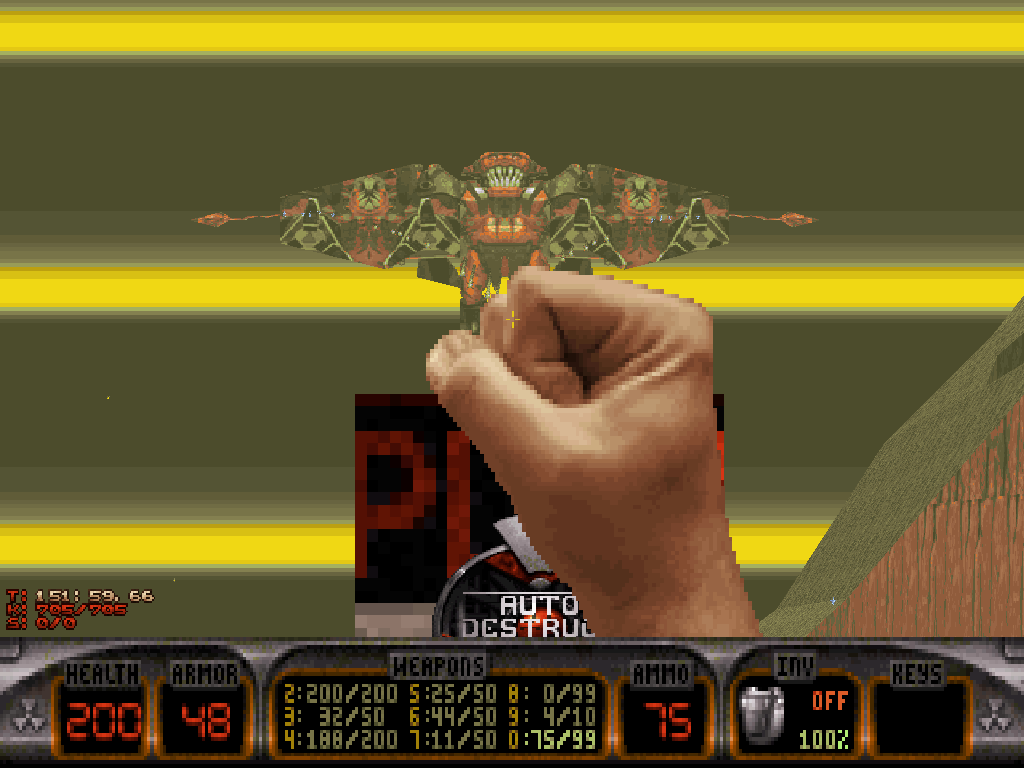
Once he's reached it, the Cycloid Archangel will ask for a new game, all the while keeping shooting.
By pressing Zarathustra's Nuke Button, Duke accepts.
To be continued in the final (non-secret) level 13 of Blast Radius: "Closure".

'You're Not Supposed To Be Here - Level Lore - "Zarathustra" (level 12/BRL12.map)' main article

Download Duke Nukem 3D: Blast Radius (last update: 03/04/2024; v. 5.0.2)

