Download Duke Nukem 3D: Blast Radius (last update: 03/04/2024; v. 5.0.2)
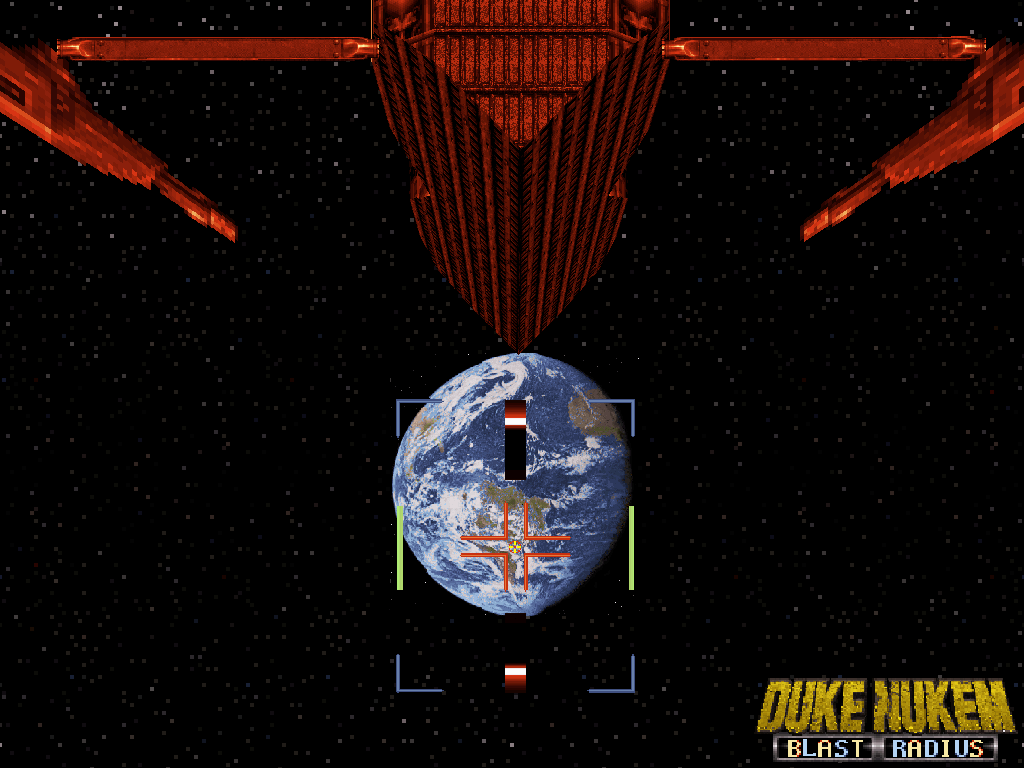
Things take a turn for the absolute worst in level 10 of Blast Radius: "Postmortem", and Duke Nukem is to blame... Or is he?

History: Chronologically, "Postmortem" was the ninth map made for Blast Radius, started right after level 4 "Incapharnaum" was finished and preceding level 8 "Norilsk No-Reward".
"Postmortem" was started on June 9th and completed on June 30th, 2021.
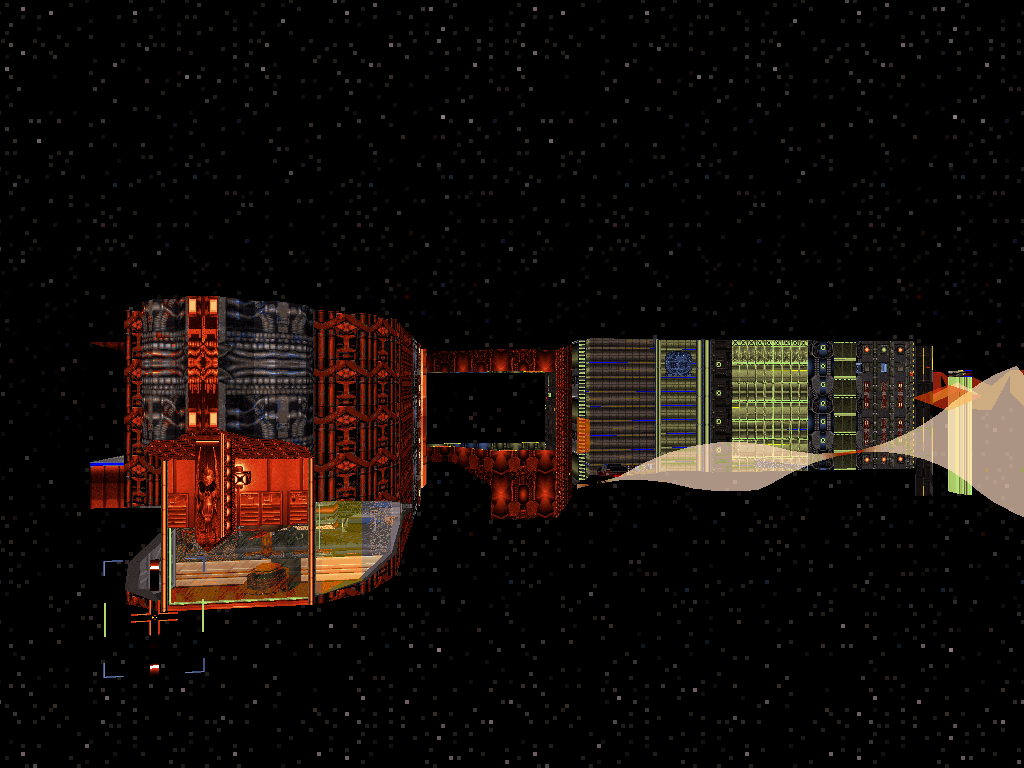
Taking place in an overrun Earth Defense Forces space station that is being monitored out of Japan, the map's construction actually started with its final, pivotal twist which is especially important as it also is crucial to Blast Radius' story altogether.
Then the space station itself came together, zone by zone until it was finished; and then the short Earthly segment that really corresponds to the level's introduction and starting area, instantly transitioning from the last moments of the previous level 9: "Nakano Nightmare", set in Tokyo, was added much later, after the hiatus, in 2022.
Ironically enough, the aforementioned crucial, pivotal sequence later turned out to be the last effect to ever be retouched one last time prior to Blast Radius' original 1.0.0 release on February 13th, 2023 (in order to add the laser beam).
"Postmortem" marks the end of the second act of Blast Radius and Duke's entry into its final third, where things brutally start detaching further and further away from the grounded and the game decomposing into its true form.
Planetary destruction ensues from the blast as Duke himself starts cracking and, clearly, nothing is bound to ever be the same - at all.
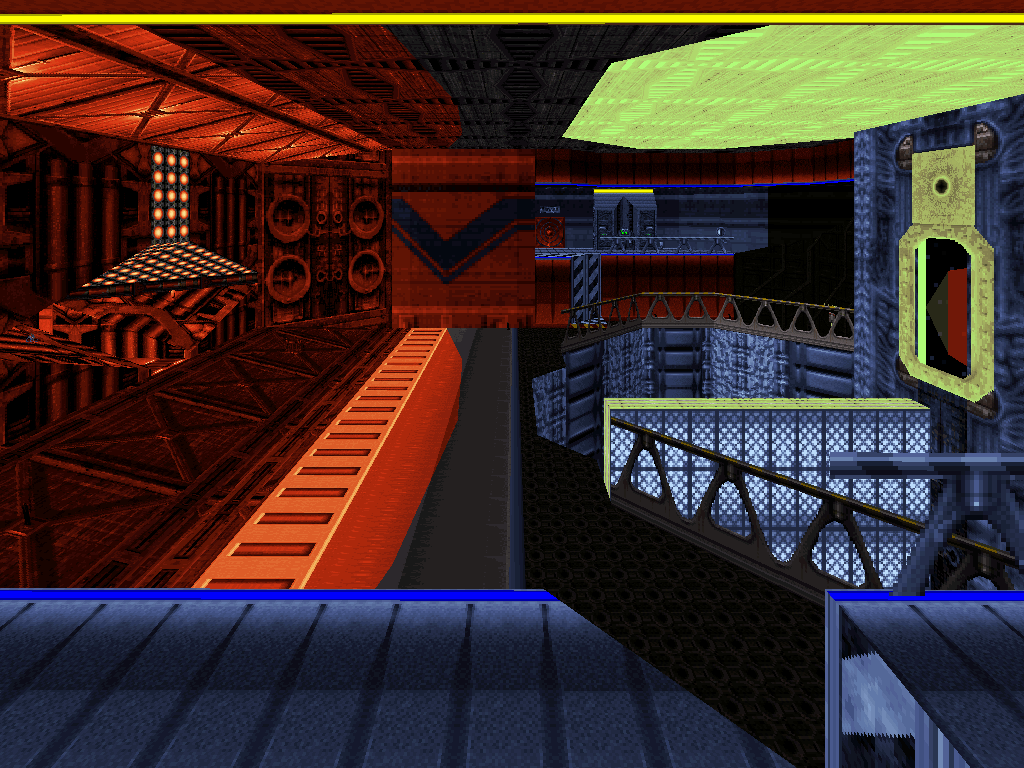
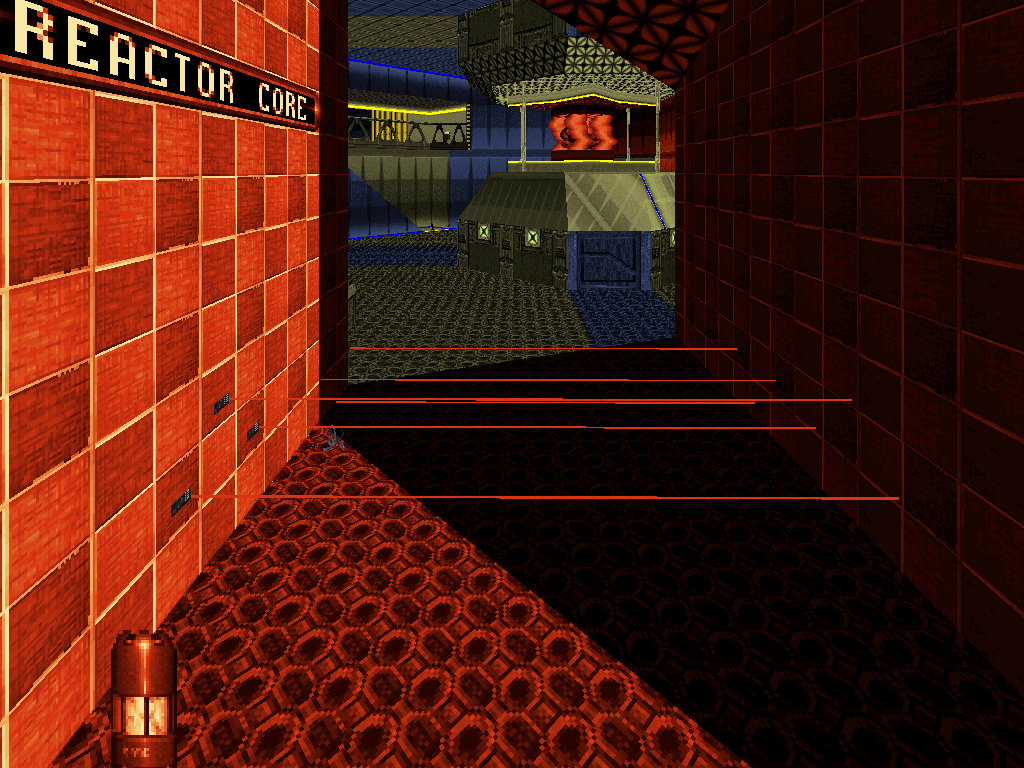
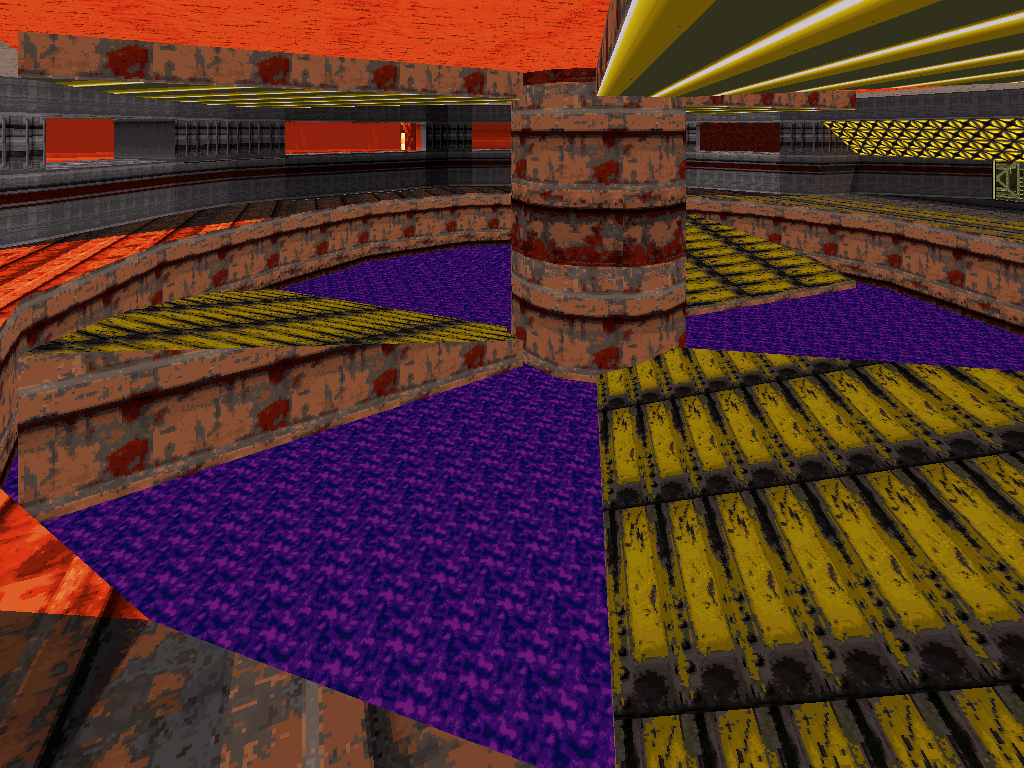
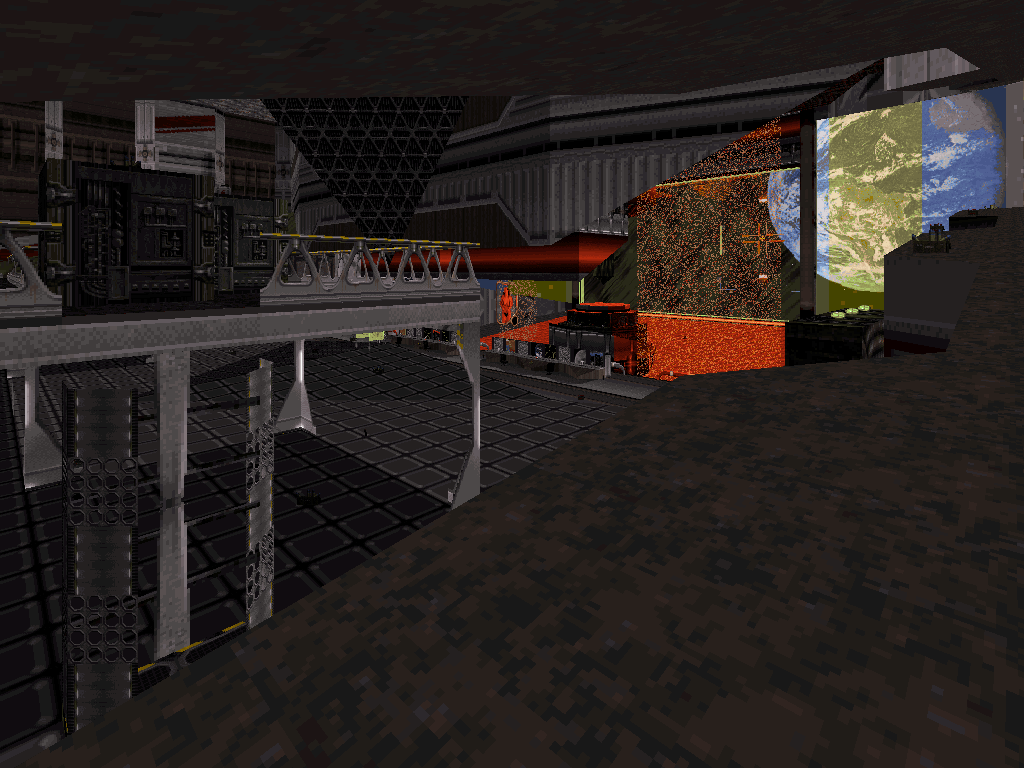
Destined and designed to be a major stage in the adventure, it plays with Build engine tropes (as well as various DOS games references) quite a bit, featuring its fair share of experimental dynamic effects and sector-over-sector that is used as far as to simulate wormholes.
But most importantly, it is ruled by traditional FPS layout style where the player's orientation is also put to the test due to the maze-like arrangement of confined hallways and distinct, yet interconnected rooms, with some clear key events and landmarks and then everything up to the user not to forget how to reach each.
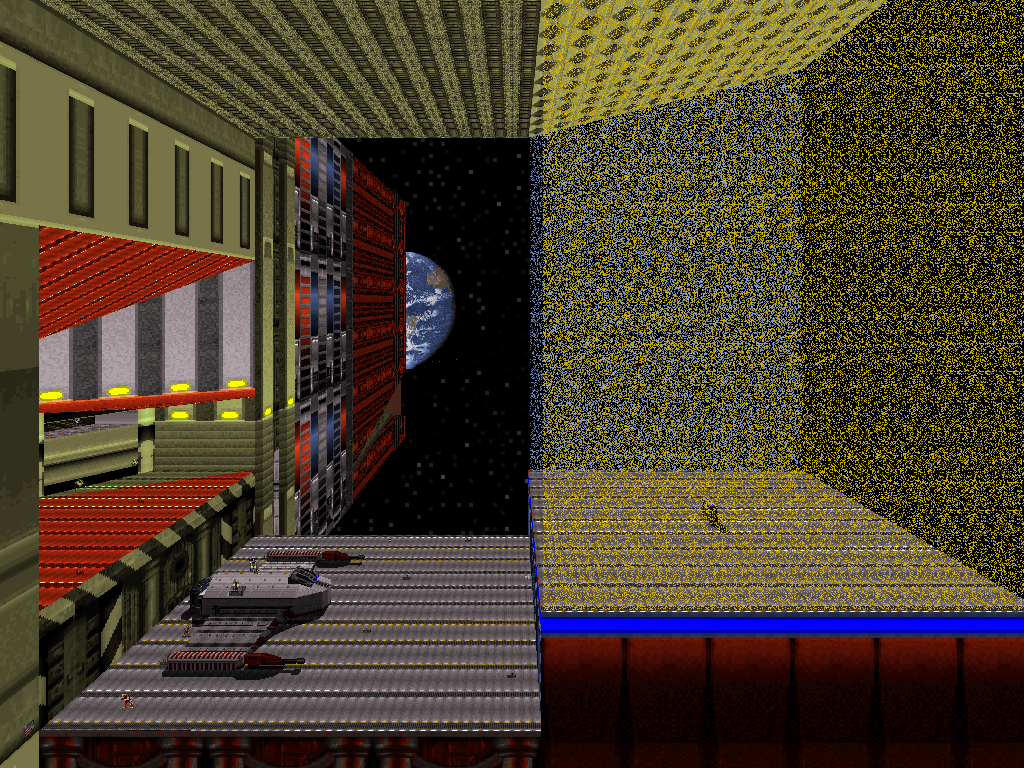

Walkthrough:
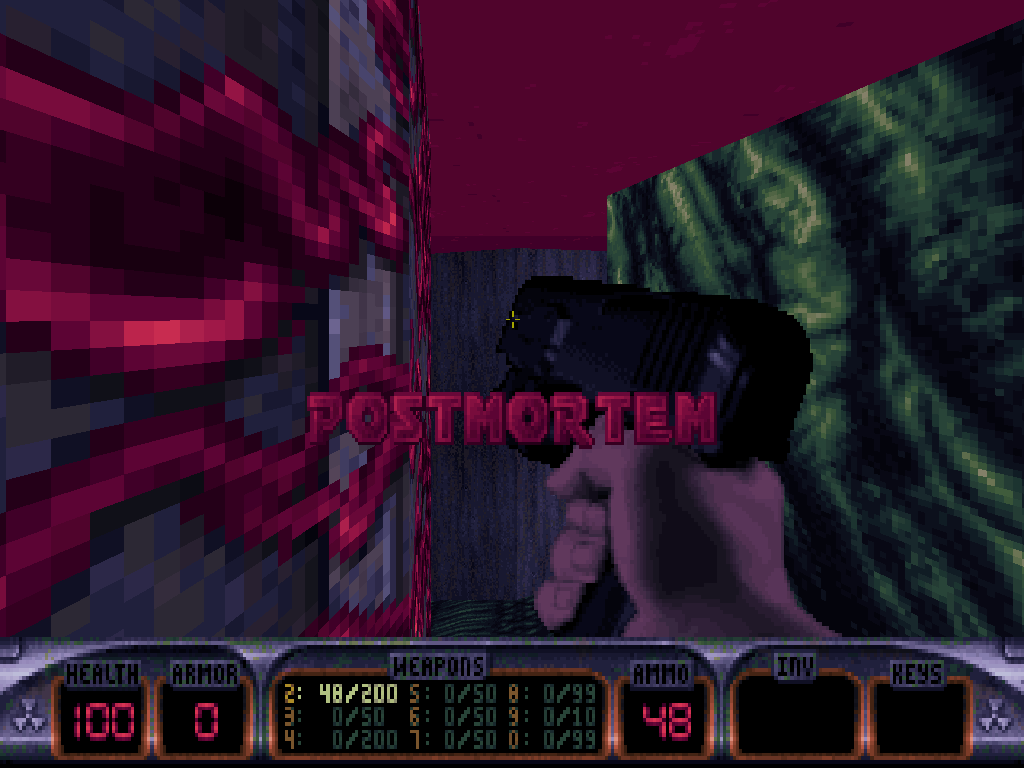
"Postmortem" begins right where the previous level, "Nakano Nightmare" left off: swimming at the bottom of a pool of liquid inside an alien-infested, and now collapsed building in Tokyo, Japan.
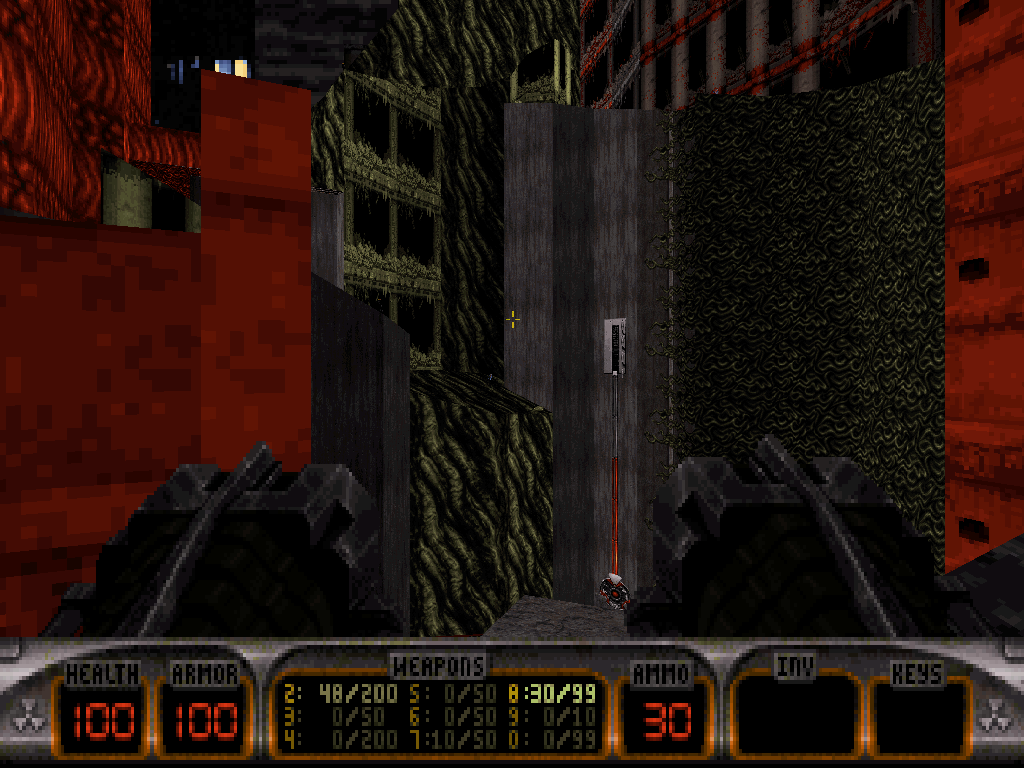
Resourceful as he notoriously is, of course our hero will instantly consider the possibility of resurfacing and may be granted with as many as four secret places if he decides to do so.
In order to progress, though, Duke shall need to submerge again, and swim through the hole that's been blown into the next building (now full of Protozoid Slimers eggs, themselves guarded by all types of Octabrains).
And if Duke is in need of one, a Scuba Gear is available as early as inside the first room.
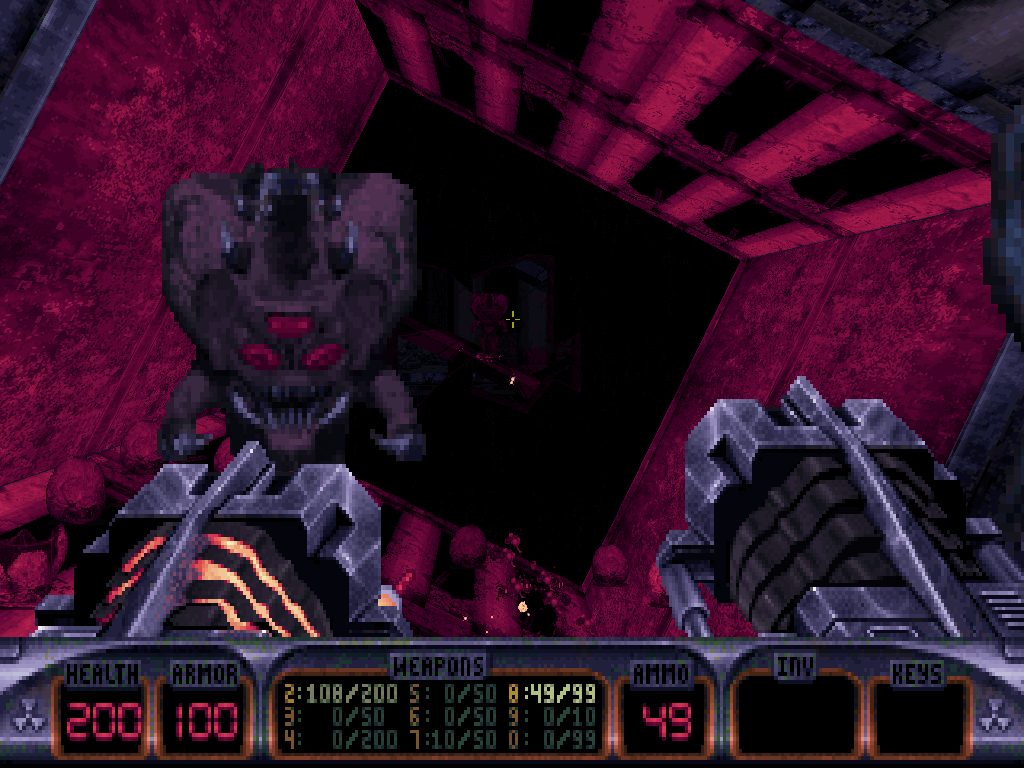
Duke should keep advancing, swimming through the sunken segment until he eventually meets a lit-up section he can swim up. He shall be careful whilst doing so, though, since more Protozoid Slimers and Octabrains are nested inside of holes on every side of his way to the surface, but those also conceal some goodies, including a potentially precious Shrinker.
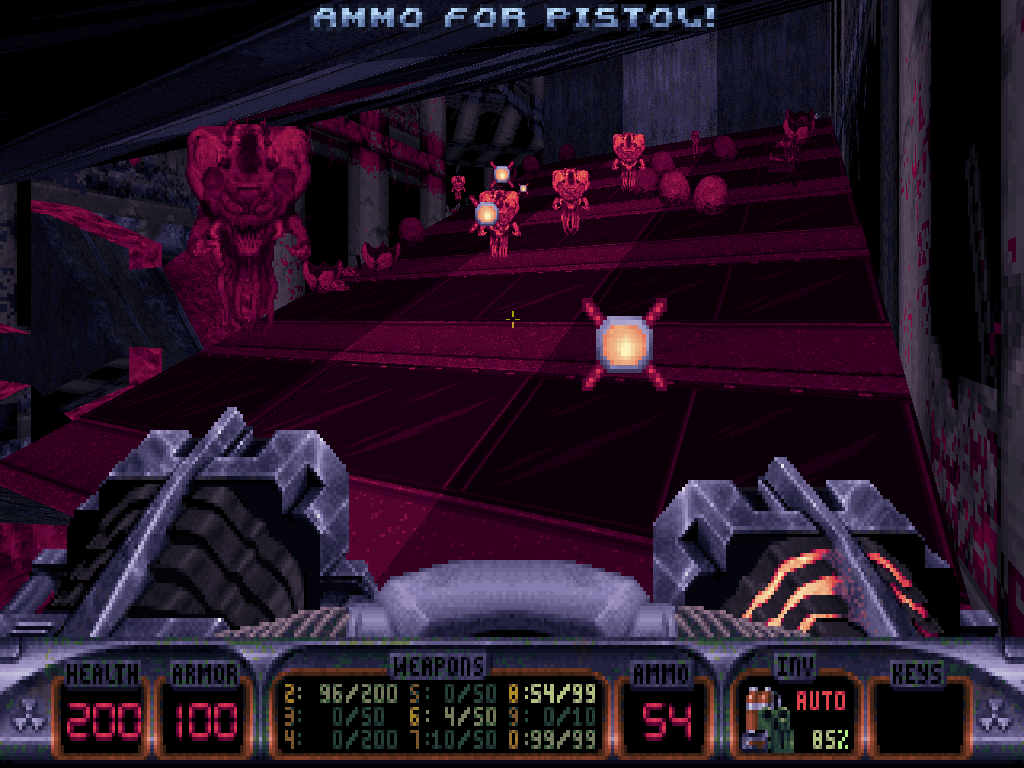
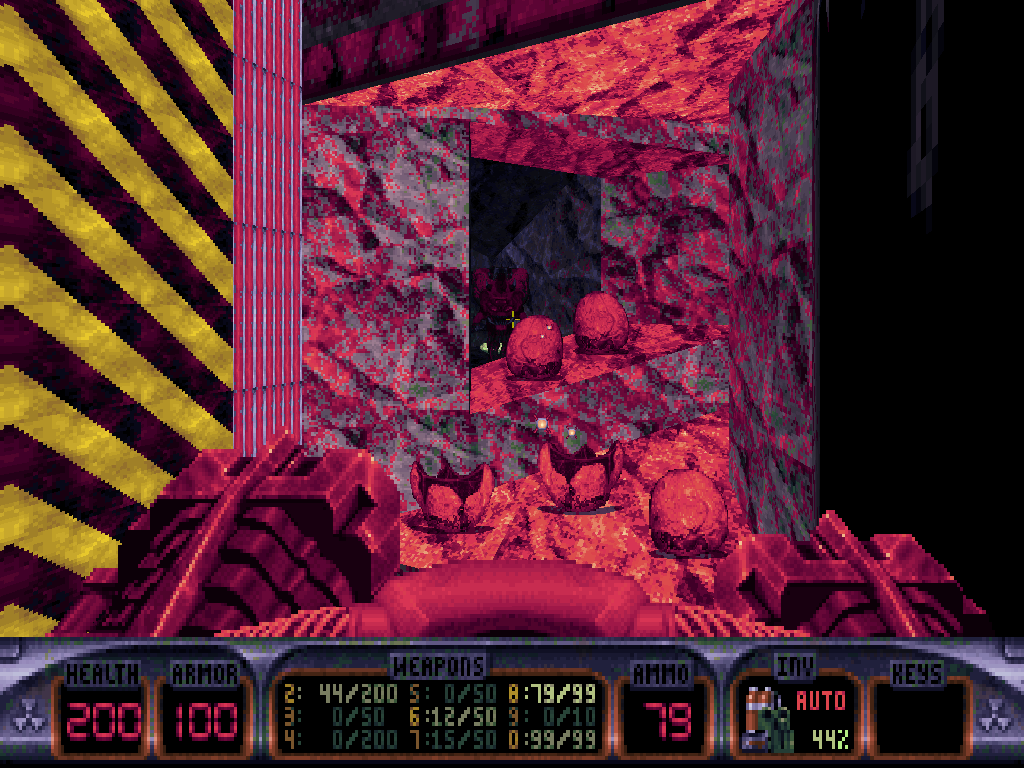
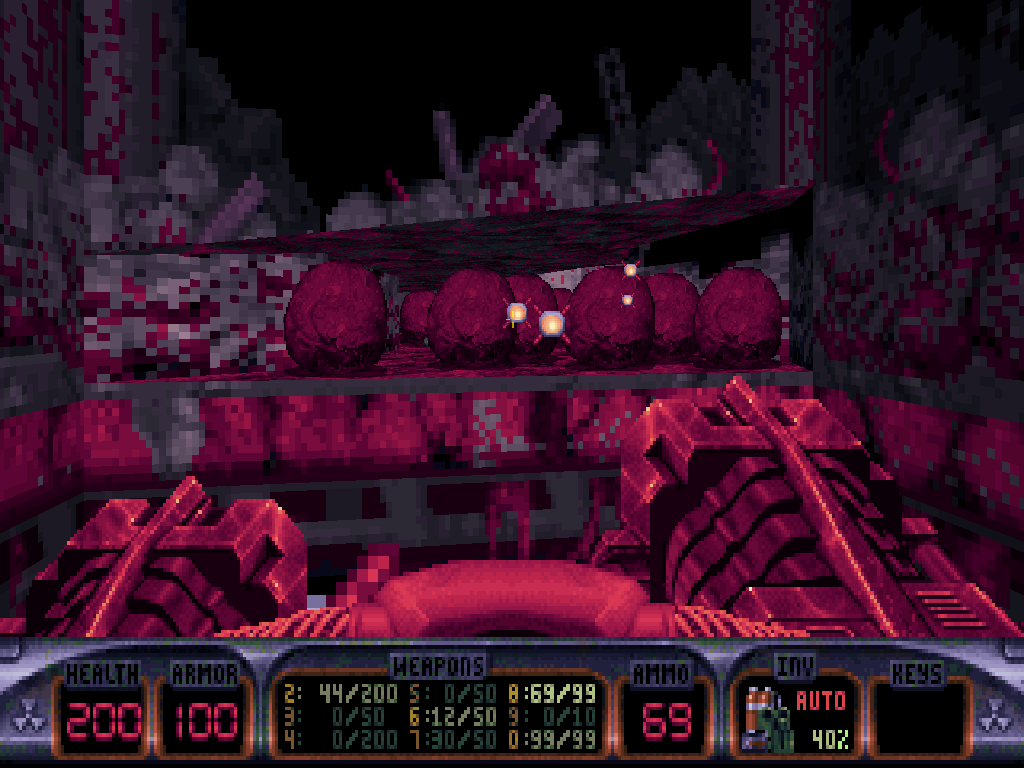
Once at the top, Duke will emerge from a container inside what is revealed to be an Earth Defense Forces Japan lab. Pig Cops (including the local Porkisu) are especially invested in the place, as it hosts a machine which revives dead pigs.
After he's broken the glass and gotten out of the tank, Duke himself can choose to use the machine if so he wishes; reviving the Pig Cop corpse that is just resting on it will indeed result in one more (particularly short-lived) enemy, but also the spawning of an Atomic Health.
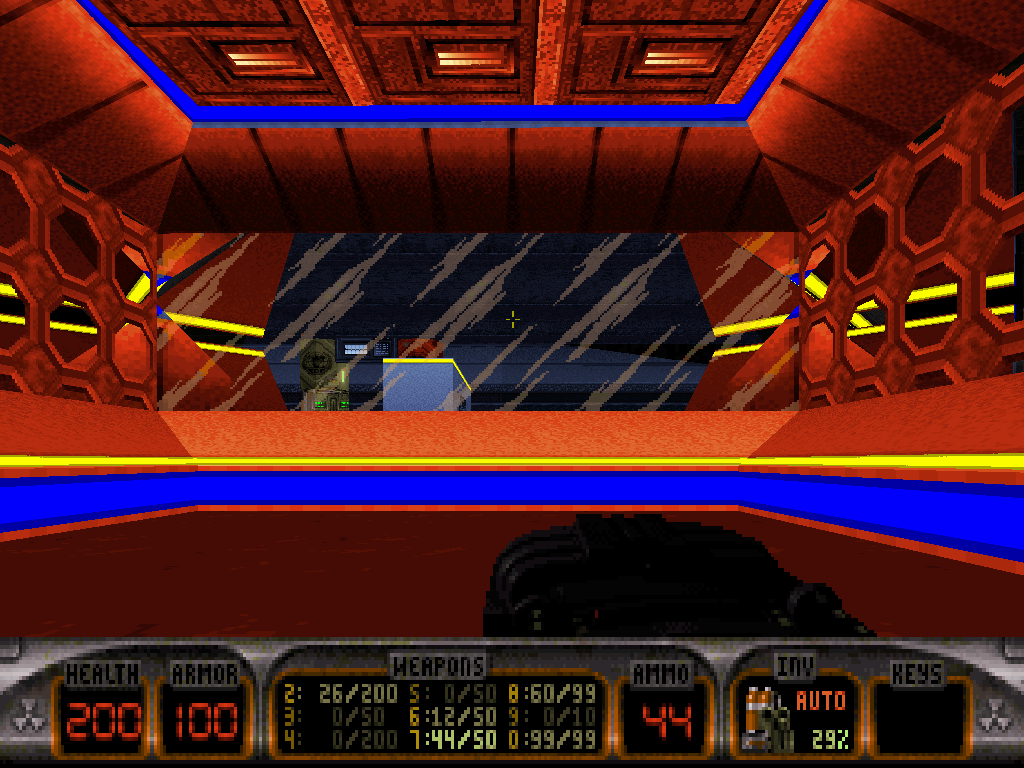
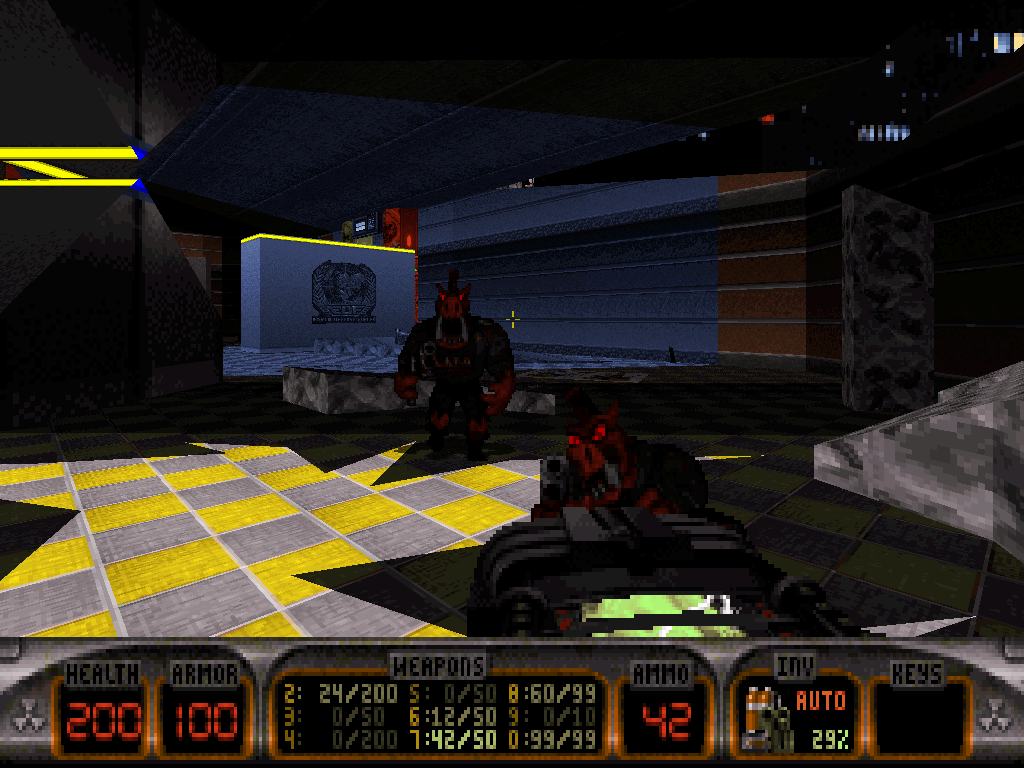
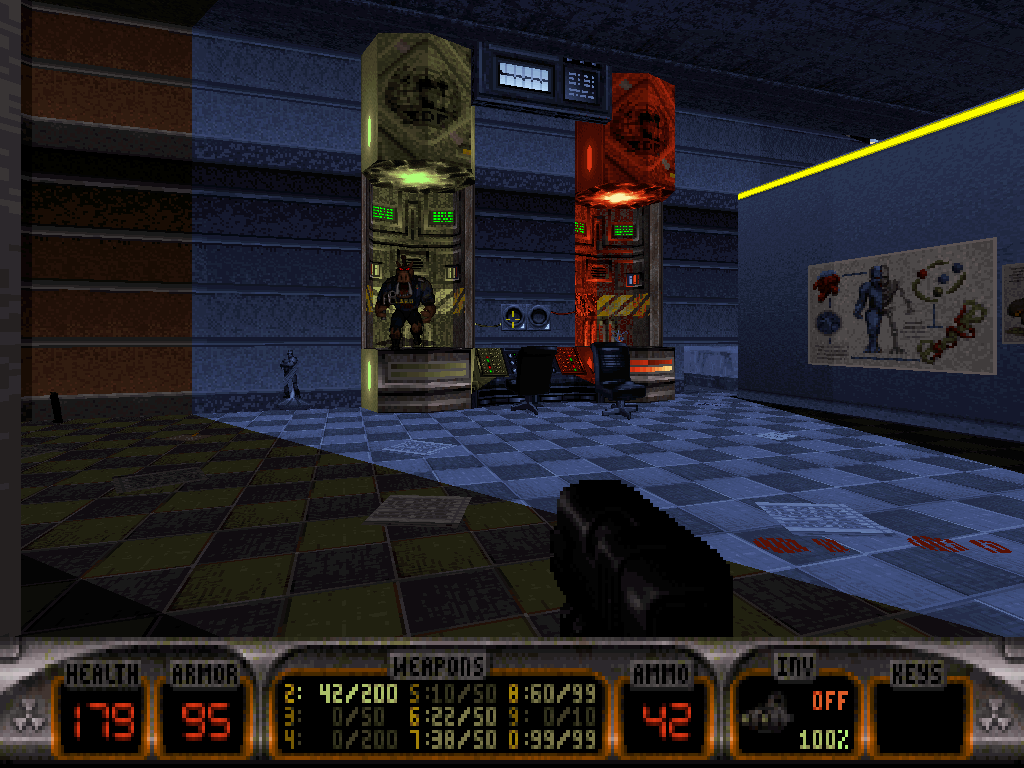
There are a few things Duke can do around the labs, but when the time comes to keep ahead then he should focus on the elevator in the back. It's quite evidently booby-trapped on every literal level, from active laser tripmines inside both the bottom floor and top floor gates and the introduction of a new enemy: the Madlad Commander, with qi energy ball-firing abilities.
Especially if he's got Pipebombs and the Shrinker, our hero shall make short work of that mess.
With the way finally cleared, the top floor of the labs is now accessible and features one suspicious door, a machine with console commands, a Duke Nukem folding screen and a window out on the street which of course will blow up the second Duke steps inside, under the wrath of a Madlad Battlelord that is now shooting qi energy balls and gamma ray bursts at him.
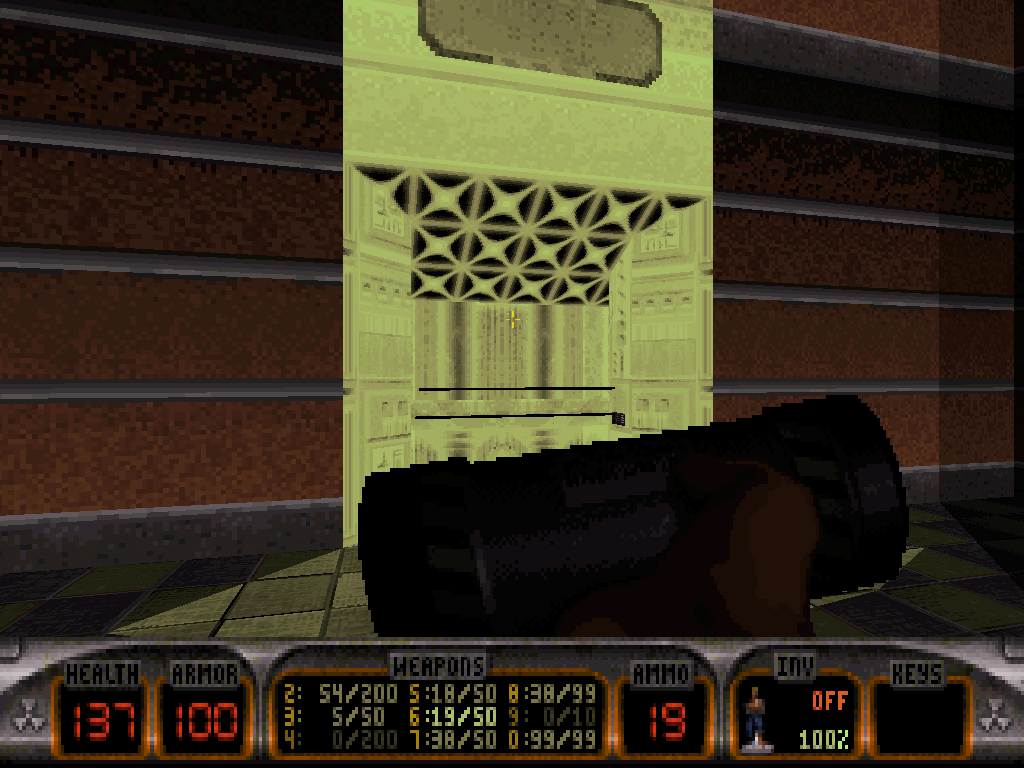
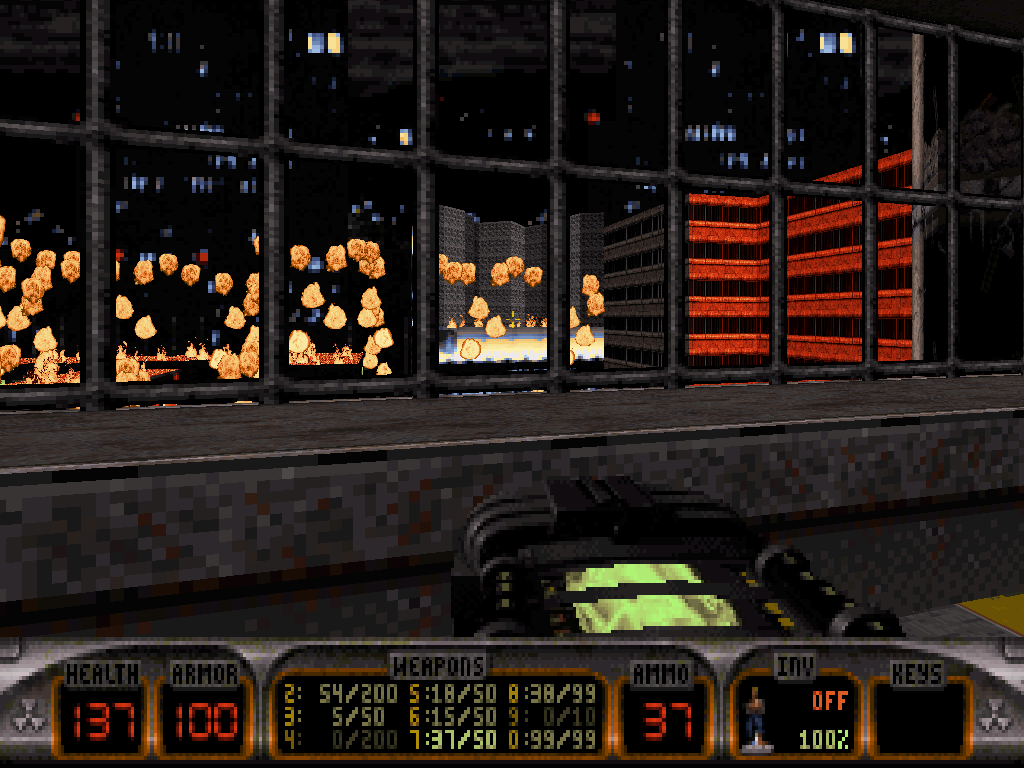
After he's neutralized the nuisance, Duke can concentrate on the console and especially consider the two buttons that are marked on each of its sides.
Once flicked, they will activate the suspicious door in Duke's back, granting him access to a spacetime portal.
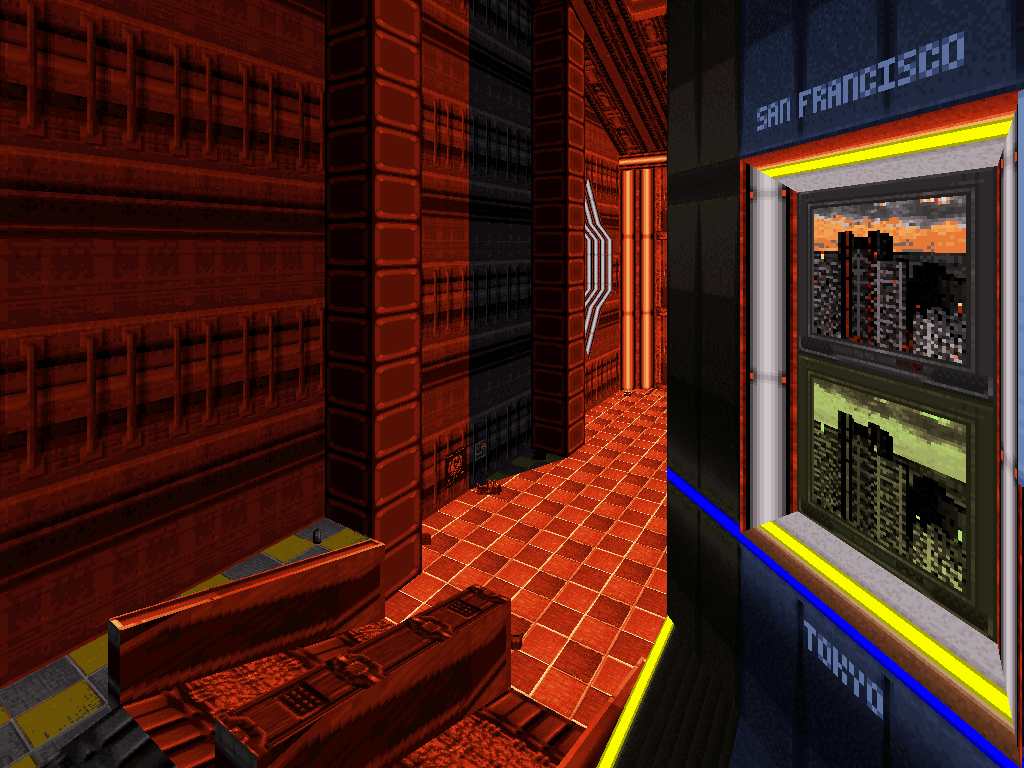
And once his eventual destination clarified by the security screens on the machine, Duke should know what to expect the moment he enters it.
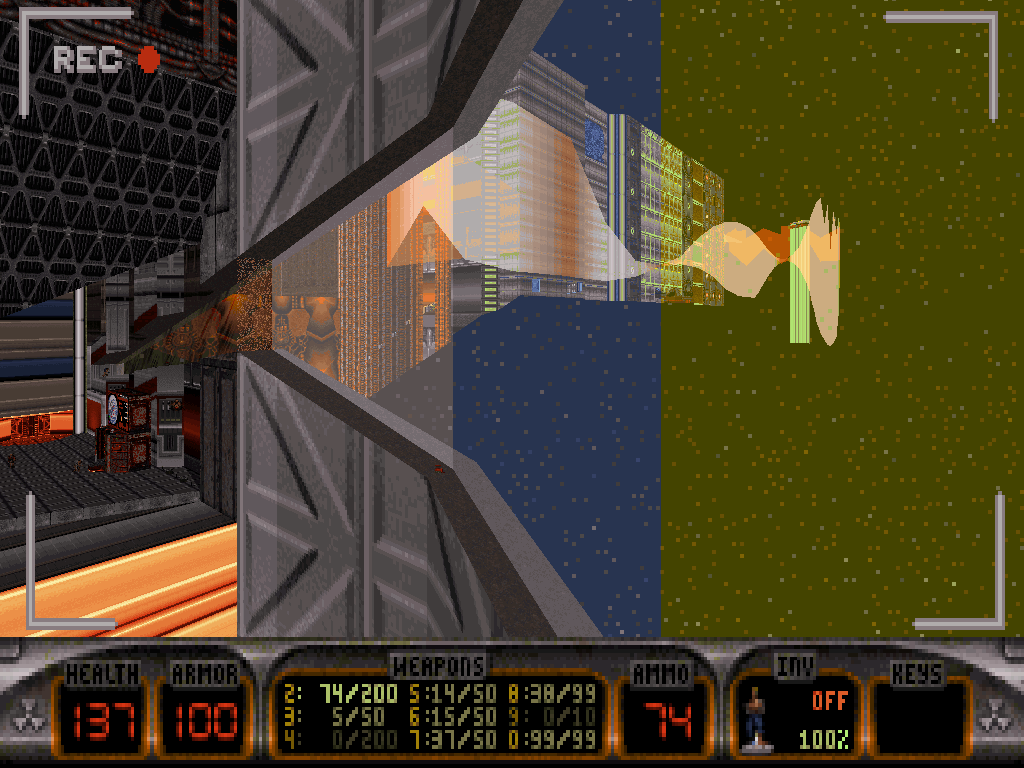
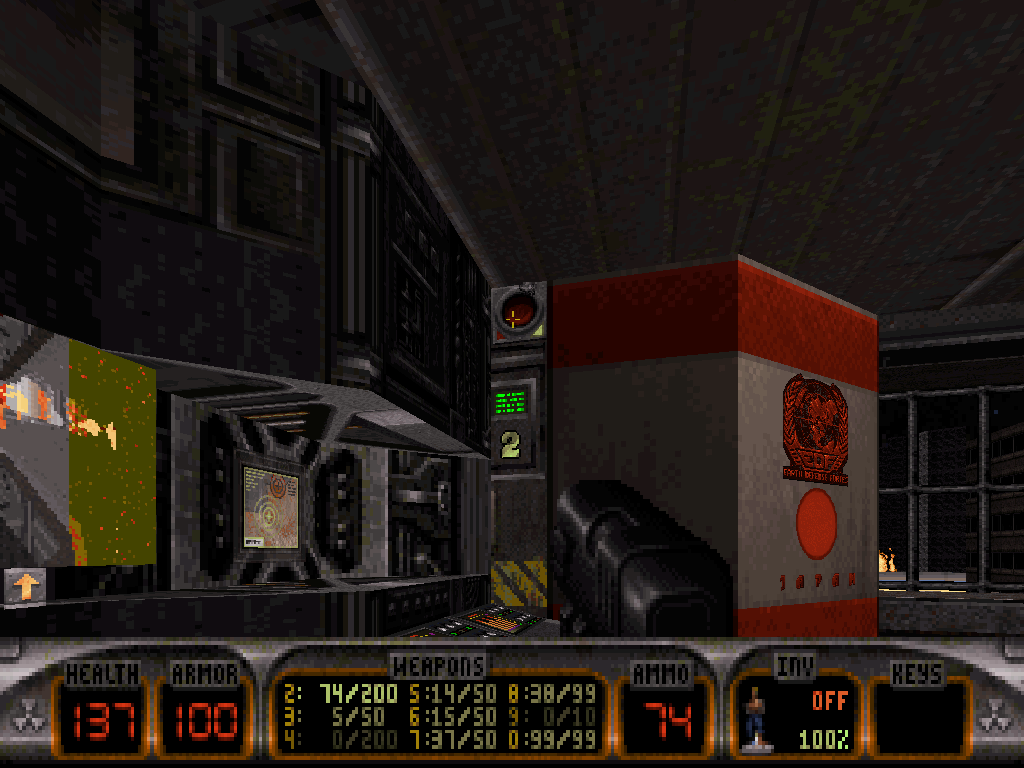
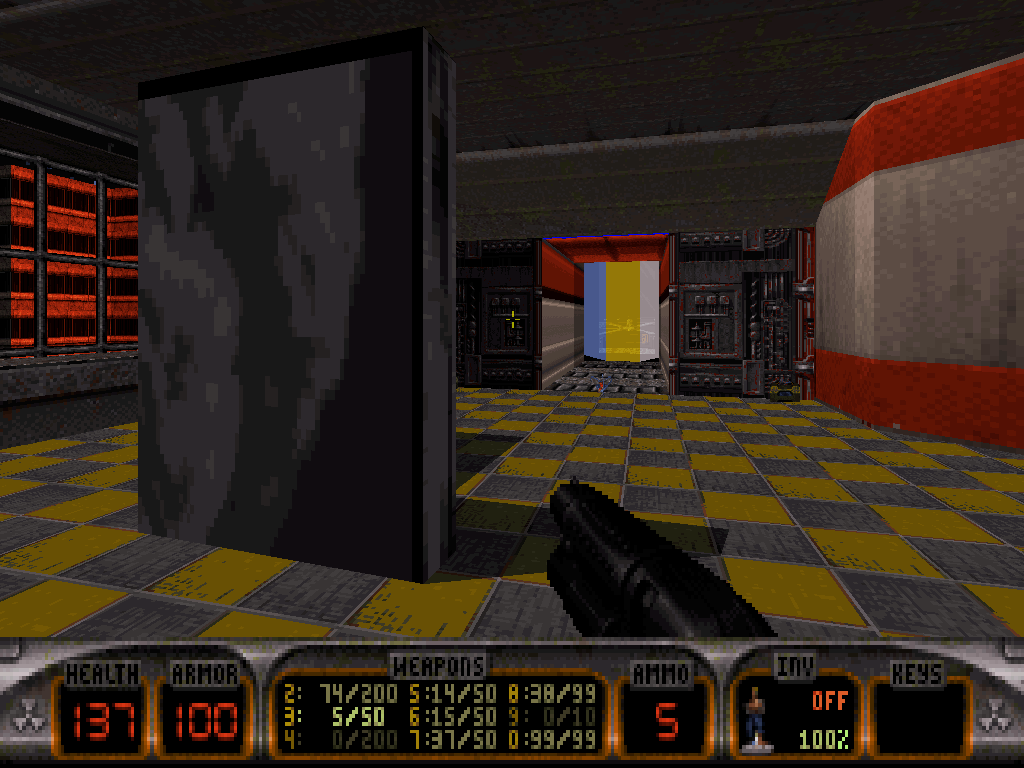
The portal will warp Duke to an Earth Defense Forces space station that's been quite evidently overtaken by alien scum now, since Assault Assaulters will try living up to their sorry name by jumping Duke the moment he exits his moving Aérotrain.
From this point on already, the level's layout opens up in two ways.
Duke can follow the suggested logic by entering the blue room and keeping going from there, or he can shun it by flicking the switch on the train to ride it back wherever it came from, which would turn out to be the Aérotrain repair station.
Both are possible and viable choices, but for now this guide shall focus on the former route; the latter being a shortcut at a cost (skips the first key but also equipment, and is harder).
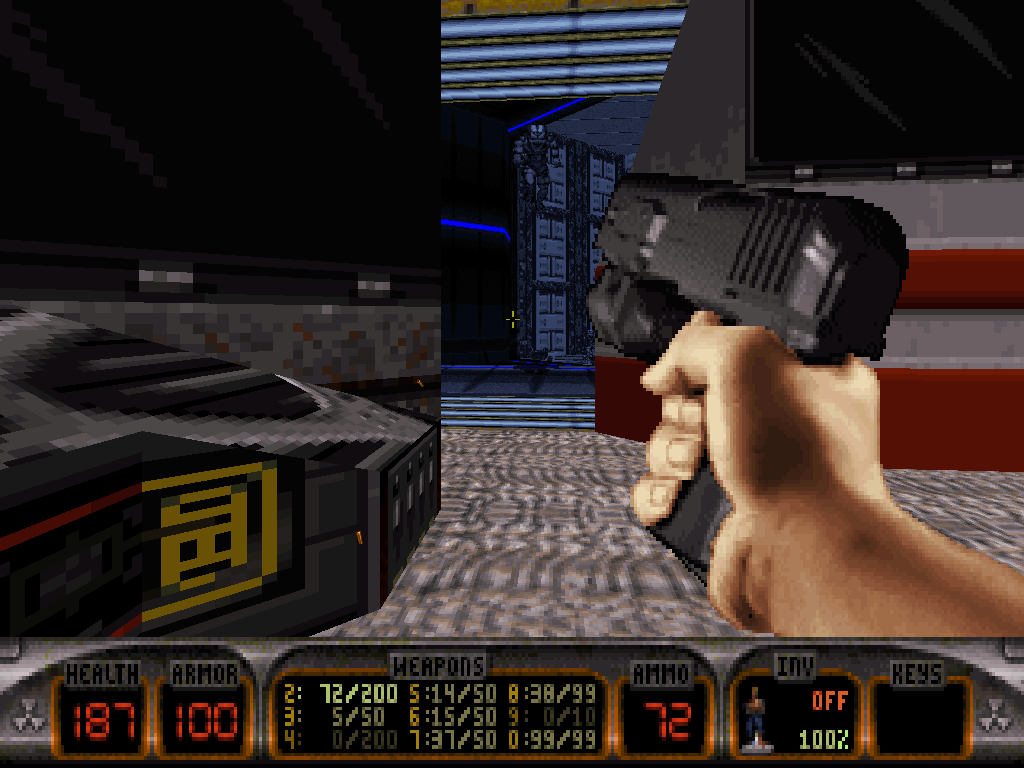
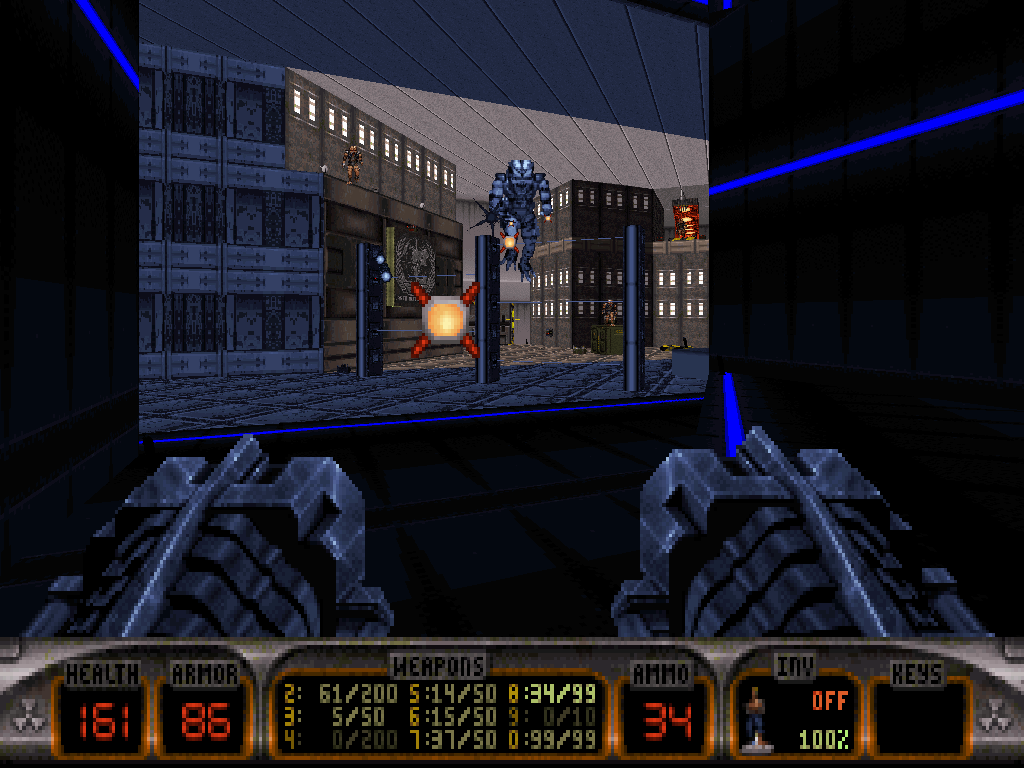
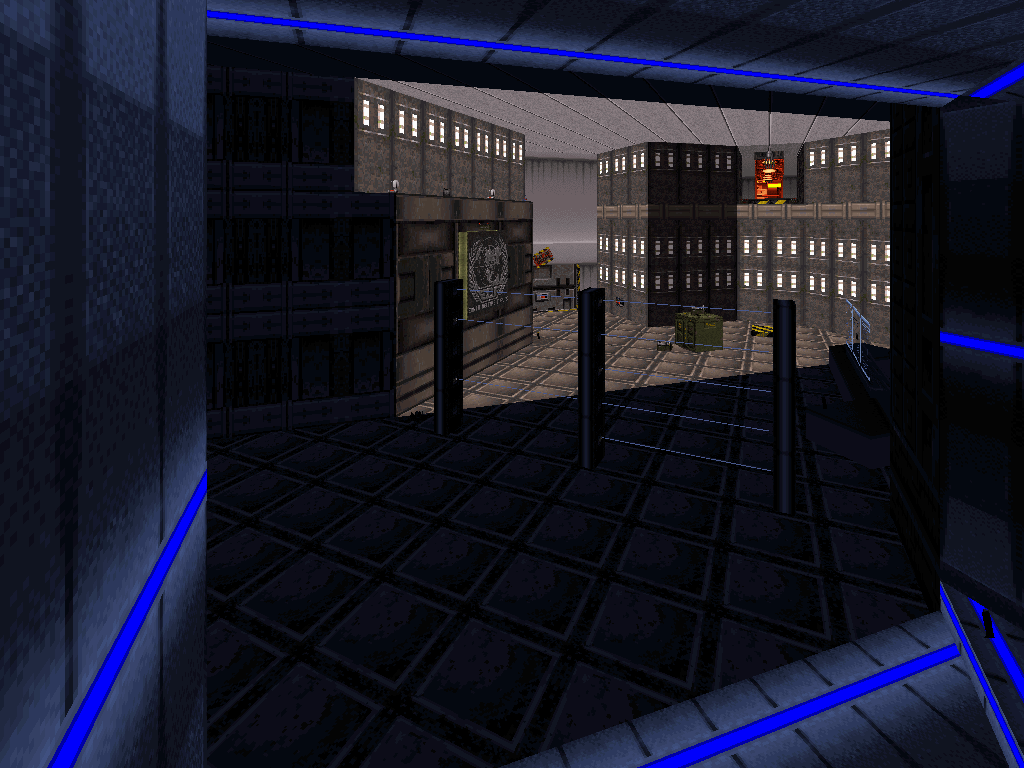
The blue room features, out of many things, the blue key door and also a higher, lit-up shaft in the wall next to a crane in the corner.
Standing on top of the platform underneath the crane will cause it to drop down and latch onto Duke, picking him up to then drop him onto a conveyor belt - where he would be wise to use Pipebombs in order to clear his imminent way of all the active laser tripmines.
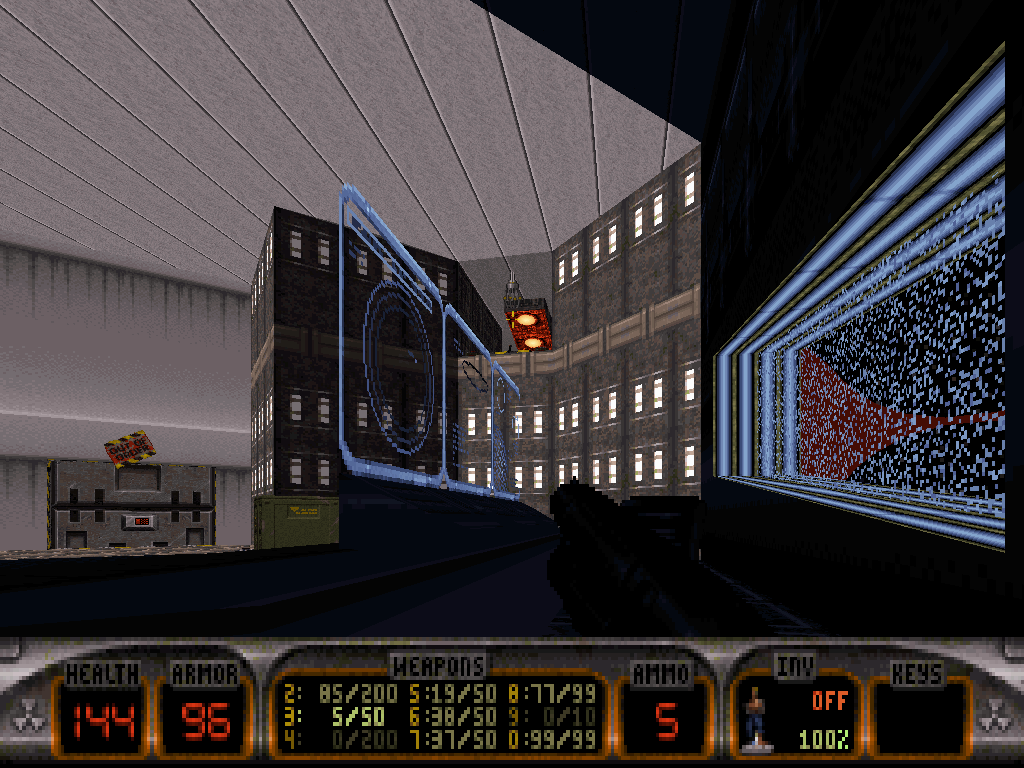
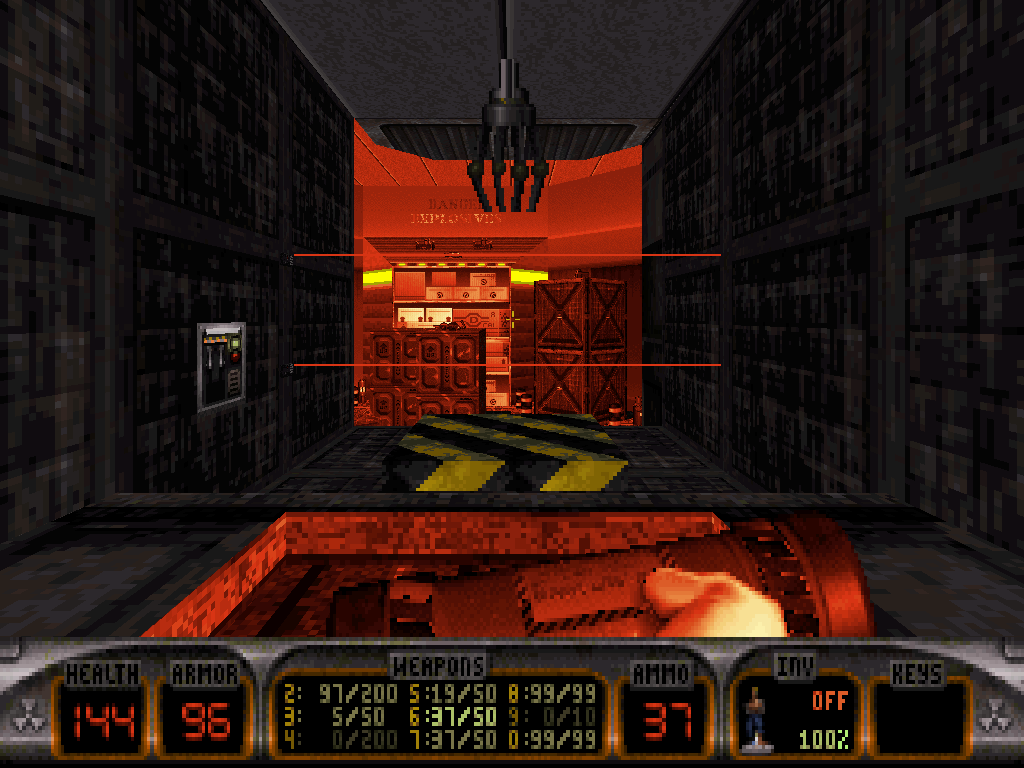
The storage room Duke will reach is brimming with some of the most dangerous alien maggots, including a particularly mean Assault Assaulter and Madlad Commander combo (on the Come Get Some difficulty setting).
Our hero shall sanitize, then explore the room and consider his options for progress.
A forcefield is blocking access to a massive water tank; the switch to deactivate it is on the console with the matching blue lights, above. Duke can flick a different switch at ground level in order to access it.
Deactivating the forcefield will cause the unleashing of a bunch of Sentry Drones from behind.
After he's exploded them, Duke shall jump into the water tank and then sink, in the midst of all the Protozoid Slimer eggs and Octabrains.
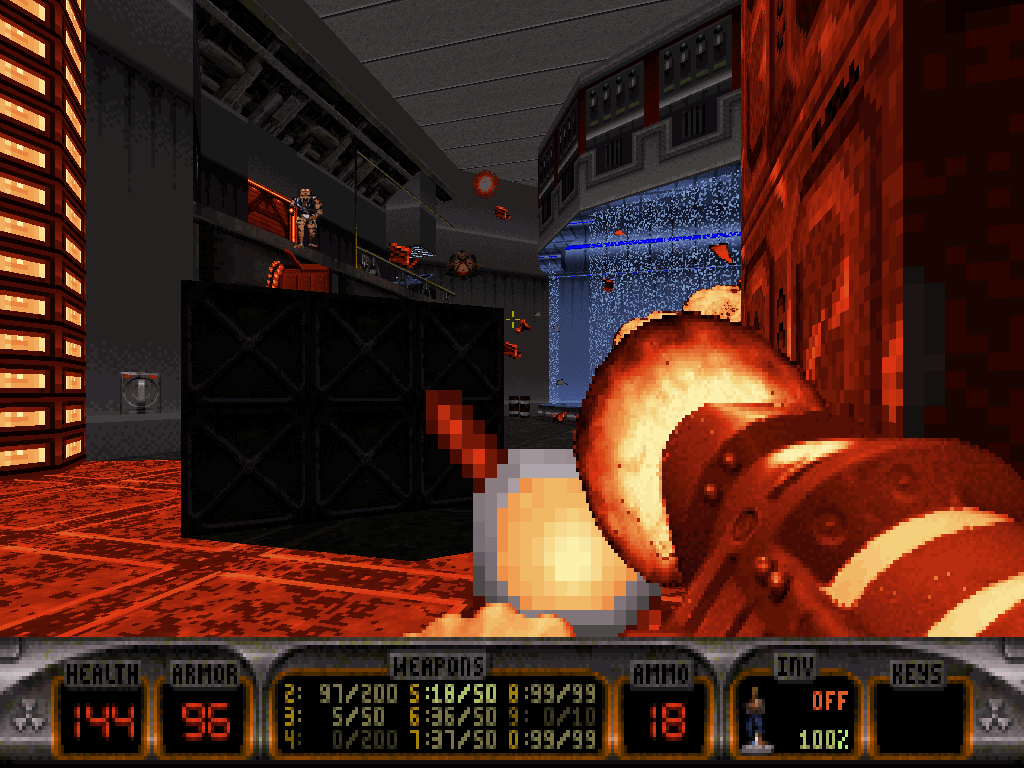
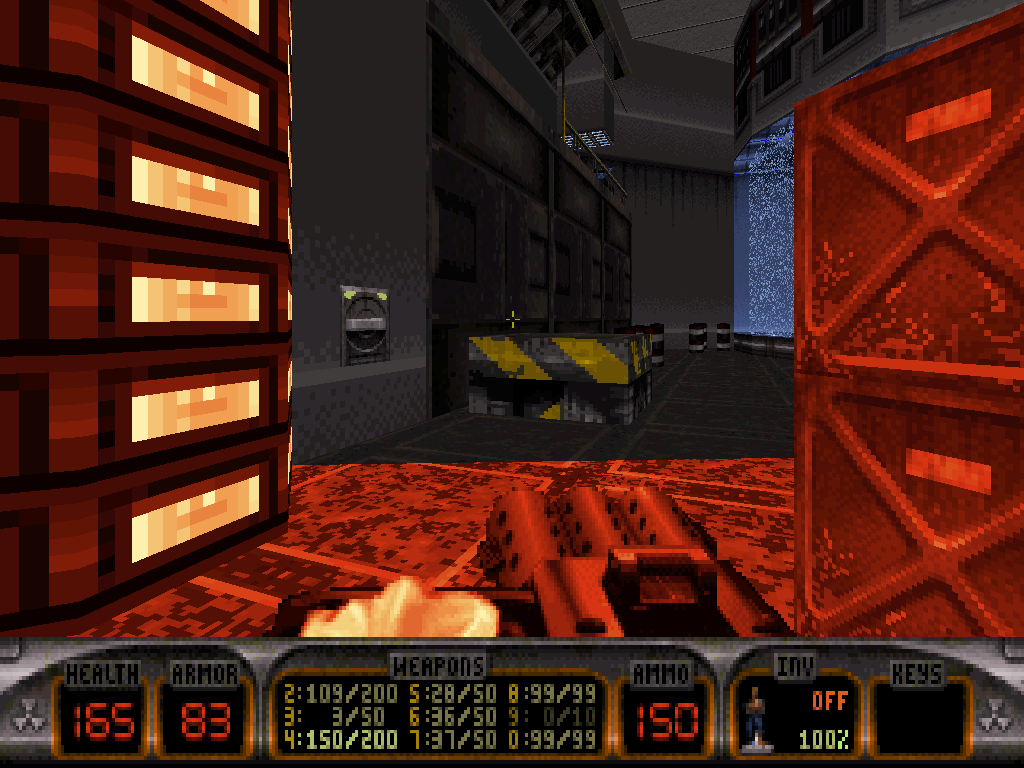
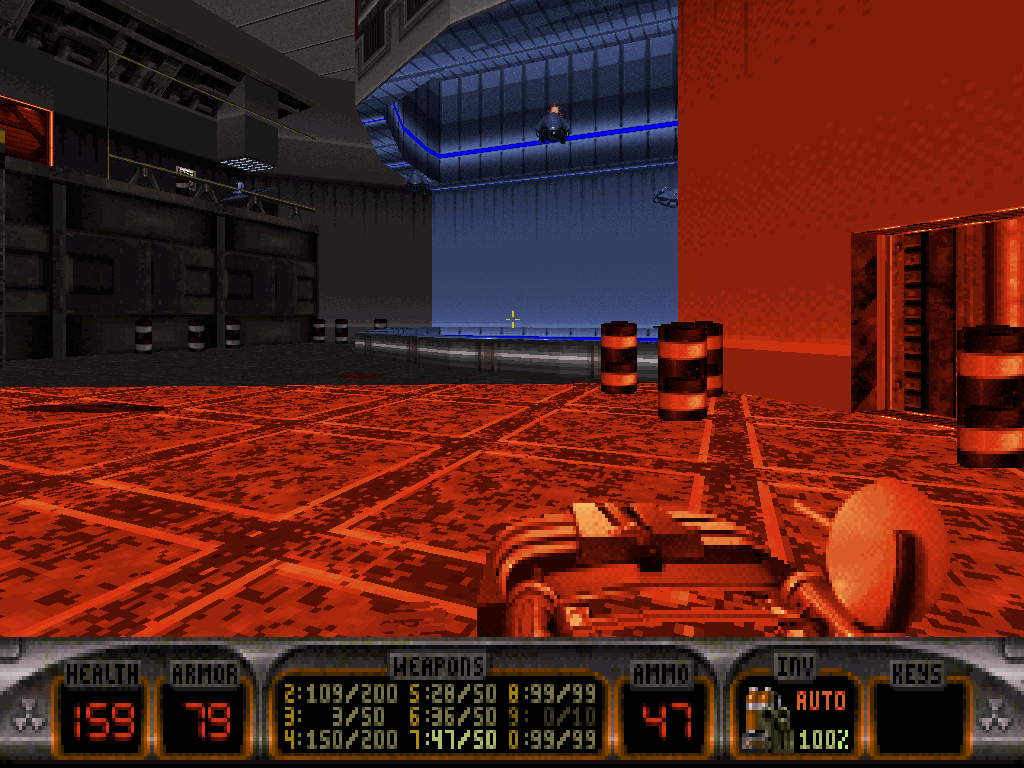
On his way down, he might notice the red key, behind another forcefield, but it's blocked for now. On the other hand, the blue key can finally be retrieved, at the very bottom, on the floor.
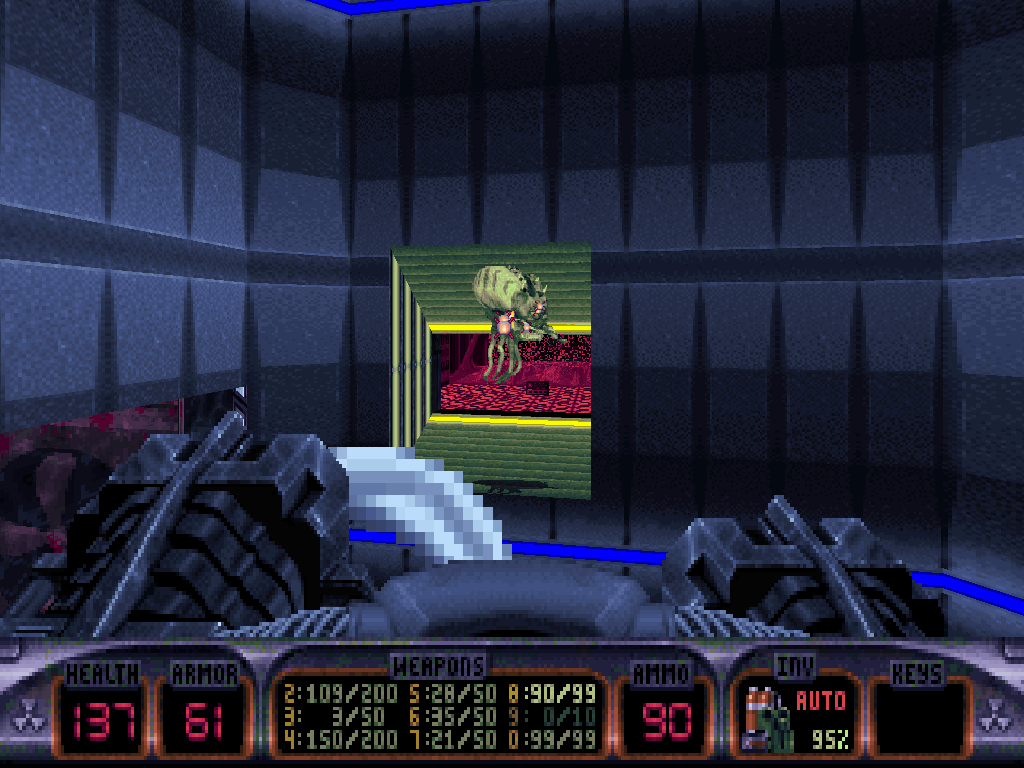
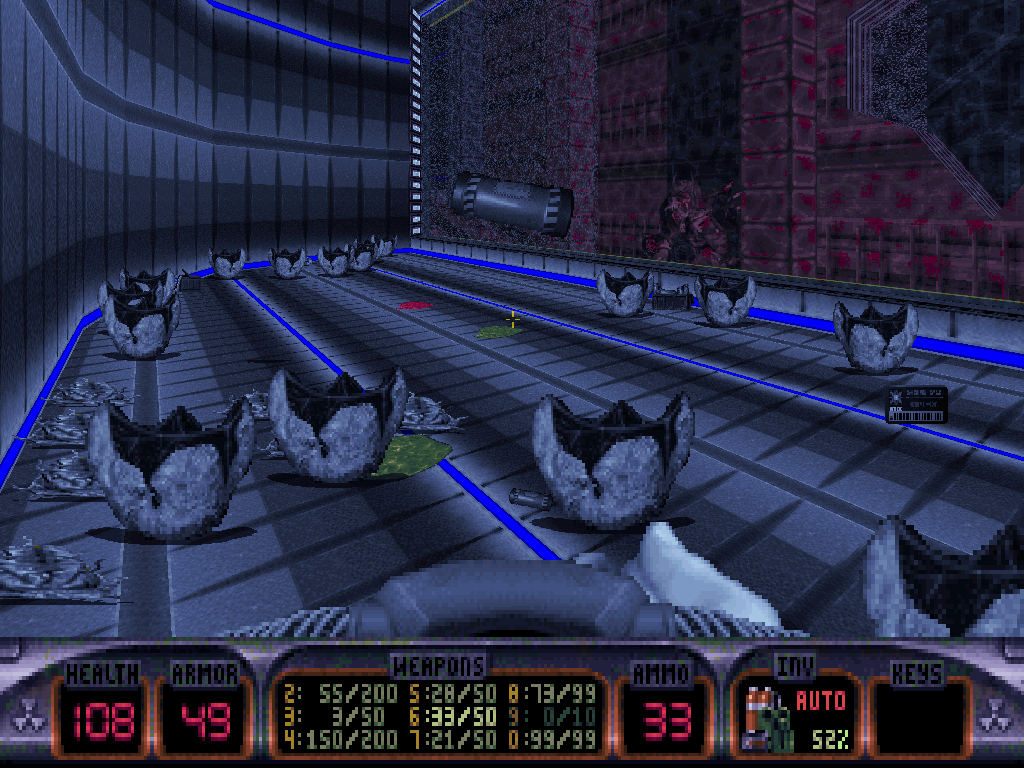
Once he's fetched it, Duke can and probably should go back to the blue room, maybe watching out on his way for all the Fat Commanders that he may have alerted.
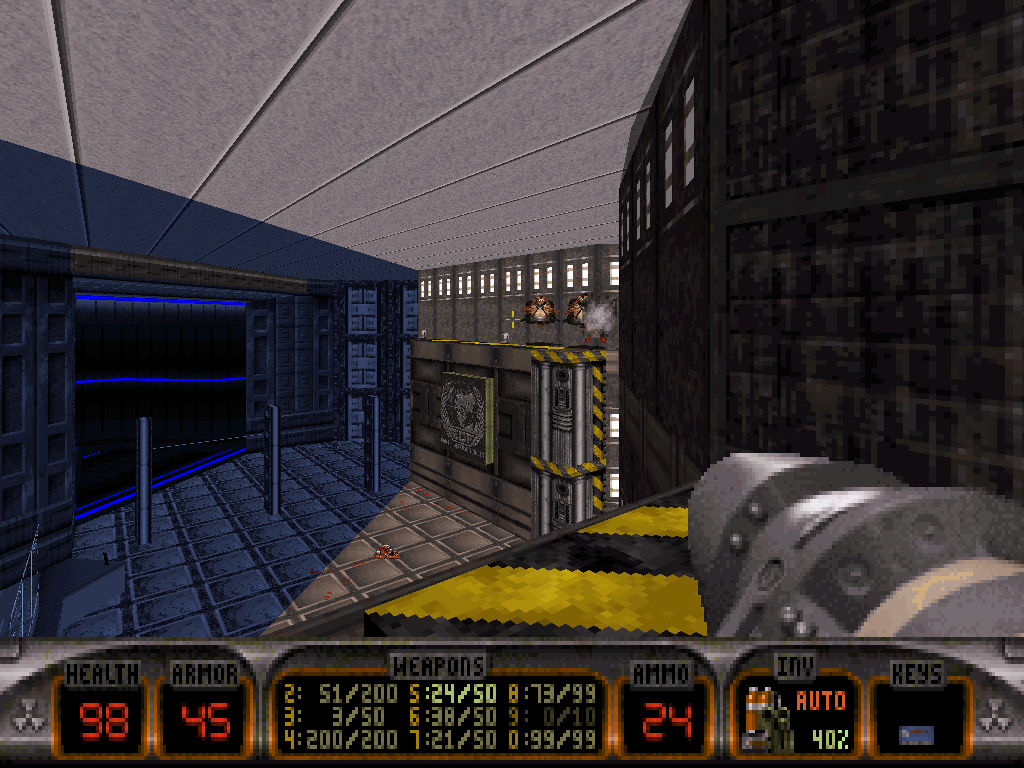
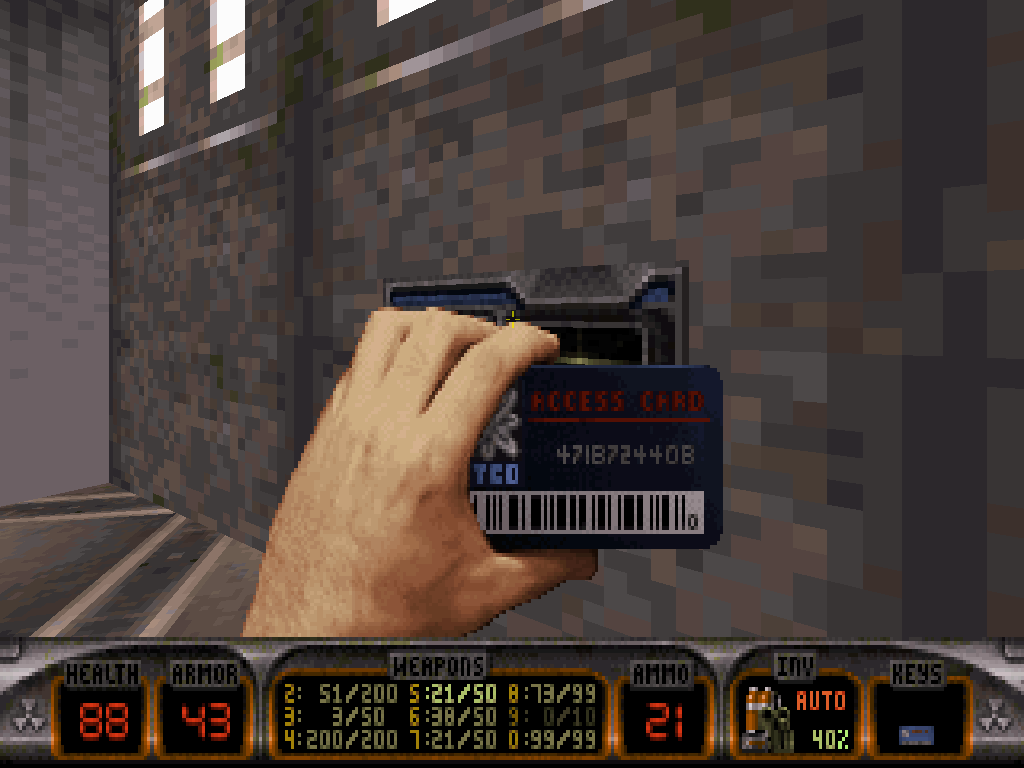
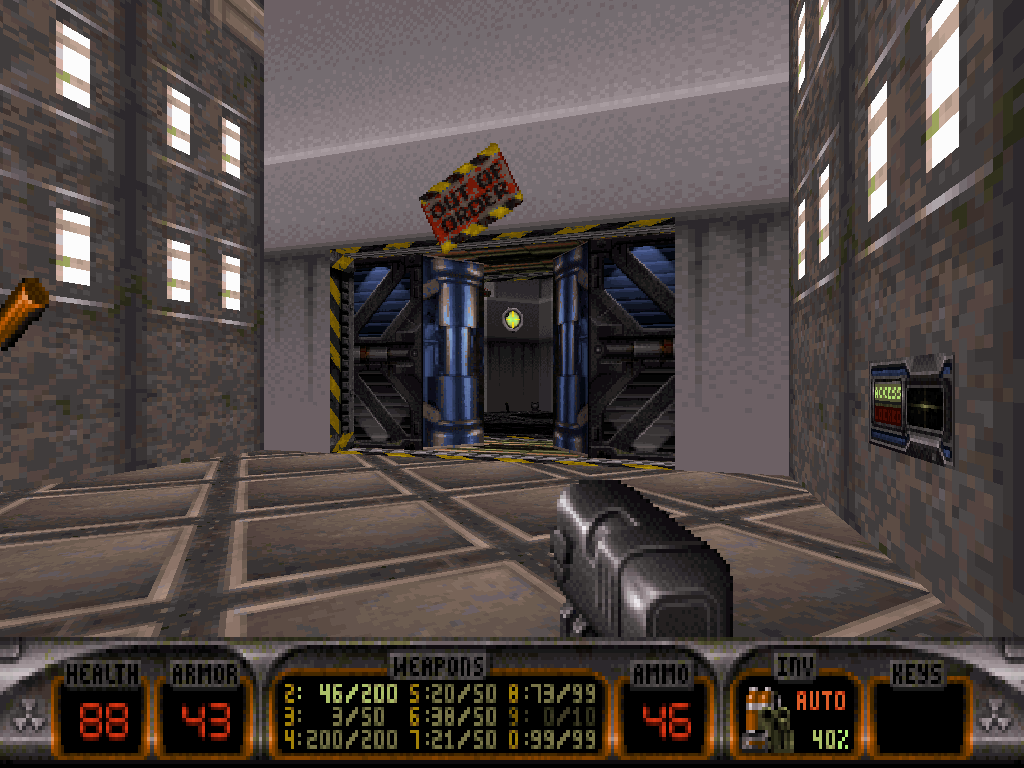
Scanning the blue key will confirm that the door is 'out of order' indeed, as it only partially opens. The gap isn't wide enough for Duke to fit through but thankfully, there is a switch on the wall right across the room that he can shoot in order to complete the opening.
On the other side is another storage room with a couple of particularly Mistaken Assault Taxi Drivers, more Assault Trooper types but also a few Madlad Commanders and blue (rocket-firing) U.T.E.R.U.S. just waiting to ambush Duke from the darkness.
It is a relatively intense fight and so Duke shall need to be mighty quick on his feet.
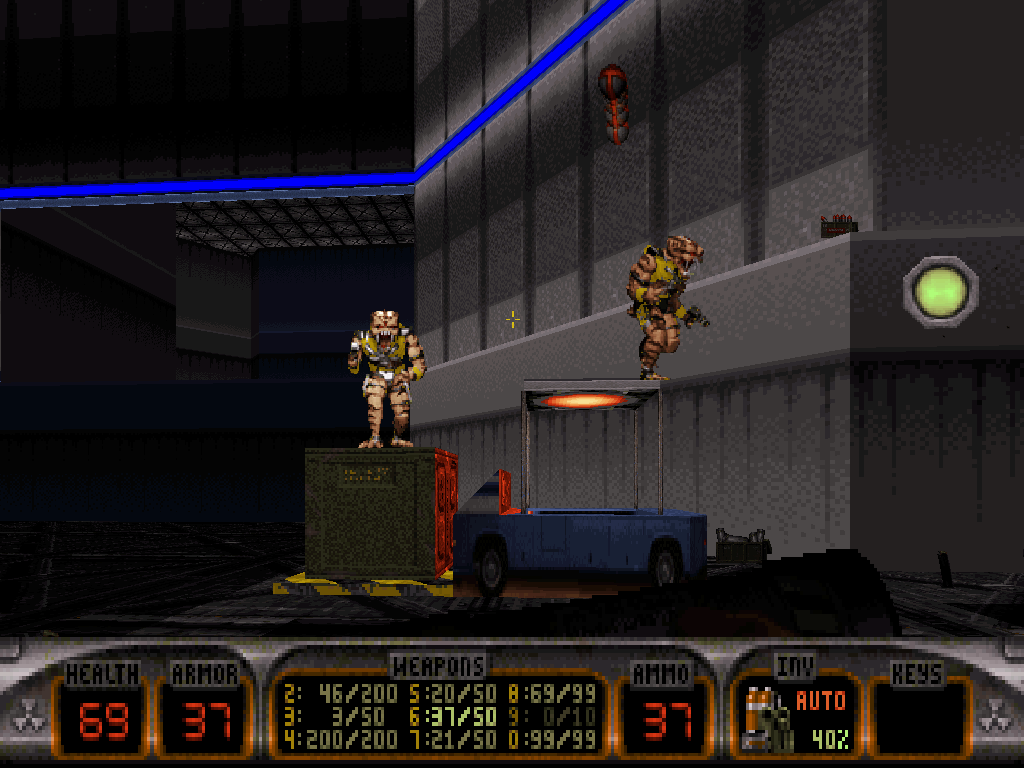
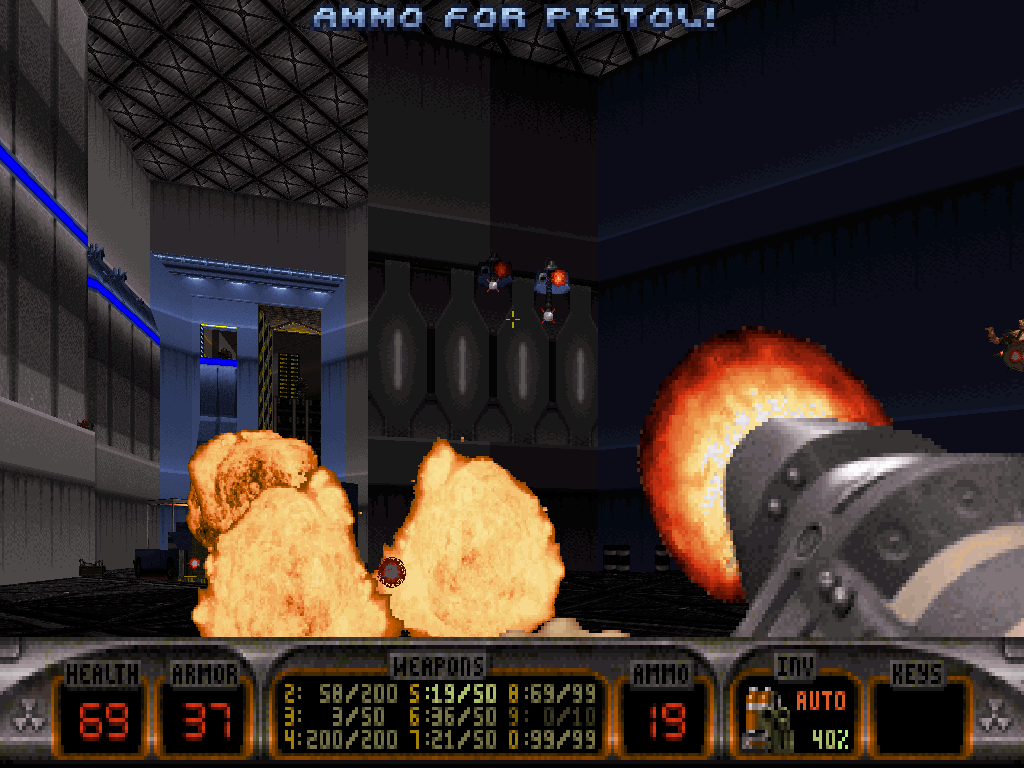
In one corner of the room is a door that is locked for now; in another corner is a crack in the wall Duke can detonate as to facilitate access back to the station entrance, and finally one last end of the room comprises an elevator Duke can ride up to a control station.
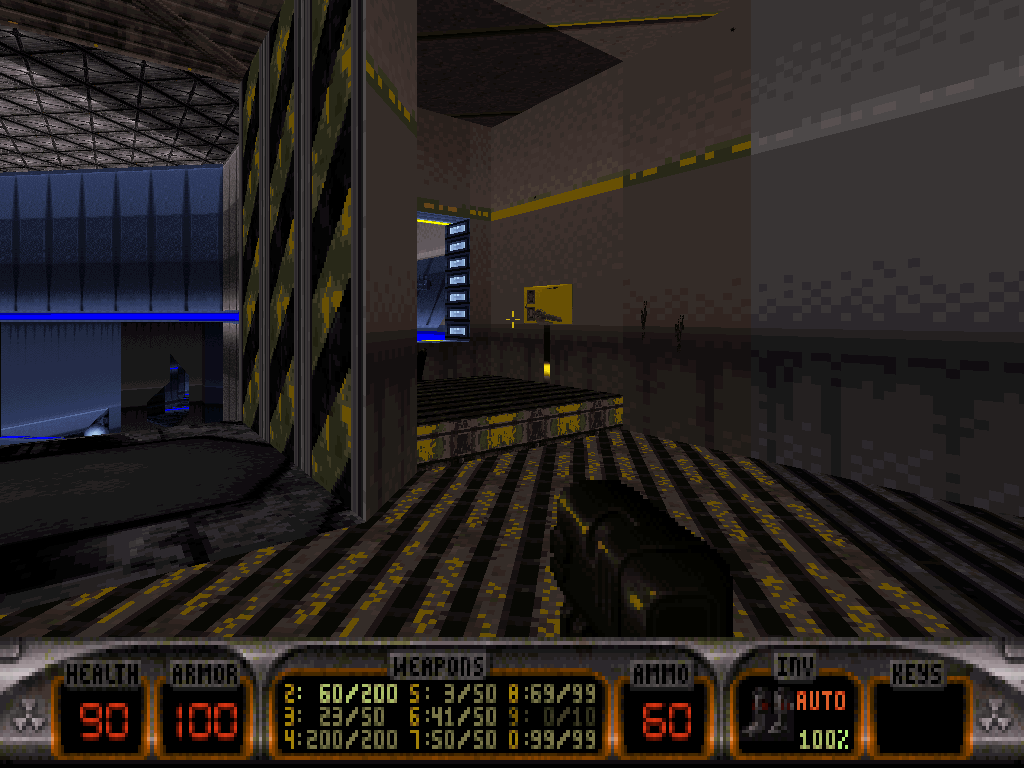
There, he can flick a switch which will open the door he's just seen, below - but doing so will allow the entrance of a surprise Cycoid Emperor inside the room, from the depths of a newly revealed elevator.
The enemy's projectiles will reverberate off all the angled walls of the room and reach Duke as far as through the window, but that's a technique our hero can choose to turn back against its owner, or also to mimic, by means of the Freezethrower.
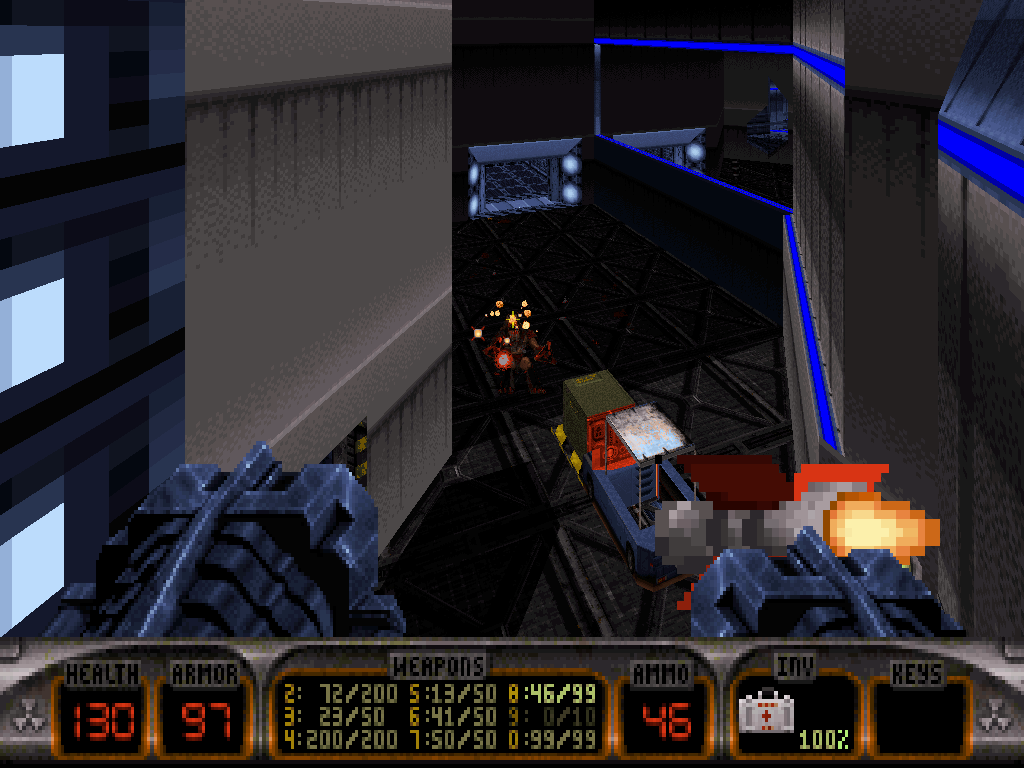
The next floor Duke is going to reach after he's used the elevator is special.
The security camera screen that is there is especially important, since Duke is just about to access a reactor core and central command but will need to pass through a succession of several security floors first.
Each security floor is packed with increasingly dangerous enemies, including Sentry Drones and more foes Duke shouldn't yearn for meeting within confined quarters. Each floor is bound to the next by a spatious elevator, and also contains a minor item stash.
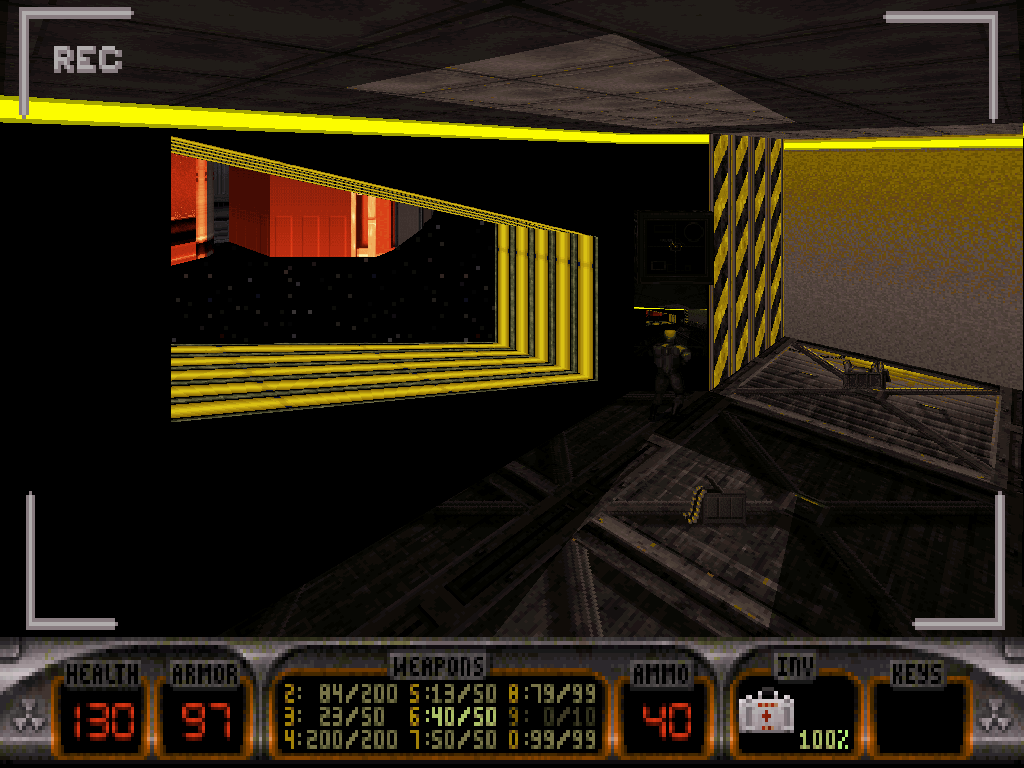
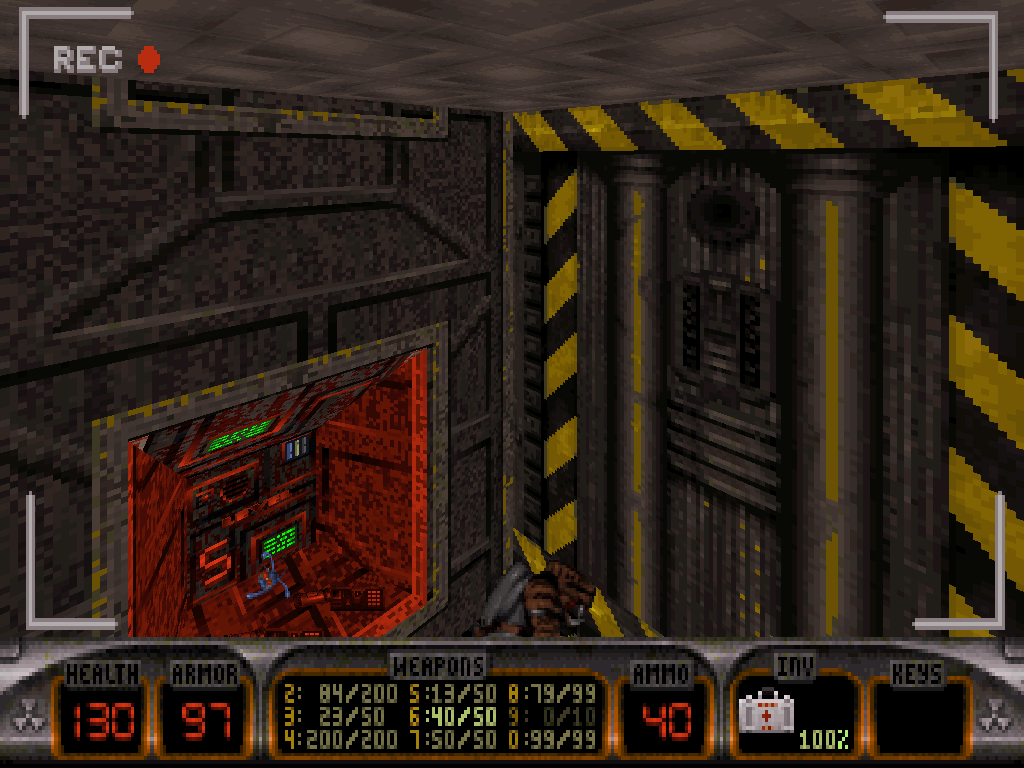
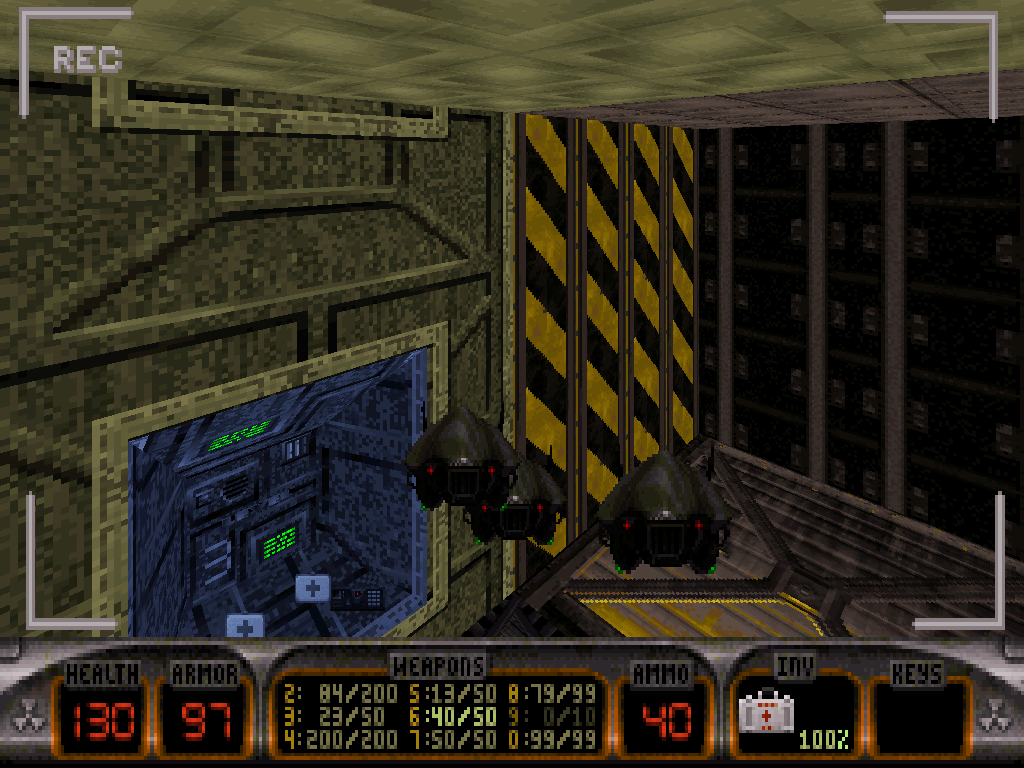
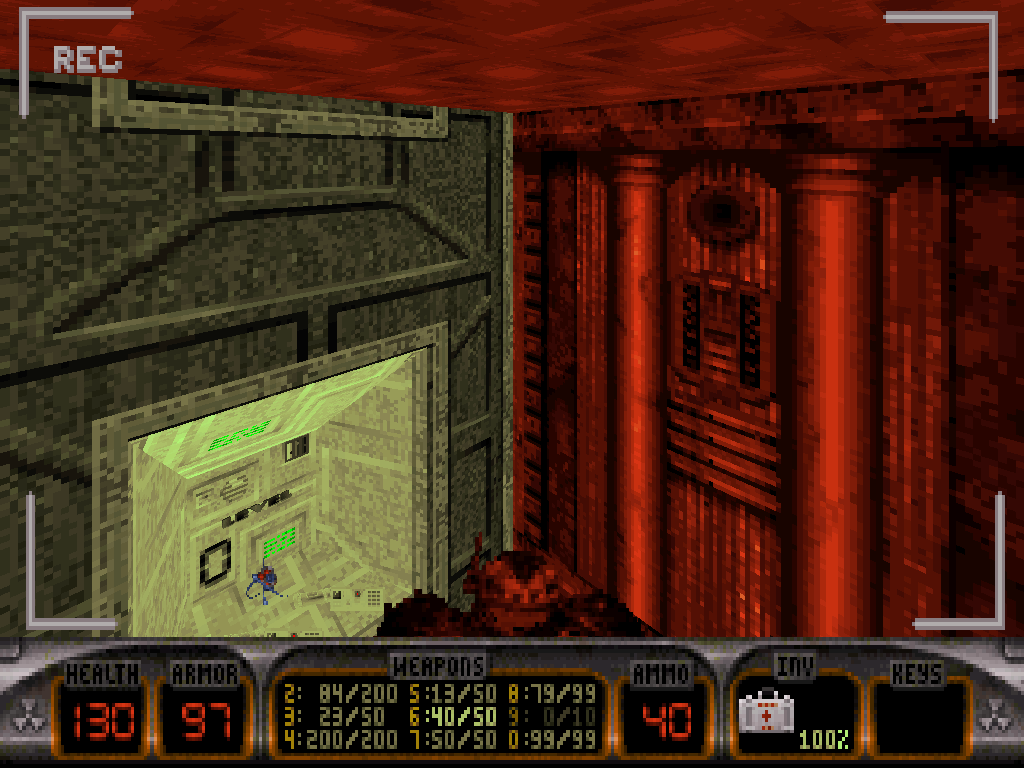
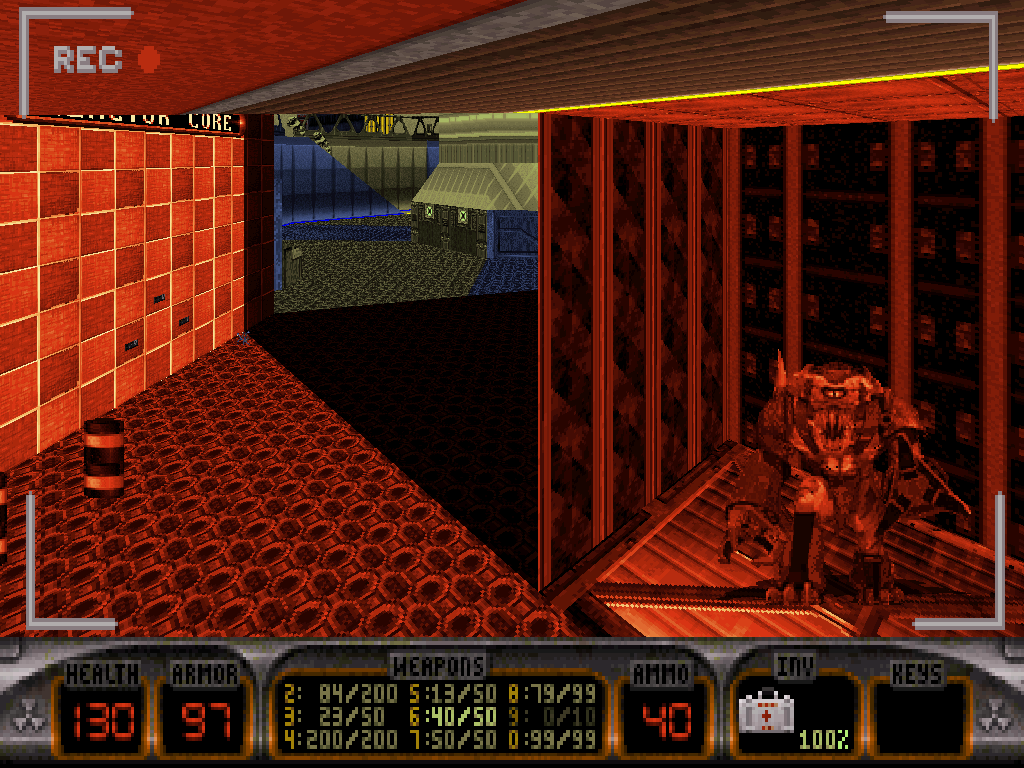
Through the security camera screen, Duke gets to preview and unquestionably mesmerize every successive hazard ahead; the floors are numbered, too, allowing for conveniently keeping track. With all those hints at what's coming, our hero should be able to prepare accordingly, and be ready to set up the most strategic pipebomb and tripmine traps in, around and through the elevators.
And if the situation degenerates nonetheless, then Duke may always choose retreat, then repeat for as many of the former floors as he's already cleared.
The final security floor will be signaled by a different door.
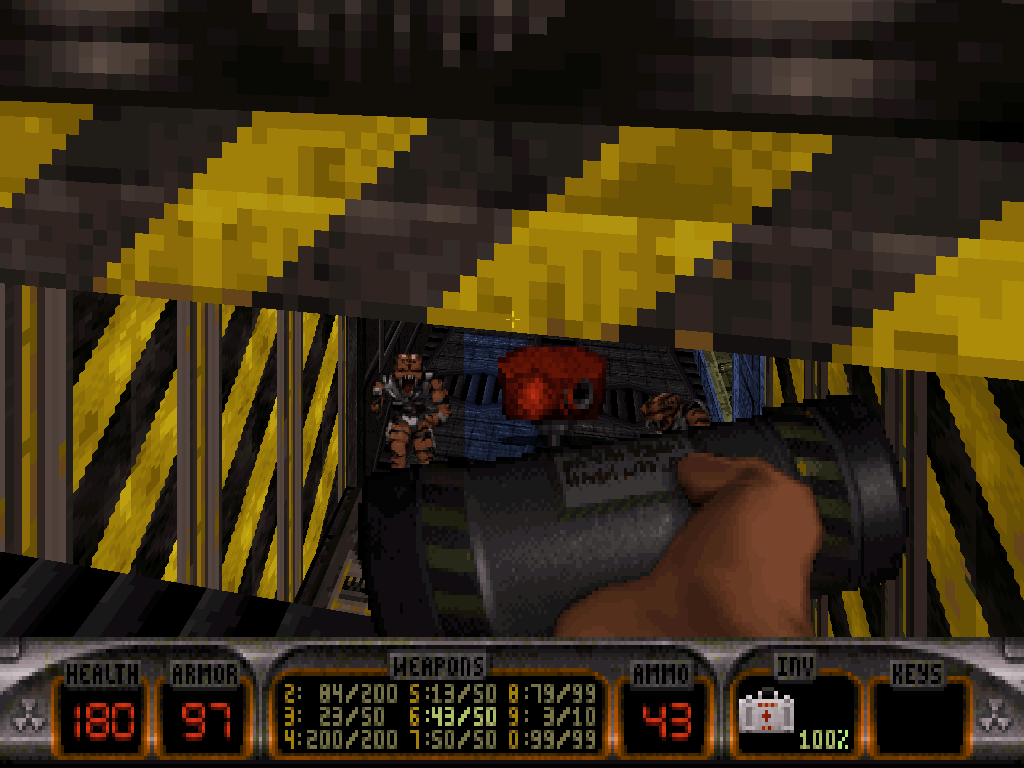
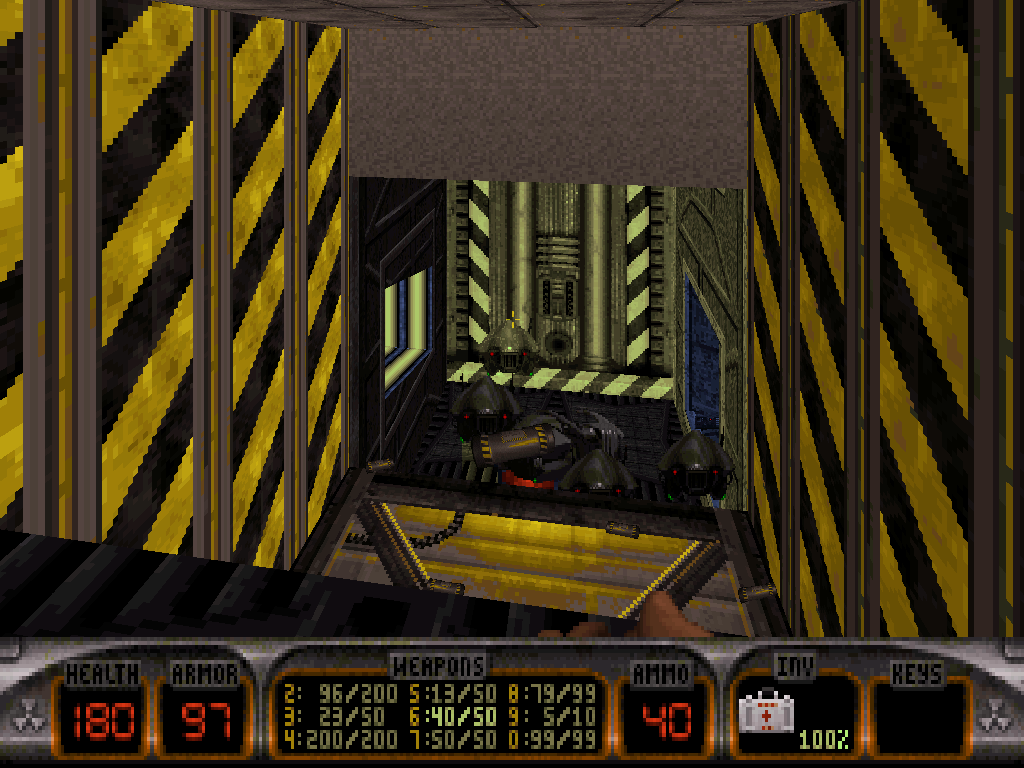
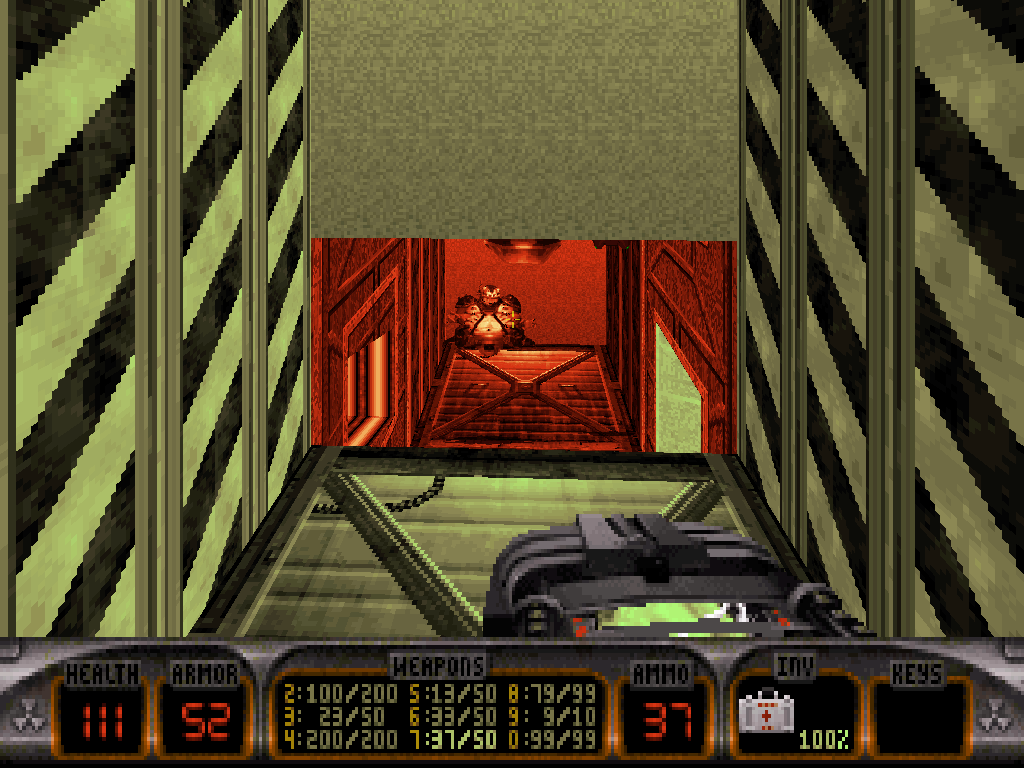
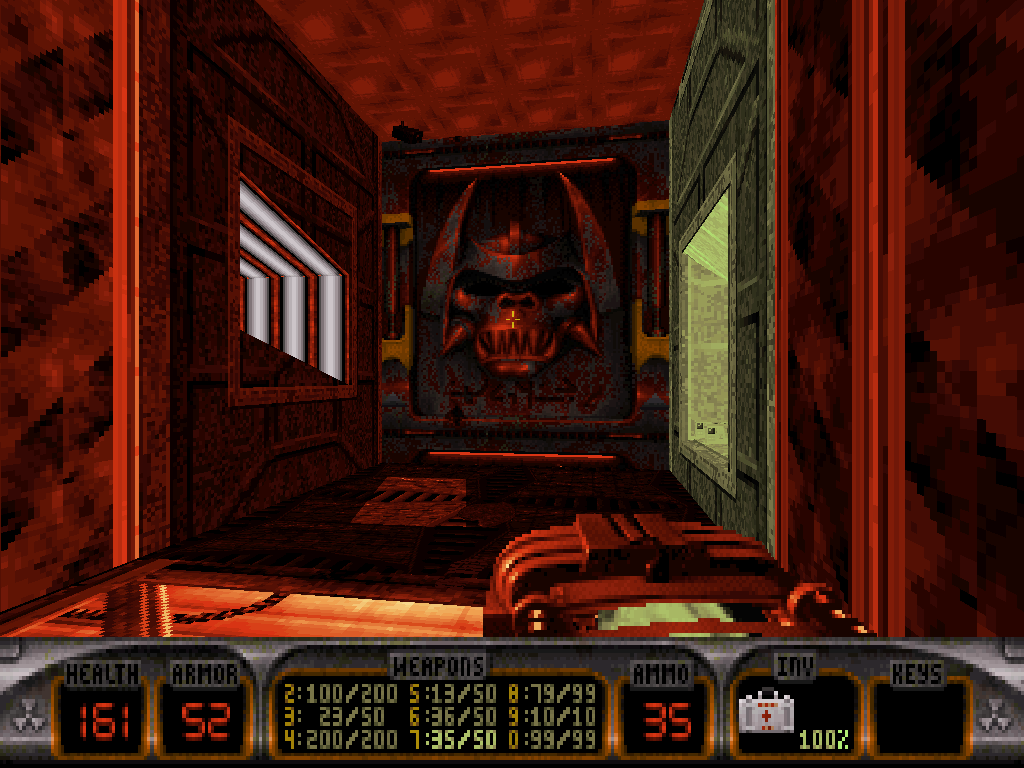
Coming up to guard the last floor from what in fact turns out to be an elevator is a Sunburnt Cycloid Sentry which might make quick work of Duke with his Microwave Expander blasts in such an enclosed area if our hero isn't quick on defense.
Riding the elevator down, Duke shall now be able to disarm the last few hazards he could preview from the security camera angles and finally reach the reactor core.
There seems to be a door to the central command ahead, but one security console says it's locked.
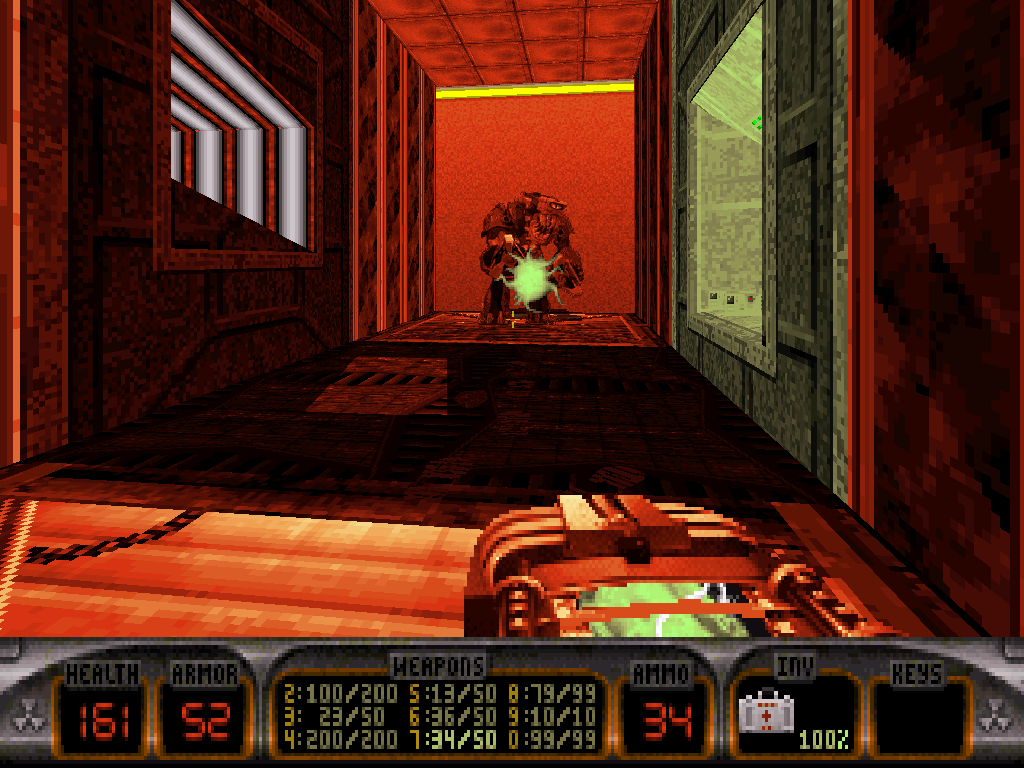
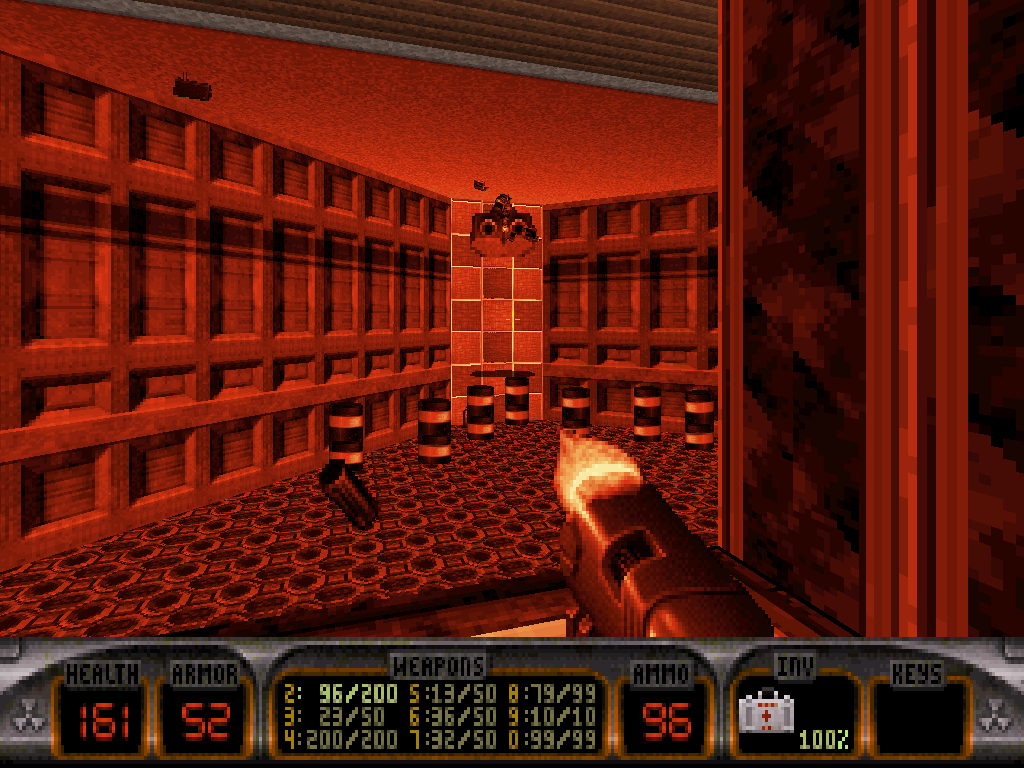
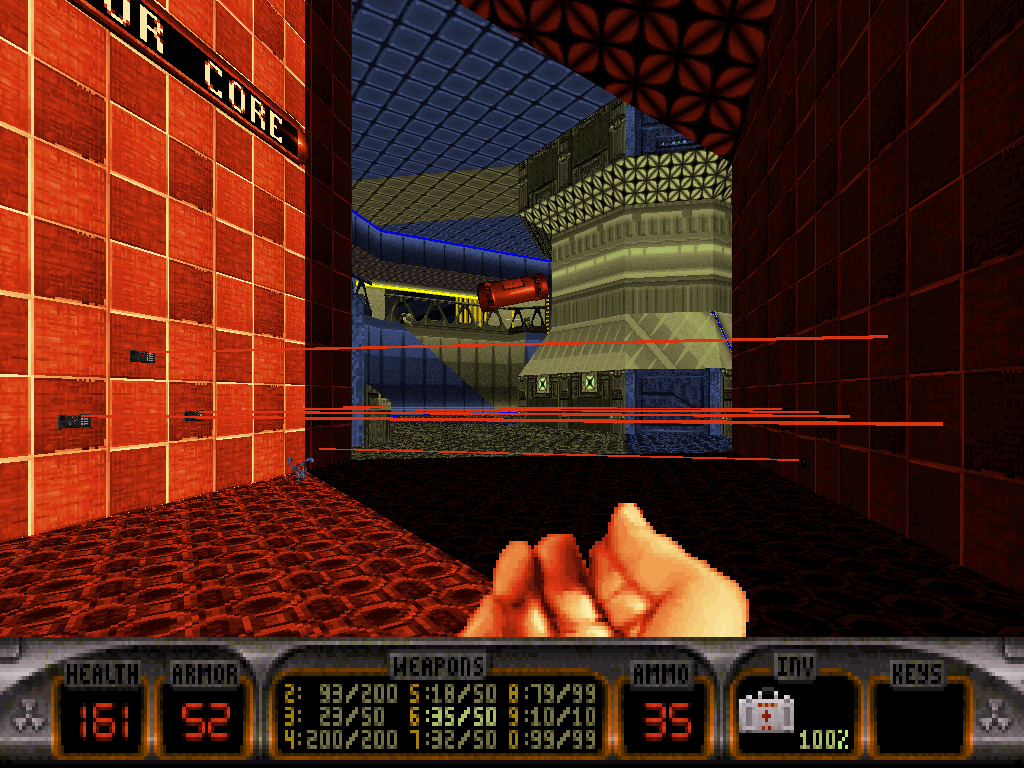
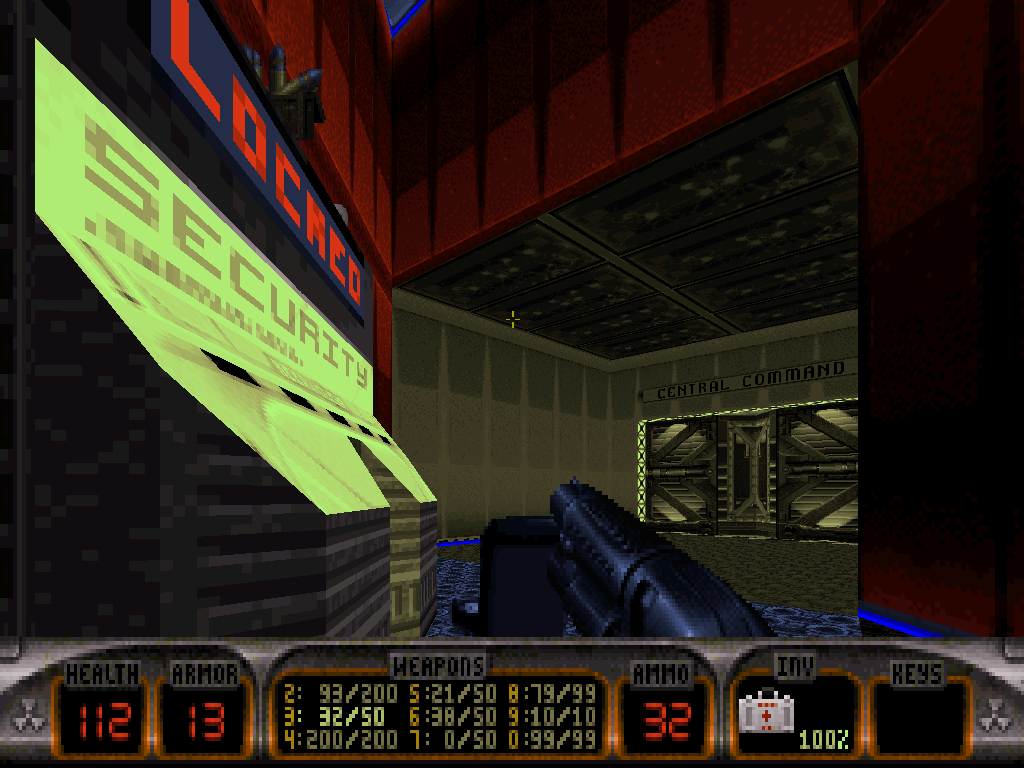
In order to unblock the path, Duke will need to blow up the whole of the reactor core.
That can be achieved by flicking the switch on the upper platform that is just next to it. Once the reactor is revealed, Duke can just attack it, either with rockets or just by shooting it enough times and it will explode, thus shutting down the local security system.
A swarm of Sentry Drones instantly will show up to investigate, however.
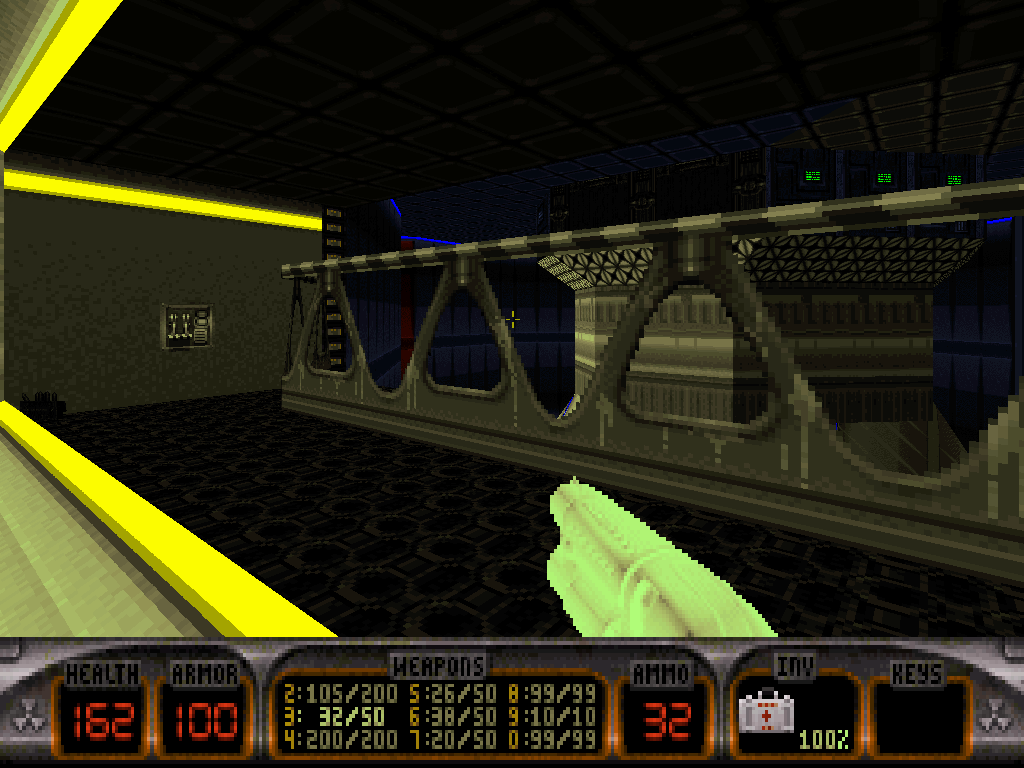
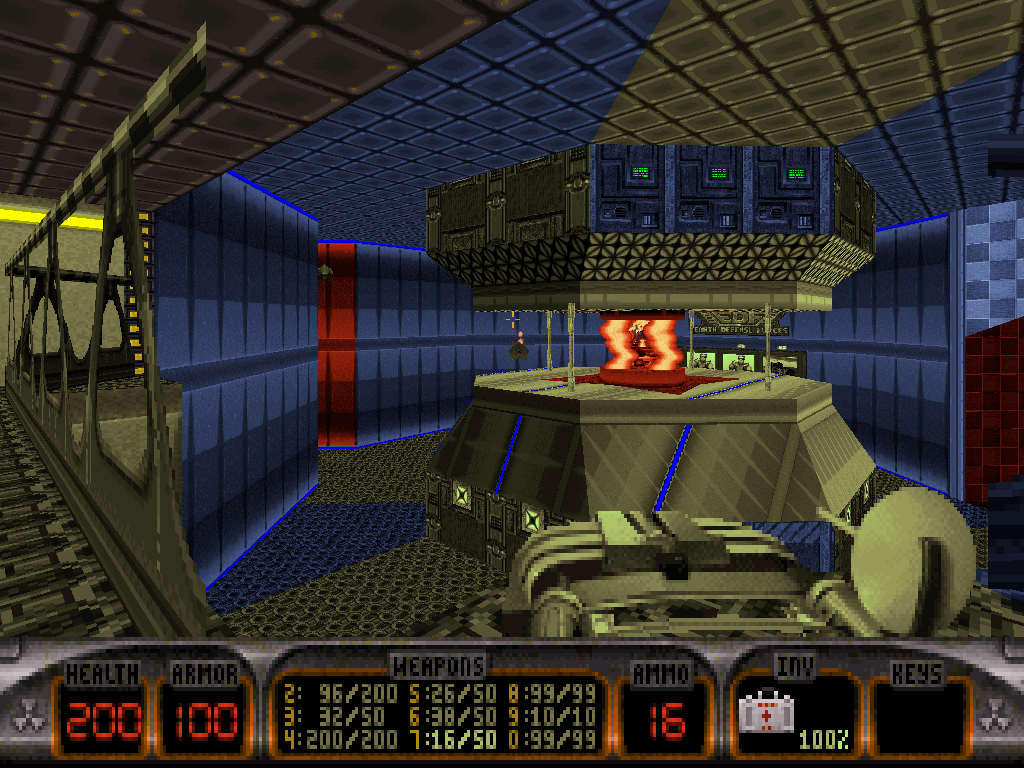
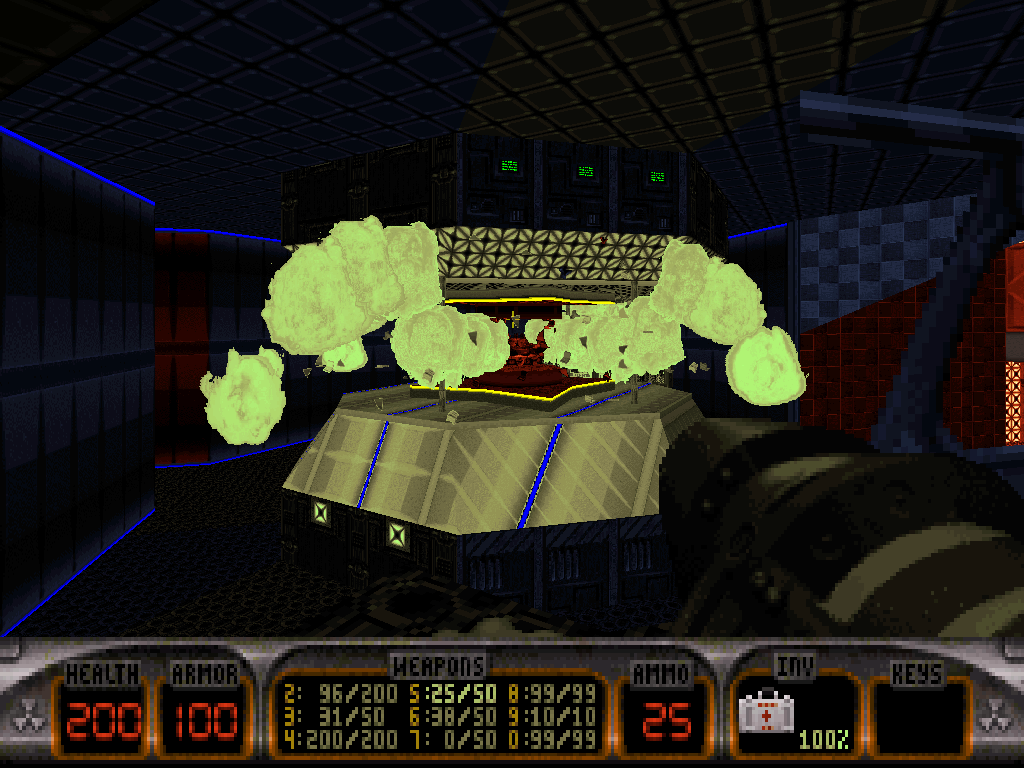
The central command center is very aggressively occupied by a duo of Sentries: one classic Overlord, one Copium Battlelord complete with spit and shrinkers, a couple of Madlad Commanders and, most notably, the Permafrost Battlelord Duke already alerted a little while back, whilst snorkeling to the blue keycard.
Duke certainly remembers how Freezethrower projectiles will rebound off all nearby walls and thus, use that in conjunction with all the protruding angles around the room to his definite and, finally, definitive advantage.
After he's beaten the blue beast bluer, a glimpse at the security camera screen will show Duke how triggering the switch that is just next to it deactivates a red forcefield around the back of the red key somewhere that is Duke's imminent next destination.
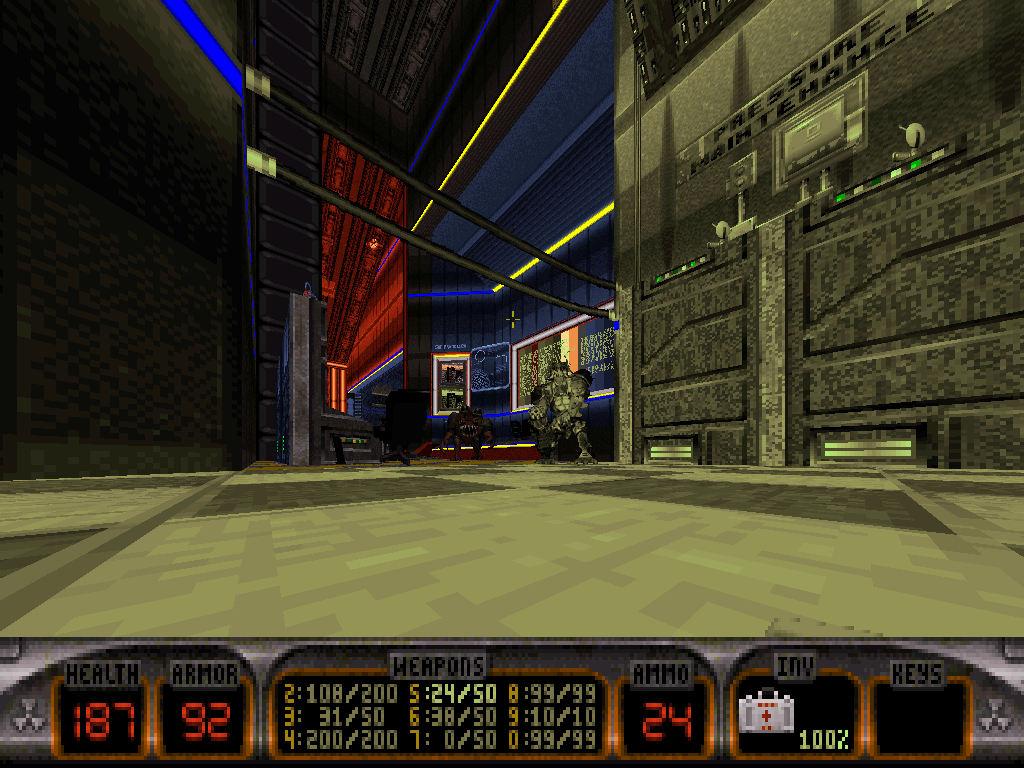
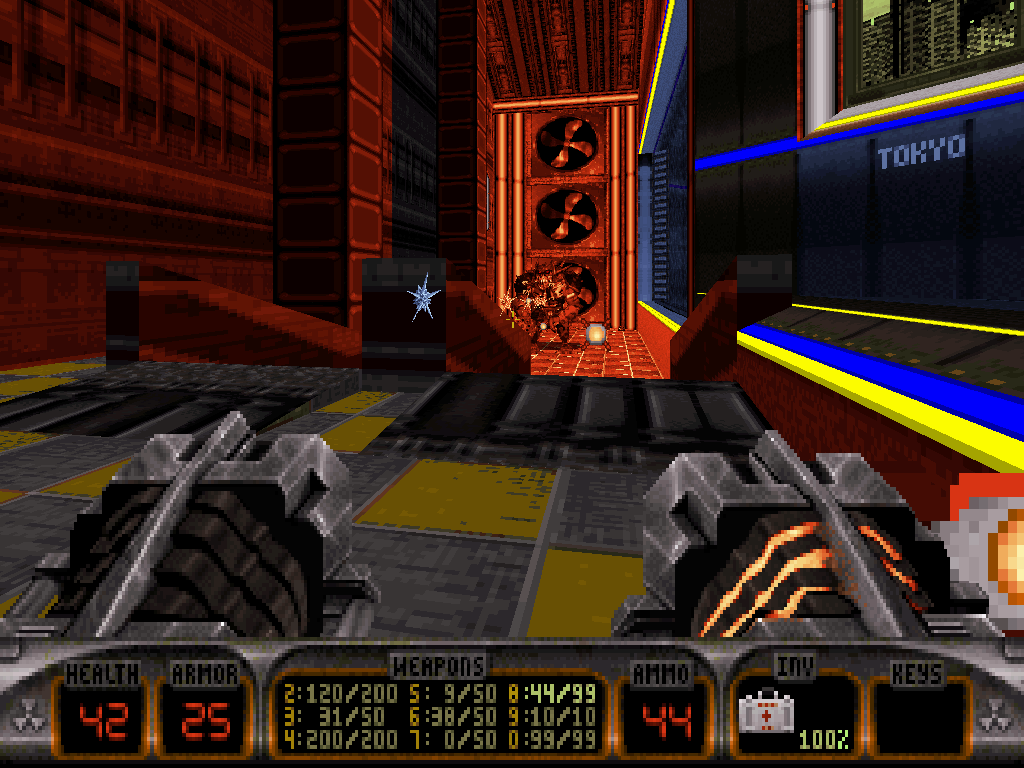
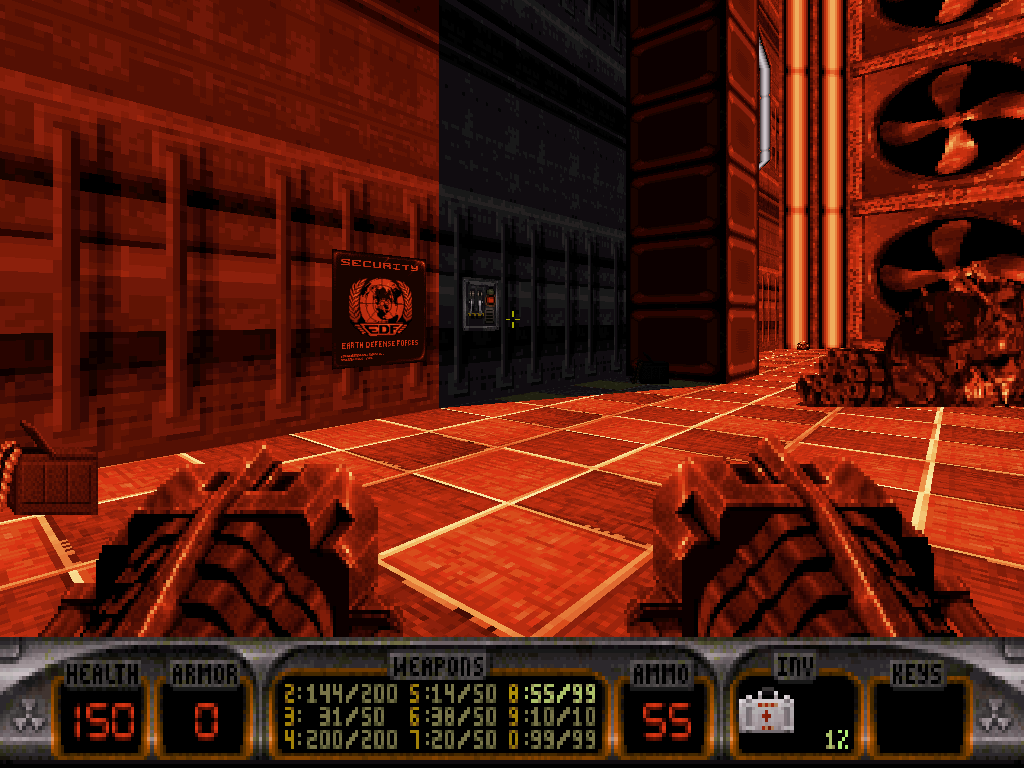
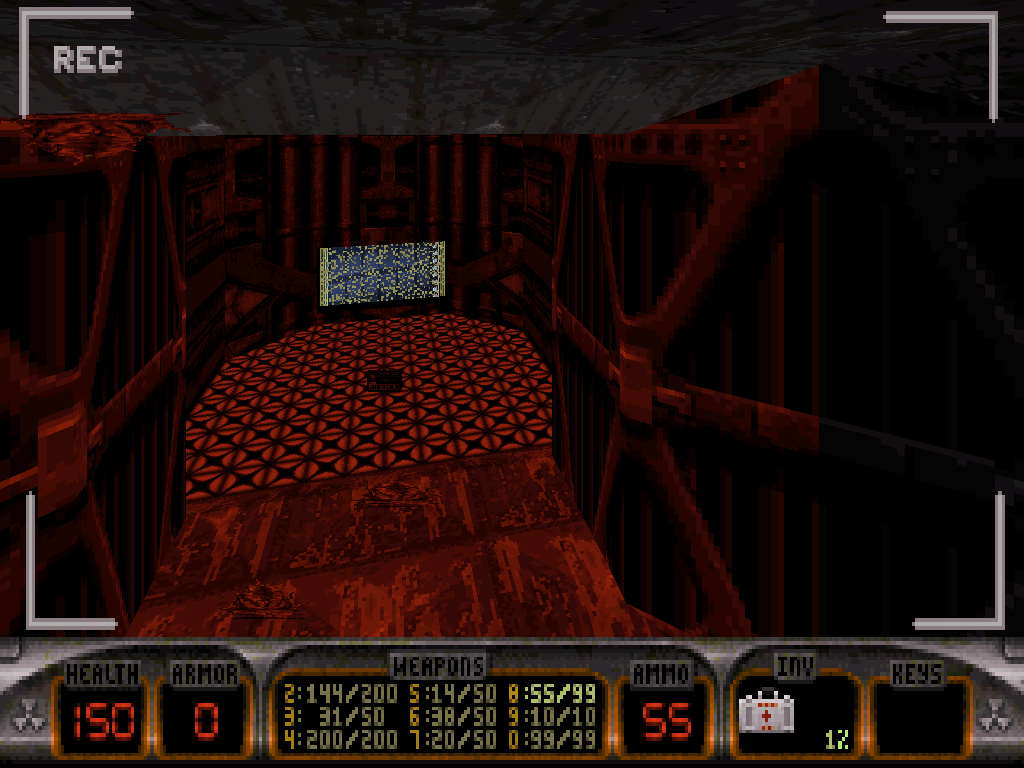
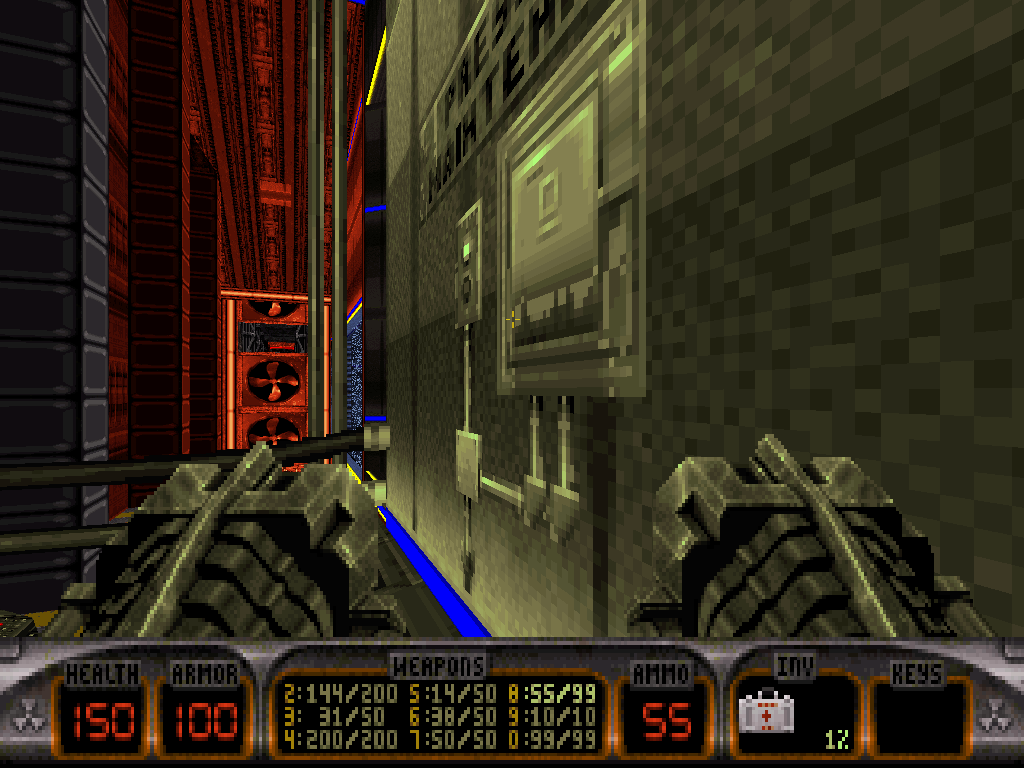
The room has some machines and cables Duke is able to climb in order to reach the pressure maintenance switch.
Doing so will open up the way into a ventilation shaft on the other side of the room, albeit for a brief period of time Duke should spend doing nothing but rushing there, then using the lift as fast as possible in order to just barely make it in.
The ventilation shaft is quite nasty inside and populated by Protozoid Slimer eggs and their guardian Octabrains (some of them classic, a few of them Weak Sauce, and a handful Red Hot), plus some Madlad Commander presence to boot.
The firing of any enemy energy-based attack may be tricky to control due to all the angled walls the projectiles can hit and so again, Duke would be wise choosing being efficient.
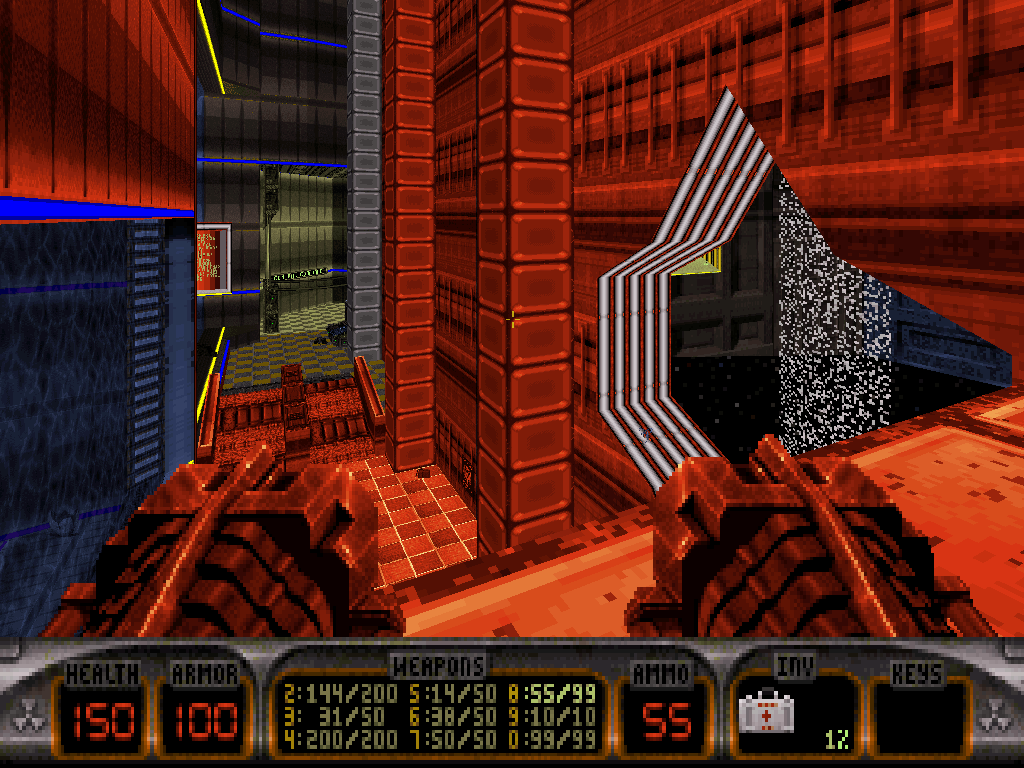
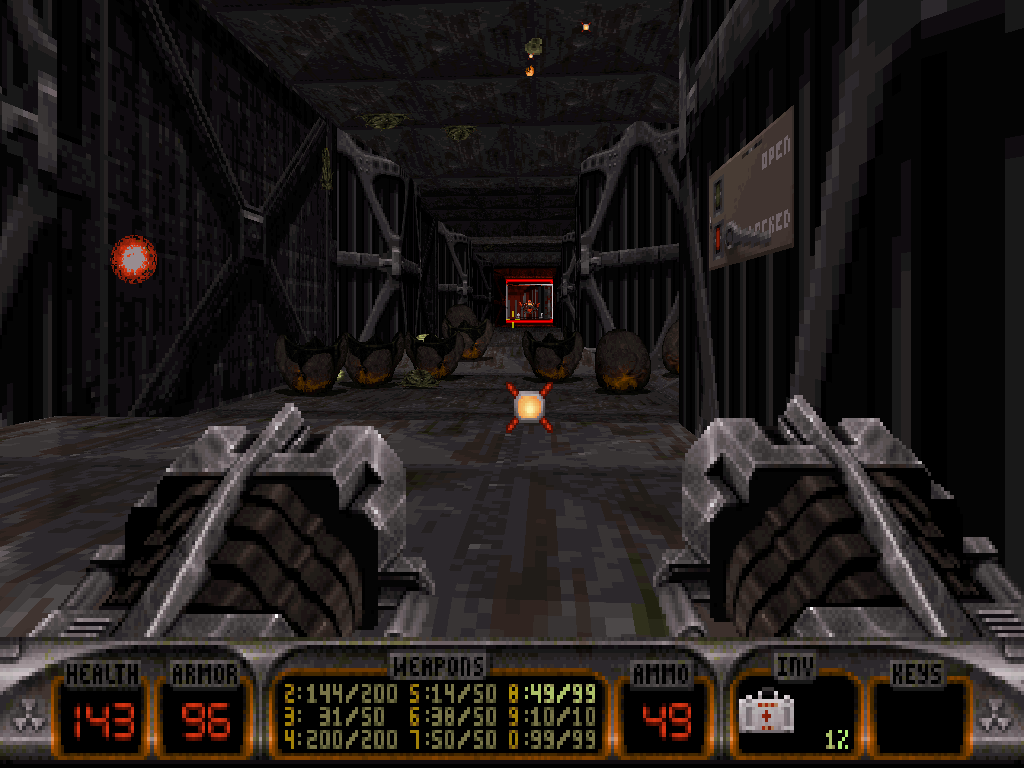
Duke can now retrieve the red key from one end of the ventilation shaft, then use the switch on the next wall to open up a panel and access the Aérotrain repair room - which really would have been accessible as soon as emerging out of the spacetime portal earlier, by just riding the train back, but then exposed Duke to some very unfair enemy fire.
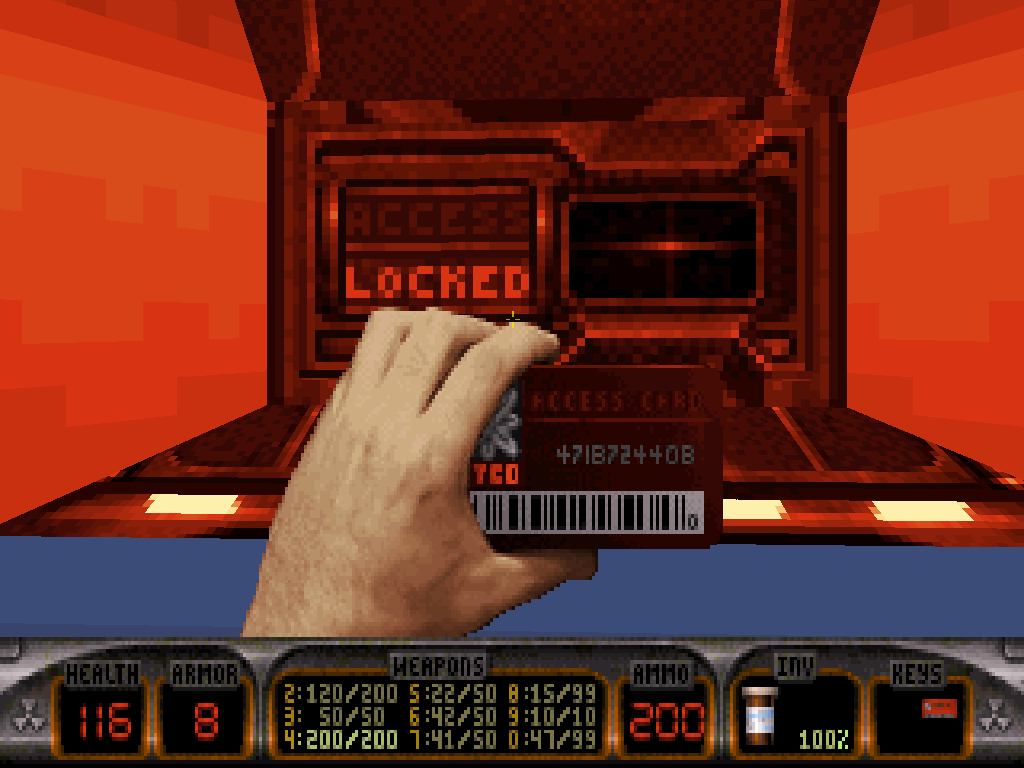
The room features an out-of-commission Aérotrain that is being worked on by a Davy and Linda couple, themselves supervised by Commanders; there are two elevators as well, one which, once unlocked, will take Duke back to the first storage room that he had reached by means of the crane; and another one, which will elevate him up to a top floor that serves as the first train's gateway and also hosts the red key door Duke can now unlock.
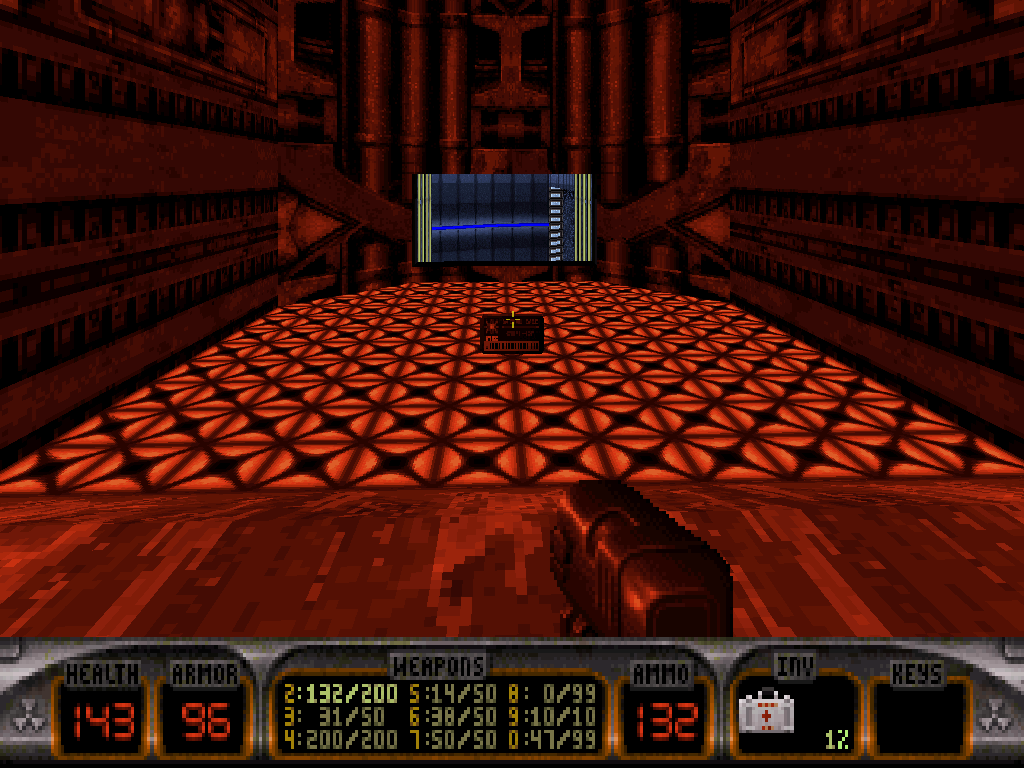
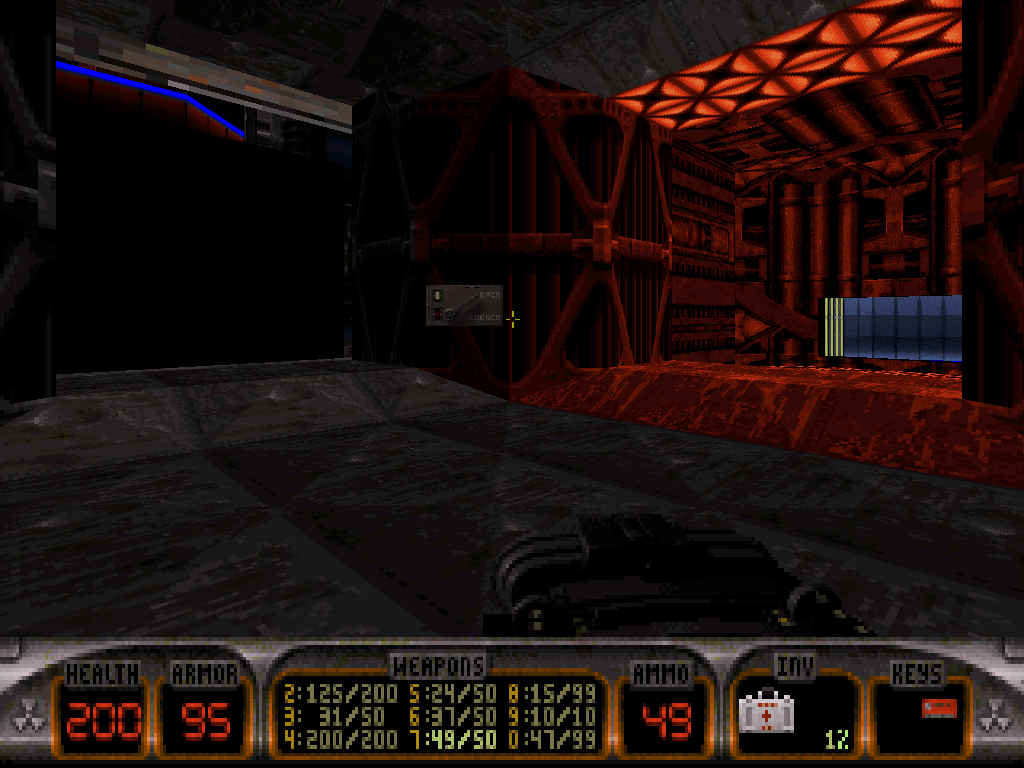
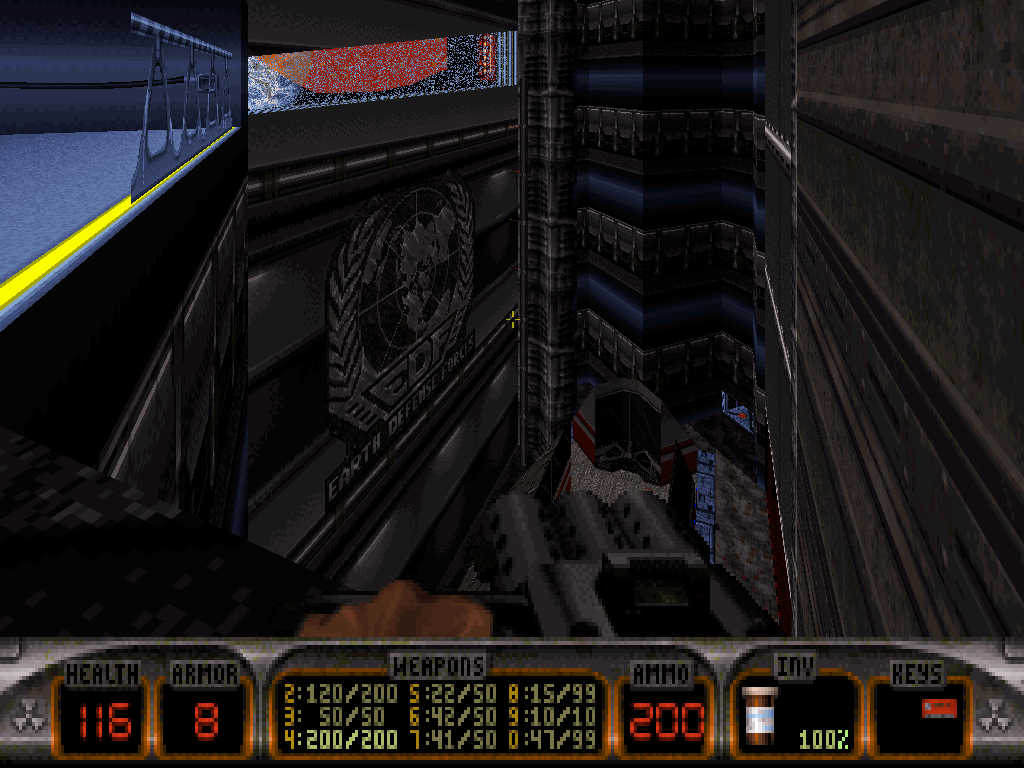
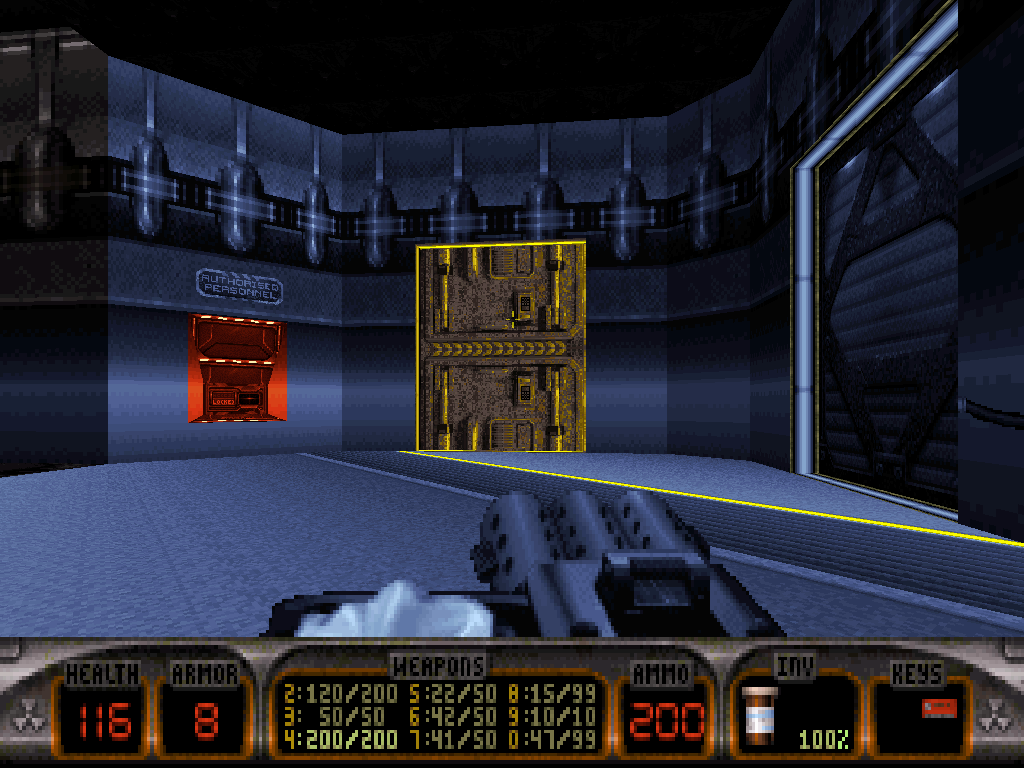
Behind the red key door is an elevator that is being guarded by U.T.E.R.U.S. Microwave Expander turrets and possibly more opposition, depending on difficulty setting.
That should be nothing a few well-lodged bullets or a handful of Pipebombs can't handle, obviously.
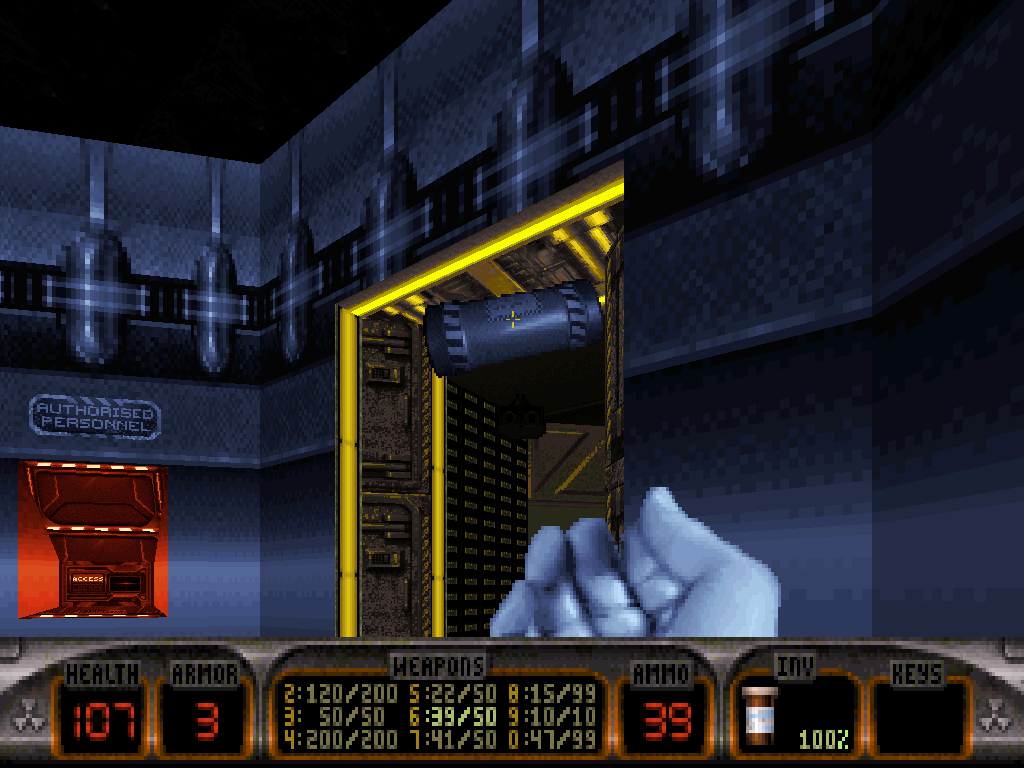
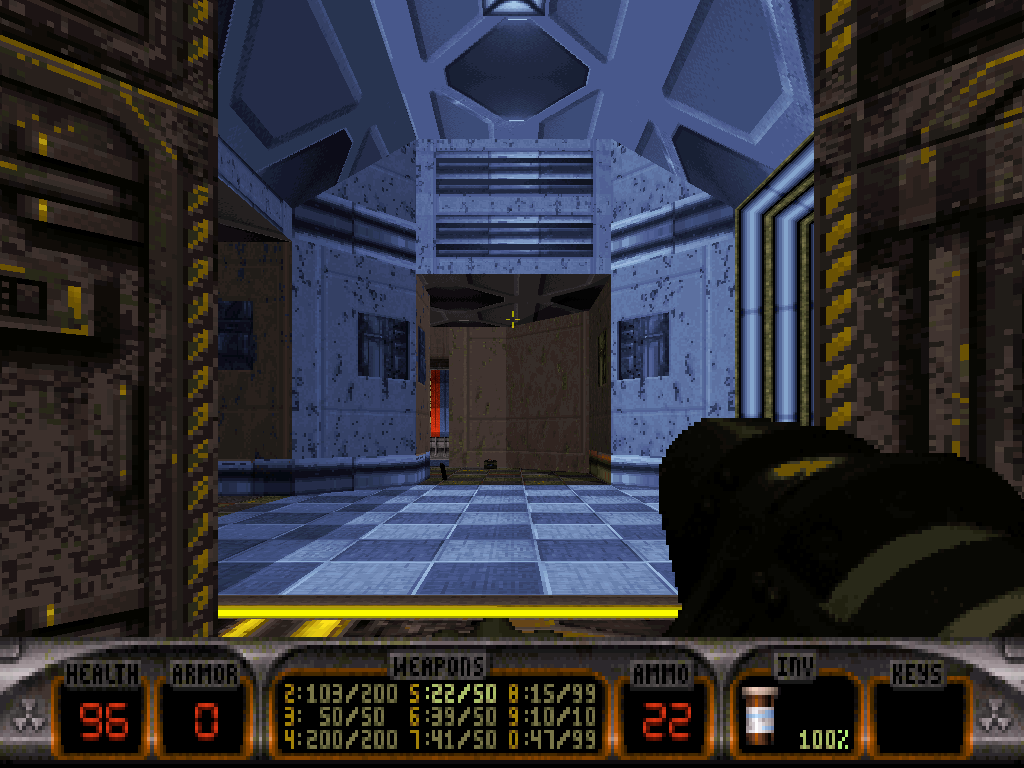
Riding the elevator up, Duke promptly shall reach a (potentially populated) hallway which terminates into an office.
Amongst some other foes, a particularly treacherous Madlad Battlelord is waiting inside that Duke can try and locate in the mirror in the back of the room before he enters it.
There only is little cover to dodge the bastard's shots and so Duke would be wise exploiting all of the surrounding singularities to survive, or luring the enemy back into the previous corridor where it can be fought in a constant circle (but watch out for the rebounds).
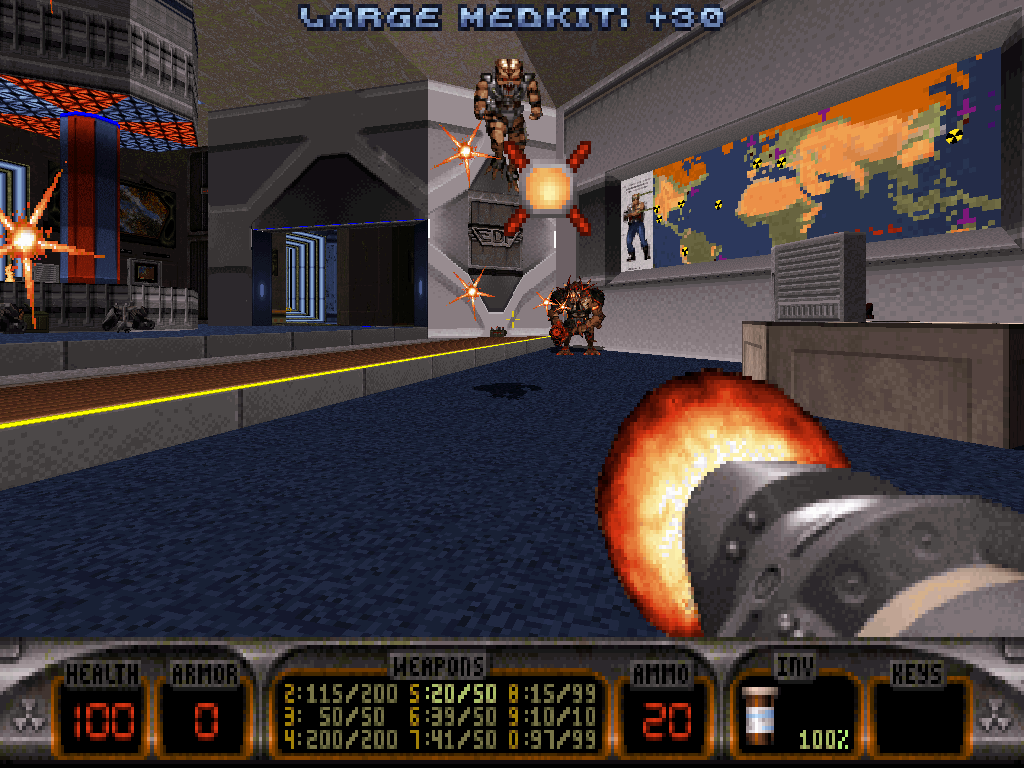
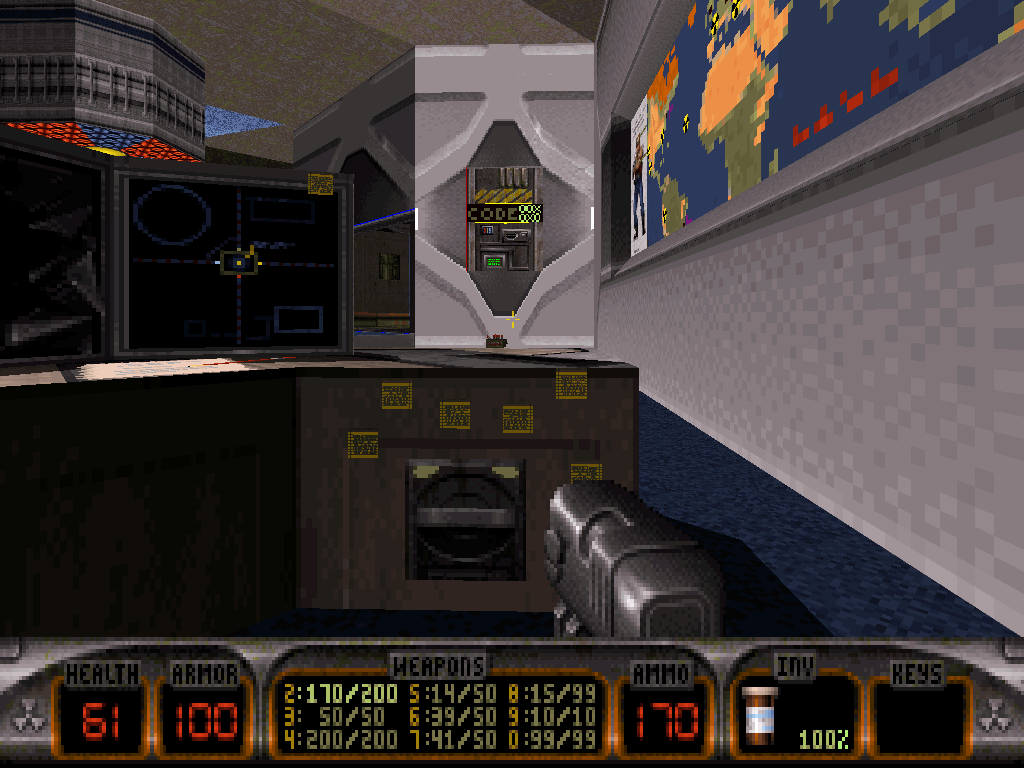
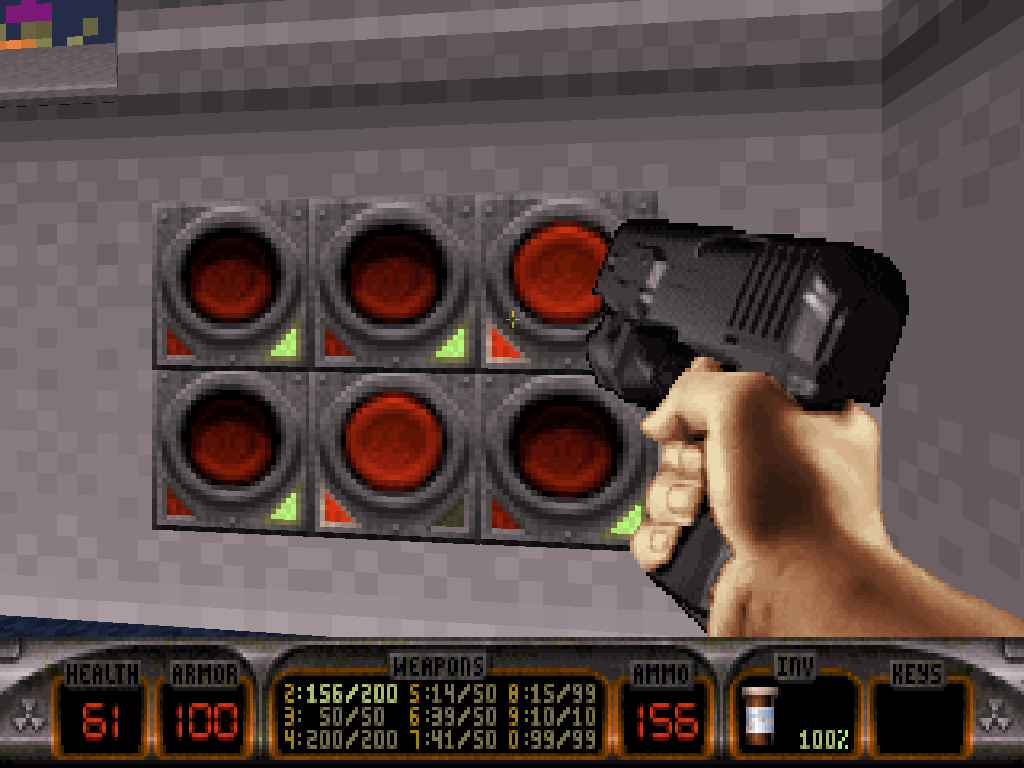
Once he's able to focus, Duke will get to spot a batch of five switches, in one corner of the room; plus a forcefield that is blocking the next hallway.
Instantly putting two and two together (all the while considering the post-it notes that were left stuck to the desk by the formerly present E.D.F. employee) shall reward Duke with the immediate disappearance of such deceptively pretentious hindrance.
Duke shall now conquer the corridor (which is home to more hazards, including Assault Assaulters, Madlad Commanders, U.T.E.R.U.S.' and a certain Cycloid Sentry) and, eventually, reach a transport area with Sentry Drones, security camera screens and windows out on the next section of the level to keep Duke waiting for the imminent train that is to arrive.
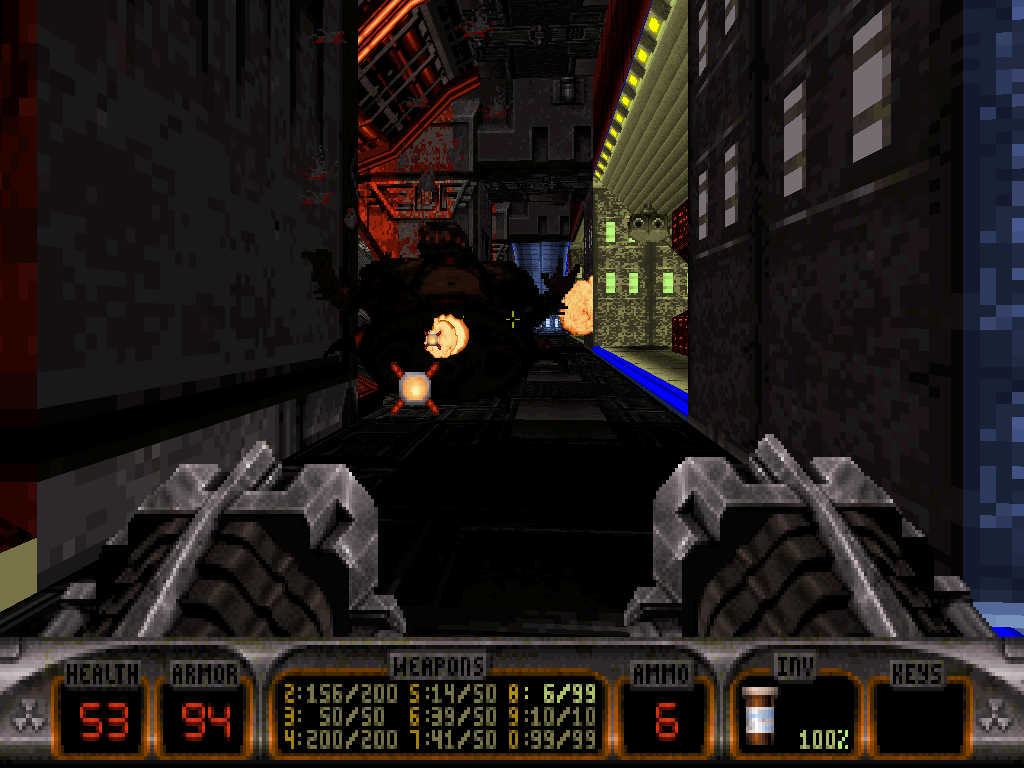
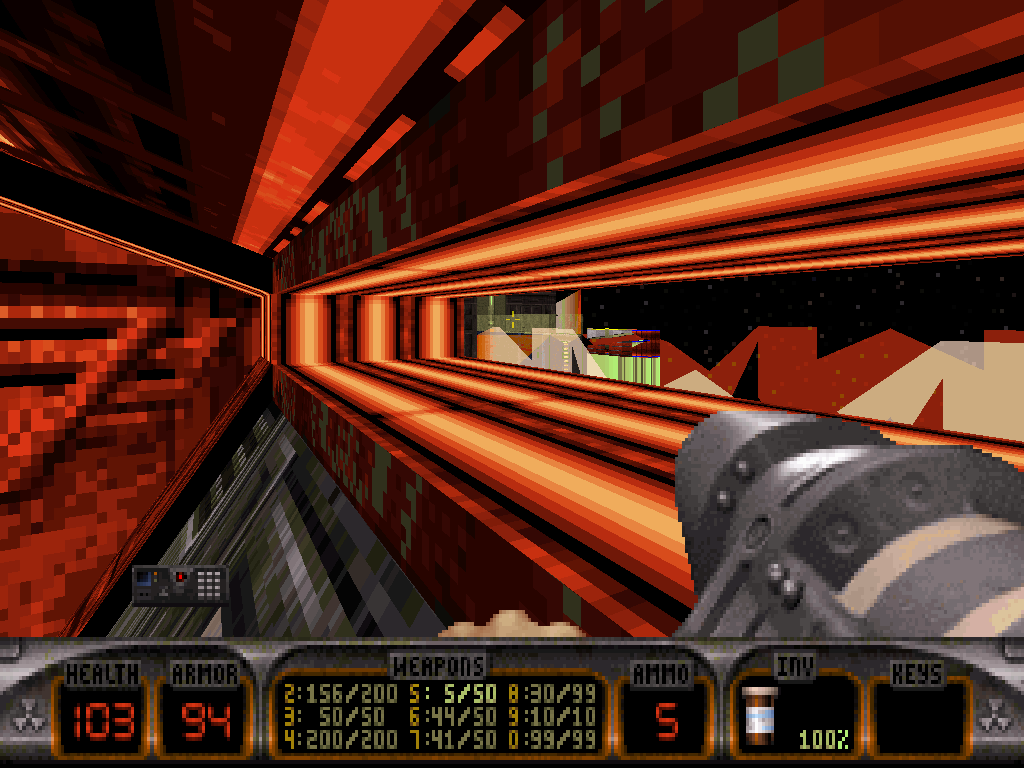
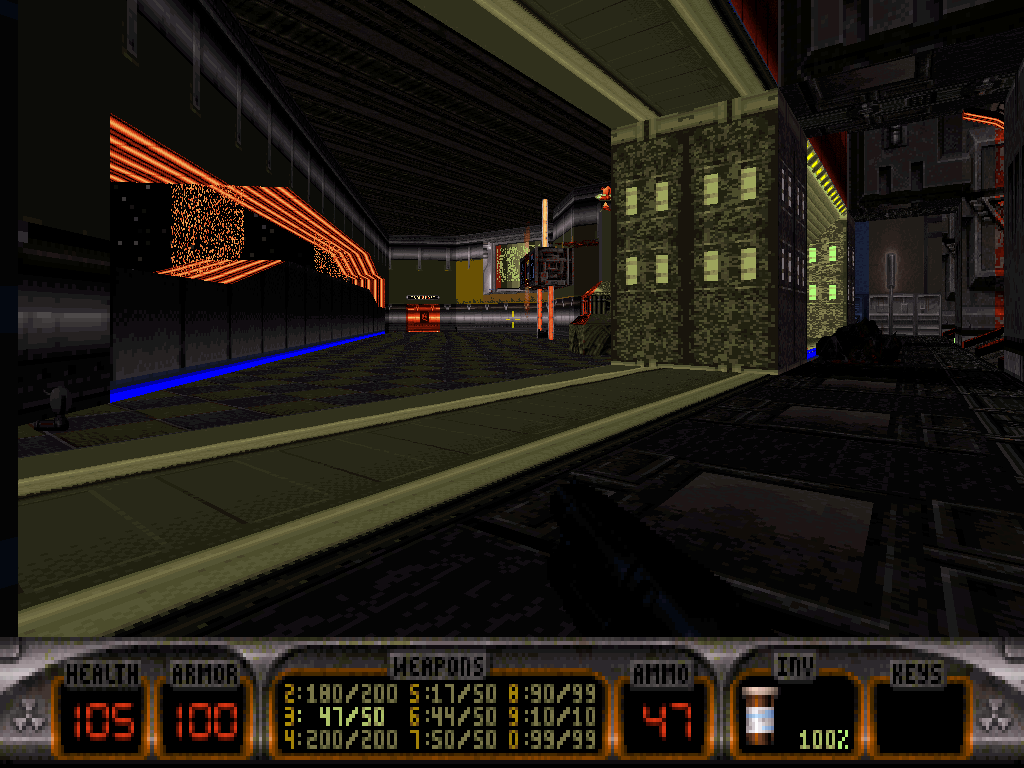
Unless he wants to stock up on items or visit the current area some more, Duke should prepare to embark whenever possible, through the door at the end of the room once the train is there (and before it leaves again; Duke can use the on-board and -track camera angle to check in on its position at all times).
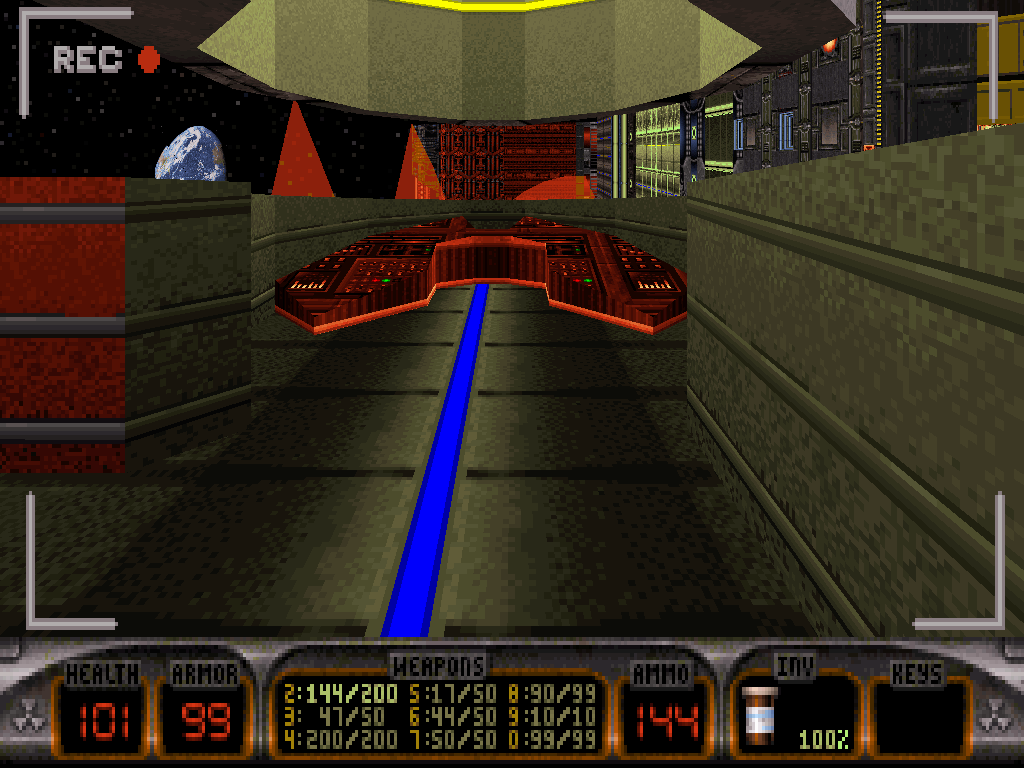
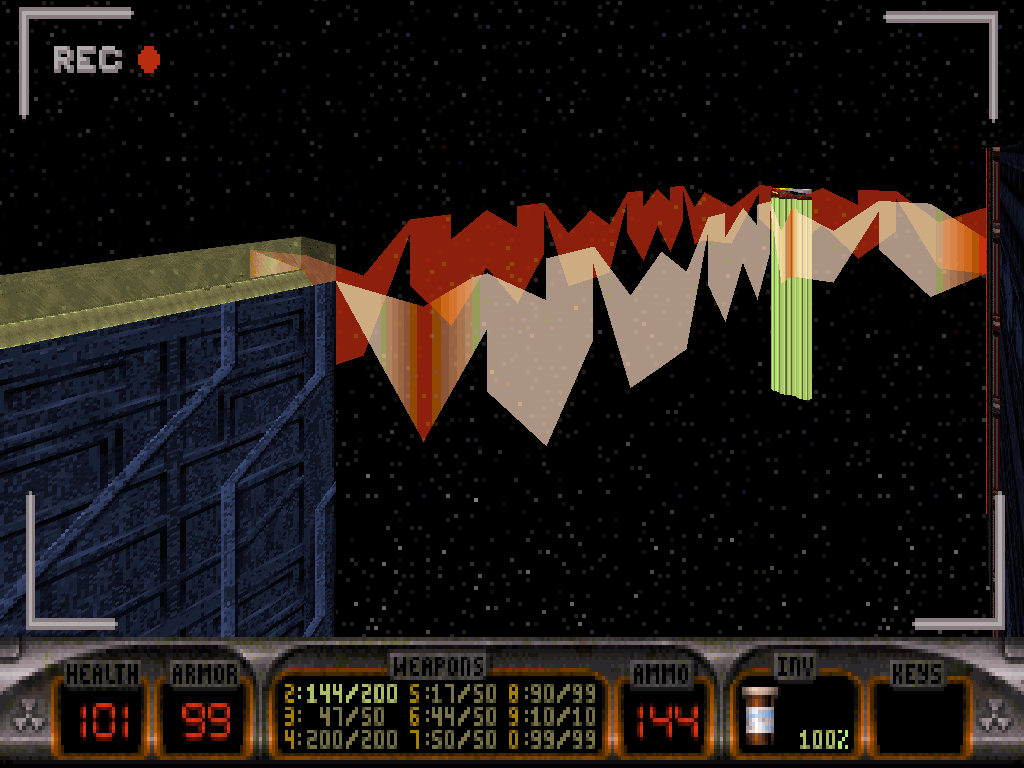
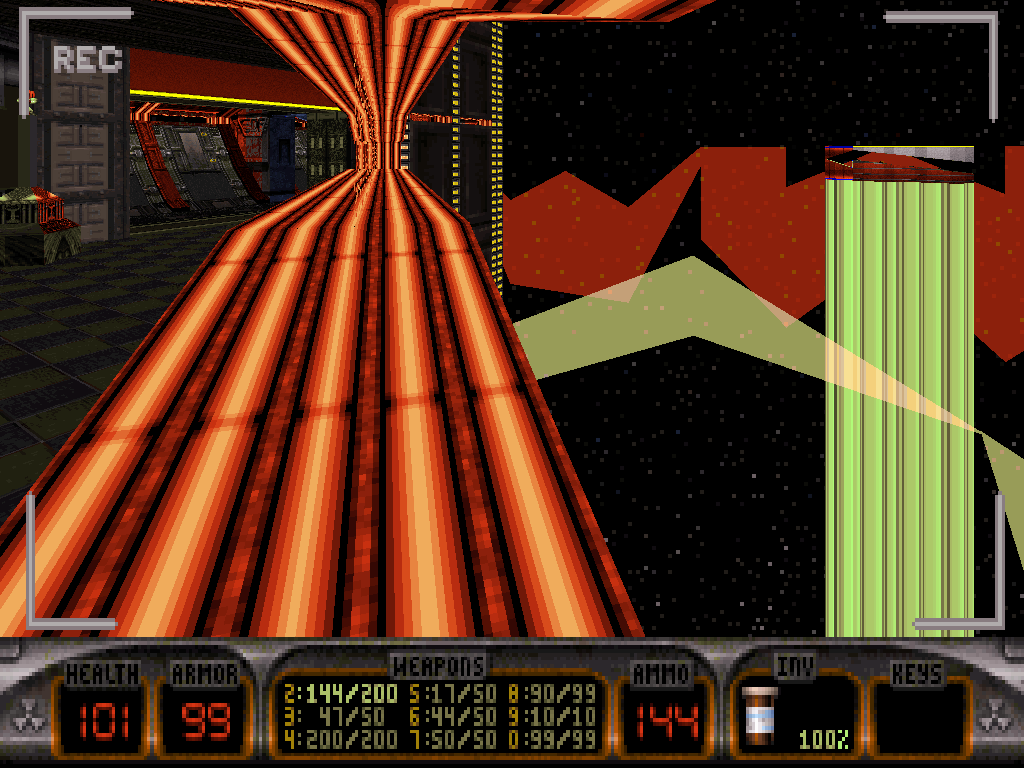
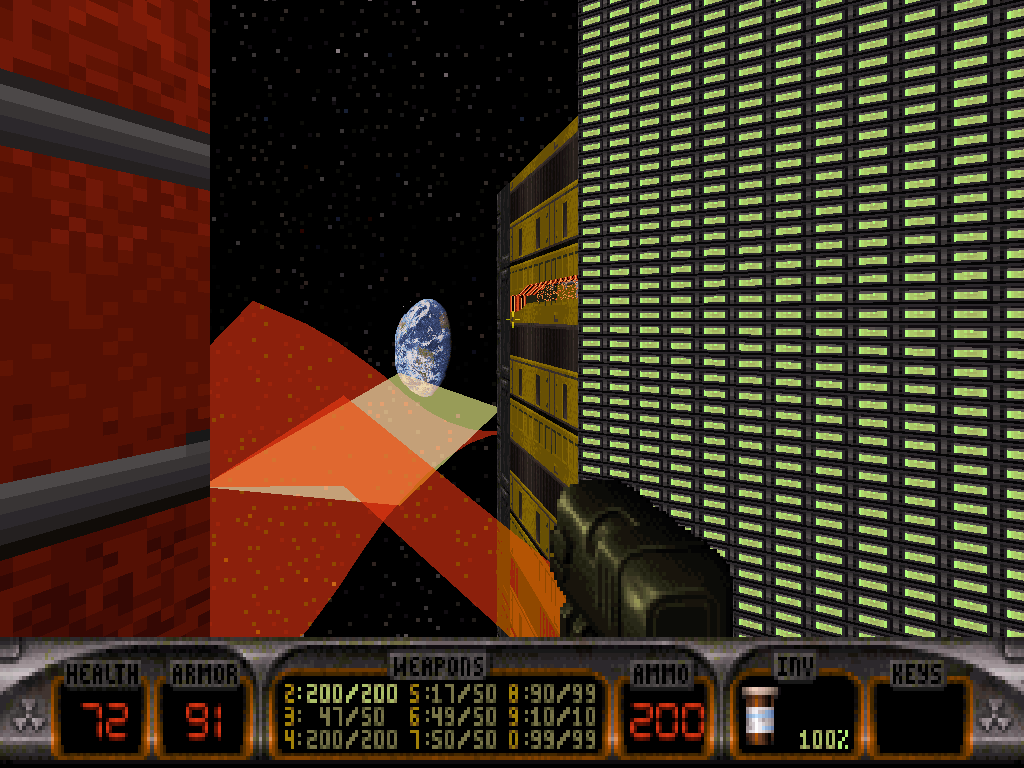
The train's other stop and thus, our hero's next halt is all the way back around the command floors of the station Duke has visited thus far; the walkway he will find there conceals access to the upper levels of the reactor core area: an experimental research facility featuring a gigantic central machine that is bound to various switches, a vat of toxic green oil it is half submerged in, and of course some enemy guard to disrupt.
From this point on again, there are two paths Duke may take, the choice of which will greatly impact his approach to the rest of the level.
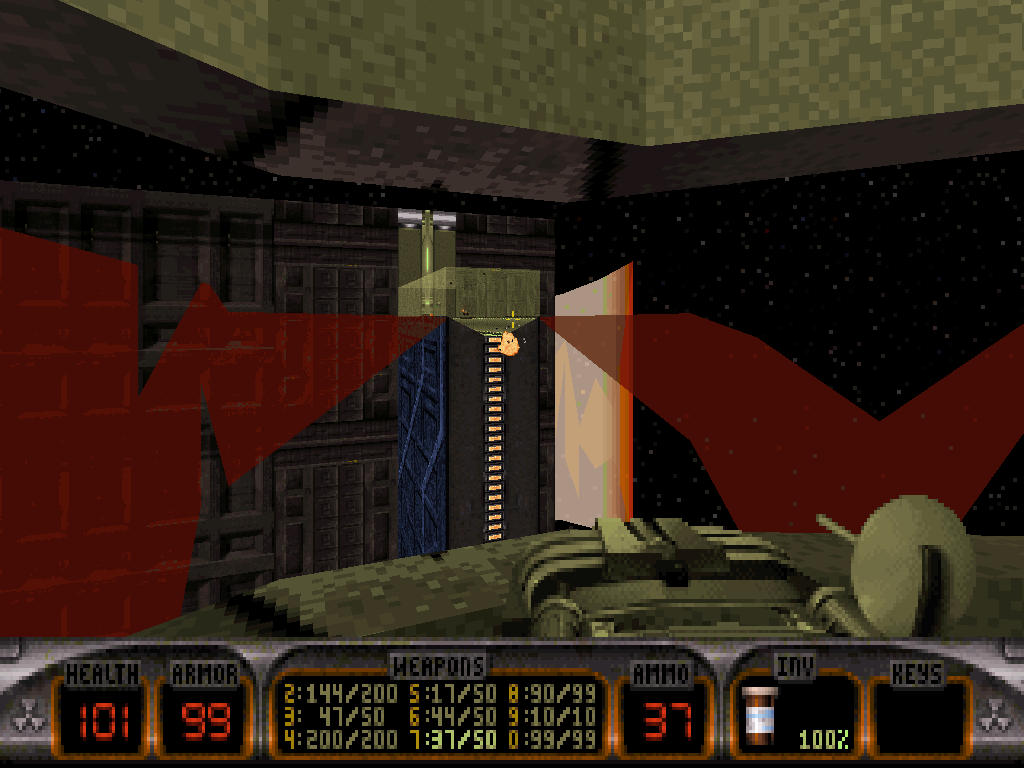
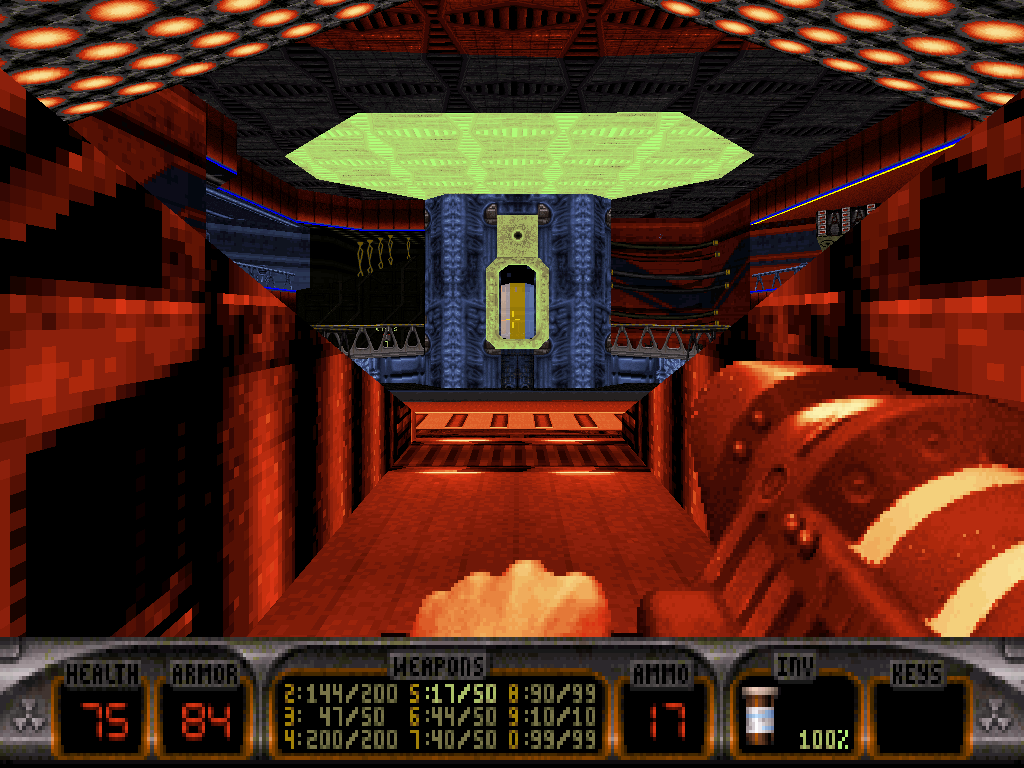
The most evident one may be flicking all of the apparent switches in order to trigger various lifts to platforms around the room and, from there, the rise of a central bridge which should allow for conveniently crossing the vat, and reach the machine.
The apparent top half of the machine is one more spacetime portal generator and so, jumping into the wormhole there shall warp Duke to a hallway that is home to the yellow key door, in a completely different part of the space station.
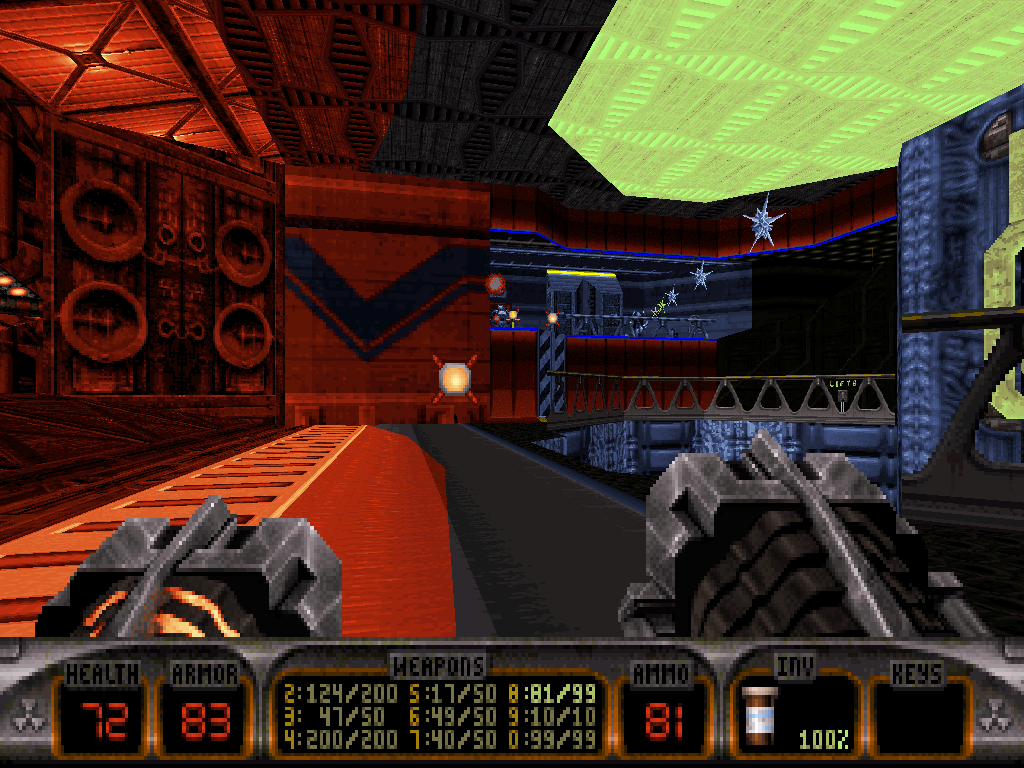
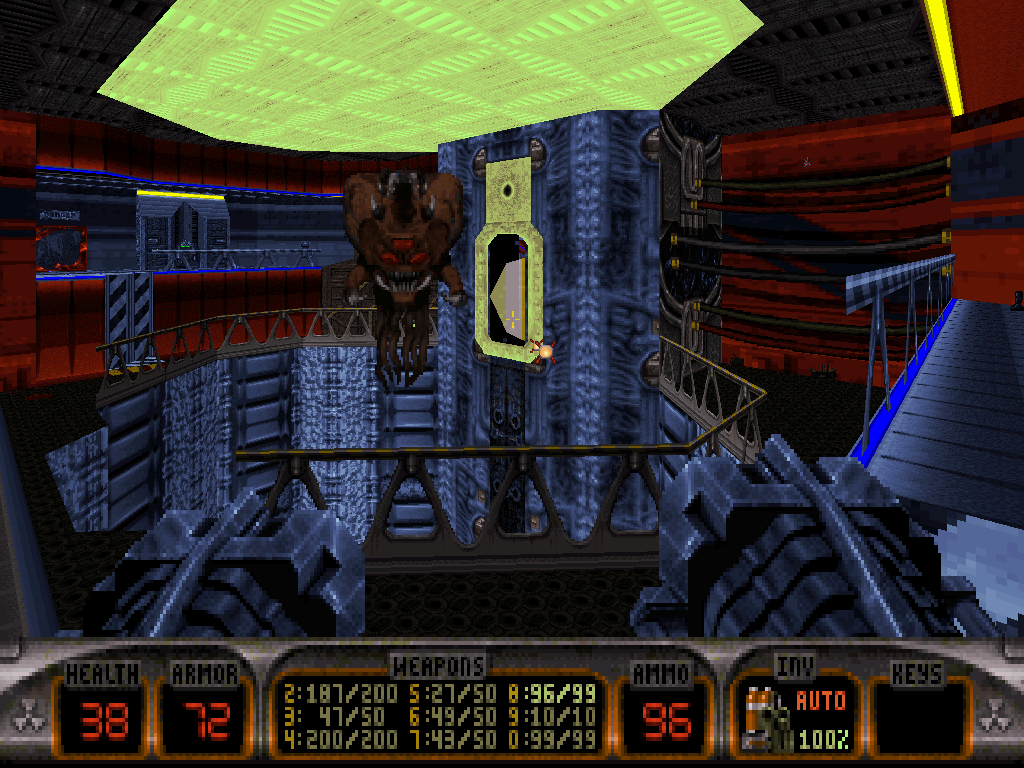
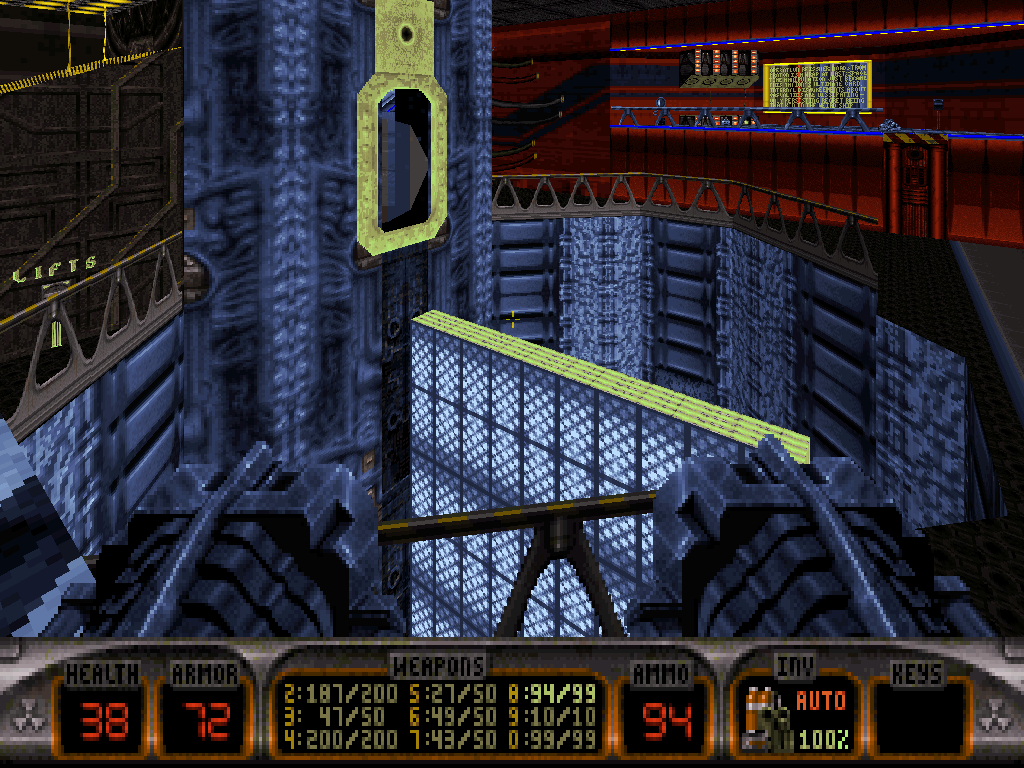
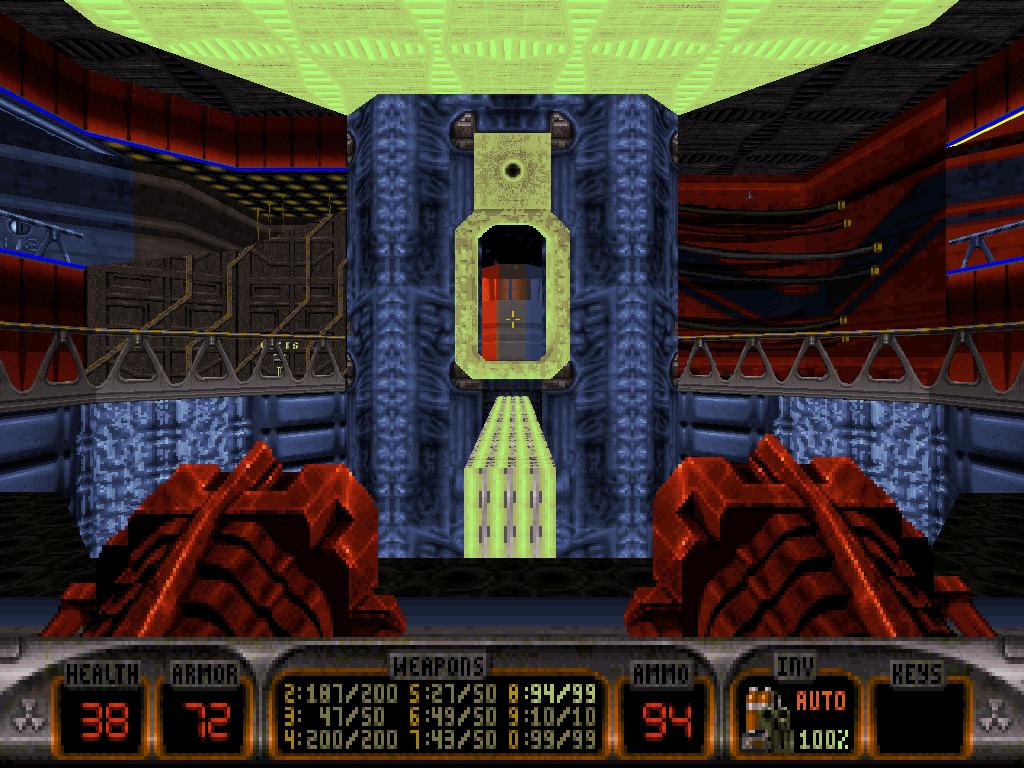
The second, arguably less obvious way would be for Duke to actually jump down the toxic vat and submerge into the corrosive oil.
There, the lower half of the machine will unveil serving a different function, powering the suspended containment of a gigantic water tunnel which also leads to the next segment of the station, albeit around the opposite end.
Duke will arrive closer to the yellow key, but further away from the yellow door and then have to traverse all the rooms in reverse order compared to the former path.
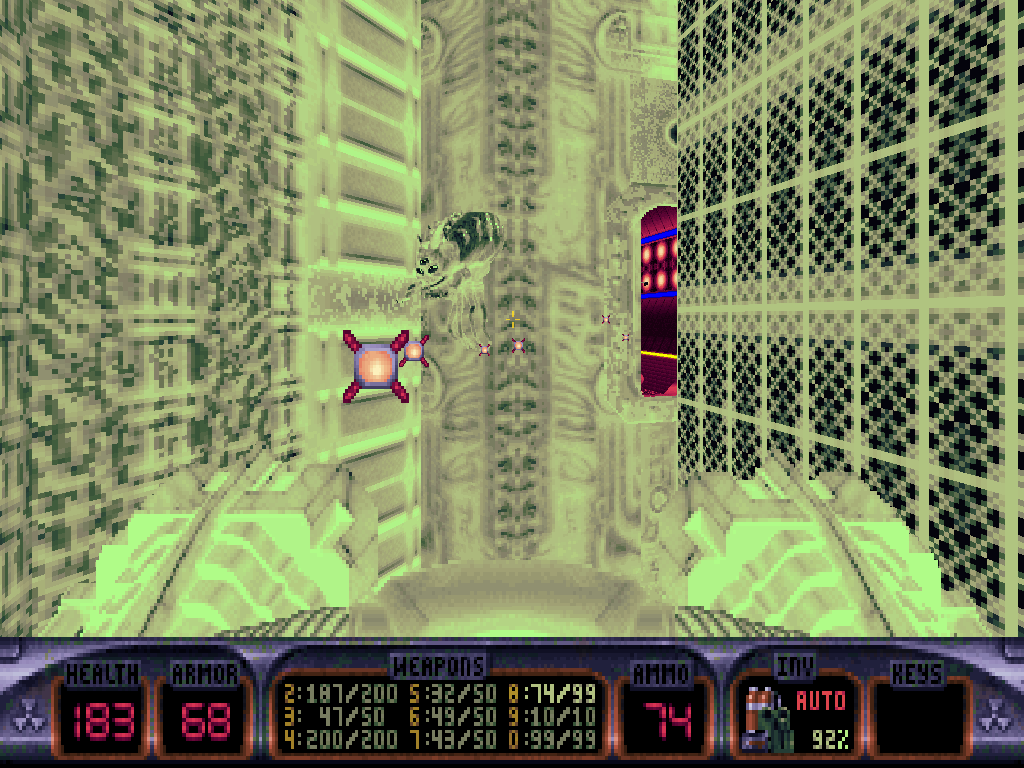
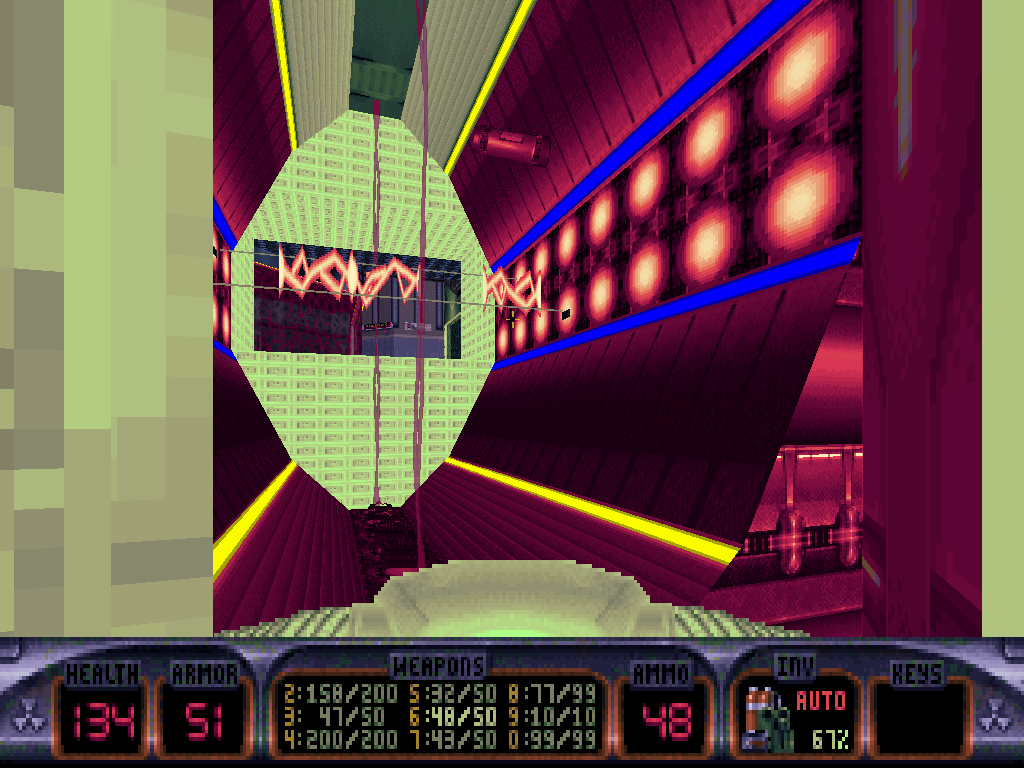
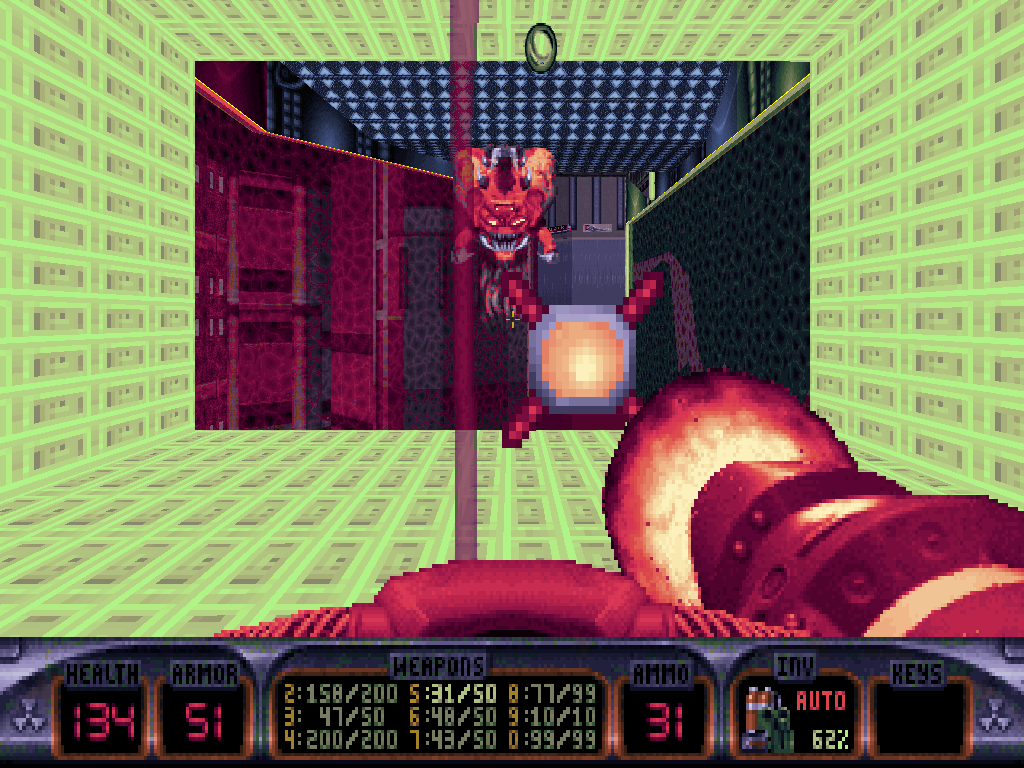
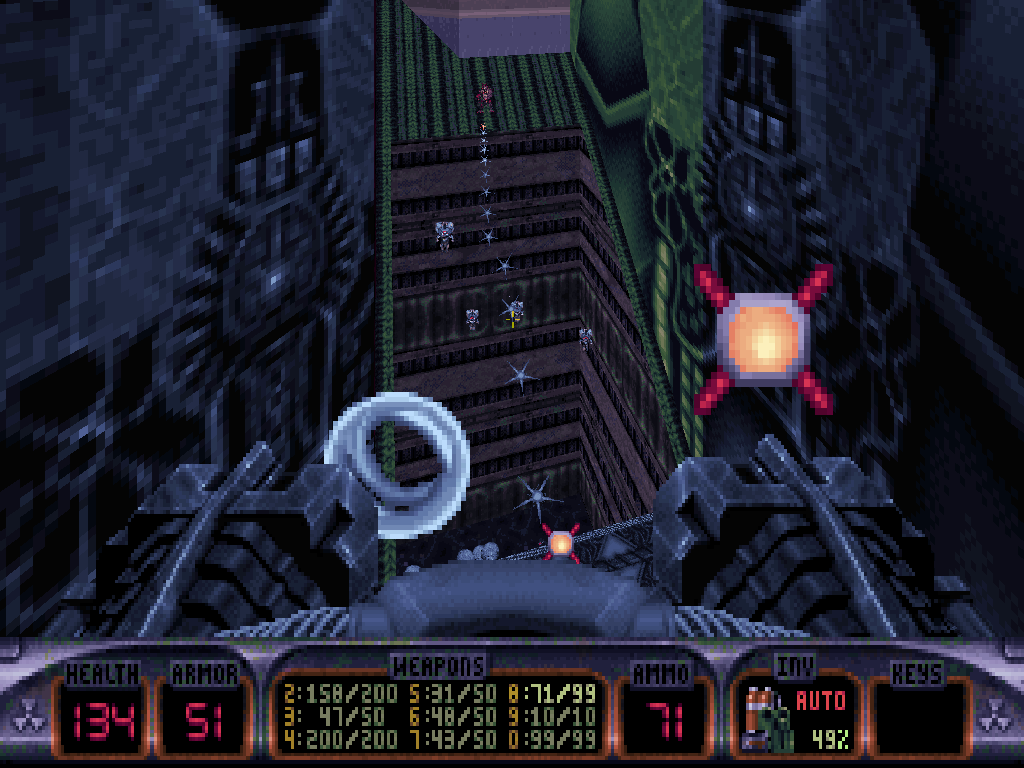
If Duke's decided to go for the dive, he shall meet some resistance on his journey through the water tunnel and then a switch on the opposite wall, near the surface, which is marked 'airlock' and will deactivate the forcefield just below.
Duke can then swim through the corresponding opening, and then up, in order to emerge inside the space station on dry grounds again.
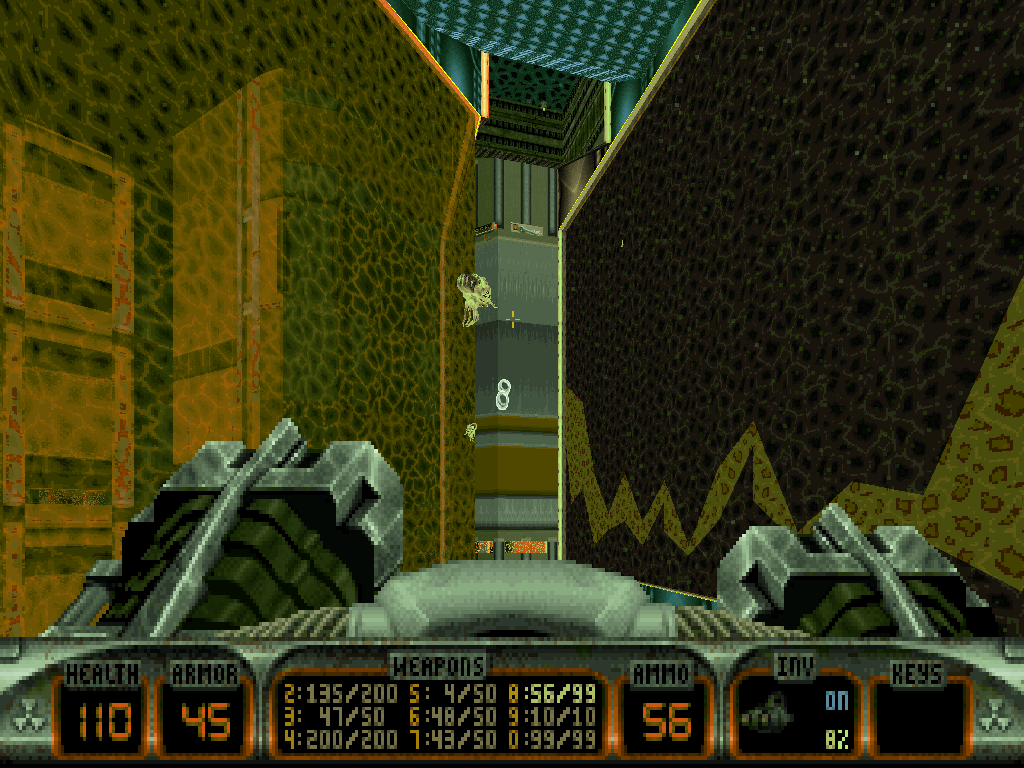
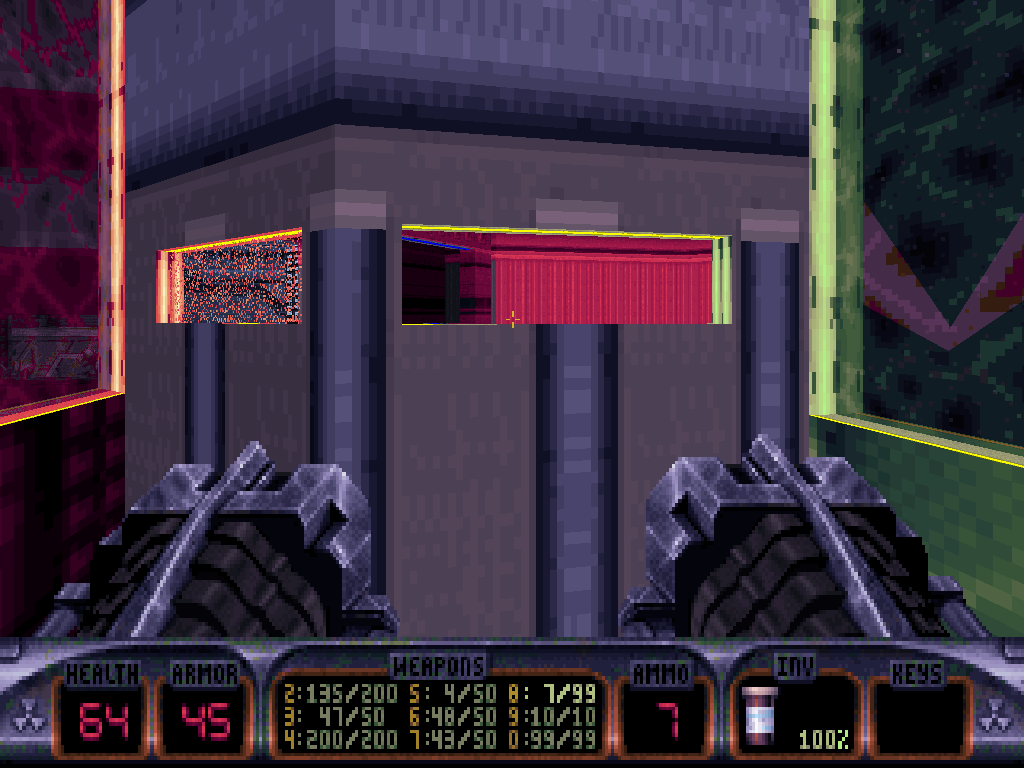
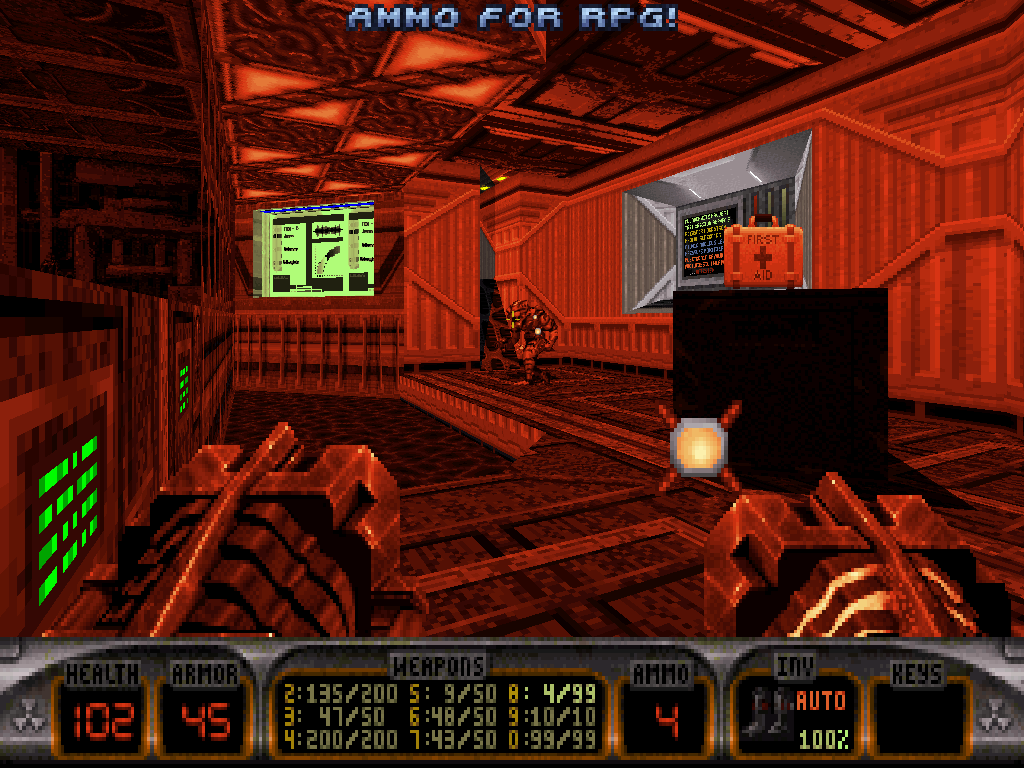
Now going through the portal at the surface instead of infiltrating the water tunnel will result in a different angle entirely.
Simply walking through will suck Duke in and precipitate him into a new hallway that runs in the same region of the station that is accessible through the water tunnel, but in a different place and terminates with a different door on both ends. On one side is the yellow key door; on the other side is an elevator Duke can open and then ride up.
The hallway also comprises a ventilation shaft which, if followed, leads into a perfectly symmetrical corridor on the opposite side of the station, thereby confirming a mirroring type of local layout logic. That means, the hallways run parallel and the elevators in both shall take Duke to the same next room eventually, just from opposite angles.
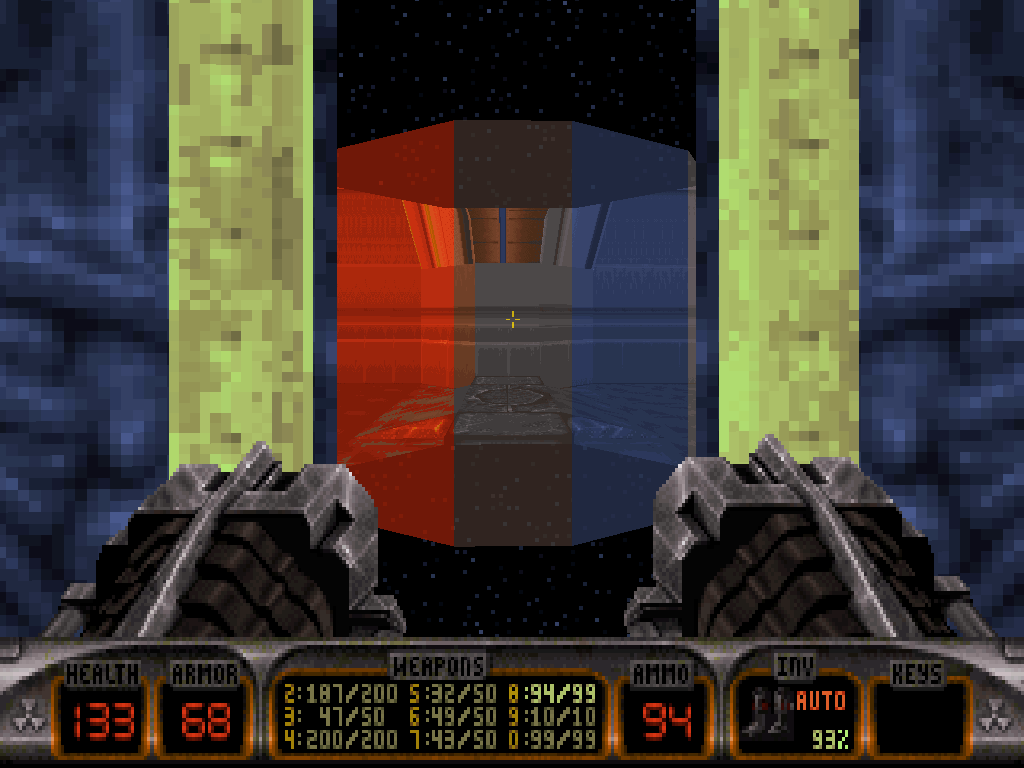
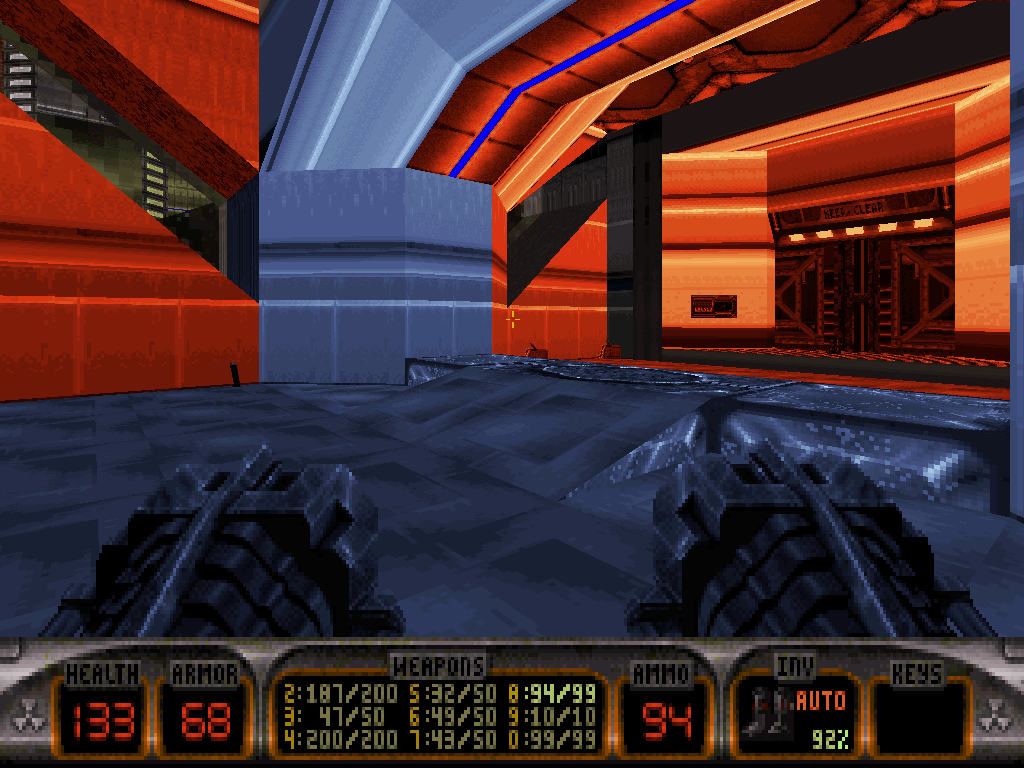
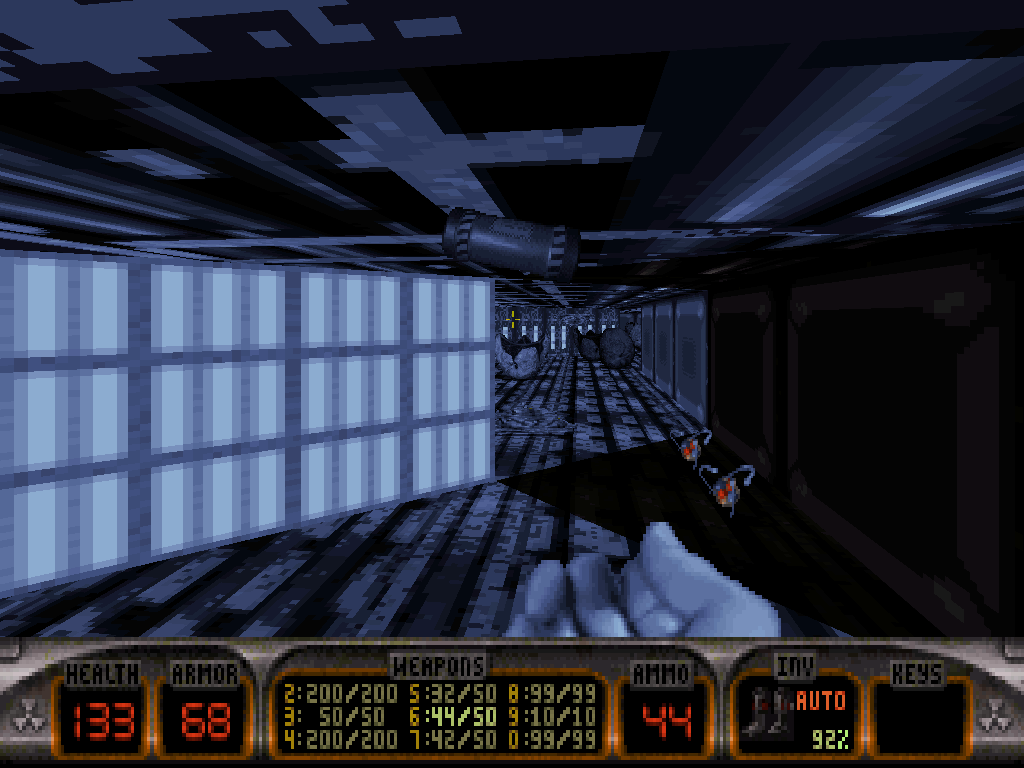
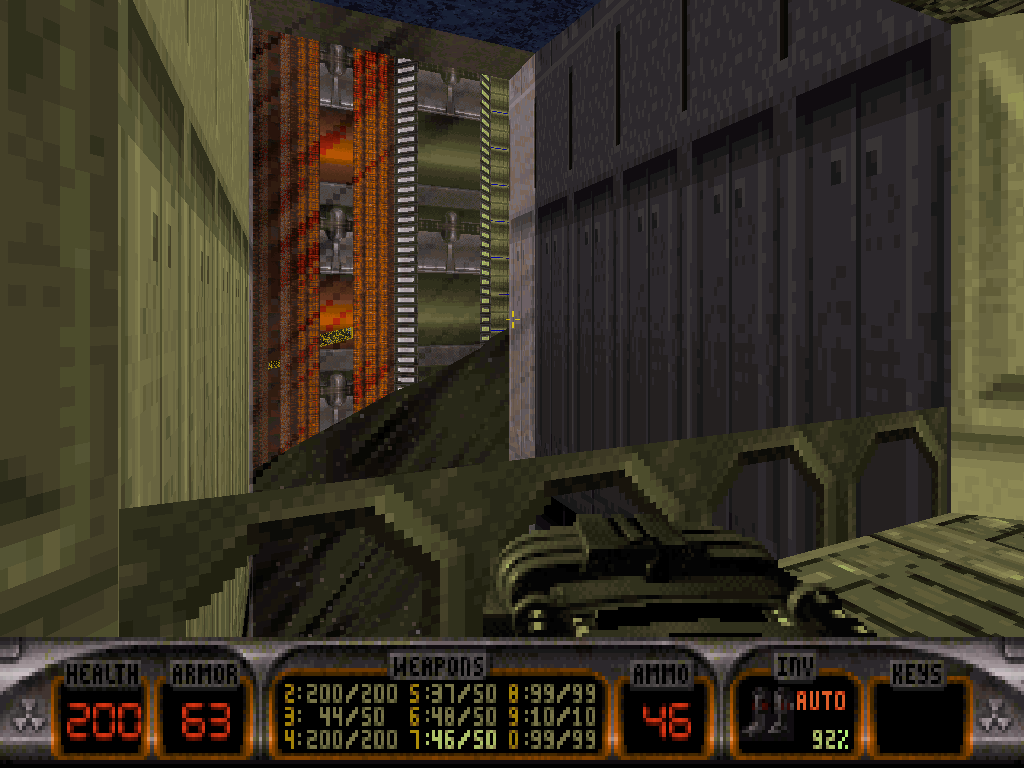
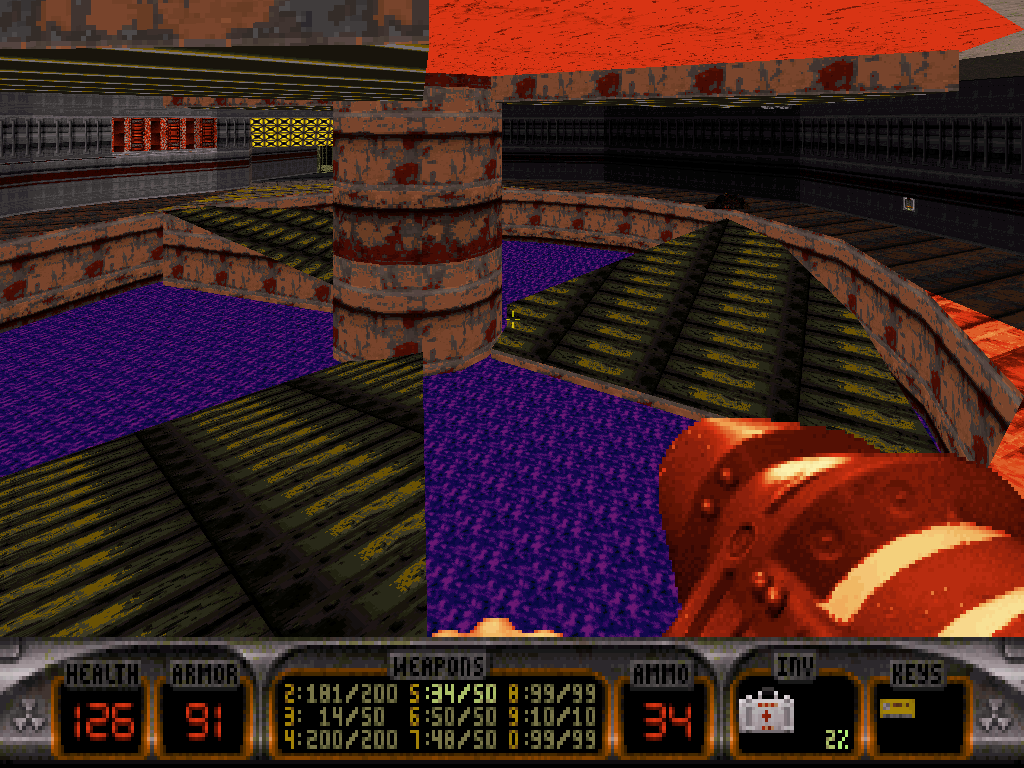
Keeping ahead via the elevator(s) there, Duke shall reach a remarkably deadly room featuring a central pit of purple lava complete with an active mixer, a bunch of Fat Commander types and one more Madlad Battlelord (on the Come Get Some difficulty setting). If the fight gets too sweaty, there is a switch on the wall Duke can press in order to elevate the central pivot of the mixer, and free up a handful of Atomic Healths.
In order to progress though, Duke shall have to not think twice and just dip into the toxic liquid. Swimming down will reveal the existence of a whole submerged system around the mixer, mostly accessible via swimming through either of two juxtaposed ducts which can be spotted behind all the Protozoid Slimer eggs.
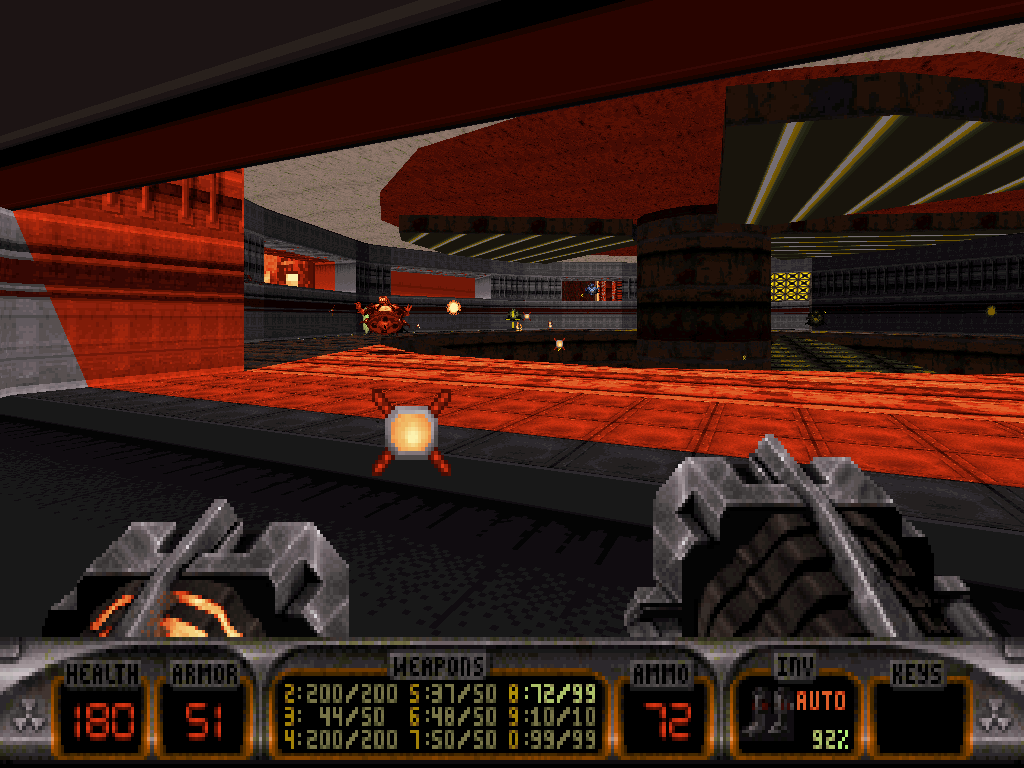
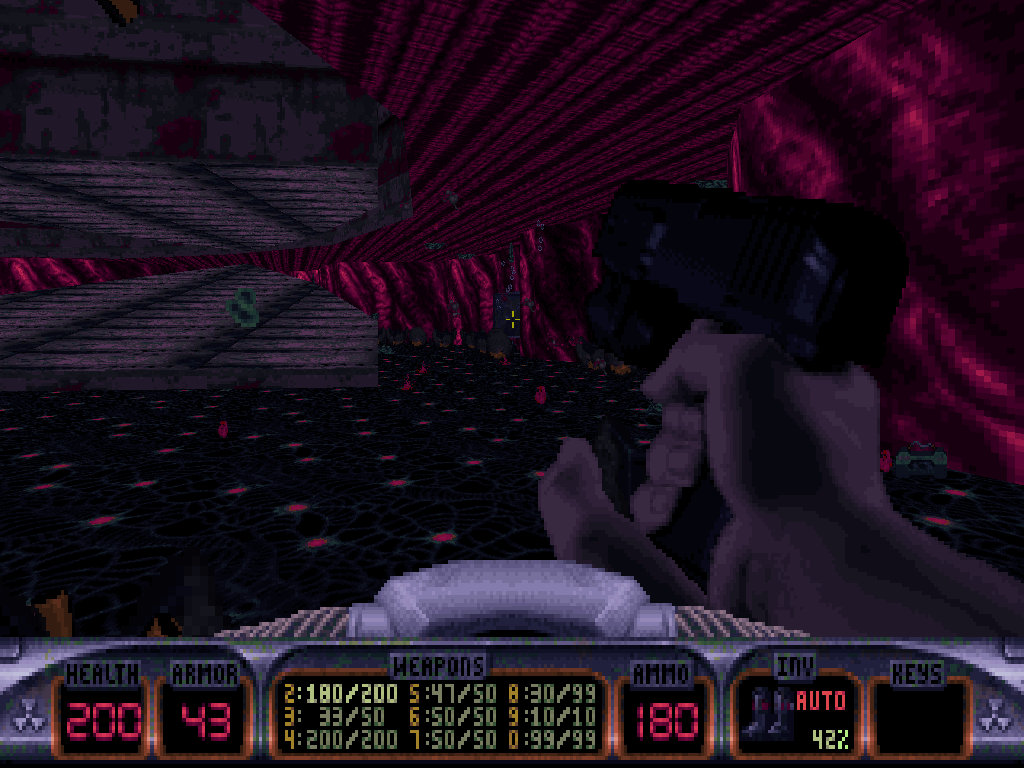
Each duct will lead into the corresponding section of one same area which for now is being divided in two halves by an active forcefield, both under and above water.
The leftmost duct will bring Duke to one more control room, after he's emerged, climbed a few cables and done some clean-up. There, a locked door awaits as well as a security camera screen which points to an underwater switch somewhere.
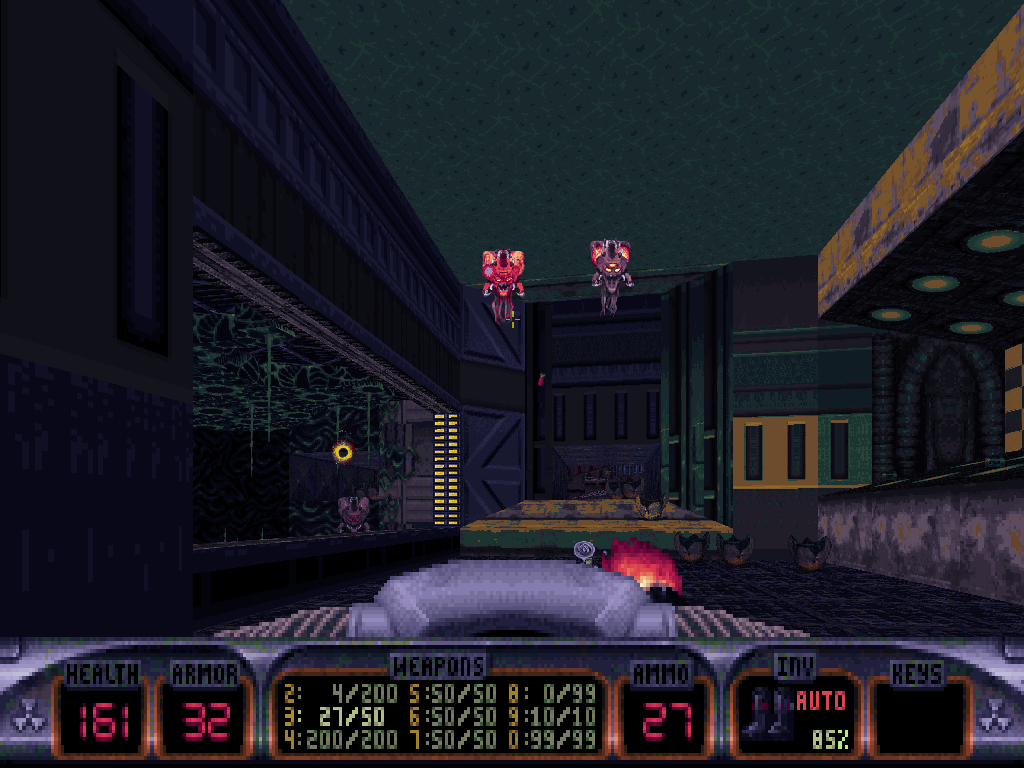
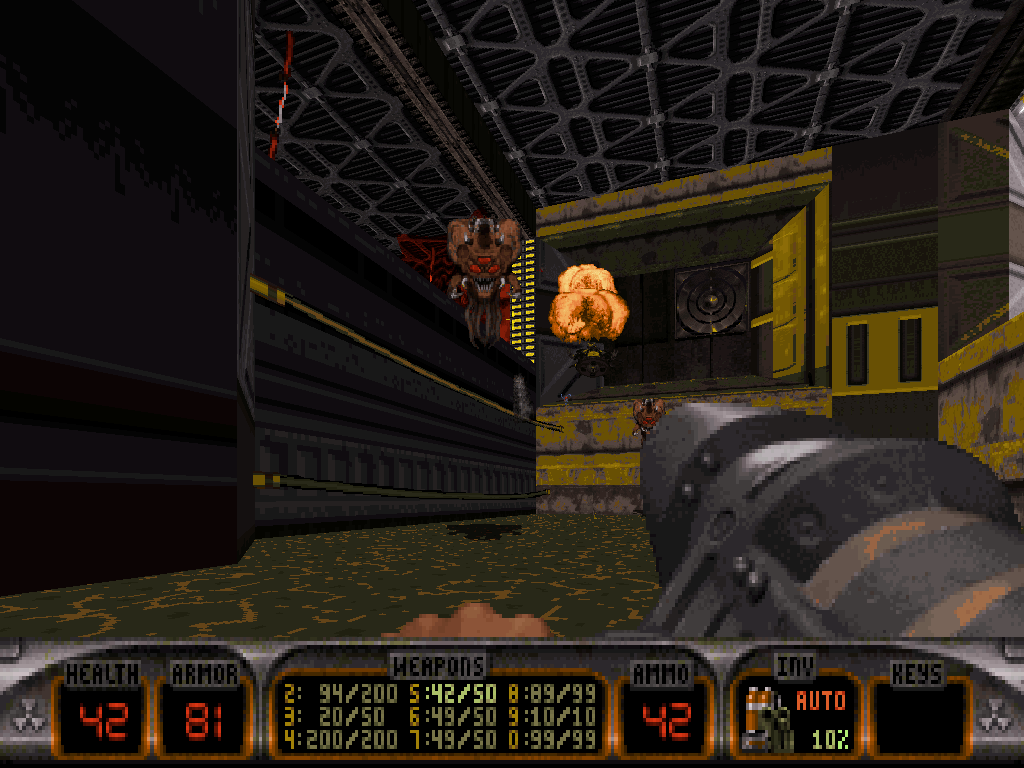
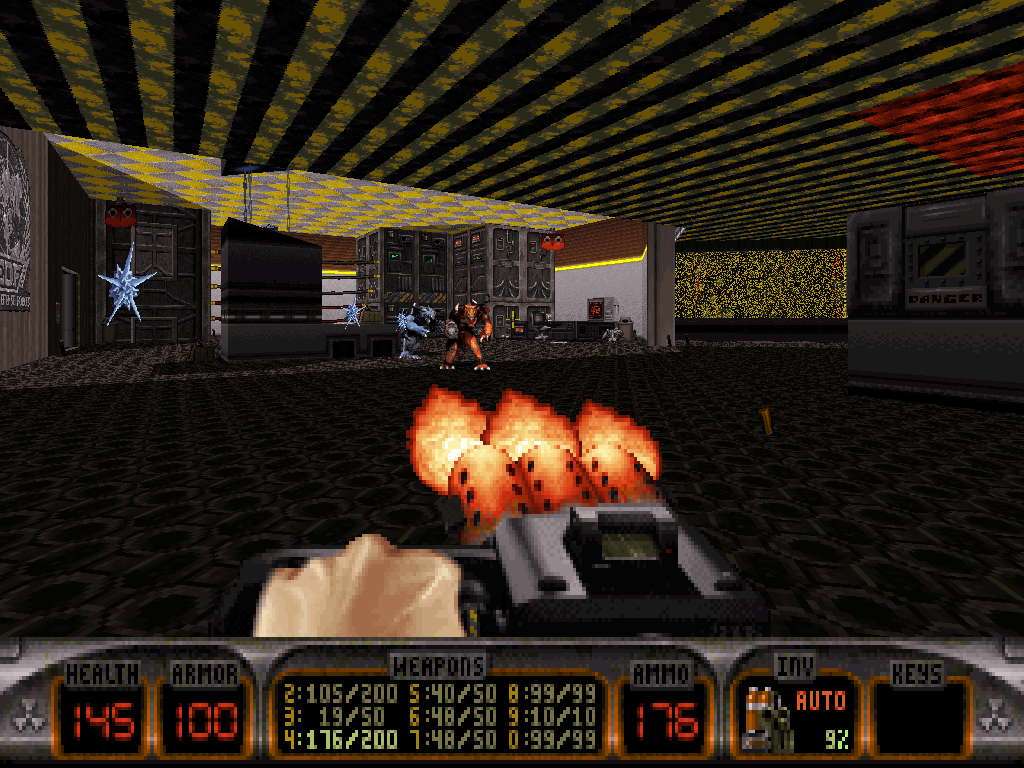
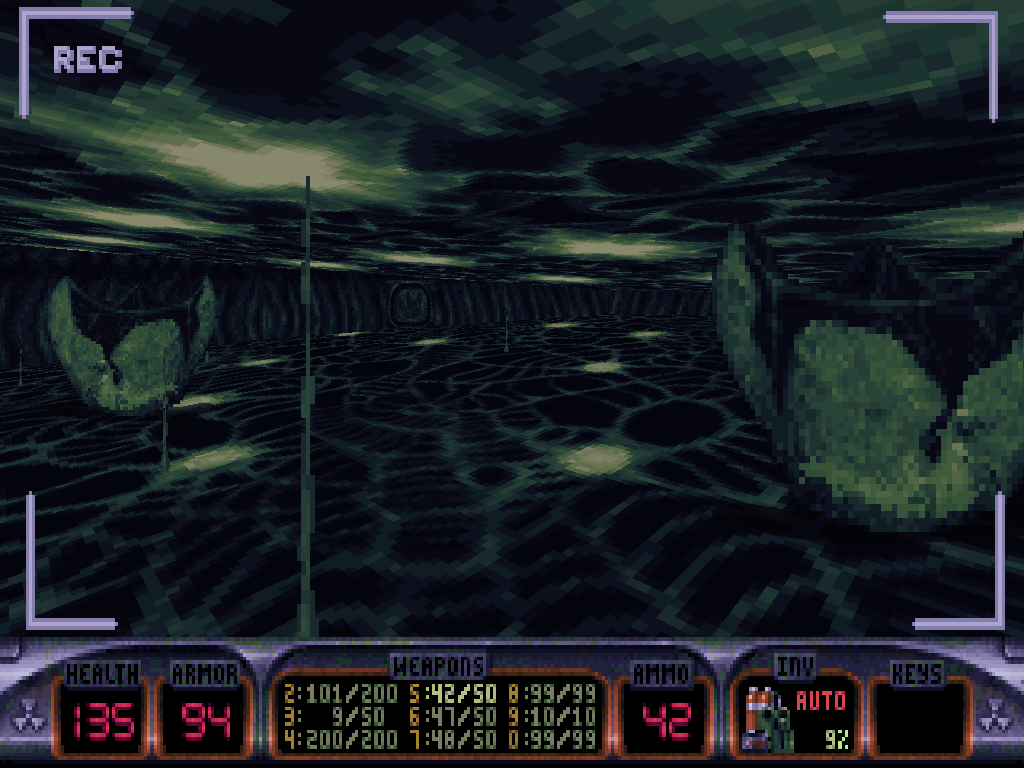
The switch can be found in the part of the zone that is on the other side of the forcefield and thus, accessible via the rightmost duct.
Duke should go there to press it, which will unlock the door he saw; he also might have to handle an Alien Queen Jr. whilst on his journey.
Then, swimming back to the control room shall confirm to Duke how one more elevator is now accessible to him.
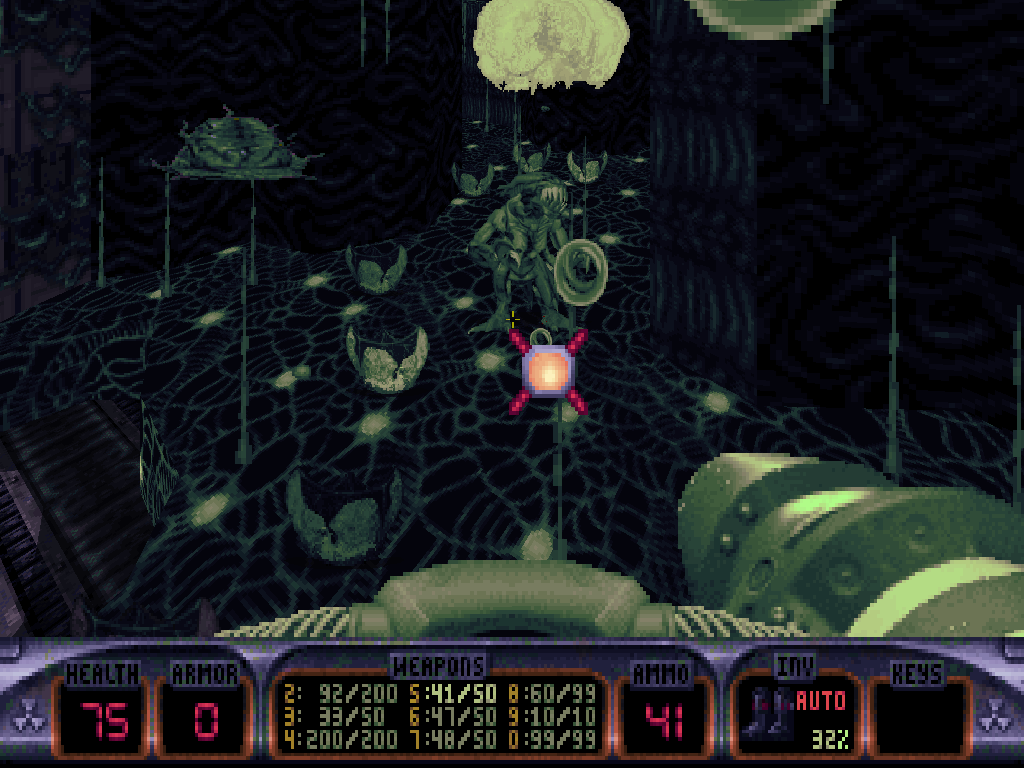
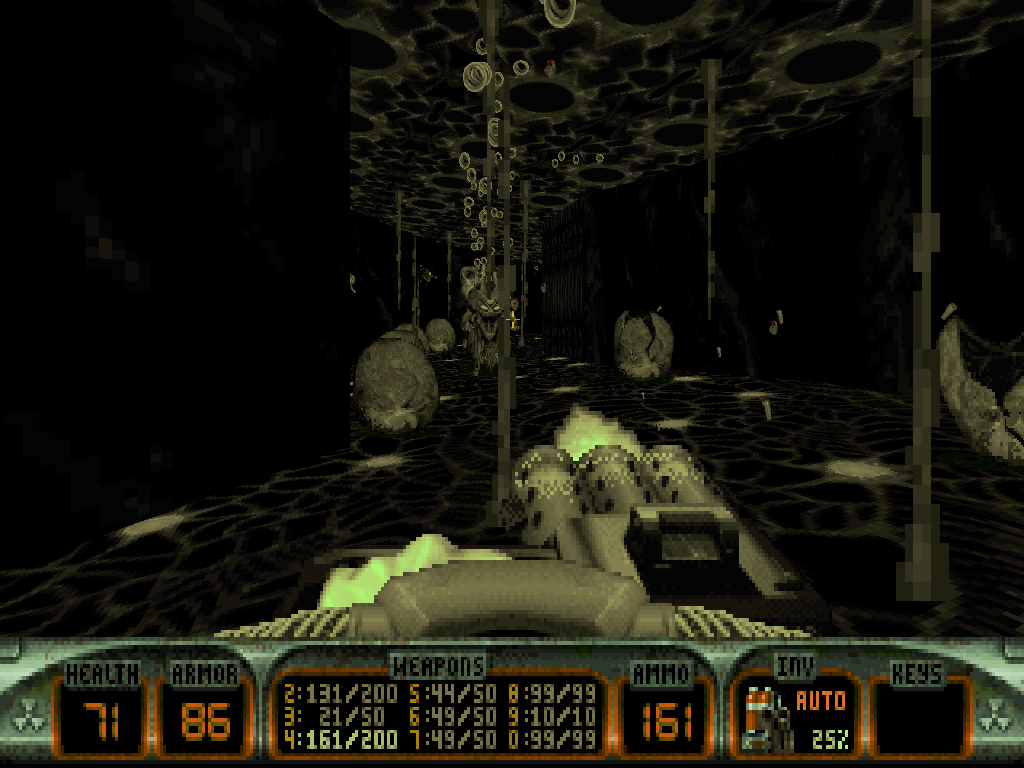
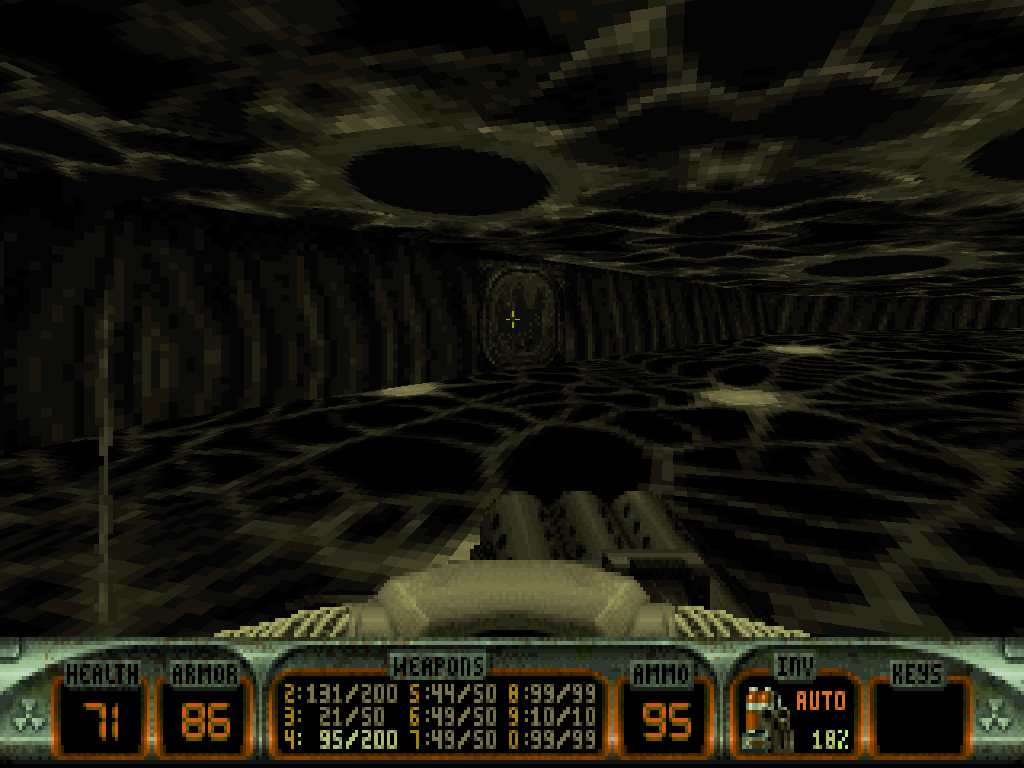
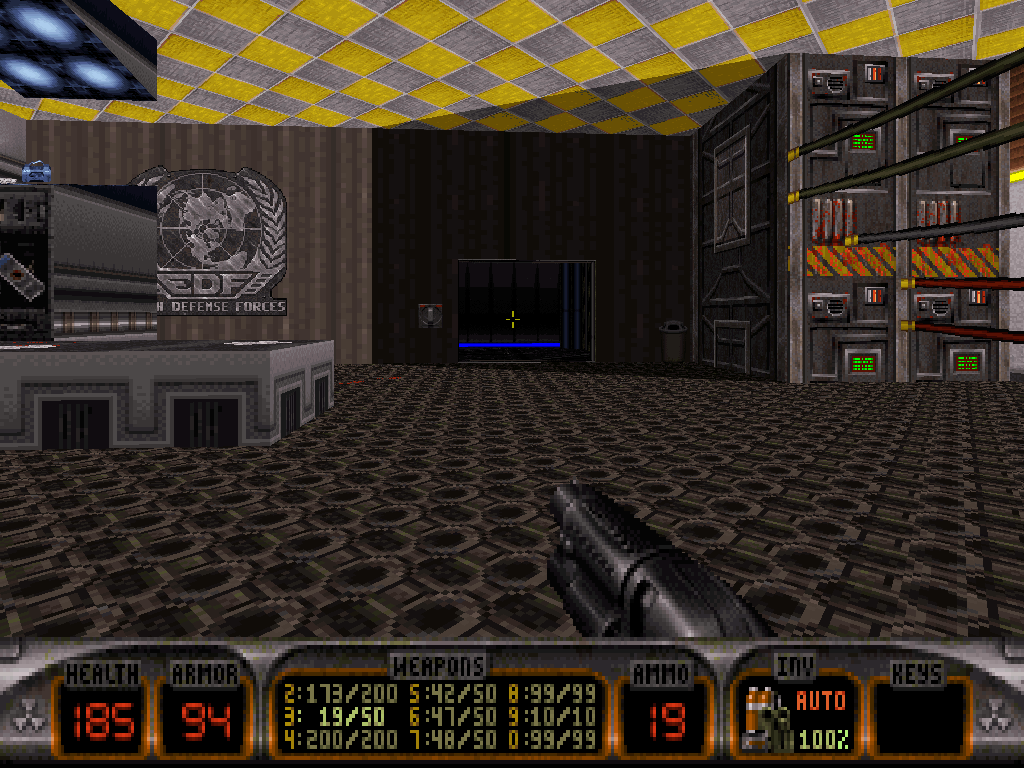
Riding said elevator shall take Duke to one other research facility; this one seemingly dedicated to the artificial generation of black holes.
As such, it logically features what really functions as a central column of instant death as well as many command consoles which are scattered all around the room; all of them on top of elevated platforms.
After he's eradicated all the enemy presence on location, Duke gets to peacefully investigate; and since one of the console commands just so conveniently happens to be right by his entry point, it shouldn't take long before he realizes all of them are numbered, and flanked with one switch each.
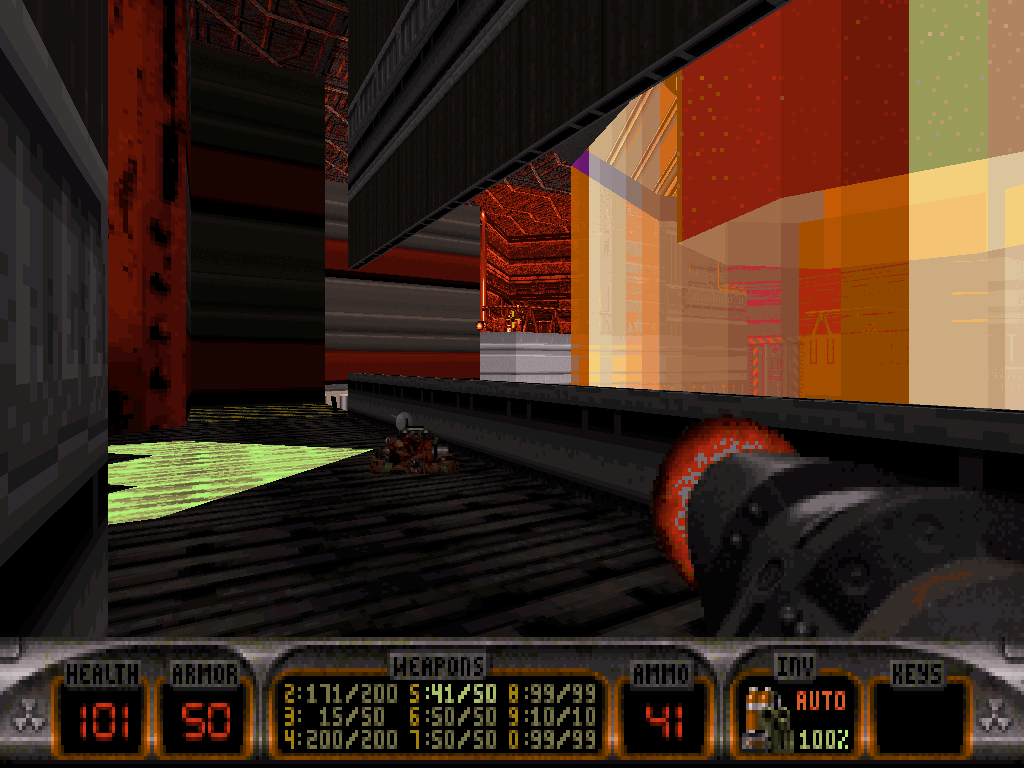
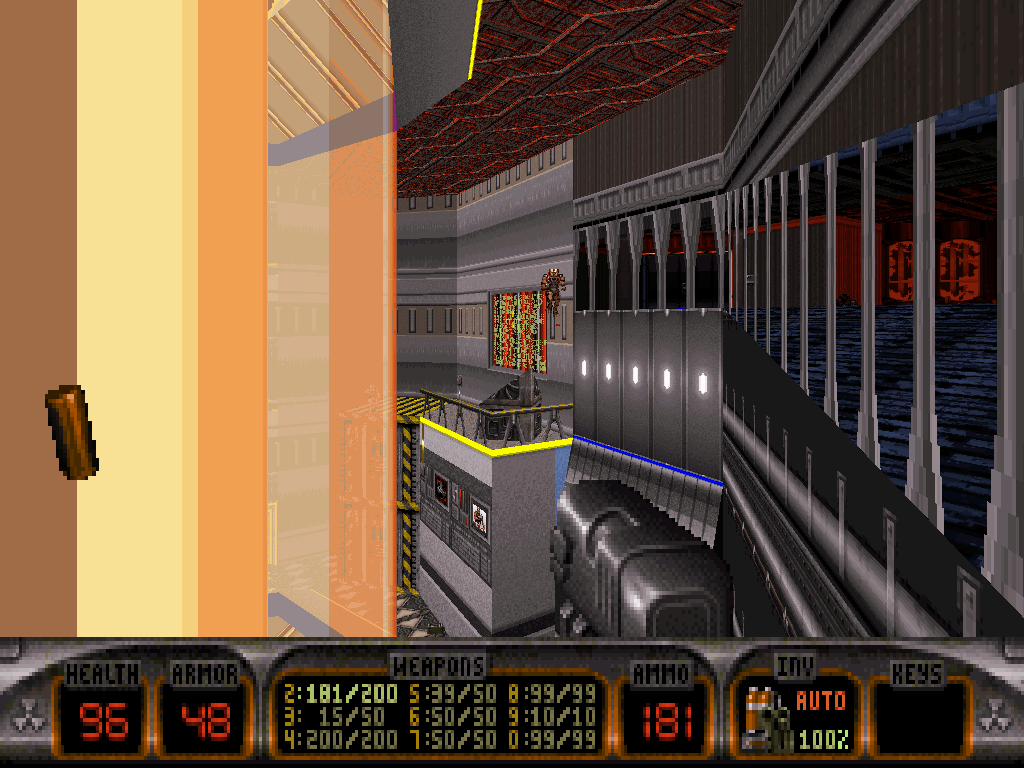
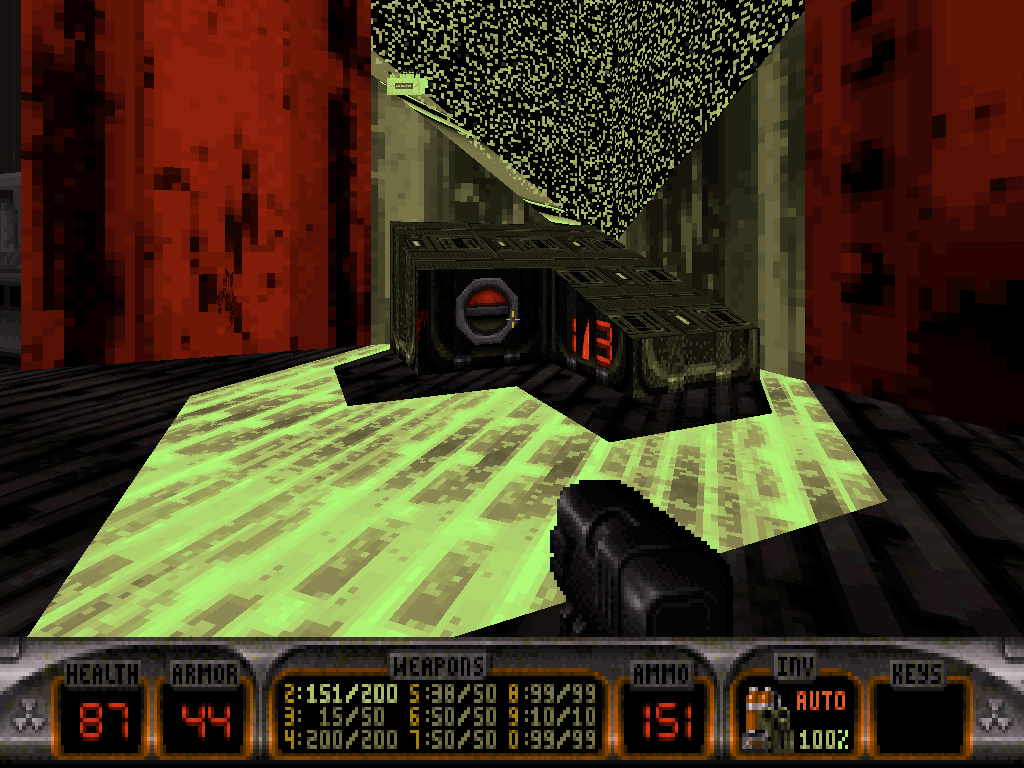
From the first console he's found, Duke may use the nearby lift to get down to floor level, that is unless he prefers a more athletic way.
There, our hero shall locate a locked 'FORBIDDEN' door, possibly disarm some laser tripmines and register how there are similar lifts to the one he just passed that exist in association to the other platforms with the consoles.
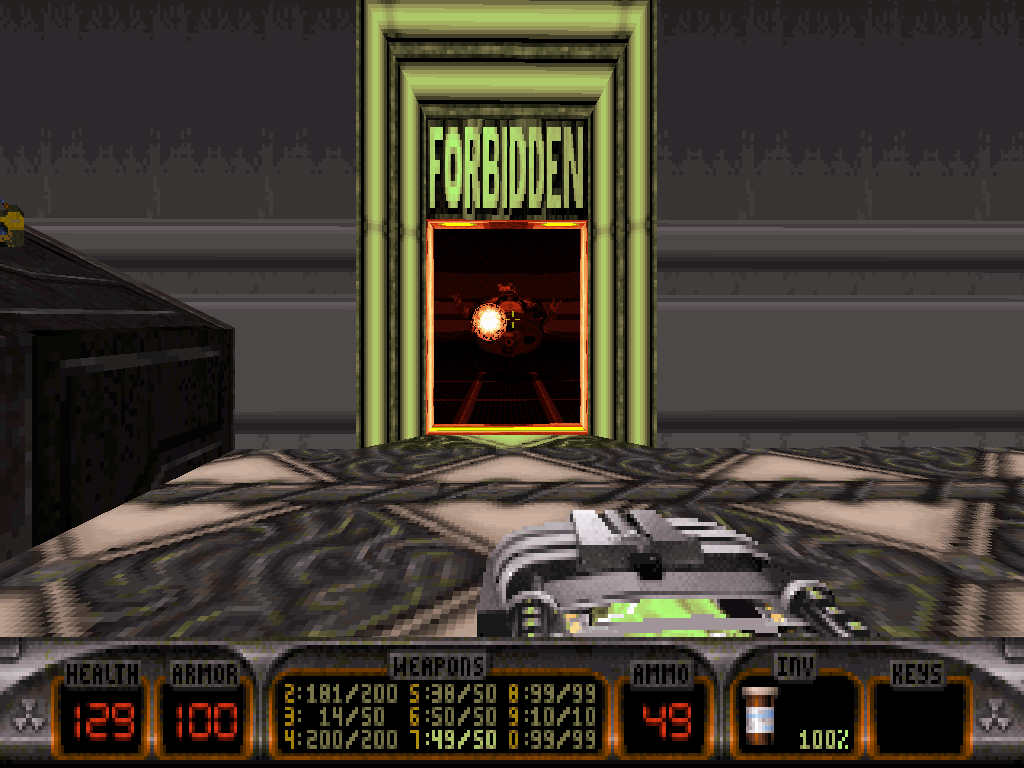
The second console is directly accessible by just using the lift normally; the third lift, however, is button-operated and will take a bullet into the nearby control panel in order to slowly rise. After Duke's reached it, he can finally flick the switch third console, which will result in unlocking the "FORBIDDEN" access point at floor level, below.
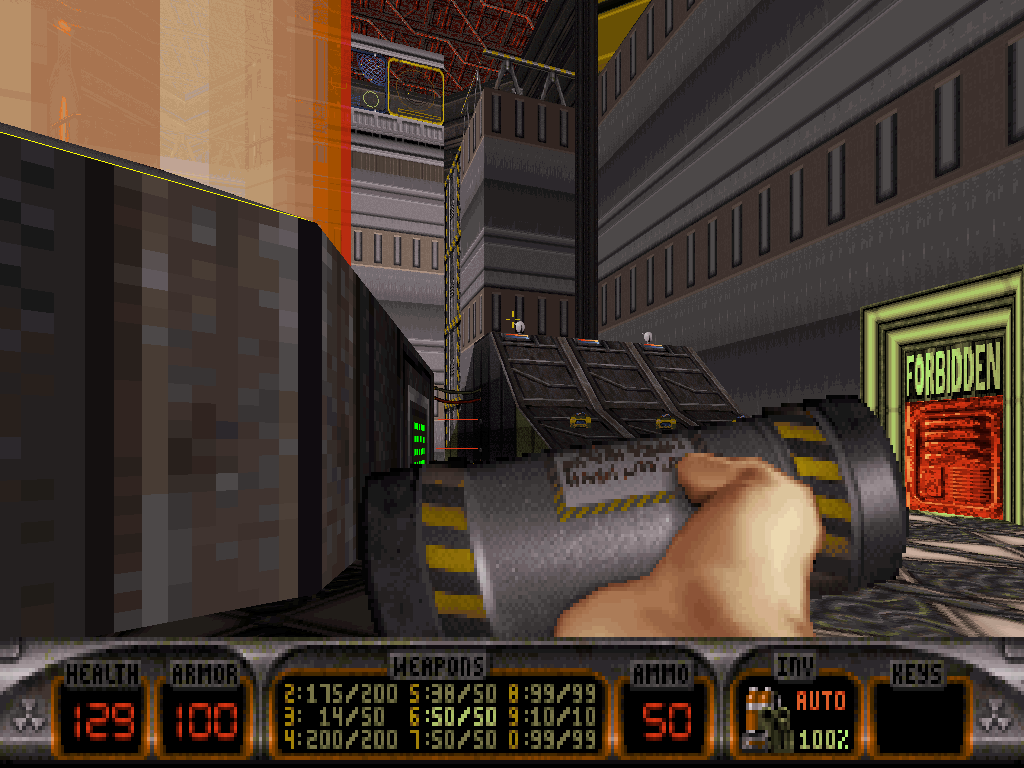
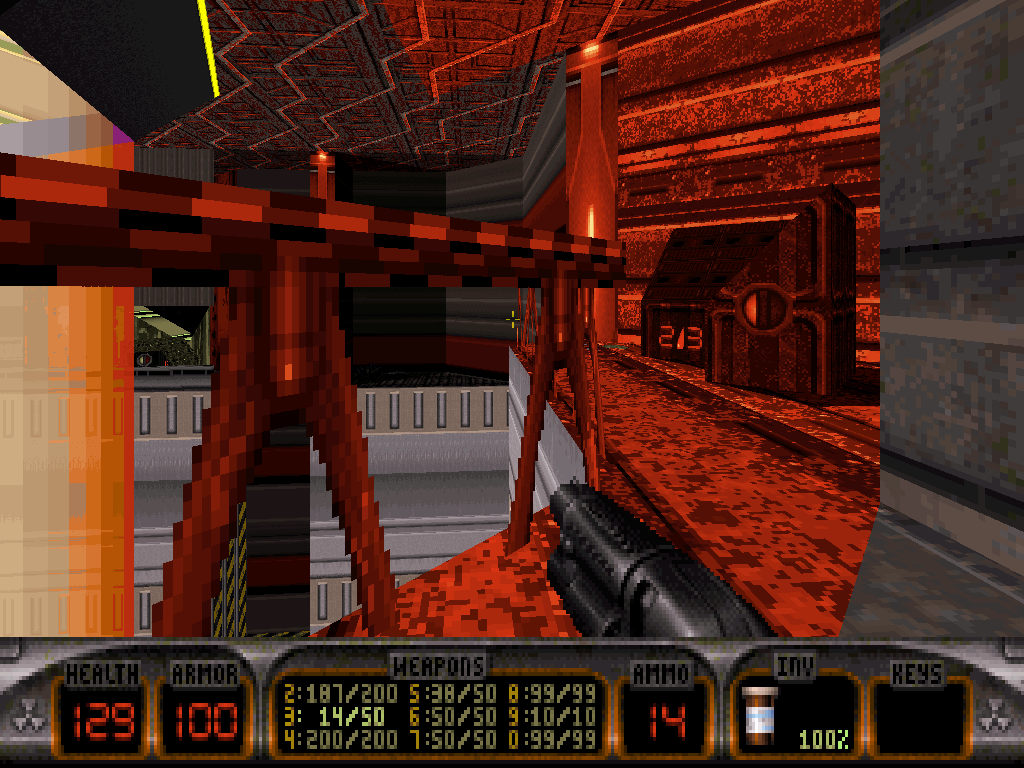
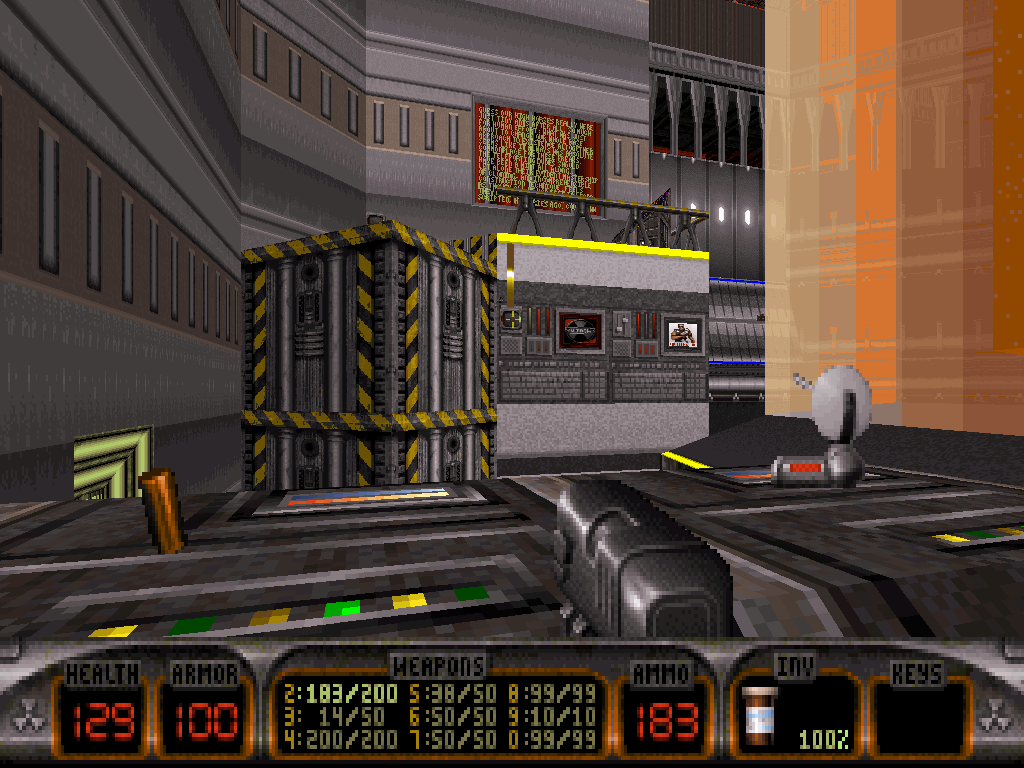
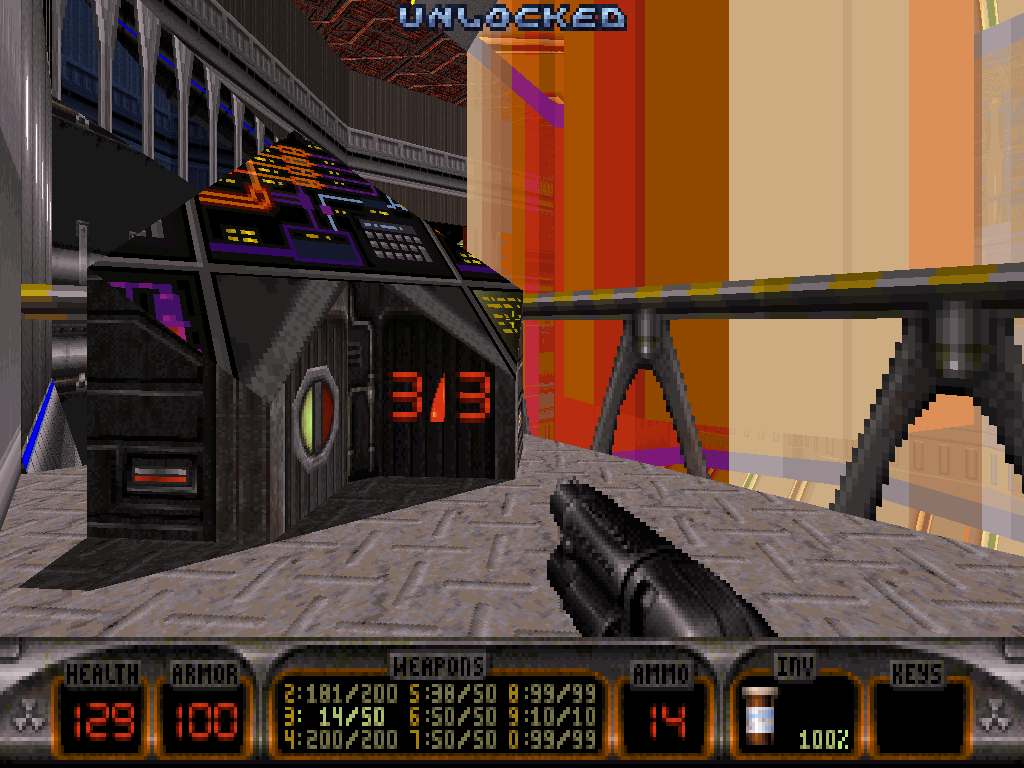
Of course, behind the door is another elevator, inside of which a Madlad Commander may be waiting to ambush Duke.
Using the elevator shall take Duke to one final corner which dominates the facility, and where the yellow keycard can be retrieved (as well as a jetpack).
A Permafrost Battlelord won't especially appreciate taking that initiative however, and thus will intervene by blasting his way through one of the nearby walls into the room, below, to try to block and attack Duke. That particular pest is best dealt with from above.
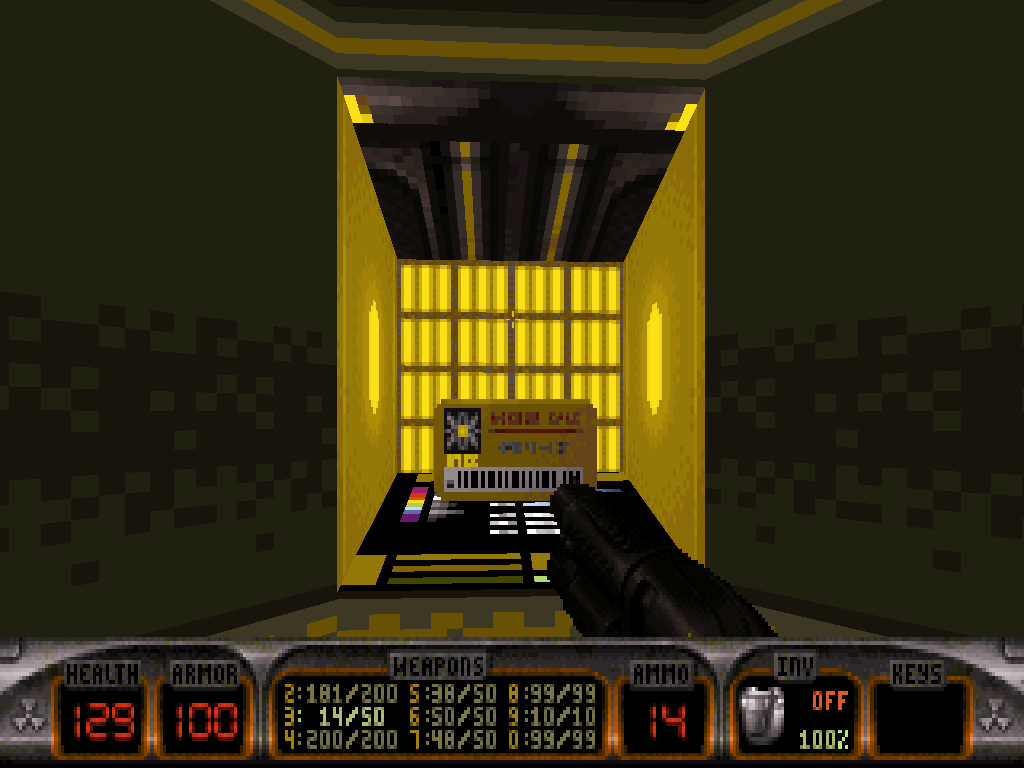
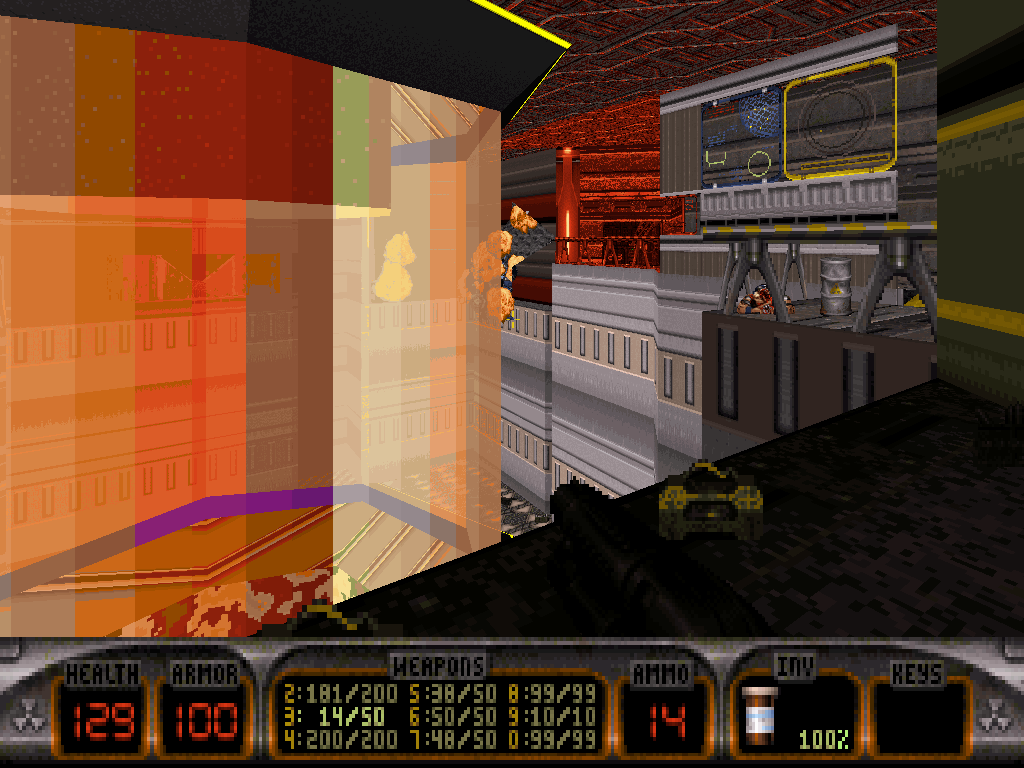
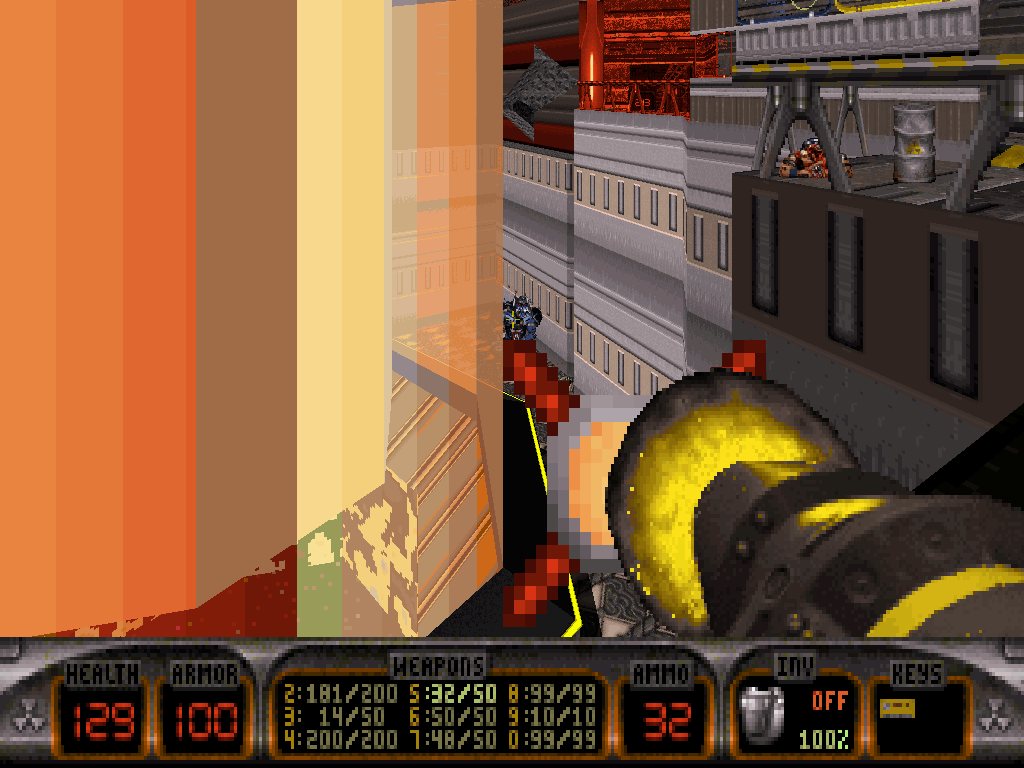
After he's fetched the yellow key, Duke now needs to make it back to the corresponding door.
That can be achieved by retracing the path he's taken so far since he ran into the spacetime portal/water containment machine, or by doing the opposite and exploring the ways he's left unexplored at this point.
That means, he has the choice to either swim up the vat with the giant mixer and find the room with the two symmetrical elevators to then ride down, or use the water tunnel in 'reverse' to make it back to the facility with the spacetime portal and then enter the wormhole. (Of course, every earlier location Duke has been avoiding so far still is rich of the corresponding enemy presence and so, he might pick depending on what he feels like meeting.)
Conveniently, the hole the Permafrost Battlelord just formed can also work as a perilous shortcut to the mixer.

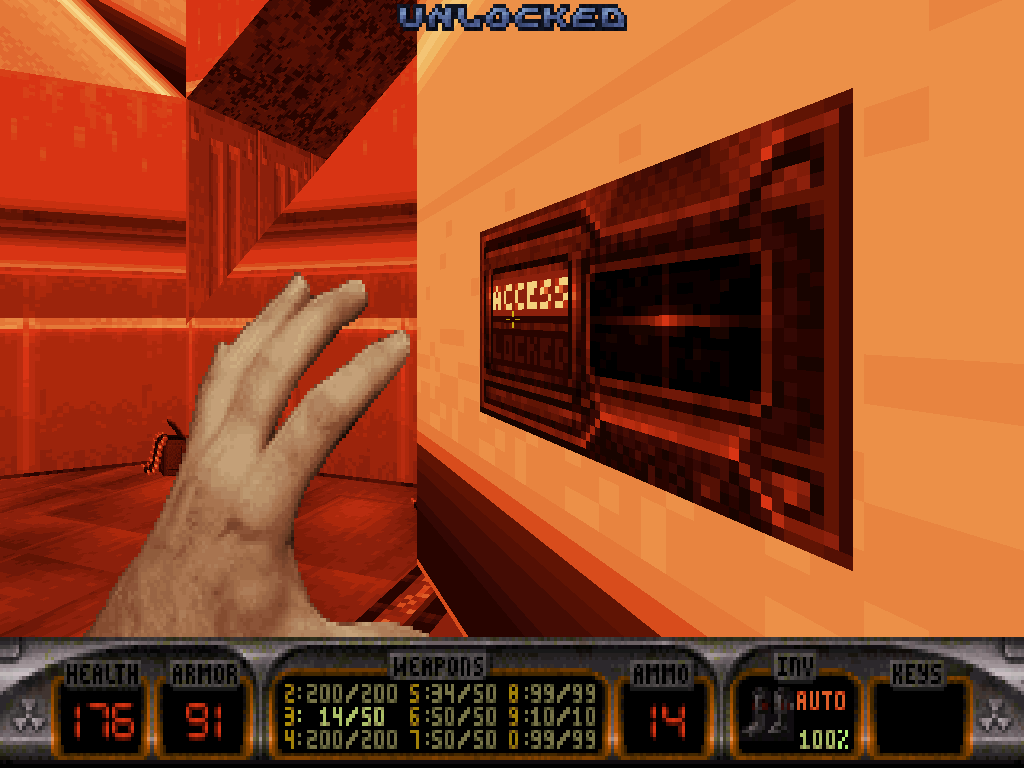
Back at the yellow keypad, back in the game.
And a heated one it just might turn out to be, as it is nothing but the main attraction of the space station that awaits, on the other side: the positronic raygun photofission weapon, one more recent project funded by E.D.F. and the only untested one of the whole batch of newly advanced technology Duke has been uncovering so far.
And so of course, some tough ass, elite alien scum is going to want to defend it. The room is mostly led by a central Cycoid Emperor accompanied by an Ice Cold Battlelord defending it from distance on the upper platforms, and assisted by a number of the meanest possible Troopers and Commanders.
Steroids are available all around if Duke ever relishes that extra kick and, unless he's spent it all already, he should have his jetpack to facilitate winning if he's completely tiring.
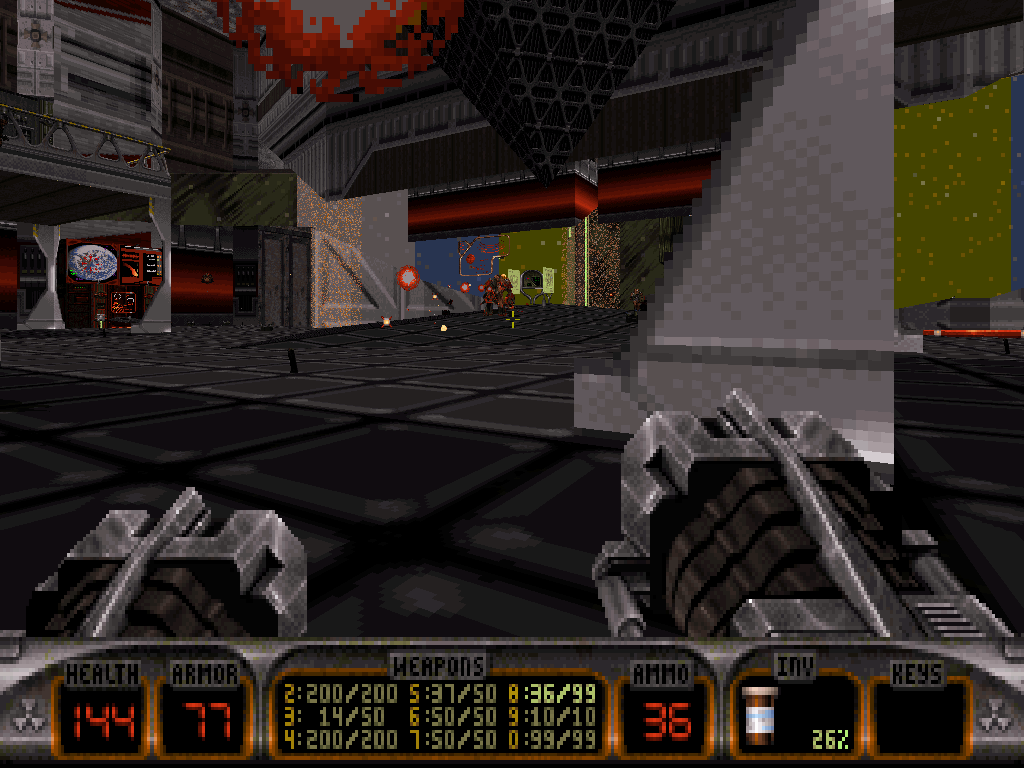
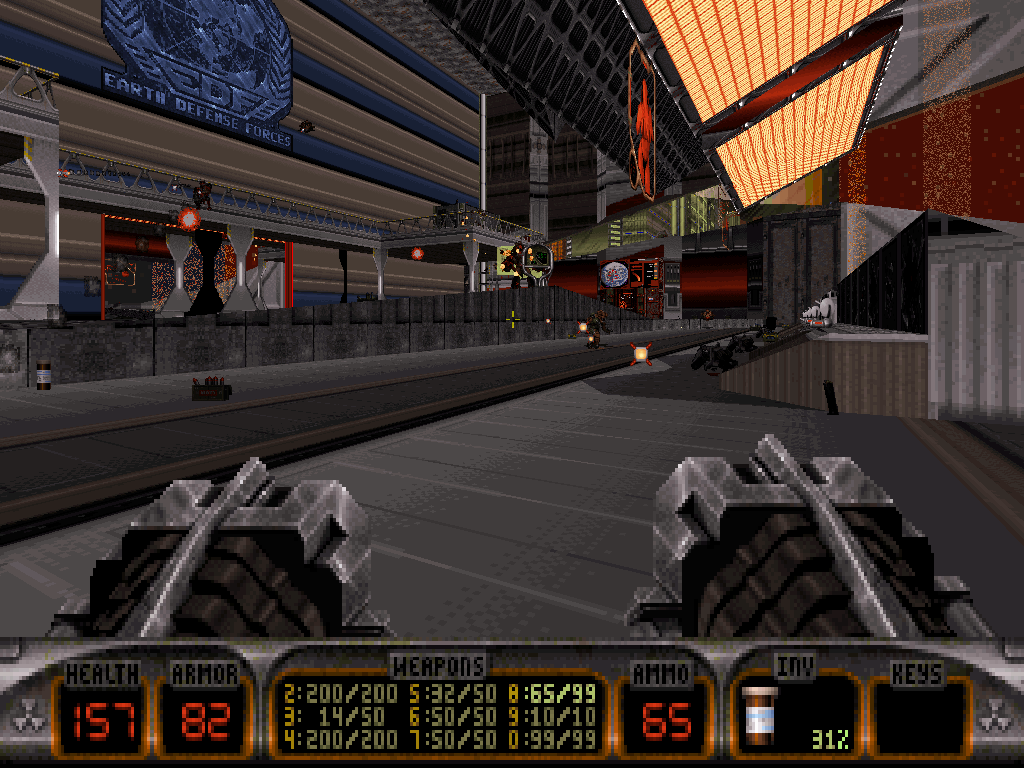
After he's vanquished the vermin, Duke finally gets to enjoy some peace and quiet around the room.
Then, seconds should suffice for him to locate: security screens in the center of the room which both converge towards a locked door Duke may have caught before, depending on how extensively he's been visiting; one massive forcefield which, thus far, has been splitting the room in half and blocking access to the next; the existence of a massive red button on said blocked side, in the worrysome context that is its imminent domination by an alien-looking organic extension protruding from the ceiling above paired up with the sight that the positronic raygun photofission weapon is being aimed at Earth, and, finally, more switches on more consoles.
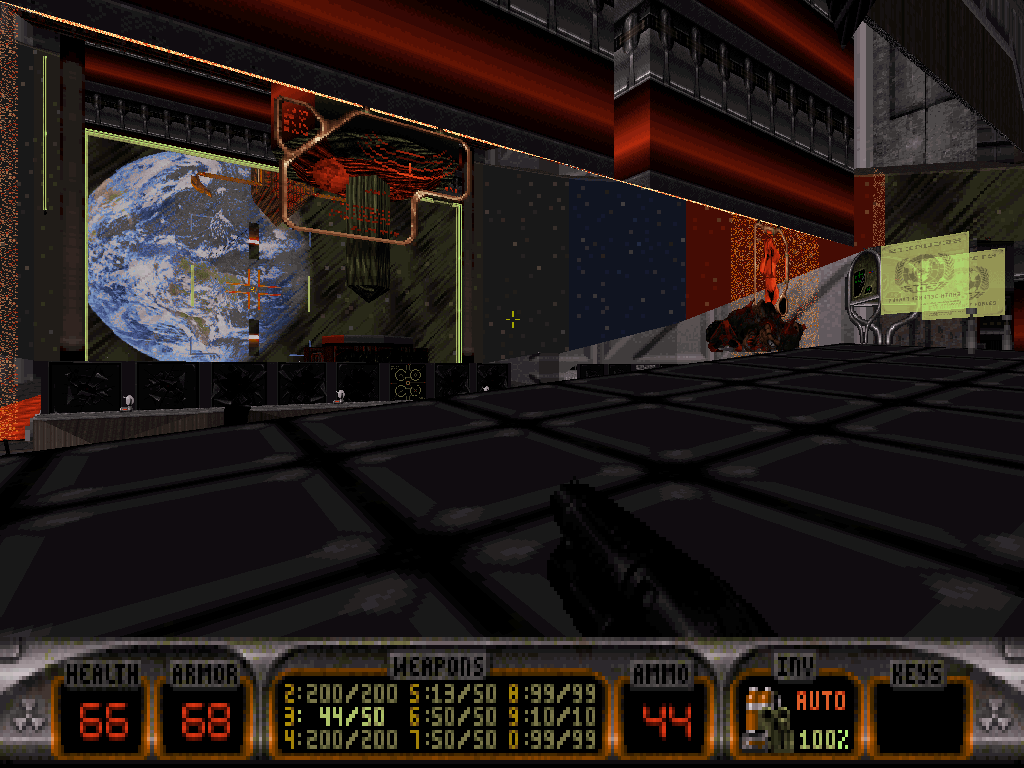
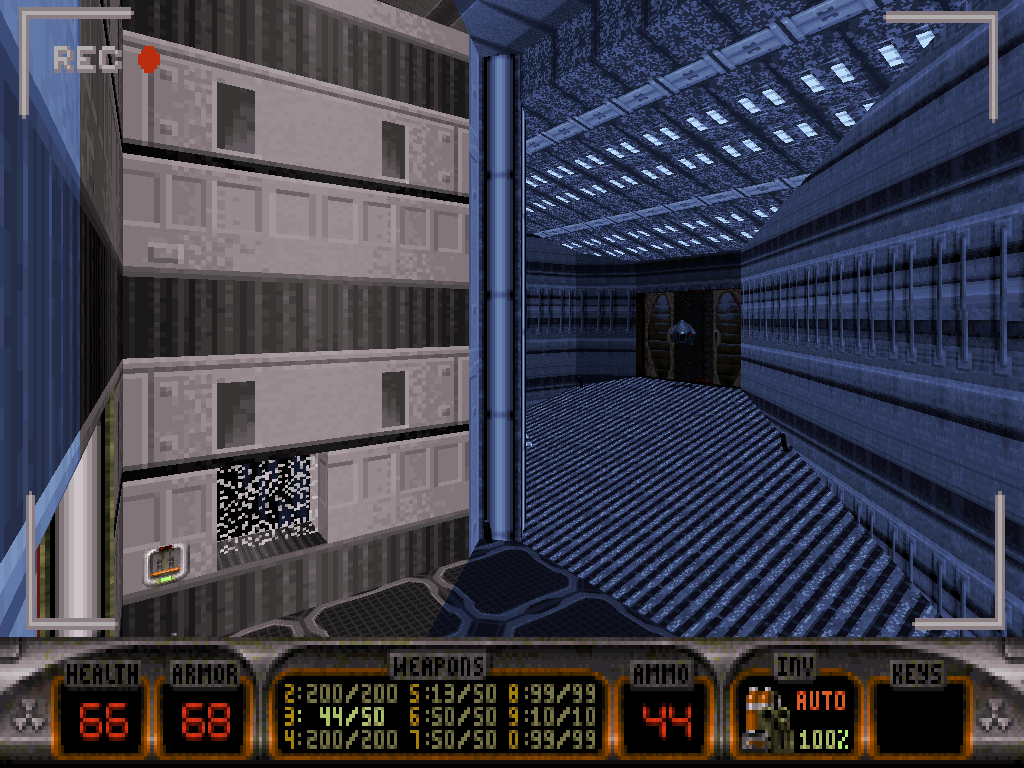
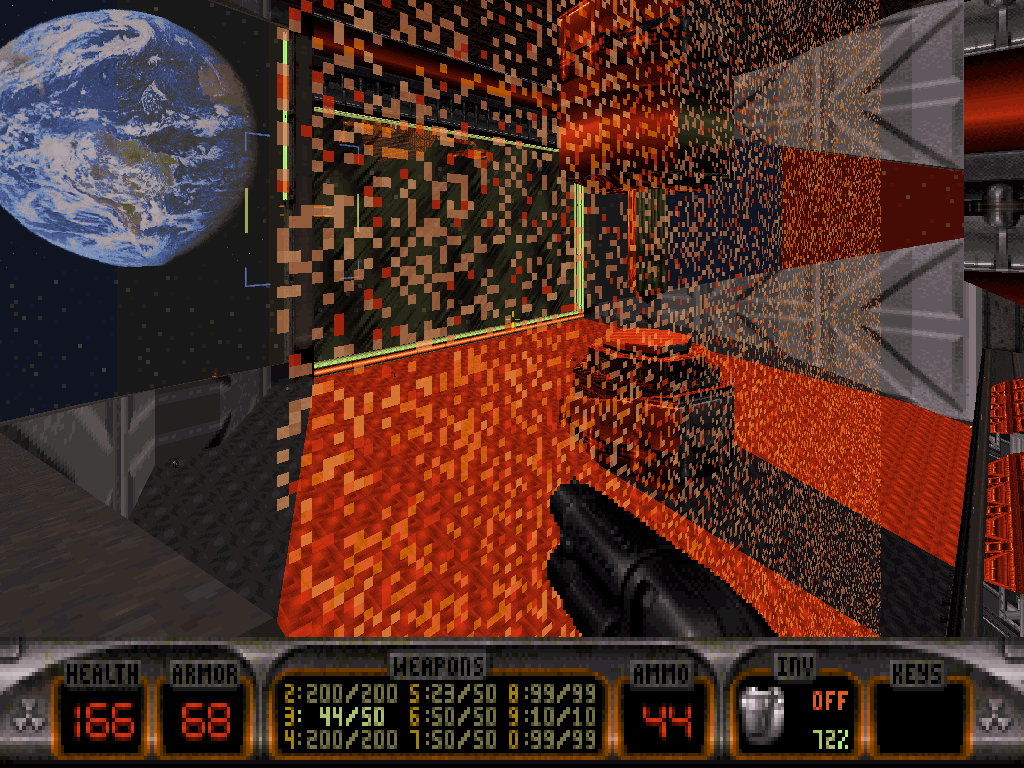
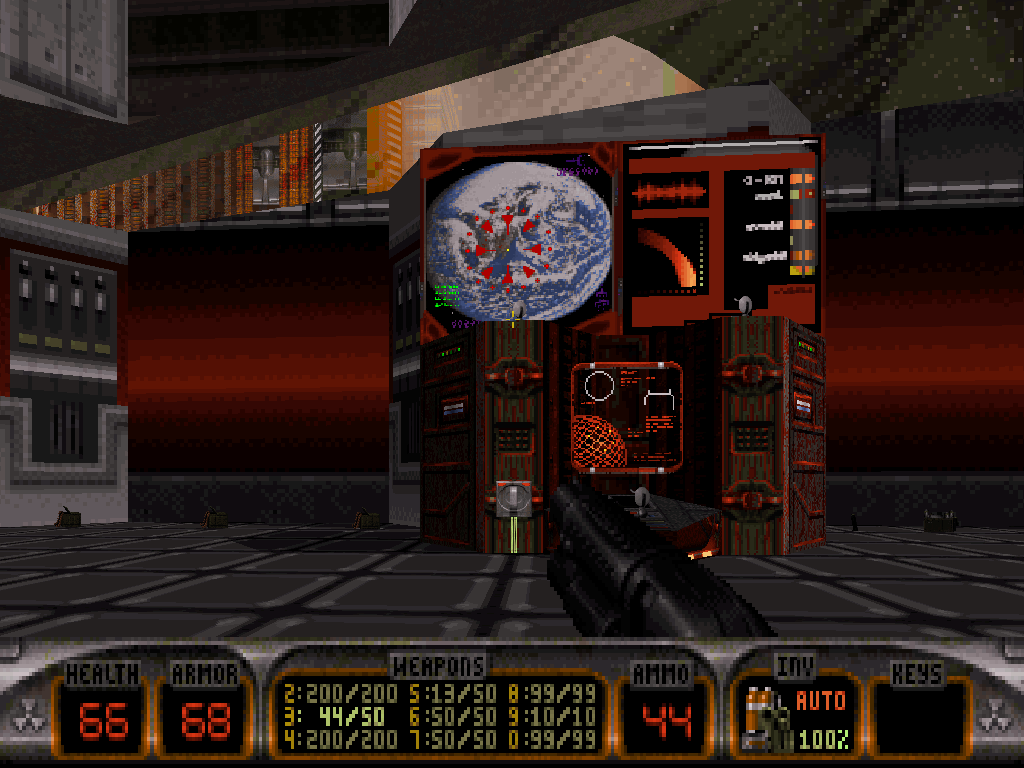
When flicked, those control lifts to the upper levels the Ice Cold Battlelord was sniping Duke from, just moments ago.
There on top, four switches can be found; flipping all of them shall deactivate the central forcefield that would split the room.
Duke can now go and investigate closer to the big red button.
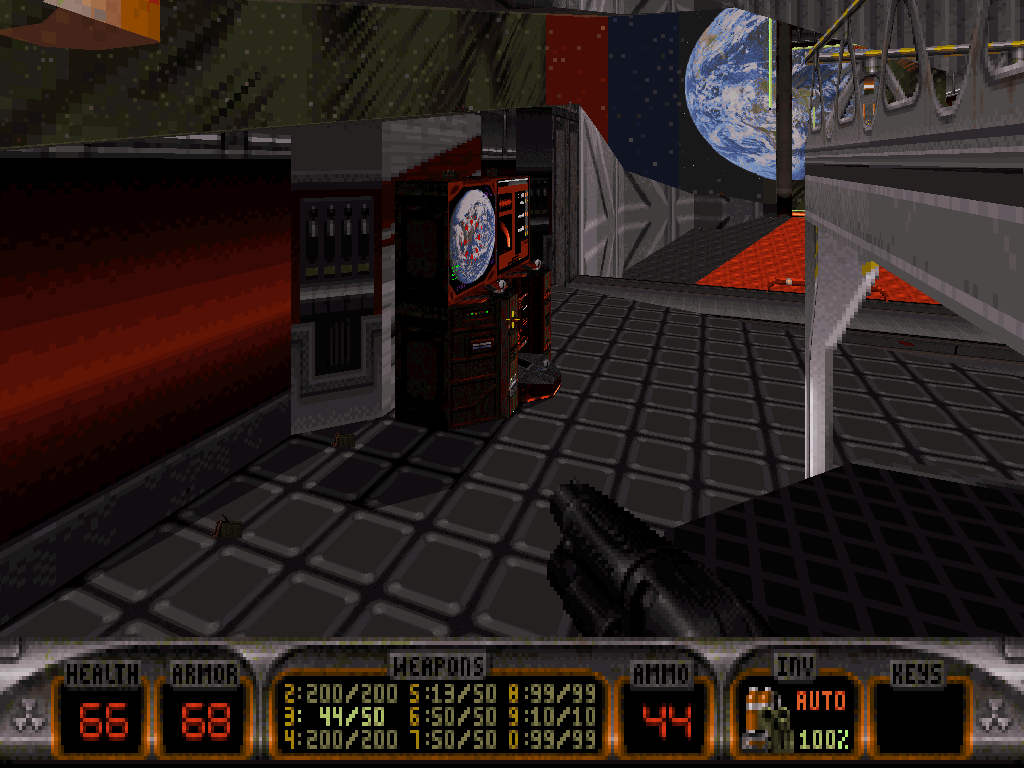
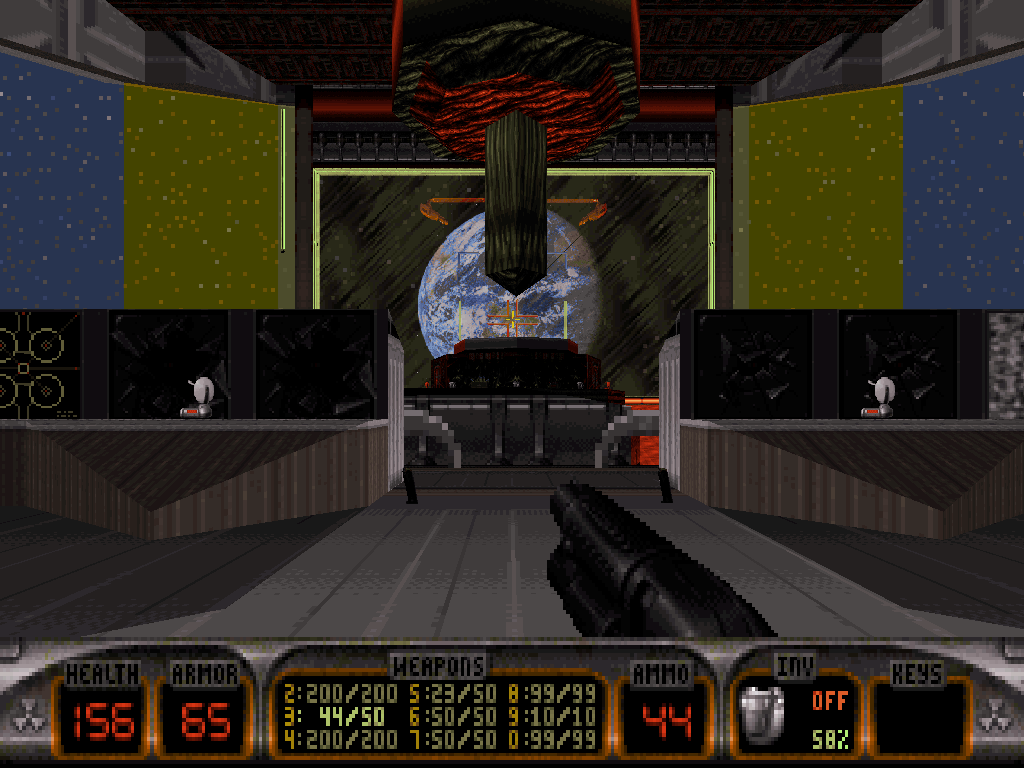
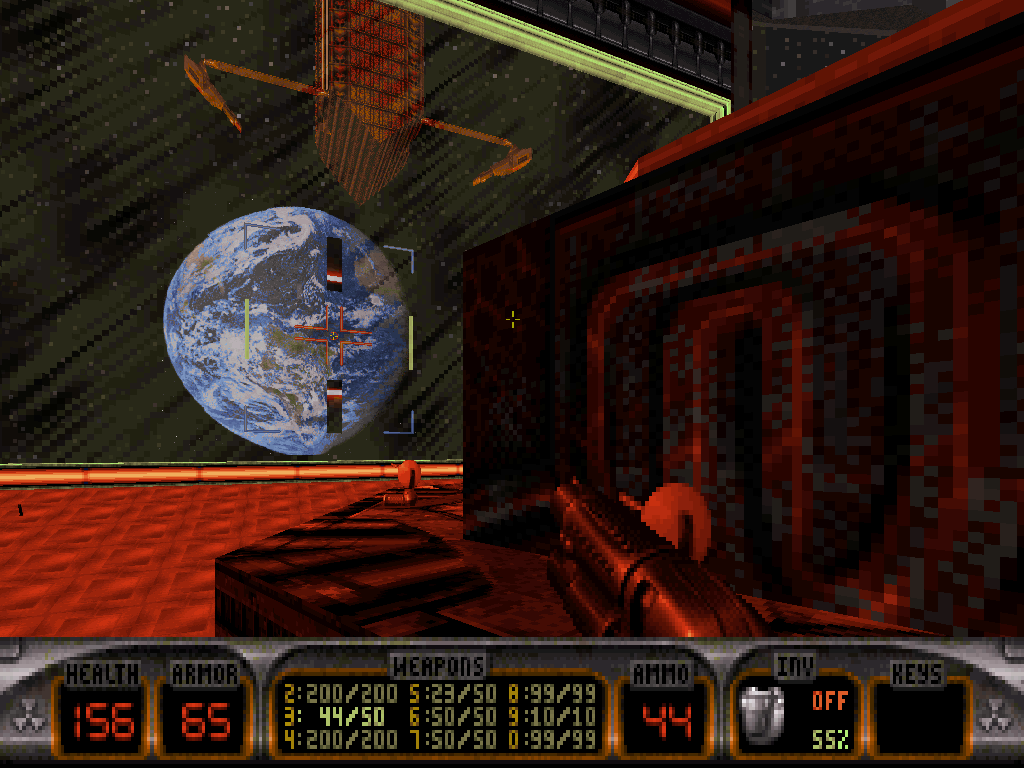
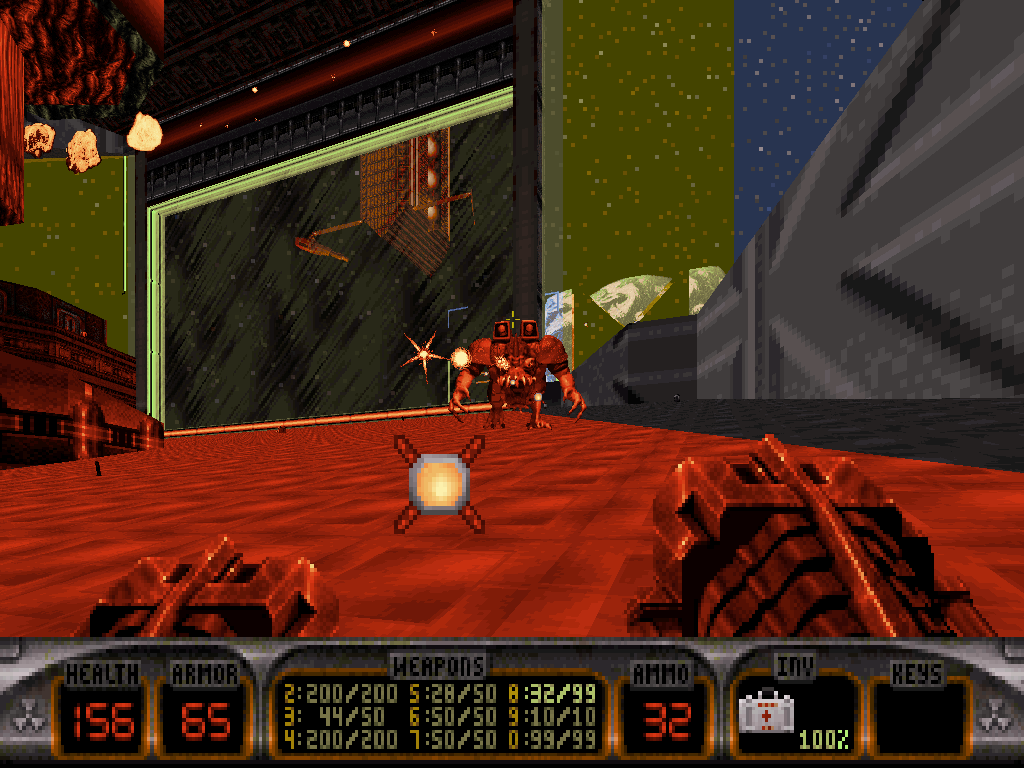
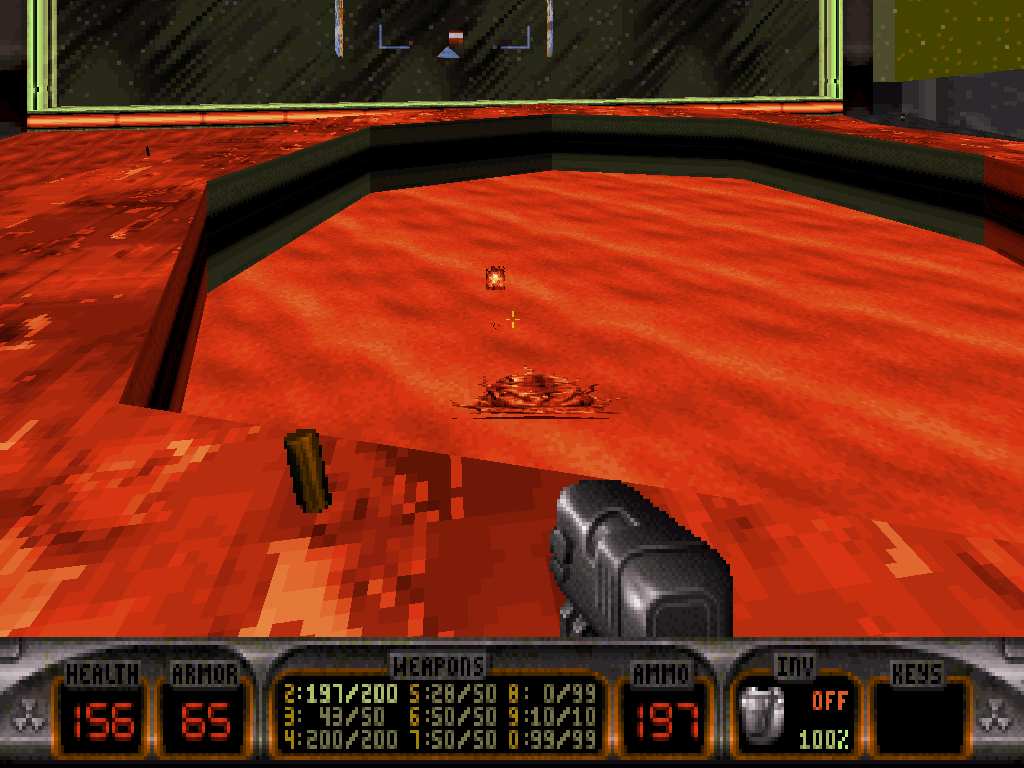
But as Duke comes close, a Protozoid Slimer will drip from the alien protrusion above, only to land right on top of the big red button and press it; invariably, this will result in the positronic weapon blasting the planet, and thus the Slimer successfully terminating Earth.
Immediately, a Madlad Overlord will drop down from above, too, as though to rub it in Duke's face how his kind just won the rematch, all this time after the events of Duke Nukem 3D episode 2: "Lunar Apocalypse".
Now for good measure, may that Overlord be just as short-lived as their original representative was.
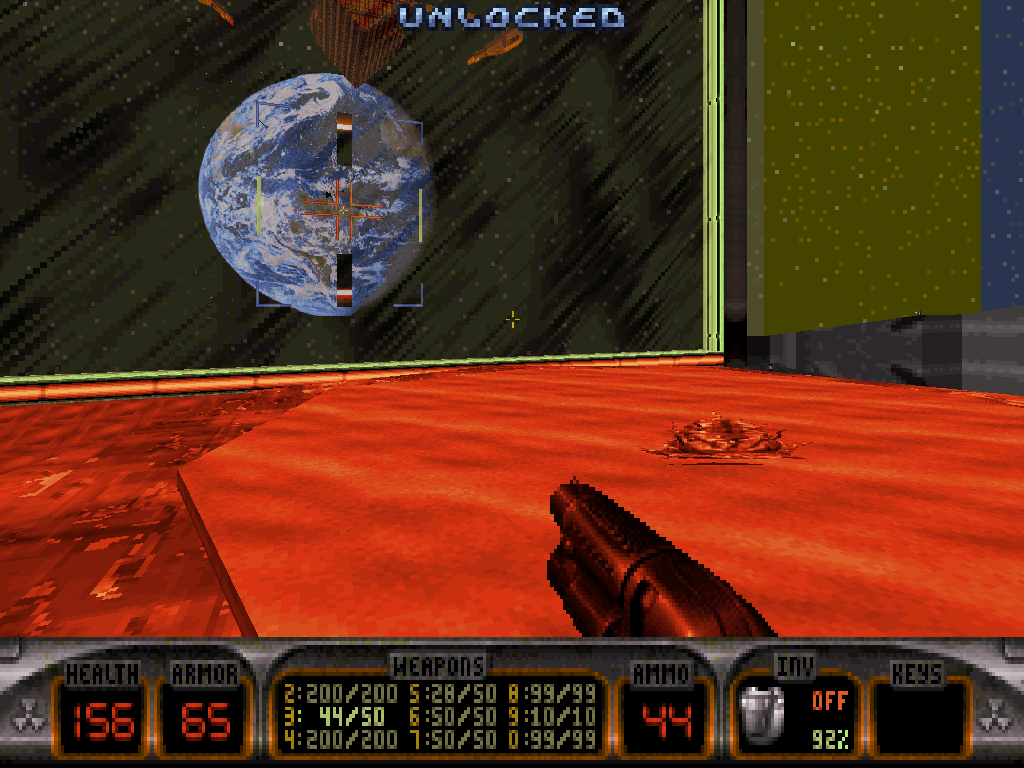
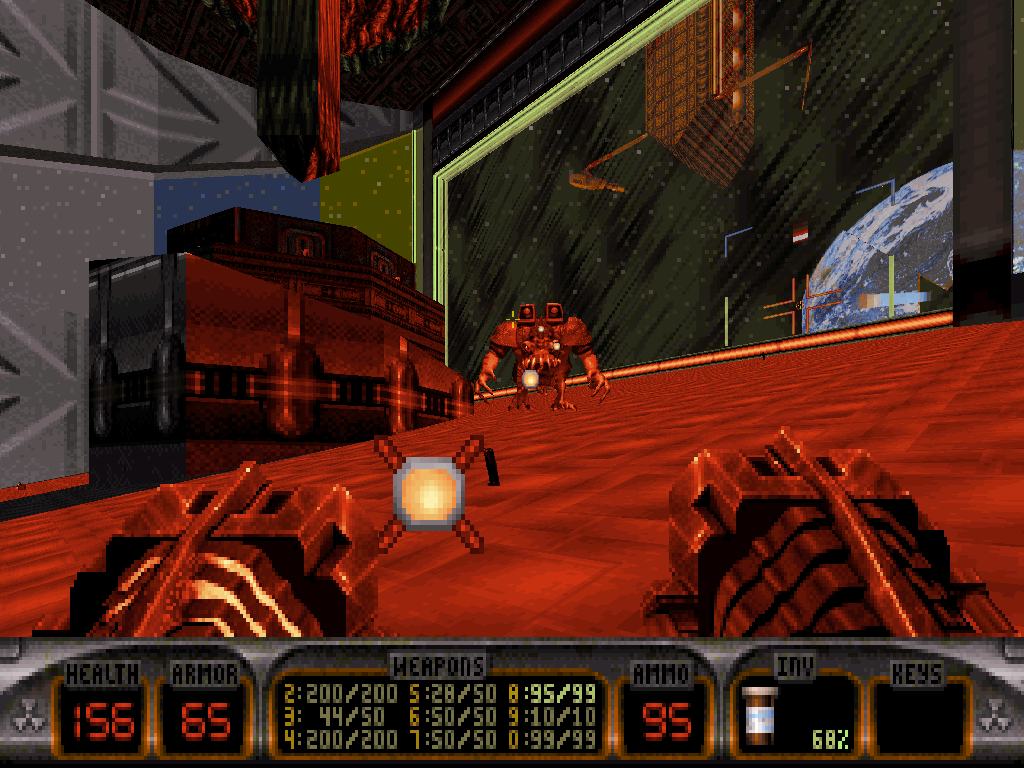
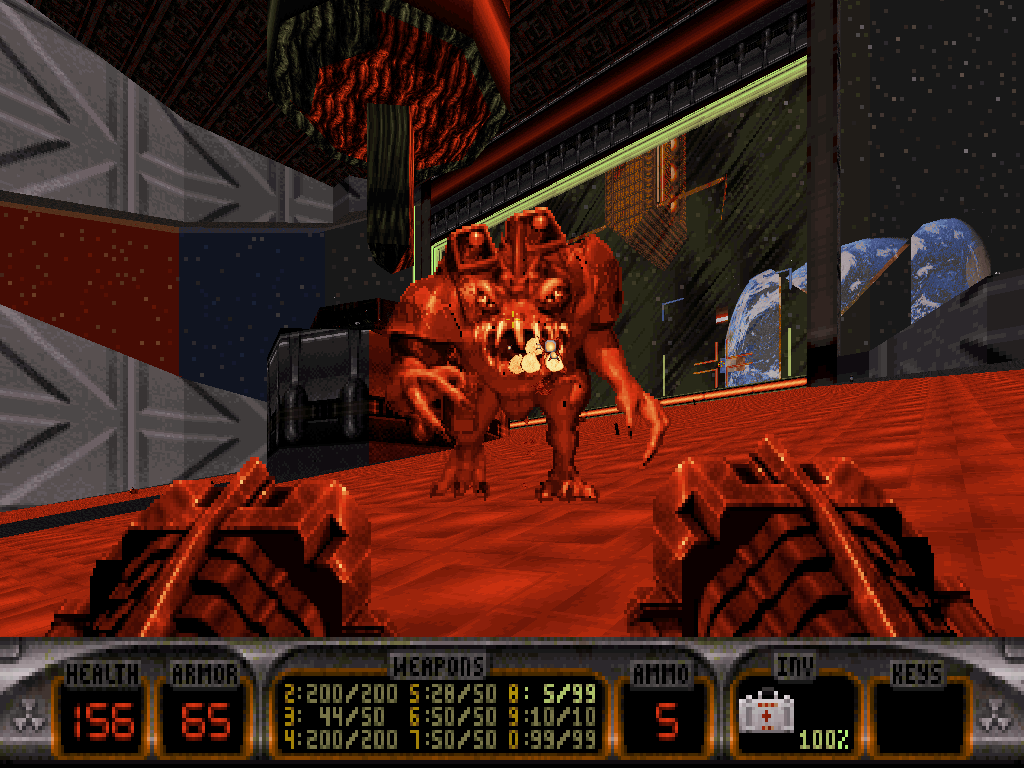
Now with only personal stakes to keep fighting for, Duke must suffer his walk of shame.
"Damn you... Damn you all!"
The security cameras seemingly taunt him with the confirmation that the last door is finally unlocked, but he must traverse a pretty big chunk of the now empty station in order to get back there.
There is no going back through the wormhole and so, no suspended water tunnel access: Duke is grounded and destined to drop down the purple lava pit with the mixer, instead.
Once submerged there and past the duo of ducts however, navigation should prove to be easier since fetching the yellow key also had the discreet consequence of turning the central forcefields off, which means there is no more obstruction at all to which ways Duke can go.
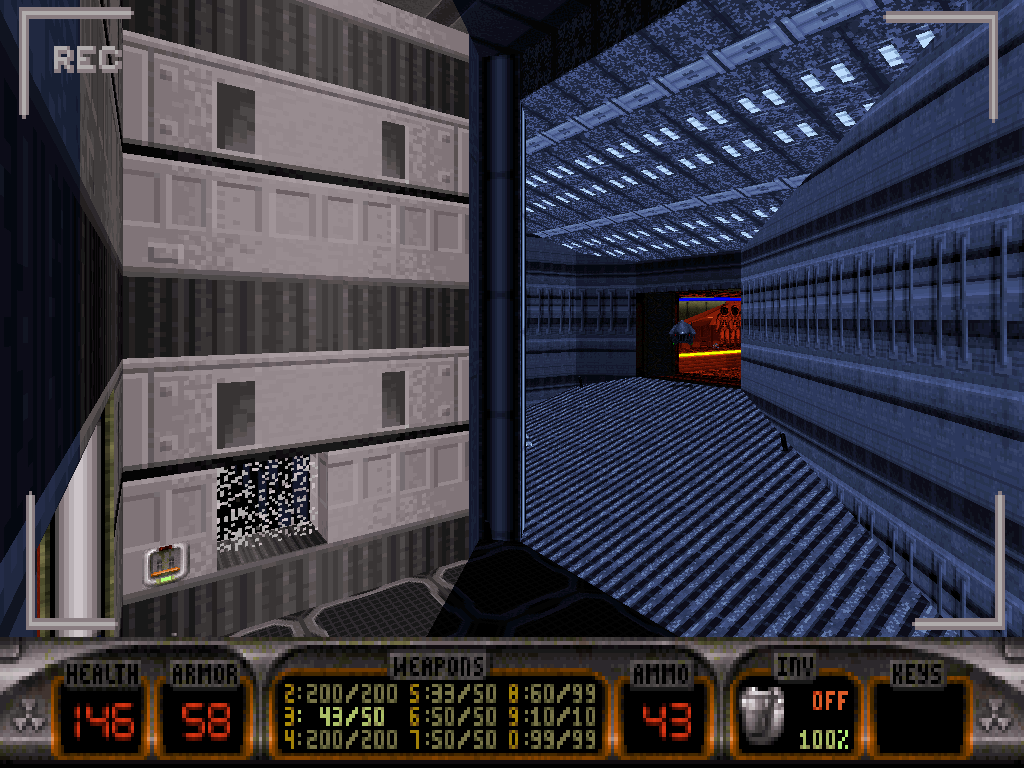
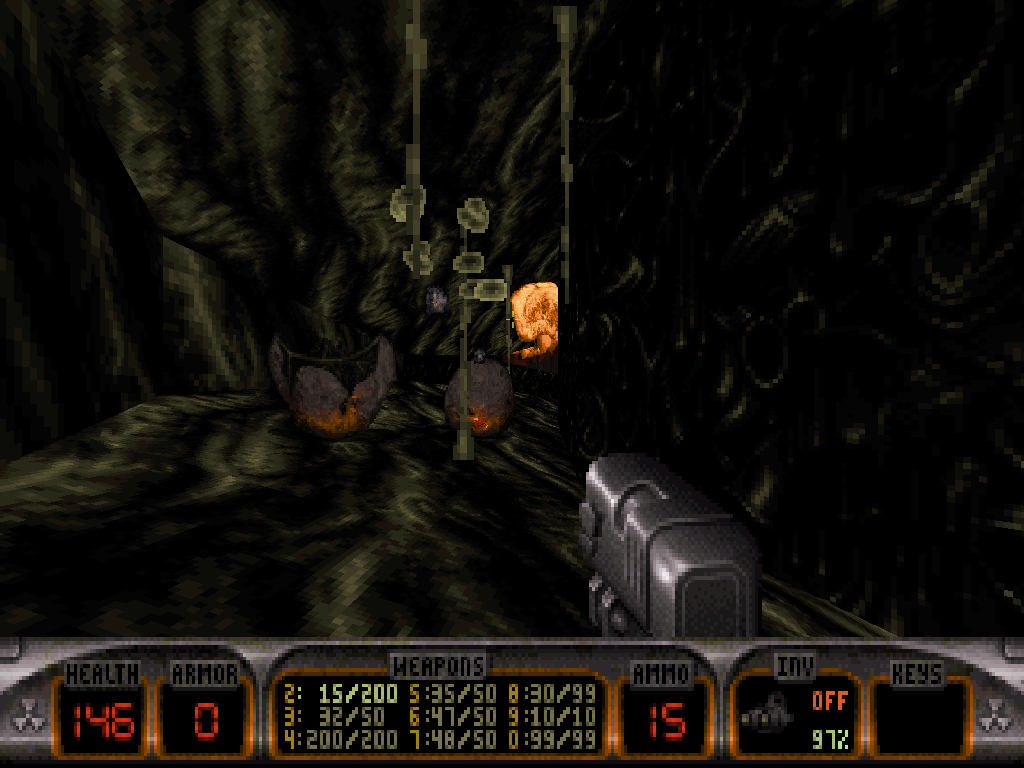
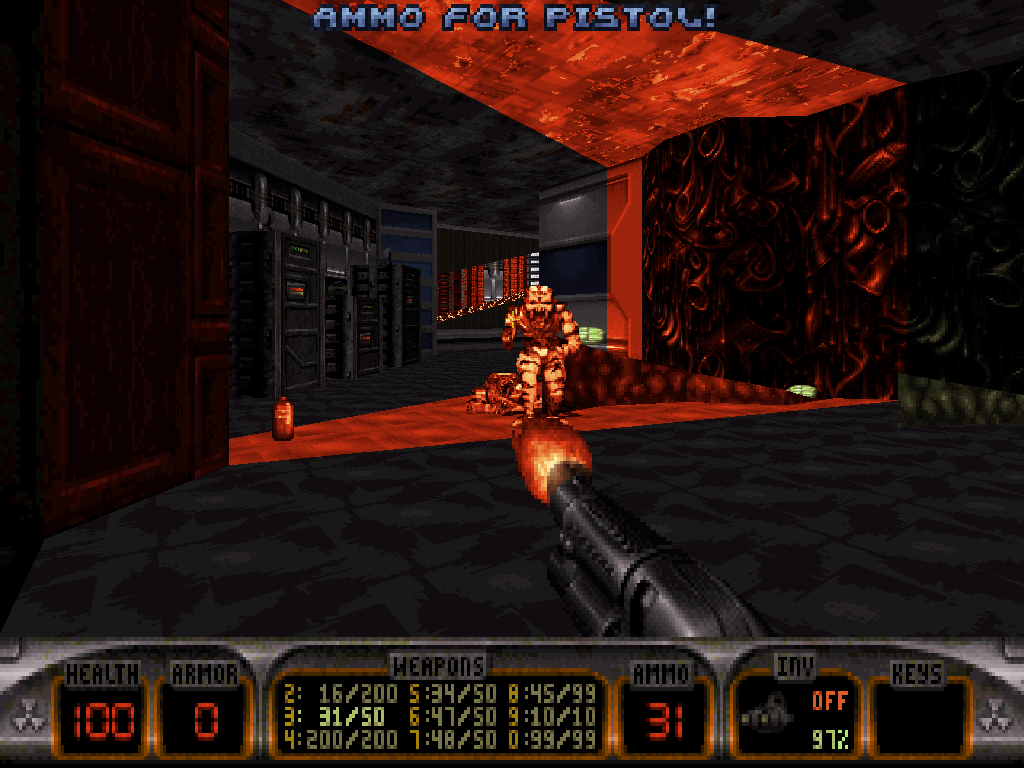
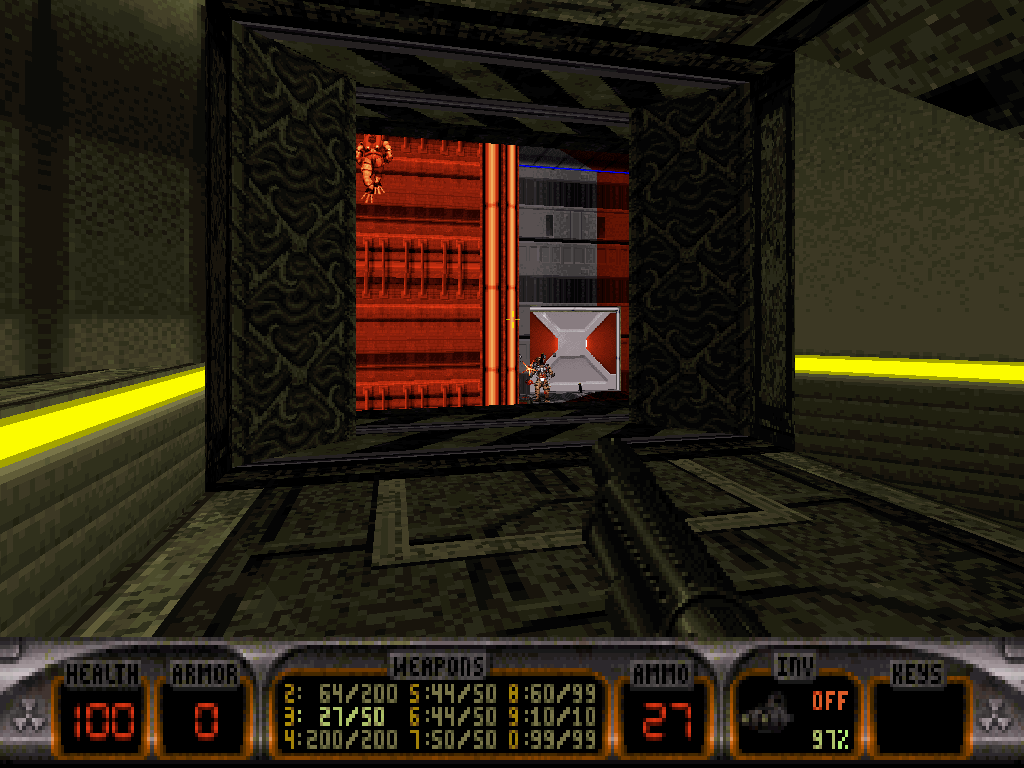
The spot Duke is headed for, precisely, is situated just past the exit out of the suspended water tunnel on this side of the station; it's also reachable through the end of the 'dry' layer of the alien zone where Duke's fought the Alien Queen Jr. before (the wall will explode on its own if it hasn't already), or via the hole the Permafrost Battlelord blasted through when Duke retrieved the yellow key.
Ultimately, that branch of the level converges towards the level's second operating Aérotrain that is similiar to the one Duke originally arrived at the train station on; just a bit busier with passengers (on the higher difficulty settings).
That is where the door Duke is looking for just opened, on the other side of the ride.
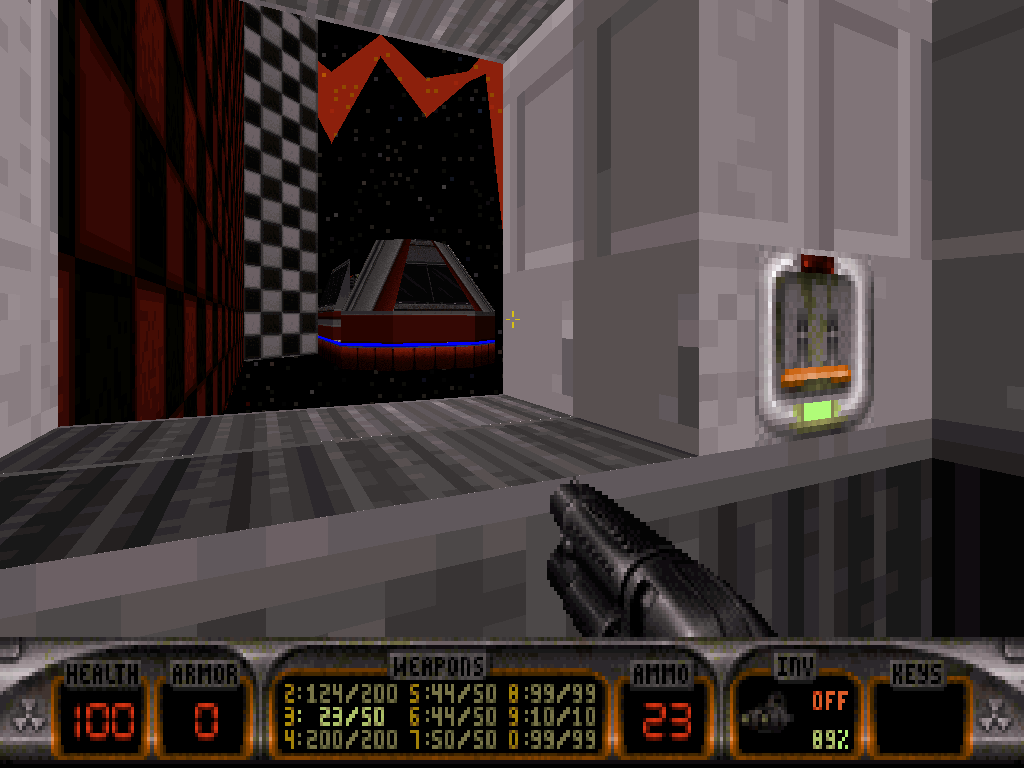
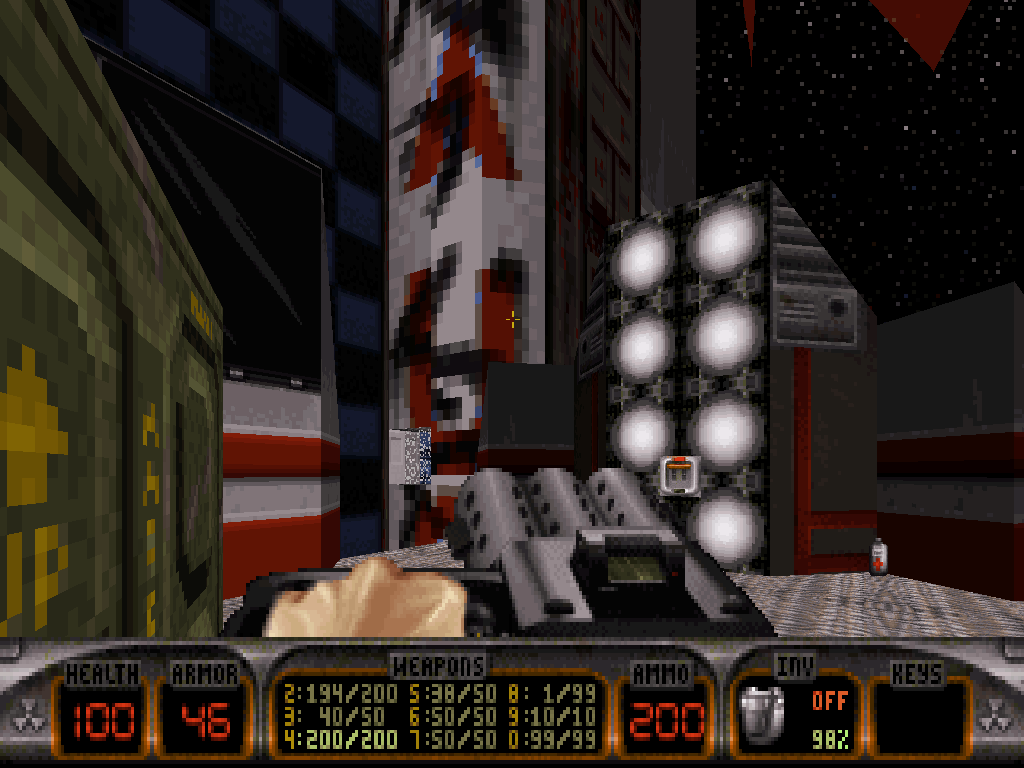
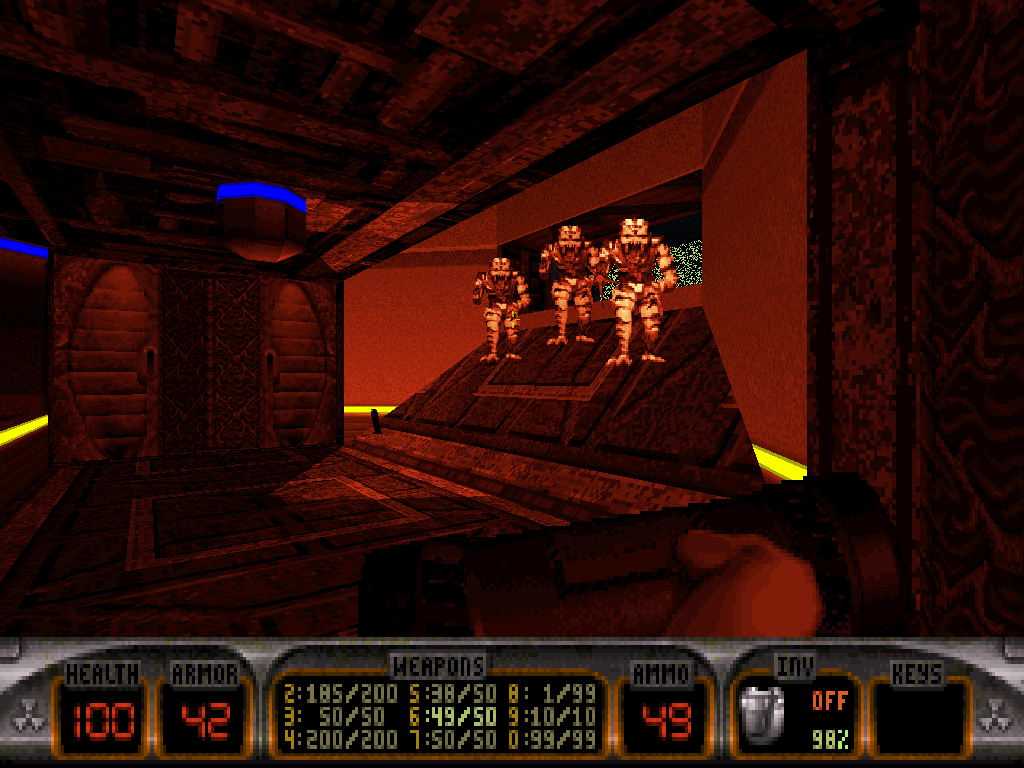
From this point on, only more fights lay ahead and separate Duke from the exit.
In particular, there will be one impactful battle against a Madlad Battlelord in enclosed, angled quarters where the enemy energy projectiles may be challenging to dodge, also due to the presence of rocket-spitting U.T.E.R.U.S. turrets Duke would be wise prioritizing demolishing before their stream of fire becomes unbearably steady.
Once that is done however, Duke will be free to look around the room and may be rewarded with some interesting findings.
The next door after that shall bring Duke back out in the open, with the Nuke Button in sight and some more miserable company.
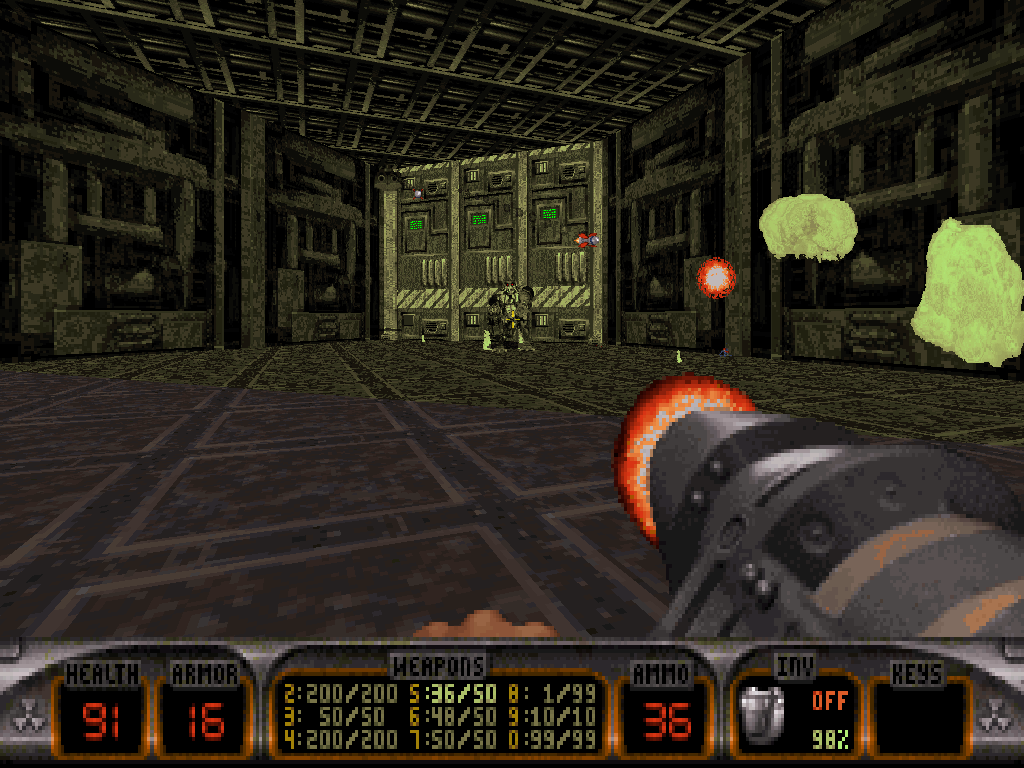
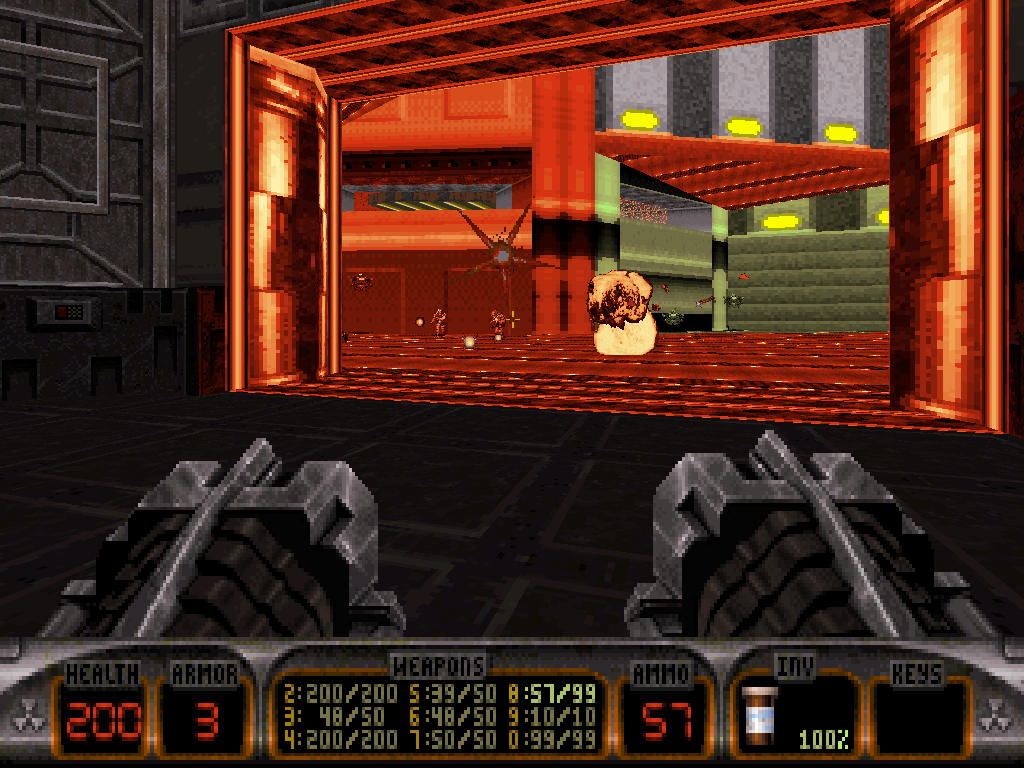
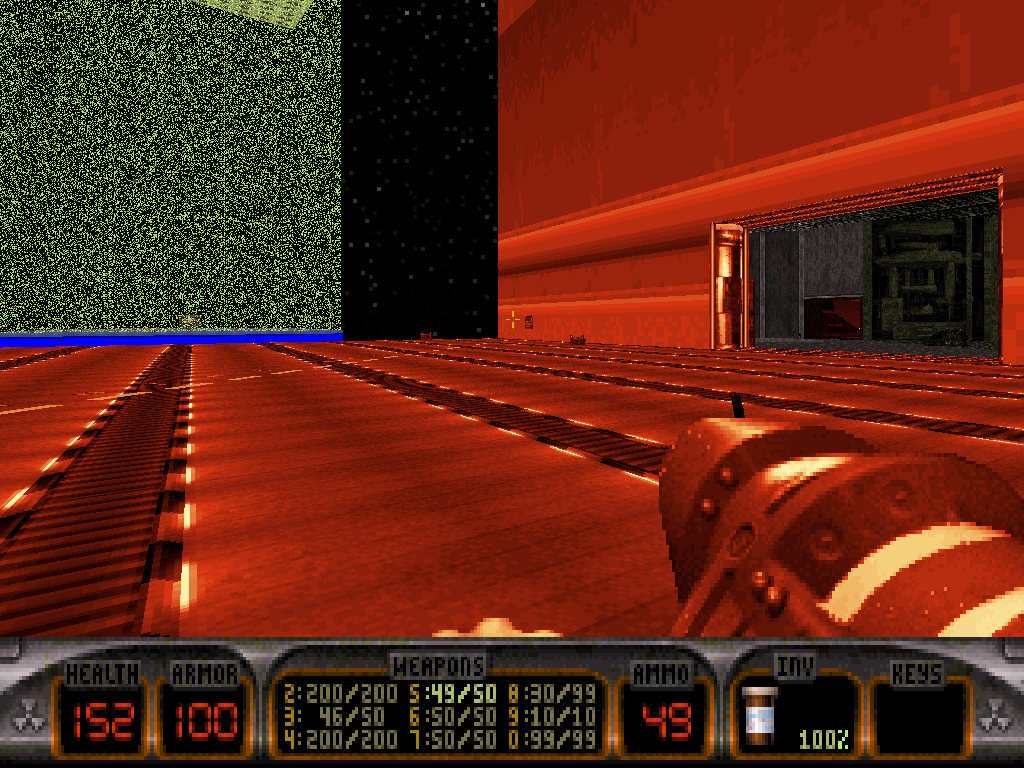
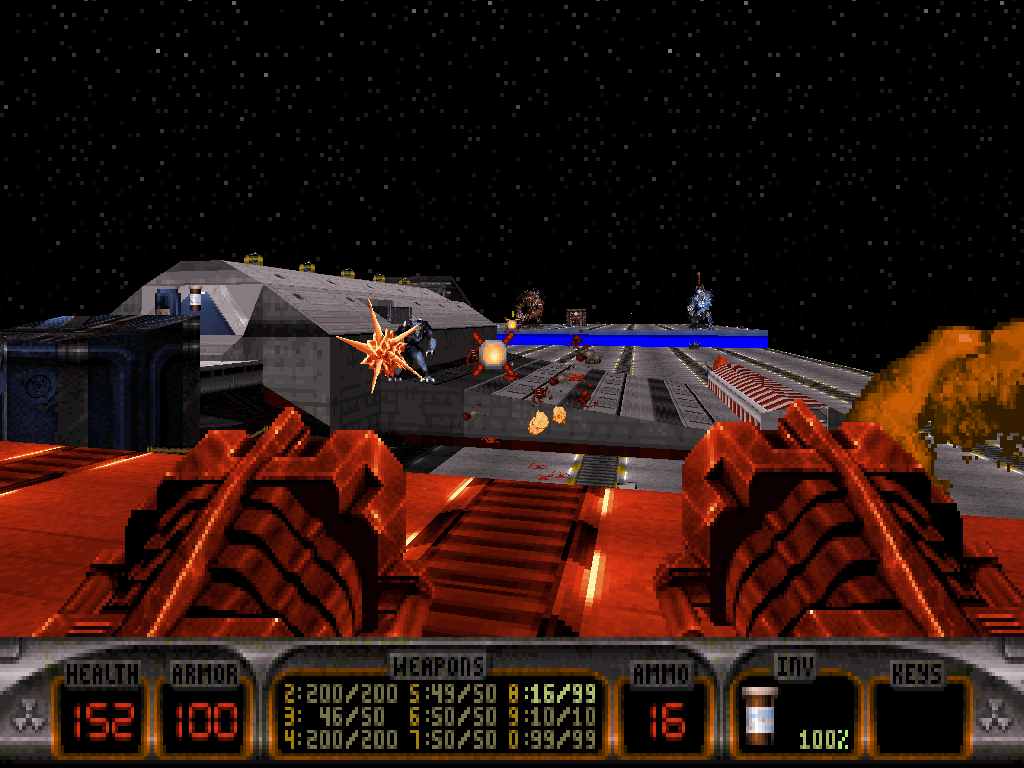
The switch on the wall will deactivate the forcefield around the Nuke Button and bridge the distance to it by rising the lower segment of the runway, below, thus completing it and allowing preparing for take-off.
The runway features the Bean-with-Bacon Megarocket from the original Commander Keen series that Duke will need to embark in order to leave.
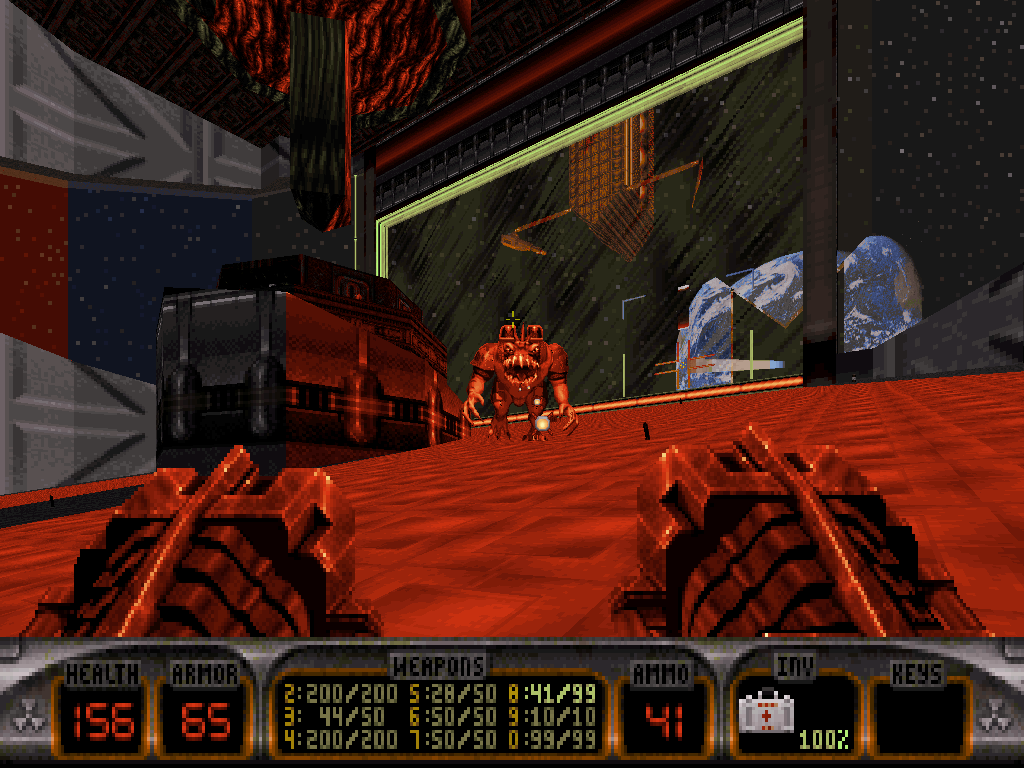
Although, Duke's optimal use for it in the present case should be as cover, since setting up the runway clearly just precipitated the intervention of one last nasty alien duo: "Postmortem" culminates with a double full-grown Battlelord fight against, simultaneously, one Permafrost type and also the Permafried Battlelord, a bigger, meaner variant of the Sunburnt Battlelords encountered thus far, that the level introduces.
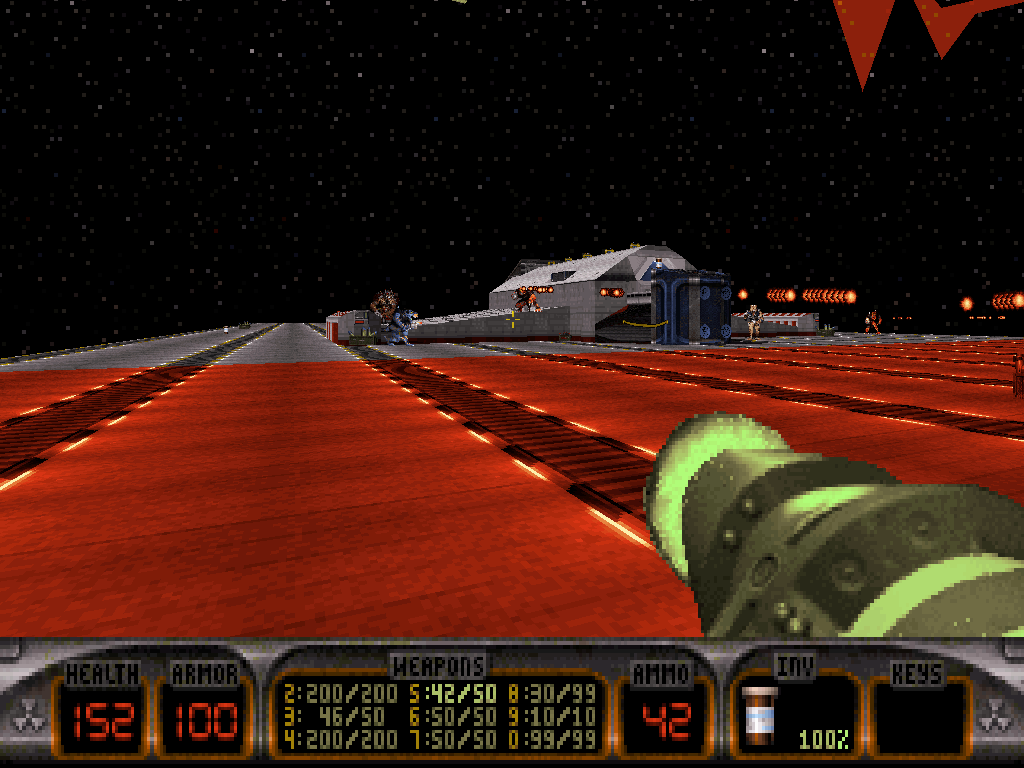
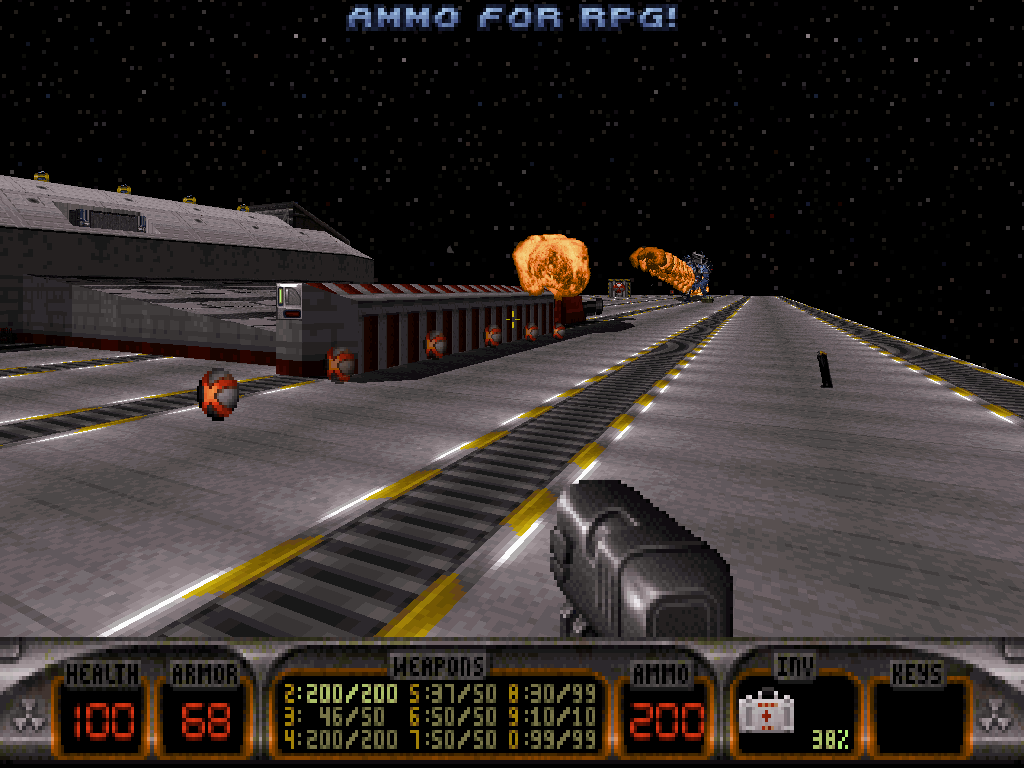
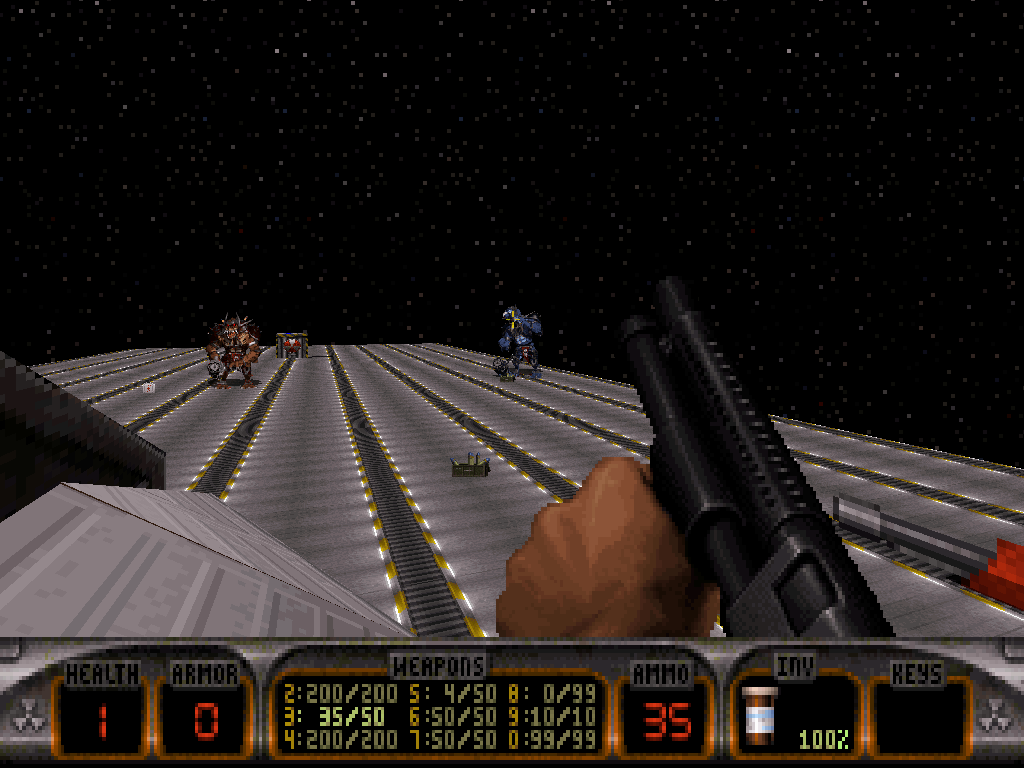
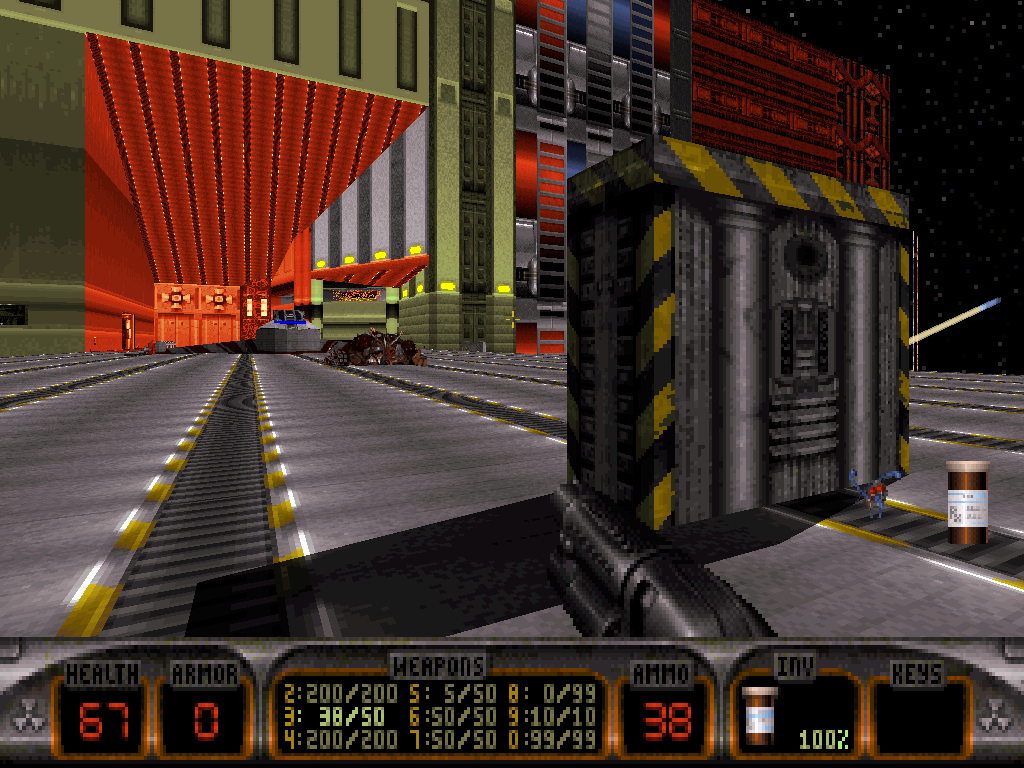
Duke would be wise prioritizing taking down the Davy and Linda couples which may be studying the ship before focusing on the bosses, as their attacks can be just as devastating and they're a lot closer and weaker.
Then once he can concentrate on the bigger fish, Duke can try luring them right in front of the Bean-with-Bacon Megarocket's external turrets and then pressing the one-time switch that is present on each corresponding wing. Doing so will result in a stream of explosions in a straight line which shall help weaken the Battlelords to the degree they've been hit.
If Duke's running out of health or ammo, there are items all around the runway, but he will need to get close to the dangerous duo in order to snag the most interesting ones. Thankfully, there are steroids on the platform one can inject for a short-lived speed boost, and just taking down one of the bosses already frees up a lot of space.
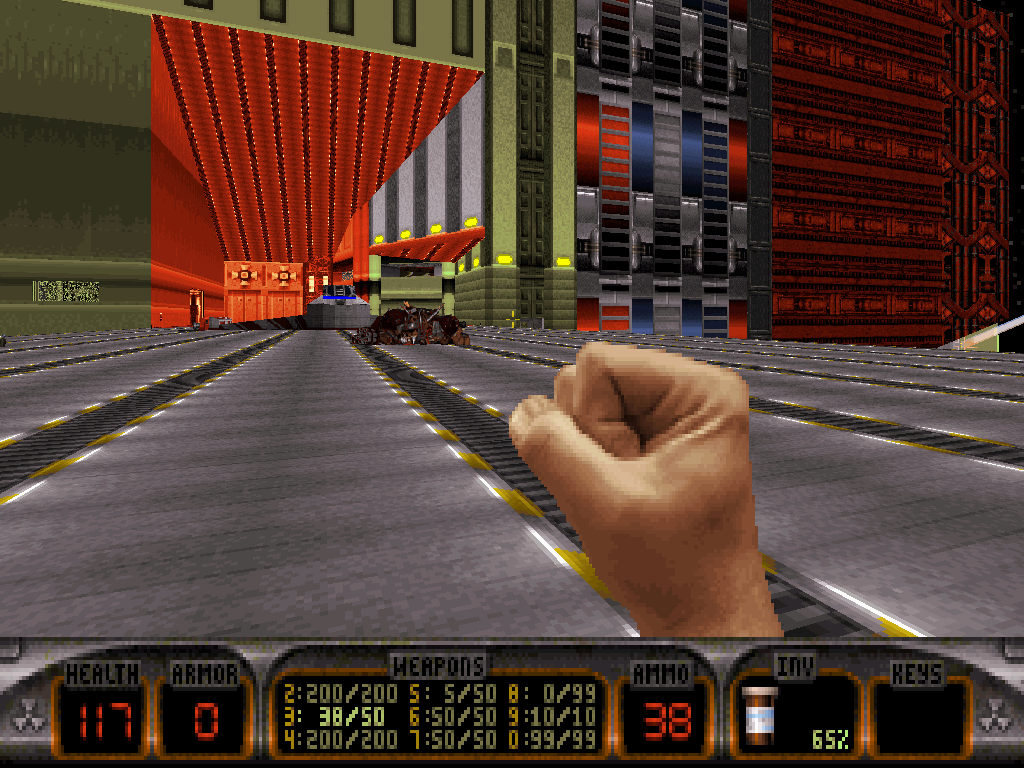
After he's squished the maggots, Duke shall have not much else to do at this point but press the Nuke Button on the runway to exit the level.

Par time route:
The par times for "Postmortem" most likely are particularly easy to beat.
Those were achieved a long time ago, completing the level off pistol start on the Come Get Some difficulty setting (like all Blast Radius par times were set), following the level's most linear route (no blue key skip) and on a beta version of the level which was a lot more restricted in terms of possibilities for navigation.
As such, to this day it remains relatively unexplored in this level in particular how fast one can beat it.
The blue key skip alone probably saves whole minutes, bypassing a good quarter of the action if Duke feels brave enough to immediately go to the Aérotrain repair station after he's made it to space, and shoot the fire extinguishers that are there.
This shall destroy the walls and thus, allow access to the vents with the red key; from then on Duke can try reaching the switch in the command center to deactivate the forcefield in spite of the Permafrost Battlelord that is there, and the timed elements to the doors and lifts.
If he survives all that and somehow succeeds, Duke's metaphorical watch should now be golden.

Particularities:
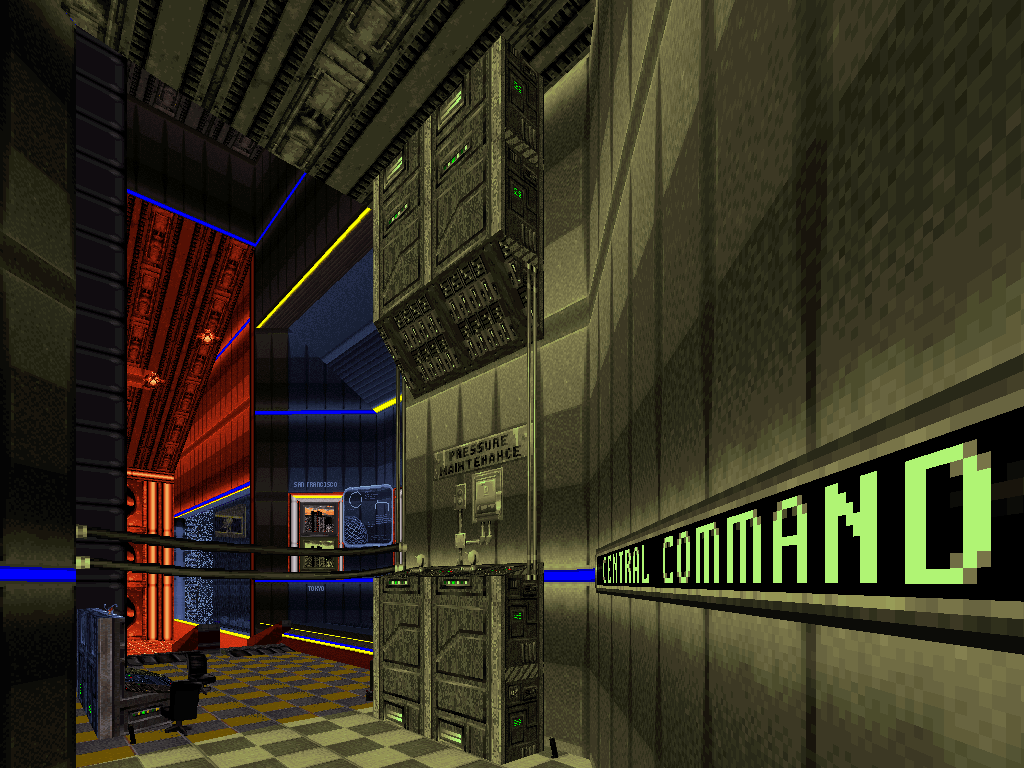
"Postmortem" probably is best left speaking for itself; by choice, it is designed as an explicitly layout centric level (confirmed as soon as Duke leaves Tokyo and makes it to the E.D.F. space station) and as such to be directly experienced, solved and felt rather than explained.
But it is possible to shed some light about it from a mostly technical standpoint, or share some fun facts and tidbits.
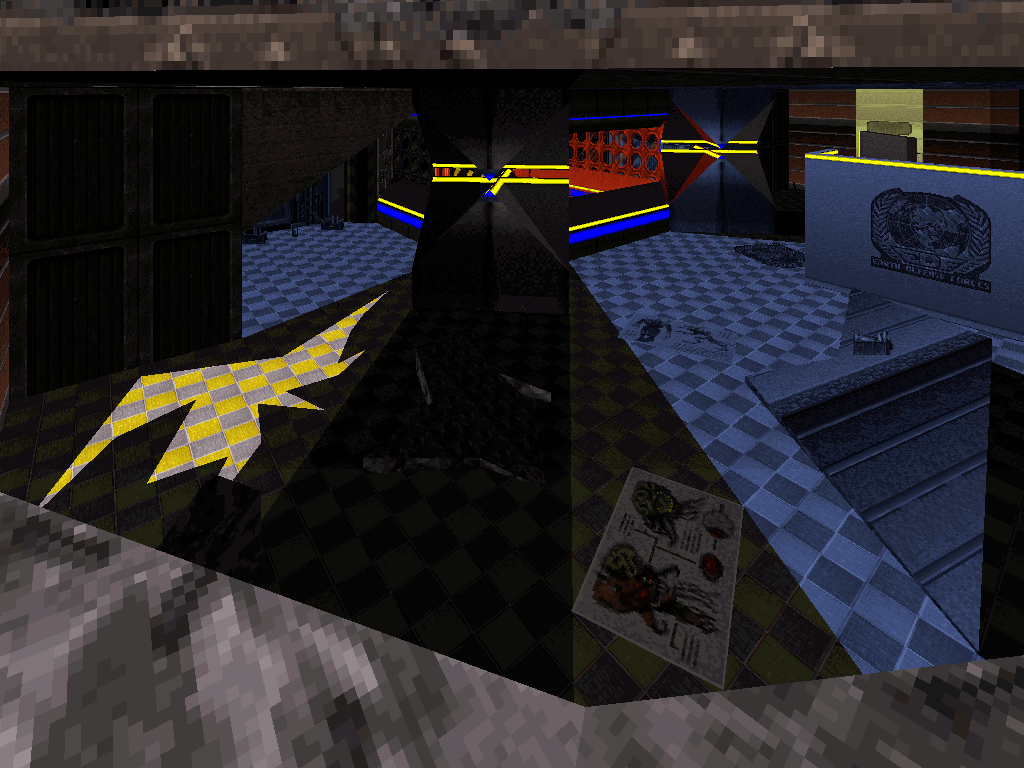
There are two things "Postmortem" does that every other Blast Radius level doesn't do: the first one being featuring a point of no return, for rather obvious reasons once Duke has completed the map. Once he's left Earth, there is no coming back... Ever.
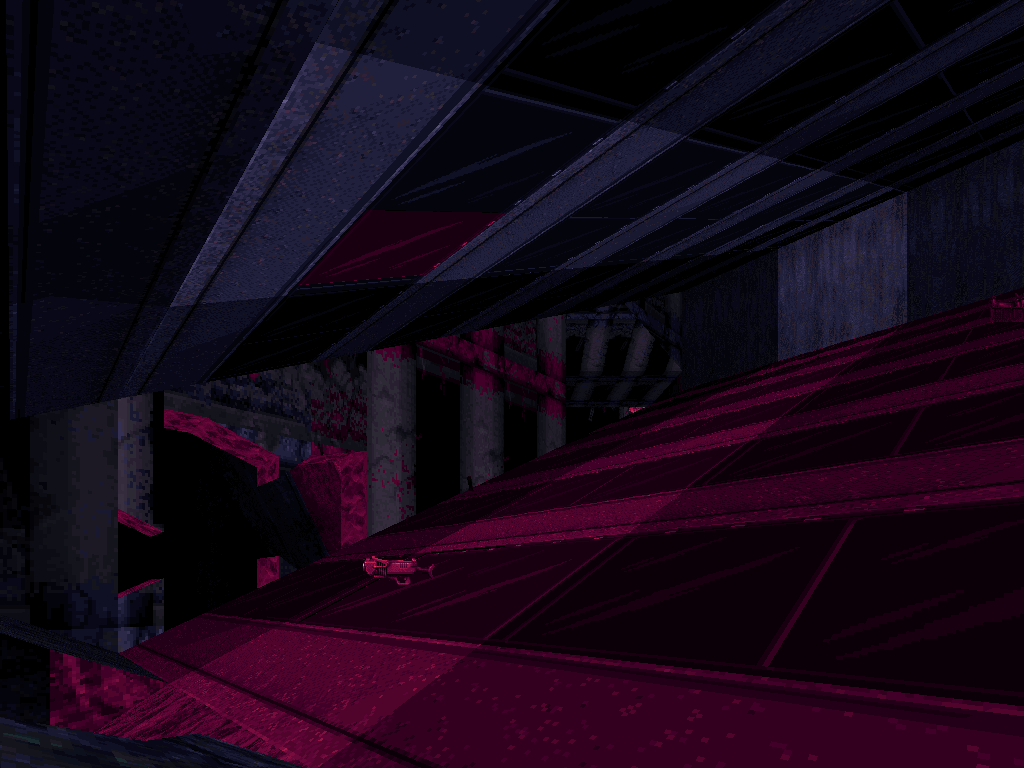
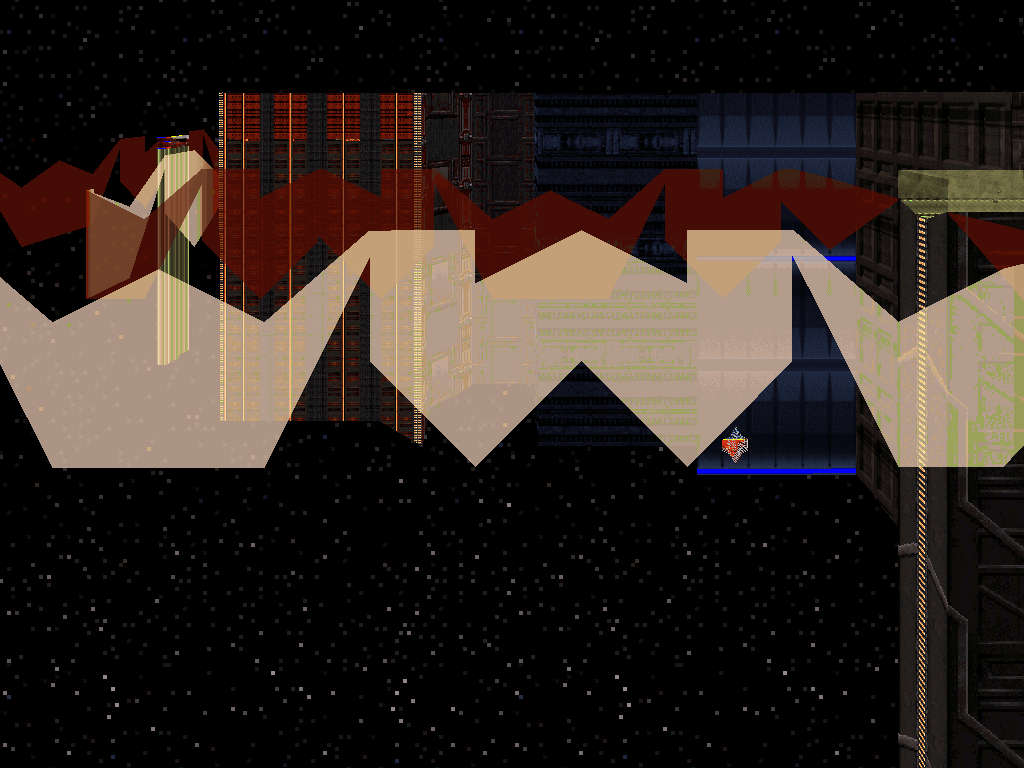
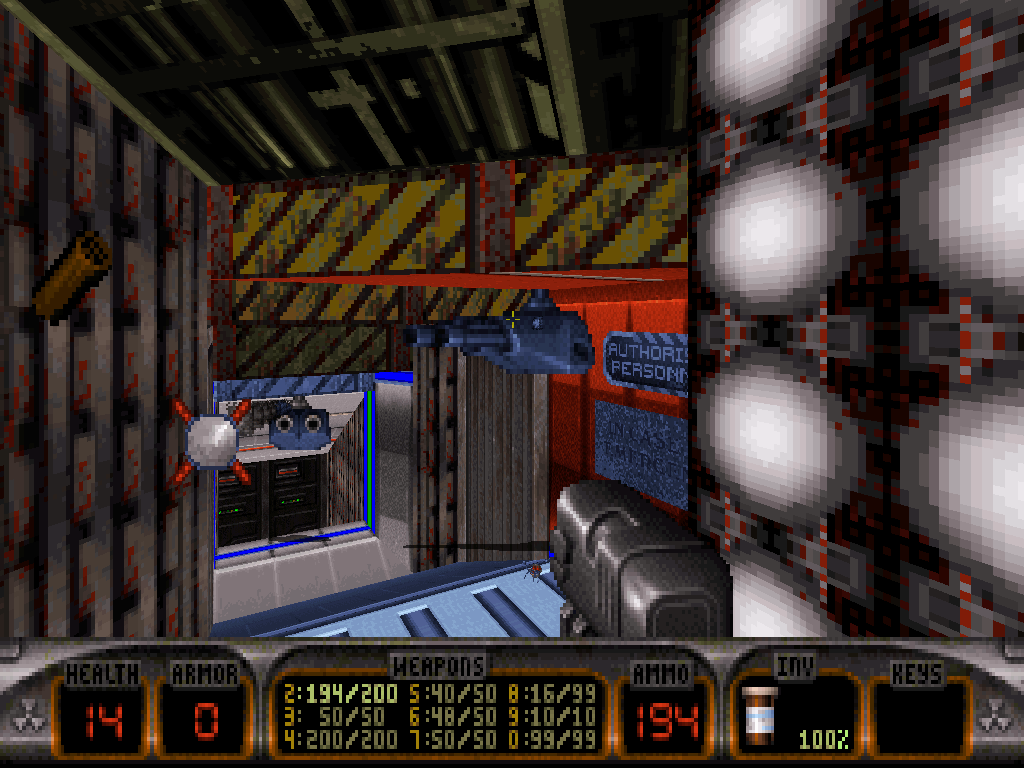
The second singularity is more anecdotal but also quite symbolic when one considers "Postmortem" as the introduction of Duke's reality coming apart: portal and reactor fun aside, the architecture and blockout of the space station is generally arranged and assembled in a logical manner minus one area, southeast and just around the exit(s), where the sector-over-sector breaks etiquette and only automap shall reveal to the casual player that certain rooms really exist in places where they shouldn't, or they would physically occupy outside space that they do not.
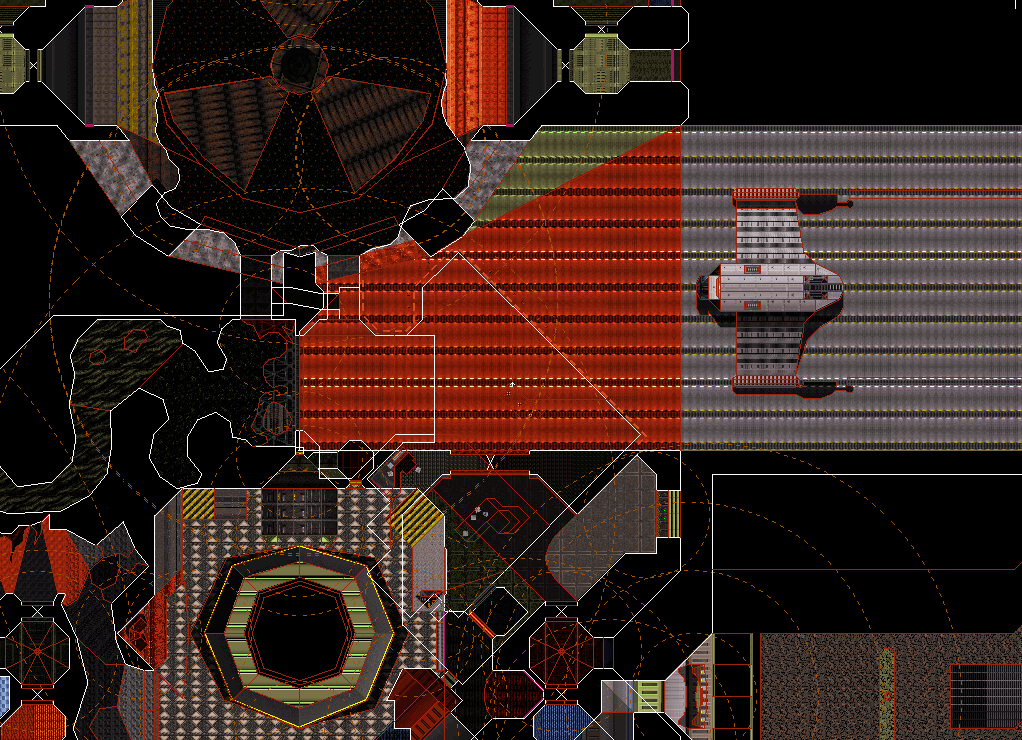
Exactly here. (Level editor screenshot)
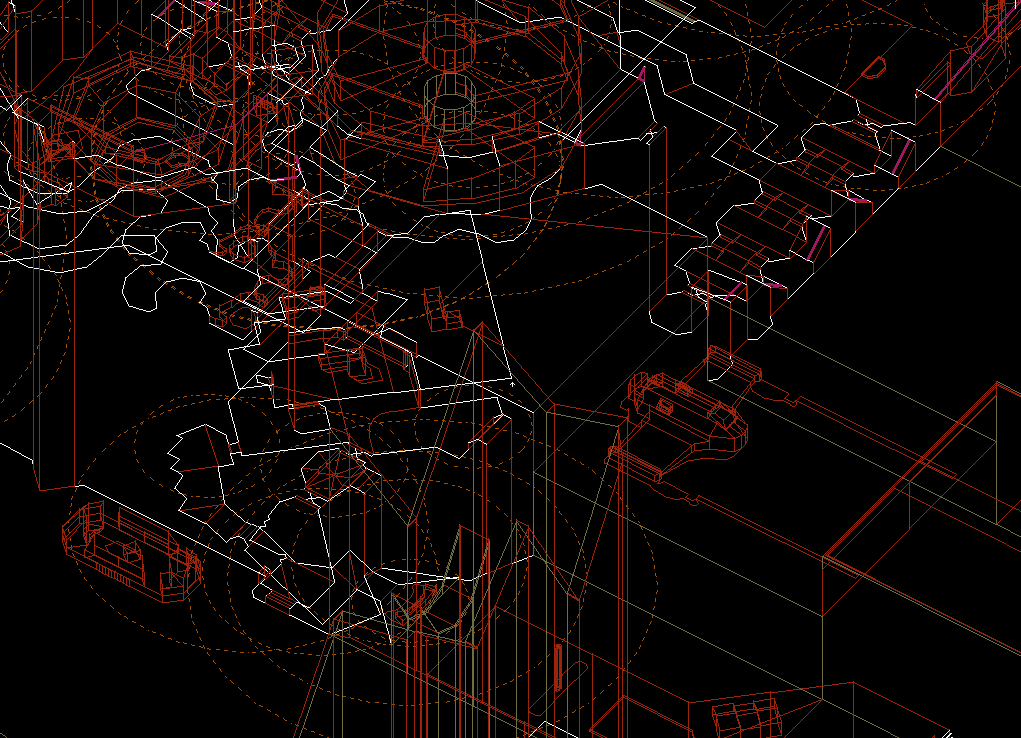
The spaces co-exist Lunatic Fringe/High Times style there,
meaning they also match in Z height. (Level editor screenshot)
Duke may be too distracted by all the alien scum to consider catching that, but the supposed impossibility really is justified by tech that is part of the level itself, and explicited as such to the same degree as every other E.D.F. invention the map features, with a mention somewhere.
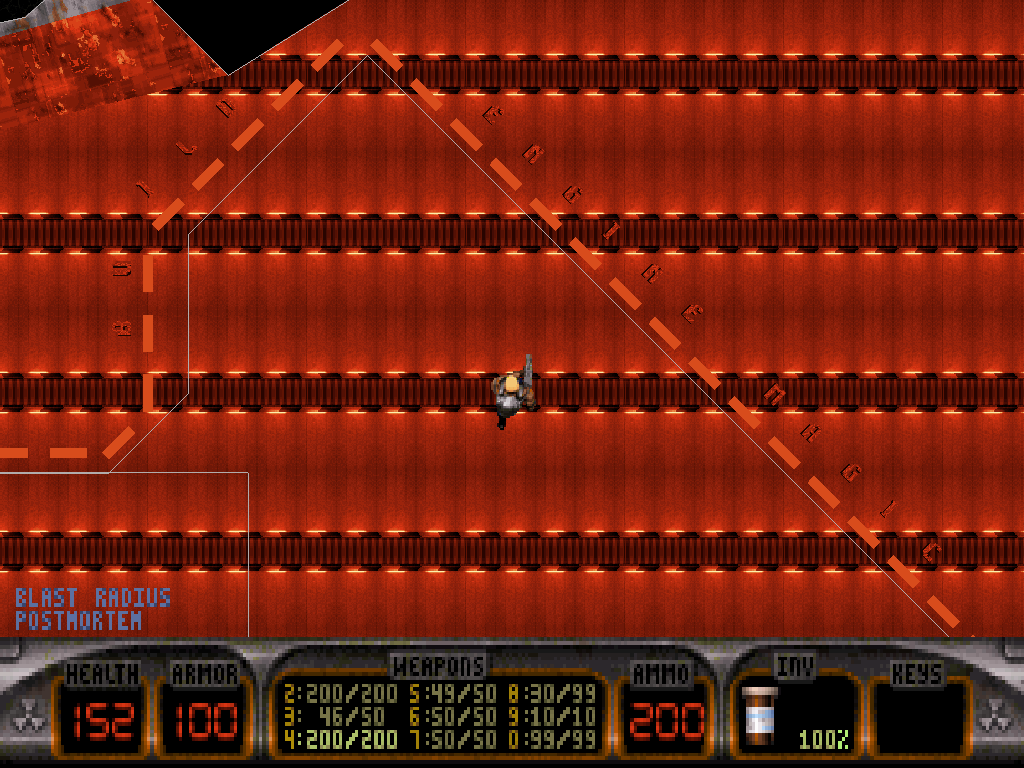
A prelude to Duke's precipitation into deconstruction as Blast Radius' mask slips and its' true face starts showing, "Postmortem" is brutal by design in that it takes some of the tropes the episode had been establishing as mundane thus far: interconnected layouts, open spaces, and heavy use of sector-over-sector but now starts testing the player's skill with them as opposed to facilitating it.
The different zones of the space station are all connected, but it may be challenging to remember exactly how, thus resulting in some anxious wandering and echoing Duke's panic (especially after he's seen what a single Protozoid Slimer can do); the sector-over-sector exists, but in places where it might confuse the player rather than help until they decide to pay closer attention, and the presence of spacetime gates, symmetrical segments and alternate routes also help instill a general feel of gradual decomposition.
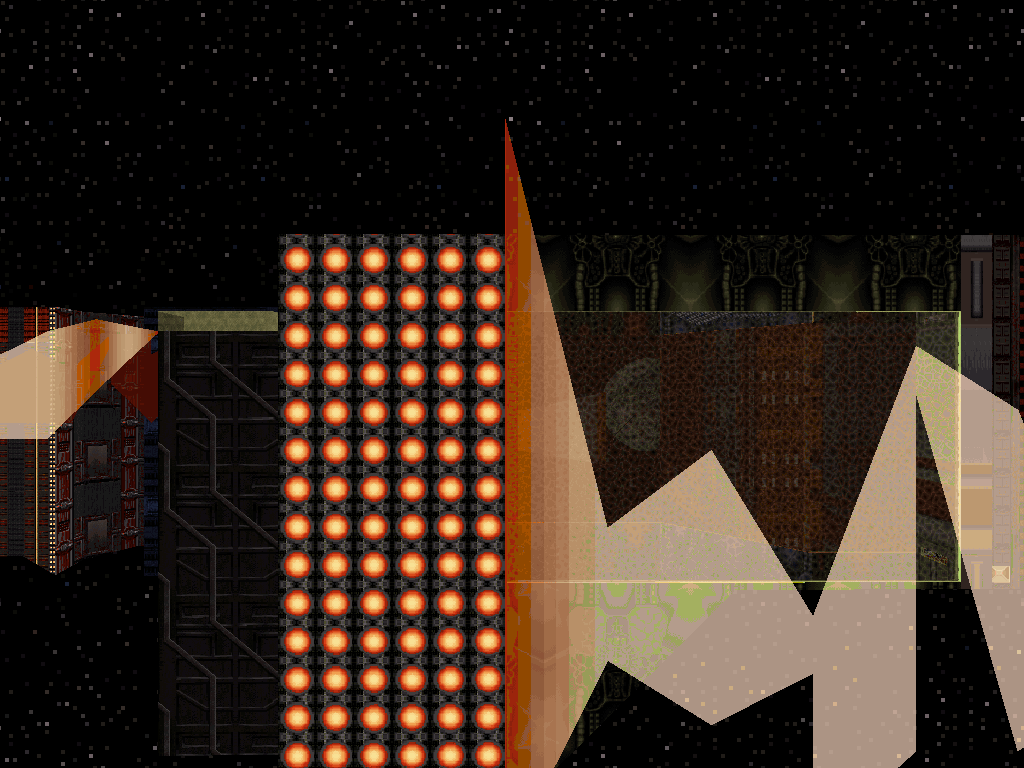
The easily observable general structuring of the space station is quite representative of the basic tricks used in order to achieve that.
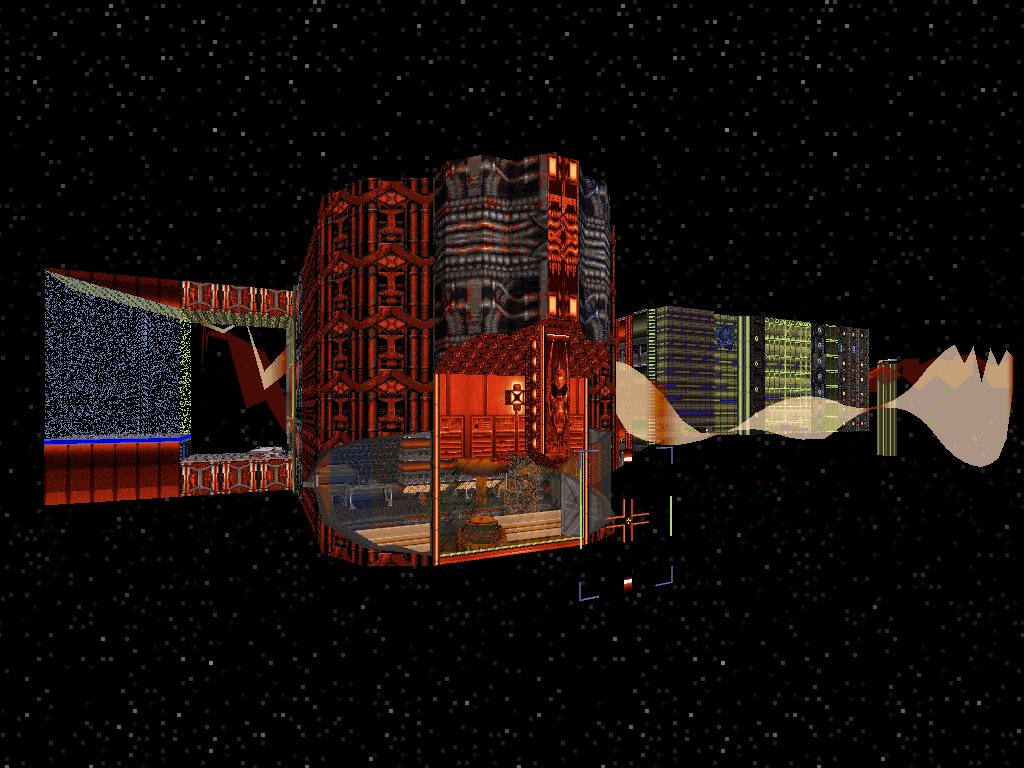
The station essentially consists in two halves Duke is bound to quite literally read the Western way, from left to right.
In relation to the first half, the second half is built at a 90-degree angle, symbolizing a disconnection and only foreshadowing the absolute rupture Duke is about to experience as soon as the next level, "Silent Scream".
Both halves are connected in two ways that, by the means of sector-over-sector, really overlap in terms of space on the map.
There is the spacetime gate Duke can leap through which is faster, but one-way only - although Duke can always return back to the point of origin differently, and then potentially do it again.
And then there is the suspended water tunnel he can swim through, entering via the submerged, similar opening just underneath - which is slower but can always be trusted both ways for navigation, and may even be used to skip the toxic room with the purple lava mixer entirely.
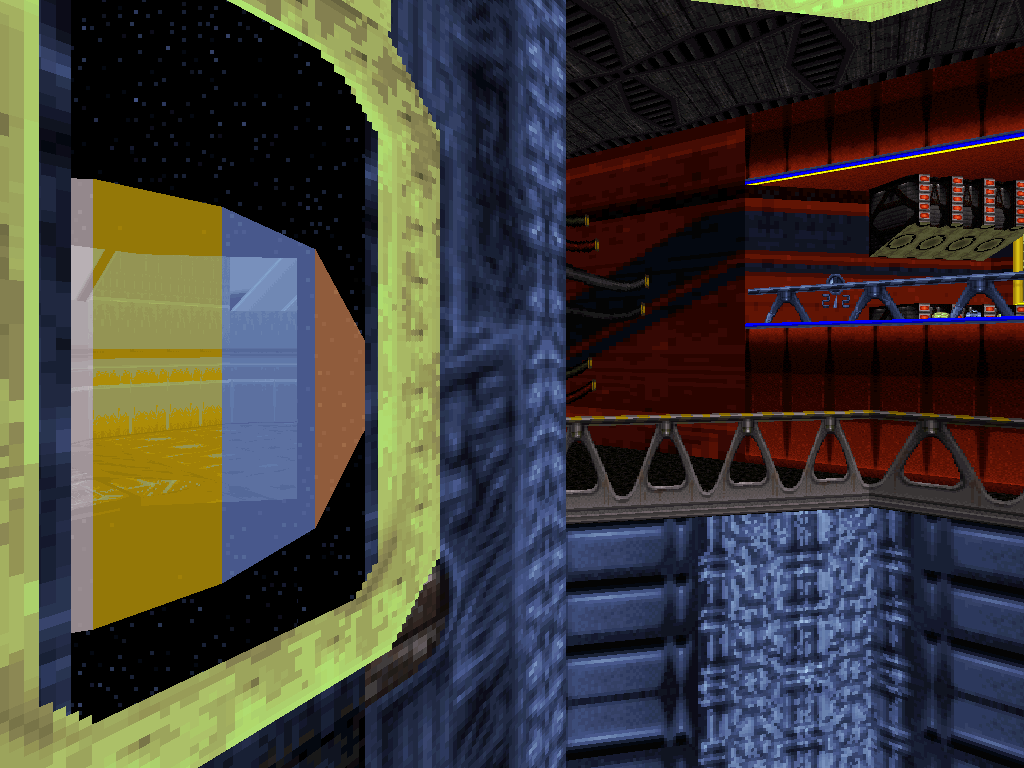
This set-up symbolizes the duality of short-term and long-term thinking respectively, with all the pros and cons that come with each and, more generally, represents choice.
After the rest of Blast Radius should have warmed him up to the idea, "Postmortem" was designed to responsibilize Duke Nukem for his choices, and thus the player for theirs, for good; in that sense, open angles for multiple possible approaches in general maybe more than ever had to be at the core of the experience, in spite of the eventual restriction that is the seemingly contradicting pick of supposedly linear, indoor 'rooms and hallways'-styled settings where walls naturally exist to confine the user onto a track.
Now they still do, but Duke only has to endure them as a consequence of his decision making.
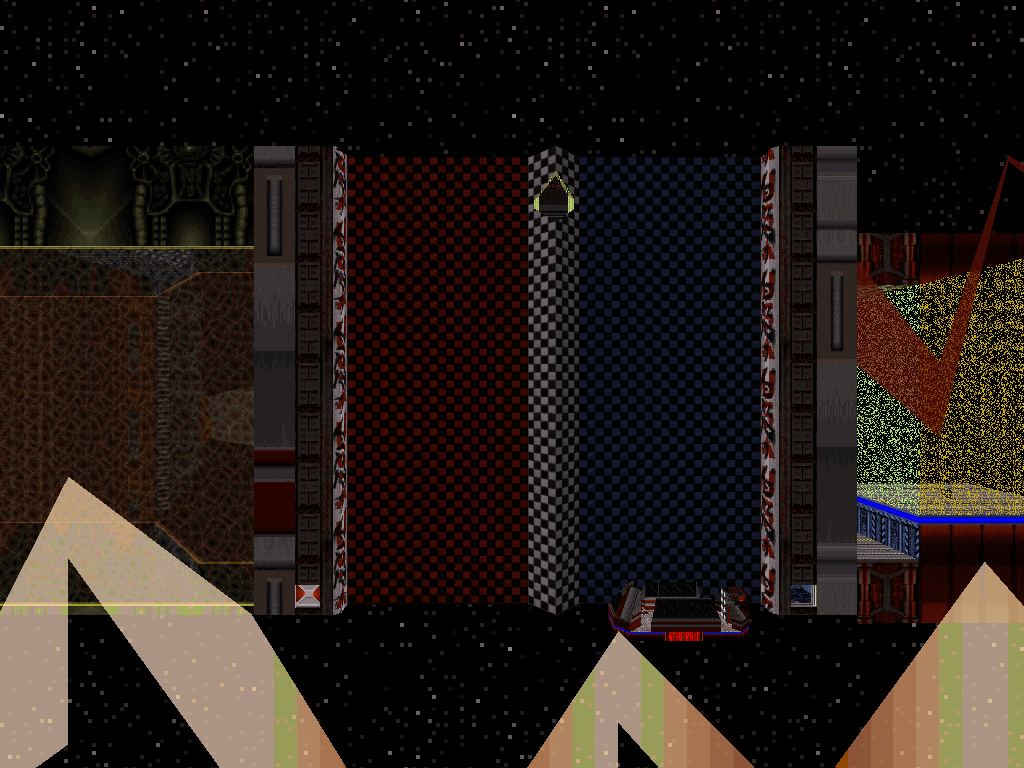
A sudden departure from the absolutely linear urban introduction to the level, a lot about the first half of the space station, merely a first observation point that is running perpendicular to the rest of the action, exists, but can be dodged entirely if one is feeling brave (and skilled) enough for the alternate route. In addition to that split on the horizontal plane, it also is separated on the vertical plane with all the different floors that co-exist, although this is mostly just suggested until the time of the definitive portal/water tunnel split (or Duke's discovery of one particular secret place/potential shortcut, near the reactor core).
After those practice grounds however, the training wheels come off in the second half which can be approached in two opposite ways again as already stated, but now starts playing the unique tricks and signature capabilities of Ken Silverman's Build engine to try and overwhelm. There, the verticality is mandatory to keep track of, including the one of the several flooded floors in addition to all the dry elevation, the separate facilities and the elevators. Thankfully, a lot of new passageways and interconnections should open up with the more Duke progresses, conquers and consumes; eventually breaking out of a maze in order to solve it.
The ultimate purpose of that section's design, finally, is to instill even more frustration, anger and anguish whilst on the potentially harsh backtracking to the last door, in this specific context of processing the planetary destruction and reconsidering the real stakes of Duke's battle.

(SPOILERS)
Secret exit:
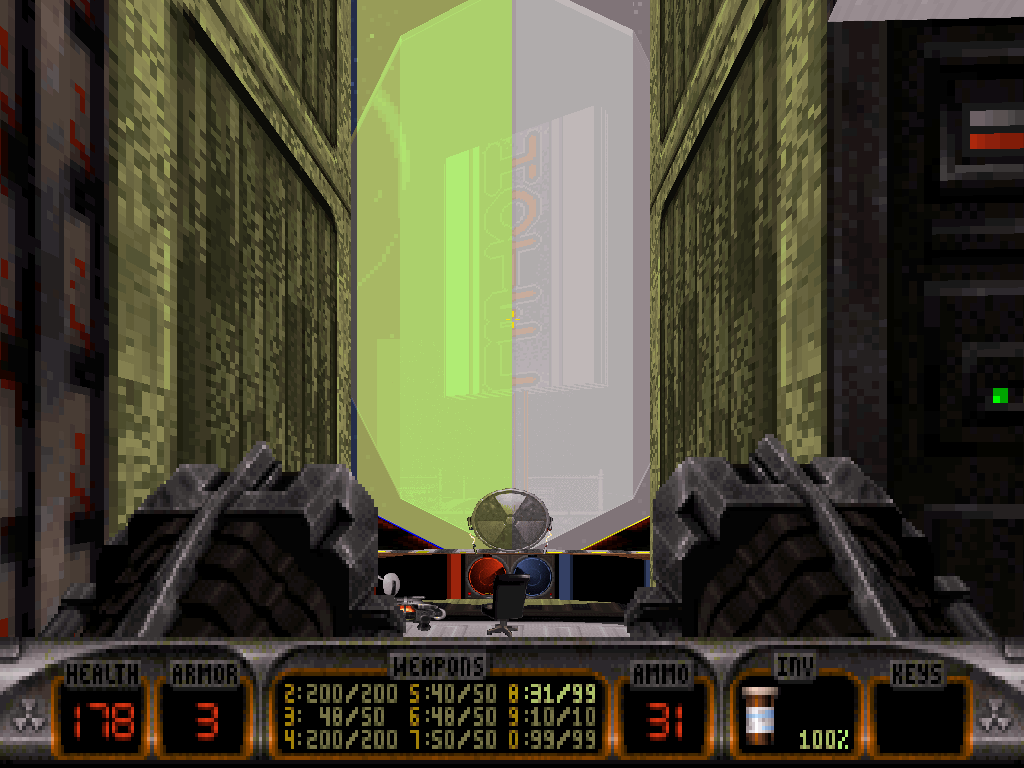
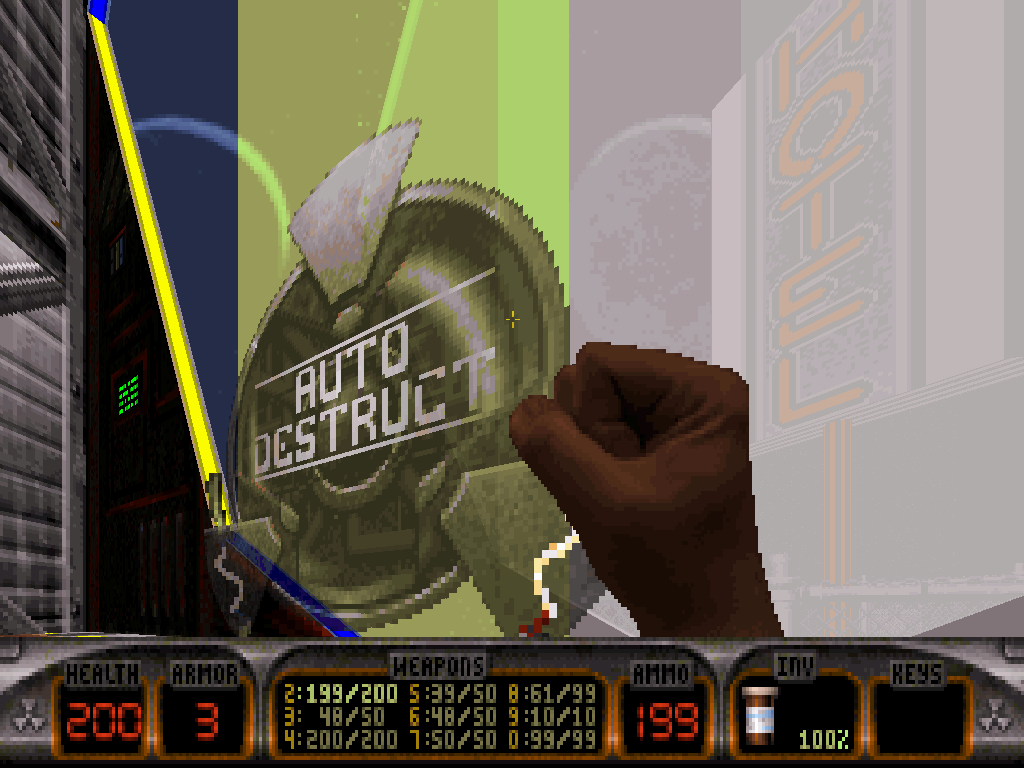
As of v.1.1.0 of Blast Radius, there is a hidden exit in "Postmortem" to the second secret level of the episode: "Hotel Atlantis" (more details here).
It in fact is situated really close to the normal exit and allows for skipping the entire double Battlelord boss fight if Duke so decides.
There is a tiny switch somewhere on a console in the very last room of the space station, where Duke fights the Madlad Battlelord, right before he exits to the runway.
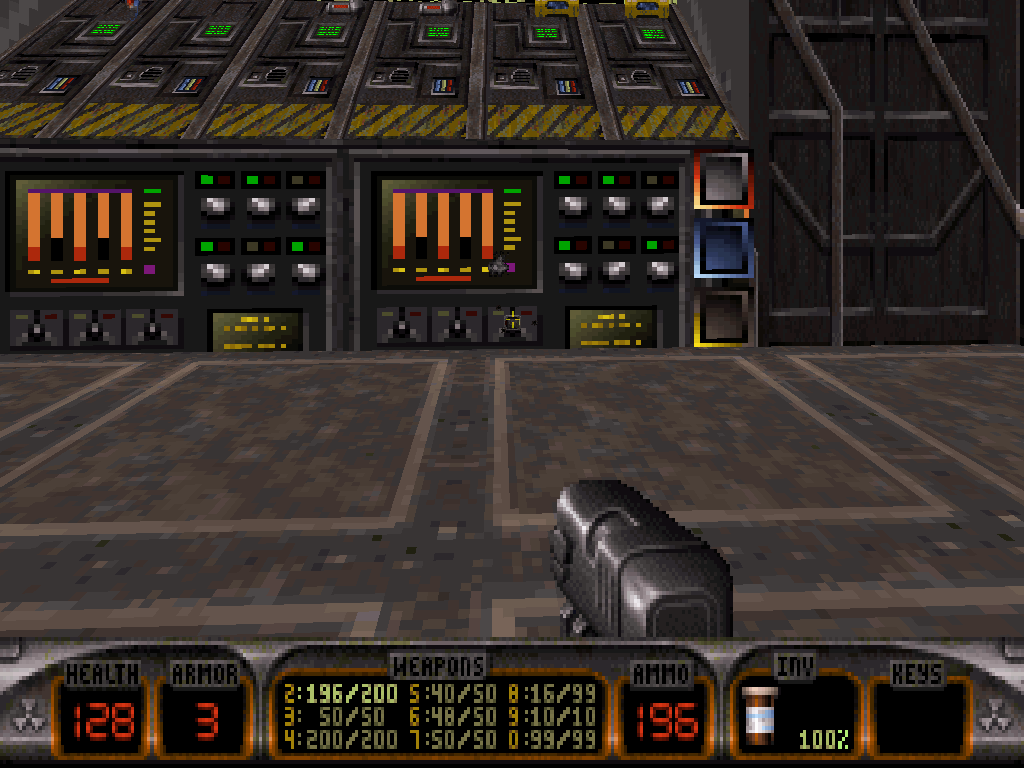
Shooting it will cause a panel in the wall to rise, in Duke's back, around the opposite corner of the room.
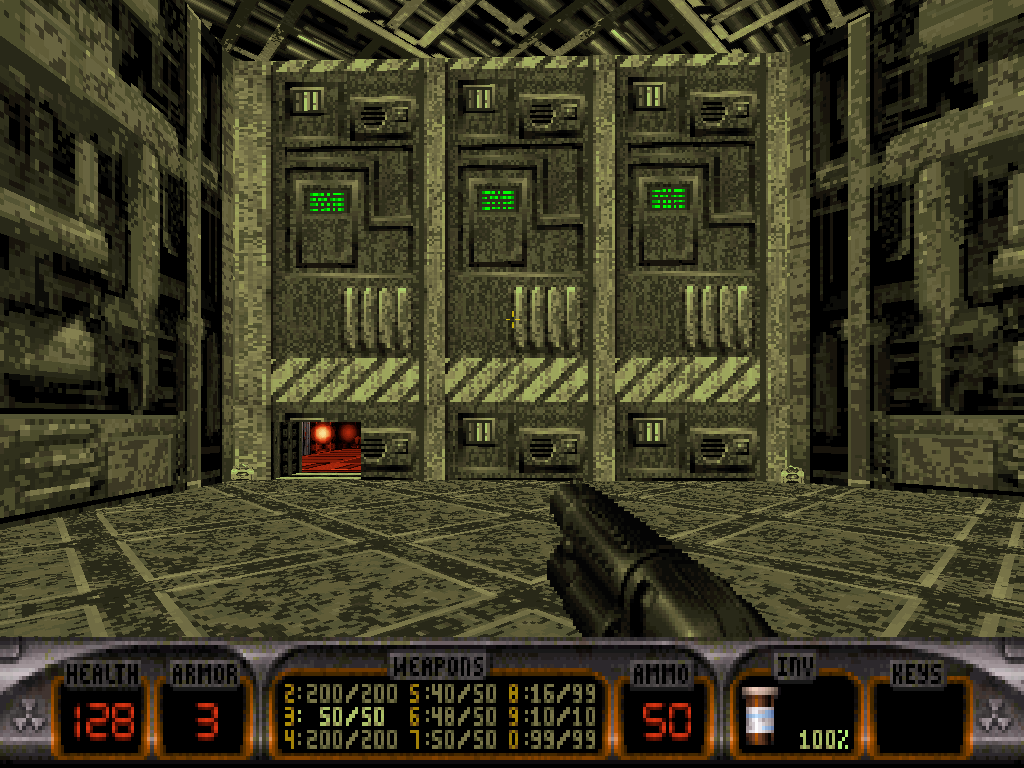
Duke can now reach a secret part of the station that is situated just underneath the research facility with the black hole generator (a.k.a. the pillar of death), where he got the yellow key, and seems strangely connected to it.
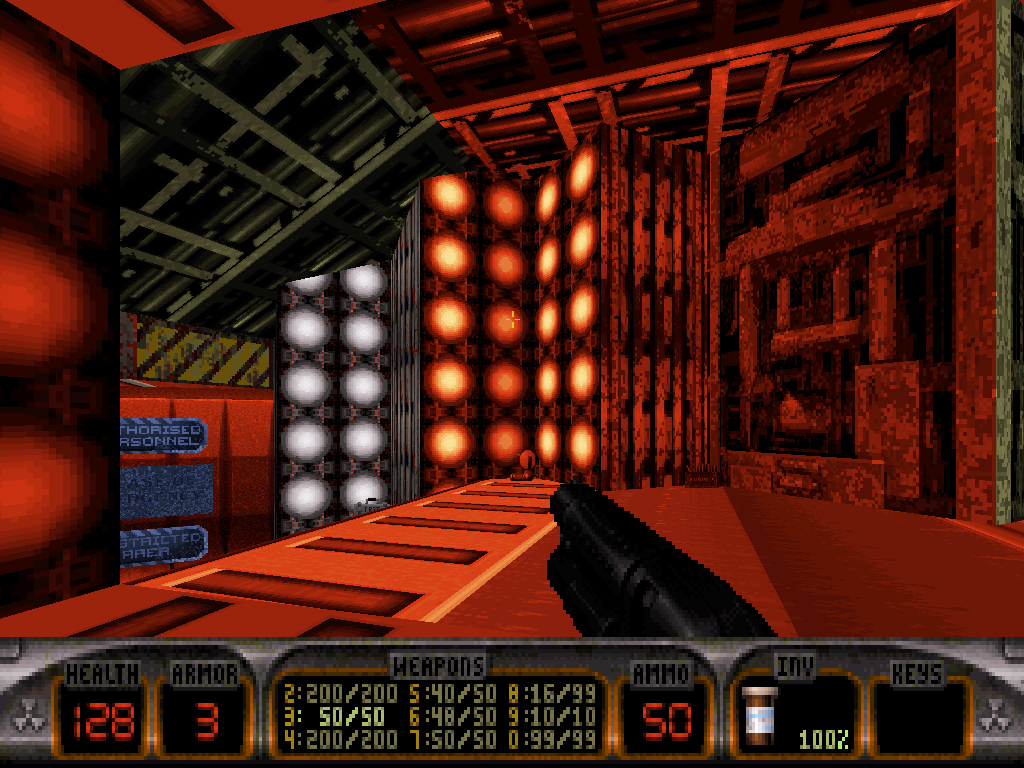
Walking down the hidden hallway, Duke may have to defend himself against a few U.T.E.R.U.S. turrets and one last Assault Assaulter, depending on the difficulty setting; but he also will be rewarded with items, a classic dead Stormtrooper if he can spot it and, finally, the secret Nuke Button and portal to level 15 of Blast Radius: "Hotel Atlantis".

Soundtrack:
"Postmortem" by Slayer / "Reign in Blood" / Def Jam Recordings, 1986 (MIDI version)

Automap:
No automap but yours provided for "Postmortem", as the experience largely consists in an orientation challenge.
As you may have guessed by now, it would just look like a mess already anyway.
So let Duke draw his own!
Map stats (as of v. 1.1.3): 2075/4096 sectors, 13120/16384 walls, 6844/16384 sprites.

Download Duke Nukem 3D: Blast Radius (last update: 03/04/2024; v. 5.0.2)
