Download Duke Nukem 3D: Blast Radius (last update: 03/04/2024; v. 5.0.2)
In level 5 of Blast Radius, "High High High", Duke Nukem racks up frequent flyer miles aboard a Build-engineered Boeing as he distances himself from all the ruined American civilization he's been witnessing (in level 1: Los Angeles, level 2: San Francisco, level 3: New York City and level 4: Machu Picchu, Peru). But he remains skeptical and rightfully so, given the persisting presence of alien attendants and also his own, personal history with airborne rides.
As the closure of Duke Nukem 3D: Blast Radius' first American act ("Homeland Hecatomb" as I like to nickname it) and transition level right into the second, "High High High" needed to fulfill three purposes: the heavy responsibility of being the episode's main 'vehicle level', as Build tradition would have it (one historically pioneering forte of the game engine being the power to incorporate and/or simulate moving sectors and terrain); the role of uncertainly reassuring a player now clearly fatigued by the previous levels if not level 4 alone, with more confined environments, dictated direction, eye-candy and nooks and crannies to hug in case of crisis; and finally, the task of removing Duke Nukem further from the familiar. That is in more ways than one: in the story, geographically by carrying his muscular physique onto an unknown and unpredictable destination; and metaphorically, as after all the extreme emotional and tonal rollercoaster experienced thus far, during this fake break, disconnected from the ground for better and worse whilst high up in some cloudy limbo, the player is expected to process how much of their own expectations regarding their experience really is in question.
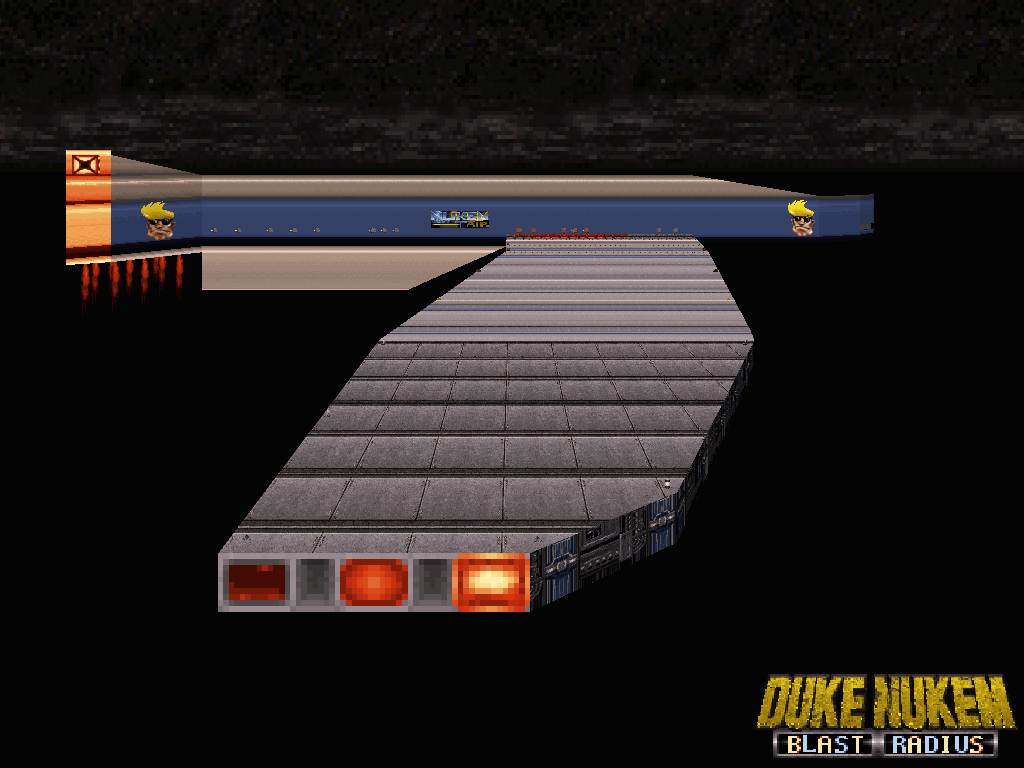

History: Chronologically, "High High High" was the seventh map built for Duke Nukem 3D: Blast Radius; it was made April 22nd - May 15th, 2021. Ironically, whilst in part made to compensate for "Incapharnaum" and its various extremes, "Incapharnaum" didn't exist yet around the time "High High High" was done and was in fact started right after (literally the next day).
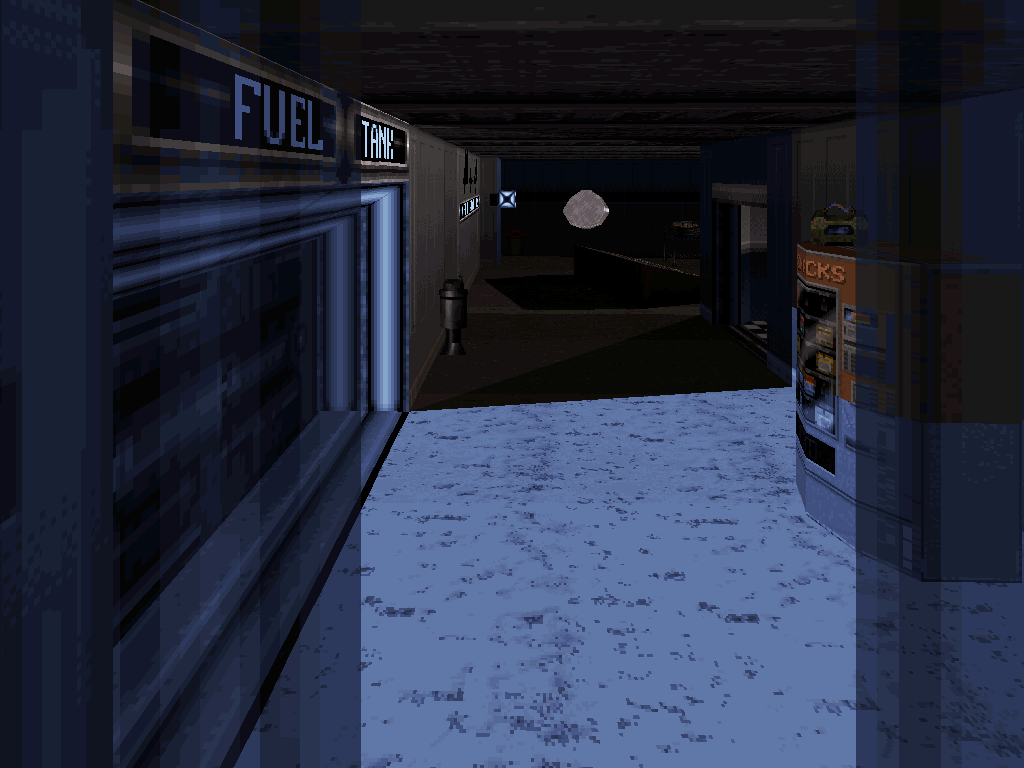
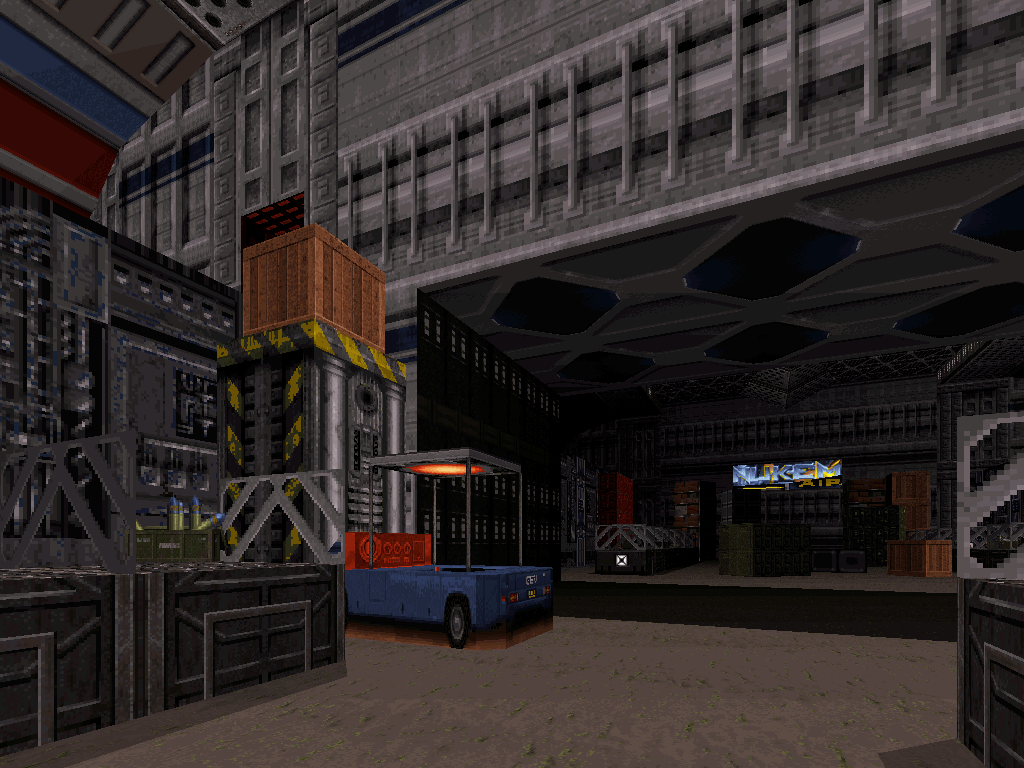
Being loosely based on various real-life Boeing models and cutaway diagrams in terms of general structure (with correct placement for the fuel tank, auxiliary power unit, staff and passenger areas e.g.. the galley, lounge and bathrooms, the avionics, cockpit and cargo bay), there actually isn't that much to detail about the history of this level as its creation completely came down to technical execution (with the creative twist of Build engine reinterpretation).
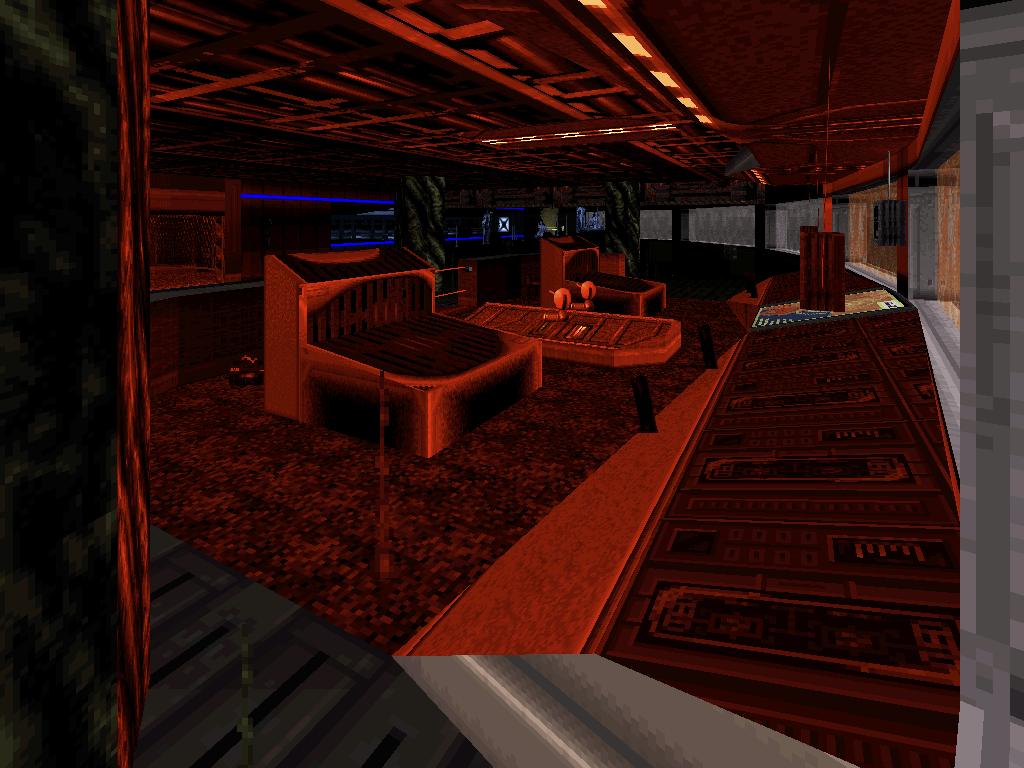
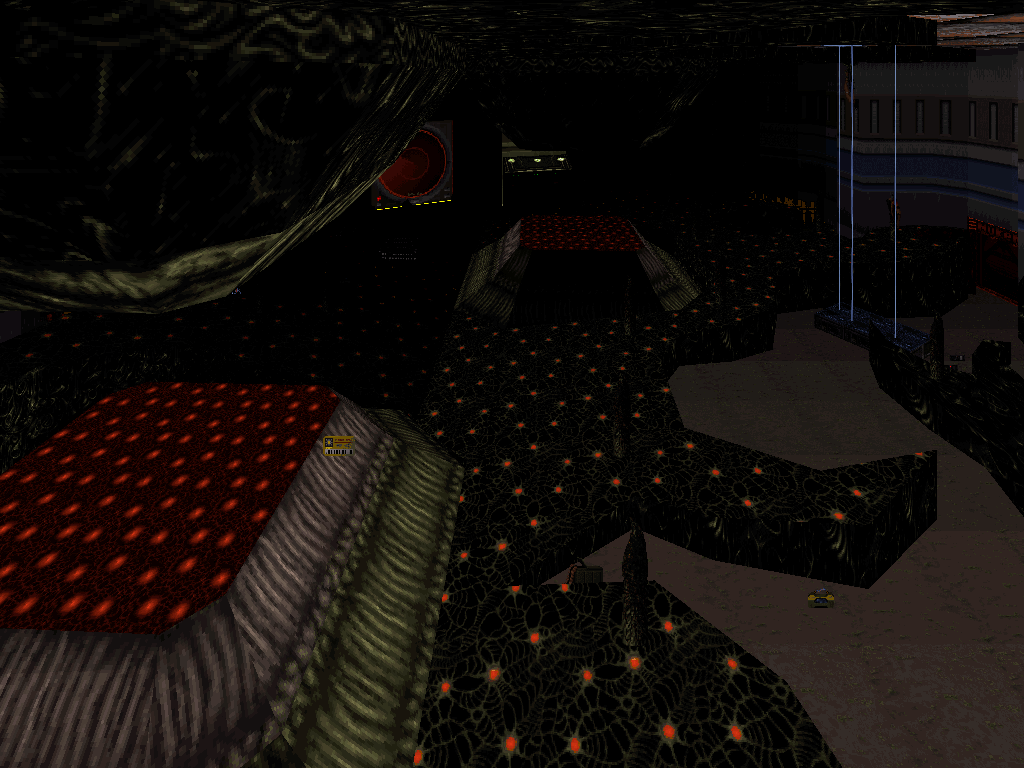
Maybe it is a particularly interesting testimony to how easy purely technical levels can be to make as long as one is familiar enough with the editor to plan, then execute all the required tasks in the most optimal, 'correct' order as to achieve the desired results. This really applies to Build mapping as a whole (even the largest, most open other levels in Blast Radius were built comparably fast), but may be more accessible to comprehend via levels such as "High High High" which by design are bound to mostly rely on patterns of strict structures (instead of more wildly abstract pieces such as "Incapharnaum").
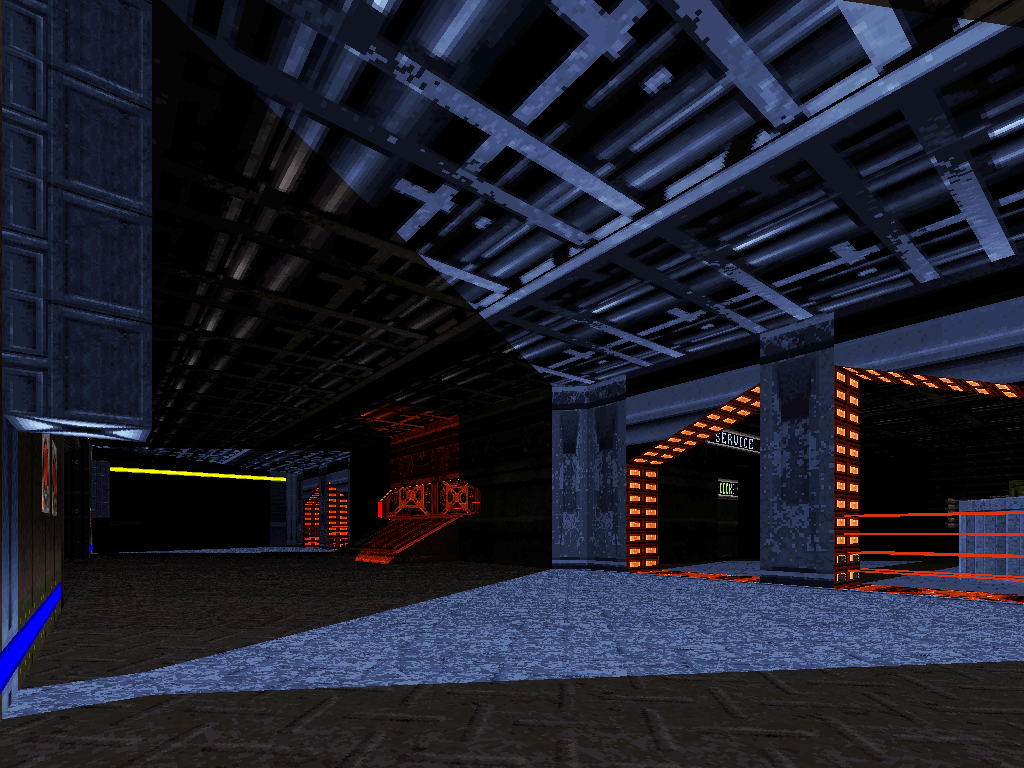
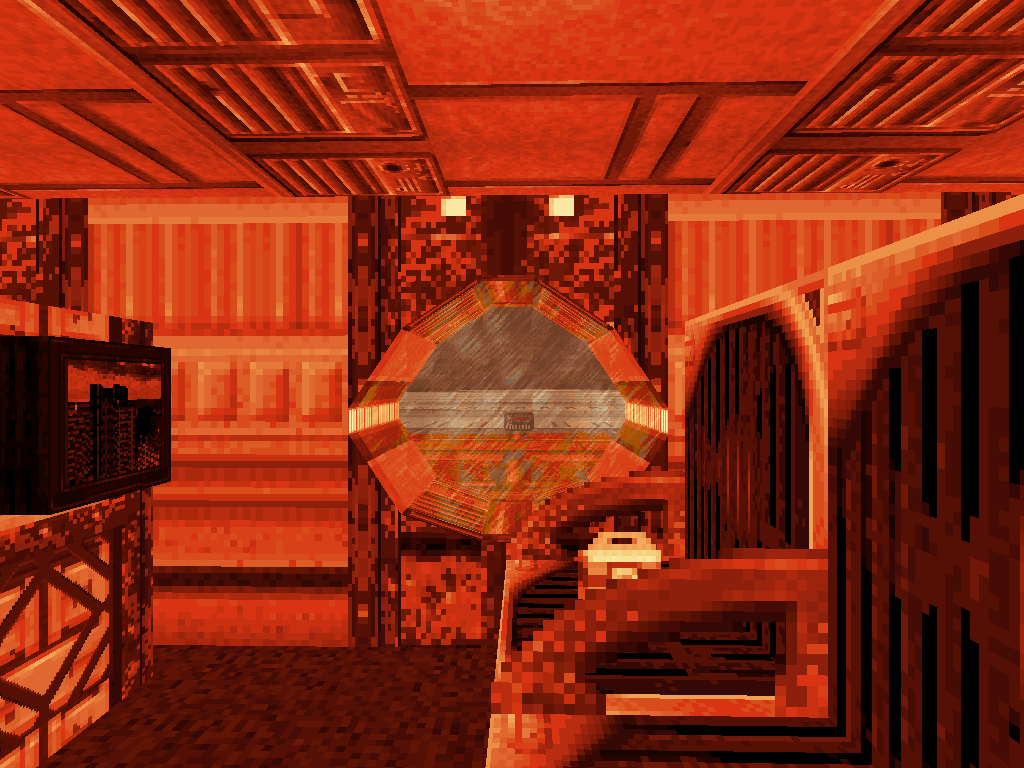
Going back to the player's expectations and emotions, "High High High" isn't a subversive level in itself, being consistent in tone from start to finish and fundamentally one run in a straight line, the monotony of which gets punctuated with side quests, interconnected intricacies and also graduated by how much alien corruption is progressively revealed. In placement however, it does make for the most brutal altitude shift and contrast after the literal and figurative open wildness of "Incapharnaum", pushed as far as in the global level palette now introducing a lot of calming blue tones, which the very warm first four levels thus far had been lacking and so here feel especially comforting.
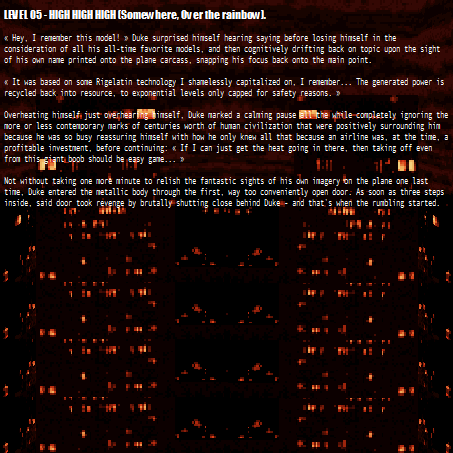
"Incapharnaum" to "High High High" transition story. Page from the manual.
The cold color-coded spots themselves, being safe zones, persist to clash against the bouts of hotter violence peppered throughout (culminating with the eventual pattern merger that is the cargo bay), and the resulting tension only parallels the illusion of control on a micro level within a fundamentally out-of-control, greater reality. Even the implementation of the blue and red keys might or might not get the player confused as to what's really cold or hot, all the while progression clarity remains assured by the absolute linearity of the design.
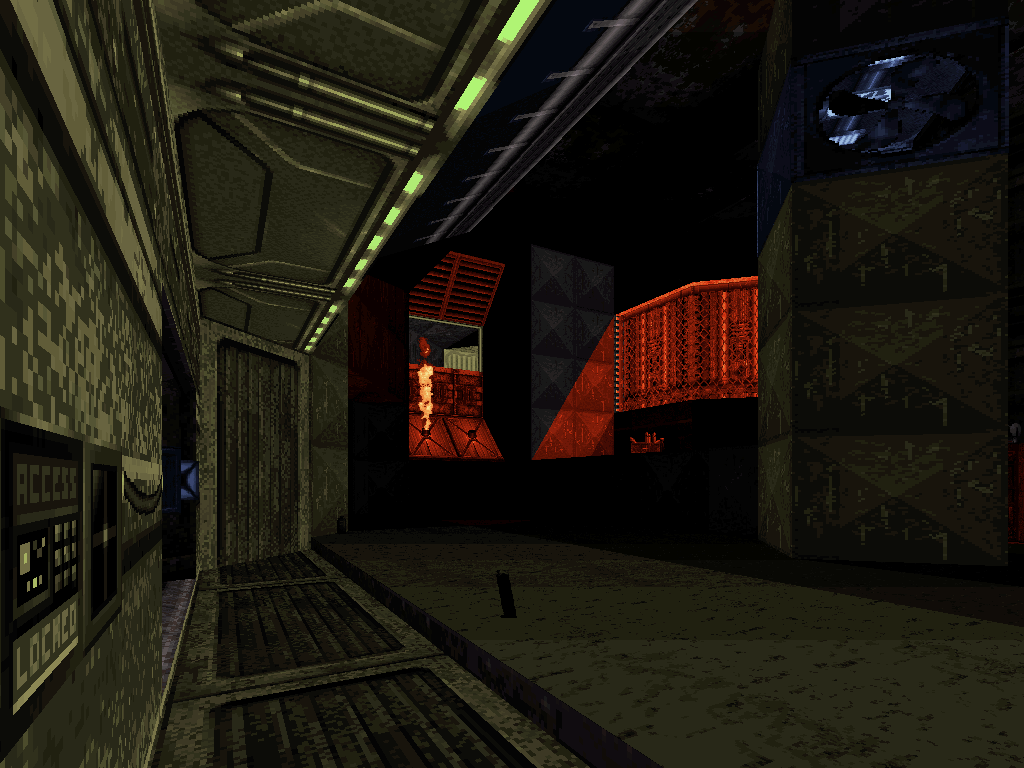
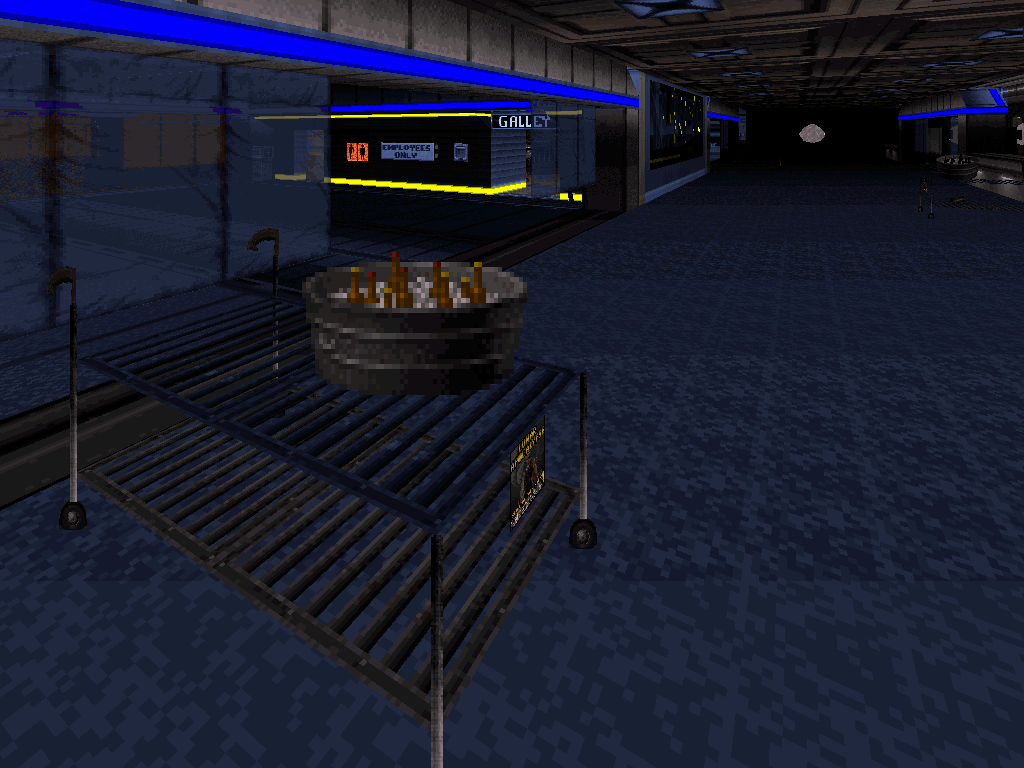
The relative flatness of Duke's ride becomes disturbed exactly halfway through, after a Fat Commander onslaught on the cargo bay, then some impromptu platforming on crates and conveyor belts takes him to the marked 'exterior airlock', complete with maintenance jetpacks and a door to slide open in order the uncover the surrounding void. So far brought to mostly expect a maze of hallways out of the level, and relative safety within the plane's body, the player is caught off-guard (unless they've been observant enough to notice detail out one of the portholes beforehand, that is), suddenly confronted to an open, airborne segment; only after successfully vanquishing their anguish will they be allowed to come back and progress into the second half of the hallways.
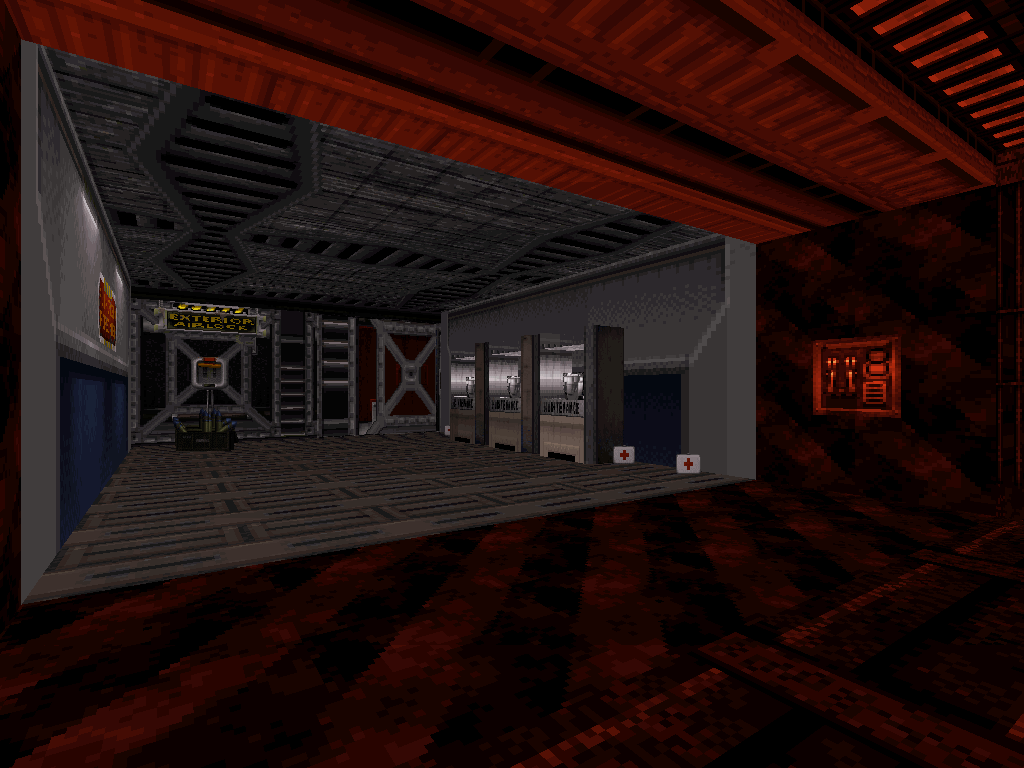
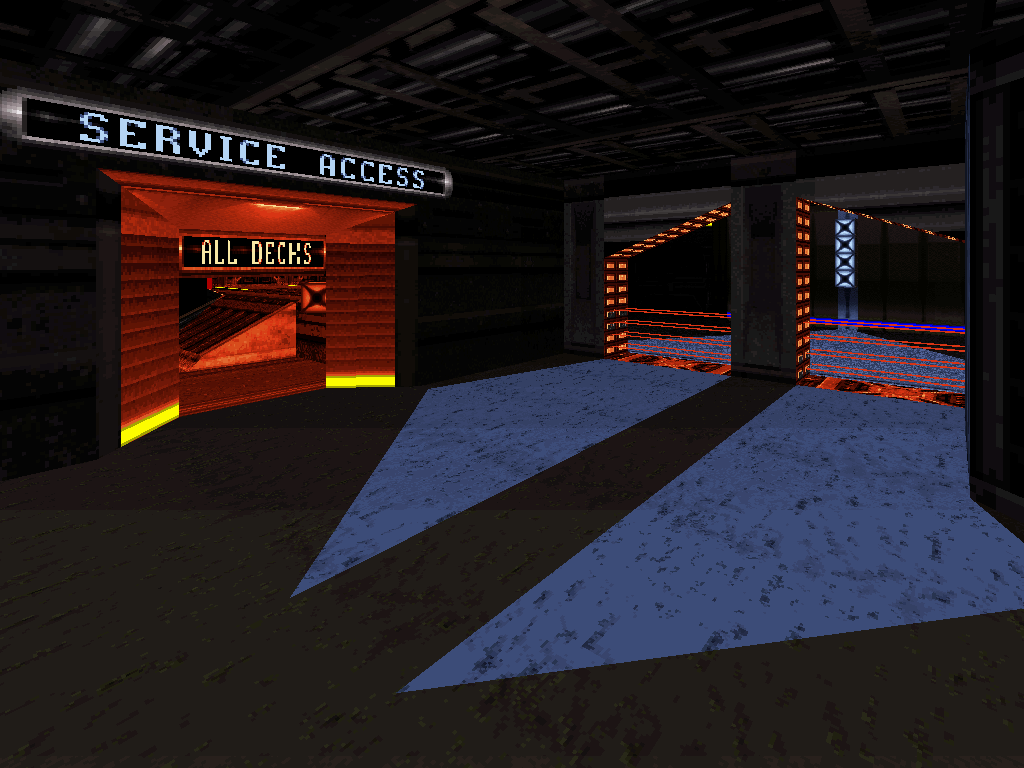
While Duke's reconnaissance, conquest and victory lap will take him back to where he originally was eventually, just with new knowledge of his surroundings as represented by the collected keycard, his mindset onwards is bound not to be the same and instead refocused towards the goal of getting in control, now that the entirety of the situation has been assessed. This shall dictate the player's progress throughout the second half of the level, as they consecutively reach the avionics, unlock the cockpit and then finally Nuke their way out of the unsalvageable experience via the override system and corresponding Button press.
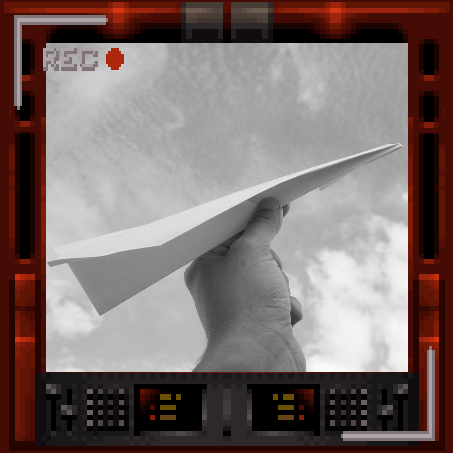
Page from the manual.
Design-wise, the layout takes inspiration mostly from Allen H. Blum's style in the original, base Duke Nukem 3D levels but also from random bits and bobs of vehicle-themed Build engine maps throughout history, including official and fan releases. One noticeable inspiration for the outdoor segment was the 2008 Duke 3D user map "Skycity 2" by ILoveFoxes; you can watch a video playthrough of that one by YouTube user TheMegatonBomb, below (jetpack sequence starts at 5:10). Two other older, classic, plane-themed Duke 3D user maps one can check out would be "Boeing 747" by Castell Software and "Passenger Jet" by Jason Bredhauer.
YouTube user TheMegatonBomb's playthrough of the 2008 user map "Skycity 2" by ILoveFoxes.
Finally, "High High High" also serves the introduction of some new enemies, also blue- and red-based: the Ice Cold Overlord and Cycloid sentries now complement the Sunburnt ones both in attack power and on the color wheel, the rocket-firing U.T.E.R.U.S. turrets now appear in lower difficulty settings than Come Get Some, and - last but not least - one particular duo makes its appearance that is Davy and Linda. Embodying the trauma of their kind from, and ensuing impulses of revenge against humanity for the eponymous, mistreated characters from the Nintendo 64 video game series "Chameleon Twist", they are blue and red Enforcer variants and will spam freeze ray and fire lasers, respectively. Davys are males, and Lindas are females; as such, they mostly will be encountered as a pair (where one individual will try and ice Duke in place whilst the other snipes him), or in their corresponding gender-marked bathrooms (which they always respect).
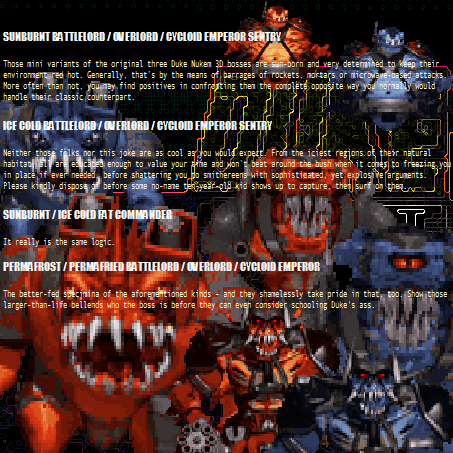
Most of those alien bastards are in by now. Page from the manual.
The established prominence of blue and red also subtly foreshadow what's next in store for Duke as far as destination is concerned, reflecting both the flag colors and enemy types to then be encountered in the next two levels set in Croatia and France, respectively.
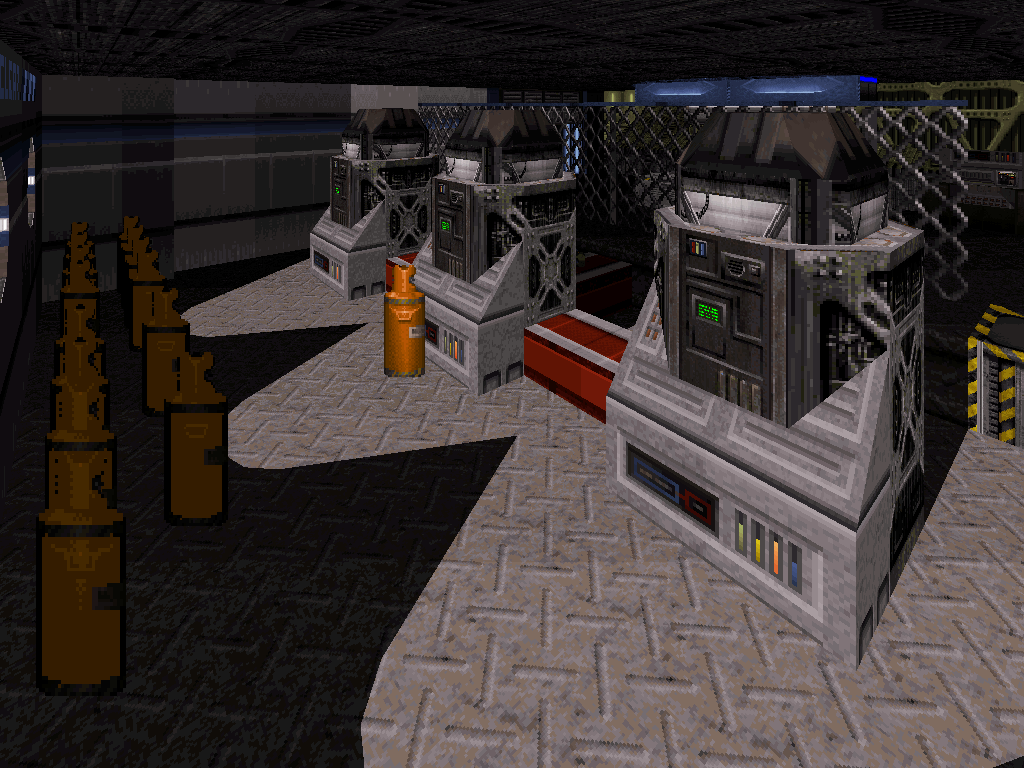
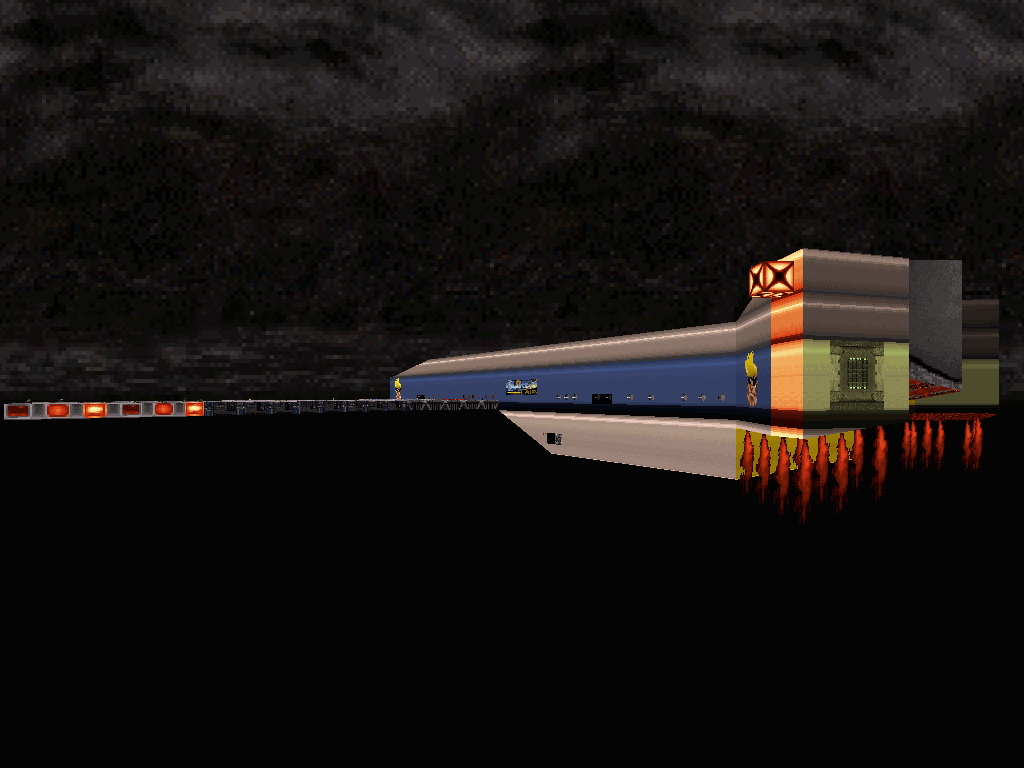

Walkthrough:
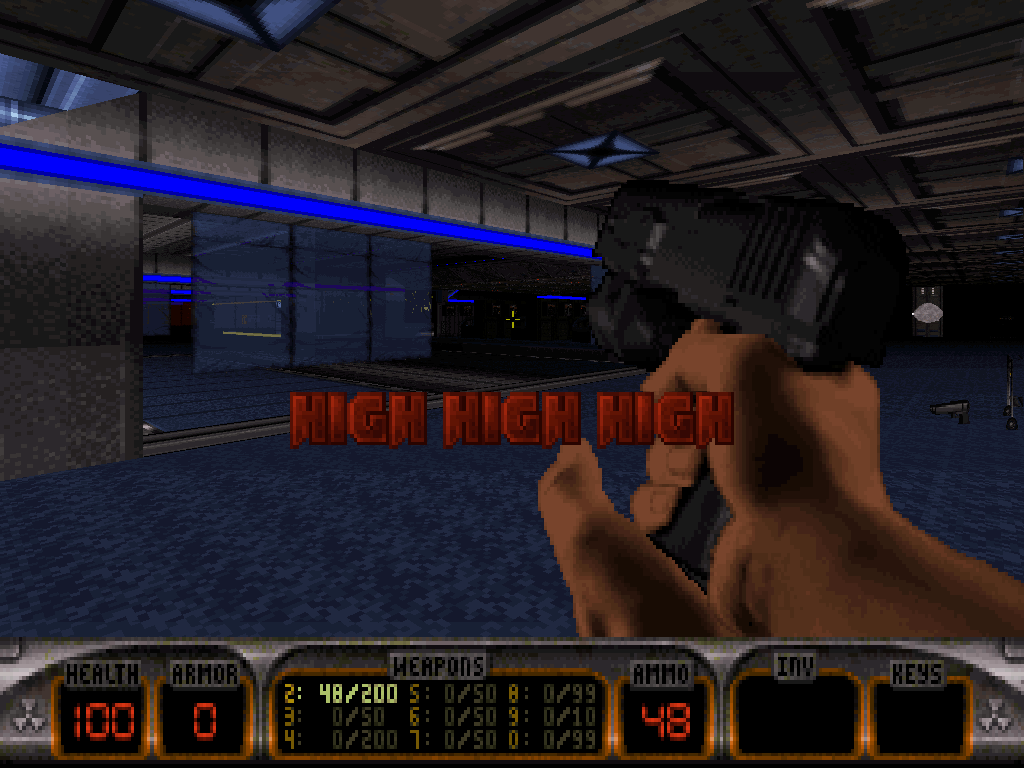
"Have gun, will travel!" - Duke cocks his pistol and is ready to roll and/or fly. Assuming he isn't equipped with the Shrinker already (or has run out of crystals), his first mission should consist in finding one around the back of the plane, as it will promptly appear that the way ahead is blocked by a forcefield, which the key to deactivate happens to be in a locked bathroom only shrunk Duke can first access. If he already has the Shrinker, though, then by all means should he feel free to skip ahead for a handful of paragraphs.
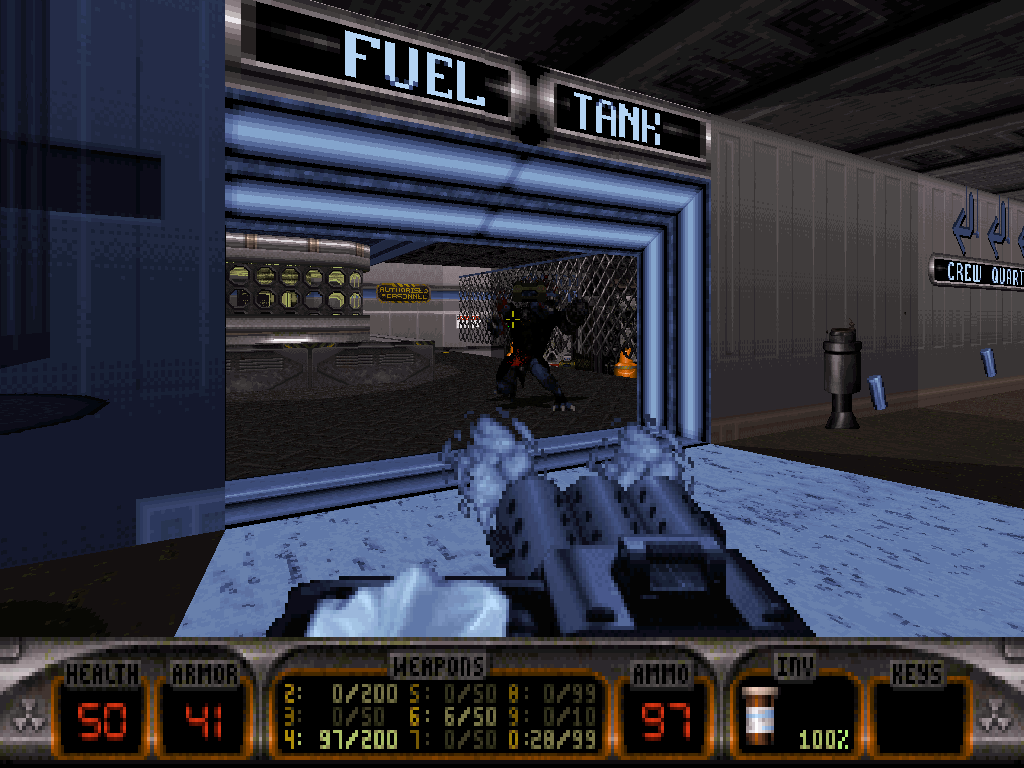
Exploring what's accessible of the plane will reveal two main doors in the back: the closest hallway to Duke's entrance point leads to the fuel tank (and crew quarters), whereas the opposite one points to the auxiliary power unit, but access to the latter is locked. Defeating the first Davy and Linda in the fuel tank room will allow Duke to overtake a switch which will remedy to that problem, all the while stopping a nearby mechanism and revealing an accessible Atomic Health depending on timing. The opening of the door will have the consequence of spilling a fury of flying sentry drones into the next hallway and so, that boost might come in handy.
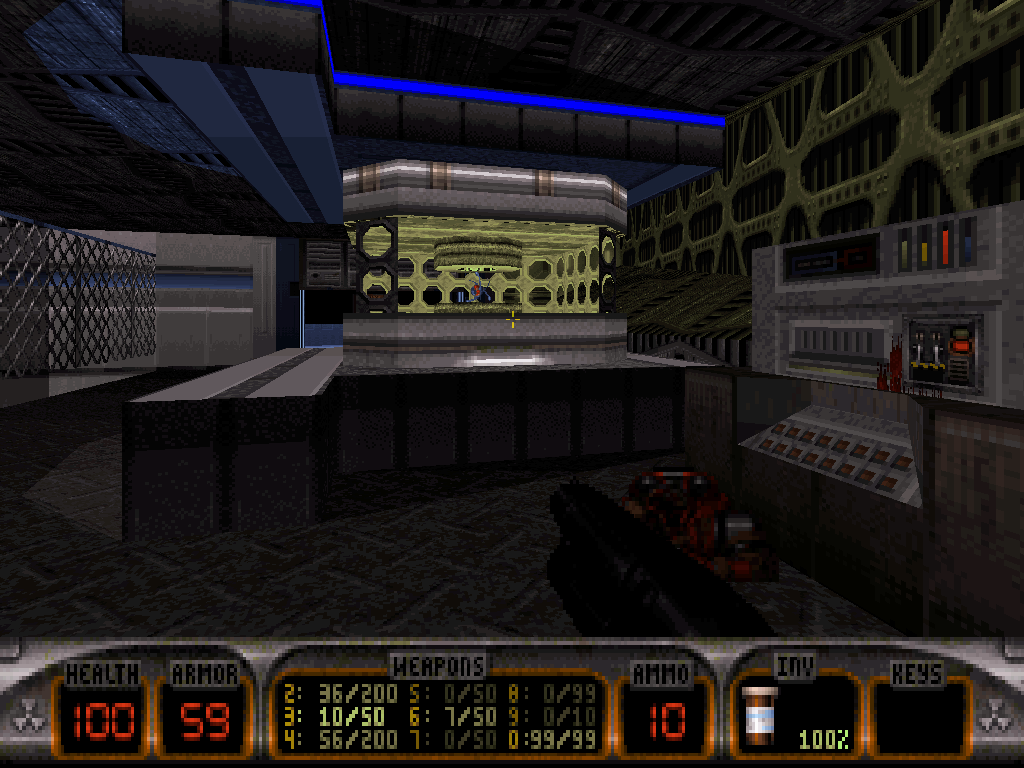
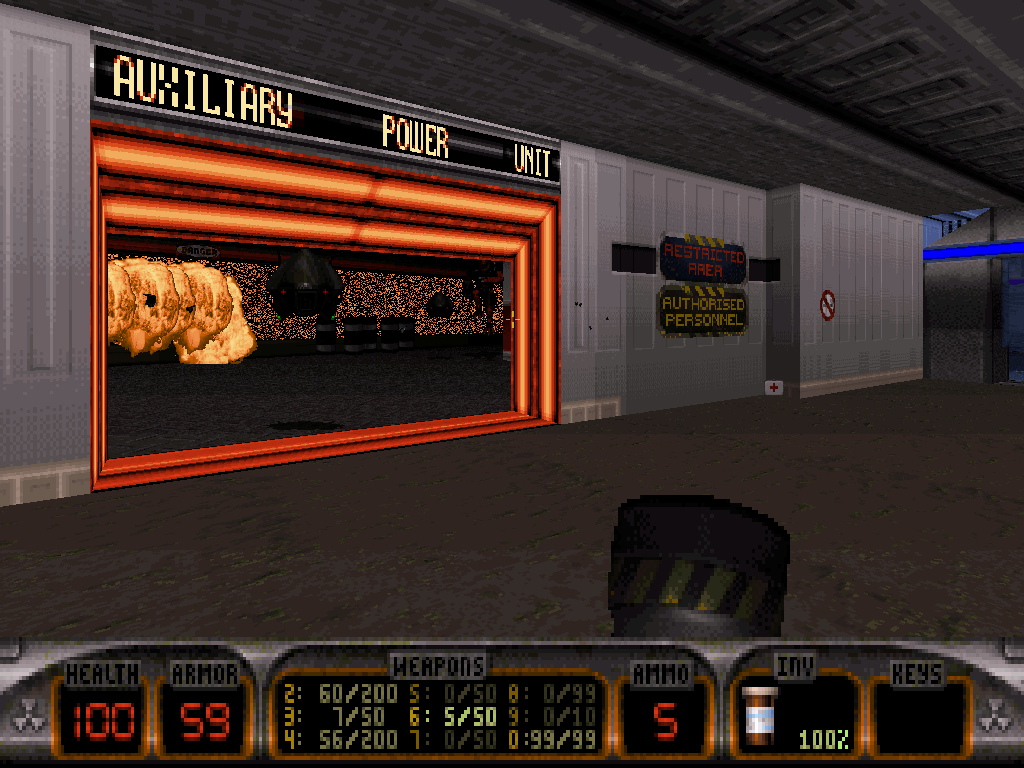
The auxiliary power unit is under some thorough surveillance courtesy of more Lindas (the matching Davys mostly chilling higher up the hallways or down in the cargo bay) and sentry drones, and so Duke should be wary of those when inputting the simple switch sequence to come, but also of all the surrounding tripmines. Pushing and/or shooting all the switches will deactivate the last security forcefield which was still protecting the auxiliary power unit; reaching down there will finally reward Duke with the Shrinker, but only after he's defeated one last security drone onslaught and dodged some more, particularly treacherous tripmines.
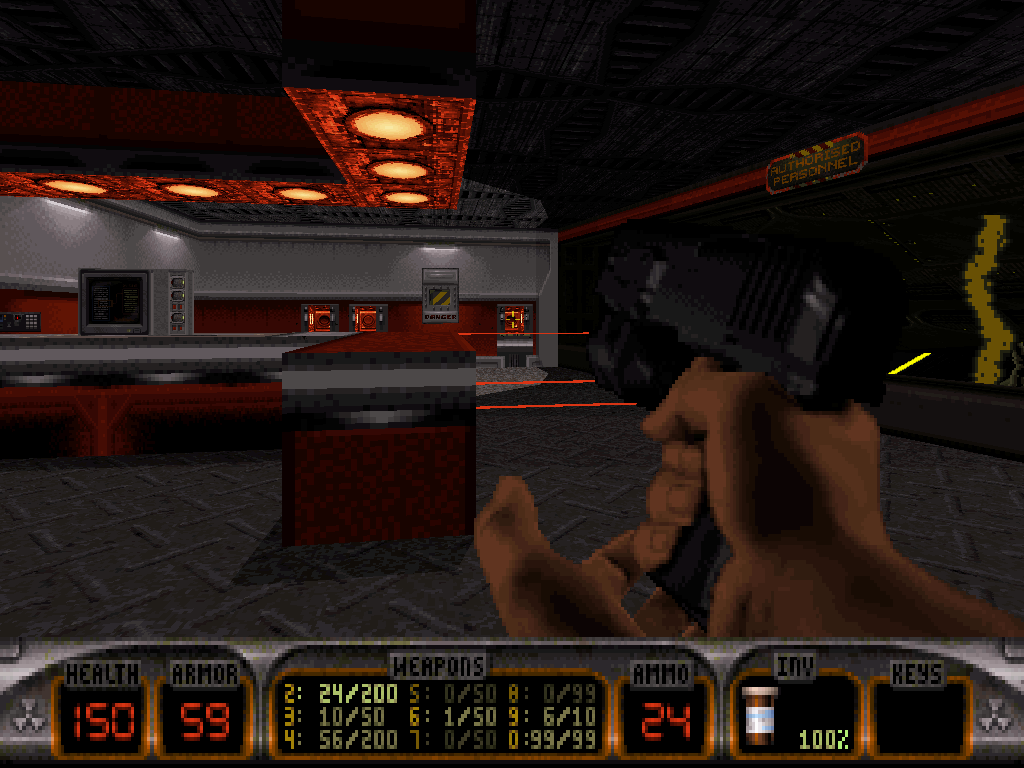
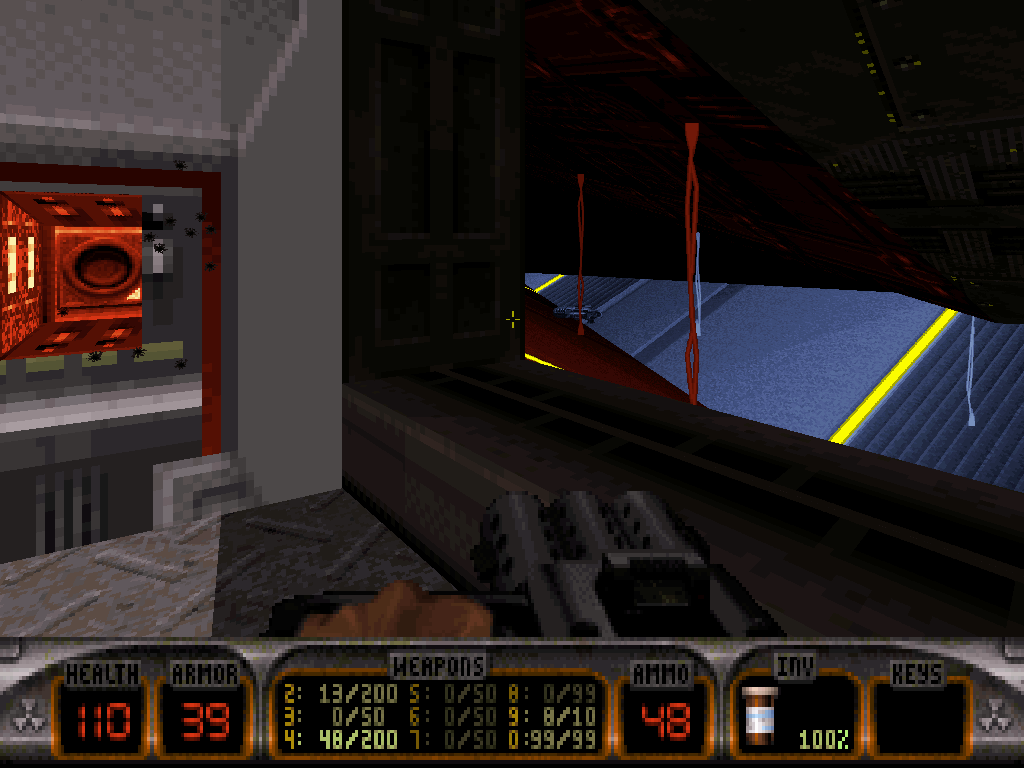
Now equipped with the crucial weaponry, Duke's goal is to access the keycard to deactivate the first forcefields, which is located in one of two adjacent bathrooms, but both are locked (one principle regarding the bathrooms on this plane being that a red light on the nearby sign indicates one is occupied/locked, whereas a green light indicates it's vacant/unlocked). However, Duke can access the galley; blowing up the wall there will form a hole allowing to peep into the first bathroom and thus either shrink Duke already to access a secret ventilation shaft, and/or shoot the switch on the opposite wall which will unlock the bathroom from the inside.
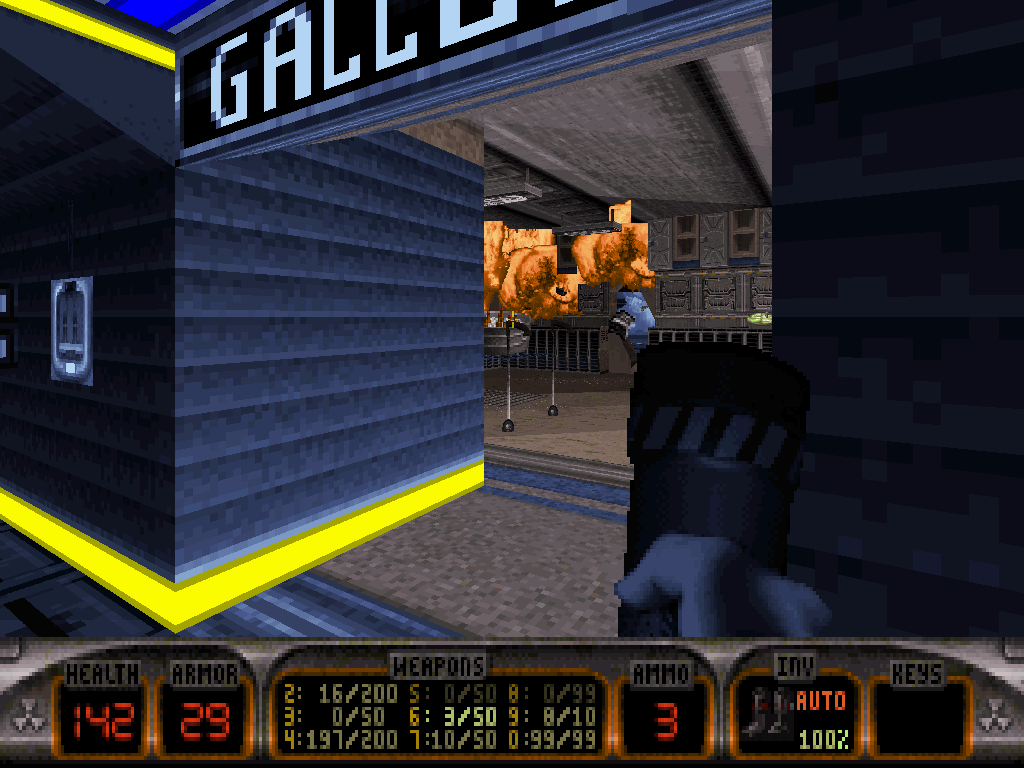
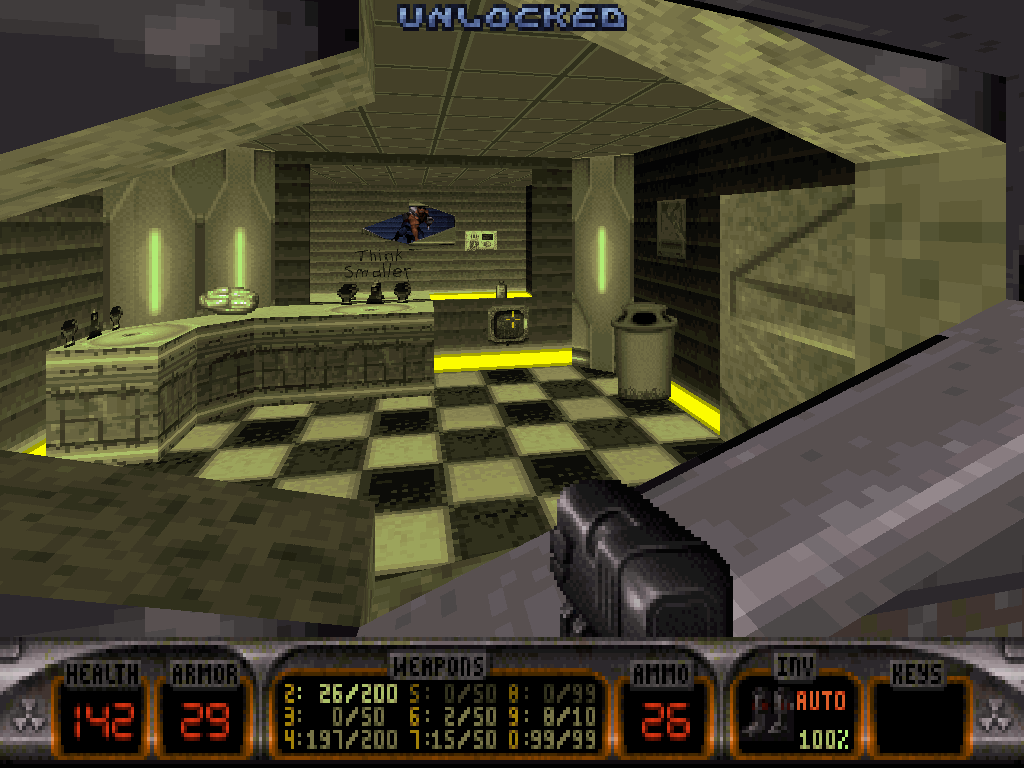
Duke can now access said bathroom through the door and spot a tiny ventilation duct behind the toilet. One more shrink ray rebound off the mirror shall reduce him in size to the point of fitting inside and being able to traverse through, therefore accessing the second bathroom and the key. As soon as Duke gets close, however, a Pig Cop will storm through the door and join in on the fun by trying to stomp Duke if he's still shrunk. Duke should run to evade the Pig Cop until he grows back in size, or use steroids (if he has any on him) to instantly negate his shrunk state, and then proceed to kick and/or blast the vicious Pig Cop to death.
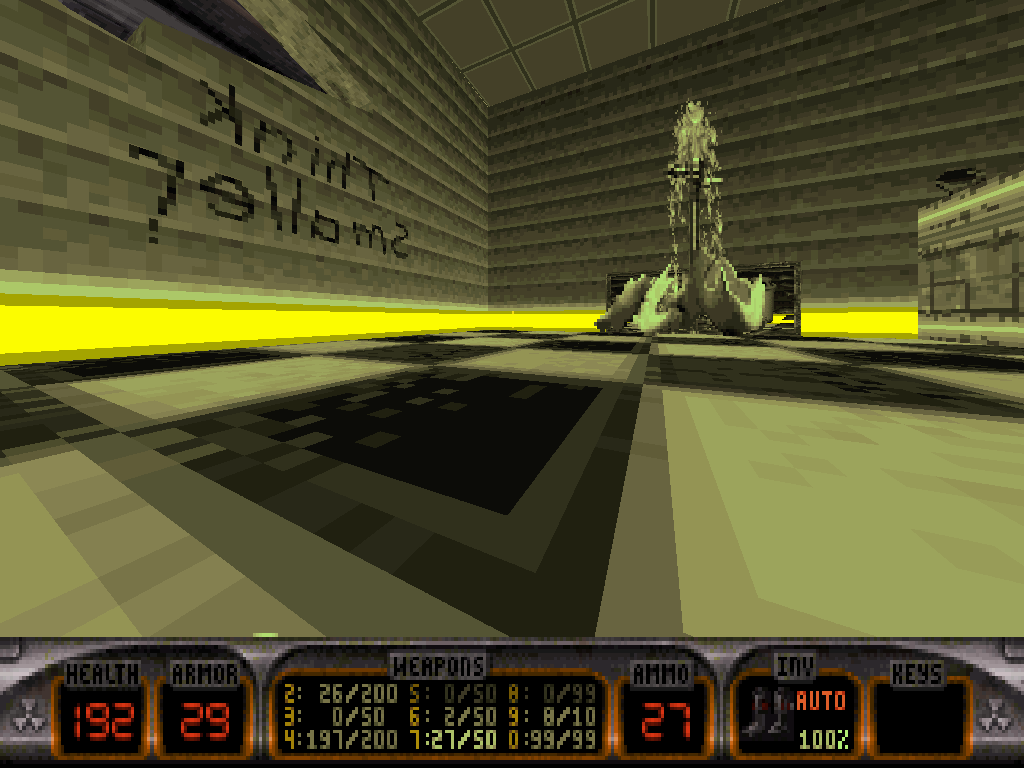
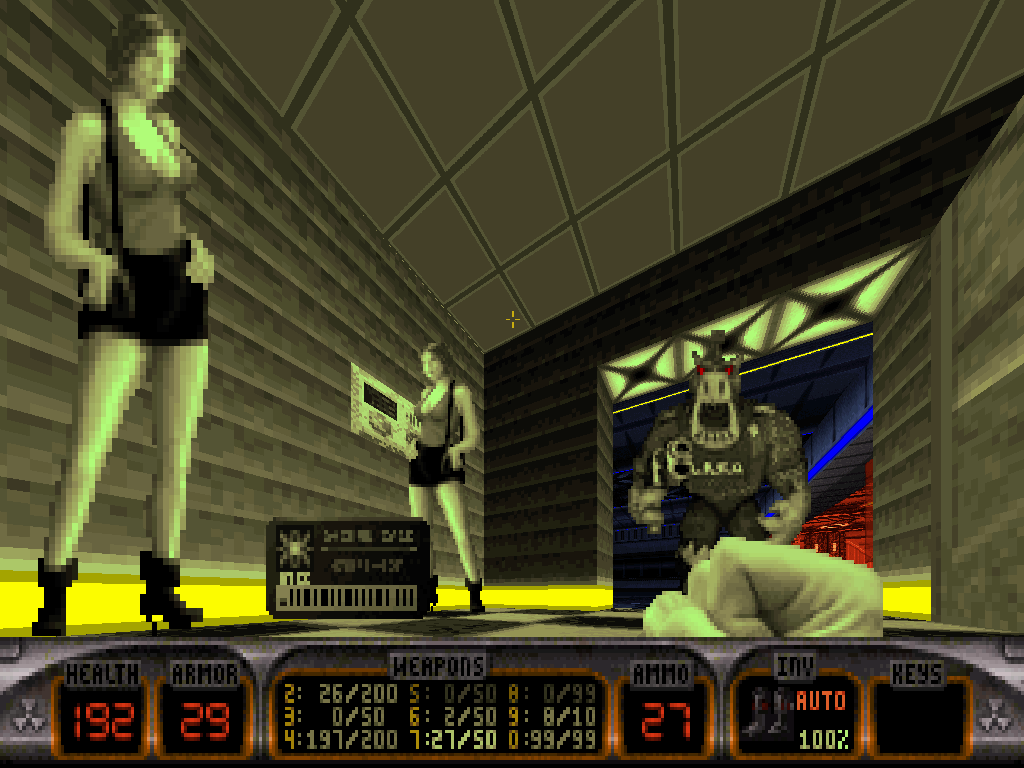
Now his full-grown self again, Duke can unlock the bathroom door for good, exit the place and deactivate the forcefields in order to progress. Cleaning up the rest of the floor will reveal two consecutive passenger areas sandwiched in between two emergency clinics, with locked access to the cockpit all the way up north and an elevator down to the cargo bay in the center. Unlocking the central bathrooms (by the means of the switch in one of the clinics), then proceeding through the duct in a similar fashion to how Duke just reached the first key shall reward him with a secret Devastator (and Battlelord sentry encounter).
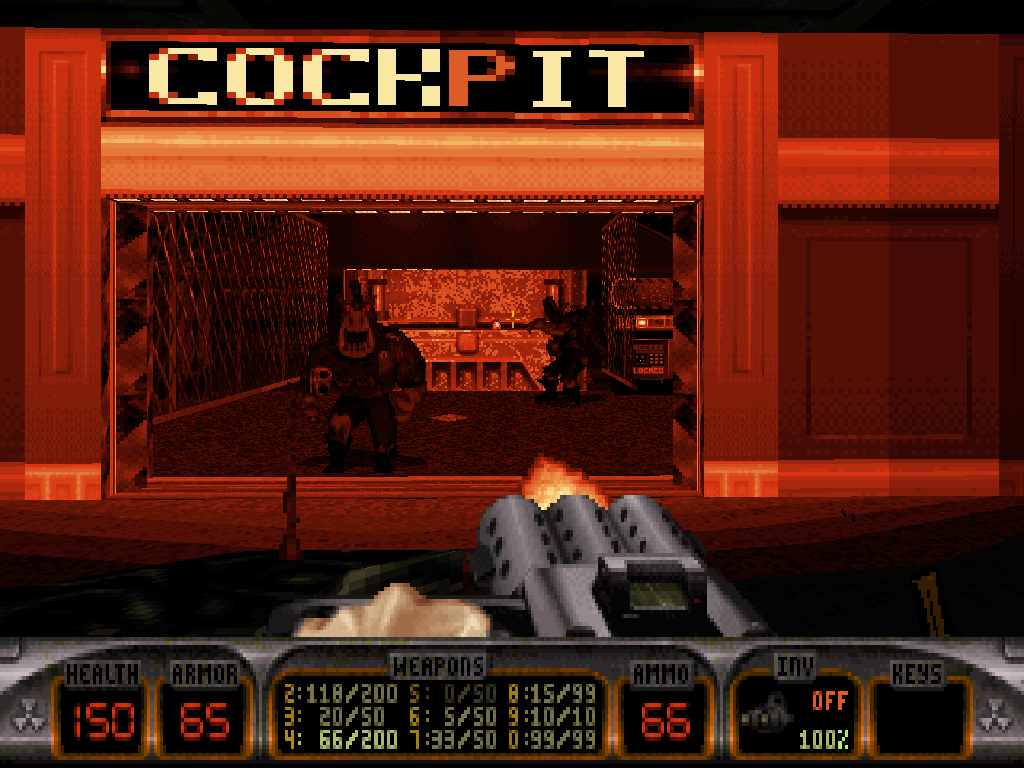
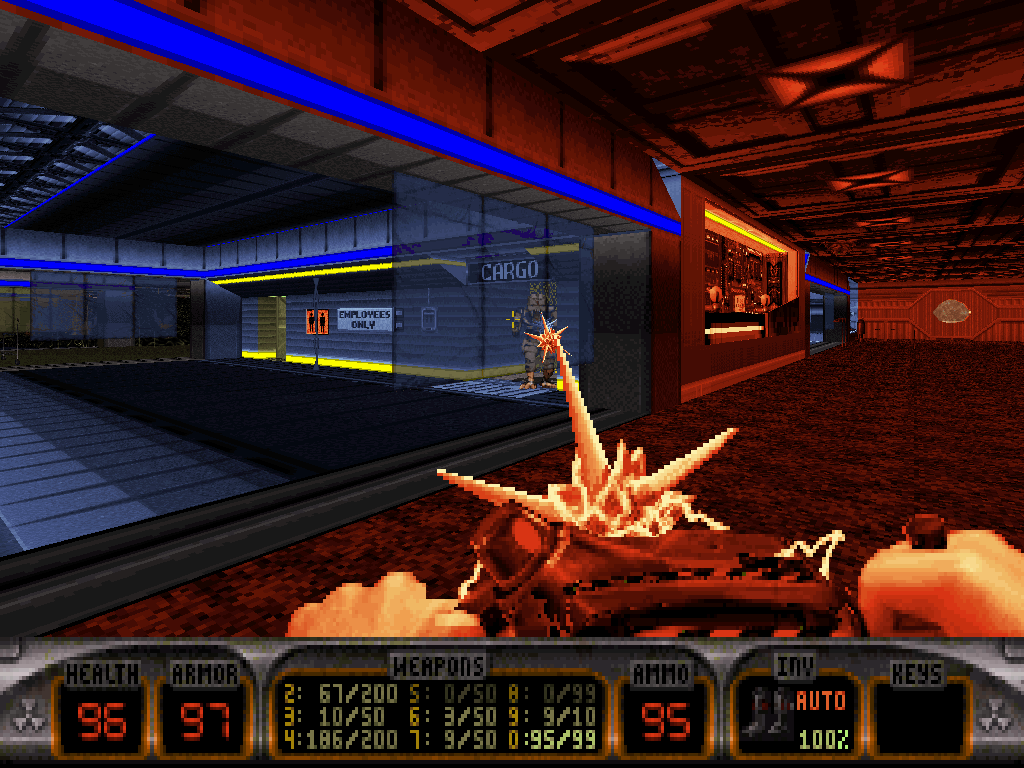
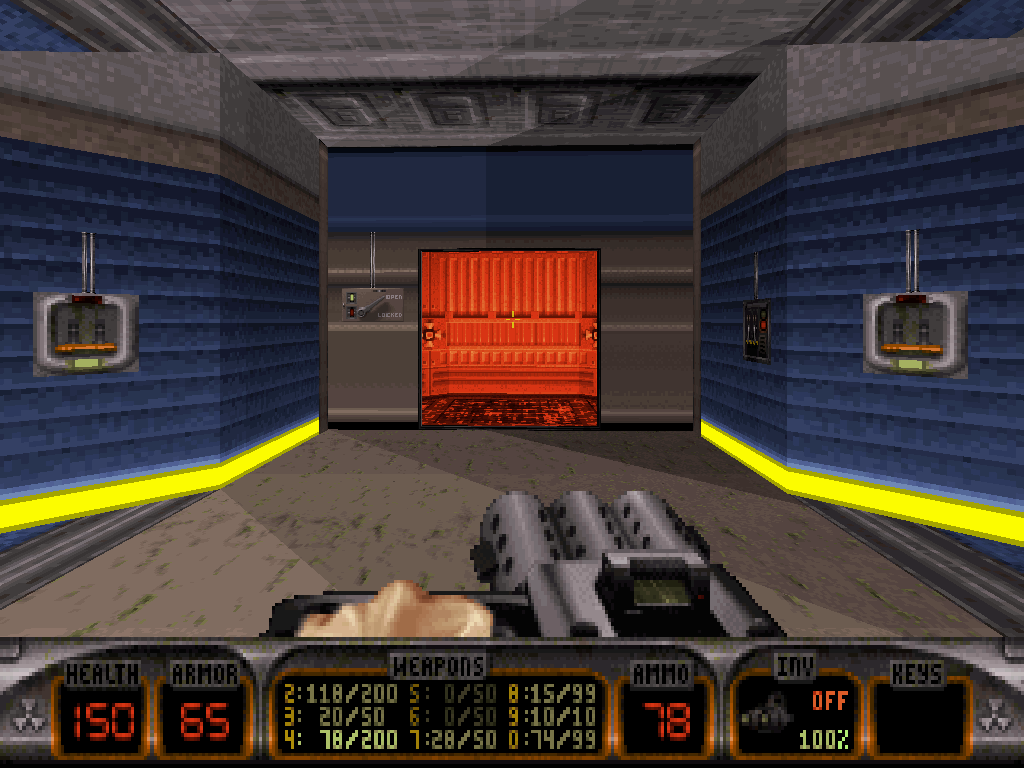
In order to access the cockpit, Duke will need to ride the elevator down to the lower floor/cargo bay. Once there, he will find himself in the center of a circular hallway which is home to one massive door that is locked by a multi-switch code but, once opened, leads directly into the actual cargo bay; one other, smaller door in the back which requires the blue keycard to activate; two sets of tripmine traps, and a security room Pig Cops will try and ambush Duke from as he gets close.
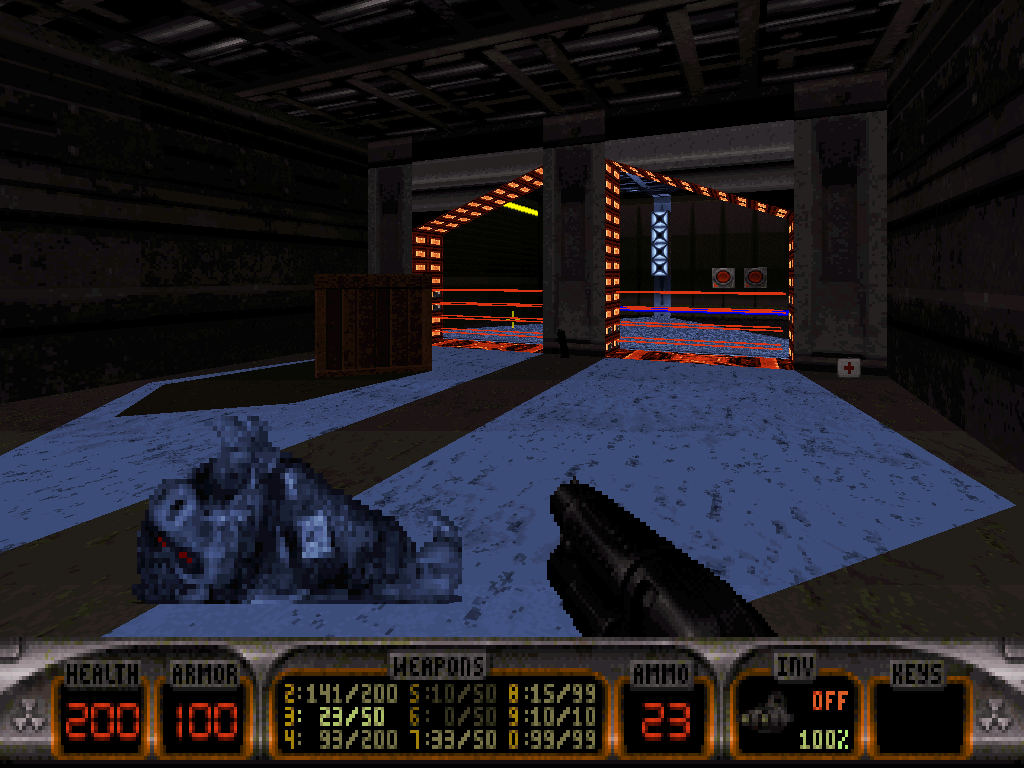
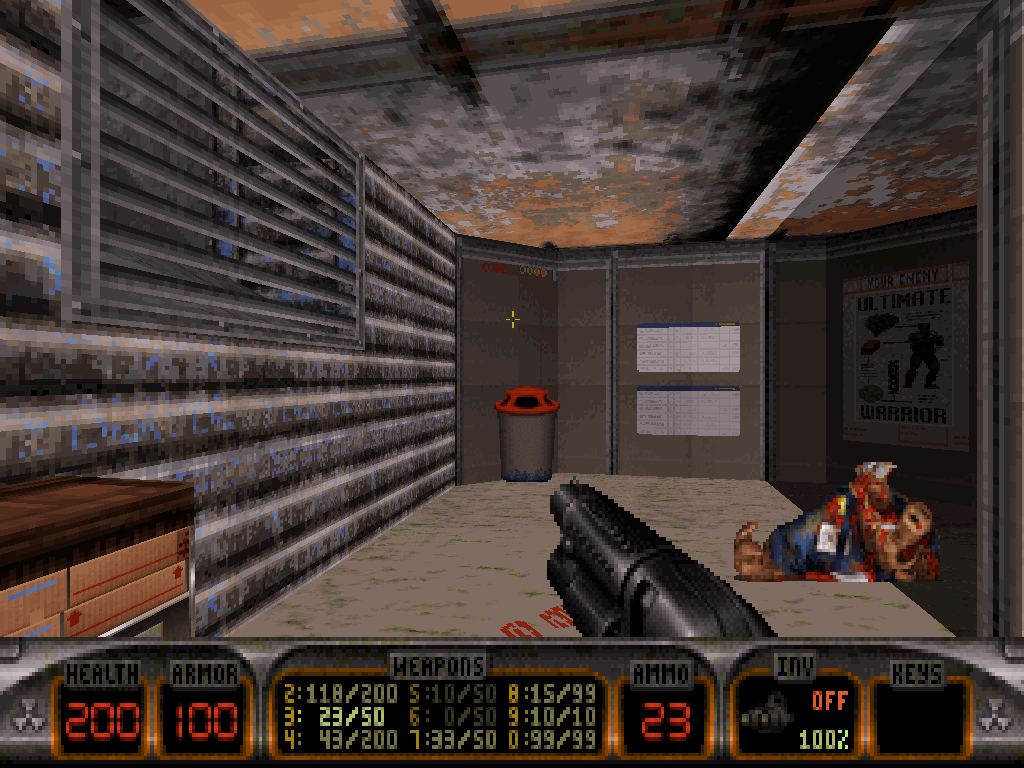
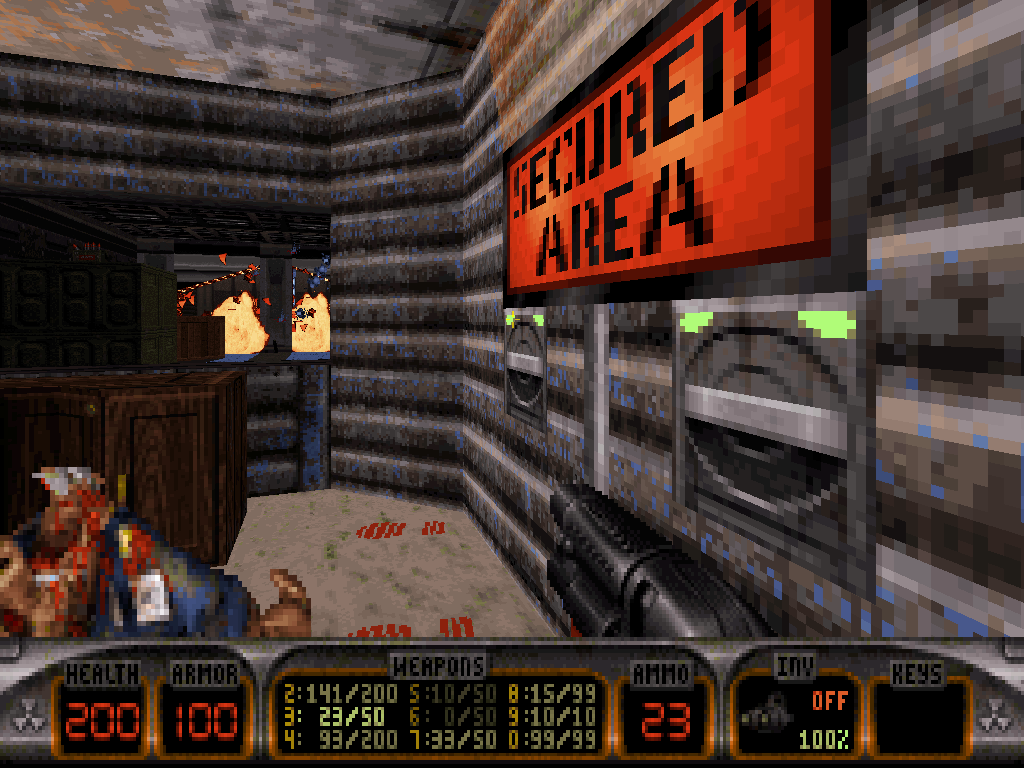
Sanitizing that pigsty will permit a lot: the deactivation/sabotage of both tripmine traps, access to some possibly crucial, yet semi-hidden health items, and a glimpse at the code for the cargo bay door if Duke can locate it.
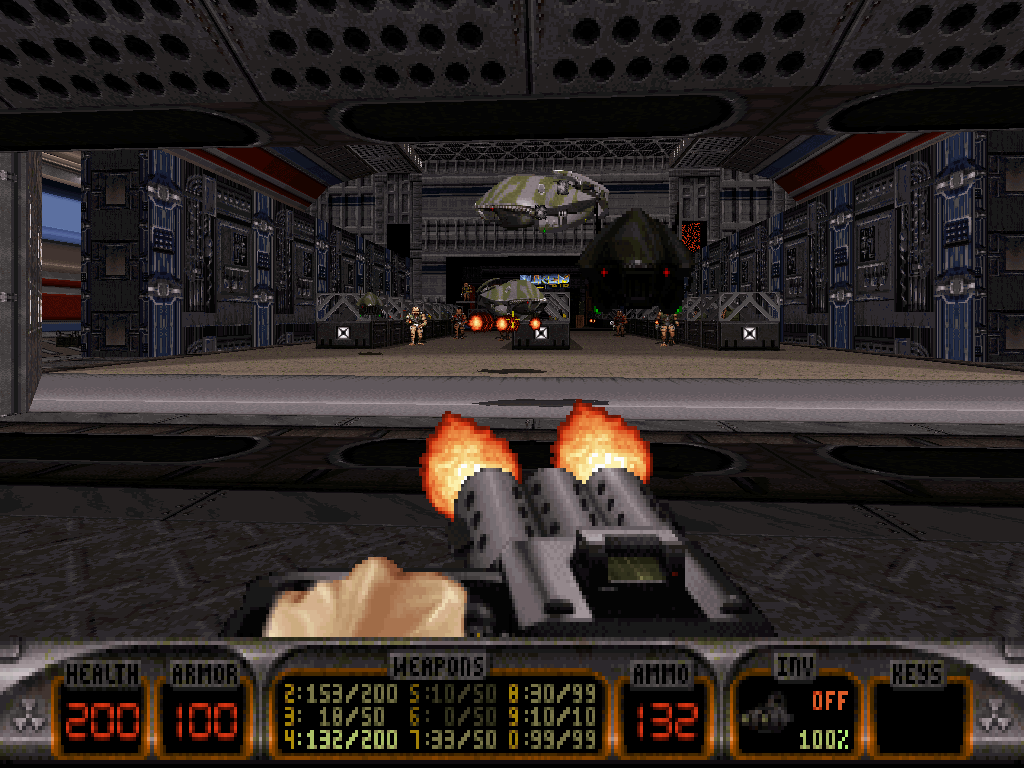
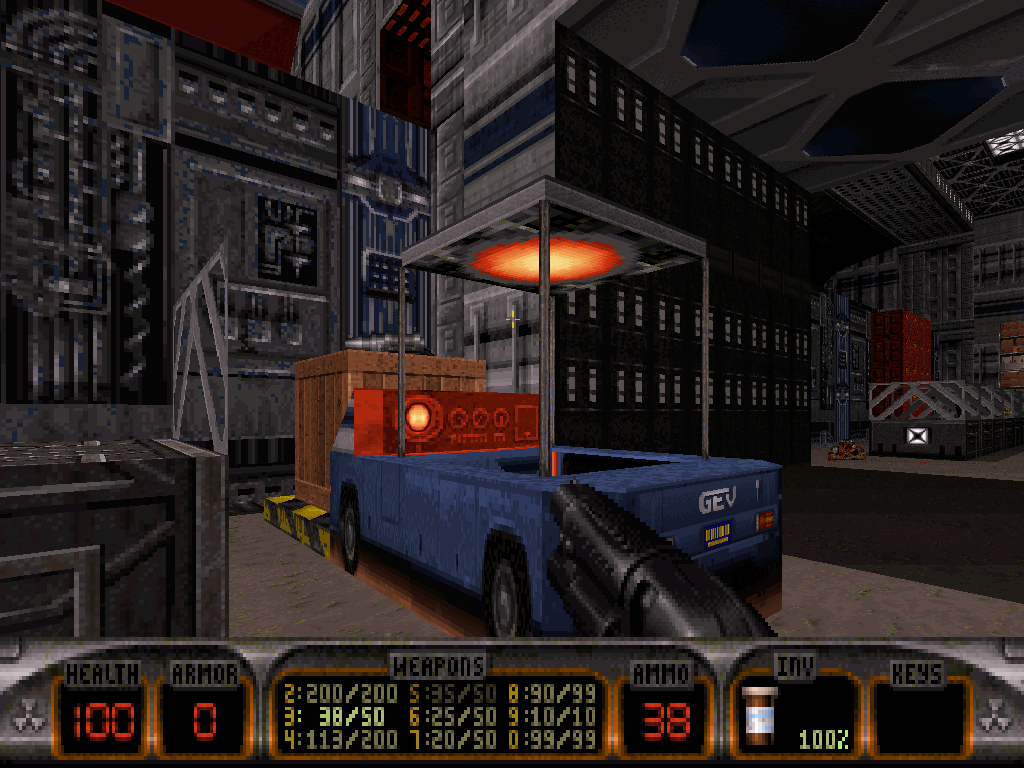
Once inside the cargo bay, clean-up on all aisles is in absolute order but then, unless Duke can get creative with enemy surfing, jumping exploits or jetpack leftovers, he might find himself in a dead-end as the westernmost conveyor belt is too high to climb up. Although, operating the forklift in the first section of the room will grant him enough height to reach the easternmost one.
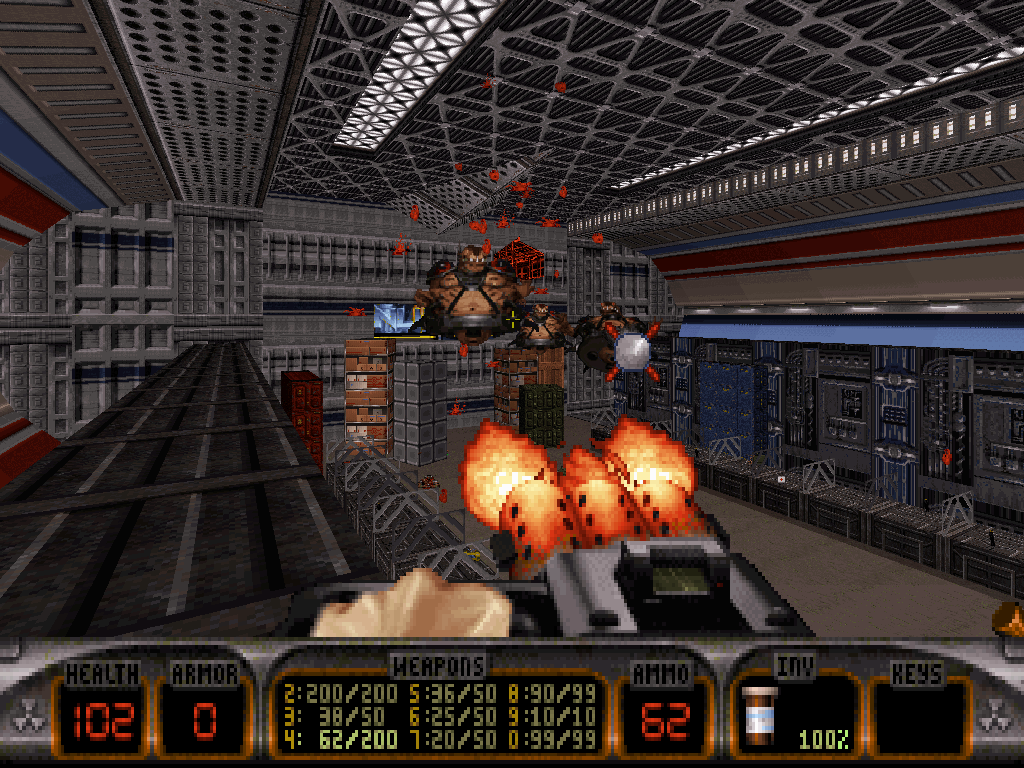
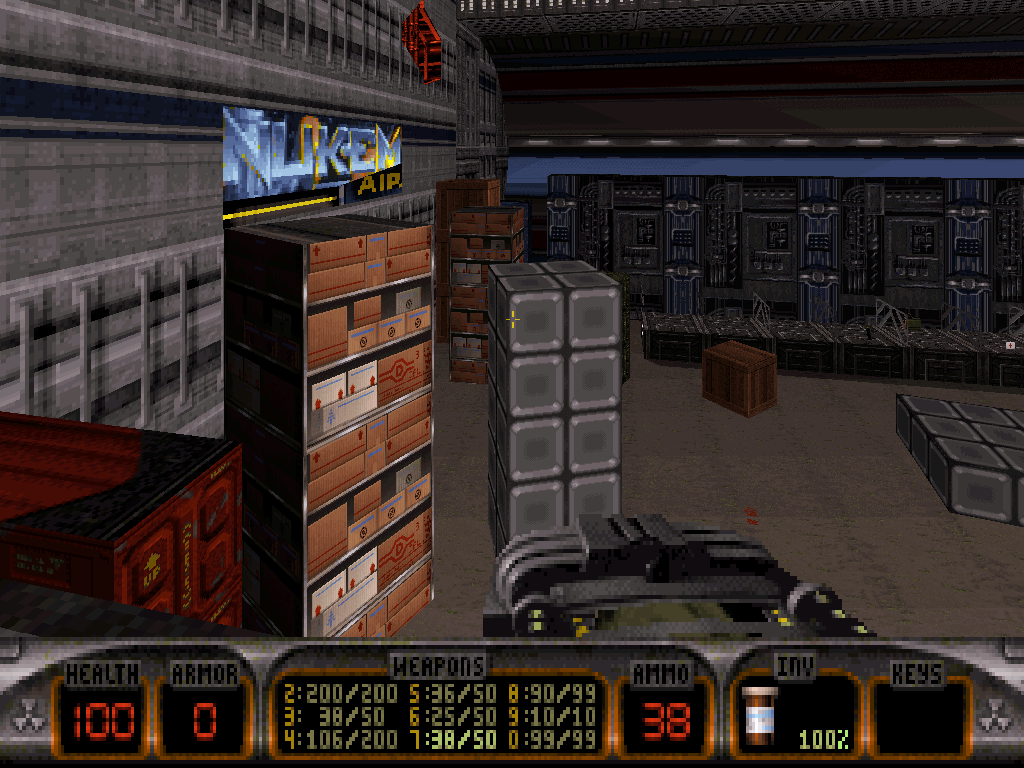
Venturing anywhere near the alien nest, eggs and Atomic Healths in the one room up there will result in some immediate backlash under the form of a Fat Commander onslaught suddenly blasting In, exploding a wall in the back of the plane; one positive side effect will be depressurization strong enough to suck all the crates nearby closer to the newly-formed hole, reshuffling them as well as the order of the possible platforming in that room. Jumping from one to the next, Duke should now be able to reach the land on top of the opposite, westernmost conveyor belt.
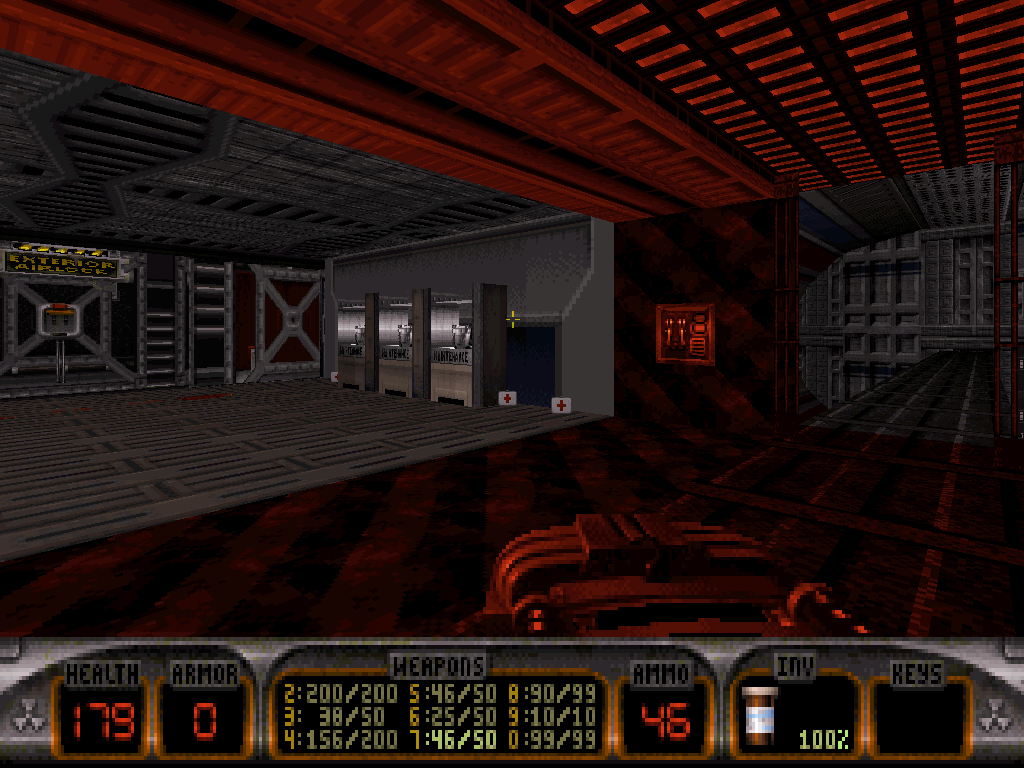
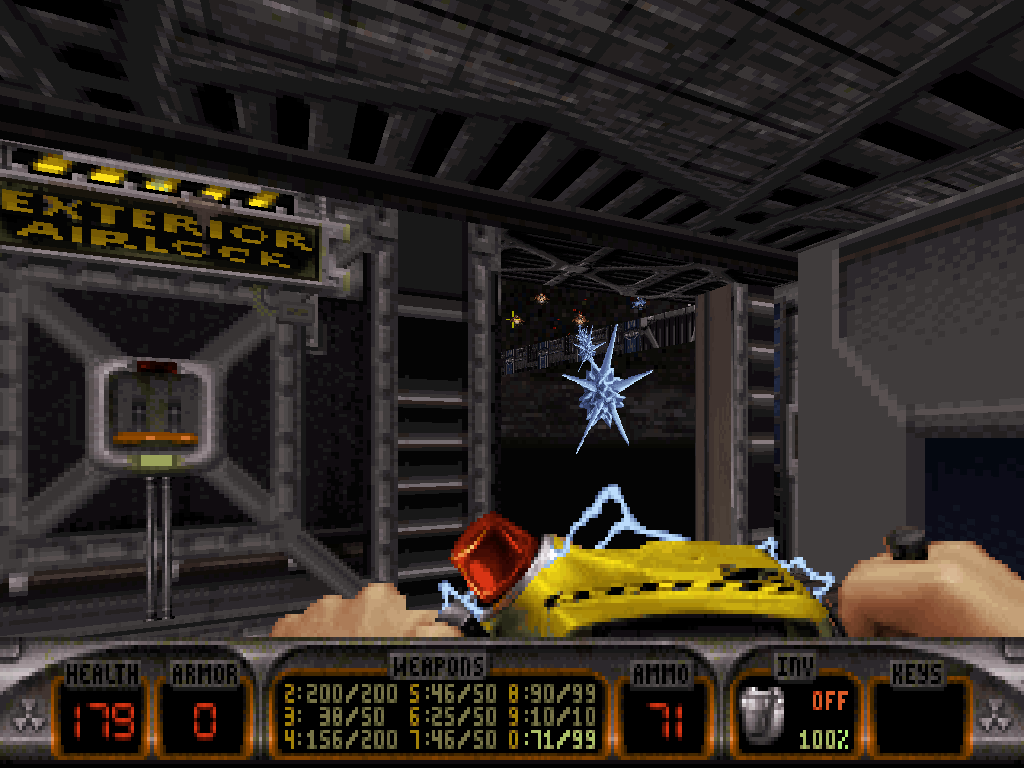
Following that second conveyor belt will lead Duke to another room which contains an Ice Cold Commander, three 'maintenance' jetpacks and a switch for the 'exterior airlock'. Flicking that switch will close said airlock behind Duke and open the exit door in front of him, revealing the skies the plane has been riding this whole time and a bunch of alien foes awaiting his arrival on the nearby wing.
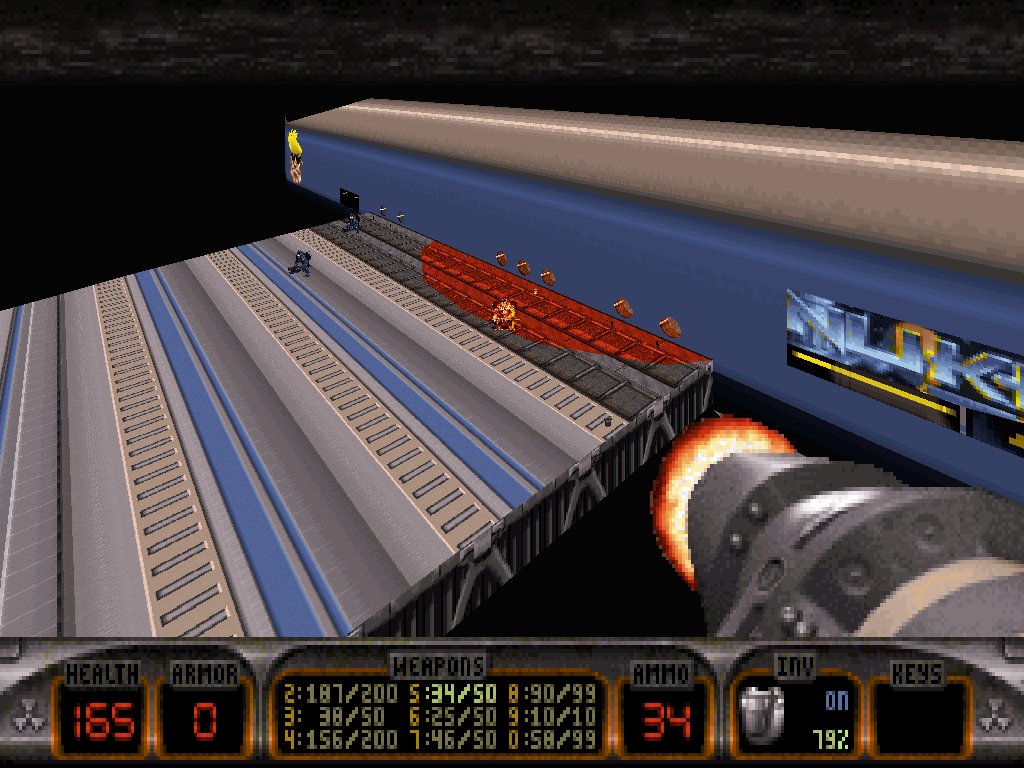
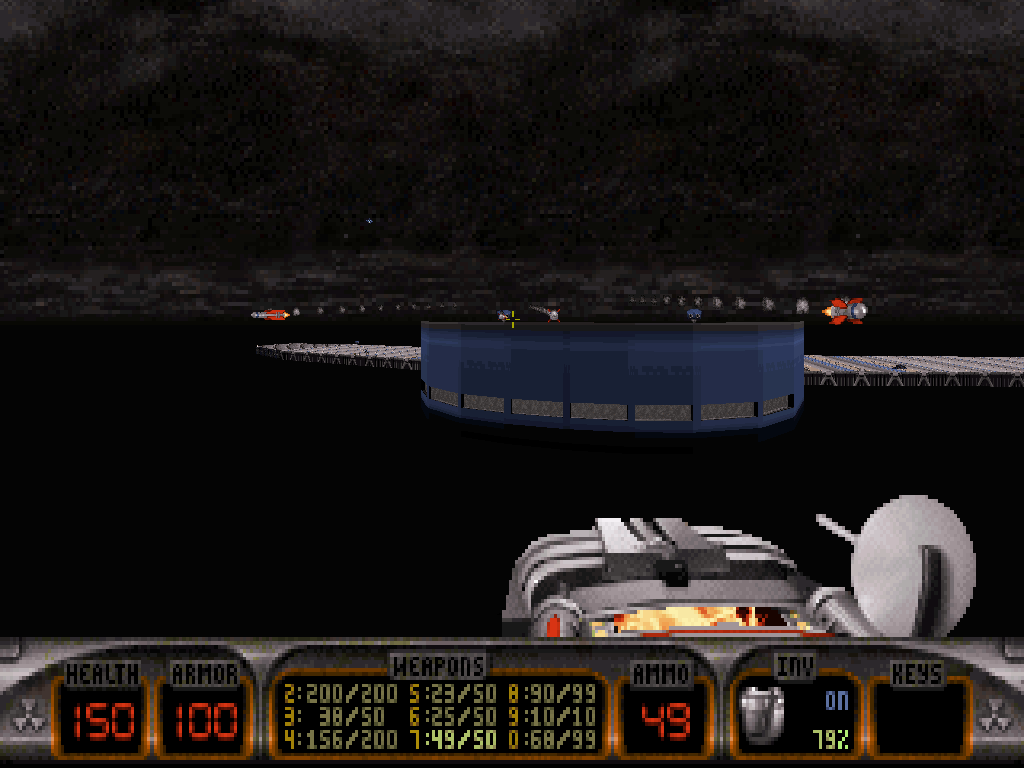
Duke's goal for this airborne mission should be to use the available jetpack(s) to fly around the plane, land on the opposite wing, snag the blue keycard there and then make it back eventually - via either the exit door again or the hole the Fat Commanders blasted under the auxiliary power unit in the back of the plane. Running out of jetpack and falling, or flying too low beneath the plane will be one omnipresent hazard out of more seeing as enemy waves will keep intervening to try and halt Duke's progression, and rocket-firing U.T.E.R.U.S. turrets adorn a few parts of the central, mechanical carcass.
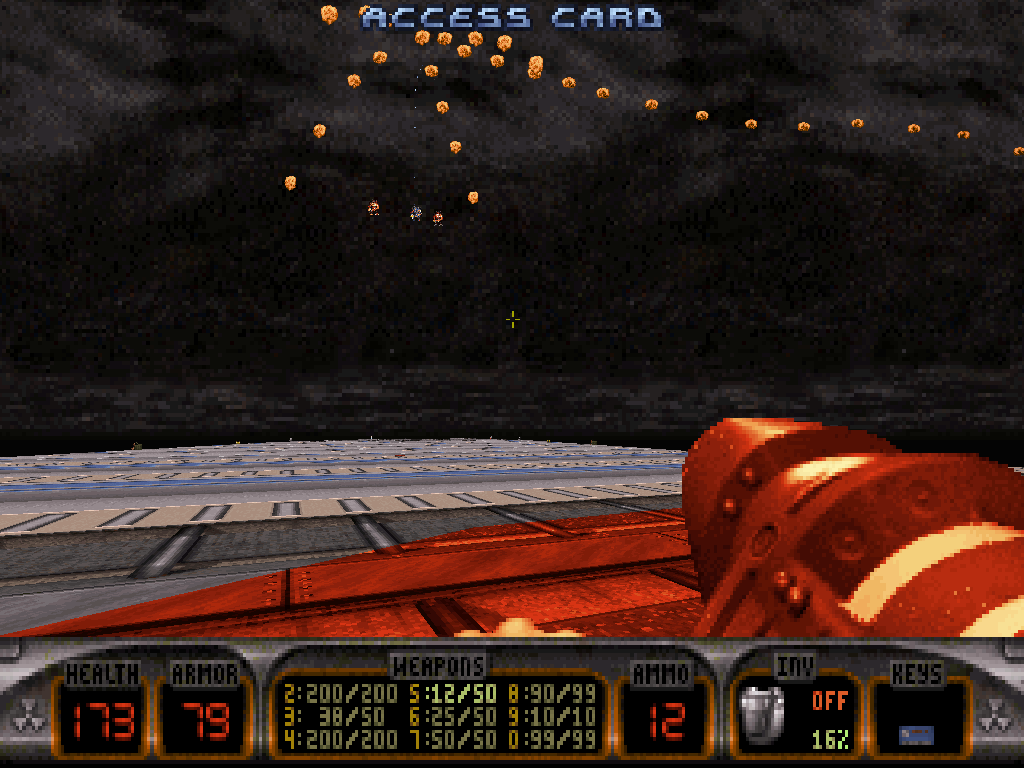
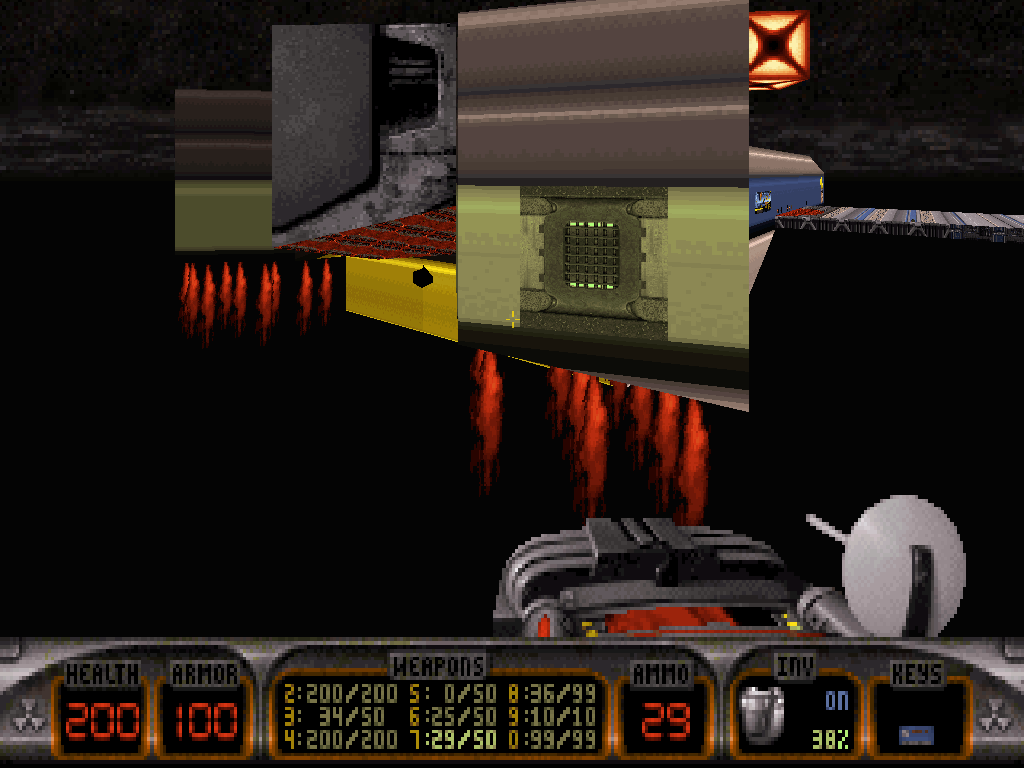
Regardless of his pathway of choice, Duke should be prepared to face a wave of last resort security agents after the illegality of his aerial joyride: Pig Cops, Pig Cop Tanks and one especially mean Sunburnt Battlelord sentry are investigating the cargo bay. Upon his natural domination, Duke is then free to unlock the door up the first circular hallway on that floor, next to the security room.
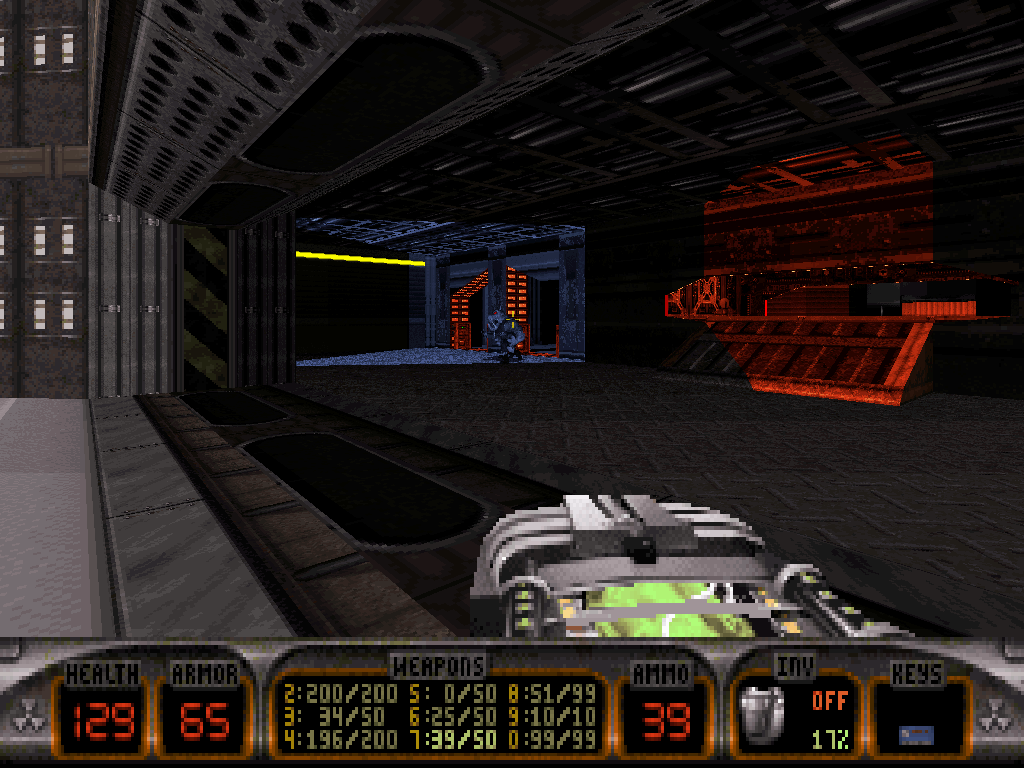
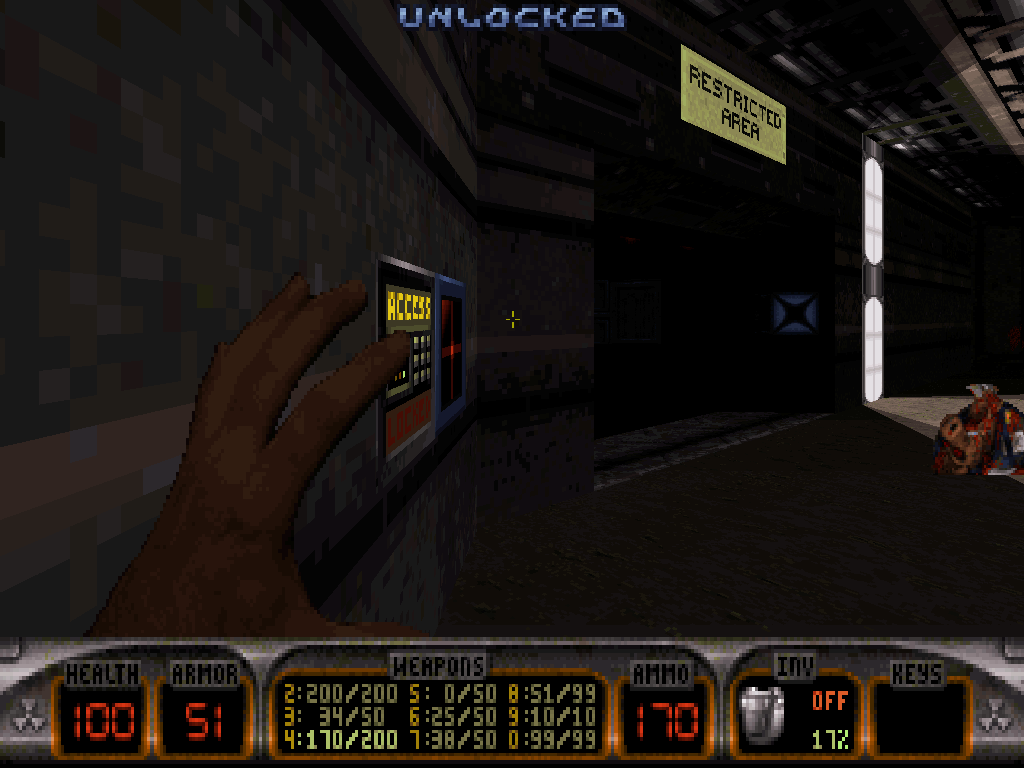
On the other side of that door are concealed, originally, just a few Troopers and then, imminently, one more ambush - which itself will unveil sentry drones and Fat Commander variants, but also a control room and a ventilation shaft as its entry point.
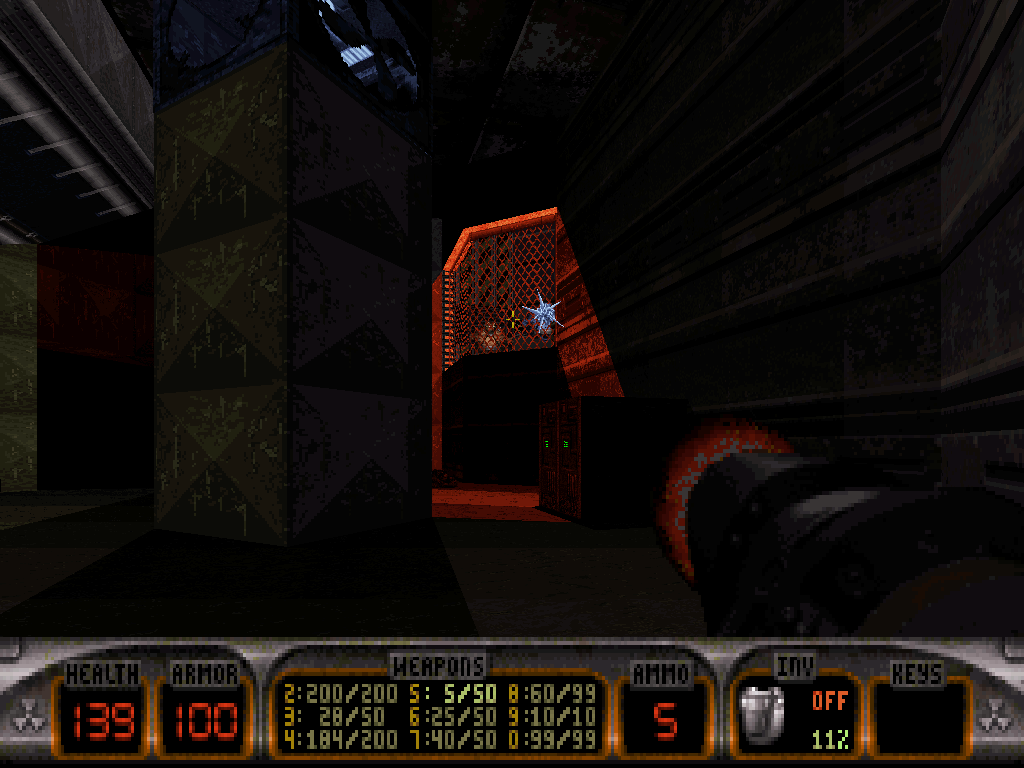
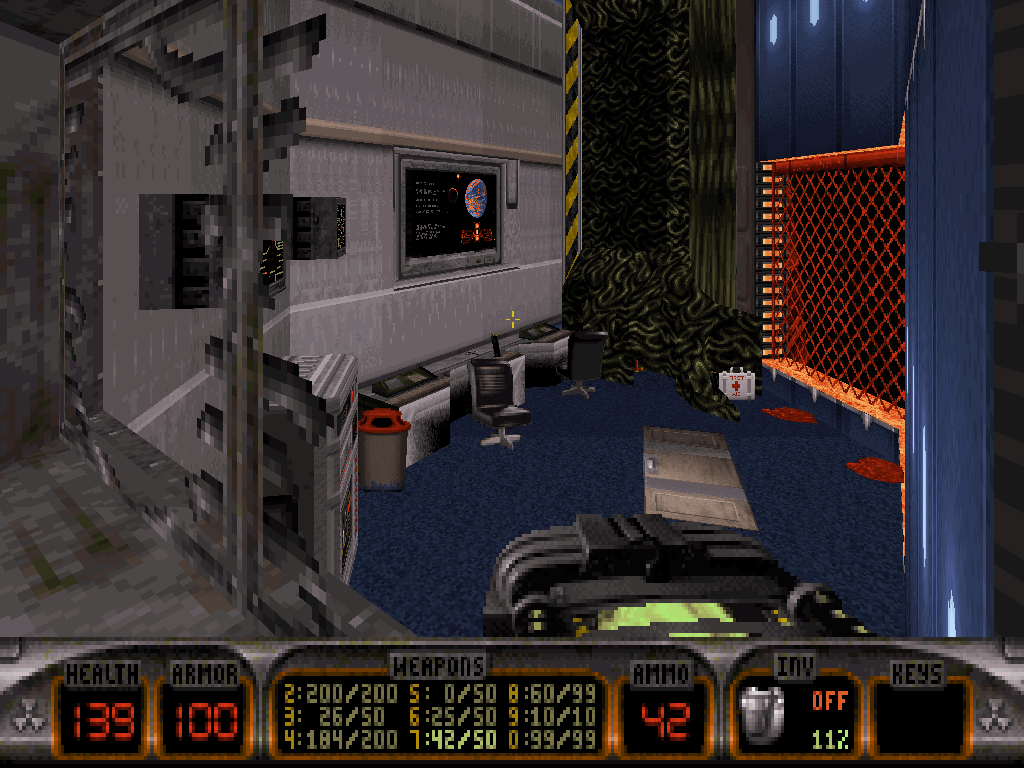
Duke should sneak inside and operate the various switches in order to gain control over the room's height and trigger the implosion of alien corruption nearby, creating a crack in the wall. Thorough inspection of the view into the next room from through that crack will result in Duke locating, on the rightmost wall, hints of a switch he can aim at and shoot. Doing so will (temporarily) raise the door to the avionics Duke probably spotted just moments earlier, in the previous room; and so, he really should rush there after it's been triggered. That is, unless he finds a way to fit inside and through the crack himself directly, thus skipping the need to get around the previous room all the way to the door again and even eliminating the apparent need to shoot the switch.
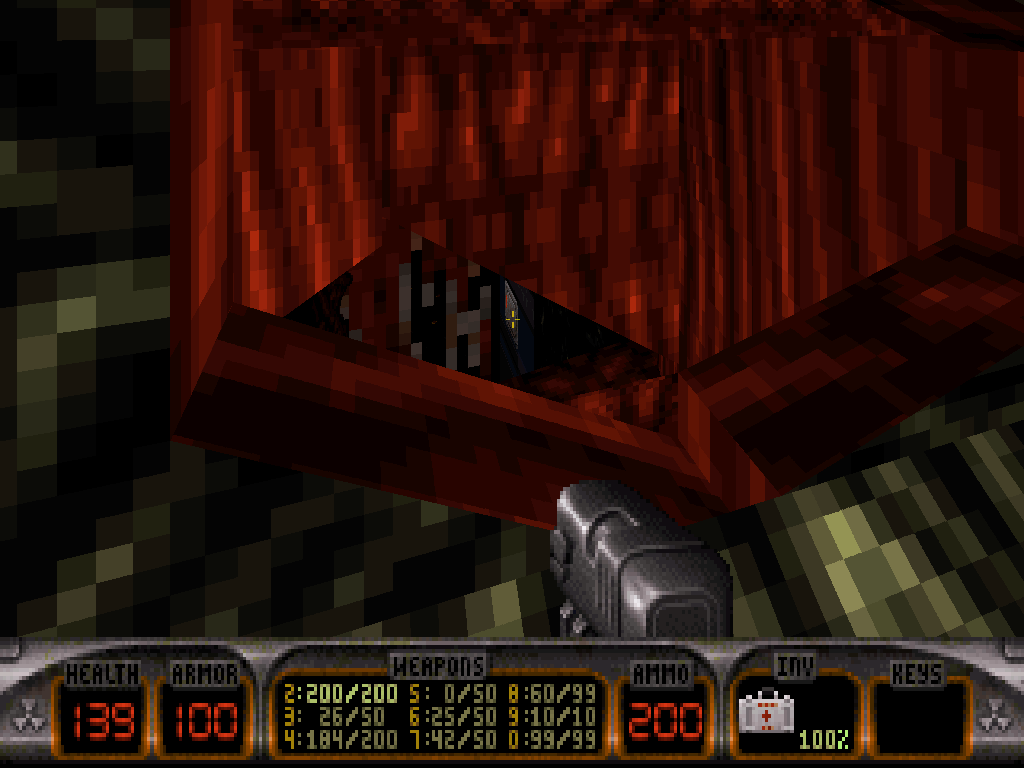
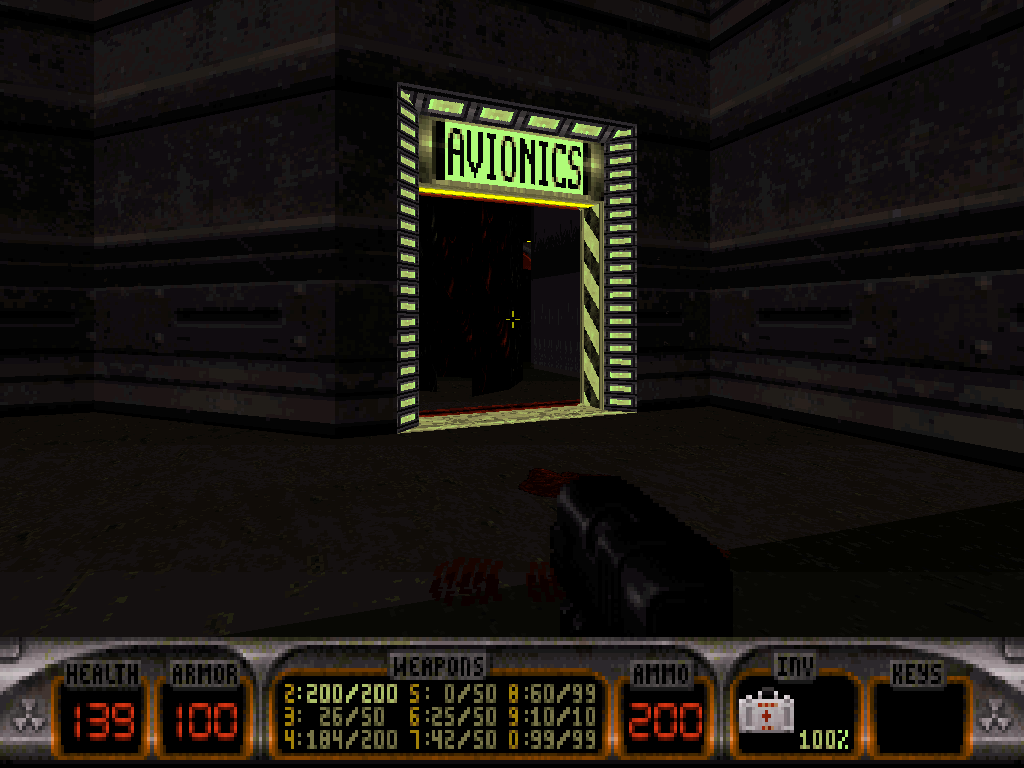
The avionics have been overrun by alien corruption, nests, and two Overlord sentries (on the Come Get Some difficulty setting) are guarding the area: one Sunburnt, one Ice Cold. After he's defeated the duo out of mere principle more so than expectations of personal challenge, Duke is free to snag the final, yellow key and leave either through the door again, or a ventilation shaft in the corner which will lead our hero back into the security room. Either way, at this point, the plane - and way back up to the locked cockpit - should be mostly flooded with one last tsunami of porcine reinforcements.
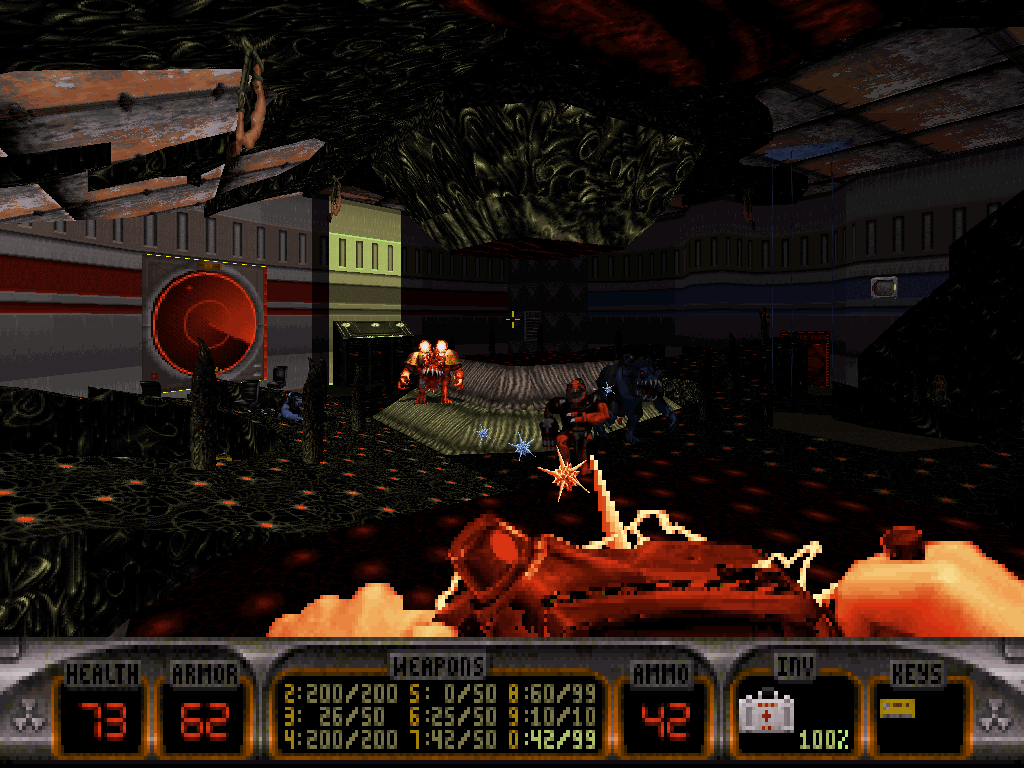
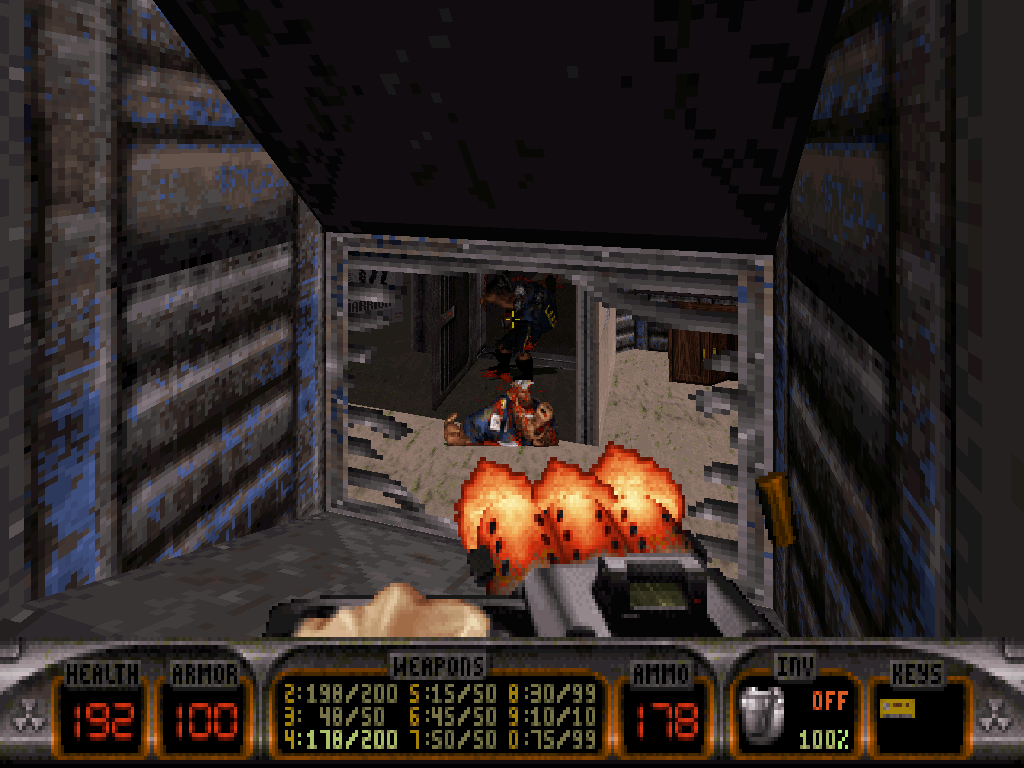
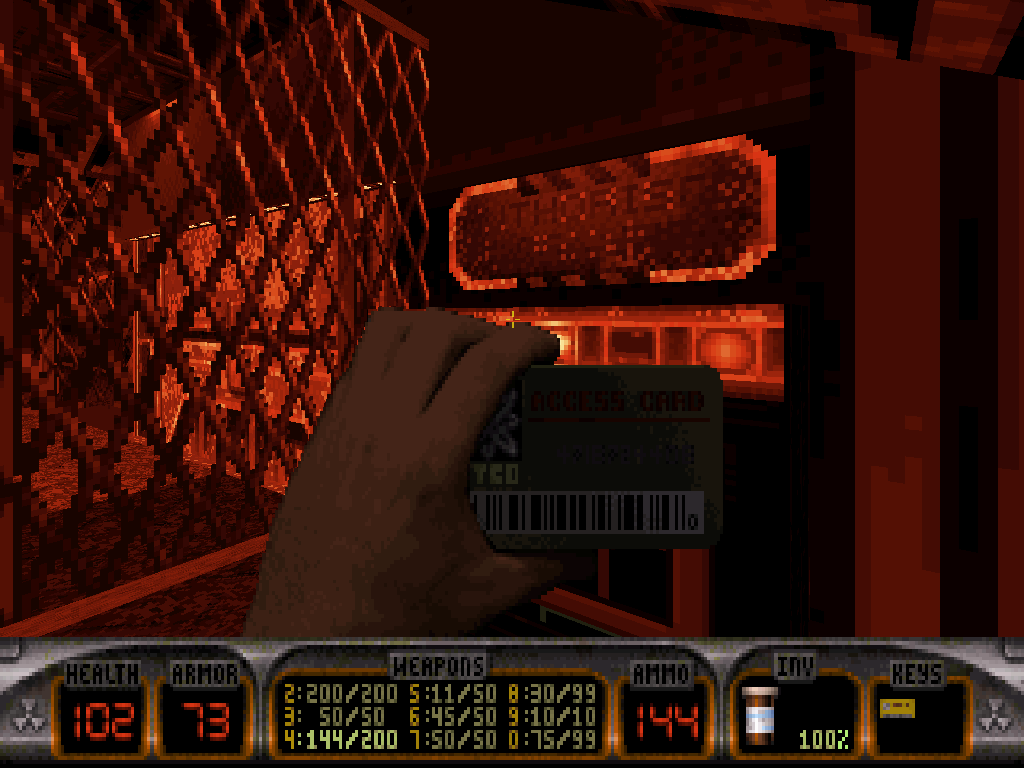
Finally unlocking and accessing the cockpit will reward Duke with a moment of reprieve; that is, until he actually gets too close to the commands, where the true co-pilots: Blast Radius' first Ice Cold Cycloid sentry in company of one of its Sunburnt counterparts will suddenly reveal their presence, in addition to more of the room after electronic panels drop on both sides.
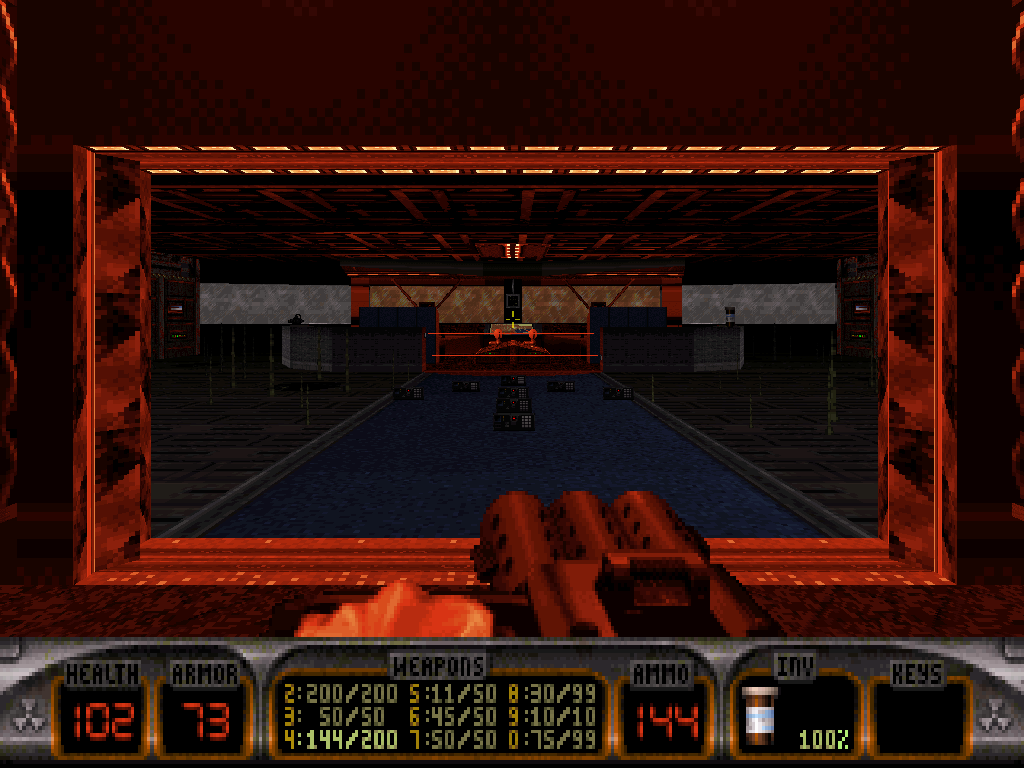
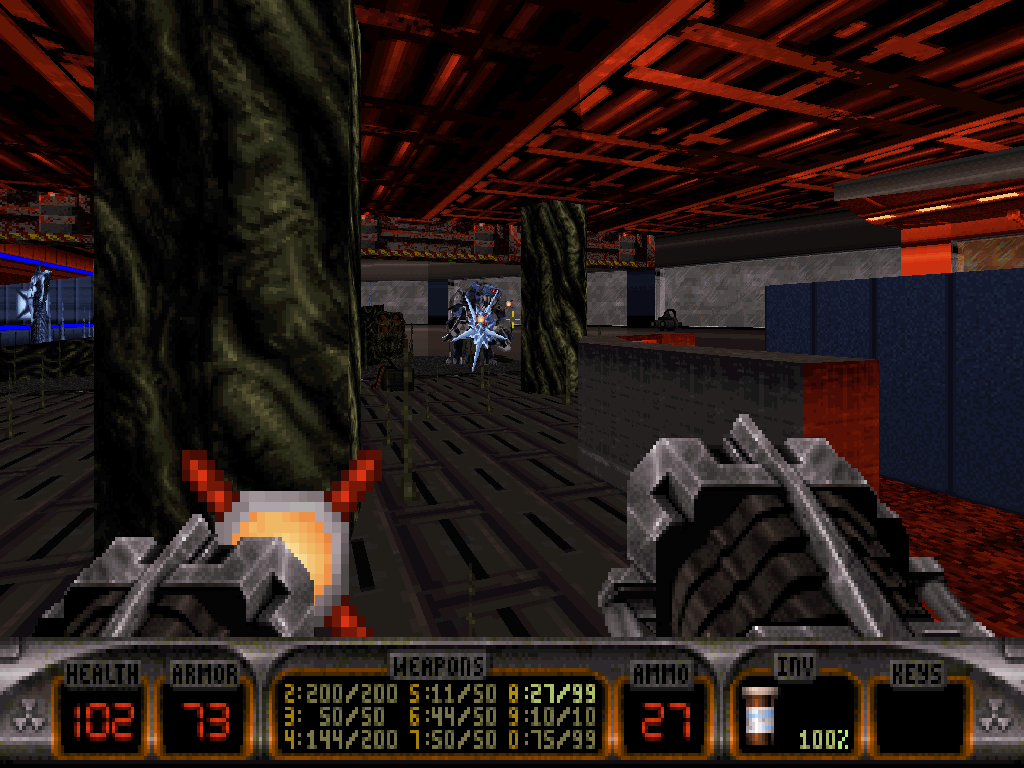
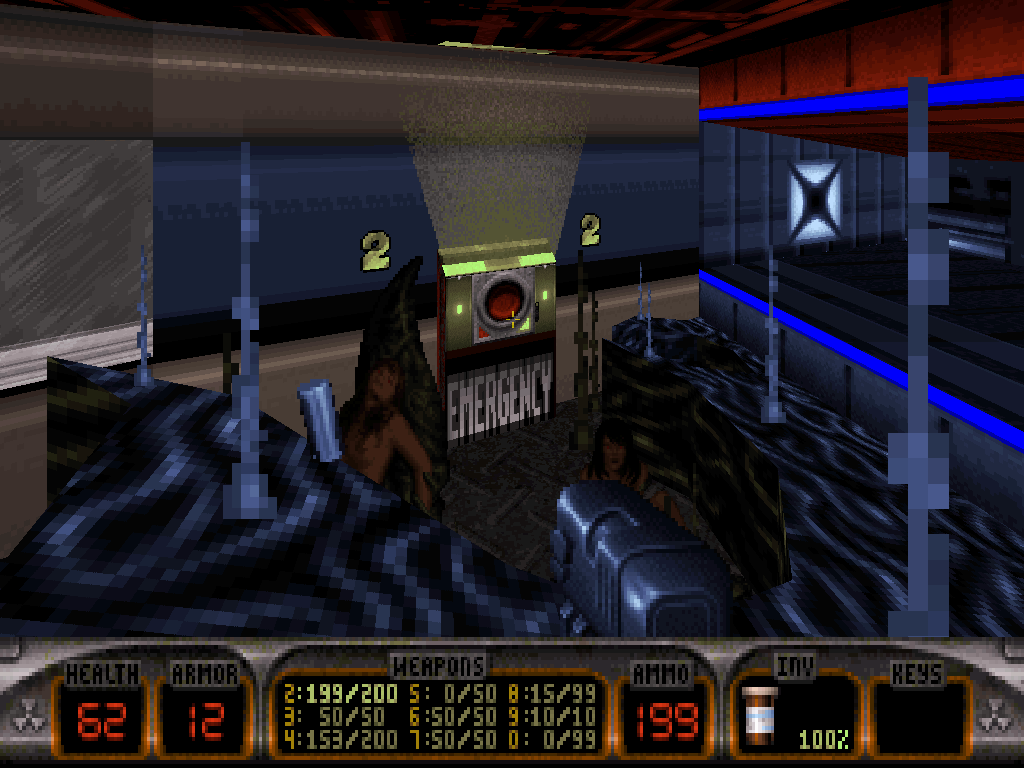
Duke should suppress the Cycloids, then locate and press the two 'emergency' switches their reveal has allowed him to access around the whole of the cockpit. The activation of both switches combined shall result in the duly marked Nuke Button emerging from the central instrument panel.
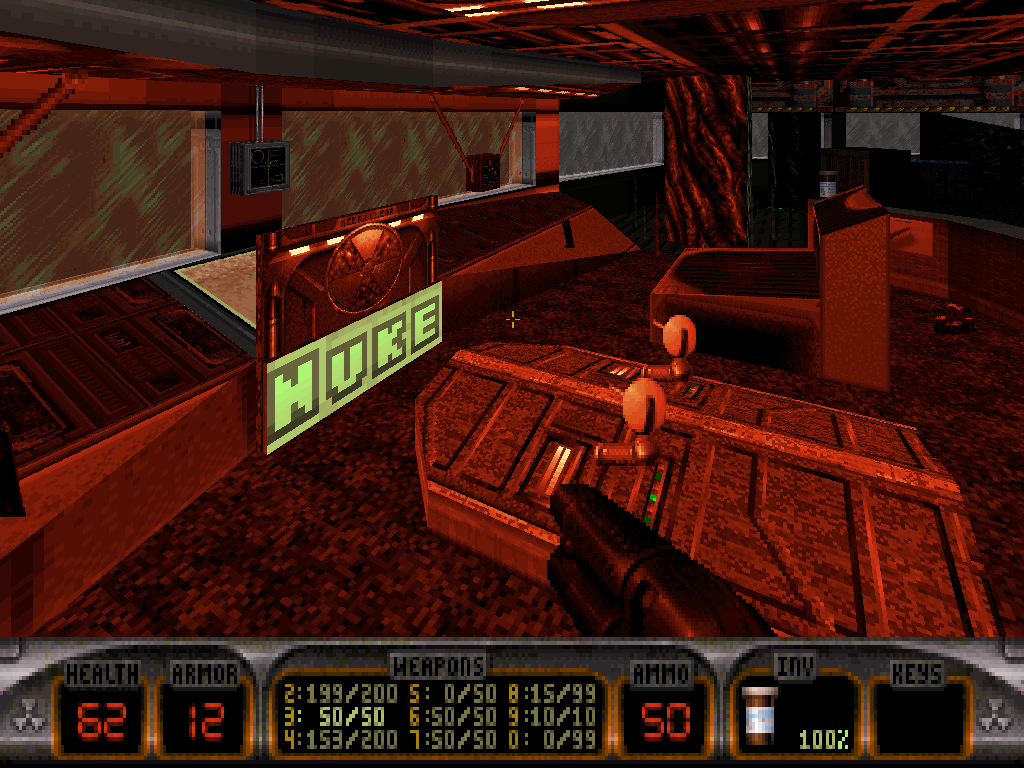
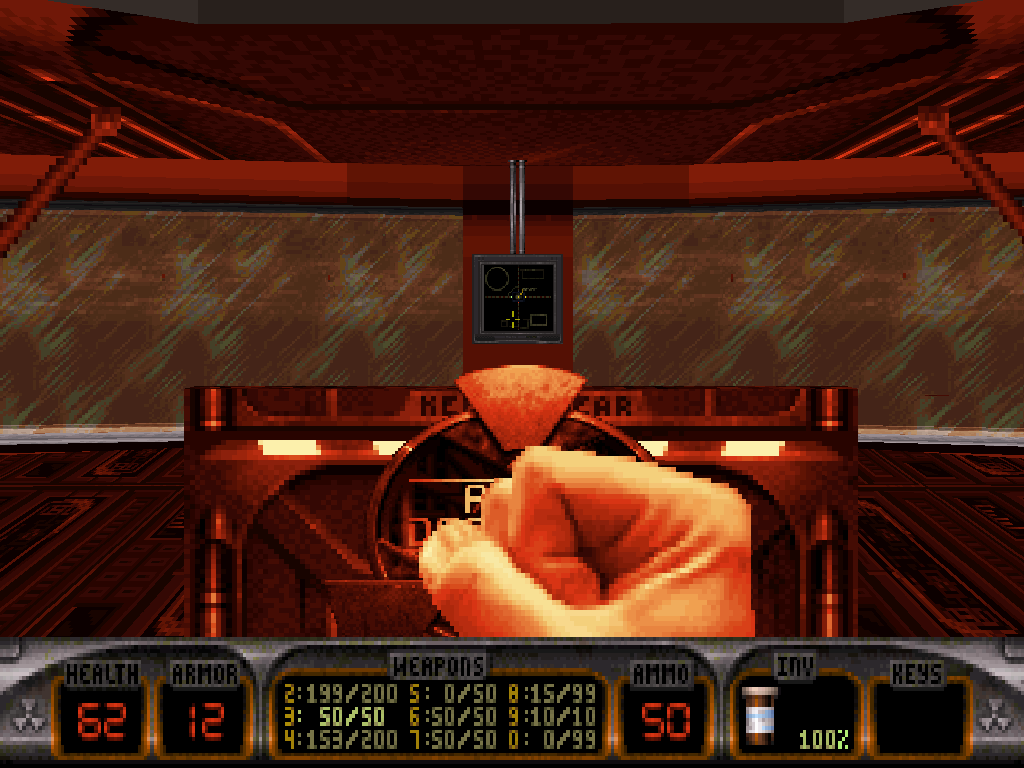

Par time route: Because of its particular push of linearity, speedrunning this level is pure brute force. Duke's way to the first key will completely depend on whether he's come into the level equipped with the Shrinker already or not; unless he can find a way to bypass a wall. (In general, due to its sector-over-sector nature, "High High High" actually may lend itself rather well to intentional sector-over-sector layer clipping shenanigans.)
The 'decoy' version of the second key that is visible as soon as the next point on, on the plane wing but in an inaccessible layer, and does disappear after Duke has fetched the 'real' version outside (see: 'Particularities', below) technically is a valid blue key item and so theoretically can just as well be used on the blue lock, but unless an exploit is found then getting to it should be impossible as all portholes and walls nearby are blocked and so Duke may be forced to go all the way outside and collect the real deal (but going around the back of the plane in lieu of the front allows for faster access).
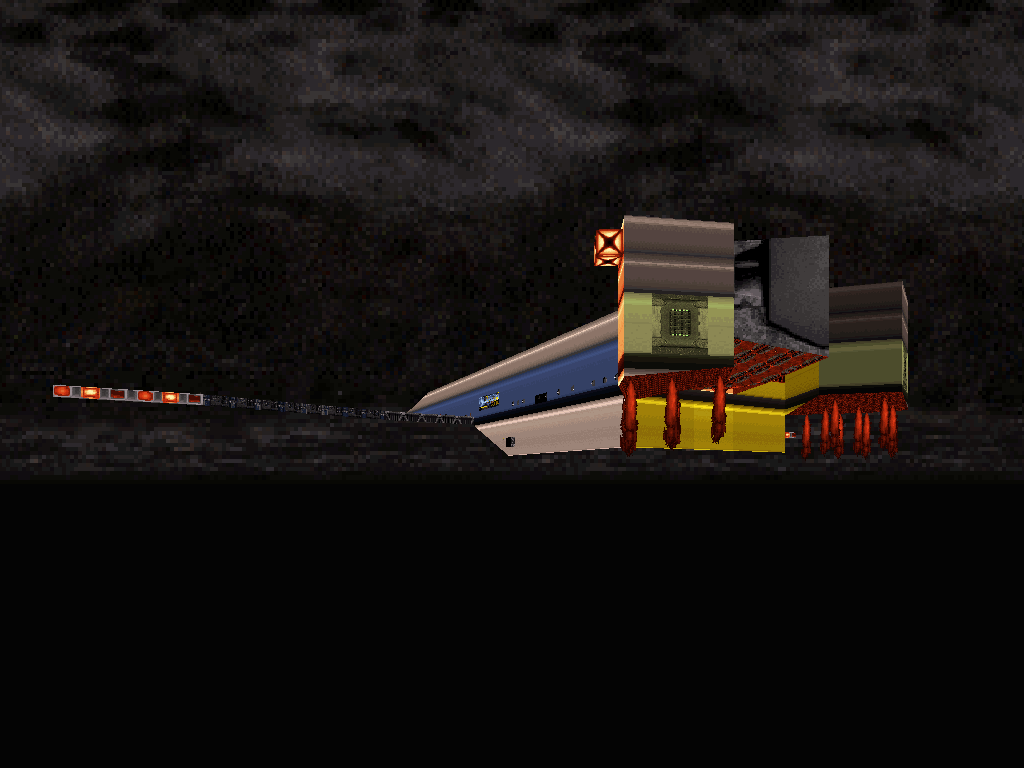
Then, things mostly come down to how fast Duke can access the avionics, either by shooting the switch through the crack or slipping through the hole directly himself.
Finally, once the yellow key is reached, Duke's final run is a straight sprint to the cockpit and exit, where he can try shooting at the distant 'emergency' override switches despite the cumbersome environment in order to shave off a few seconds, but neither the clutter nor the Cycloid sentries will make that easy.

Particularities: Remember the map layer-over-map layer trick from Blast Radius level 1: "Sunset Suicide"? The whole of the basic design of "High High High" relies on the same method, but level-wide (and bug-free).
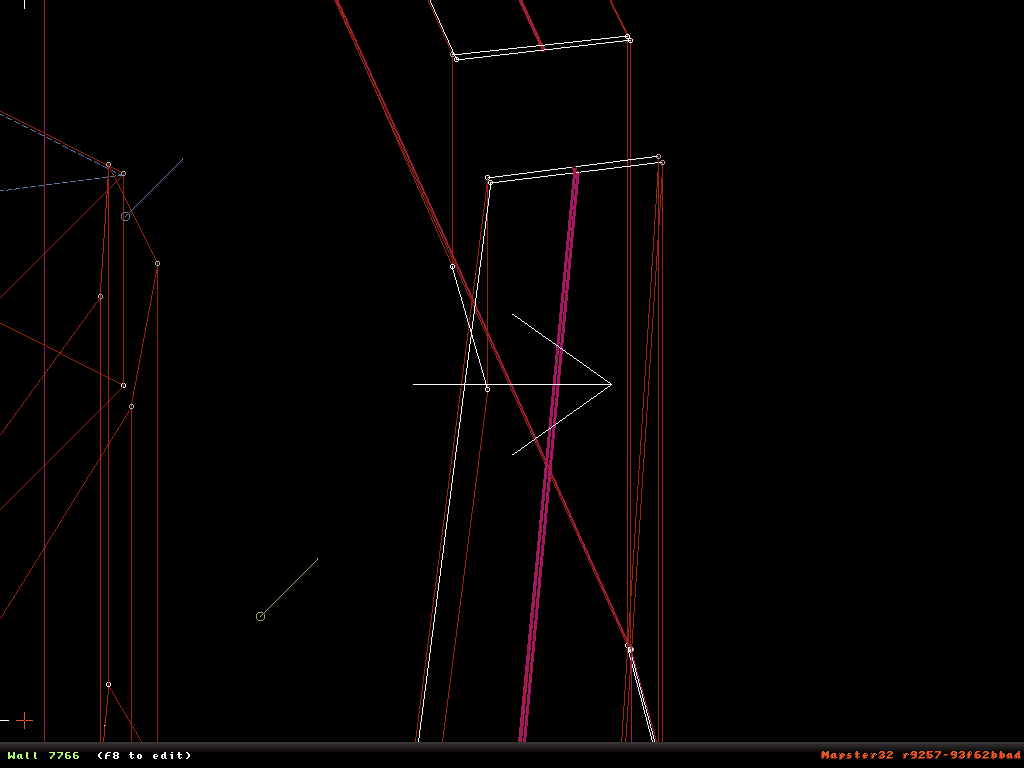
Overlapping dimensions.
Inspecting "High High High" in the level editor or even just paying the right sort of attention at in-game automap will reveal how, in pure Build engine fashion, the plane really isn't just one, well, plane of existence with a legitimately navigable two-story structure, but two separate realities - one for each floor and indoors vs. outdoors, stacked and assembled.
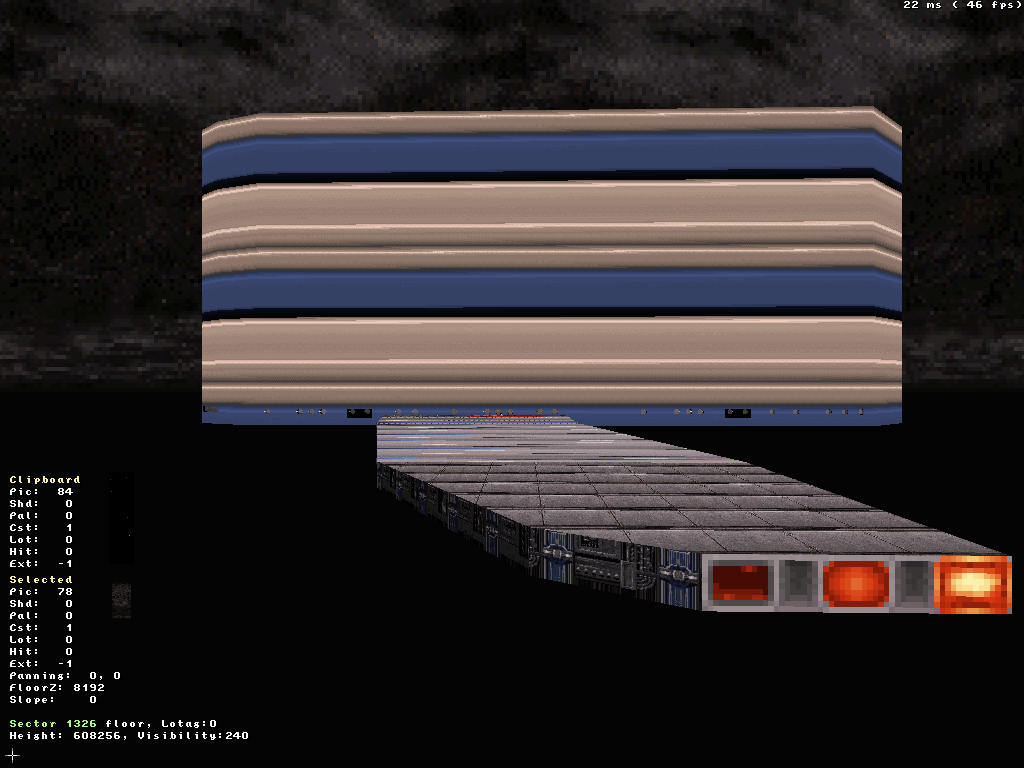
In-editor view: the 'indoor layer' of the level, as seen from
outside the plane body (never meant to show in-game).
Their physical space does (just barely) overlap around the right coordinates, and so automap will show Duke as navigating through what looks like just one big, coherent plane, but there really are two planes (in every possible sense of the term), linked together by the Transport Elevator (which actually is a teleportation method) to and back from the cargo bay.
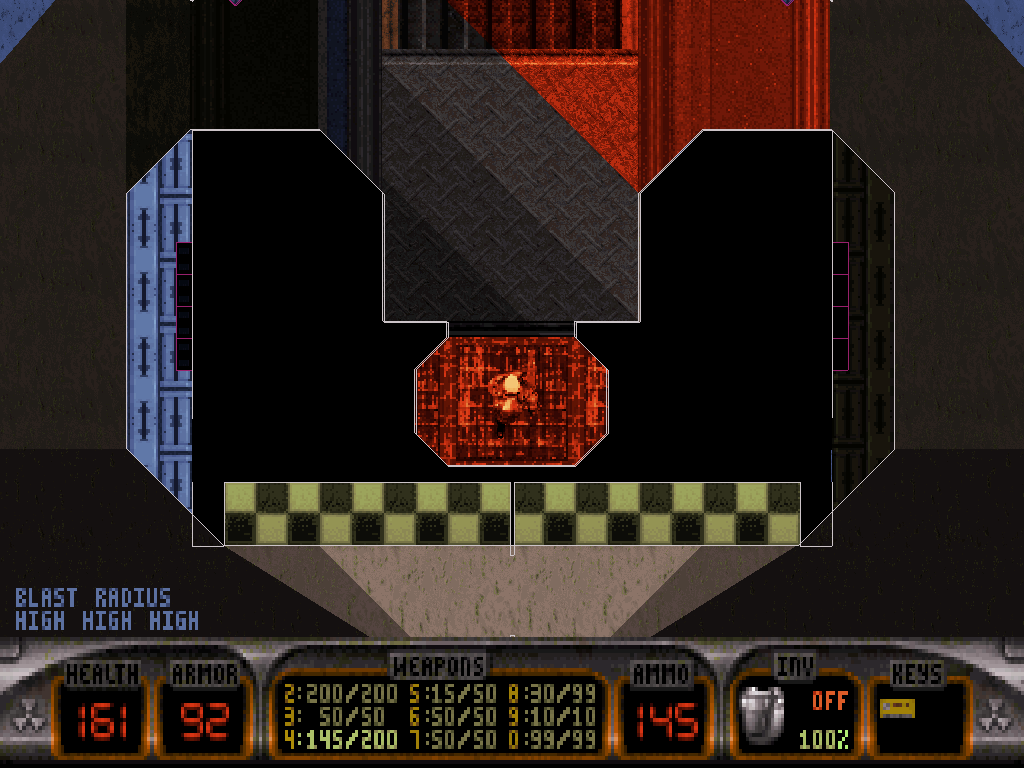
Pay close attention to the elevator sector walls.
In the first layer of the map, the exteriors are different from the ones Duke gets to explore later during the jetpack segment; they are a purely cosmetic area that is in fact designed to never be reached (without cheats).
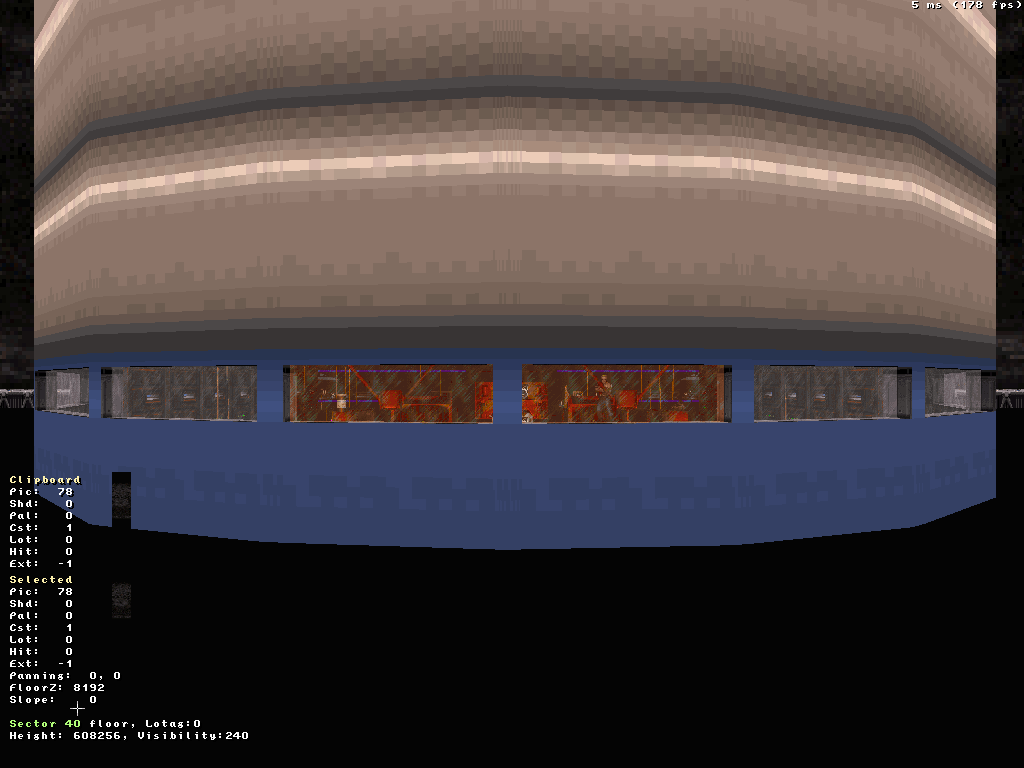
Front of the plane - 'indoor layer' view (from the non-player area).
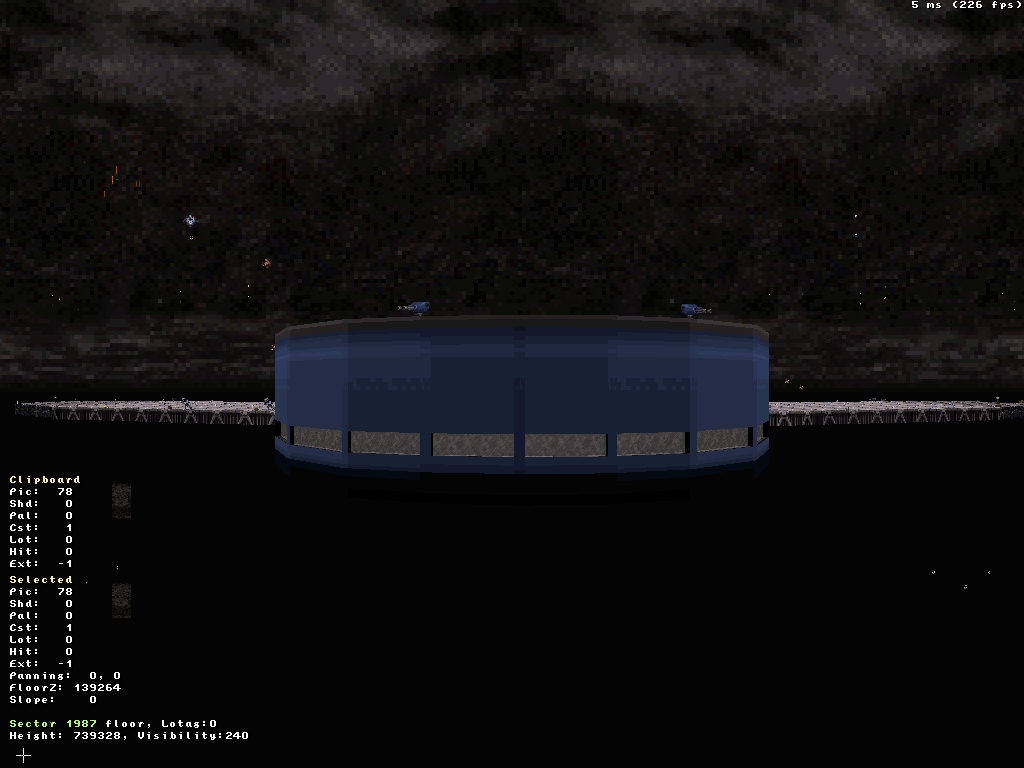
Front of the plane - 'outdoor layer' view (from the player area).
The blue key which already is visible on the right wing as soon as Duke can get close from the inside, and logically disappears even out of the porthole after he's gone outside to grab it, really is a different key which Duke never actually collects, and only poofs out of view once the real one is fetched thanks to Build Engine Magic™. (This does mean that technically, there really are four keycards, including two blue keys, in "High High High".)
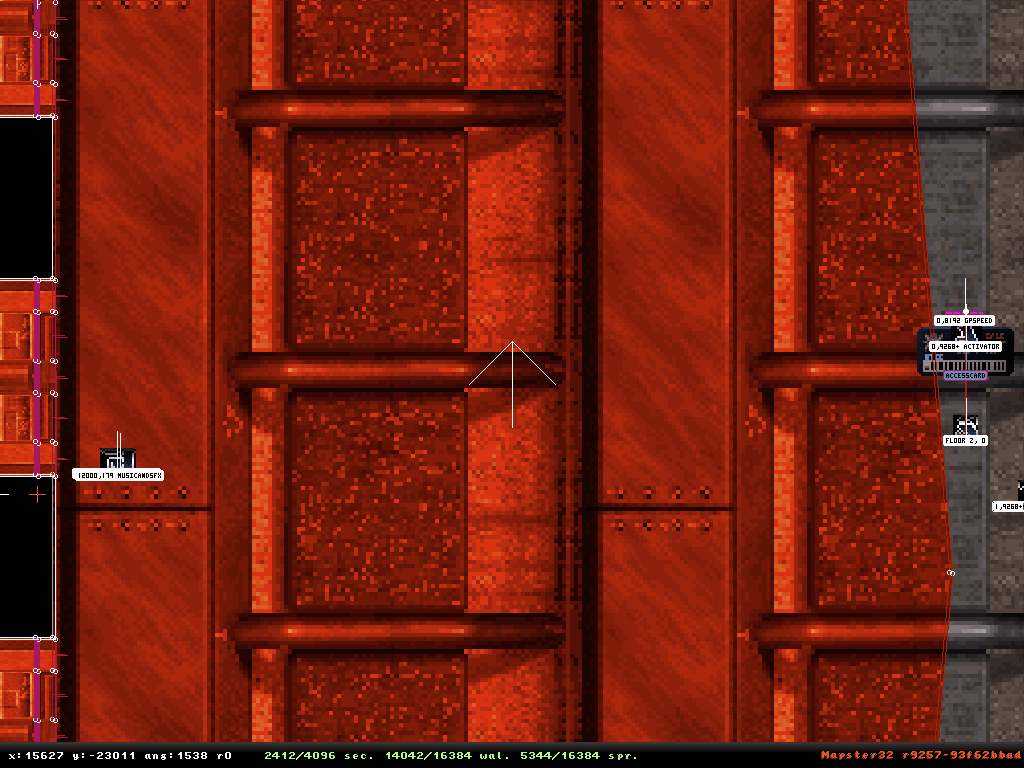
Double trouble.
This choice in approach is justified mostly by purposes of clarity in the level construction stages, but also control on the direct player experience as to avoid possible interferences between inside and outside the body of the plane, allowing the user to look out of the portholes from the hallways and seats at all times without risking any sequencing or rendering conflicts.
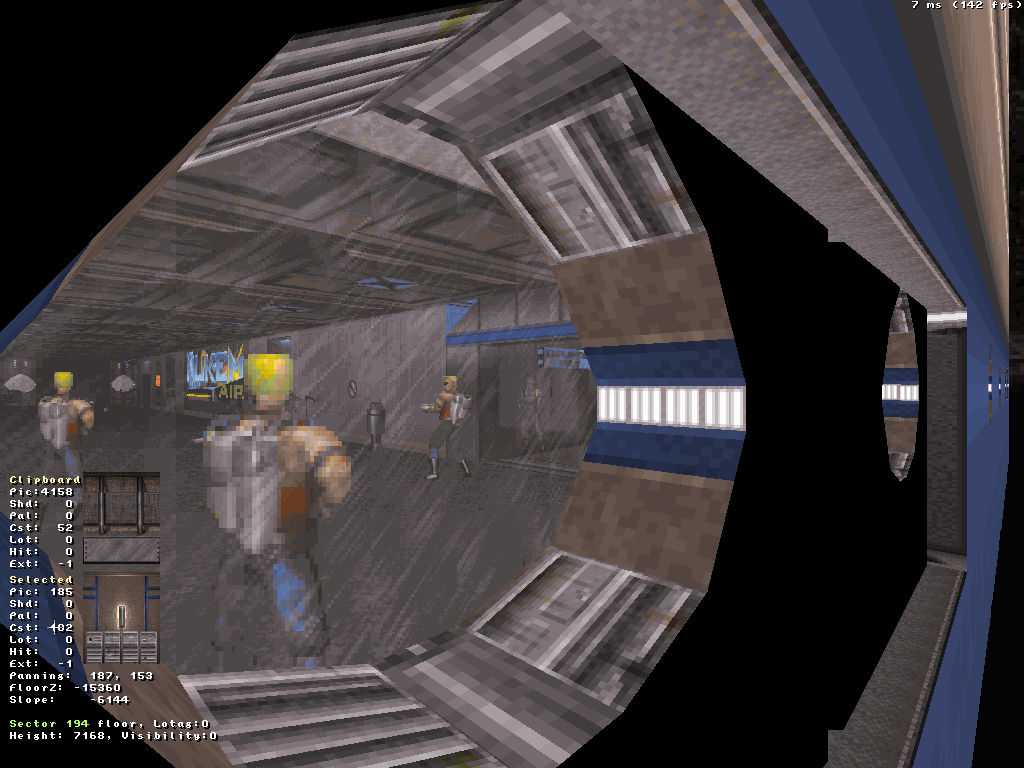
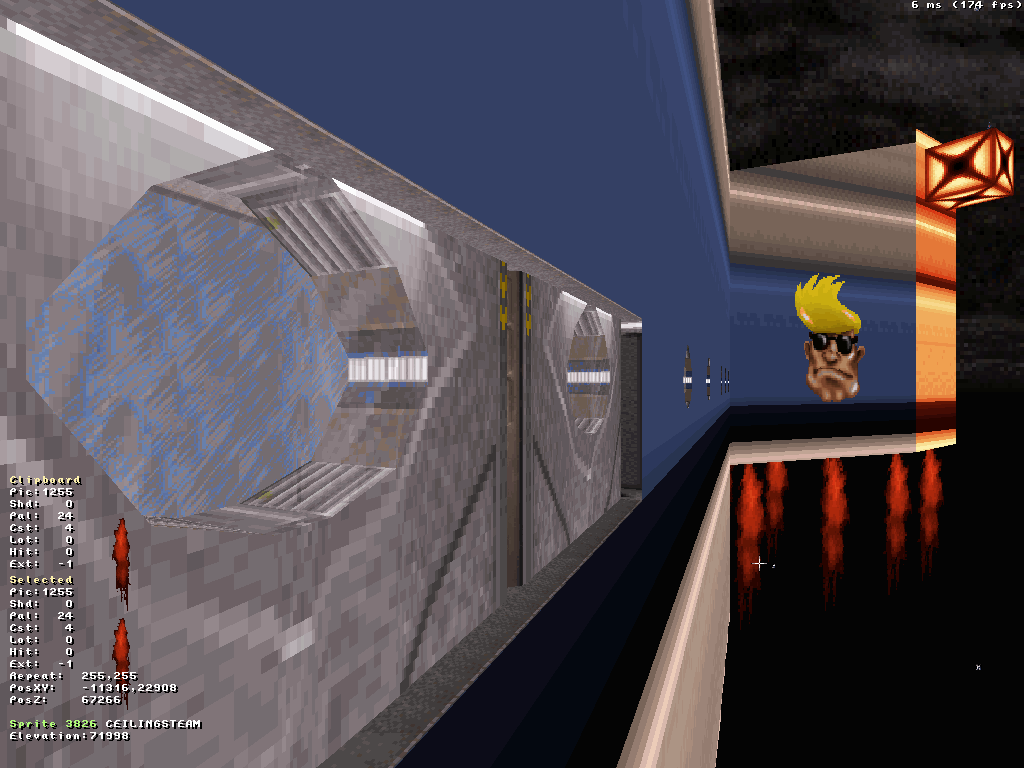
In the accessible outdoor section, silent teleporters are re-used in a manner that is comparable to how they already were in "Sunset Suicide" except now instead of warping the player out of non-playable space as a bug fix, here they warp them to a non-playable, distant sector which squishes them (that is how the 'kill zone' really operates).
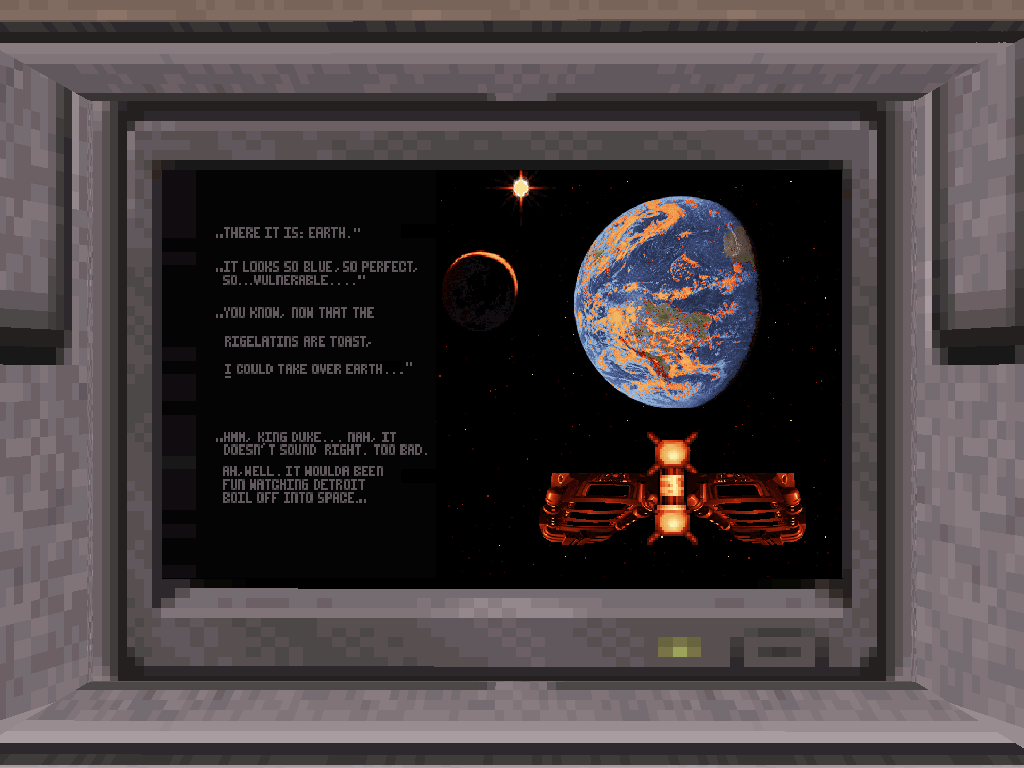
"High High High" also features a Build engine recreation of the "Duke Nukem II" (Apogee Software, 1993) end screen which a first-time player most likely will interpret as a gratuitous throwback (or mere curiosity) for now, and may or may not show relevance later. Either, the moment Duke has passed it, it can be considered he's now officially onto act two out of the three that make up Blast Radius.

Soundtrack: "Encom, Part 2" by Daft Punk / "TRON: Legacy (Original Motion Picture Soundtrack)" / Walt Disney Records, 2010 (MIDI version)
This pick actually was a rather easy one; for some reprieve after all the heavy tracks throughout all of Blast Radius' boiling hot American chapter thus far, and in order to instill a feeling of departure from such settings in the player, a part dramatic and desolate, part melancholic and hopeful ambient track was in order as to evoke a certain shift onwards onto uncertain horizons.
And as to foreshadow the imminent reveal of Duke's next destination being as distant as Europe, Daft Punk was one of the first groups from the old continent to come to mind as possibly fitting both the desired genre and Blast Radius' effort at a local soundtrack thematic (another French band which was seriously considered is Air). Daft Punk's first album "Homework" (Virgin Records & Soma Quality Recordings, 1997) wasn't just a personal creative revelation for my naive ten-year-old self at the time, it also paved the group's way to its eventually worldwide exportation and as such, it would make sense Duke would hear them throughout the whole of his own, opposite journey across the ocean.
The somberness of the composition drones in one more dimension of doubt where even apparent safety starts feeling uneasy due to the larger situational picture, and the short length of the track paired up with its seamless looping encourages the player to lose track of how many times they've been hearing it exactly, thereby sprinkling some confusion over the actual, supposed and perceived duration(s) of this aforementioned journey of Duke's.

Automap:
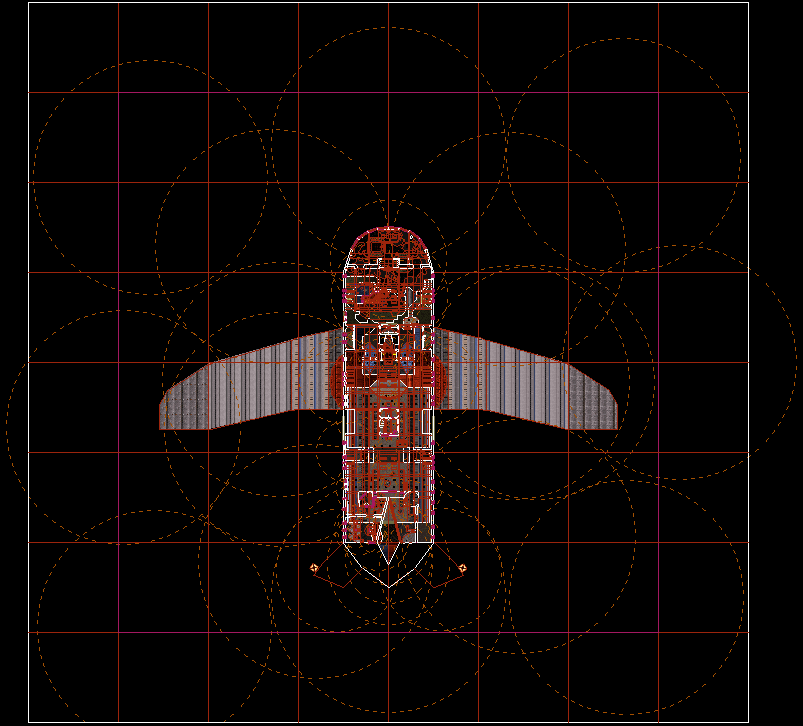
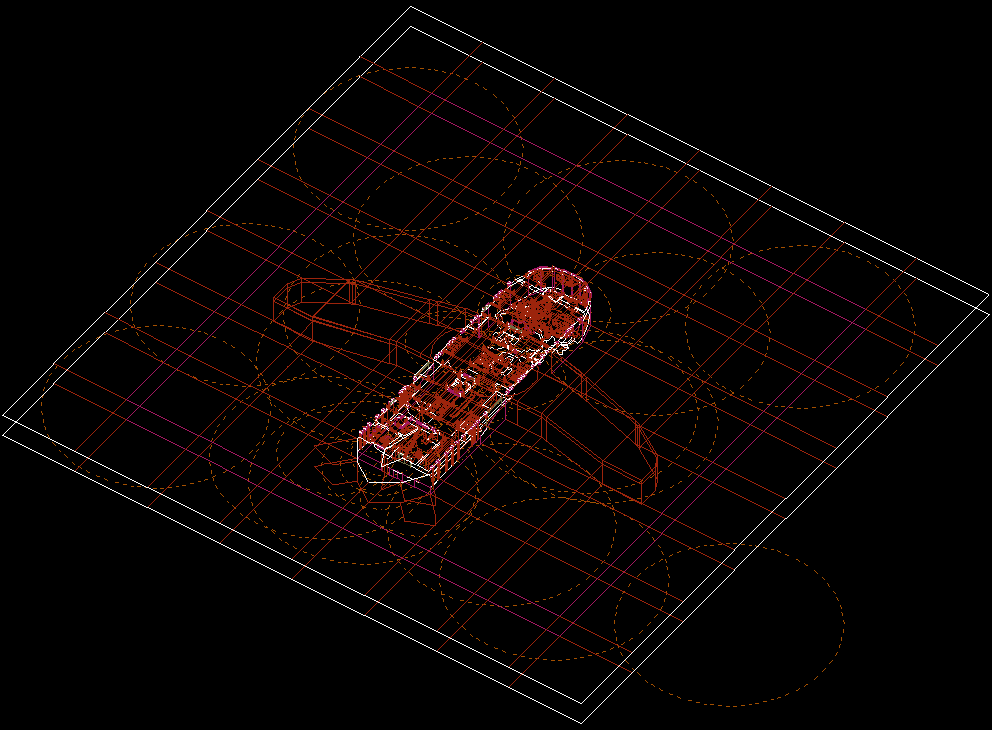
Map stats (as of v. 1.0.12): 2412/4096 sectors, 14042/16384 walls, 5344/16384 sprites.

Download Duke Nukem 3D: Blast Radius (last update: 03/04/2024; v. 5.0.2)

