It's been a while since we last posted (running the campaign was exhausting!) so I thought I would update our dear indiedb watchers with some progress on the editor.
Considering that we reached the "modding tools" stretch goal during our campaign, asking backers to use Tiled for map building was now out of the question (this is not to pass judgement on Tiled, but we can't decently ask for money to build tools, and then just go "well here's this freely available, already existing tool, use that").
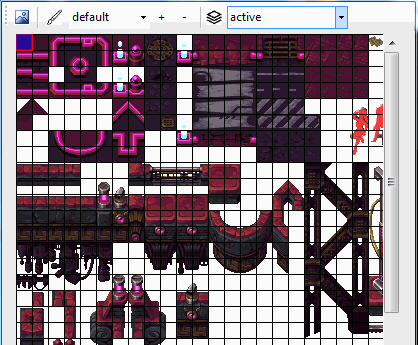
So I've been spending the past couple of weeks adding "mapping tools" to our existing level editor. Here's a quick animated gif tour of the new features.
Layer tools
The first mapping tools you will most likely use after starting a new level are the layer tools: maps for Tower 57 will require you to lay down at least 5 very specific layers (floor, decals, shadows, walls, and ceiling), however nothing is stopping you from adding more, or even using the editor to build maps for your own games since the format will remain open ^_^. The layer tools allow you to:
- create layers
- delete layers
- duplicate existing layers
- merge layers together
- rename layers
- change layers' opacity
- lock / unlock layers
- show / hide layers
- move layers up and down the layer hierarchy
(PLEASE NOTE: the lock / unlock icon is still a placeholder ^_^)

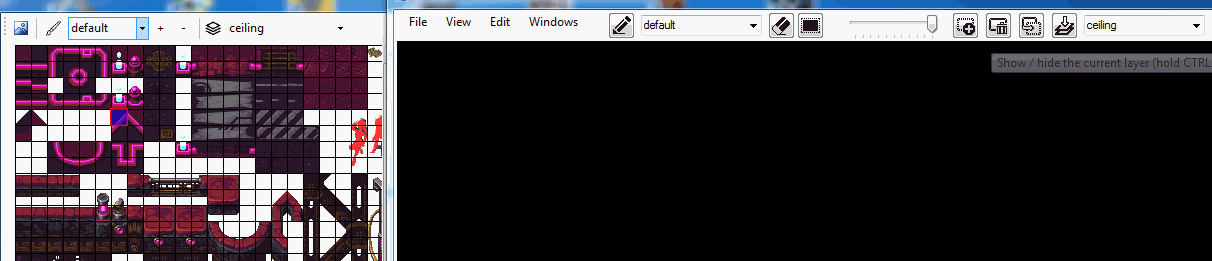
Tileset tools
After setting up your layers, your next step will probably be loading up your tileset. The tileset viewer sits in its own separate window so you can conveniently move it around or to your second screen. Here you can of course view your tiles, but also:
- select tiles for the current brush: drag your mouse over the tiles to select them, hold shift to add tiles to your selection, and hold ctrl to remove tiles from your selection
- create custom brushes: most pieces are made up by more than one tile. Having to manually select those tiles every time you want to place, say, a column, would get annoying fast. Instead you can create a custom brush, set it up to contain your column tiles, then use this brush every time you want to place column, bypassing the whole selection thing
- assign a default layer: mapping with layers can lead to a lot of "mistakenly placing tiles on the wrong layer". To keep this from happening, you can assign a default layer to your tiles: now no matter which layer is currently selected, your tiles will be mapped on the right layer. This is also useful to create multi-layered brushes: for example if you want to create a brush which contains a wall and the corresponding floor base, just assign the "floor layer" to your floor tiles, the "wall layer" to your wall tiles, and create your brush. Now when you use the brush, the tiles will be automatically mapped on their respective layers!
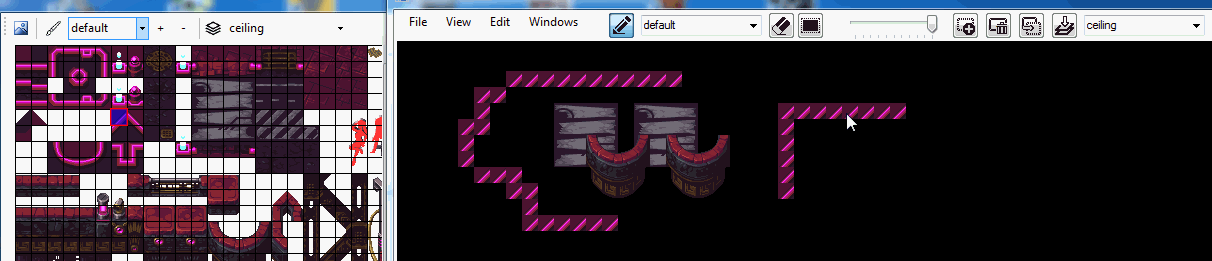
Brush tool
Now that you've got your layers and brushes all set up, it's time to start using them!
Your main tool for mapping will be the brush tool. Using this tool you can:
- place tiles on the layers you created, either using whatever is currently selected in the tileset viewer, or one of the brushes you created
- do some "freehand drawing" by dragging the brush around your layer
- hold shift to draw lines
PLEASE NOTE how the current layer is set to "ceiling" in the top right corner, yet the tiles from "brush1" are getting mapped on the floor layer because of our previous step, while the tiles from "brush2" are clearly mapped on the ceiling layer, which is above the floor layer.
Eraser tool
Everybody makes mistakes, however with this tool you can erase them ^_^! Ok this one is pretty self-explanatory... You can also hold ctrl down to delete from all layers at the same time (useful if you need to quickly clear a small area).
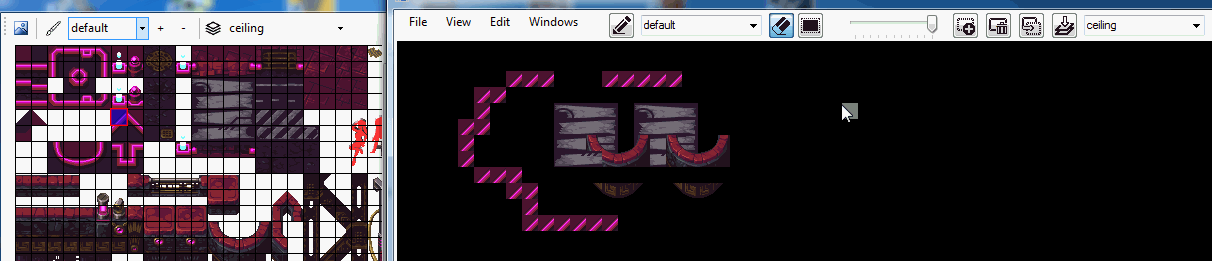
Selection tool
The last tool on the list is the selection tool. Using this tool you can select large areas, cut them, copy them, and paste them elsewhere.
PLEASE NOTE: the floor tiles are not getting copied because the currently active layer is set to "ceiling" in the top right corner ;)
That's not to say the list is final however. There are lots of small refinements left to do (such as multi layer selection, cut, and paste, adding "undo / redo" support to more actions, etc.), but also one big feature left to implement: auto-tiling! (for those of you who have mapped before, these words should bring up some pleasant memories ^_^).
However I'll go into more detail on that in an update of its own (it's such a cool feature that it certainly deserves it).
The original plan was to have the editor ready by the end of the month, and right now it's looking like we'll be on time, give or take a few days of polish :) If you are interested in the grittier details of the coding tasks that are getting done, feel free to check the code thread in our dev log forum!
Cheers!
Cool stuff! Thanks for sharing this!
PS
I've taken a look at your forum. Awesome! I'm a (hobby) developer myself... so keep at it!
Thanks! I'm hoping it will eventually be useful to other teams as well ^_^