*SPOILERS*
Chapter 1: QUICK JOB
It begins with a ride towards Black Mesa in the back of a truck. When the tail gate opens, proceed straight forward to a place where you can crawl under the fence.
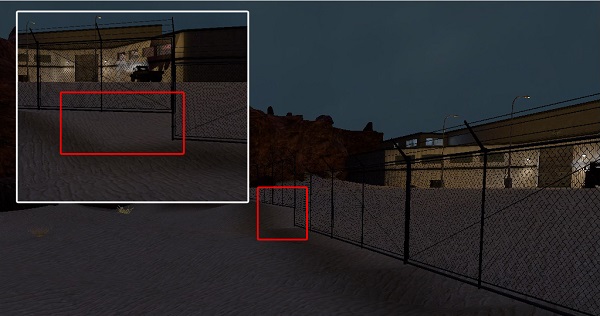
Run to the vehicle with steam coming out of the hood. Jump on the front fender and get onto the hood. Then jump onto the roof of the vehicle and onto the ledge next to the windows. Follow the ledge to the left and find a window that is broken allowing you to climb inside.
In the hall to the left, there is an observation area for a vehicle checkpoint. The two buttons will open the two sets of doors. Open the inner set of doors to allow progressing out of this area.
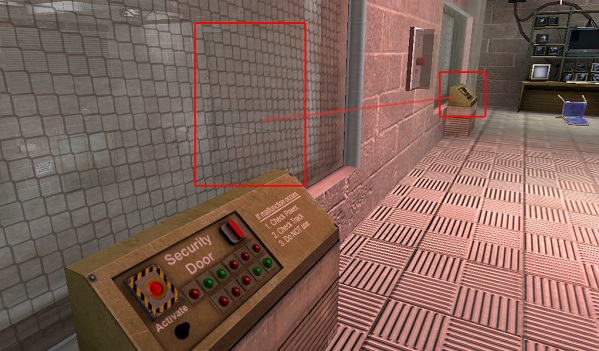
Return to the broken window and there will be stairs that lead to the lower level nearby. On the lower level, there are doors to enter the vehicle checkpoint area that are controlled by keypads on the wall.
Once inside the vehicle checkpoint area, approach the inner doors and climb into the back of the semi trailer that is blocking the passage. Crawl under the boxes to the left and then walk to the door on the other side.
After exiting the semi trailer, there will be a red box in the way. Several of these boxes can be used to provide cover from sentry guns positioned on the floor of the warehouse. Push the first box forward and then wait for the sentry to be aimed away from you. When it is looking the other direction, run behind the box and grab the sentry. Toss it onto its side to disable it.
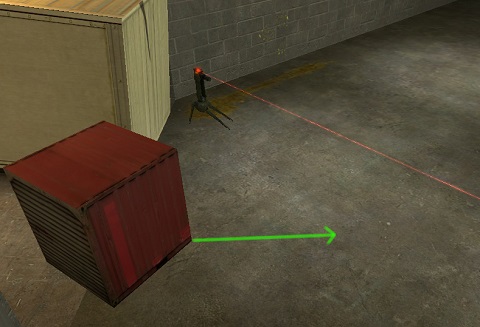
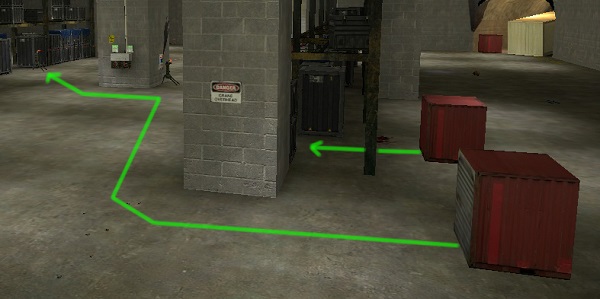
There are two more sentries to get past. It is possible (in red) to push the closest red box straight towards two more sentries and use the same tactic to grab them when they aren't looking and you are close enough.
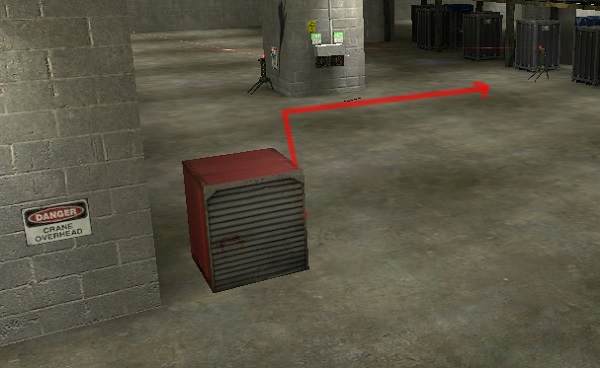
An easier way is to go around the rack of crates. Push one red box into a gap, and then push the other red box around the corner (in green). Use the tactic to grab the 2nd sentry and disable it and then push the box to the 3rd sentry and either crush it, or disable it.
The blue doors will lead to a health kit and 9mm ammo.
After the sentries are disabled, grab the crowbar next to the crane controls and lower the package containing and HEV suit. Break the crate open to get the suit, then grab the small red box and carry it over to the far corner with a vent on the wall.
Jump from the small red crate to a large red crate and onto the blue crates. Then enter the ventilation ducts. There is a fan in the ventilation duct that can hurt you if you jump into it.
Turn right after leaving the ventilation duct. This area controls a magnetic crane that is used to place barrels into pools of coolant. The 3rd pool has cracked and spilled the coolant. Raise the 3rd platform so the magnet can reach the barrel in that area. Lower the 2nd platform so those barrels will be extinguished.
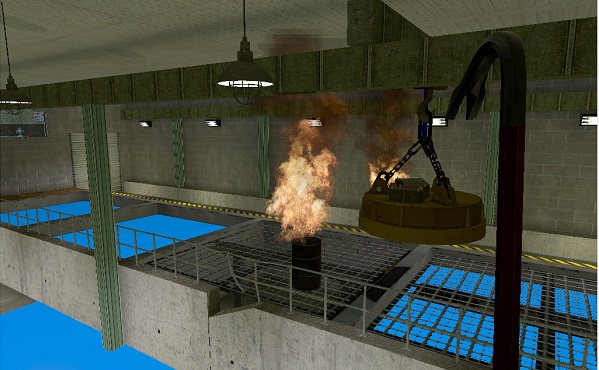
Use the magnet crane controls to position the magnet over the top of either barrel on fire. There is a control for left and right movement as well as a control for farther and closer movement. When the magnet is lined up, use the lever on the far left to lower the magnet. A barrel will stick to the magnet if it is close enough. Now position the magnet over a coolant pool. Use the lever on the far left again to turn off the magnet and drop the barrel.
Repeat this process for the second barrel. When all the barrels are extinguished, the fire doors will open.
There is a battery and health kit in the locker rooms down the hallway.
Follow the stairs down to the first floor. Use the ladders to get on top of the coolant pools and avoid the spill.
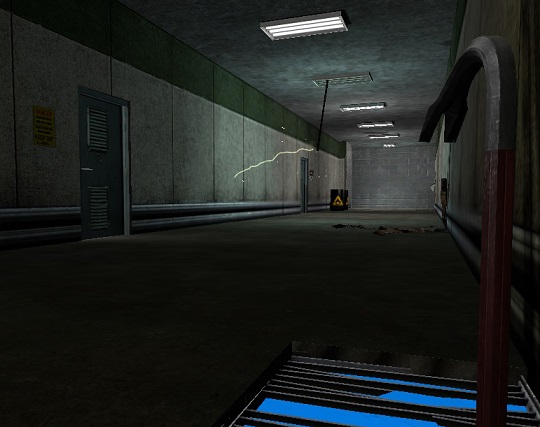
When entering the next hallway, there is a light fixture malfunctioning and an electric shock will blow up a barrel as well as shock you. Go into the first door on the left and activate a pump to remove the coolant that has spilled into a drain system. Return to the hallway and break a vent in the floor. Crawl through this drain system past the malfunctioning light fixture. Break a vent on the other end of the hallway and leave the drains. You can enter the second door in this area to turn off the lights and get a battery.
The retinal scanner can't be hacked so proceed up the stairs. This office area has head crabs in it, but they can be mostly skipped. One of the bathrooms contains a zombie and 9mm gun is on the floor behind it. Get into the elevator shaft and drop into the elevator cart.
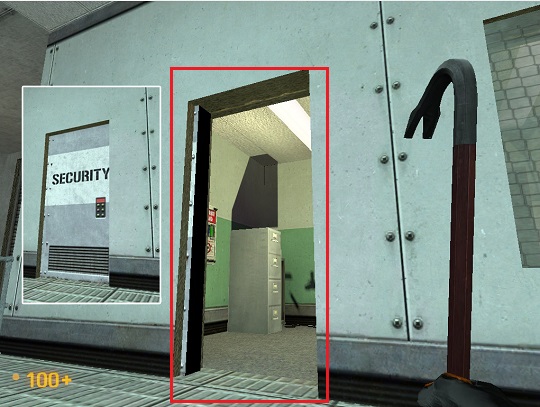
Go to the security station in this transit center and open the door. It will be locked at first, but it is hacked open. Grab the ammo and health charger if needed. Proceed to the train tracks and look for vents in the floor. Break one of them and return to the drainage area. A drain pipe is the way out of this area.
After dropping into a pool, climb out with the ladder. Follow the catwalk to another ladder and get to the floor of this room. A scientist with a battery is hiding in the corner.
Walk through the blue doors and turn left at the opening. Proceeding to the elevator door will not work because the ceiling will start collapsing.
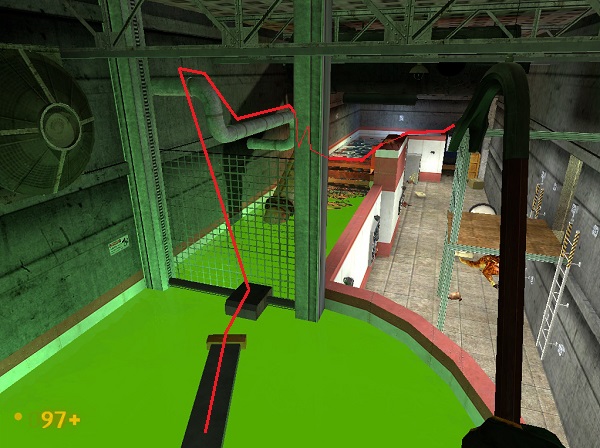
In the large area with the waste treatment system, go down the ladder on the left. There are lots of head crabs in here, but ignore them. At the far left side of the room with the green toxic waste is a ladder and a platform. This is the starting point to hop across the room. A bull squid will teleport in and begin killing the head crabs. You'll want to shoot it before moving on. Follow the red line in the graphic. Jump to the spinning mixer and wait for an opportunity to jump to the machine that is moving sideways along a grate in a scrubbing motion. Ride this machine to some pipes overhead. Proceed onto the pipe as soon as possible, because you can be crushed against the ceiling. Follow the pipes ahead and drop onto a ledge with spinning pipes and fire. Jump on a spinning pipe and immediately jump to the other side of the container. Then proceed to the other side of the room. The next section of liquid is electrified, but the final pool is treated water and safe. Exit the waste treatment area by breaking a vent and entering a ventilation duct.
The first exit from the ducts will enter the bottom of the elevator shaft. This has easy access to some 9mm ammo and an open fight with an HECU guard.
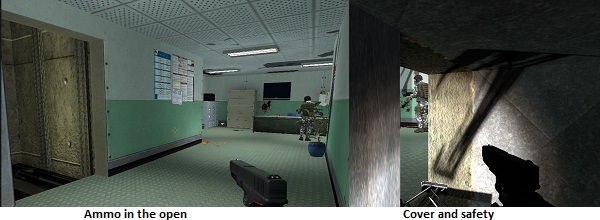
The second exit will give you plenty of cover to fight the HECU guard from inside the duct.
After killing the guard, grab his weapon, the security guard's weapon, and enter the security closet for a shotgun, ammo and health kits.
Walk through the revolving door into an area with more locker rooms. The first room has grenades and a zombie torso. The second room has two batteries.
Proceed through the second revolving door into a control room. Open the window shutters with the wheels on the wall. Turn off the machine below with the POWER switch on the wall. The elevator doors will open allowing access to the lower floor.
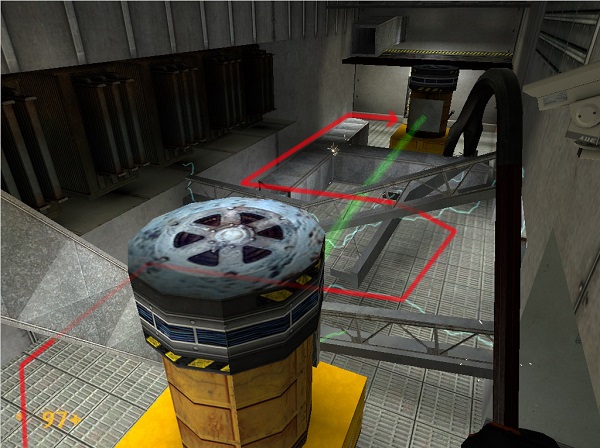
After walking past the first broken duct, the window shutters will be closed and the power will come back on. Crawl through the second broken duct and then under a ceiling support. The third broken duct moves in a predictable pattern. When there is time, run around it and stand next to the wall. The duct moves in a way that blocks getting to the other side of the room. Wait for the quick movement to pass and then, during a long movement, run beside the duct and avoid being crushed. Touch the power cord on the wall to unplug the whole thing.
Move the boxes in the next corridor for protection because a fight with 3 HECU guards is next. At the end of the corridor are 3 levels of platforms with guards monitoring the area. A health charger is at the bottom.
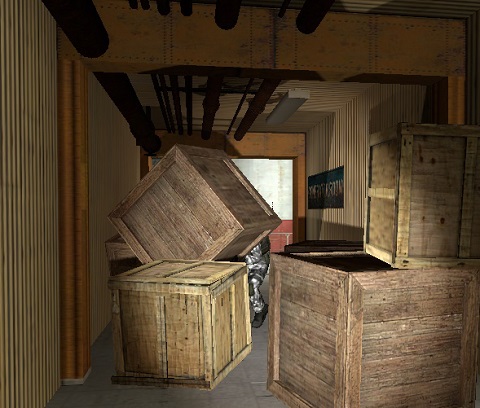
The exit of this section is at the top. Proceed into the train track tunnels.
The train track is shocking here so be careful. More HECU guards are in the large room ahead as well as a rocket launcher.
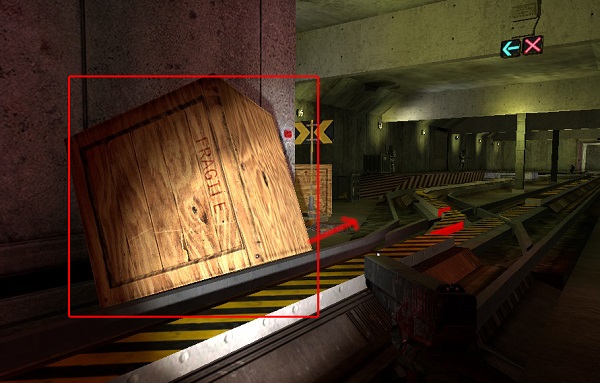
Pickup the box in the tunnel and carry it with you into the large room. Put it down next to some other boxes for temporary cover. Shoot the guards and listen for the rocket. If it fires, there are pillars in the middle of the room to hide behind. The boxes will also work. This room has more grenades on the floor near the rocket launcher.
The other end of this room has a fork to the left and right. The left side has some blower fans that will blow you off the tracks and a broken ladder making this area not passable yet. The right path has an intersection to a science lab with a health charger and suit charger, another loading zone and a deadly drop down an elevator shaft.
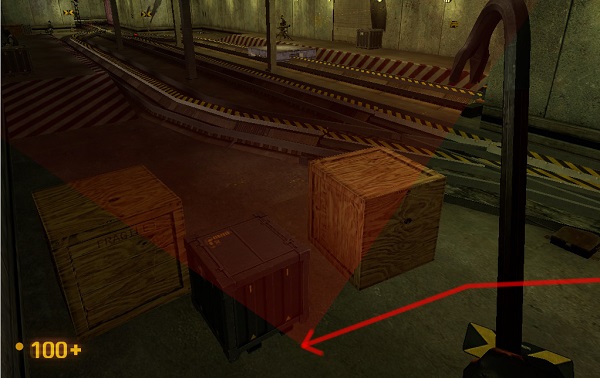
At the second loading zone, there are more HECU guards and a rocket launcher. Run into this room and duck to the left. There are boxes here to hide behind. Pick off the guards and use grenades to distract them.
Use the freight tram in this room and drive it backwards. When it passes the first switch, use the switch to make that track go straight. Follow the tram backwards. A gun emplacement is in the fork to the left. Use boxes for cover and get close enough to throw a grenade behind the sandbags. The fork to the right contains another set of fans and a magnum handgun.
Drive the tram forward now and return to the second loading zone. Three vortigaunts will teleport in. If the tram gets away from you, it will be stopped at a gate near the first set of fans.
Open the gate and then drive the tram forward over the fans.

