First baby steps in Blender
Step #1: Basic model and texture
Having textures for ET: Legacy covered, there is one other major aspect in the asset creation, that is needed for creating new maps and porting proven ones from Wolfenstein: Enemy Territory. In order to raise the visual quality of maps, a proper pool of props models is needed. So, I decided to get to know Blender a bit more and started with a relatively easy model, a wooden crate.
In Wolfenstein: Enemy Territory there are several texture versions of the same crate in order to provide some variety. I wanted to keep that flexibility up and make it as easy as possible to change the style of the crate later-on. For that I set myself some requirements.
1. Efficient model with as little dead vertices and back-faces as possible
If I learned anything when mapping for W:ET, it was that back-faces and rendered surfaces that the player can't see should be avoided.
2. Efficient UV with as little void space as possible
I wanted to avoid assigning each face of the crate an own area in the UV, because the crate would be completely made out of the same wood anyway. Assinging each face an own area would also result in the classic box cut out style which means a lot of void space and, when done with a lot of models, dead filesize.
3. Seperation of crate and markings
The separation of crate and markings makes a crucial step in keeping the model flexible. The markings can easily be changed to accomodate different settings, sides, etc. For example Axis, Allies and civilian. But it is also a crucial step for the uncut DLC functionality I plan on having in ET: Legacy. Basically it gives the client the option to download a DLC/extension pack with historically accurate symbols, so the responsibility for that is taken off of server admins and moved to the individual client. Having those decals/markings in one special directory means, that all models can make use of them. The uncut DLC and all skinpacks would be drastically reduced in filesize and models can be created with a neutral style.
4. Animating the crate
Naturally, when learning Blender sooner or later I have to get into animations. The crate is also a suitable model for that, because having an animation of the destruction of the crate opens up some very nice possibilities. First, it is just neat to have destructible environment. Second, mappers can randomly hide power-ups in them, which would also make for a very nice map-objective. For example a storage room with several crates and at map start the objective is randomly put into one of them. Not quite suited for competitive play, but the options can be explored.
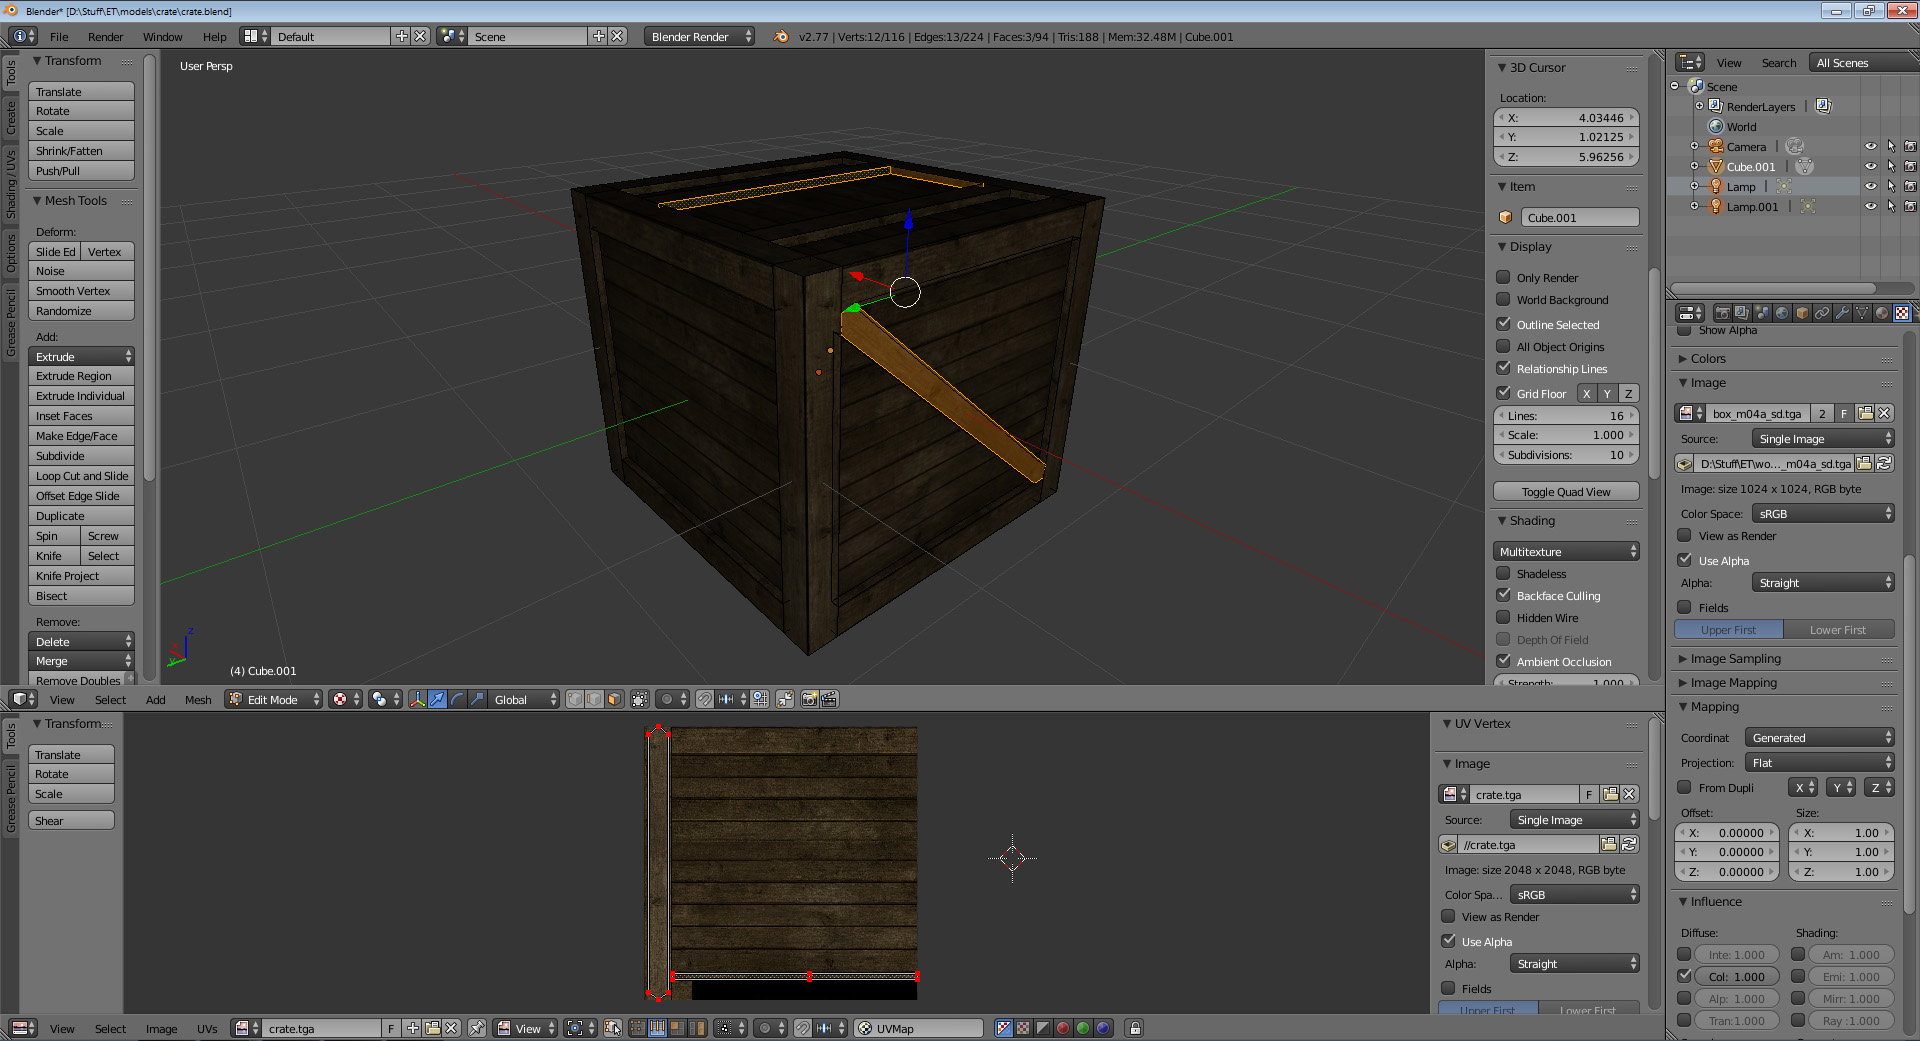
"Step #1: Basic model and texture" completes the first two requirements. I'm really happy with the result, because below you can see that the void space (solid black) is comparably small. In the blender images you can see my attempt at cutting the base faces when there are wooden beams on top, to avoid unnecessary textured surface below. If you have any tips on how the model/texture could be optimized further, please comment below.
Final texture and UV layout: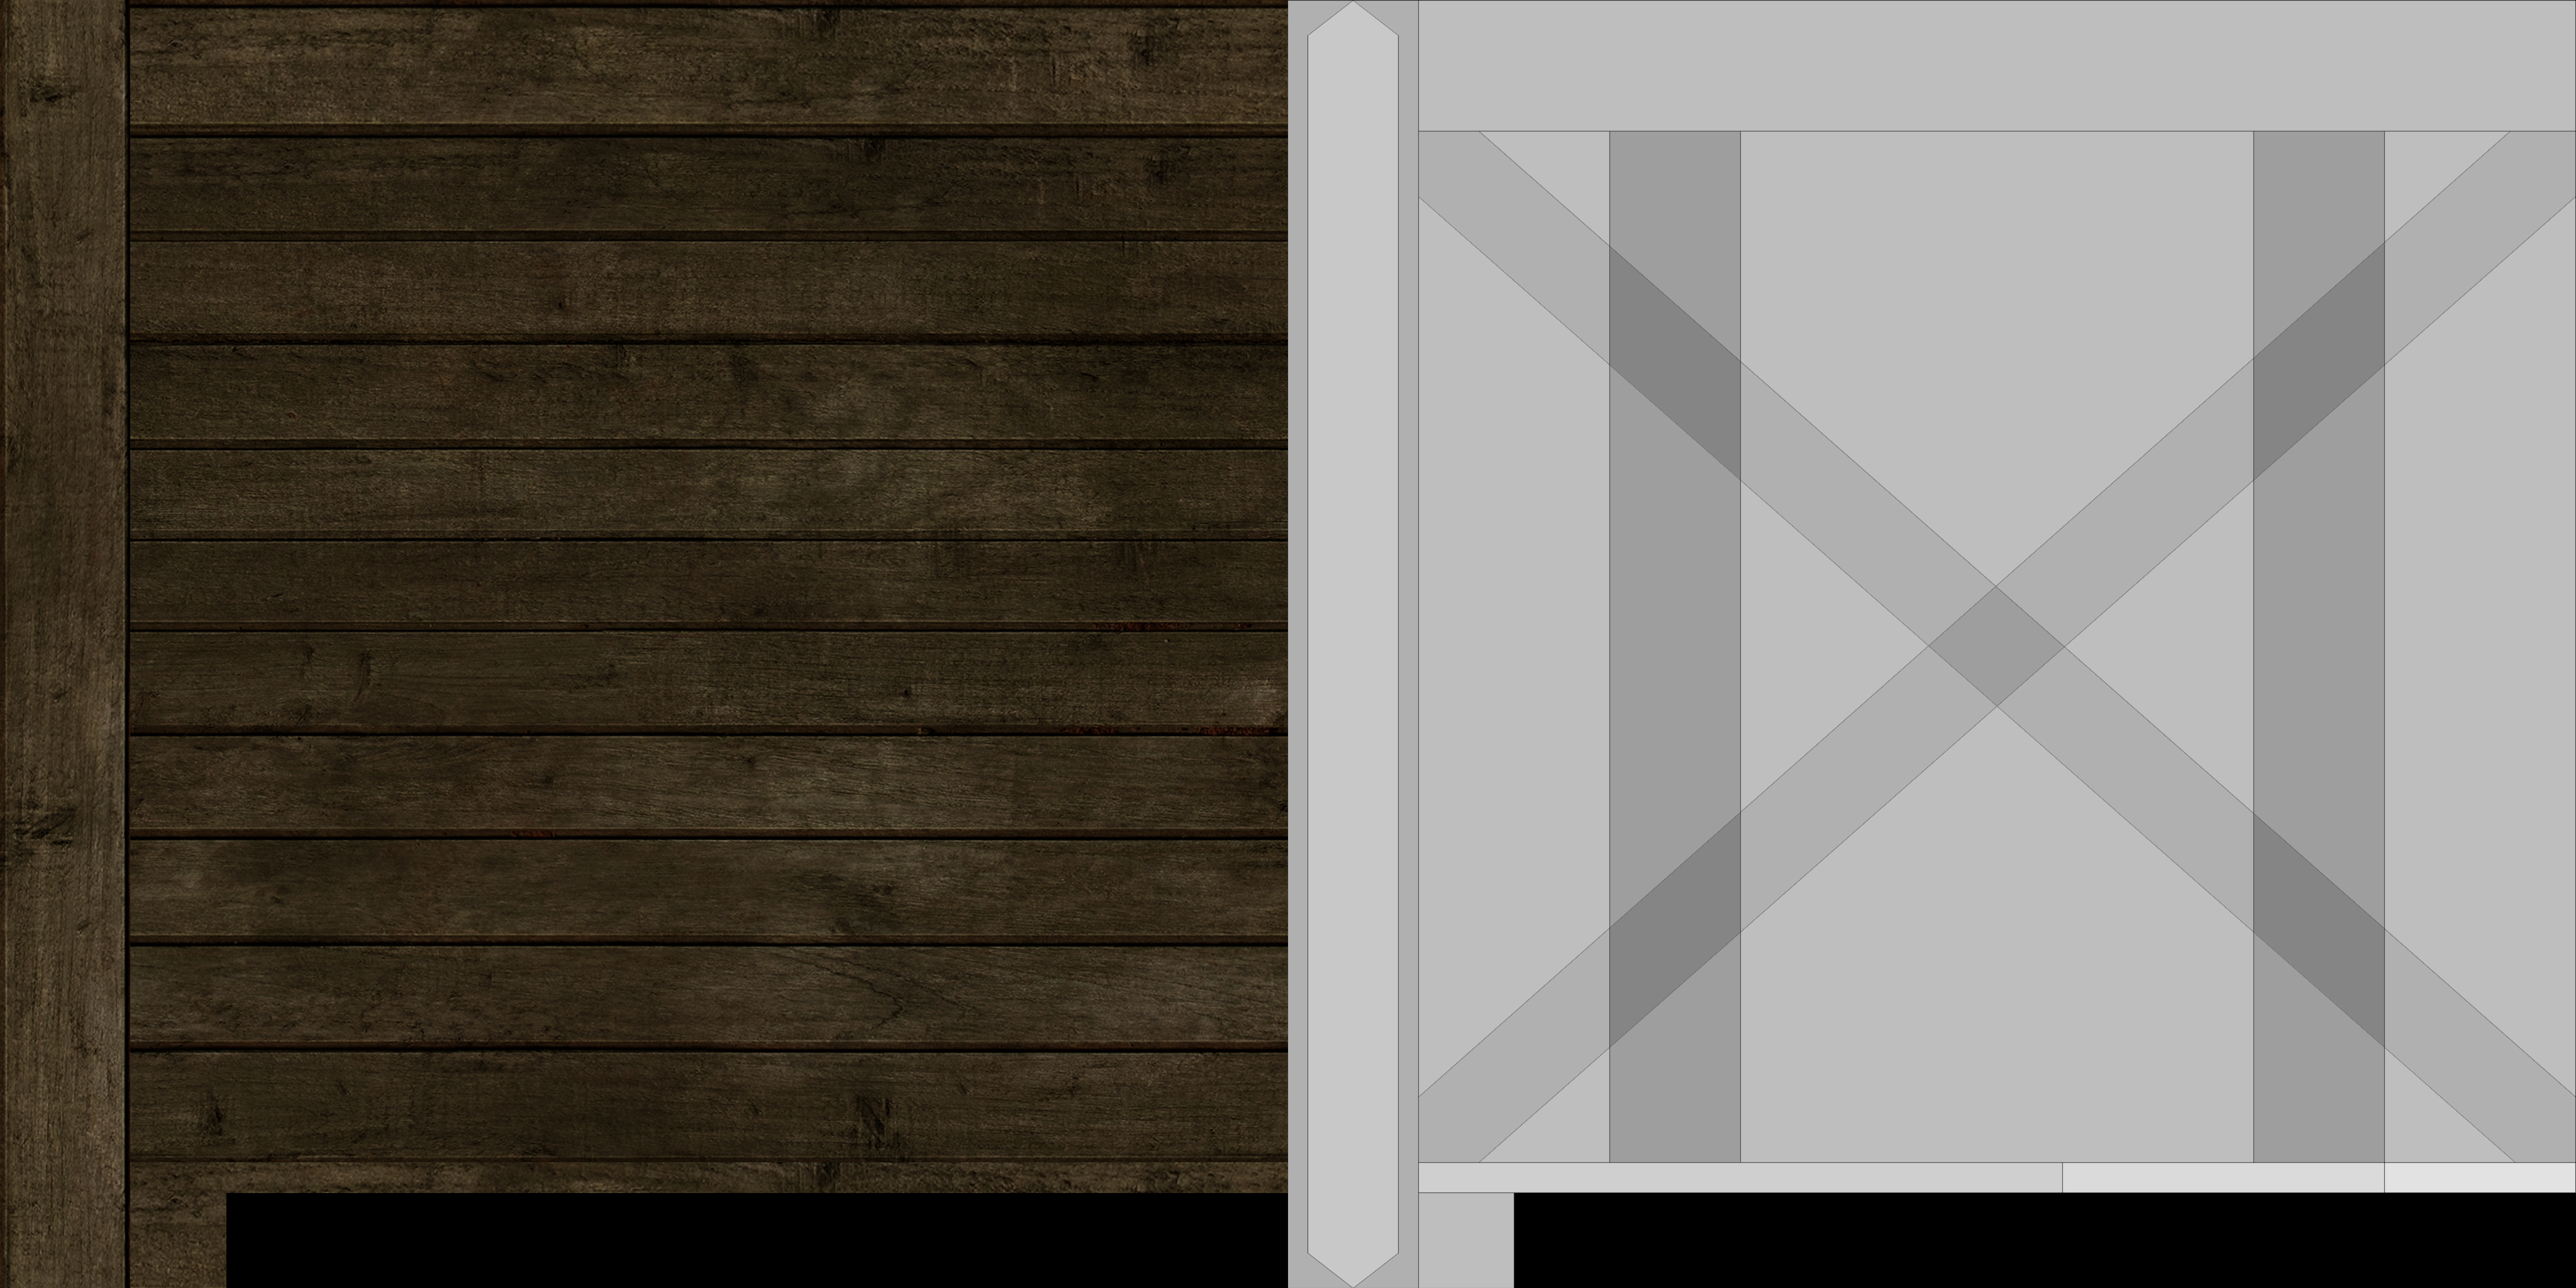
Solid model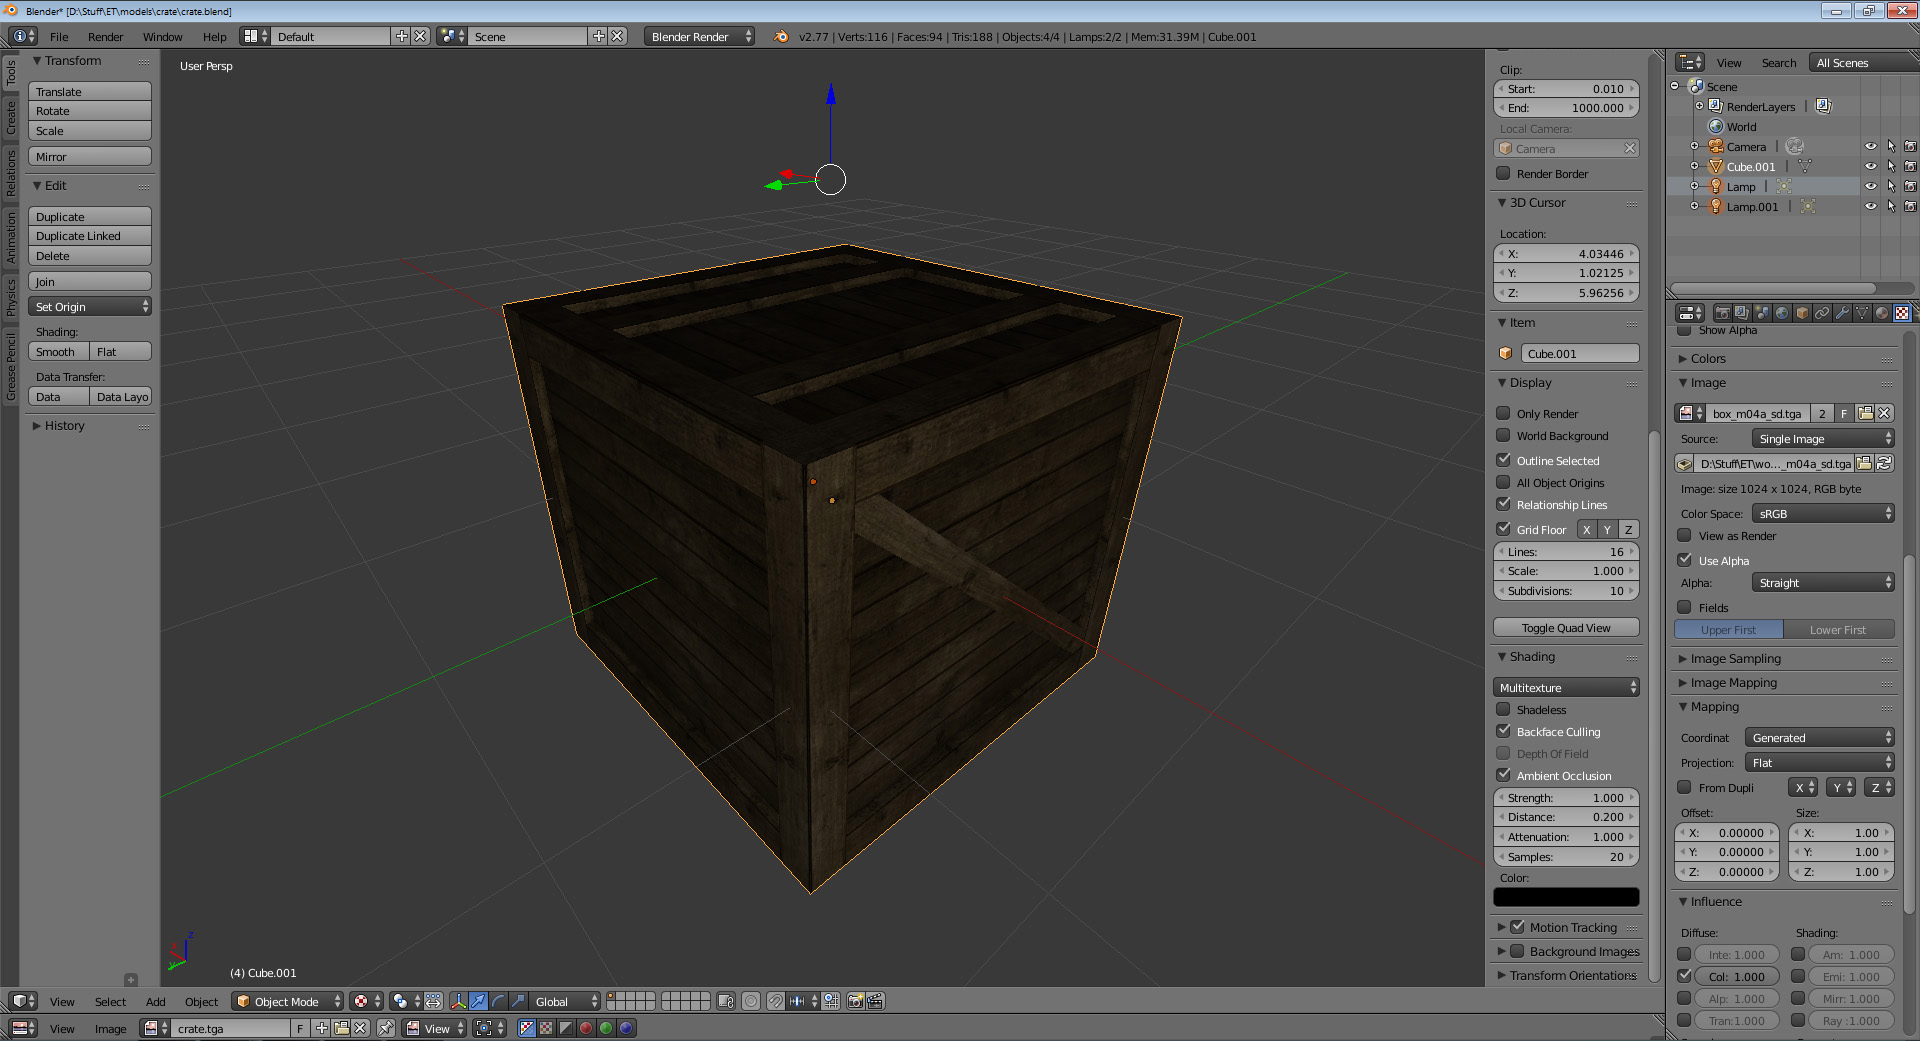
Base surfaces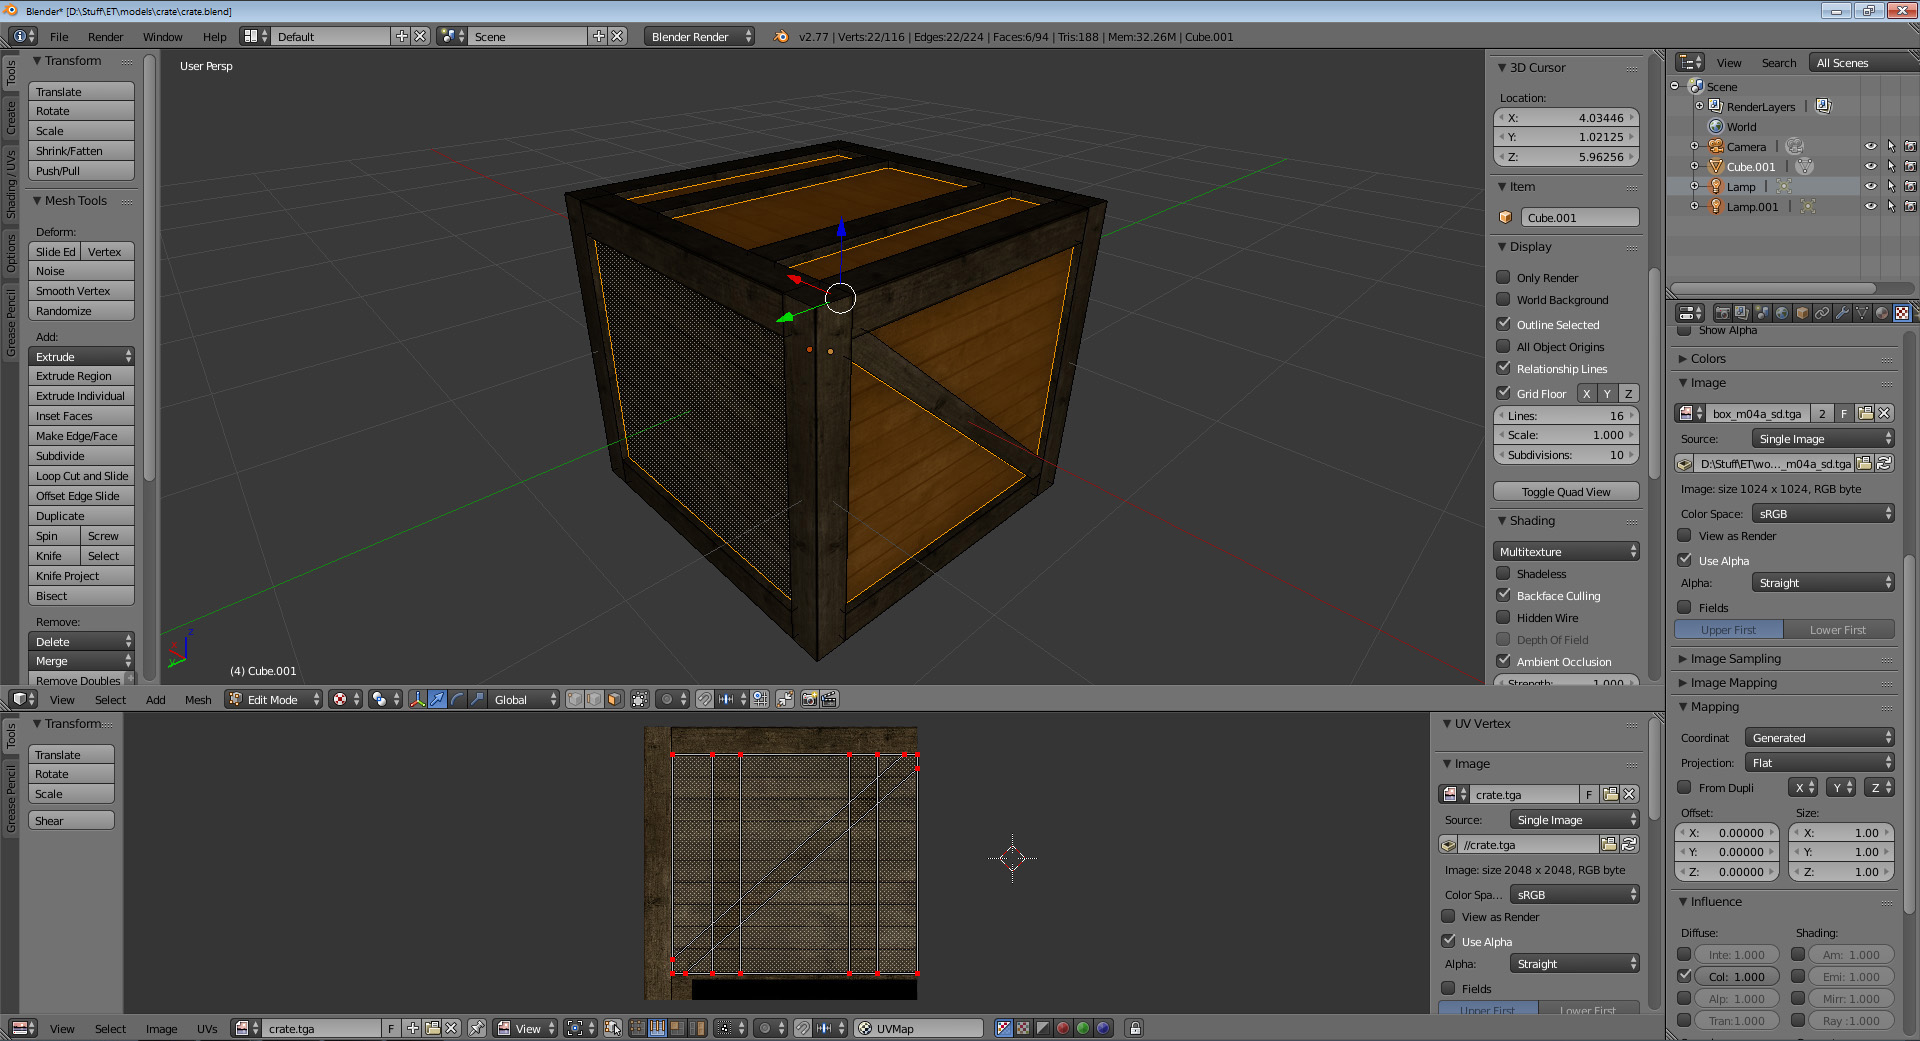
Beams