G3V
joined
I'm Gev. I like Valve games. I also make YouTube videos and my own games.
My Blogs
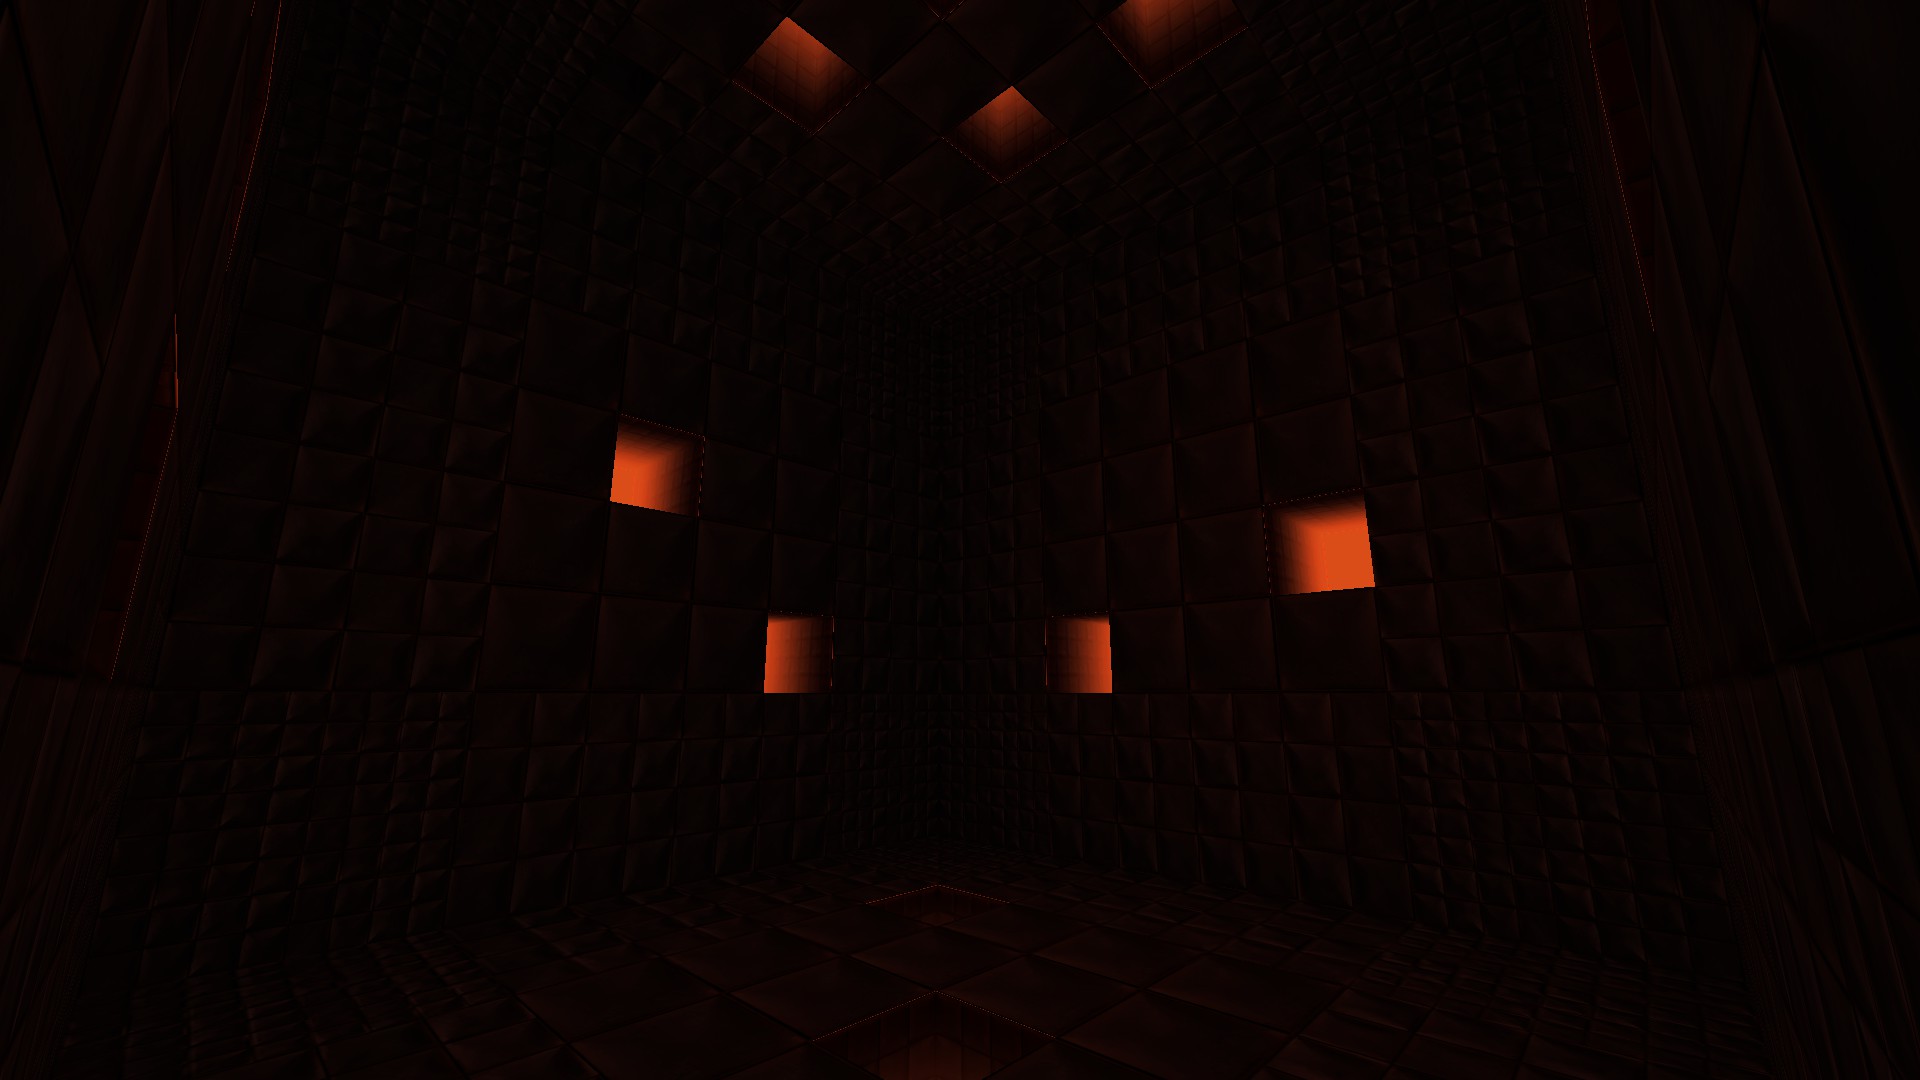
Introduction
Yesterday, I recreated the unused Portal skybox bts_custom_cubemap. In this post, I would like to go into detail on how I recreated it.
Extracting the Textures
I first downloaded GCFScape and grabbed the textures for the skybox which I then converted into .BMP files with VTFEdit. I chose .BMP because when I converted it to .PNG it would crop out parts of the image that were masked and my limited knowledge in VTFEdit caused me to not know how to turn off the mask layer when exporting so I just exported it in a format that wouldn't have a background while also not compressing everything to oblivion.
Viewing in a Skybox Viewer
I went to a website that let me preview cubemap skyboxes in a 360° view and uploaded the 6 sides of the skybox so I could quickly switch between Hammer and the sky. I then began getting to work in Hammer.
Making the Map
I'm not the most experienced in Hammer but I figured a map as simple as this wouldn't be that difficult to make. I was right. It wasn't difficult but just a bit tedious to create a bunch of holes and then mapping the textures to face the correct way on each of them. I also got a bit lazy on the walls outside the map. Instead of adding different brushes that extend outward, I just made the walls thicker. Probably looks horrifying to an experienced mapper.
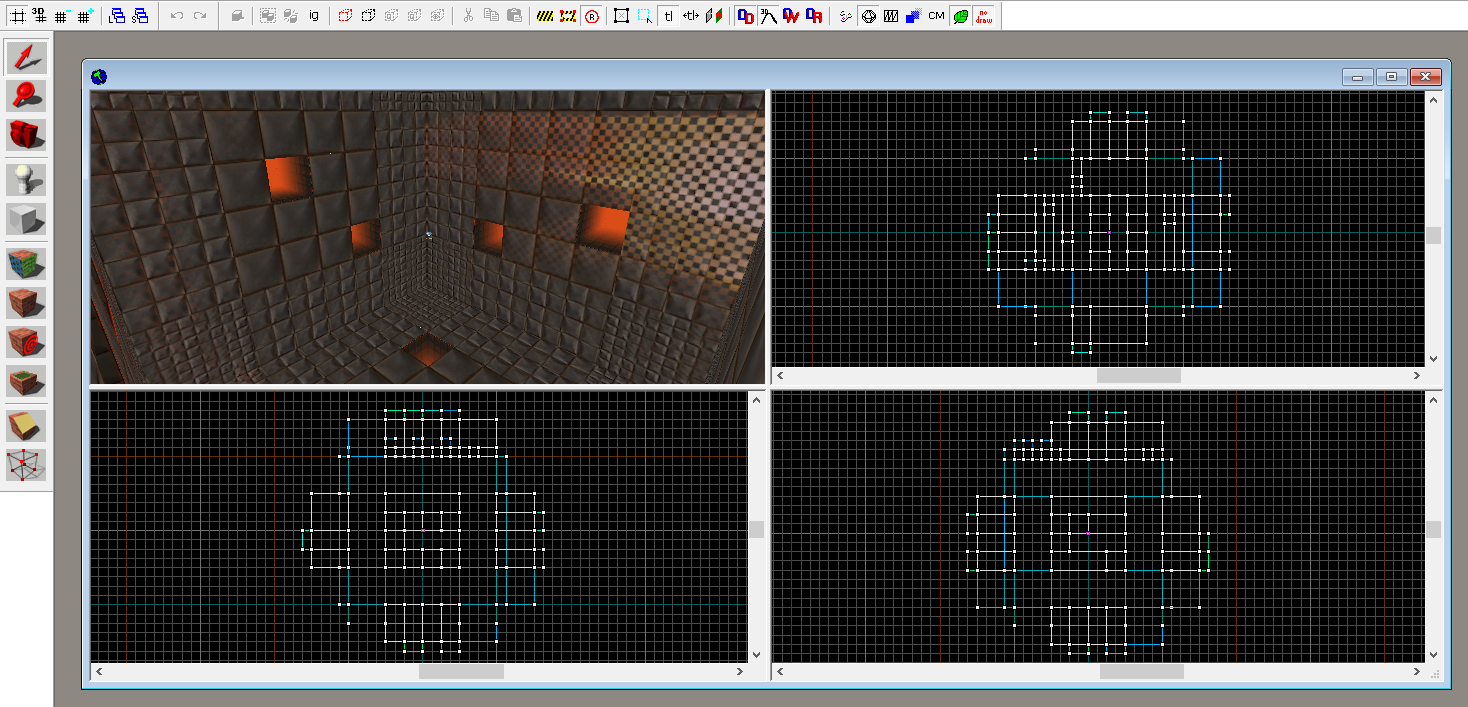
I also forgot to add an info_player_start when I first compiled but I found out that it would still run fine without it and put me at 0,0,0. I just left it like that because the spawn position worked. Just make sure to watch your step because a hole is really close to the center of the map.
Closing Thoughts
Yeah I don't know what to put here. Maybe another link to the addon?
Post a comment
Profile

X