Introduction Hello, I'm Marek Skrajnowski (some might know me as Kroni/Kronos from forums) and I've been using blender as a hobby for about 3 years now. I'd like to share my knowledge about lighting in Blender Internal using new features in SVN (after v.2.45) - so you should grab an SVN build from graphicall.org. It's not a beginner's tutorial, you have to know the basics of Blender's UI and how to get around, as I don't want to make a click-here-click-there tutorial, instead I've attached all the .blend files used in the tutorial.
I've divided this tutorial into 5 parts I'd like to cover:
1. Basics
2. Interior Lighting
3. Exterior Lighting
4. Studio Lighting
5. Car Studio
This part of the tutorial will cover basic info about lighting in blender, light types and their properties and usage, Ambient Occlusion, compositing with nodes to speed up the setup. Ok, enough introduction ;) let's get started... Lamp Types Point Light: hard shadows, soft 2, soft 4


Lamp - point/sphere light
Nothing to add really, can be used for all kinds of light bulb based sources.
Attributes:
- falloff - how distance affects the energy (inverse squere is the "physically accurate" one)
- samples - if 1, light acts as a simple point light, if above 1 it will be a sphere light
- soft size - radius of the sphere
Hints:
- The custom curve falloff can prove useful if you need a small light source (such as christmas tree lamps) to light objects relatively far away without overexposure of close objects.
Sun Light: hard shadows, soft 2, soft 4


Sun light
Simulates direct lighting of the sun and can't be used for anything else really. It lits the whole scene evenly, so only the lamp's direction counts (can be placed anywhere in the scene)
Attributes - similar to point light:
- samples - if 1, throws hard shadows, above 1 will cast blurred shadows
- soft size - sun size
Spot Light: hard shadows, hard shadows with halo and halo with soft shadows


Spot Lamp/Light
Probably the light source with most added features. Very good for animation purposes due to buffered shadows (I won't cover them here though). Very good for placing a highlight on an object.
Attributes (raytraced shadows only):
- falloff - how distance affects the energy (inverse squere is the "physically accurate" one)
- samples - if 1, hard shadows, if above 1 will cast soft shadows
- soft size - size of the light source (for soft shadows)
- SpotSi - the angle of spot light's beam
- SpotBi - controls the blurring of the beam's edge (0 - no blurring, 1 - gradient from the center to the edge)
- Halo - enables volumetric lighting (HaloInt controls the intensity of the lit volume)
Hints:
- If you're going for a standard 3 point lighting setup this is your weapon of choice. You might want to give the fill lights a very soft shadow.
- And basically if You don't have to light the whole environment it's best to use spot lights.
Area Light: size 2, size 10


Area Lamp/Light
Invaluable for studio lighting and interiors to give very soft shadows and as such are perfect fill lights. Apart from that they can be used for non-standard light sources such as TV's and various other displays/screens, some neons. My personal favourite ;)
Attributes (raytraced shadows only):
- shape - rectangle / square
- size (X/Y) - dimensions of the area light
- gamma - similar to falloff in other light sources
- samples (X/Y) - if 1, acts like a simple point lamp, if above 1 will be an area light
Hints:
- Area lights default settings will always cause overexposure, so first thing you'll want to do is lowering the distance value to about 1 so you don't have to use tiny fractions as base energy.
- Scaling an area light affects it's energy, so if you need to change it's size use the size property.
- Gamma 0.5 gives good results in general if you're going for physical accuracy.
Ambient Occlusion Ambient Occlusion is the most basic (yet really powerful) way of faking indirect illumination. It uses the distance between objects to brighten or darken the scene (the longer the distance from surrounding faces the more an object is illuminated).
This means it doesn't depend on the lights setup of the scene at all and as such wont give realistic results by itself, but it's good enough to get satisfying results. Because of that it's widely used in animations, it's faster than most Global Illumination algorithms such as Photon Mapping or Path Tracing. Recently an even faster algorithm for AO has been added to Blender called Approximate Ambient Occlusion, which doesnt use raytracing for finding distances and produces no noise, which makes it perfect for animations, where lighting precission isn't as crucial as in stills.
Blender's AO controls are quite similar to every other light source's properties (energy, samples, falloff). So I'll focus on the differences.
- max distance - maximum shading distance, lenght of the shadow
- falloff - controls the gradient of the shadow, when off gradient is exactly linear, higher strength values will cause the shadow to brighten quicker with distance (similar effect: choosing inverse square for lamps falloff)
- add/sub/both - controls how AO is applied to the image, both means that it'll subtract under and add over 50% AO intensity.
- plain/sky color/sky texture - controls the color of the AO illumination (plain = white)
AO is the tool You will use for sky dome lighting (exteriors) and for faking indirect illumination (interiors), and for basic fill lighting so You can reveal the whole scene. So as You can see it's a very simple yet very useful tool.
Hints:
- You might want to lower the max distance to about 3-5 (it will of course depend on the scene scale) for performance
- HDRI + AO set to sky texture gives very realistic sky dome lighting so You might want to consider it while making exterior scenes.
- if You want to render a 3d model onto a photo (a car for example) You might want to use the same photo stretched for the sky and choose sky texture AO, which should give realistic results.
AO falloff 1, falloff 2, falloff 5


 AO simple, sky color, sky texture

 AO distance 5, distance 1


Sky Now something has to be said about skies in general, when what to use. First off I'm talking about the sky visible to the renderer (reflections/AO mainly) and not the final background for Your 3D scenes, because these may (and probably will) differ. So basically the choice is obvious: simple color, gradient or image (also HDR or LDR).
I would say that in general it's good to use a simple gradient for the sky as it's easy to set up and use, and it should give good results. Let's take a simple clear sky, we can fake it by making a vertical blend texture and using it as sky (as shown on the screen). Using a gradient is also very flexible compared to image or plain color, with just changing the gradient a bit You can change the mood of the scene (time of day for example) or completely change it like I did with a kind of dark studio setup.


In some cases using a complicated sky is useless... and I don't mean the obvious case when the sky isn't visible at all ;) eg. interiors, the viewer will only see the sky through windows behind which You'll probably put a plane with an image of a realistic background so setting the sky to a simple sky blue color is probably a good choice (or even white to get stronger reflections of the sky). Using a solid color instead of gradients and images will also make sky based AO less noisy.
The last option is using an image as background (probably an angular map of the environment). As everything it has it's good and bad sides.
Good: combined with AO gives very realistic results,
Bad: image based AO is quite noisy (especially if using HDRI), quite hard to find the perfect image and probably even harder to set it up right.
I would say that images are good in 2 cases:
- if You want to fit a 3d model into a 2d image of the environment
- if You're whole scene is the object You want to show
Hints:
- when using a gradient as sky take into account that the visible horizon isn't exactly at the center of the gradient, because You can't make an infinite plane (would be a nice small feature though...)
- as i said earlier HDRI based AO is really noisy, because of the color range of a HDRI, so it's a good solution to tonemap it and save it to a JPG, renders wont look the same because You loose a lot of contrast but the result is much less grainy and still acceptable.
Lights Combined sun+sky Obviously You're not gonna use a single light source for the whole scene, so let's take a quick try using some light sources to light the example scene. A very common sollution is a clear sky day illumination, which is quite easy to set up so I'm going to start with it. The first question You should ask yourself is what generates light in Your scene. In a bright summer day there are 2 basic light sources, the sun and the sky (and a lot of indirect illumination which we'll skip for now).
Sun, Sky AO, Sun+Sky


Sun
In blender we have a sun lamp so it's not difficult to choose a light source for the sun. On a side note, it wasn't that obvious in 2.45 where only area lights could throw raytraced soft shadows.
Sky
This is a bit more tricky, but I'm gonna go for a simple and fast solution of using AO with a blueish color. This way the sky dome will cast very soft lighting and fill the shadows of the sun.
Balance
The real problem of the setup is the energy balance between the sun and AO, because we don't want the scene overexposed, the shadows have to be visible yet quite bright. This part is mostly trial and error, I always start with a sun lamp energy of 1 and AO at 2 and decrease the values to get acceptable results. As far as color balance is concerned a fully lit ground plane should be white, so the yellow color of the sun must be balanced by the blue sky dome. You shouldn't spend too much time with it because a raw render like that won't look good no matter what You do, because AO will darken the edges. To get rid of that (or just make the effect less obvious) I use composition nodes.
My standard post processing setup consists of:
- gamma - i set it to around 0.5 to brighten the shadows (You loose contrast and saturation though)
- RGB curve - to fix contrast after gamma mostly and also for color balance
- hue/saturation/value - to fix saturation after gamma
- brightness/contrast - final touch ;)
Base Render, gamma, gamma+rgb, gamma+rgb+brightness/contrast


Finishing touches
If You're happy with the result here's Your final render. Sometimes though it's impossible to fix everything with nodes so You have to get back to the light balance step, refine the lights, maybe change color a bit, re-render and refine the nodes. Most of the time You should see what's wrong with the first render, for example if You can't get the right sun shadow brightness without overlighting the rest You should lower the energy of the sun lamp
Lights combined sun+sky+bounce Ok, so now we have some basic illumination, but what about indirect illumination? Some of it was faked by AO, but the render lacks the 1st bounce of the sun light most. An easy sollution is putting a spot lamp underneath the ground plane pointing up. It will illuminate the bottom of our objects as sun rays would bounced off the ground plane. You might also want to decrease AO energy, because it doesn't have to add so much indirect illumination.
Base Render, Composition Nodes, Fake Bounce
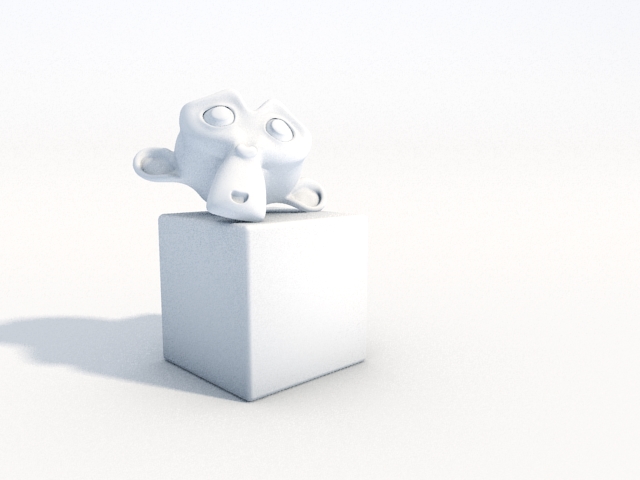
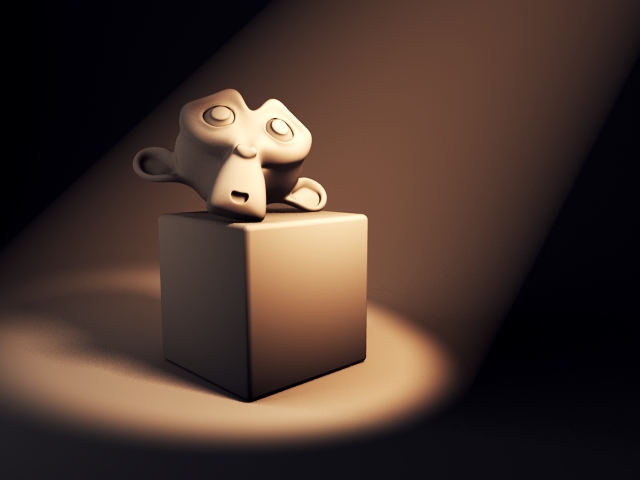
Lights Combined enlightened mood Now this one was made for fun, because I liked the look of the spot+halo render done earlier for the lamp types part and I wanted to see what can be done based on it. I would call it a 2.5 point lighting ;) (key+fill+AO)
Spot, Area, Spot+Area+AO


 I used the spot lamp as the ky light with the same setup as earlier, fill light is a big blueish area on the left and a bit of ambient occlusion to fill the darkest spots (energy 0.2 so it's barely visible).
But as You can see it looks far from what's o the header, most of the mood work was done with Nodes. Simple setup I wrote earlier (gamma,RGB curves, hsv, brightness/contrast). Most of the work was done by RGB curves to play with contrast and colors, all the channels were used to get it just right.
Before the rgb curve is a standard gamma 0.5 filter to show the darker places, which i'm going to darken later but using my own rgb curve for good control. HSV wasn't used in this one and brightness/contrast was used for final contrast adjustment as it's easier to use than rgb curve and as such is great for such final touches.
Base Render, Gamma, Gamma+RGB Curves, Final


Conclusion next part That would be all for the first, general lighting part. I hope it was helpful and if You have comments & feedback I'd love to hear from You, send me a PM at blenderartists (kroni) or email (m.skrajnowski@gmail.com).
Next parts will be more in-depth and focused as we're moving to specific solutions. First in these is interior lighting, so prepare for area lights, AO and lots of composite nodes ;)
See You next time