Step 1
Open the file and select the camera and press the ‘Show Limits’ button in the edit panel. You will notice that a yellow cross hair appears at the base of your camera.
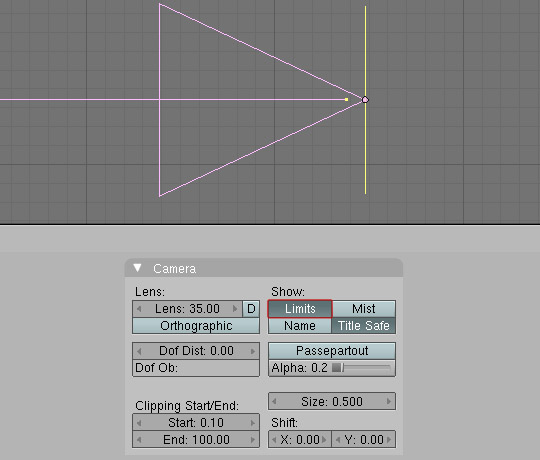
This is the point that blender will focus on. You can change the position of the cross hair two ways: by changing the DoF Distance value. Or by typing in the name of an object for the camera to focus on. The latter is very useful for animations where you want to change what the camera focuses on in the middle of the animation. I used this technique extensively in my film ‘The Ballad of the M4 Carbine‘, where I made the camera focus on a moving empty that changed moved mid animation.
However because this is only a still we can use the first method.
Step 2
So by clicking the next arrow, make the yellow cross hair sit in line with the exploding light bulb.
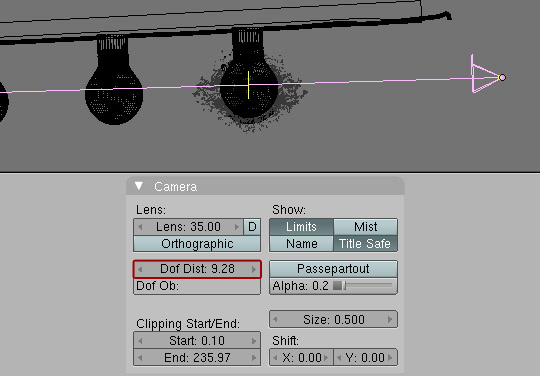
With the camera now setup to render, we can move onto the compositor.
Step 3
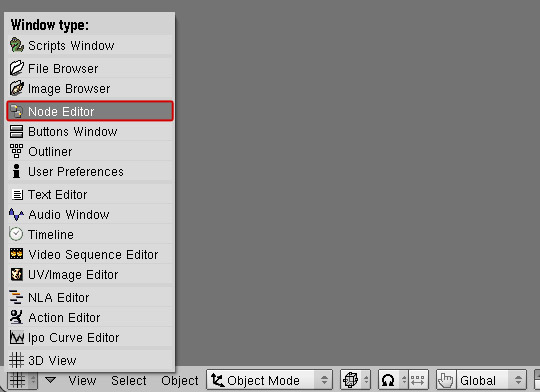
Switch to the Node Editor by selecting it from the Window Type popup list.
Step 4
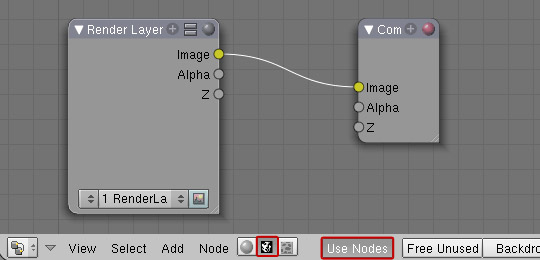
Select the compositor icon and the Use Nodes button.
Step 5
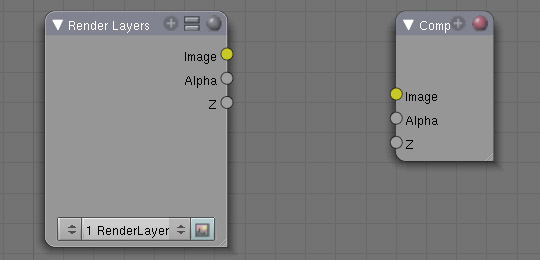
Go ahead and disconnect the ‘Render Layer’ from the Composition node.
Step 6
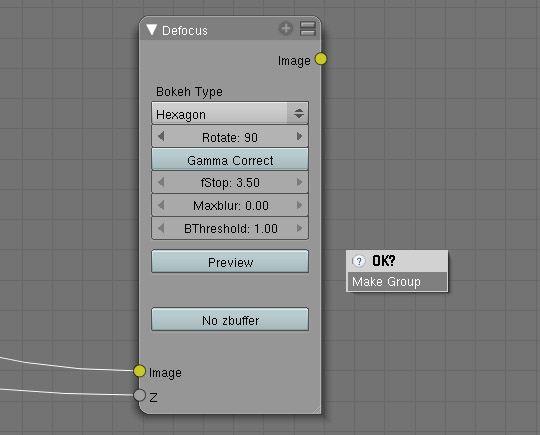
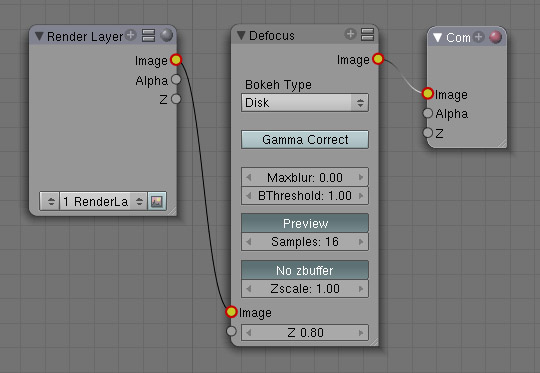
Hit the space bar and add a Defocus Node (Add>Filter>Defocus) and connect to the render layer and composite layer as shown in red here.
Step 7
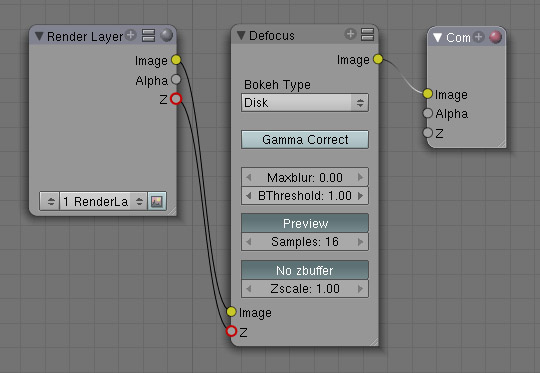
We want the node to use the data from the cameras Z-depth, so connect the Z input to the render layers Z Output.
Step 8
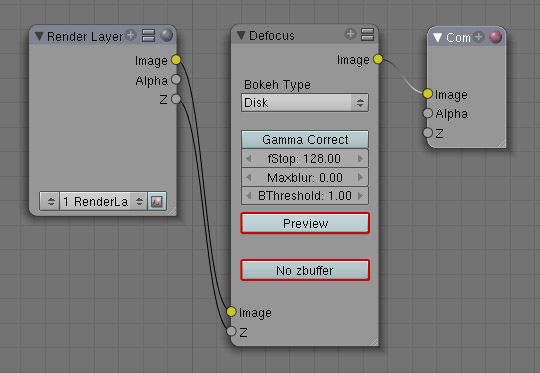
Go ahead and turn off the No zbuffer and Preview buttons. They are rarely used and seem to exist only so we can turn them off.
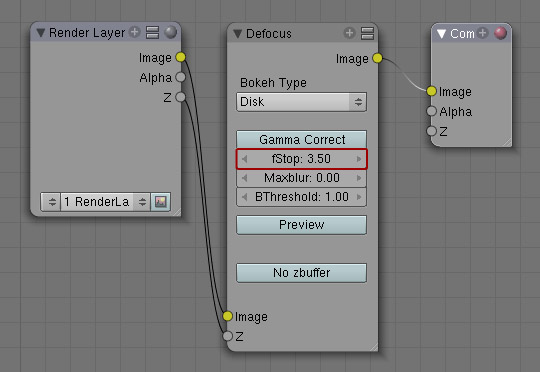
Now onto the important part: the fStop value.
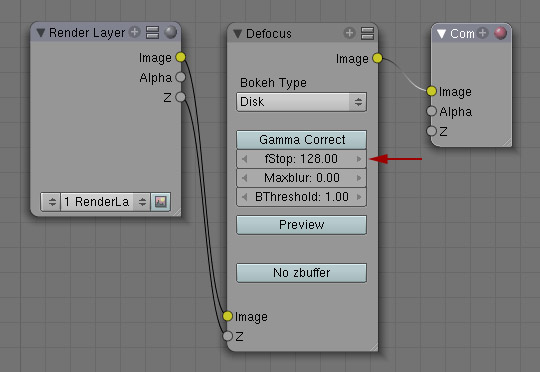
Without getting too technical, the fStop value defines how much on either side of the yellow cross hair to make in focus. The smaller you make the fStop value the less of your scene will be in focus. Many artists get carried away by how cool DoF looks, and make this value unnecessarily small. This in turn makes everything appear miniature.
For an example of how DoF can affect your perception of size, watch this video. It was created using a clever photographers effect called ’tilt shift’ which fakes shallow depth of field.
Step 9
With your understanding of fStop, you should know that light bulbs are fairly small and as a result will need a smaller fStop value. So go ahead and set it to 3.5.
Step 10
Another interesting aspect of DoF that you have control over is bokeh, which defines the shape of the out of focus lights in your scene. Typically old cameras suffered from jagged bokeh but as technology improved the bokeh took on a more circular shape.
However I have found that using a polygonal shape like a hexagon can give a more unique effect. So go ahead and change the bokeh type to Hexagonal and Rotate to 90
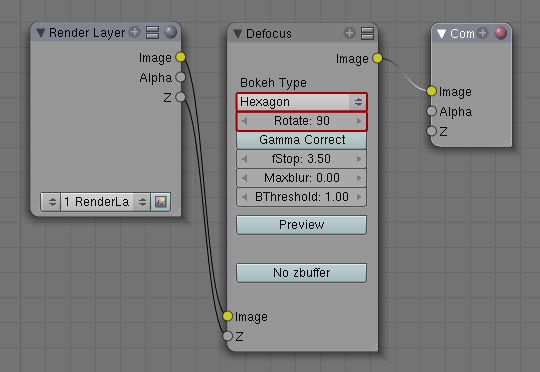
The 90 degree rotation simply turns the hexagon on it’s side to make it more obvious.
Step 11
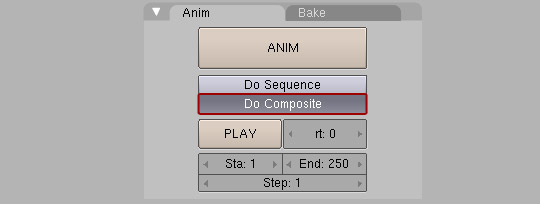
Press Do Composite in the render panel (F10), and hit render!
If you’re a beginner you can stop here as you probably won’t need the next step for your scene, but feel free to read on if you want to get into the tricky stuff.
Using DoF with Multiple Render Layers
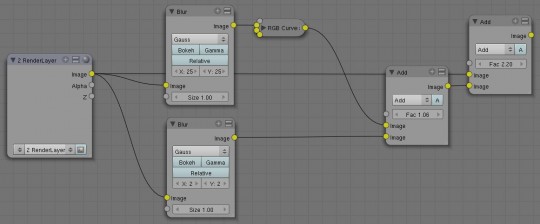
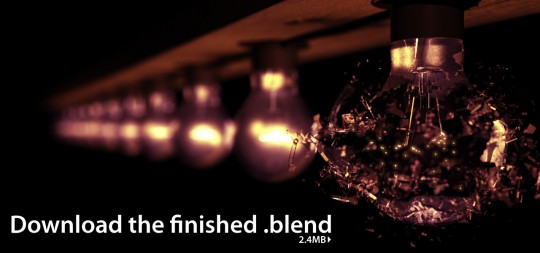
You may notice that in the final product, the light filaments of the light bulbs are glowing. To achieve this effect I had to move the filaments to the second layer and make it into a separate render layer.
However, when you do this a problem arises: the Z-Depth for the DoF was calculated on the first layer, not the second. Sure, it’d be great if we could just jam two outputs from different render layers into the one hole, but sadly this is not the case.
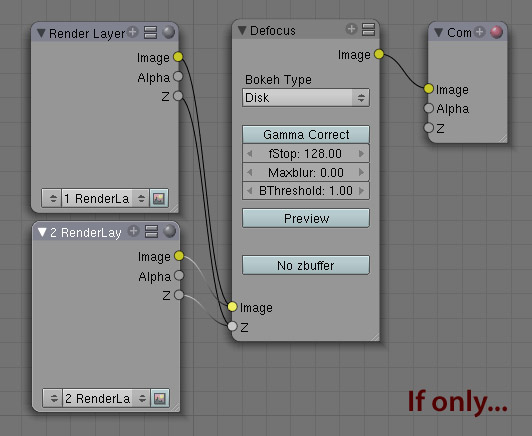 It's photoshopped. Please don't try this at home.
The ugly truth is: each render layer needs a separate defocus node. Always. However rather than adding it the traditional way and having to adjust the settings on each node to match the other, I have a far more painless way.
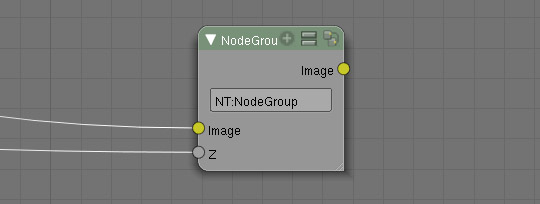
Select the original defocus node and hit Ctrl-G.
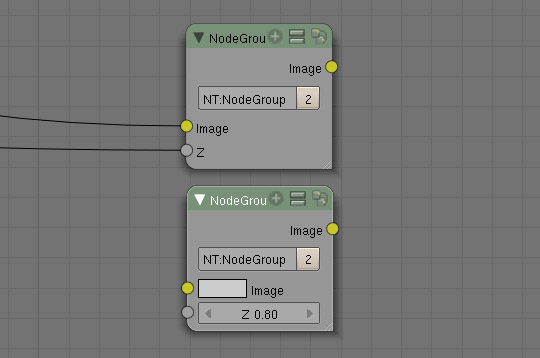
This will make the single node into a group. Calling it a group is confusing, but if you duplicate it (Shift-D) you will notice that a number appears next to it’s name.
This is the number of users associated with it. Meaning you can make several copies of it and everything in it will mirror the settings of the groups.
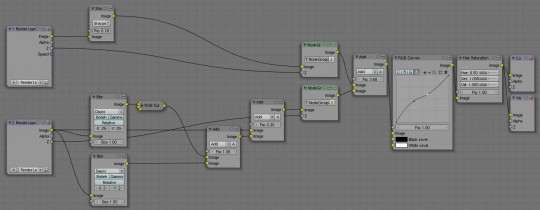
Duplicate the group for each render layer in your scene, and compile the layers as you normally would.
Voila!
<!--more-->Thanks for reading! I hope you now have a better understanding of this often overlooked feature in Blender. If there’s something I’ve missed or anything you’d like me to go into more detail, please let me know in the comment section below!
