In today’s article, we wanted to talk about the “behind the scenes” of the creating the map generating process for the developers.
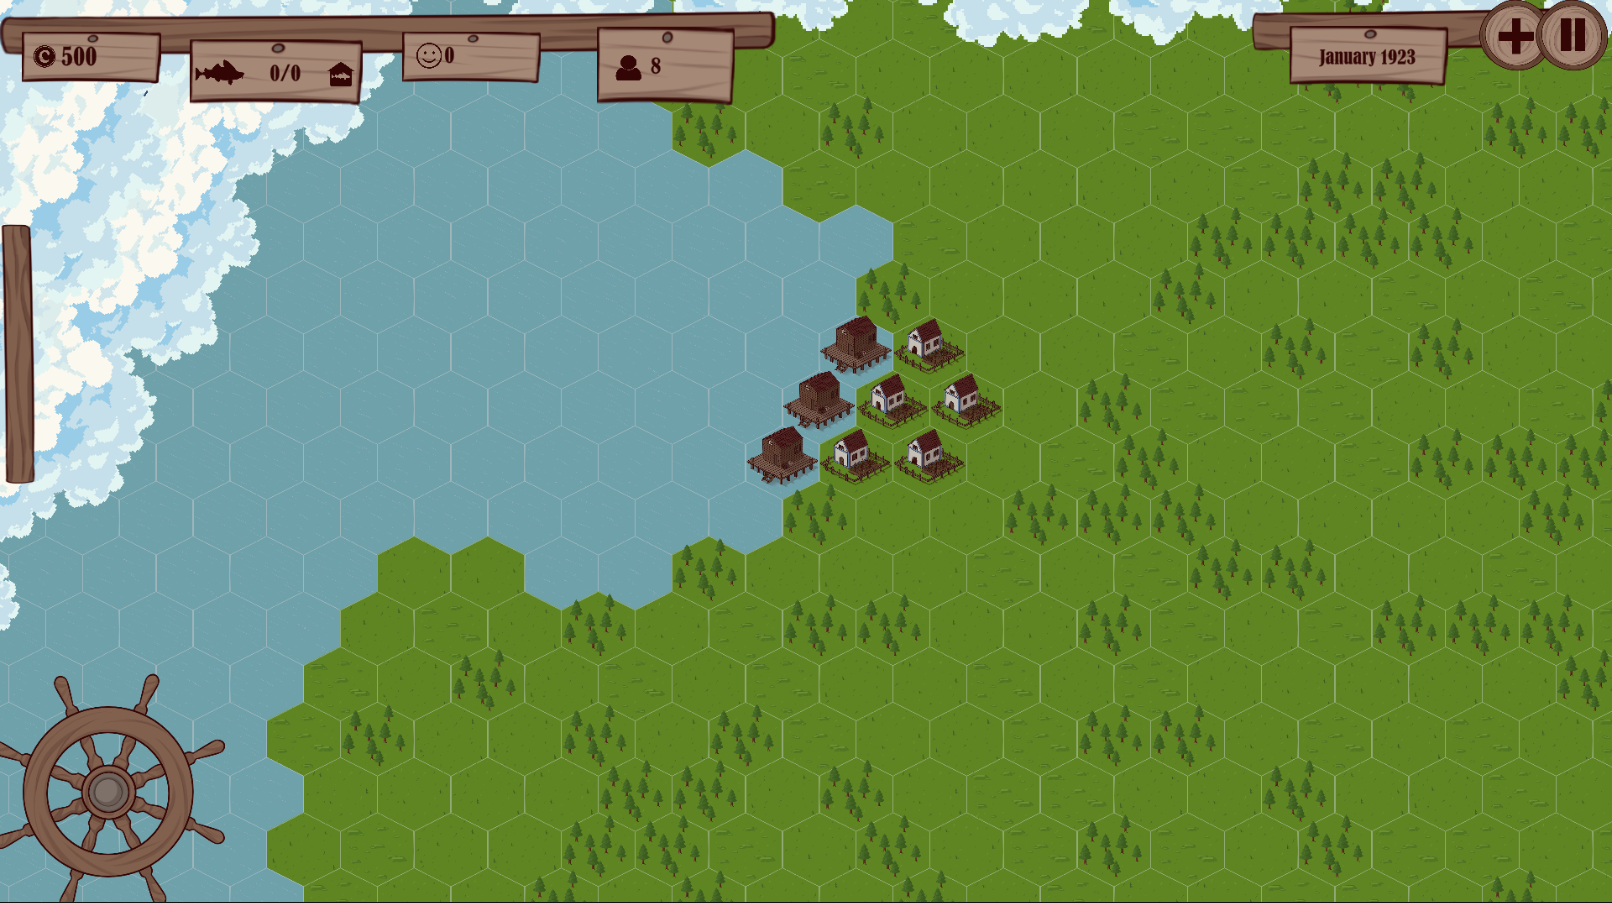
We wanted to be able to change the game map in a fast and easy way, so when trying different maps and balancing the game, it wouldn’t take that much for the game designer to be able to change stuff around and so that he didn’t have to change the coding for it.
To accomplish this goal, our programmer structured a way of creating the maps and editing them in Unity:
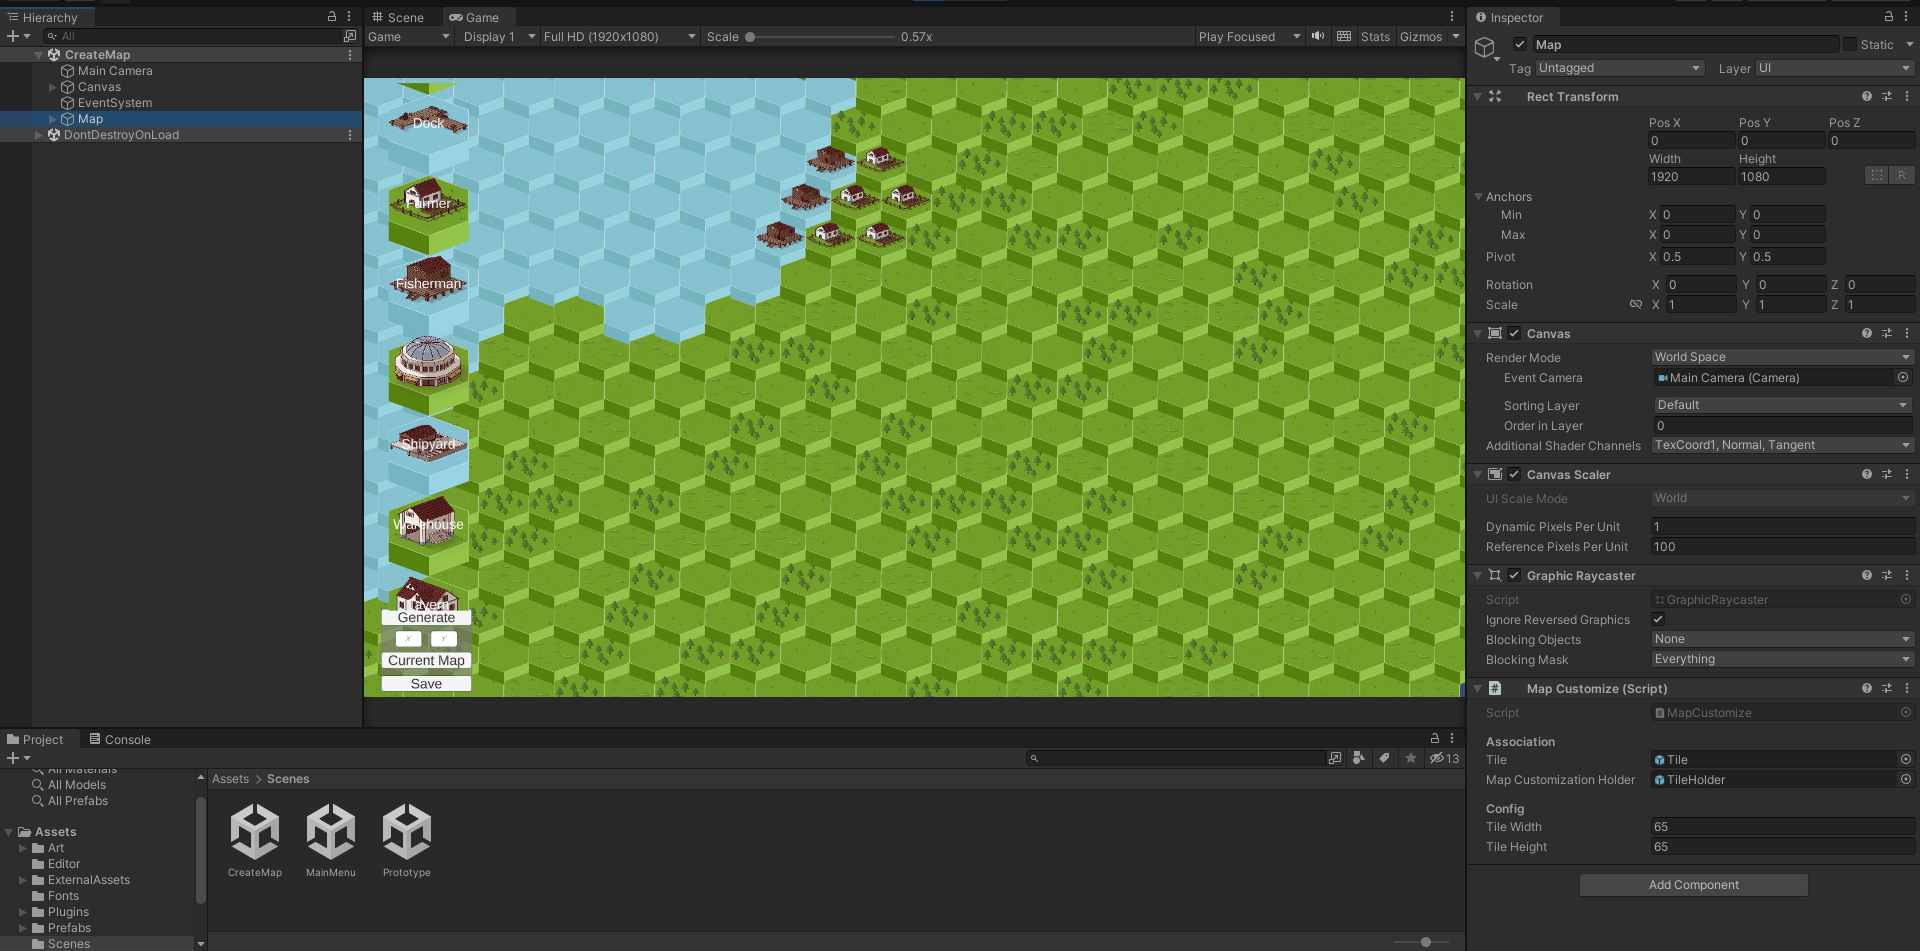
In this scene, the game designer or the developer can either create a new map from scratch, based on its size, or load the current map to adjust some details.
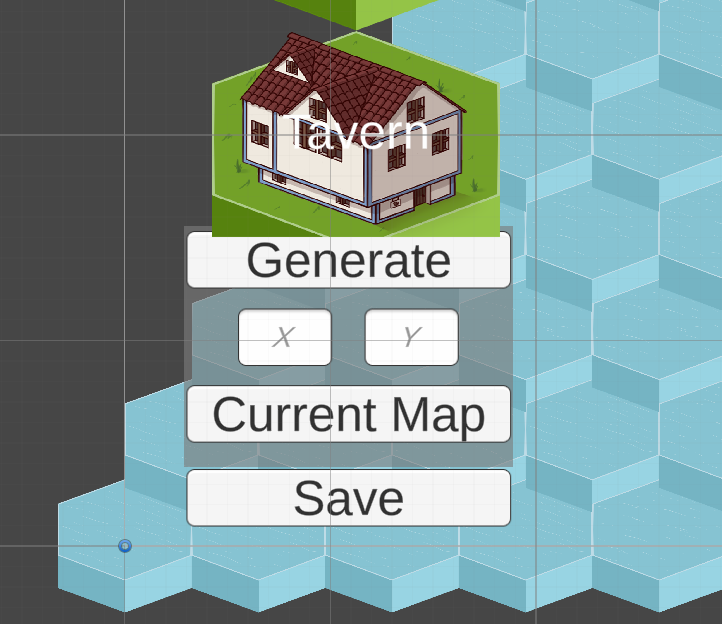
To generate the new map or load the current one they would have to click the options in the bottom left corner:
After the map is loaded, it's possible to edit the map by selecting the tile that will be used to “paint” on the left side of the screen inside the scroll area:
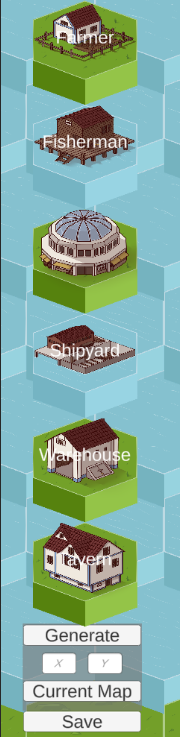
The selected tile will be the one that you can change the tiles you click on to, the next step it's to simply paint the tiles on the map that the developer or game designer wants to be with that tile.
After the editing is done, they can simply save the map and the map will be saved as a “map.txt” that can be used in the game scene to generate the map for the game.
With these steps, we are able to modify the game map as much as we want in a simple and fast way.