As mentioned in my previous post, the development on my game is going through an almost complete overhaul. Everything from textures to models are getting changed or optimized. However the level layout remains pretty much the same for now. Moreover I've taken a liking to the 3rd person view, so I'll most probably end up using that as the default view in the game. I feel that it kind of gives a better sense of the scale of the level. I may add an optional 1st person view later on.
Anyways my initial search for a new texture for the walls from some of the popular free texture sites ended up in vain, as I didn't get anything satisfactory. But somehow after almost a day of searching, I ended up in deviant art. And there I found the perfect texture in the gallery of the user AGF81. It was a seamless texture and had a pretty good variation in the size of bricks. Plus it came in a power of two resolution, which means I didn't have to do any cropping or resizing in order to import it into UDK. Also AGF81 was kind enough to let everyone use his textures for their personal uses. A thousand thanks to him. You can find his page in the link given below. He has lots of good textures in his gallery.
So basically this is the texture that I've selected for the walls. The color doesn't match the one I want, but I've already managed to change it in UDK's Material Editor. So that's not a problem.
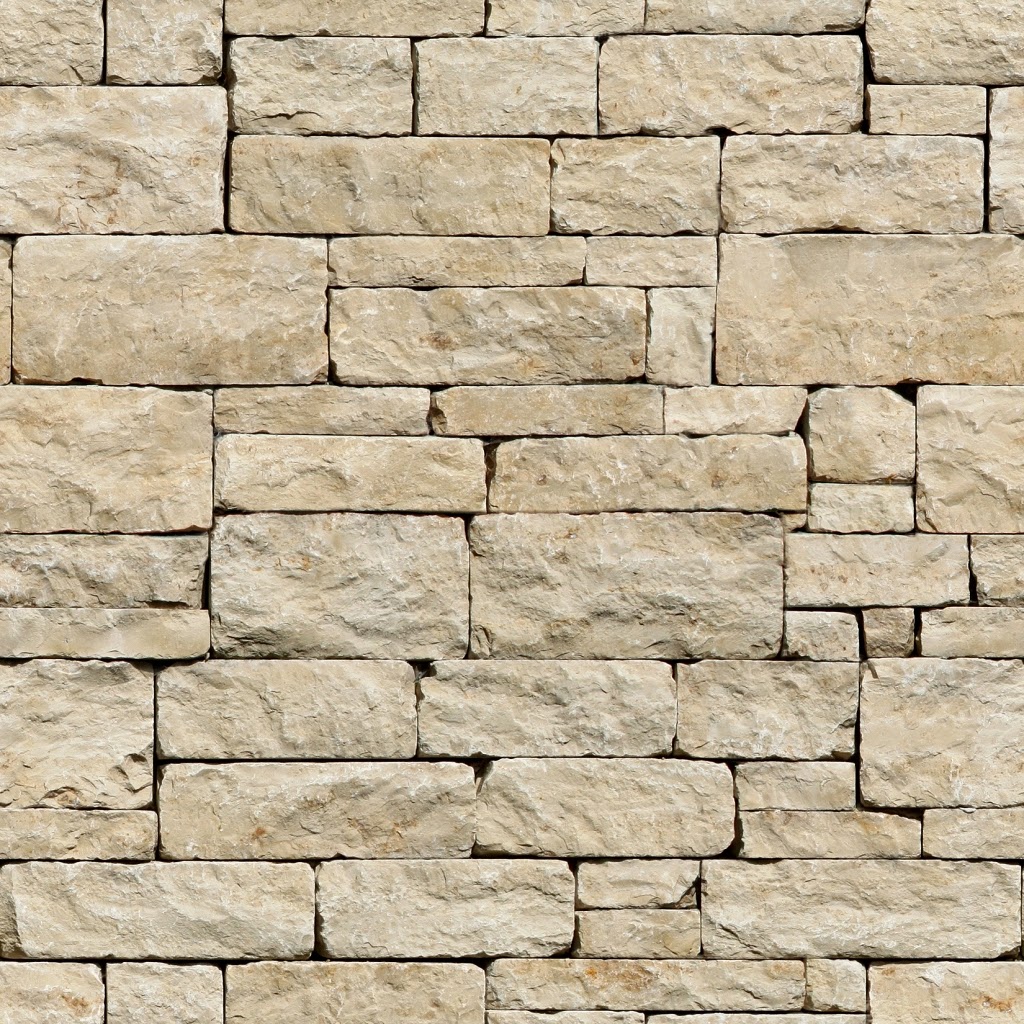
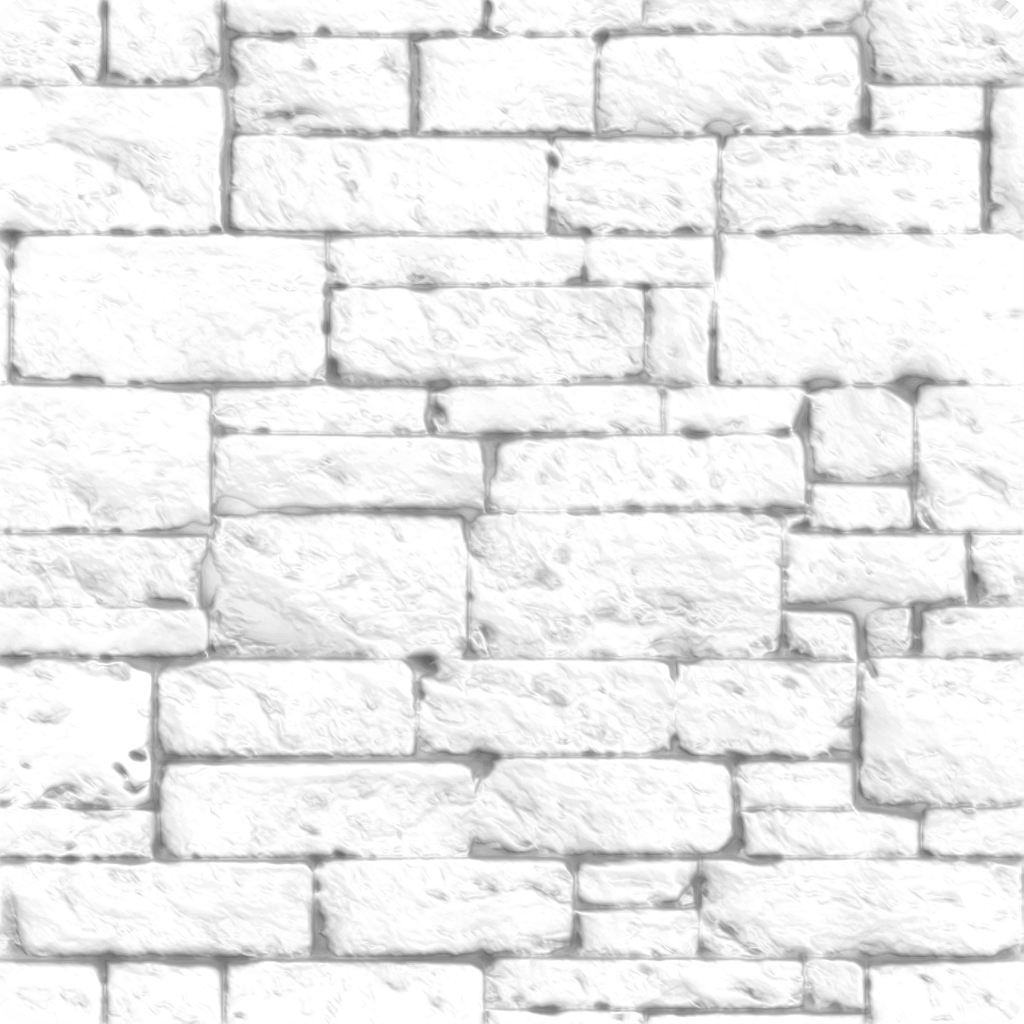
Stone Texture from DeviantArt

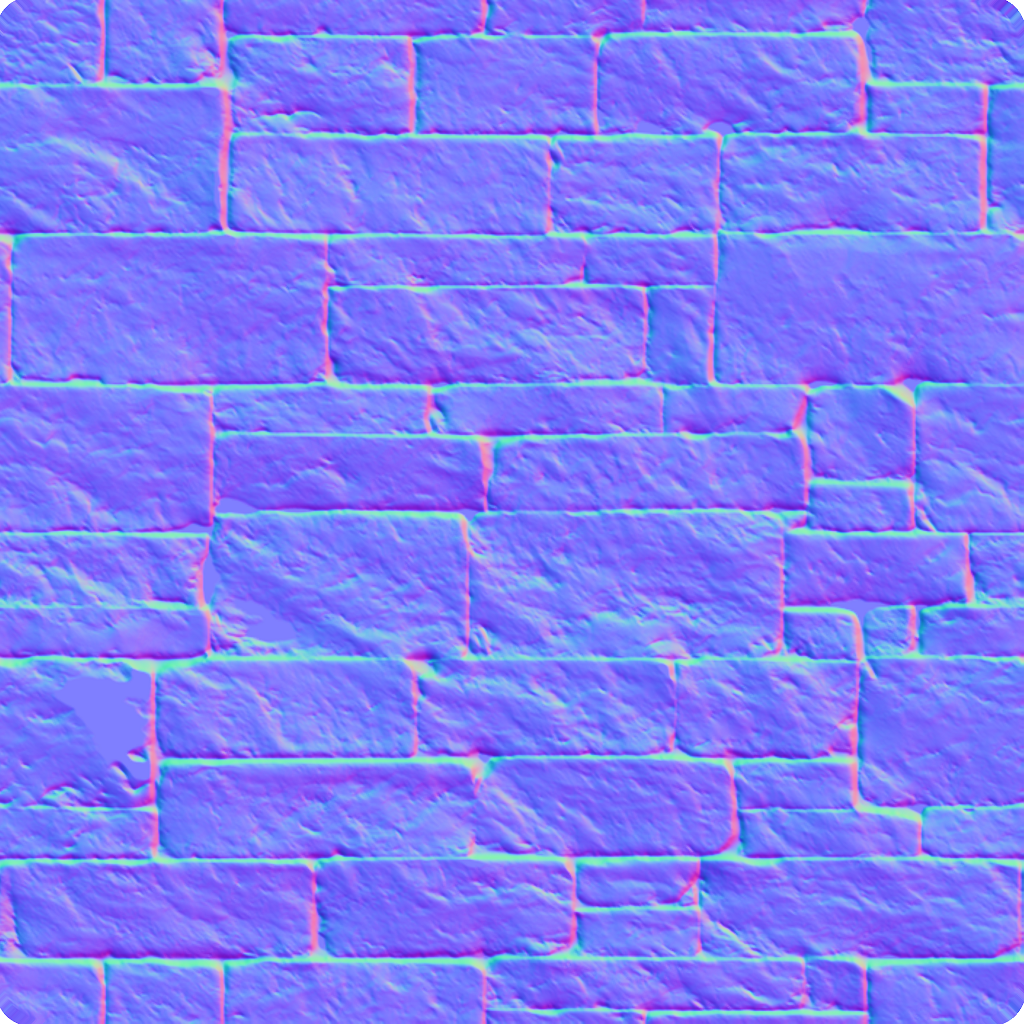
Original Normal Map
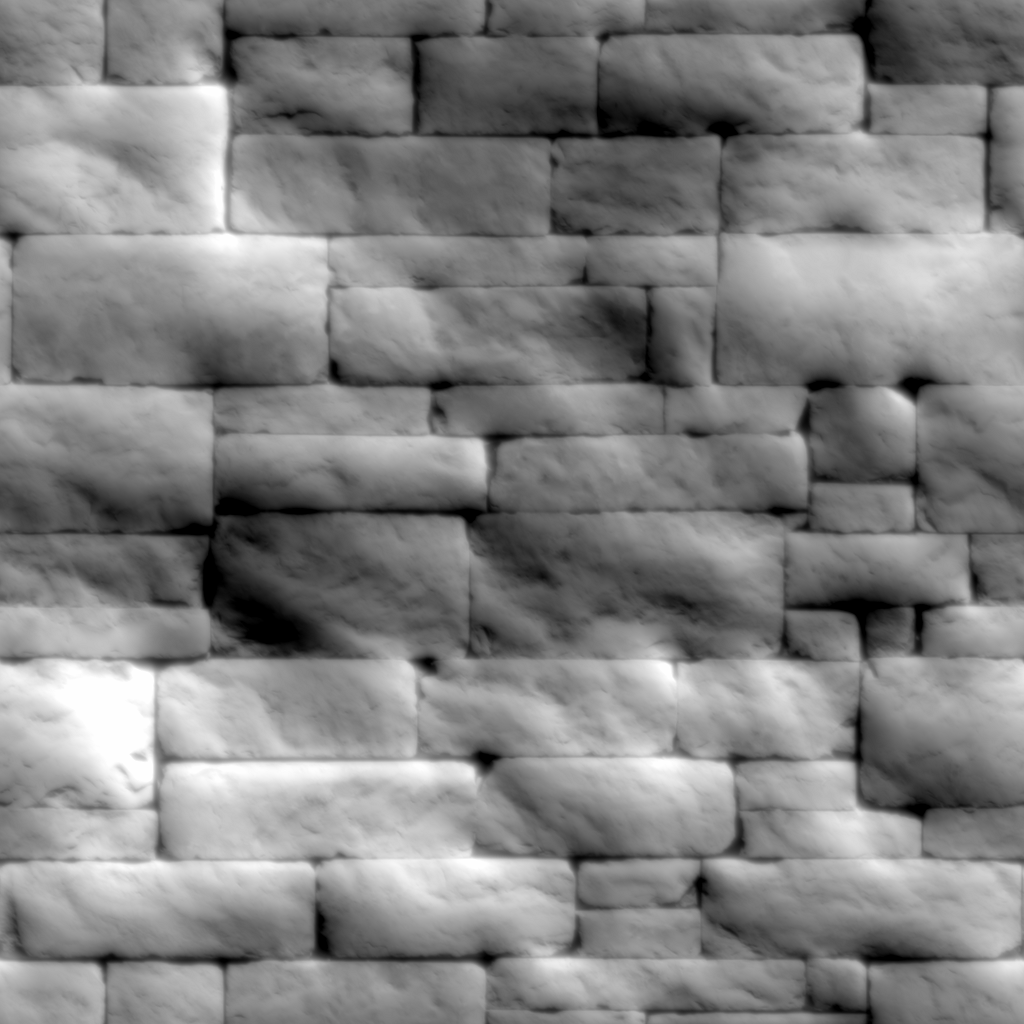
Original Height Map
Enhanced Normal Map
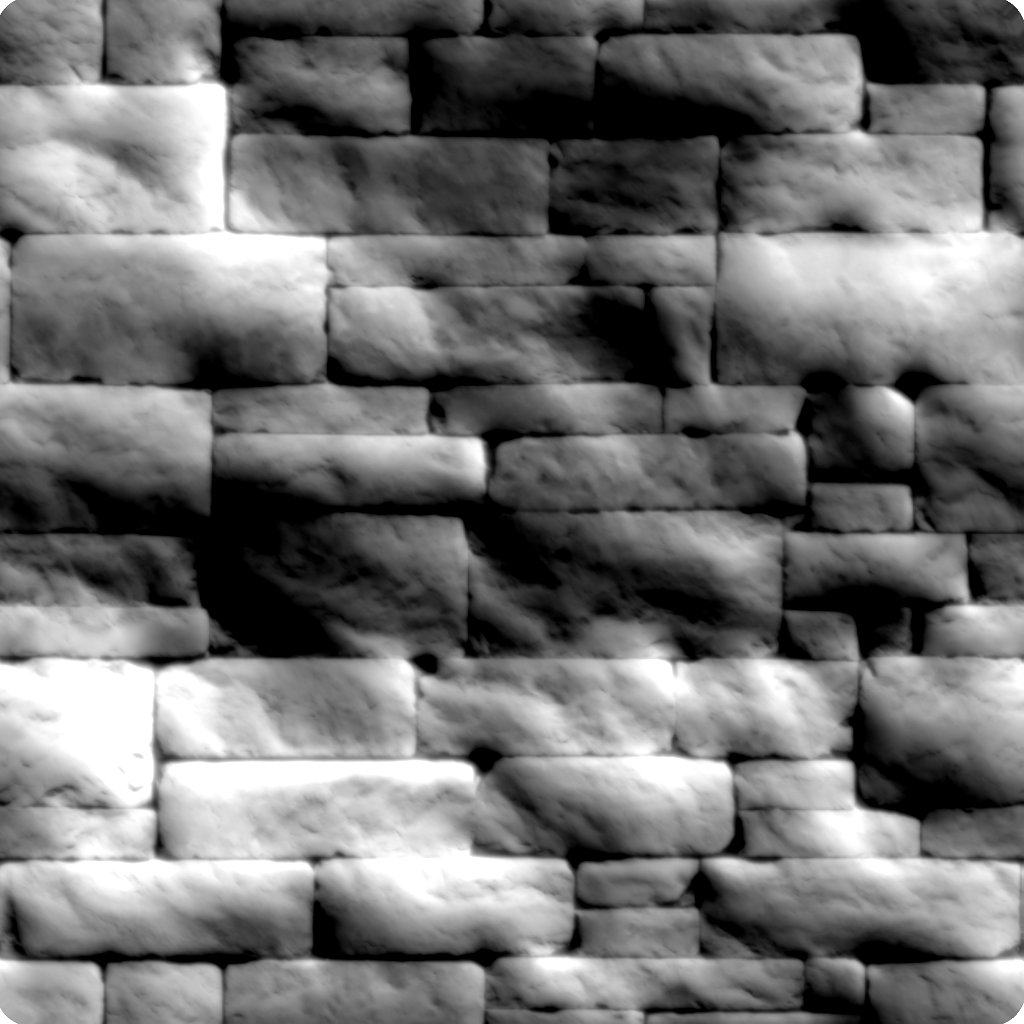
Enhanced Height Map
Enhanced A.O. map
I tested out these new textures on a plane mesh in Blender to see the rendered results before proceeding any further. Both using the default Blender Render as well as the Cycles Render.
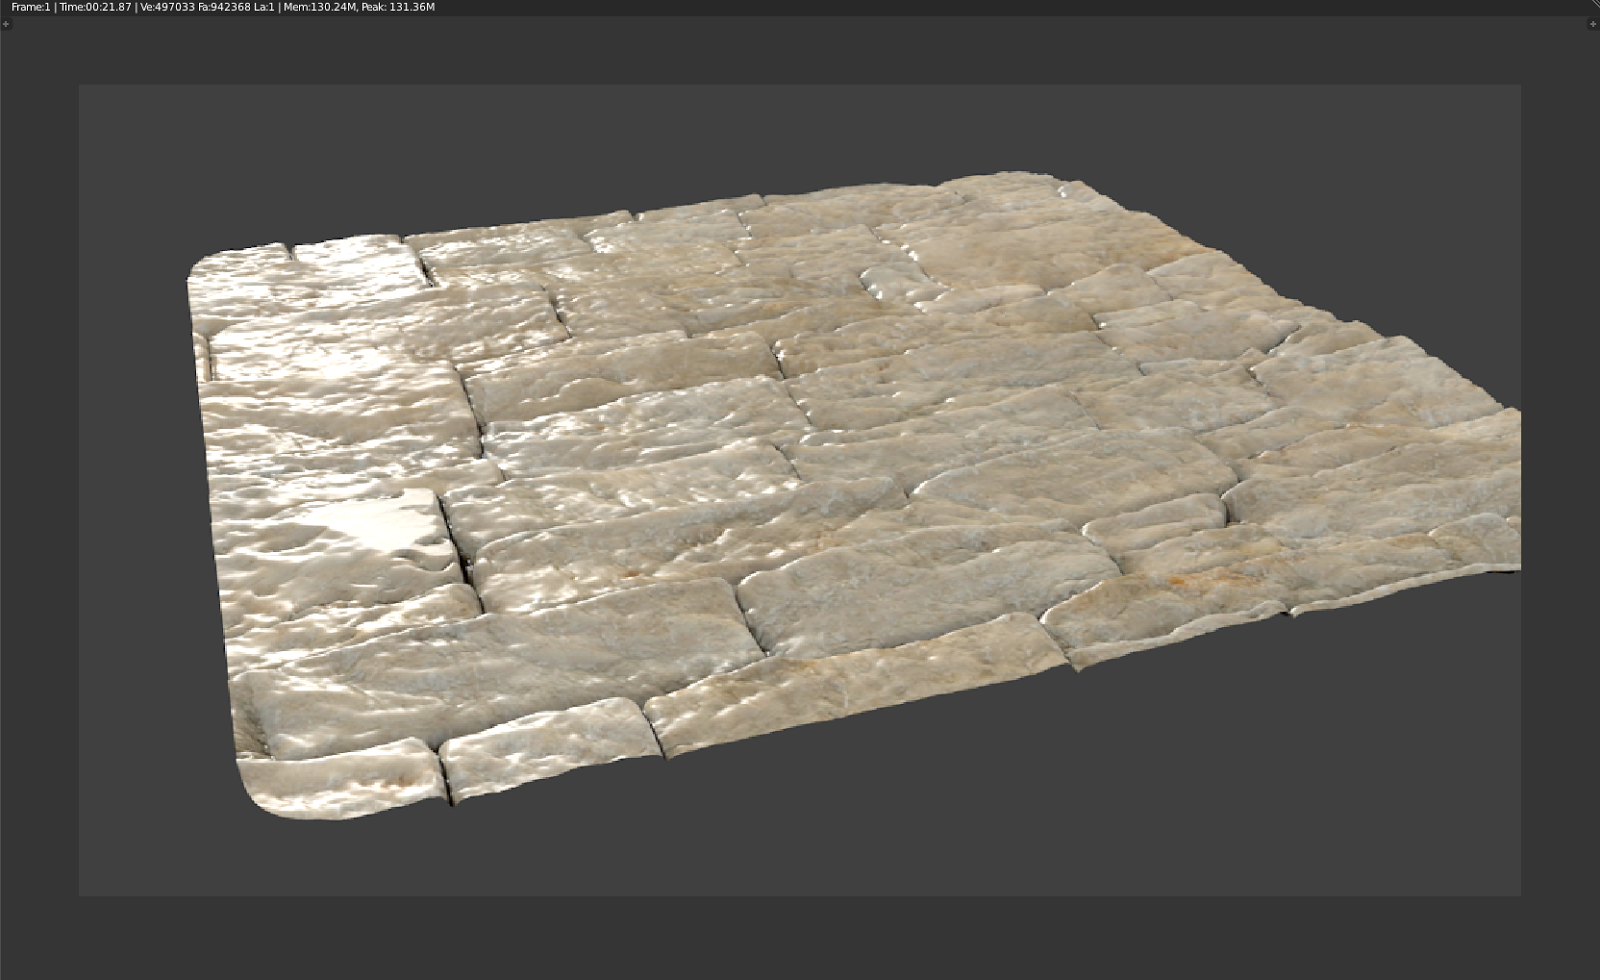
Blender Render
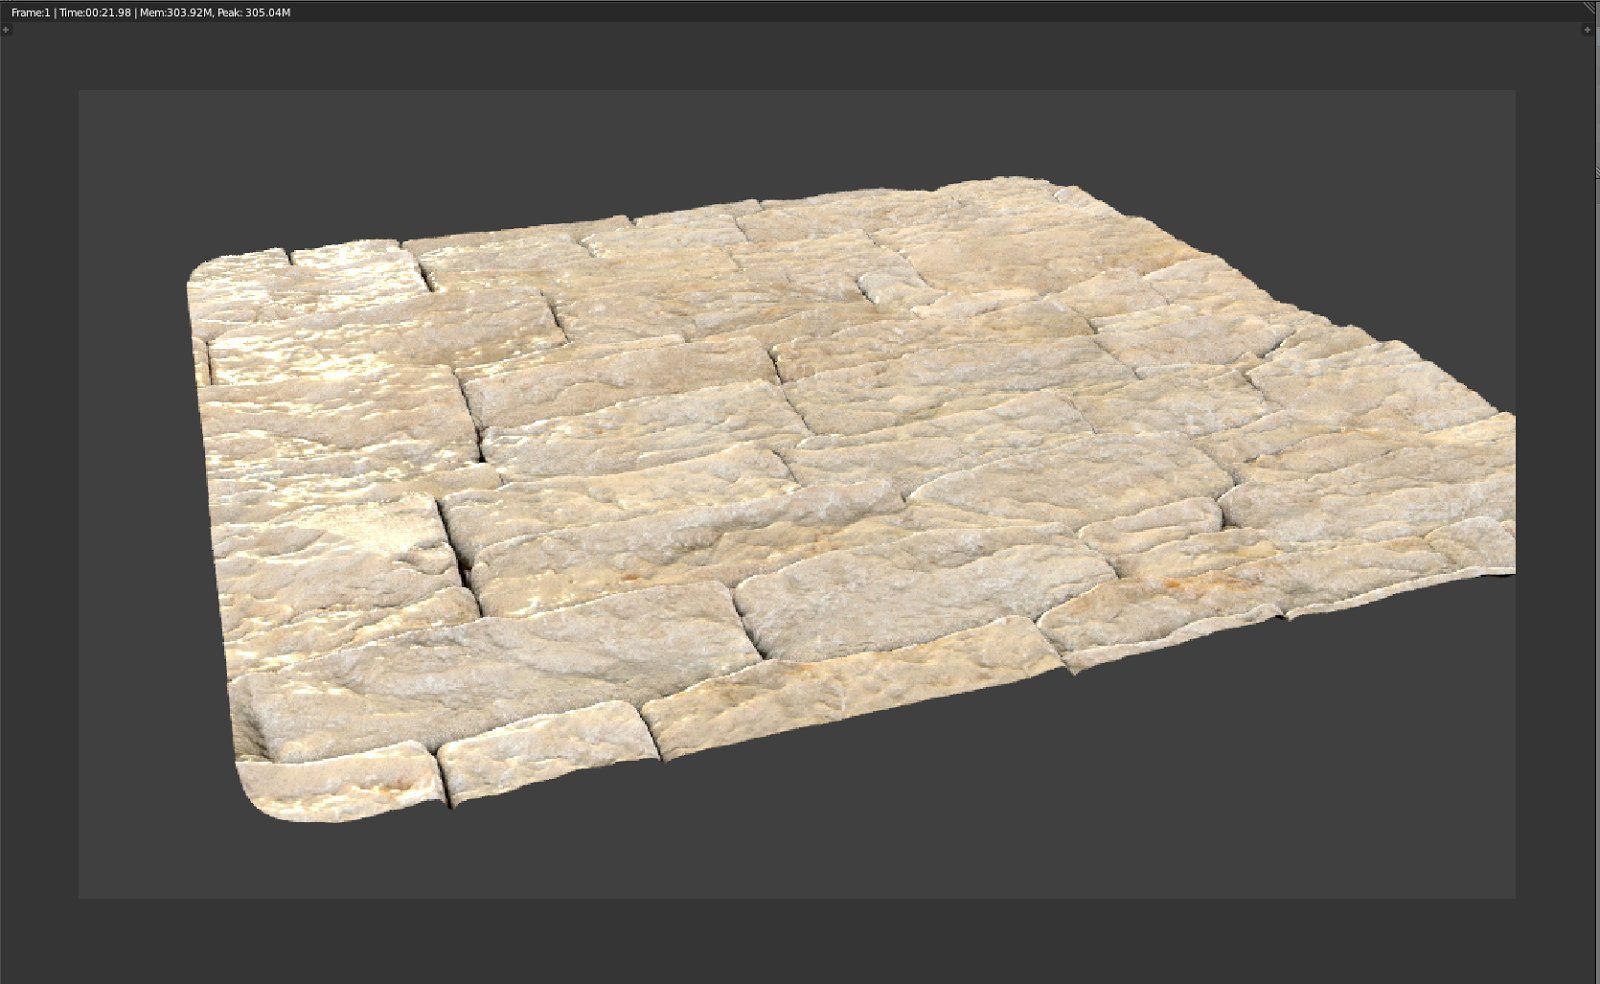
Cycles Render (Used A.O. map and controller specular effects, hence less concentrated reflection)
I was pretty satisfied with the results. But just out of curiosity, I applied the same process once more to see if it would provide better results.
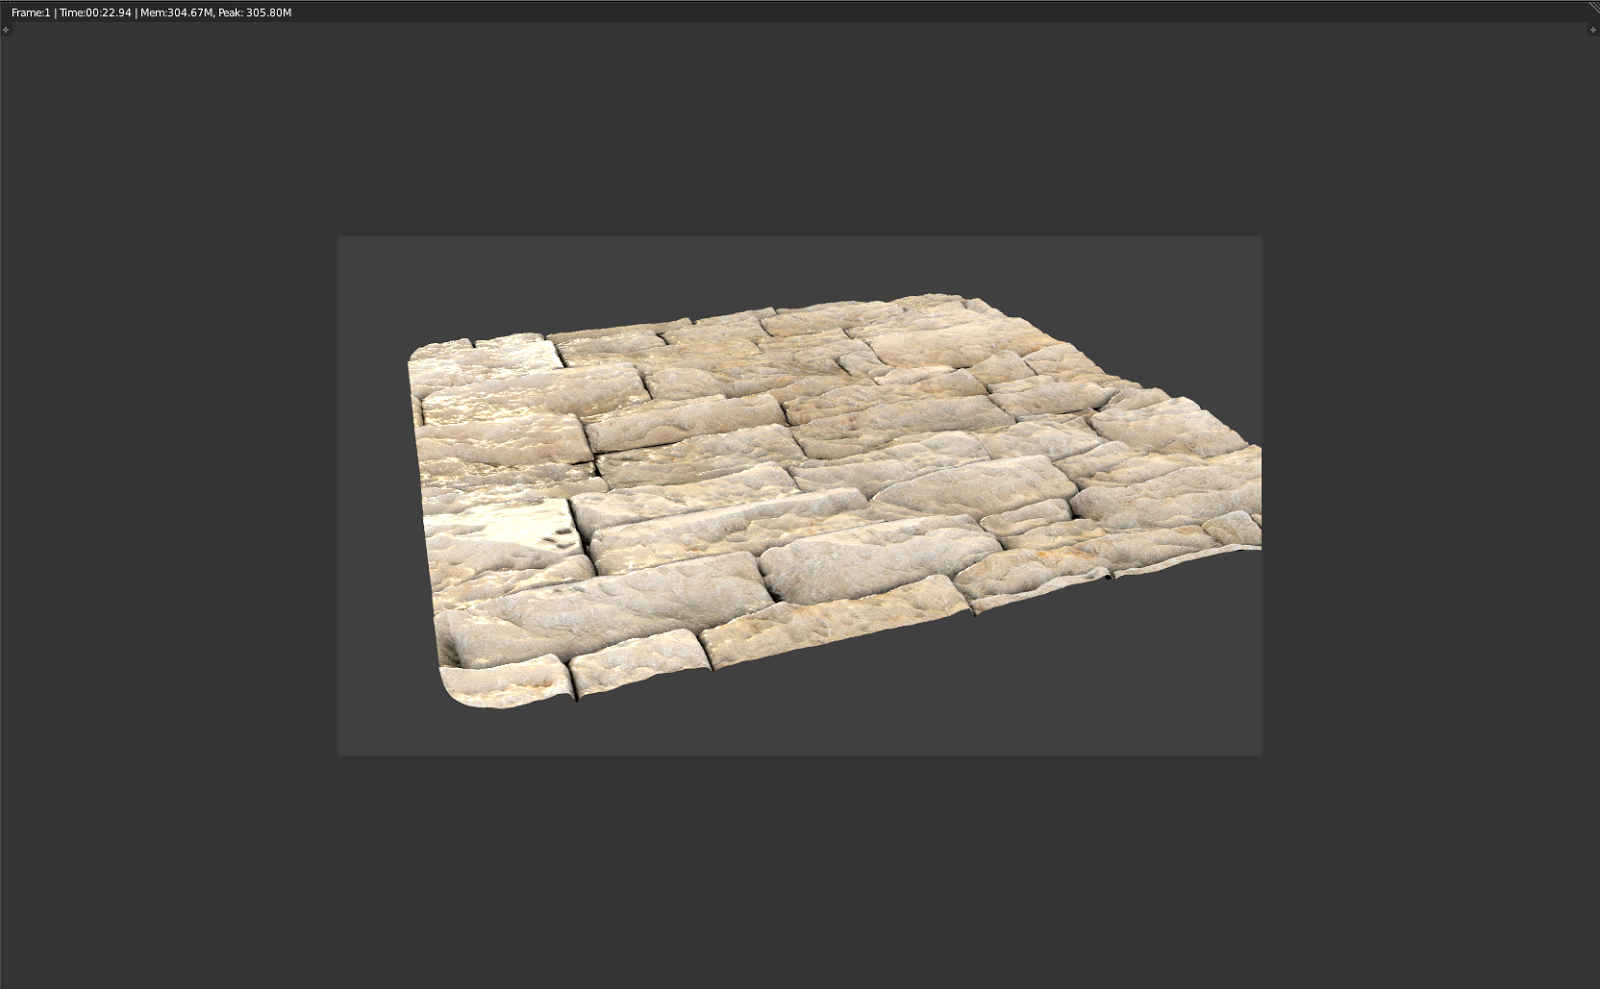
Another pass in Blender Render
There seems to be a noticeable increase in depth, but it kind of became overkill. There were just too many unnecessarily amplified distortions. So I just decided to stick with previous version. It had the right amount of beauty. This one seemed like it had an obvious layer of additional make-up. So basically I got my normal map, height map and A.O. map ready for use in the game. I made some changes to the original diffuse texture as well, but I'll give a detailed description about that in the next post. This post has already become a bit lengthy. Alright so that's it for now. Goodbye.
