So, you're wanting to make a new background for your Half-Life mod, and you're wanting to do something a little nicer than the standard 800x600 backgrounds that you typically get in Goldsrc. While a tad tedious, implementing HD backgrounds is actually a fairly simple task.
What you'll need:
- A template for a 1080p background, click here to download.
- An image editor capable of saving and editing .tga files, and capable of using layers. For this tutorial I'll be using Paint.Net, but any other editor that meets this criteria will do just fine.
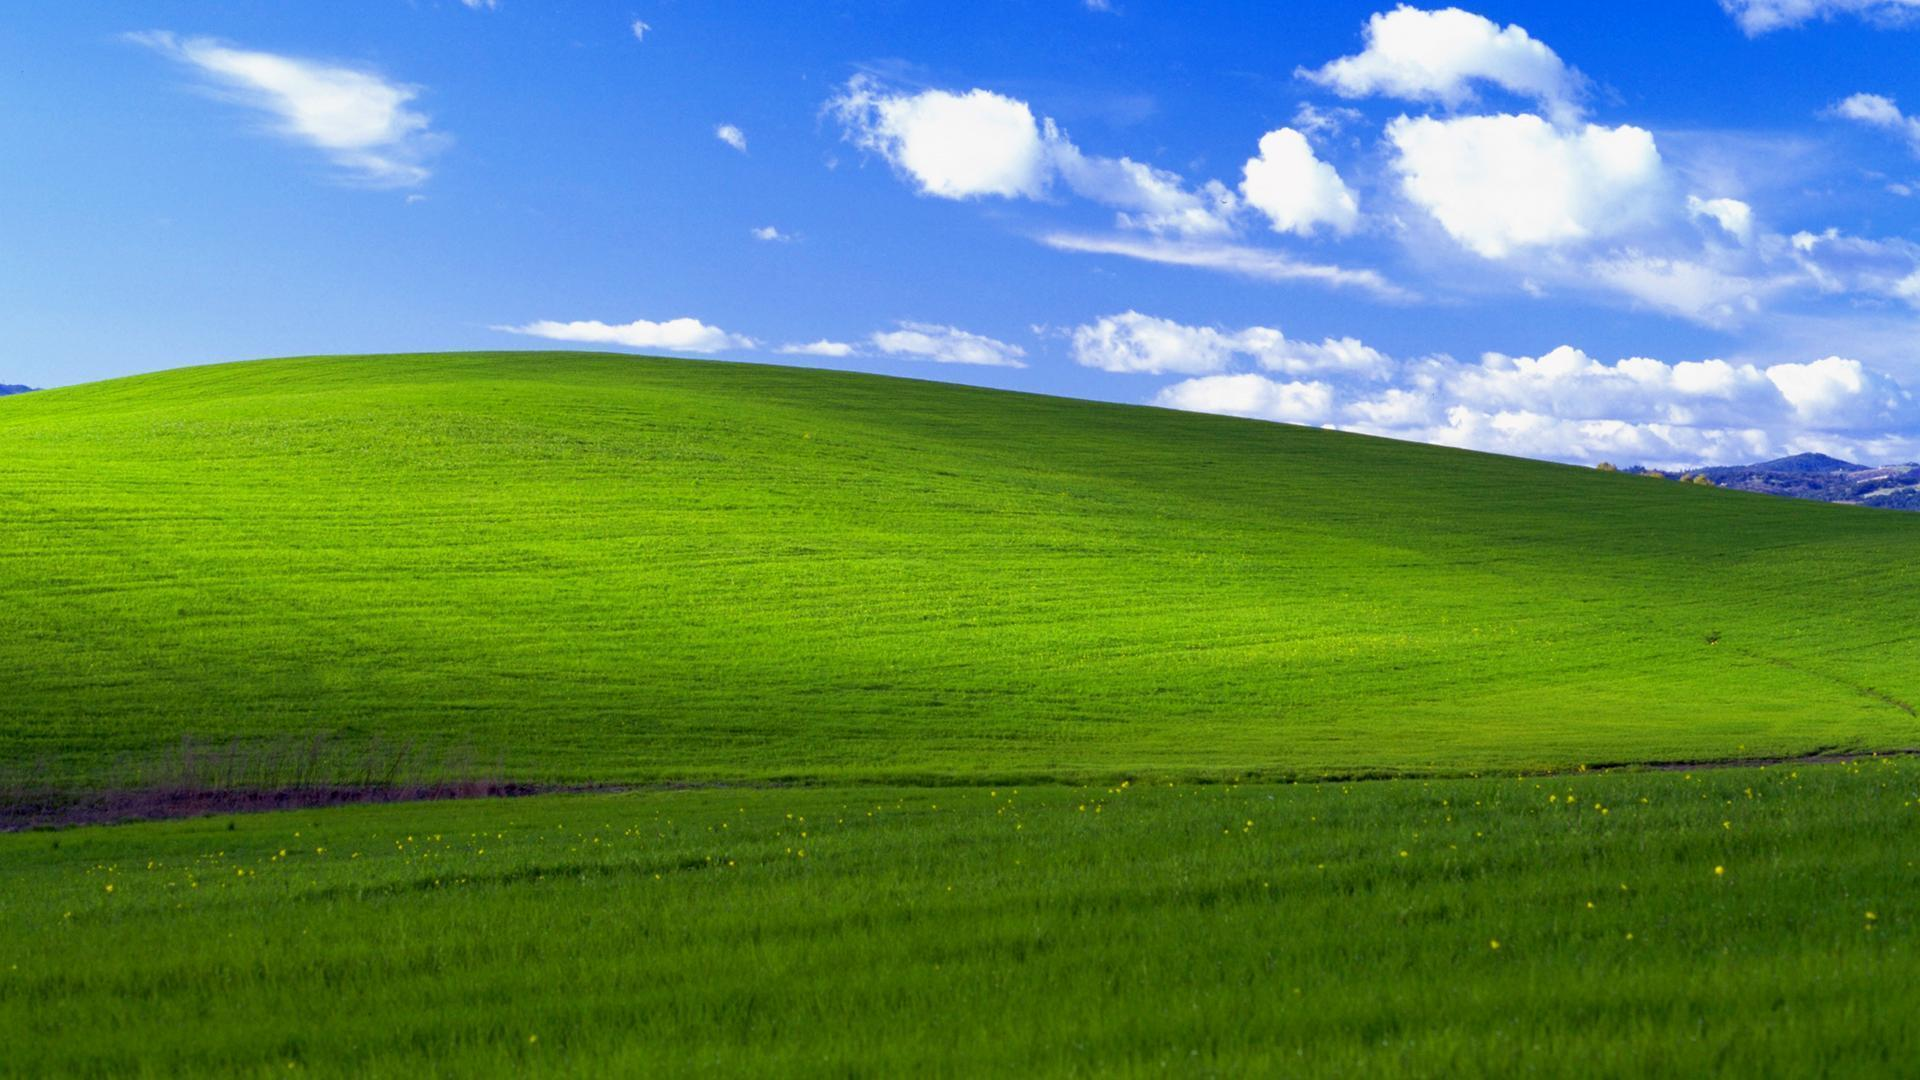
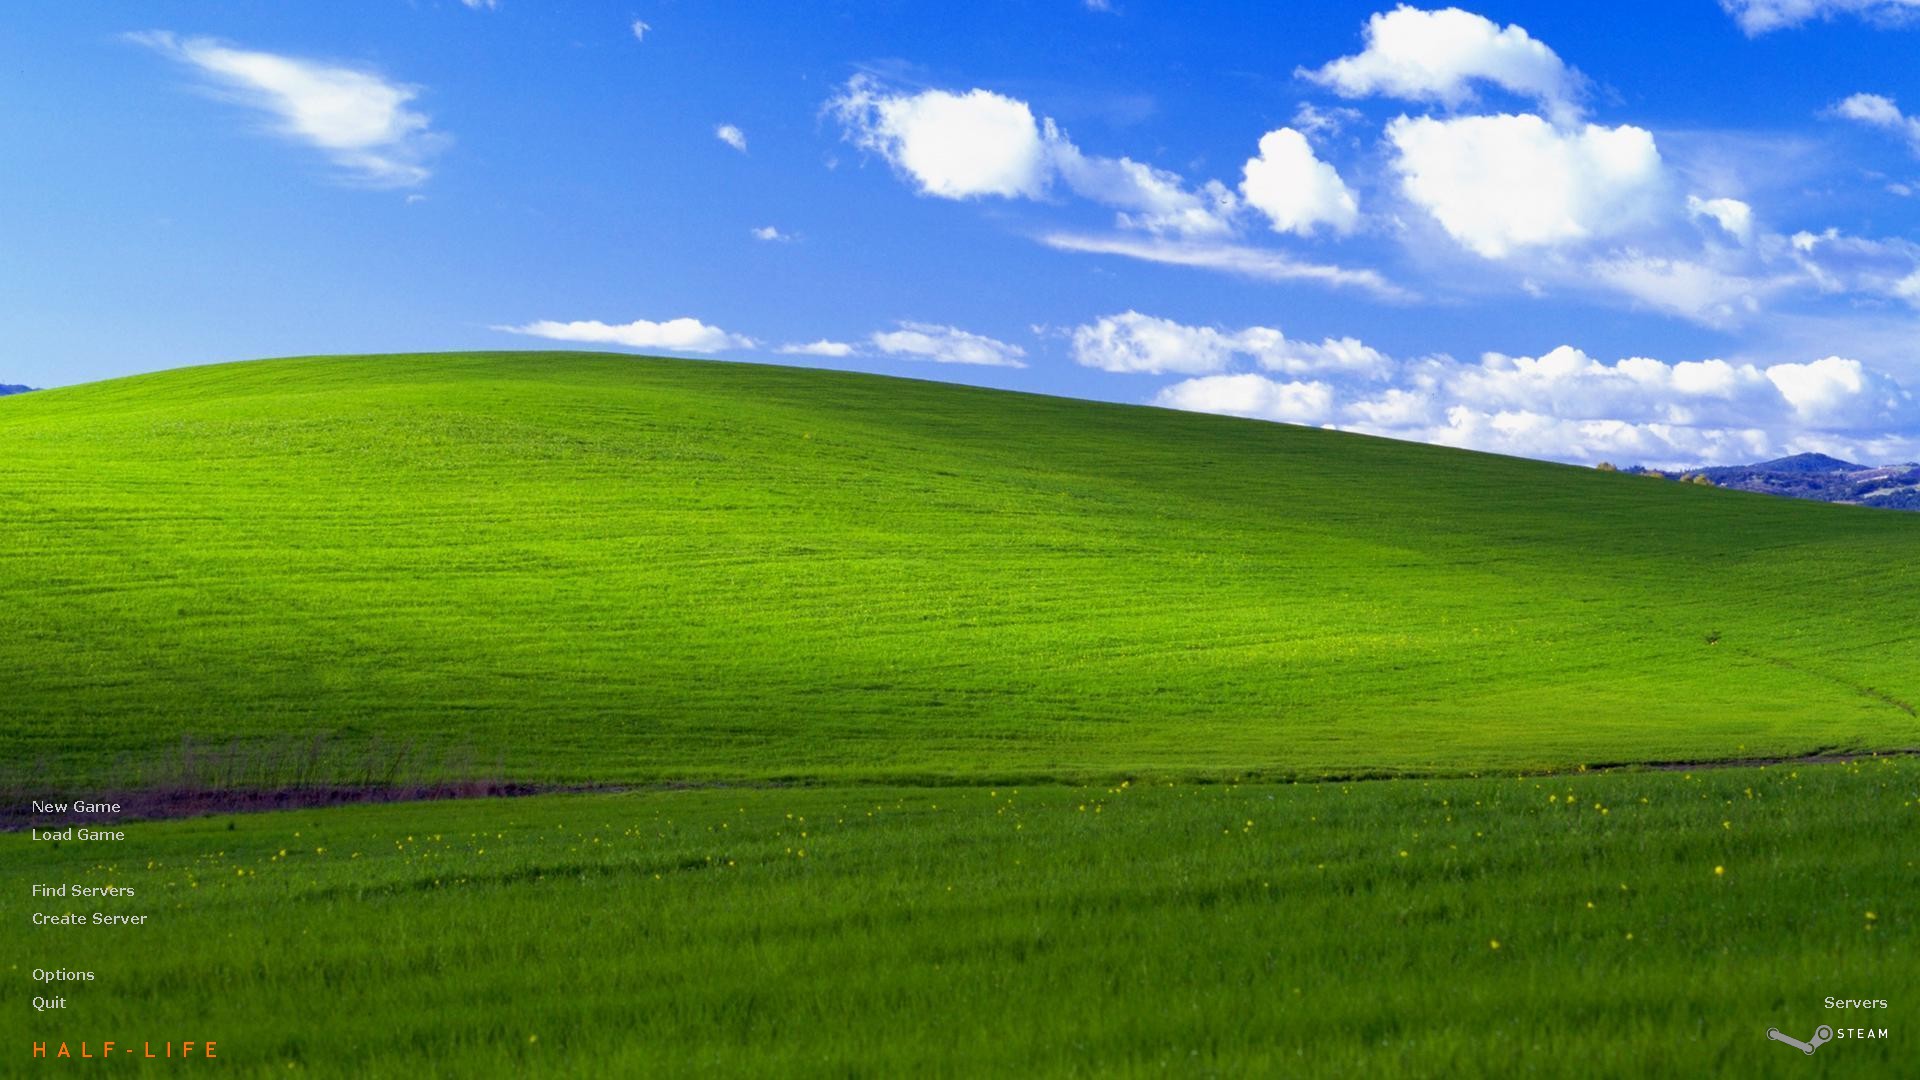
- A 1920x1080 image to use as your background. For this tutorial I'll be using a classic:
Step 1
Open your image editor, and load up your 1080p image. Once it's loaded up, extract the contents of the .zip you downloaded earlier, and find 1080p_template.png. Load this into your image editor as a new layer, on top of your original image. You should have something like this:
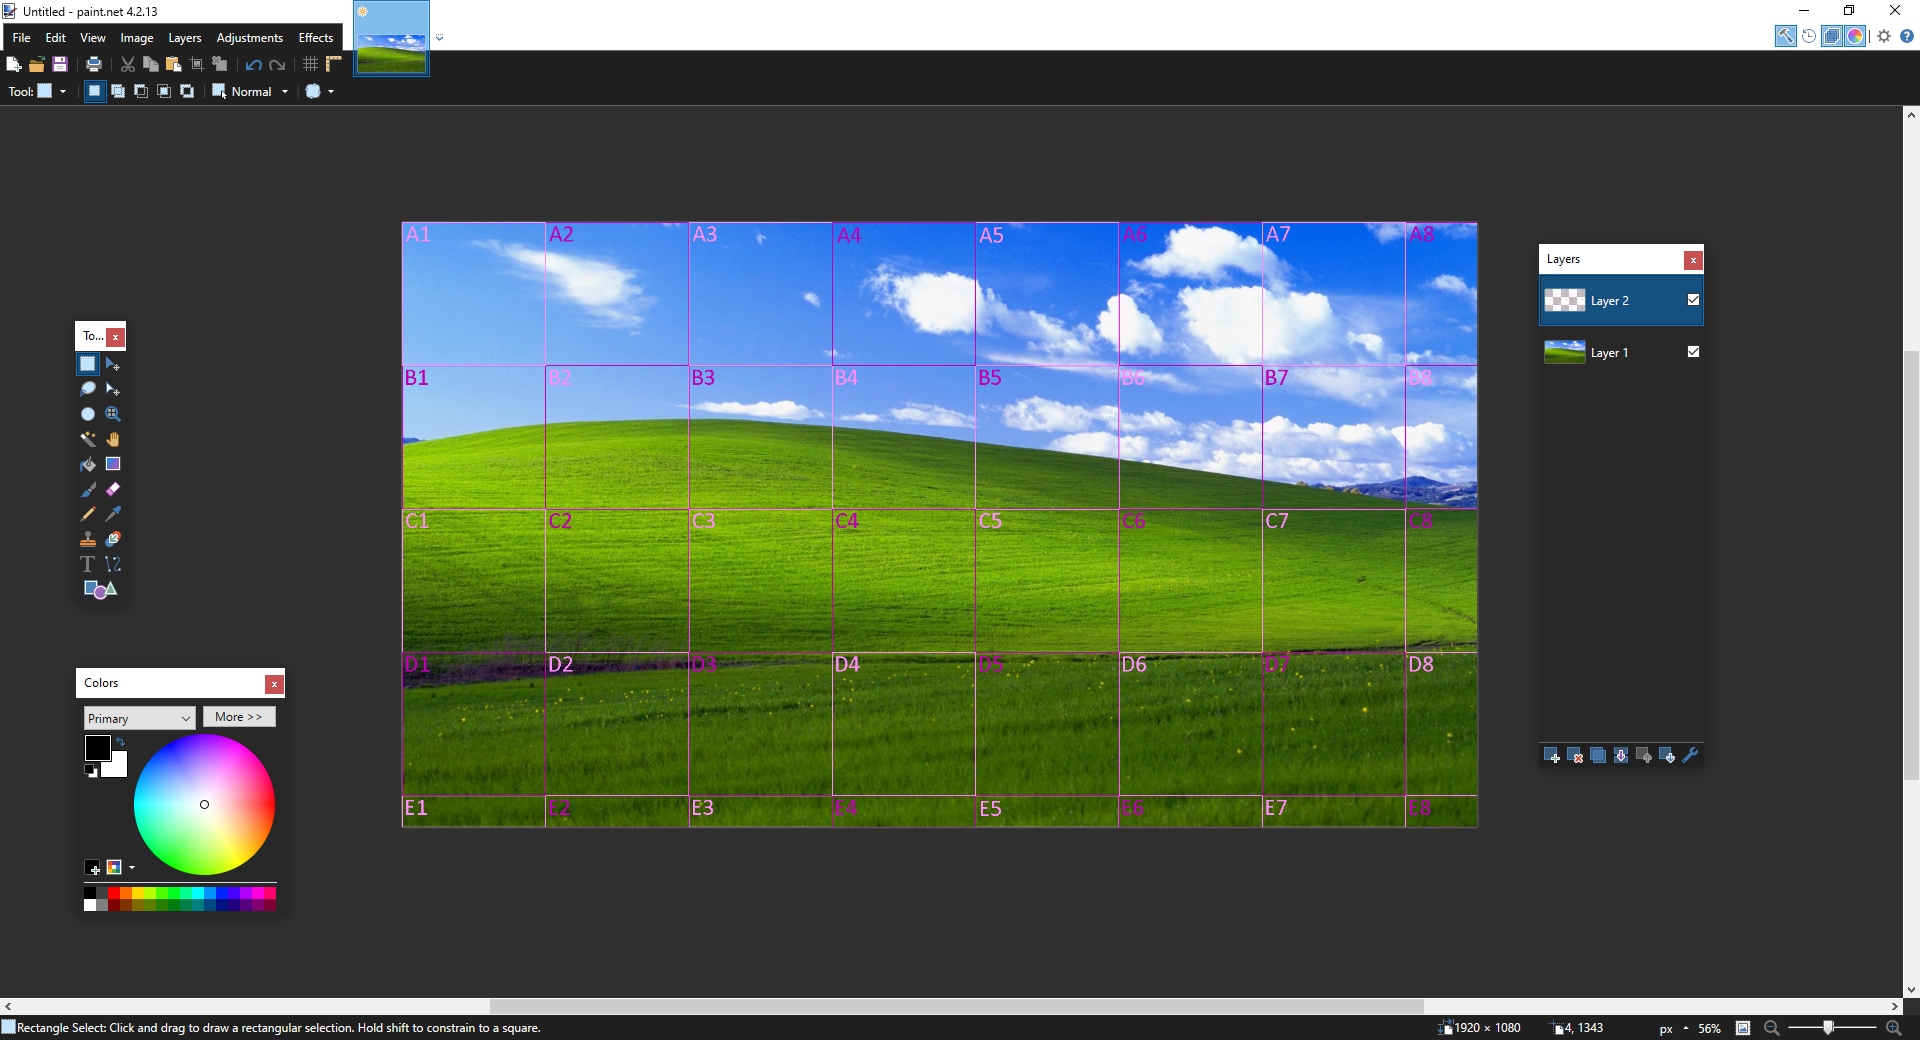
Remember, these are separate layers, and at no point should you ever merge them together. We'll simply be using this template as a guide to make things easier.
Step 2
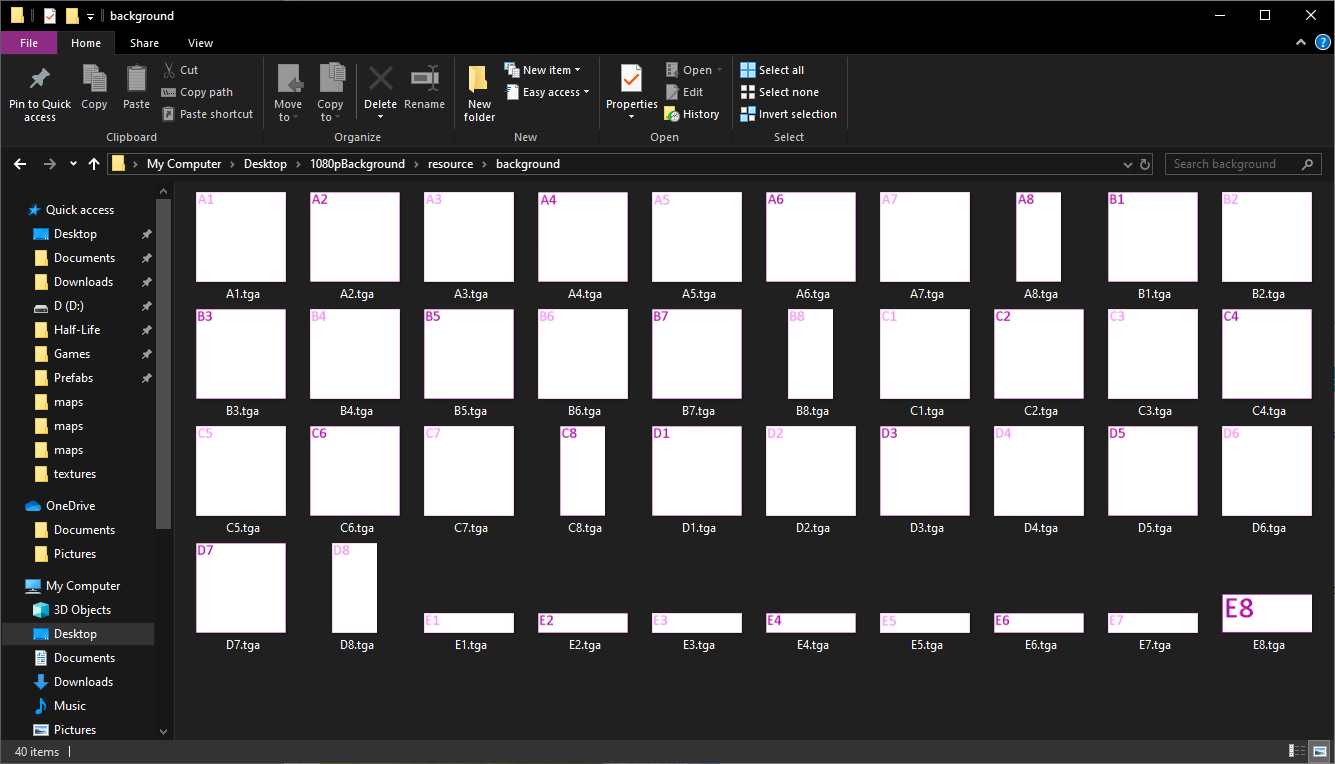
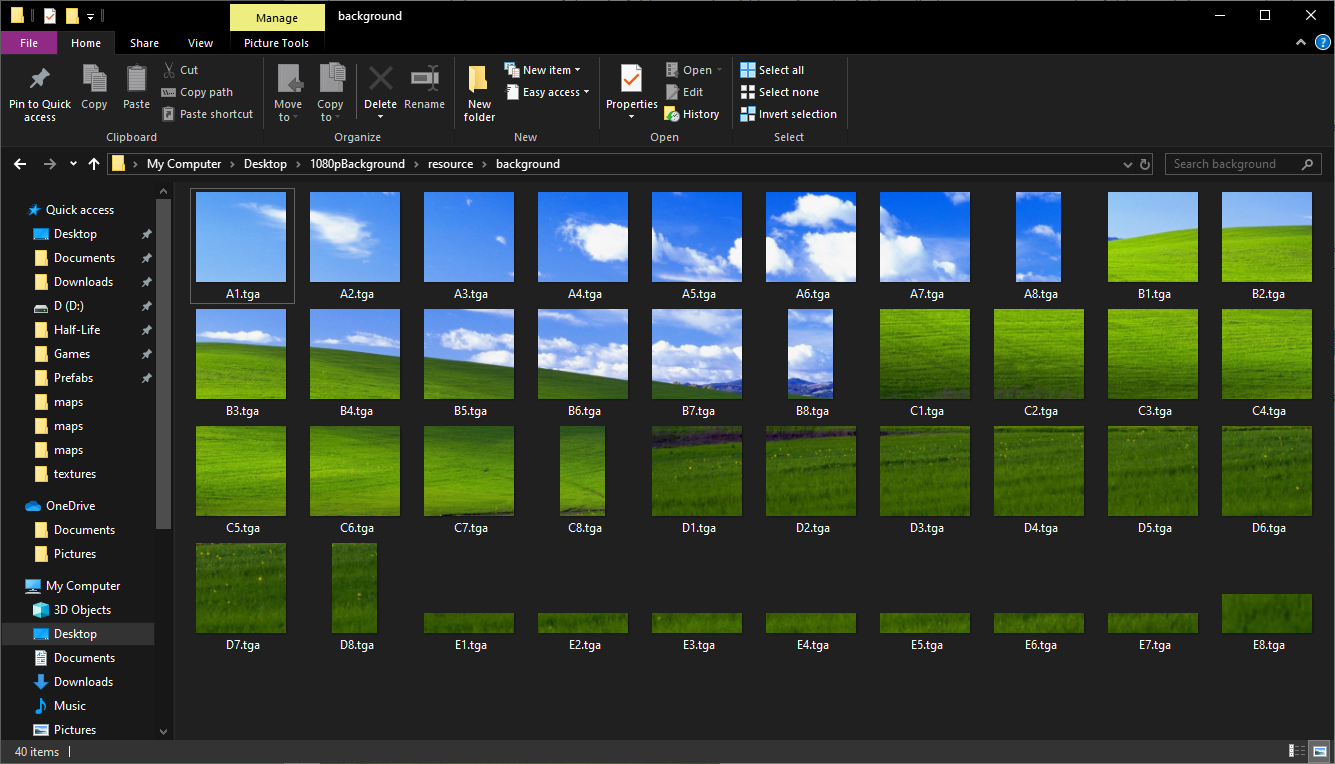
When you extracted the contents of the .zip folder, you should have found a folder called "resource". Open that folder, and then open "background". Inside, you should find 40 different .tga images that bear a resemblance to the template you used earlier:
You'll want load each one of these images up in your image editor as separate images, like so:
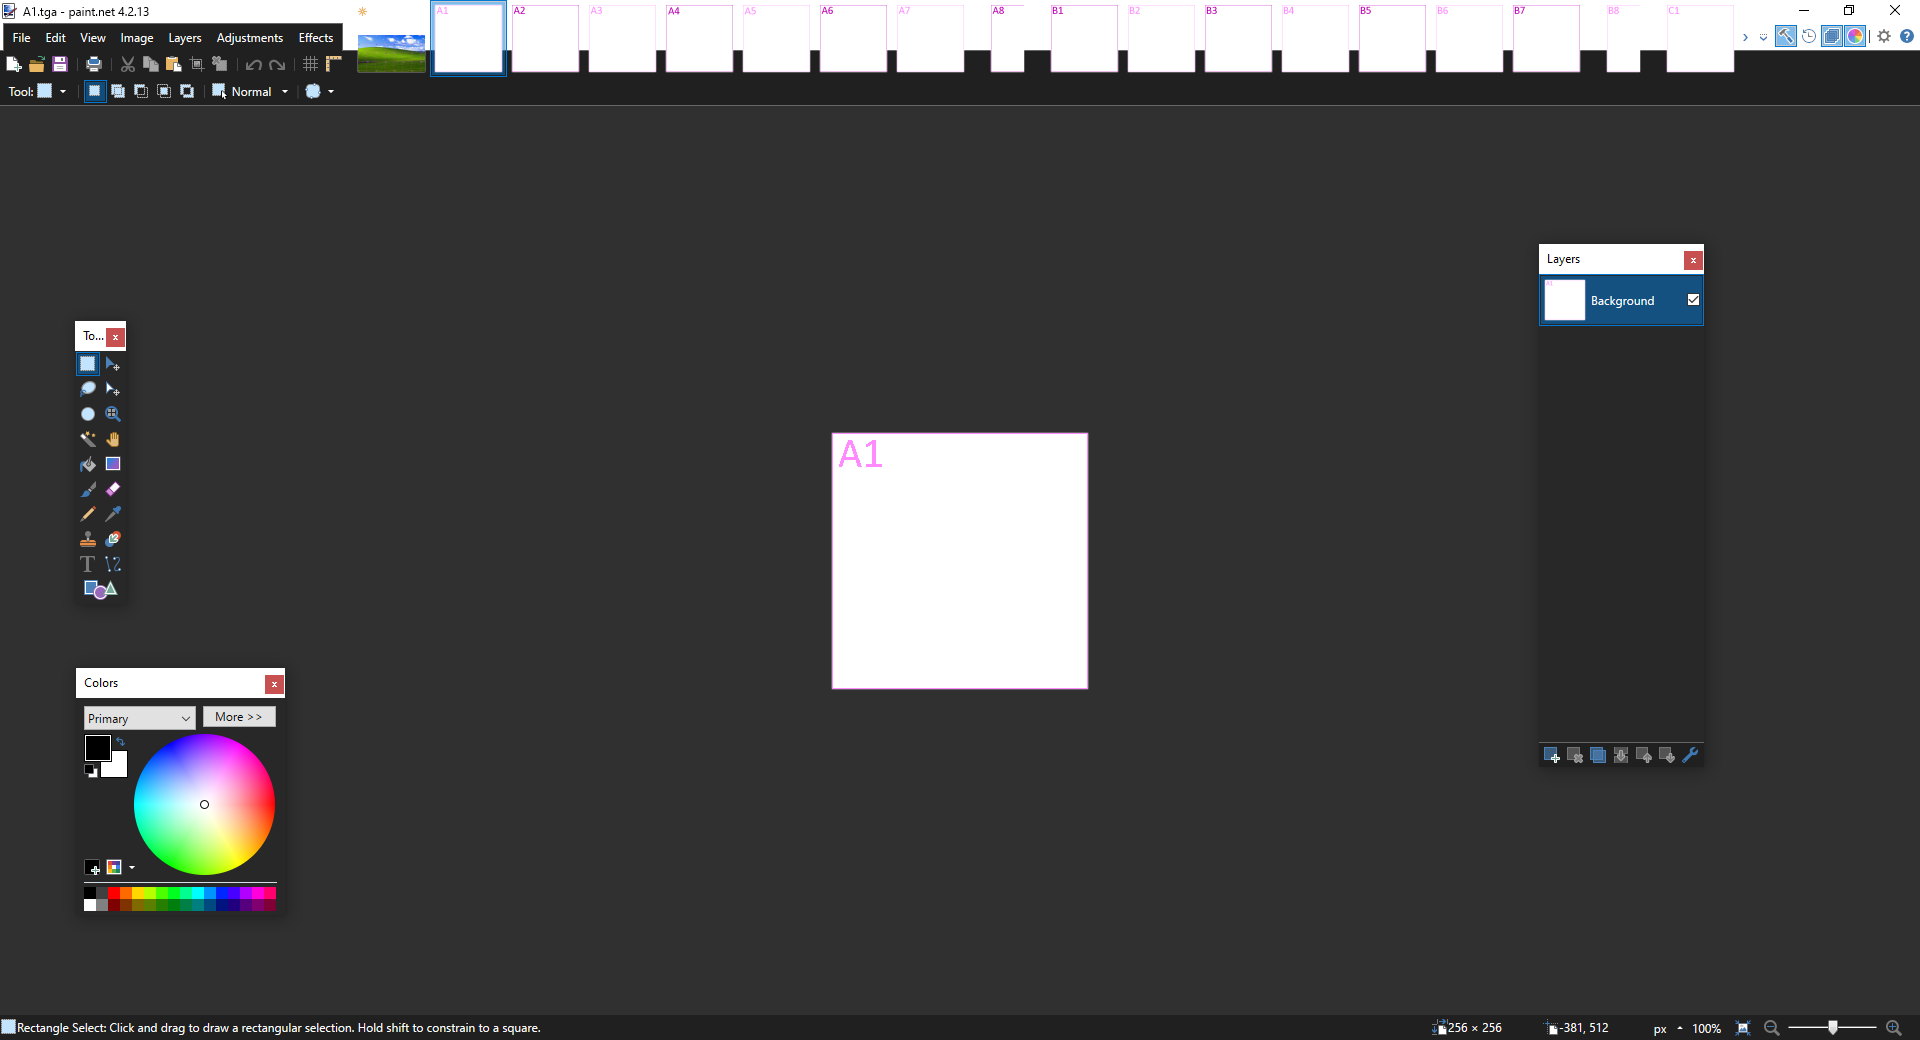
Once you've done that, the longest part begins. Using the template as a guide, you'll want to copy each square from the 1080p image, and paste the squares on their corresponding .tga files, saving over the original files in the process. For example, you copy from the A1 square and paste it on top of A1.tga, and so on. You'll only want to copy from the image itself, the template is only there to act as a guide so you know what goes where.
Once that's all done, your folder should look something like this:
Of course, for you it'll look different as you (probably) aren't using the same background image I am, but this should give you a general idea of what to expect once you've pasted all 40 squares.
Step 3
Now that the hardest part is over, all that's left is to install your new background! Take the resource folder, and move it into your mod folder, which should be something along the lines of "steam/steamapps/common/half-life/(your mod here)". And your end result should look something like this:
You should be ready to go now, hope this has been helpful!


nice
Using CS Background Maker 1.2 is easier.
or Steam Splash Creator. Its not too HD, but its "decent"
Thank you c:
thx for the tutorial :D
This comment is currently awaiting admin approval, join now to view.
For those wanting to make a splash screen for the 25th Anniversary edition.
Use CS Background Maker 1.2 by Kober, it allows you to set the resolution and it even writes the BackgroundLayout text files for you. Use a high resolution like 1920x1080 and it'll work.