So...how to begin...this Tutorial is more a reminder to me not to forgot how to do it...so just lets Begin.
Links
Petrogylph Modtool Site
Modtools.petrolution.net
3Ds Max 9 SP 2
Knowledge.autodesk.com
This is only a Tutorial for 3Ds Max and not Blender. I never actually came to work with Blender.
First thing you need to edit 3D Models is 3Ds Max 9 SP2. As far as I know you can get it nowadays only as Torrent or Upload on a Filesharing Site, but the SP2 update is downloadable from the Autodesk Website. After that you need the Scripts made by Petroglyph and put the alamo2max.ms in the Scriptsfolder and the alamo2max.dlu and max2alamo.dle in the Pluginsfolder. After that done, we can now begin with the Tutorial.
So here we have our random 3D Model. For me its the Hiigaran Carrier.
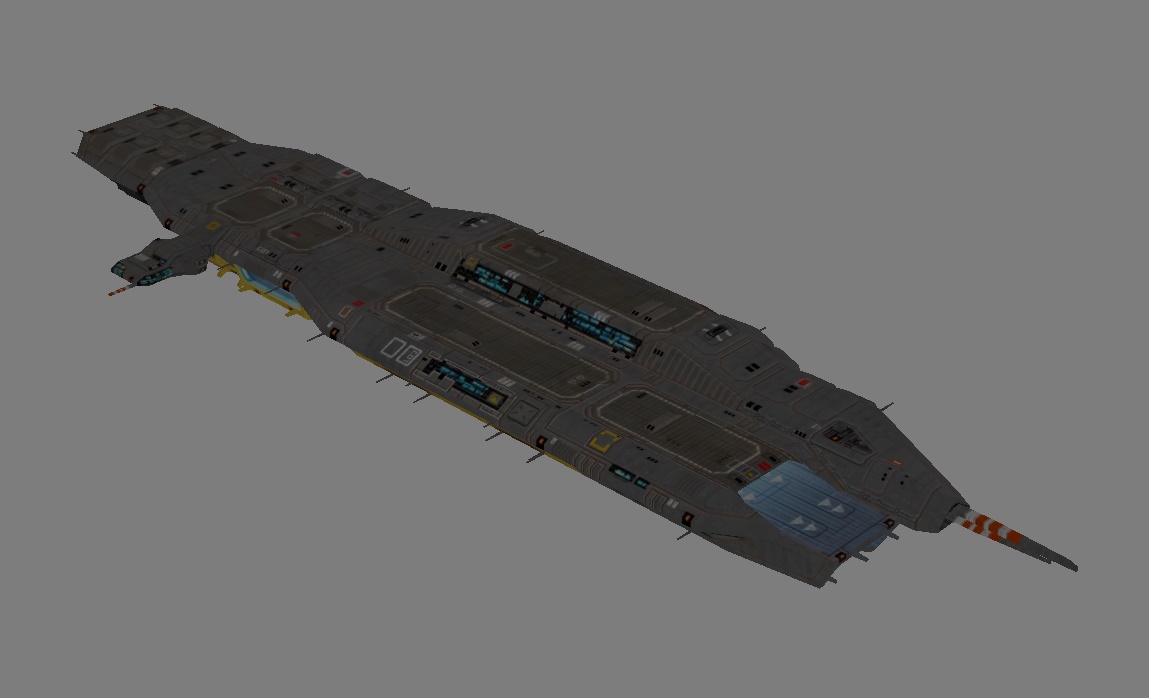
Already exported and reimported as an .ALO File.
So how to attach a Collision for it:
1. Click on the Model and change your tool to Select and Move.
2. When you want to copy a Model the best Way is to press shift and the left mouse button and then just Move it while you pressed these two in one direction and 3Ds Max will ask you what to do.
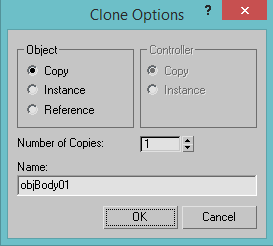
For a simple Copy just leave it as Copy in the Object and choose a Name for it or let 3Ds Max decide it for you.
3. Now you have a Copy of your Model
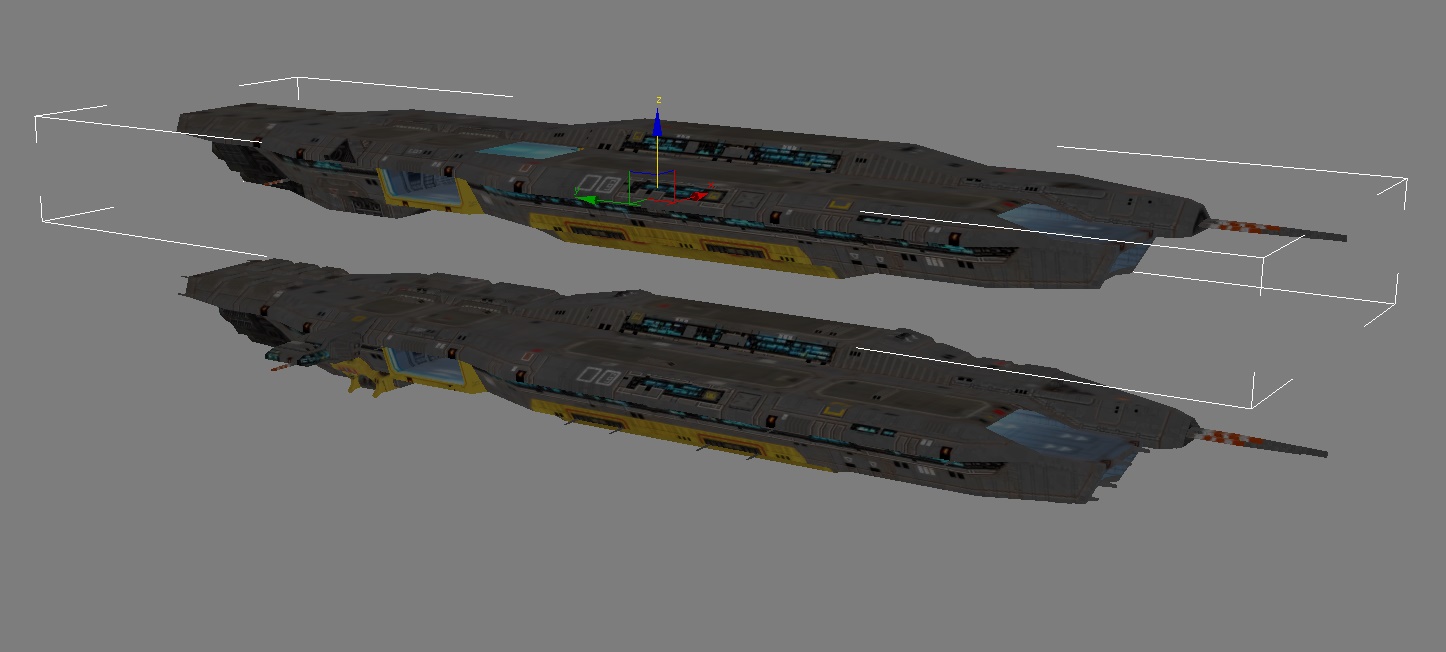
So we have two models and were soon done, but first you hit M in 3Ds Max and get this Window
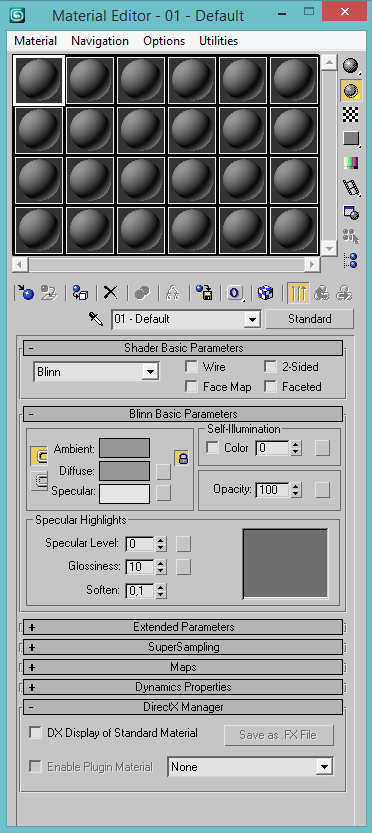
Thats the Material Editor, an easy to use Window to handle your Textures for your Models. Normally you would just drag and drop your Texture on one of these Balls/Spheres and thats it, but not for EAW here you need an DirectX-Shader installed for 3Ds Max. And honestly right at the moment I forgot where I got mine. So...just use Google to search for one or look on Moddb or the Petroglyph Site for the Modtools.
4. Now we Select for our Texture Sphere which Shader it should use. For that you click on one of the Spheres and press the Button Standard right next to the 01 - Default. After that you get this Window.
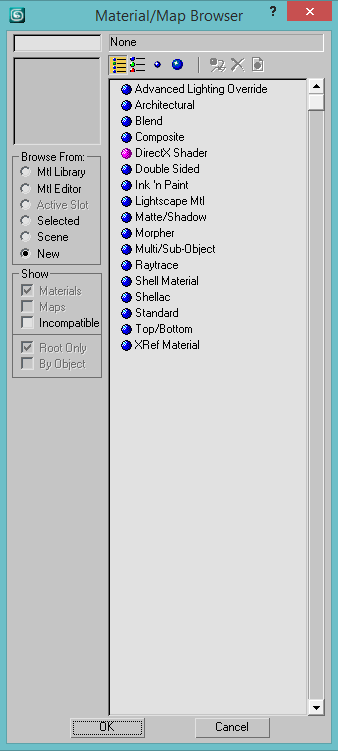
Here you select the DirectX Shader and press the Ok at the bottom. After that you get a window that asks you to discard or keep the old Material. I discard it every time just to be sure thats it not bugged or something later on in the Game. Now your using the DirectX Shader for only this one Sphere. and it should look like this now.
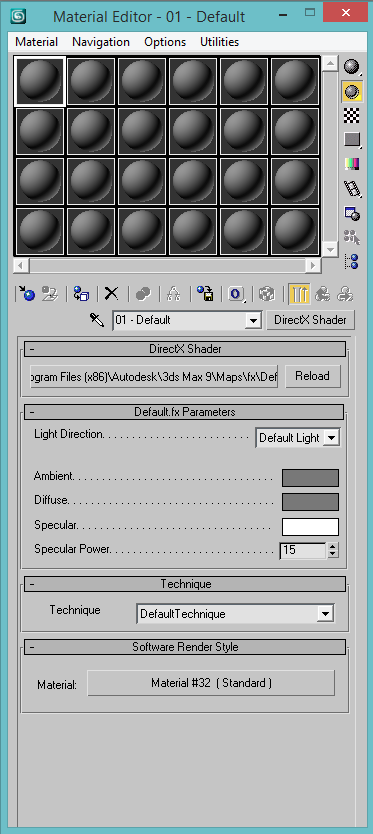
At the Top you can select the .fx Script you will use to get the Texture right or simply give it an effect. Every Script will change the Default.fx Parameters. I will show you here only the MeshCollision.fx and nothing else.
5. Selecting now this Script is pretty easy done. You have two options to select it. First you have it already in the Autodesk/3ds Max 9/maps/fx Folder or the Second Method, you have it in your Modfolder under Art/Shaders. Now after selecting it your Material Editor on the one Sphere should now look like this.
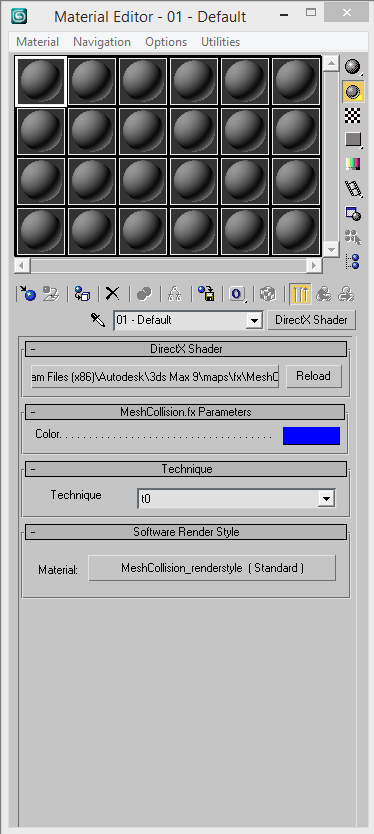
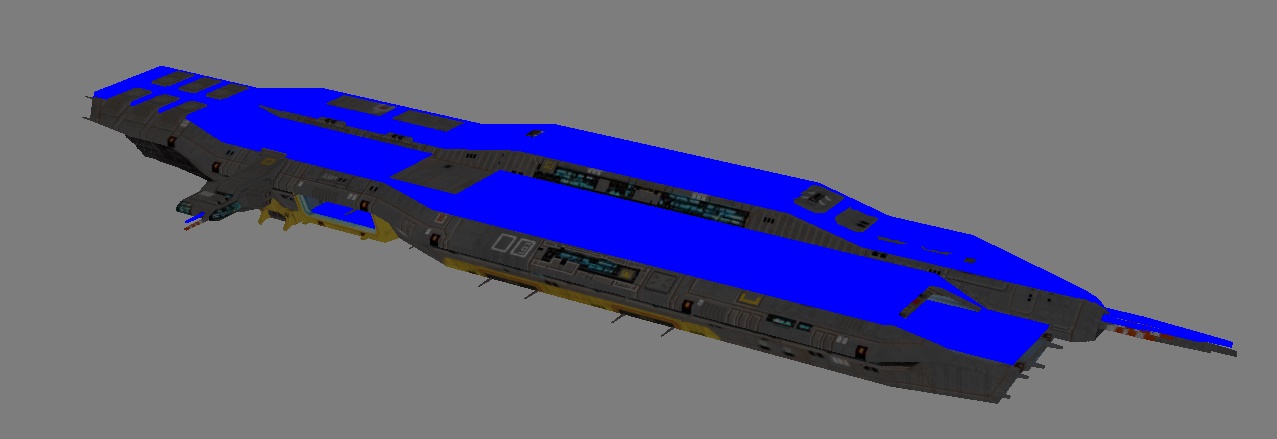
If not, you used the wrong or a other Script, maybe a new one to. So to hold it simple you can just change the color what the collision will look like after you added this Material to your Model. To just add the Material to your Model hold your left mousebutton of the Sphere and drag and drop it over the Model. After adding it to your Model, your Model should like this.

We now have successfully added a Collision to it but were not finished. You need now to adjust it to your Model, so thats it look right on it. With Select and Move or just type in the x,y,z you want to have it. Mine would look like this now.
We're still not done.
6. Now to hide the Collision ingame we need to do a bit more. You click the Hammersymbol in the rightbar where you have activated the Alamo Importer and the hit the Button at the Top. It should called "More..." . After that you get a new Window.
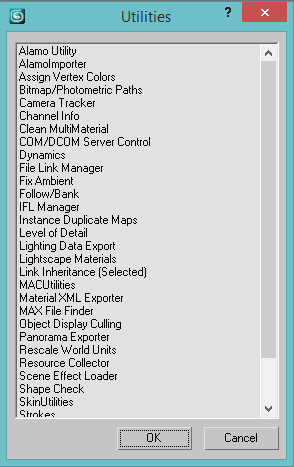
Here you select Alamo Utility. That done you get an extra option section called Node Export Options and much more other Options to do other Stuff. But we only need the Node Export.

7. Select your Collision and then activate Enable Collision and Hidden. Do it with all your Collisions if you have more than one. Then export it and you're ready. The Collision is hidden and you have a functional Spaceunit or Groundunit.
I hope I could help you with this and if you have any questions dont forget to ask them.
~Silva


This comment is currently awaiting admin approval, join now to view.
This comment is currently awaiting admin approval, join now to view.