Hi all, welcome to the second part of our level design blog. I'm [TWDEV] RvtL, part of the level design team together with [TWDEV] Maniche and [TWDEV] Mars. In this blog we'll take a closer look at the terrain of Merville Battery, and how we developed it into a historically accurate environment where players can fight and explore.
We start out by shaping the height map. The area around the Merville is relatively flat, so at first glance you might think that the heightmap does not have a significant role to play, but as we take a closer look you'll see it will have quite an impact on the end result.
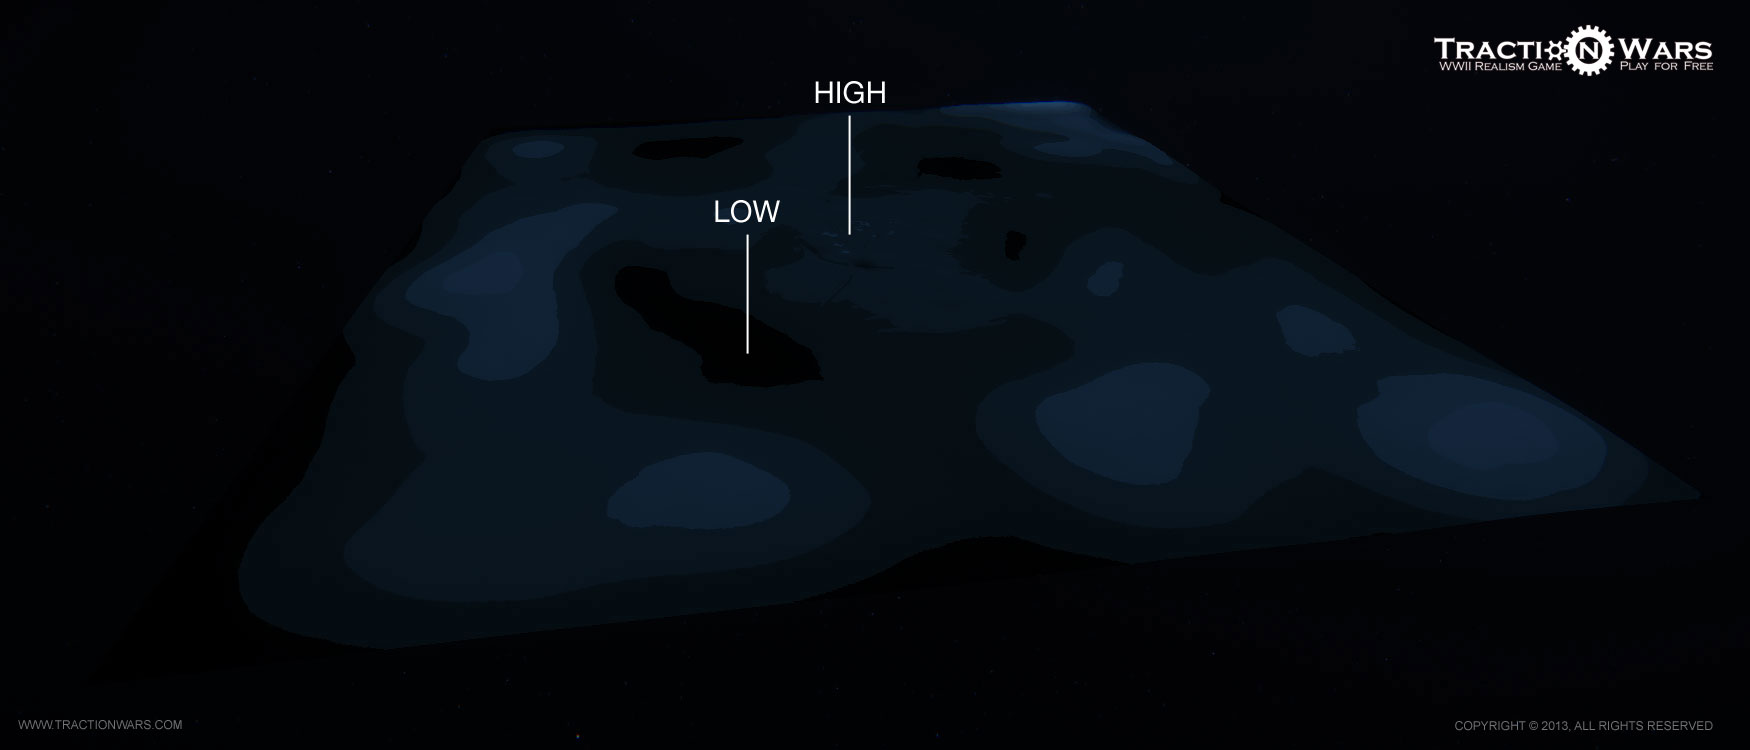
As you can see in the image above, the German strong point in the center of the level is positioned slightly higher than the area directly surrounding it. This improves the field of view of the troops manning the bunkers and trenches, making it a very formidable defensive position.
Thanks to aerial photographs and historical documents we discovered that Merville was heavily bombed by the RAF and USAAF in the month leading up to the invasion of Normandy. The picturesque French country side was littered with craters. We can easily recreate this using the height map by overlaying the aerial photographs on the map and accurately sculpting the craters exactly where they were in real life.
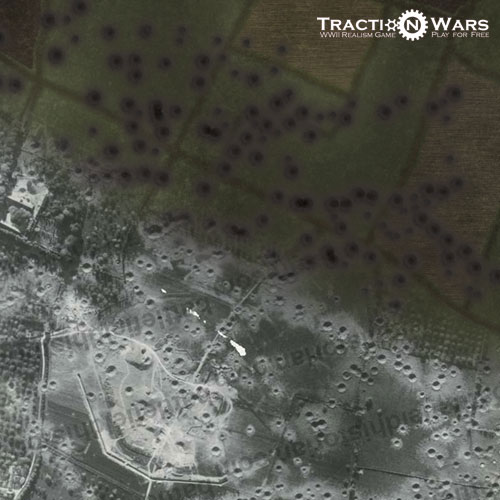
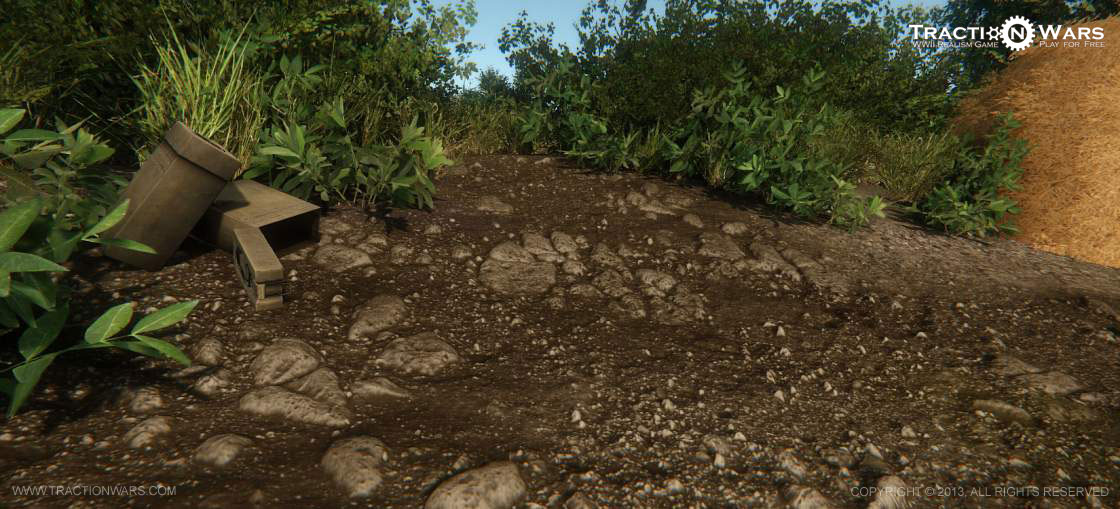
From the height map we move on to the terrain texture, which starts out as a large image which covers the entire map built up in several layers. The first layer is usually a grassy green, since that is the most common terrain type. The following layers add patterns and details like ditches, craters and fields.
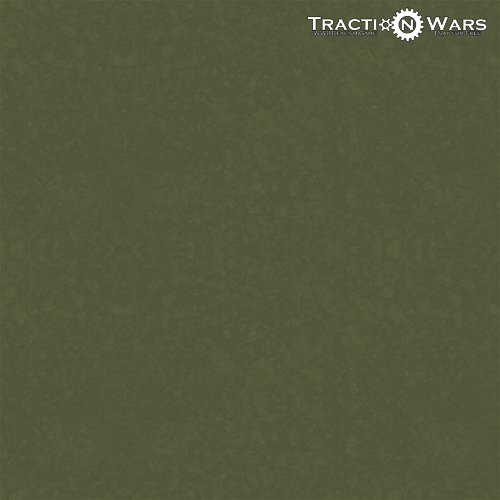
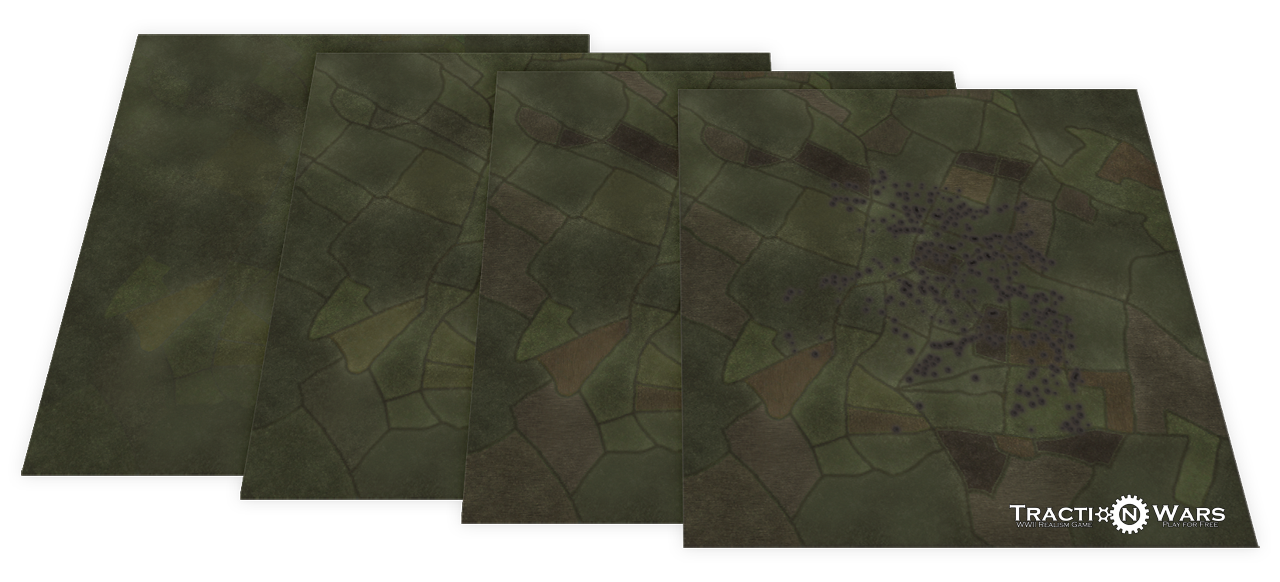
Whilst it's also possible to paint the terrain texture in CRYENGINE’s Sandbox editor, we prefer creating a large image in a program like Adobe Photoshop, allowing us to pack a lot of intricate details in the texture with relative ease. Of course, the images presented here are WIP and are subjected to further revision and improvement!
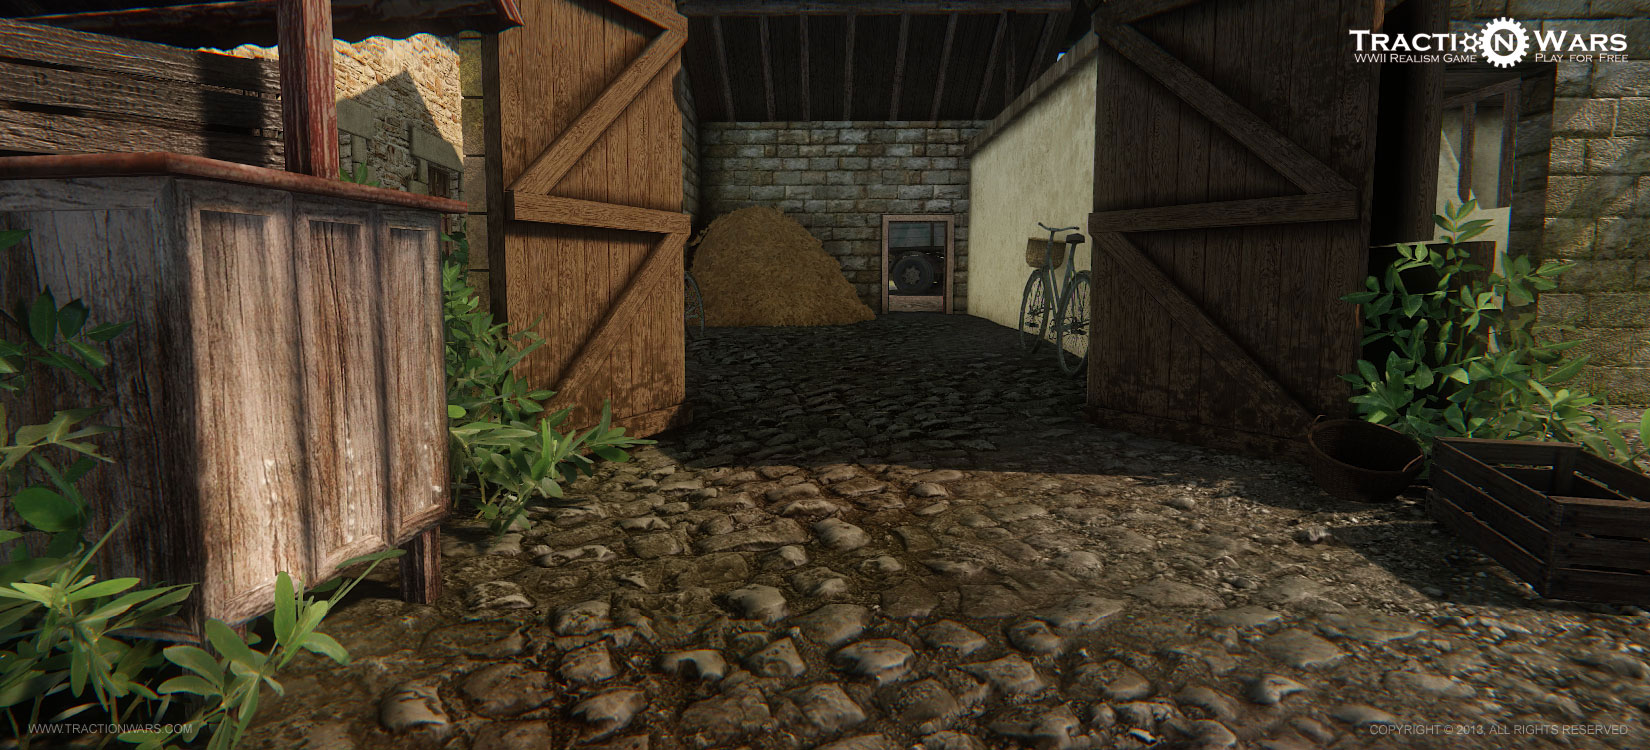
Finally, to complete the terrain we add different materials for grass, gravel, mud and so on. This is one of the areas where CRYENGINE really shines; by combining a number of flat images it is possible to create a detailed three dimensional looking surface.
These three elements, the height map, terrain texture and materials, make up the final terrain. While it might not look very exciting by itself, it will form a great base once we start adding objects and details, and really bring Merville alive back to how it was on 6th June 1944.


Drooling!
Can't wait for part 3!! And the beta test!
Pro work!
Cant wait!