Tutorial
Making Your Own Zombie Faces for Mount and Blade using Gimp by xPearse
Ok this tutorial will tell you how to make your own zombie faces for use with mount and blade, but there are a few items that we need first before we continue. They are
- Gimp
- A mount and blade face texture
- Images of Open Wounds
- And a little patience and concentration
Ok here we go, open up a mount and blade face texture with gimp and whatever size it is make it at least 1024x1024 so the added wounds and details will look better. To do this you must click Image, scale image and then type in your wanted resolution into the width and length boxes. Also add in the aged version of the face you want as a new layer, to do this just click file open as layers and then resize it to the proper resolution if you need to. Hit Ctrl+L to get up the layers tab in gimp.
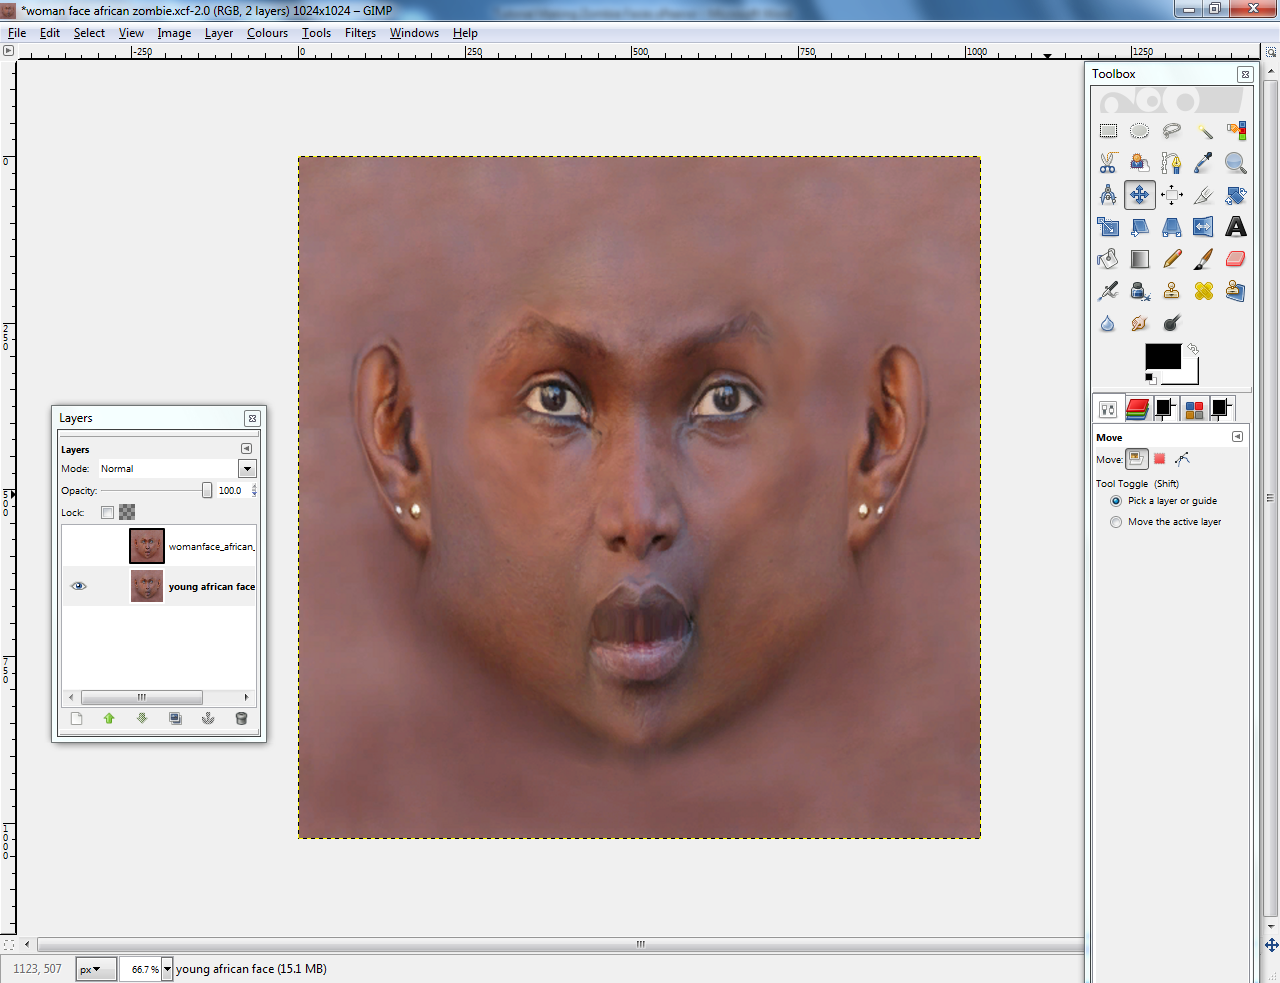
Here is the face I am using loaded up in Gimp
Ok now we must put down the saturation of the skin to make it more zombie like. Colours, Hue Saturation and lower the saturation to -60 to grey the skin (May differ if you want to make the skin a bit less grey or more). Now do the same for the aged face to match up the skin to be greyish.
Step 2 - The Eyes
Now this part will show you how to make the eyes bloodshot, the other ways I did the eyes were just using the burn and dodge tools around the eyes and the other one was just making the eye totally white using the dodge heavily. This part is easy so it won't take much time to do.
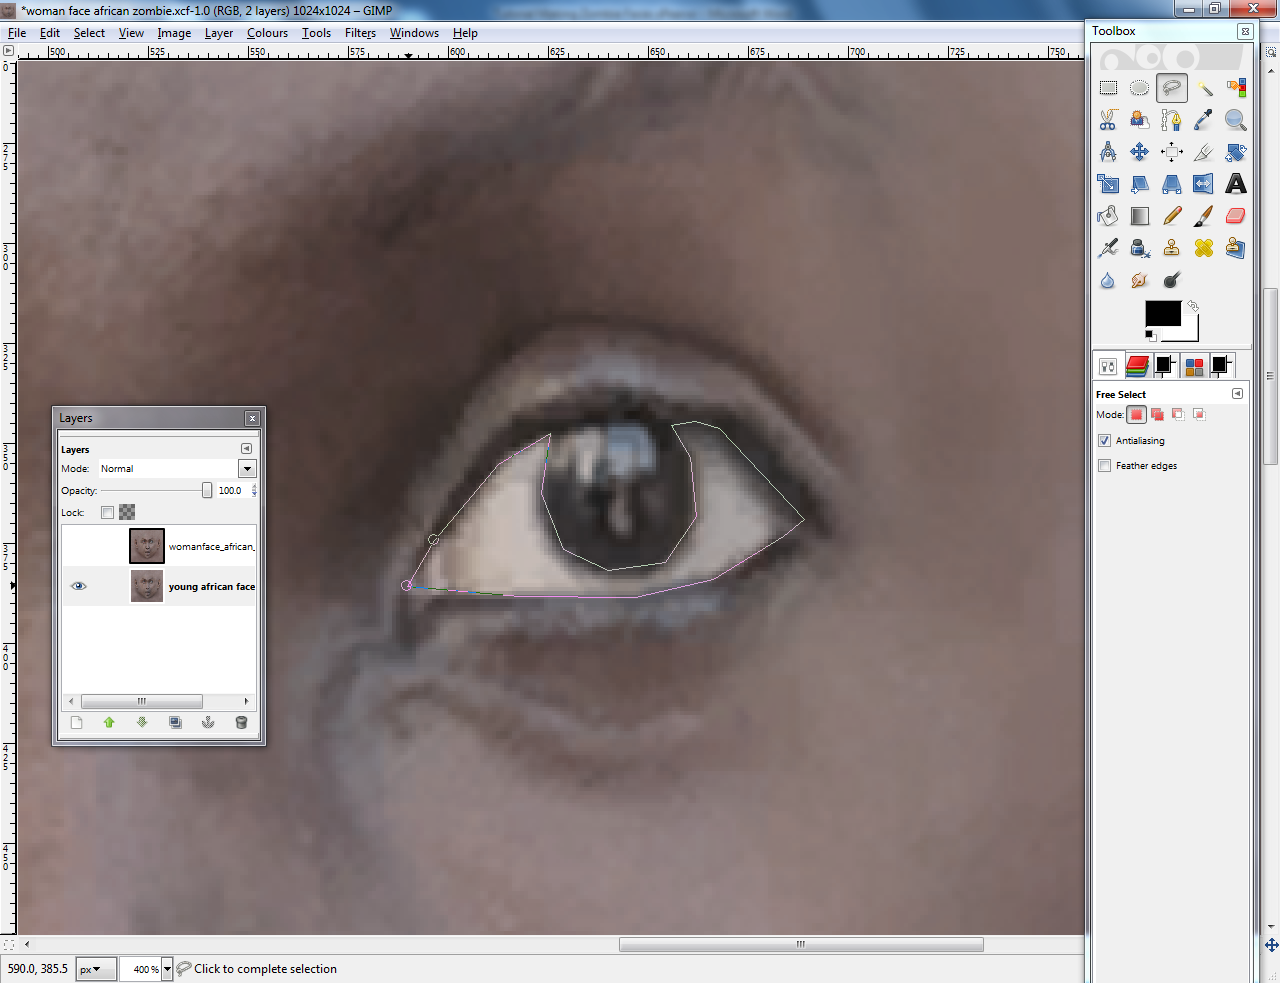
OK I couldn't find out how to do the quick mask select for the eyes in gimp so just select them manually using the free select tool like this.
Click Colours - Colour Balance and then move the slider towards the red part to bloodshot the eyes (The red could range from +60 to +100).
Here is what the eyes look like when you have changed the colour balance.
Step 3 - Adding the Damage and Wounds
Now we are going to add damage parts and such onto the face to make it uglier.
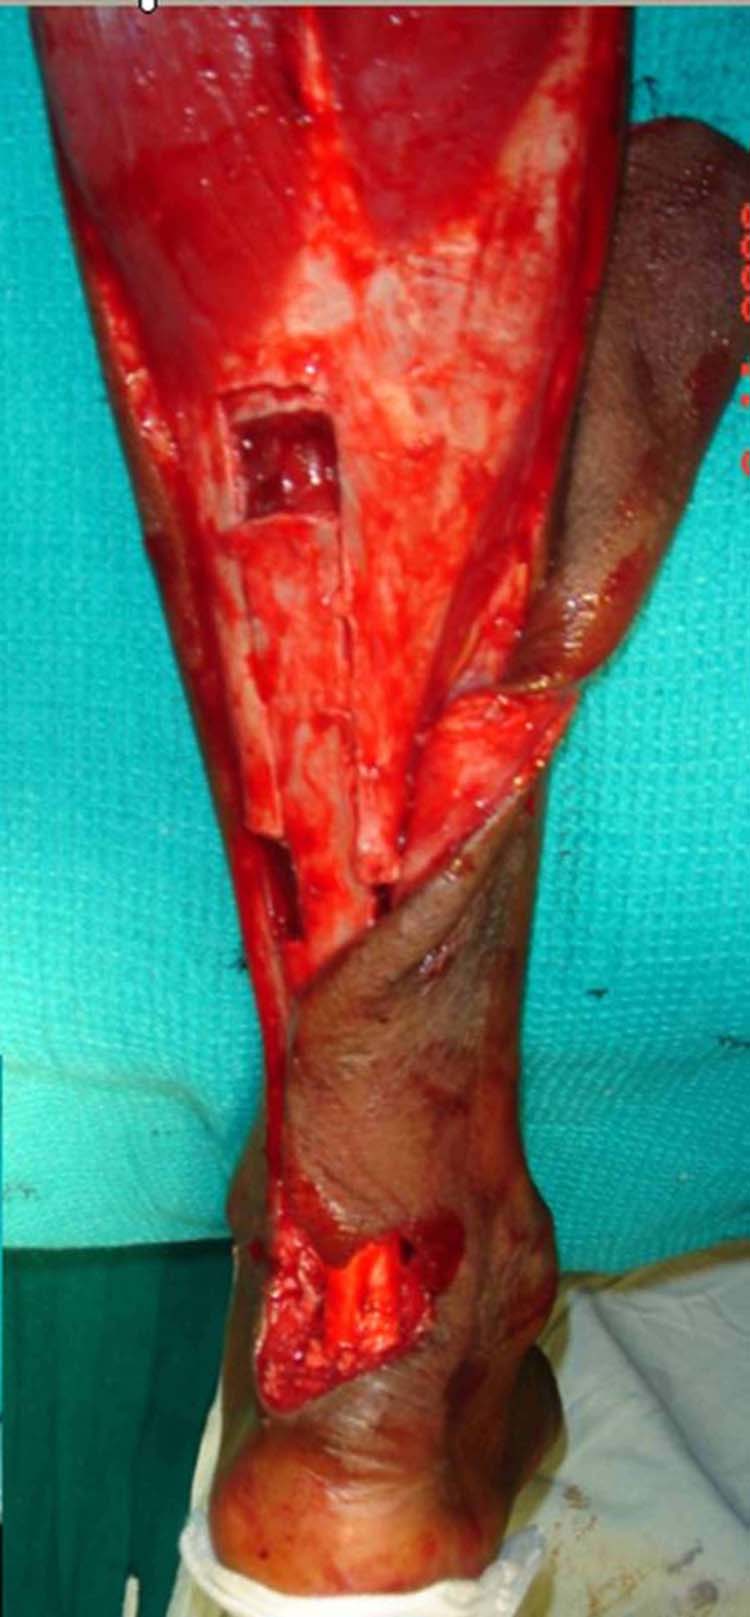
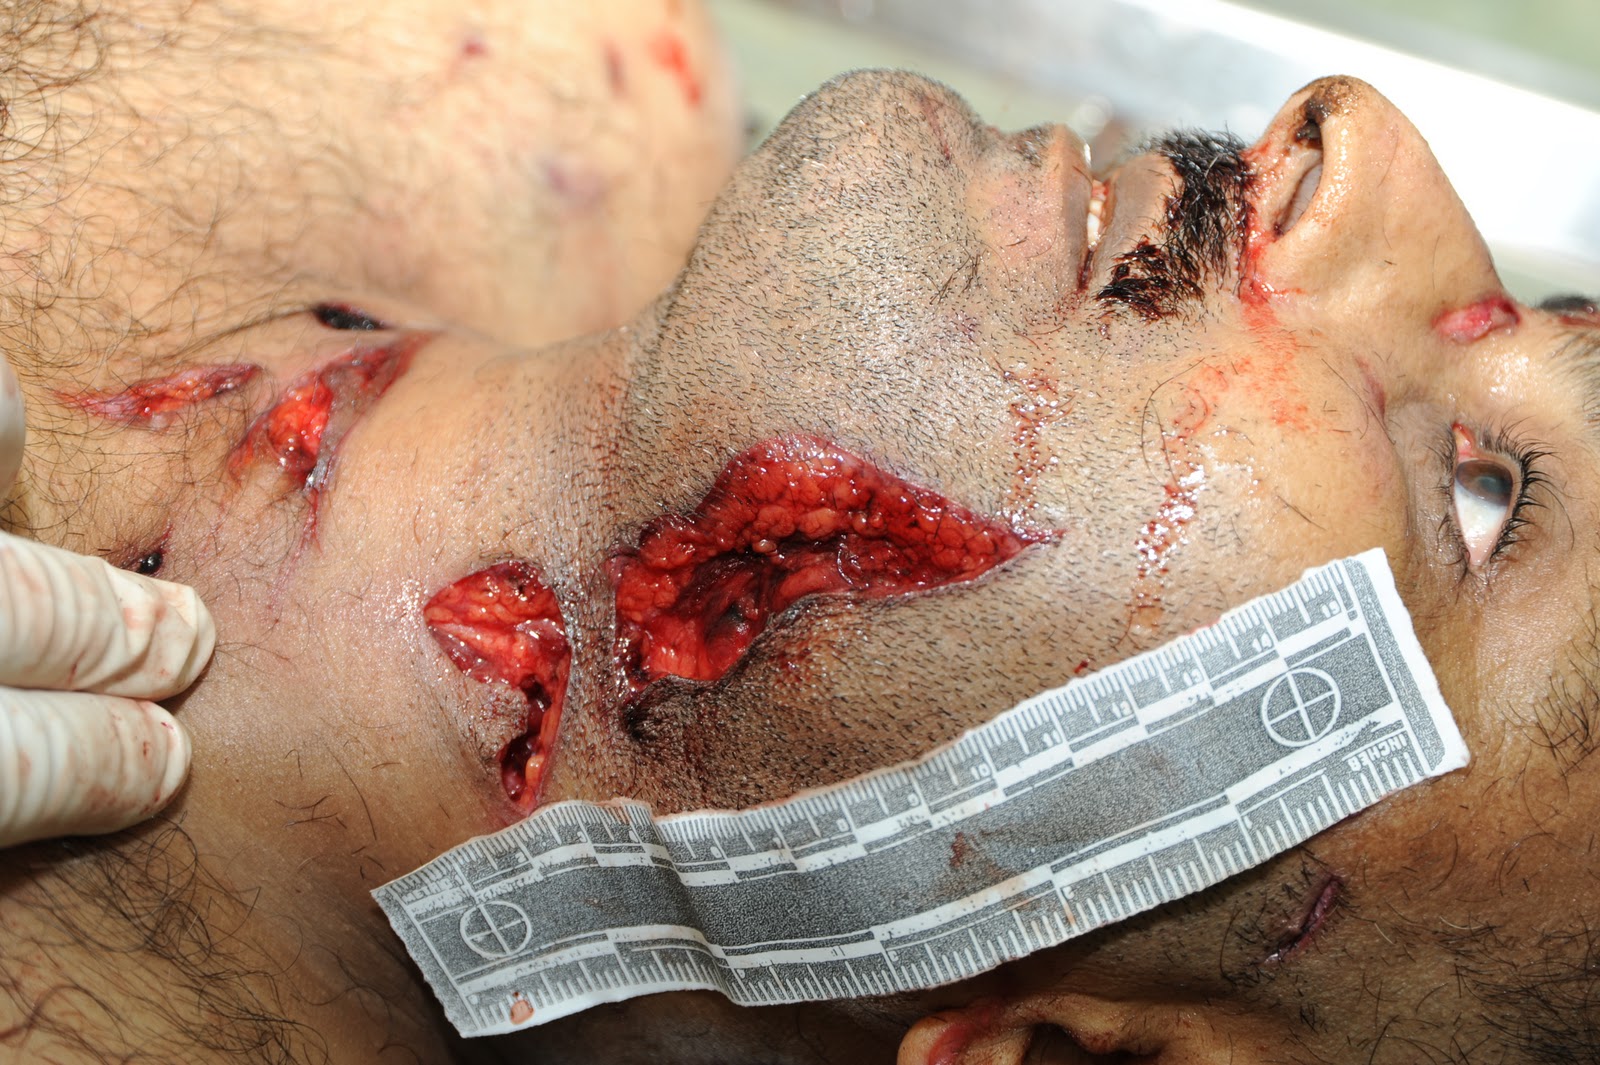
There will be a bunch of images in the download for you guys to use with the faces or whatever you wish to do but remember here are the ones being used for this tutorial so don't throw up.
Now we are going to take parts off these images and then paste them onto the face using the free select tool. We are going to take a piece of the image and when you do it should look like this,
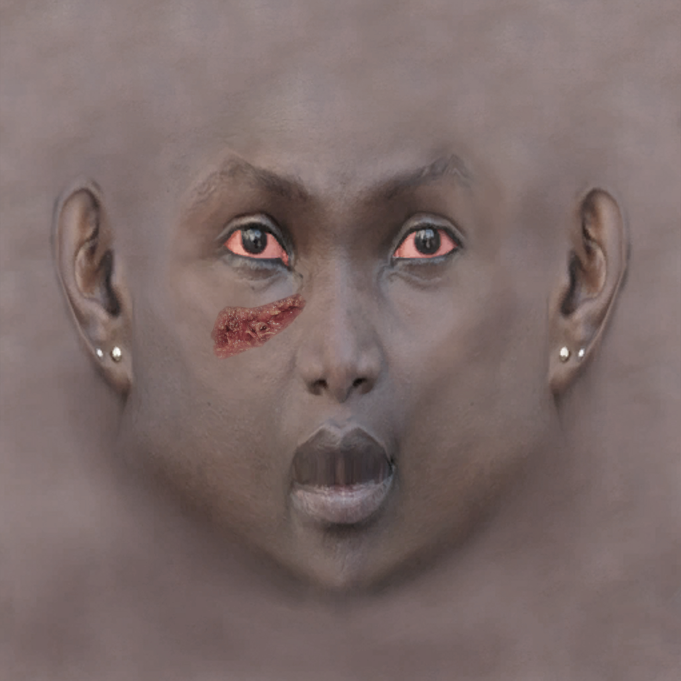
Now you must feather your selection by select - feather and then depending on the size of your image enter a number, the number I used here was 5. Copy and paste the image onto the face and then change the saturation/contrast to make it blend better with the skin.
Here is a picture of what the face looks like now.
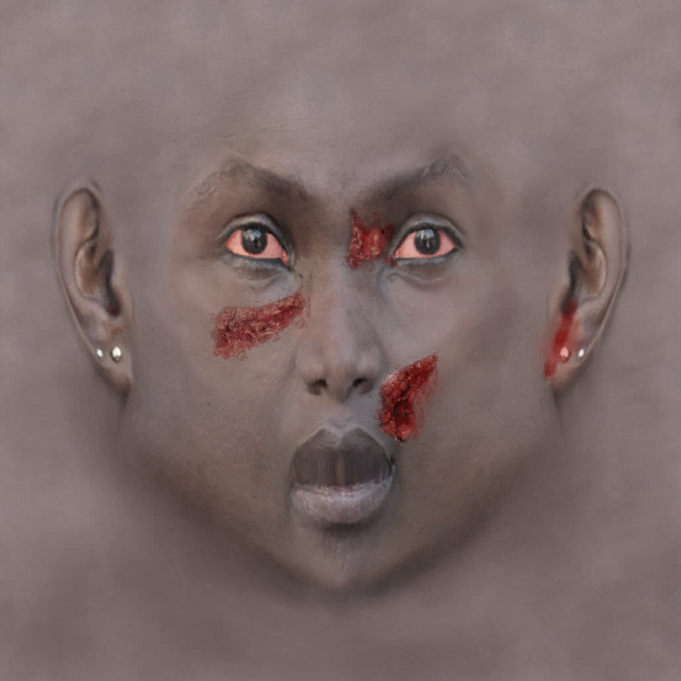
Now just do the same for the other images you will be using, nothing wow at the start but wait till the end and it will look better. Here are the links to where I got some blood splatters to be used with gimp for extra detail.
10 Blood Brushes - GIMP by ~danieeel31 on deviantART
GIMP Blood Spot Brushes by ~Project-GimpBC on deviantART
Here is an image of the end result.
You can mix and match whatever to make your final zombie face but remember many of these steps and you will do it right. Remember to save two versions of the image one which is young version and one which is aged. I hope this help some people as not everyone has Photoshop so this is an alternative.
xPearse





thx man
Your welcome, it seems that the images may be removed due to their graphic nature but my tutorials are also available to download.