OK this tutorial will use the model we UV Chopped in my previous tutorial. You can find the tutorial here: UV Chopping for model textures
OK So in this tutorial I will show you how to "hack" or "swap" already rigged models to use different skeletons and will then compile the targeted model to be used as our beloved Half-Life 1 Barney security Guard.
For this tutorial I'll be using the Leet model from CSS that I UV Chopped in my "UV Chopping for model textures" tutorial.
What will be needed:
1. Rigged model and textures (we'll use teh CSS Leet; UC Vhopped with really high resolution textures)
2. The SD Barney model (I will use te one from "Diamond's Pack" (Basically the A.I. SD Barney) - All I need is the skeleton. :)
3. MilkShape 3D 1.7.8 (I'm not sure if this is possible in the latest version of MilkShape 3d) - I'll refer the tool as "MS3D"
4. Crowbar (GoldSource and Source Engine Modding Toolset). This will be used for decompiling the SD barney (I don't like the results when using the original tools or the MS3D decompilers.
You can find the tool below:
5. Jed Half-Life Model viewer. (We'll use this open for previewing our results) - I'll refer the tool as "hlmv"
6. Half-Life :)
Let's Start.
Skeleton "Hacking" / "Swapping" for Half-Life tutorial
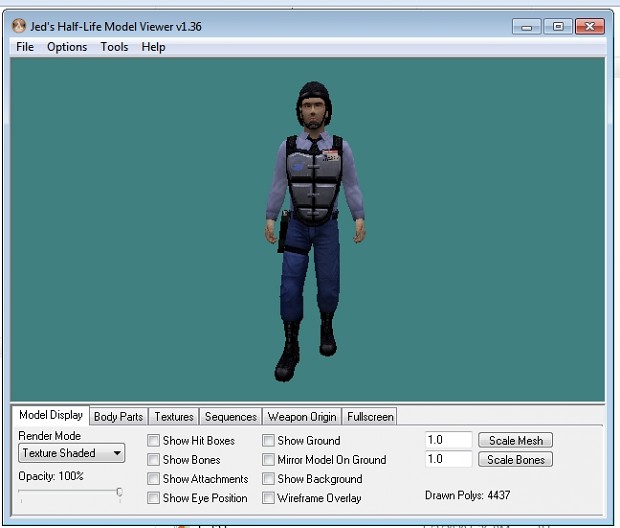
1. Open the barney.mdl file in hlmv.
2. De-compile the model with crowbar

3. Open 2 instances of MS3D. We'll use this to compare the bones.
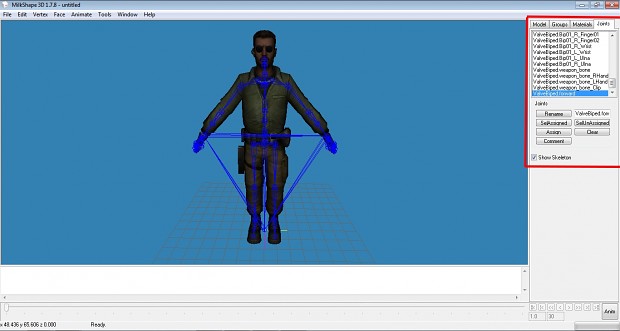
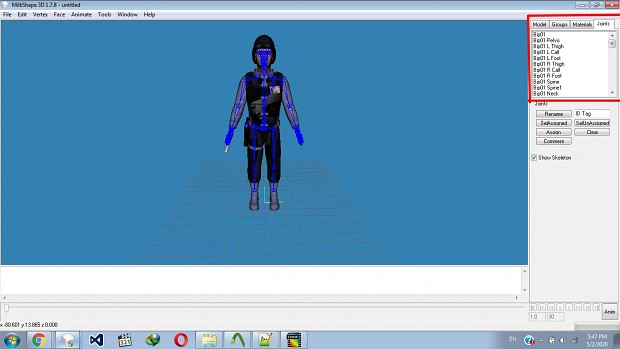
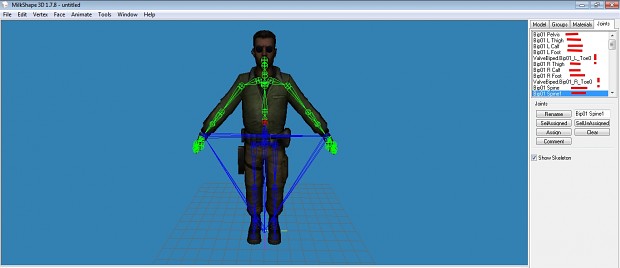
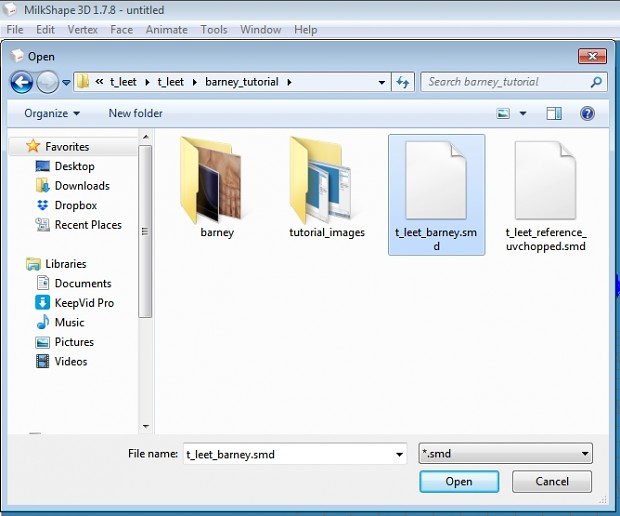
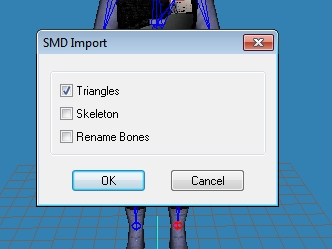
4. Load the barney and the leet model in the two instance. Note: When importing the models make sure you un-tick "Rename Bones"
Ok compare the two models... They are in different pose, and the bones are quite different are they not?
So the number of the bones is different and also the names of the bones are also different.
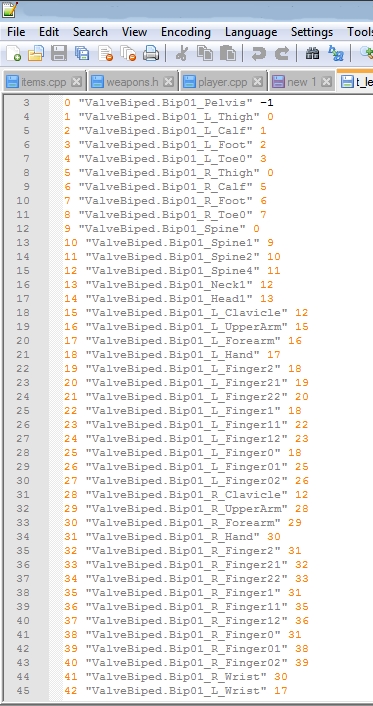
What we need to do is to take the SD barney skeleton as a guide and we need to rename every bone in our new model to match the bones of the barney.
For example:
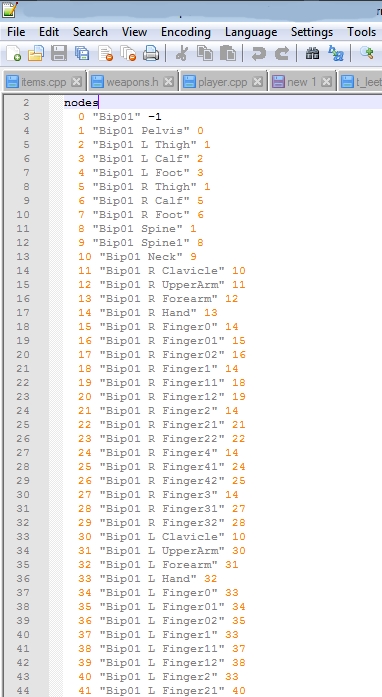
"ValveBiped.Bip01_L_Thigh" will be named: "Bip01 L Thigh"
"ValveBiped.Bip01_L_Calf" will be named: "Bip01 L Calf"
"ValveBiped.Bip01_Spine" will be named: "Bip01 Spine"
I hope you got the point. :)
You can do that in Notepad++ or in MS3D. I prefer to do that in MS3D since I can see what is each bone responsible for.
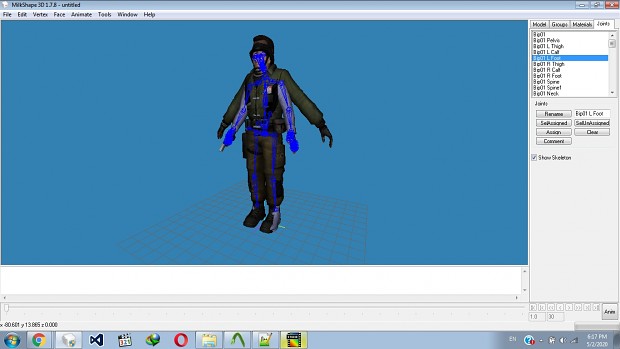
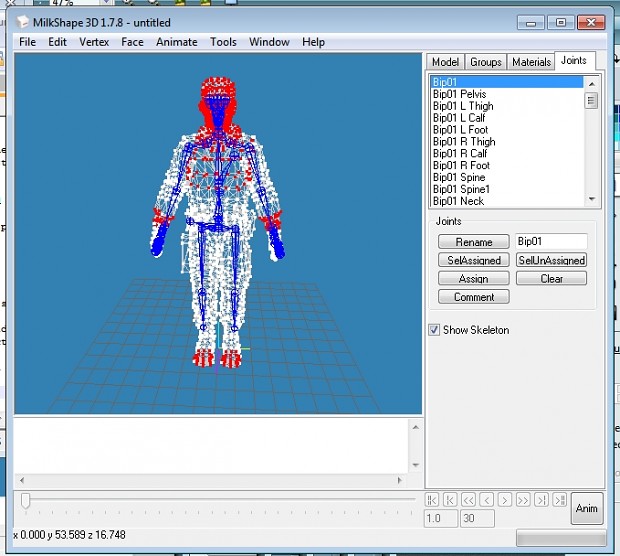
5. So renaming the bones in MS3D is easy. Go to the "Joints" tab and click on the bone you'd like to rename, in the field where the name is put the new name and push the "Rename" button.
Note: If a bone is missing in the barney model, then it's not used. If the bone in the new model has something assigned to it you'll need to re-assign it later to another of barney's bones. For now you can leave the original name.
Just like the "ValveBipped.Bip01_L_Toe0" bone.
6. After you're ready export your modified SMD file (don't override the original).
7. Go to the second instance if MS3D; there you should have the barney model we're going to replace.
Go to "File" > "Import" > "Half-Life SMD" and select our Leet model we exported (the one with the renamed bones).
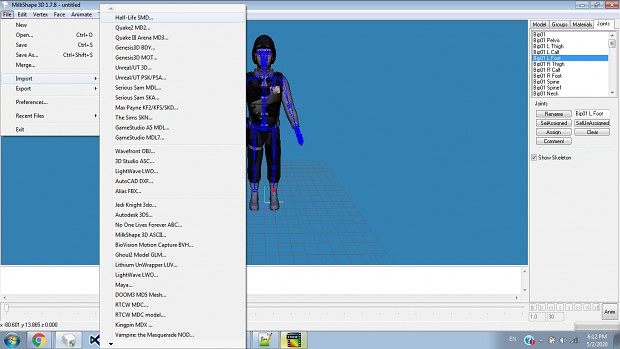
Click "Open"; IMTPORTANT: in the pop-up "SMD Import" un-tick "Skeleton" - if you don't the conversion will not work :)
8. OK, now the fun part begins! The model you just imported is not with the same size and the shape of the barney model!
You'll need to manually scale the model to fit in the skeleton and to move some parts of it as well.
Let's start with the fun part.
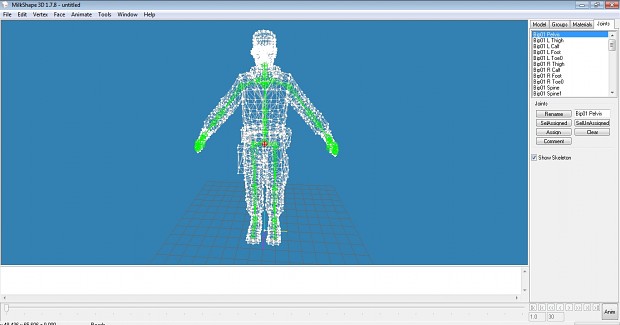
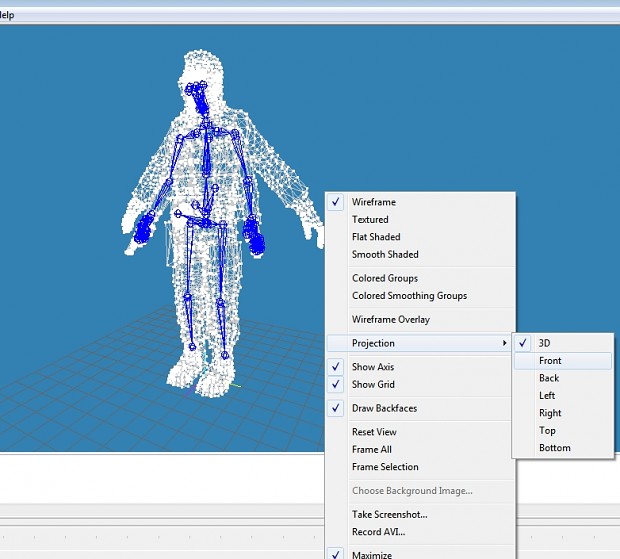
I like to do this in "Wireframe" mode and I like to use all of the possible viewpoints in MS3D. That way I can put the model to the exact size and shape needed.
To get the different position click on the blue field and "Right" click to get the menu open.
9. Go to "Group" Tab and select every group of our Leet model.
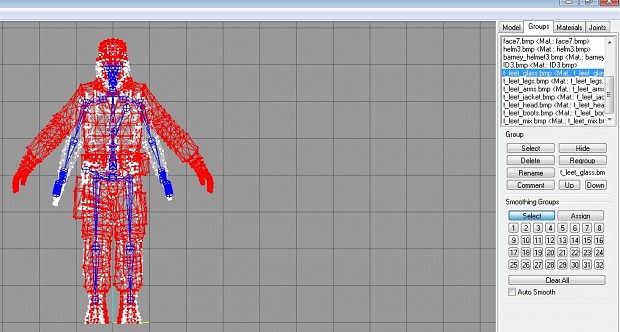
Note: Make sure "Auto Smooth" is not selected!
10. Then go to "Model" panel > "Scale" and scale down the model to get the same size as the one it will replace.

Note: You can do that manually, but I prefer to use "Center Of Mass" and to specifying the values of "X", "Y" and "Z" to "0.9" then I can get back or forwards.
To scale up I can just change the values of "X", "Y" and "Z" to "1.01"
The Front position is kinda okayish now, minus the arms positions, but we'll fix that shortly.

Check the model from left and top as well.
11. I'm happy with what I see here. Let's get the hands in the right position.
The easiest way to do this is to hide the Leet groups, then go to "Model" > "Select" > "Vertex" and pick all the vertexes of the original barney. The go and hide the selection. This will hide the vertexes, but will leave the faces.
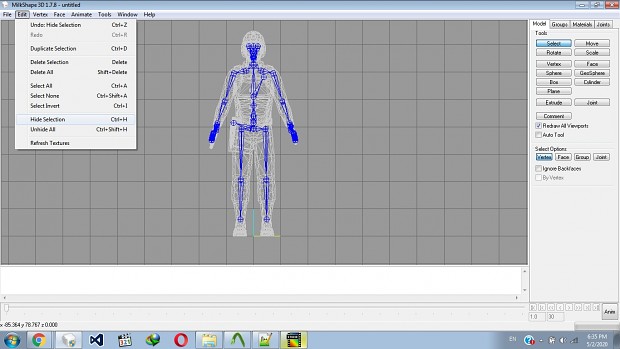
Now un-hide the leet groups and delete the Barney groups.
12. Go to "Joits" and select bone "Bip01 R UpperArm" > then click "SelAssigned" - this will select the vertexes that are assigned to the Right UpperArm.
Go to the "Model" > "Selet" > "Vertex" and select the rest of the right hand.
Now you can move it t the correct position.
13. Use the "Rotate" and "Move" options to place the hand correctly to match the skeleton.
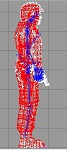
You will have to also correct it from "Left" and "Right" perspective
14. Now do the same for the other arm.
We're partially ready.
When you're happy with the aliment of the model and the skeleton, go and delete the barney model (leaving only the L33t model). Then export the full mesh (don't override).
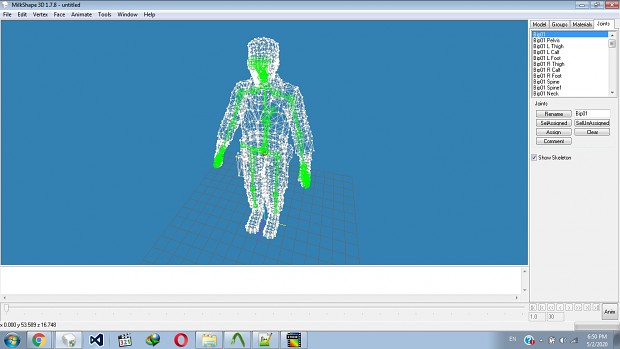
15. You got error message? Ah yeah... Remember when I said that there are some bones that are missing? You need to assign them to their appropriate bones. :)
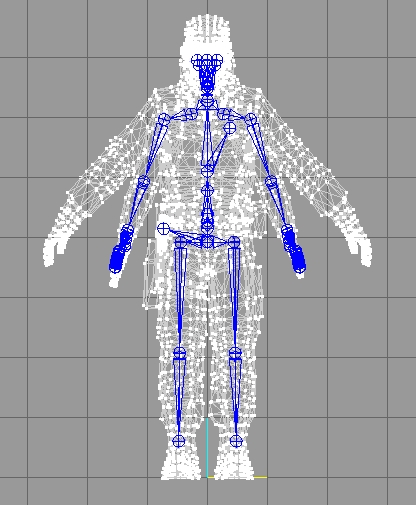
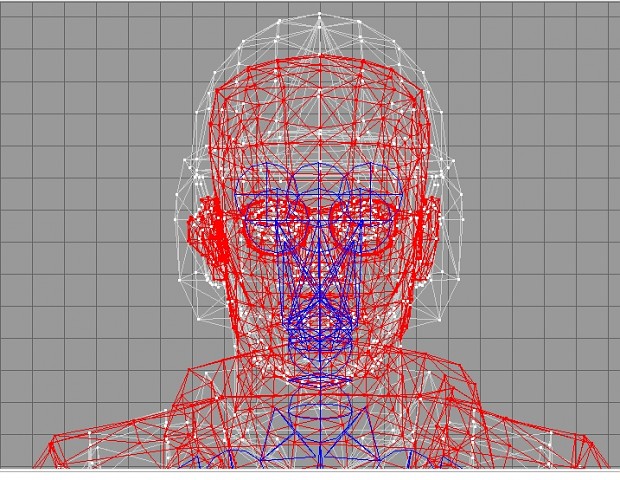
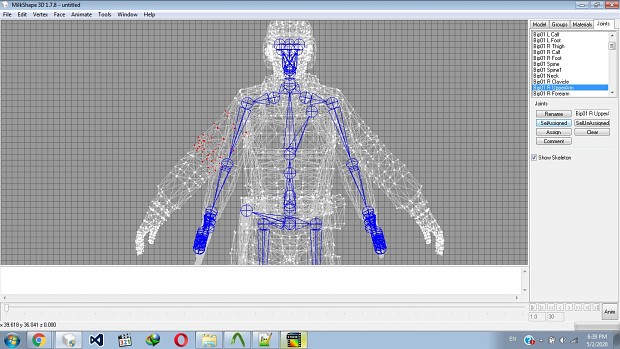
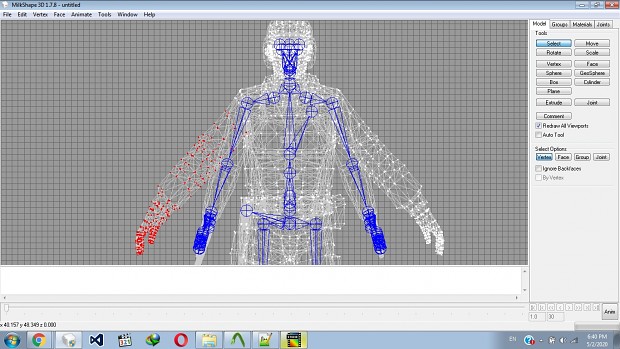
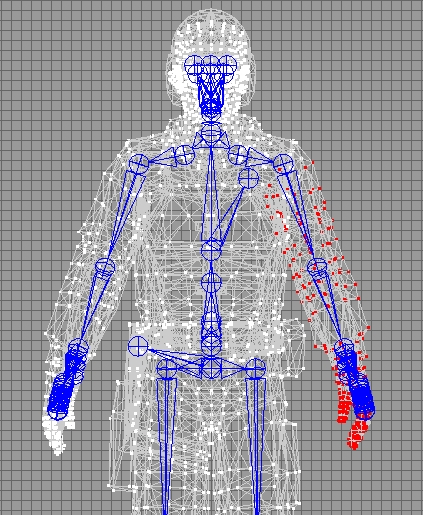
Go to the "Joints" tab and click on any bone. then select "SelUnAssigned". Do you see something marked in Red? That's what you need to re-assign to bones.
Hopefully you don't see the whole model red xD. As you can see in this screenshot I sort of messed up.
Now you need to select vertex by vertex the red ones and assign them to the correct bones.
16. Few hours later.

17. Now if you go o compile your new model you'll get a lot of errors regarding the policount. Basically another limit of Half-Life engine. So we need to split the model.
My advise would be to split the model in 3 parts - head, legs and body. I'm not entirely sure what is the exact limit, but around 2300 should be easily compilable.
You can check your polycount in MS3D (make sure you have select all the parts of your model) - Go to "Tools" > "SellPoliCount" - OK.. so our model is 5007... that's not going to compile in 1 piece. :)
OK... I have split the model in 3 parts. Let's edit the QC and try to compile and see our resulting model.
18. Open "barney.qc" and add the lines for your new reference smds. My advise would be to have the "legs" part first (especially if you're compiling a player model)
- something to avoid is not to have "$externaltextures" - this will make a "T" model and those could be a trouble later on.
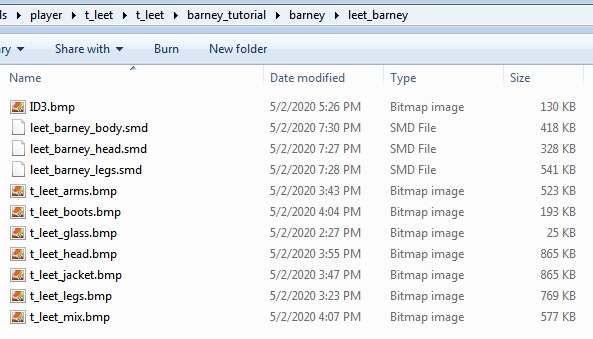
So here's how my QC looks like; I named the 3 parts of my leet: "leet_barney_legs", "leet_barney_body" and "leet_barney_head"
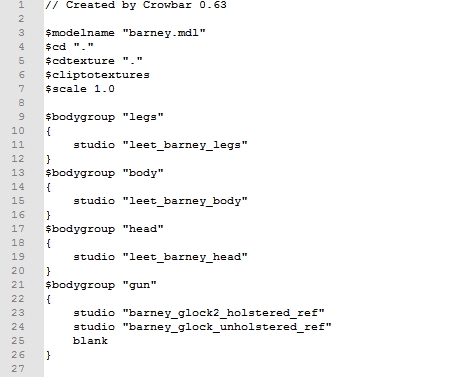
Note that I kept the pistol since I'll need it for the barney leet to have one. :) I could have replaced it with USP from CSS or another gun, but got lazy.
19. Go and compile the model. Note that the bmp textures need to be indexed.. or the compiler will crash. :)
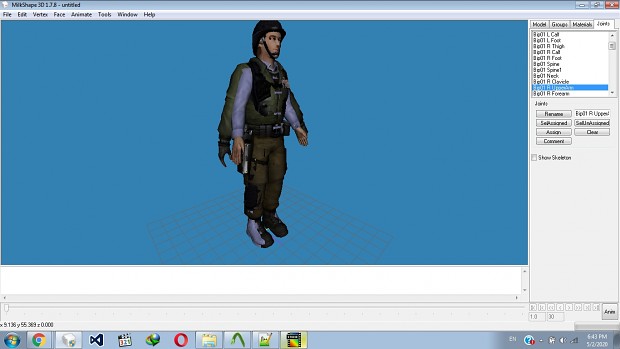
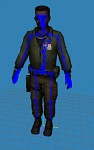
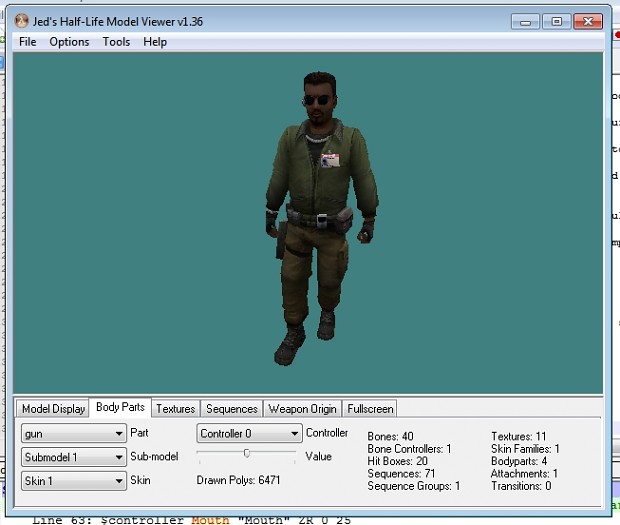
20. OK let's look at the model in hlmv... kinda cool right!
21. Let's see it in-game.
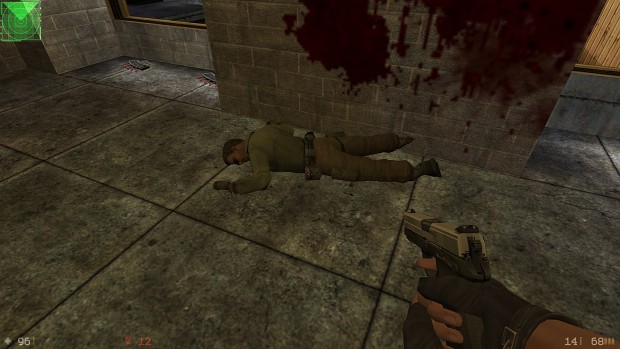
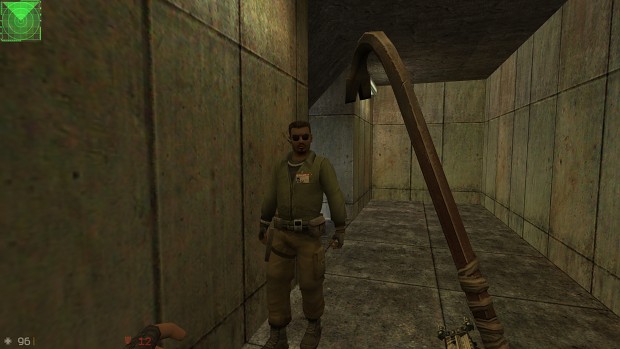
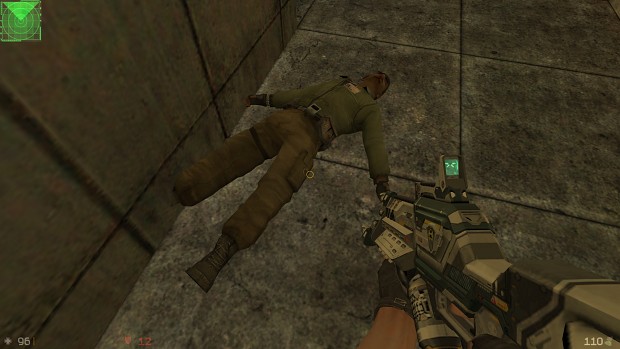
Note: If you don't like how the model looks like in-game or in hlmv, maybe you messed up something with the skeleton. Go back in MS3D and tweak the rigging.
I hope you enjoyed this one and you learned something.
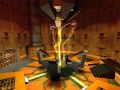
Those two techniques ( I used those techniques on my Combine soldier player models; relesed log ago on FPSBanana)
Have fun modding.
If you don't like something... MOD it!

Thanks.
Wow it kinda worked. Nice tutorial!