Greetings Troopers!
The Imperial tank commander ordered his crew to draw the S-1 Firehawke main battle tank to a halt, the heavy load lifting repulsorlifts straining to stop the momentum of the powerful hover tank, snow compacting and being pushed forward by the unseen force field. The commander had received orders to head out to the furthest outpost on their perimeter on this ice world with his squadron of tanks to investigate some unusual sensor readings in this region. Sending the rest of his tanks to the ruins in this area they used as guard post, he'd taken his own tank together with a wing man up to the top of a nearby ridge hoping to get a better view of the area. The tank's sensor readings were still inconclusive, thanks most likely to the ice blizzards and the unusual crystalline rich composition of the rocks of this planet. There was nothing for it, he'd have to go with the most reliable sensors he knew. Popping the topside hatch he braced himself for the bitter cold, and lifted himself up to the observation platform of the turret. He gazed towards the rocky horizon, not seeing anything he raised a pair of macrobinoculars to further scan the area. He then heard a strange dull thudding boom just barely cutting through the howling wind. Out of the white the commander saw a number of crimson glowing bolts arcing towards him. What the....? He threw himself back down into the turret slamming the hatch behind him, ordering his crew to brace for impact. Checking the driver's video monitor he sees the bolts strike the rock just before them and then the remaining bolts in the salvo slams next to their tank, and the last of them rip into their sister tank tearing it apart with concussive force. Plasma enveloped mortar rounds were the only weapon that behaved in that way, and would wreak such destruction. But where did they come from? Taking up the gunner position the commander scanned the ridge the bolts had appeared from, and this time spied the culprit. A Rebel Mortar Freerunner moving up on their position. The enemy should have stayed out of line of sight, they had clearly underestimated the range of the Firehawke's primary weapon, and as he lined up the shot, he made sure that would be a mistake they'd live to regret.
Following this weekend's battles let us take stock of how the war goes in that galaxy far, far away.
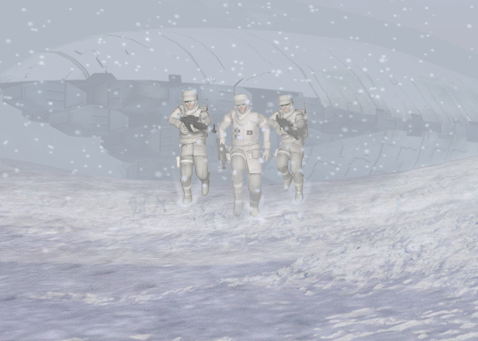
Receiving new intelligence regarding an Imperial research facility on the ice world of Rhen Var, a Rebel strike team is dispatched to take it out of commission. Deploying from stealth enhanced Rebel transports which landed under the cover of a heavy blizzard, the Rebel forces swiftly advance to a pass overlooking one of the facilities satellite buildings, and advancing down out of the hills engage the Imperial forces defending the installation. Using the cover of the snow storm and their main attacking force as a distraction, a contingent of Rebel troops outflank the defending force with the intent of capturing the building from behind. However the Imperials are prepared for this and have the side entrance heavily defended with troops and anti infantry mines. A pitched battle ensues with the Rebels establishing a rally point nearby to allow them to intensify their attack. Grenades, proton charges and shields are all employed in the defense and assault on this location resulting in some of the fiercest fighting on the battlefield, but despite their best efforts the Rebels could not break the Imperial's defensive line, and victory went to the Empire.
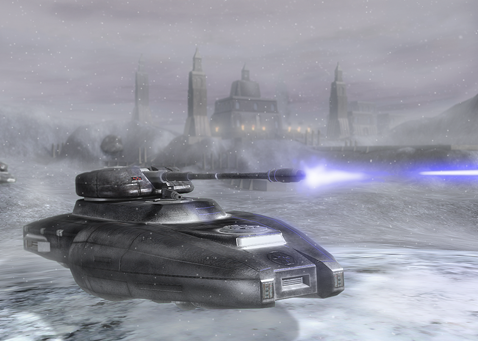
In conjunction with the assault force attacking the research facility on Rhen Var, the Rebels have also deployed armoured divisions on the ice world to draw the Empire's own armour away from the facility. They are successful in this aim, but now have to face the highly effective long range Imperial Firehawke main battle tanks. The Rebels counter their disadvantage of having shorter ranged T-1B tanks by also deploying Mortar Freerunners to disrupt the Imperial frontlines long enough for the T-1Bs to get into range. This tactic does work, but once the Firehawke gunners zeroed in on the Freerunners they became priority targets which were quickly dispatched. Still the disruption was effective enough and the T-1Bs got in close enough to attack, eliminating the Firehawke's long range advantage. The Imperial forces pull back as the Rebels advance, but the battle intensifies, especially around the Harbor region. The Rebels lose something of their momentum as they come into range of Imperial reinforcements stationed at an ancient abandoned temple. They attempt swift assaults with transport Freerunners to deploy troops at the Imperial base, but were never truly successful with the Imperial defense there proving too strong, but it was enough of a disruption to allow Rebel armour to advance further and finally achieve a key Rebel victory on this battlefield.
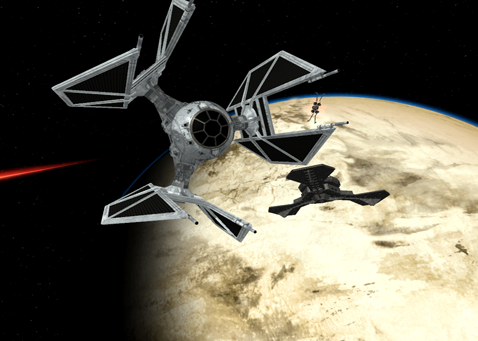
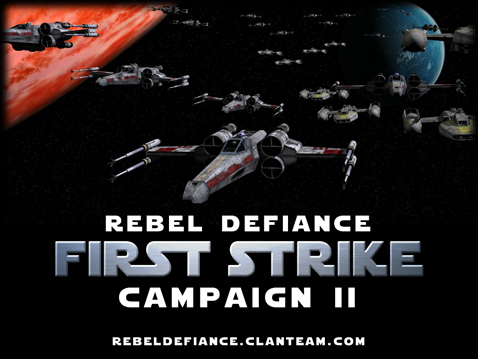
Originally planning to head to the Taloraan system to pick up vital supplies, Rebel Alliance intelligence have instead dispatched squadrons of fighters to Parmel to attempt once more to deal with the new threat which has arisen there. Rebel X, Y and the new A-Wing starfighters move in on the Imperial research orbital station. Those pesky TIE Defenders are deployed again by the Imperial base. This time the Rebel pilots are prepared for the Empire's new advanced starfighter, as the TIE Defenders swoop in to attack the slower Y-Wings and X-Wings, the swift and nimble A-Wing Interceptors fall in behind the Empire's newest fighters and this time manage to eliminate the threat once and for all. Resulting in another victory for the Alliance.
With the penultimate rounds of this campaign completed, we see a turn in the tide of this conflict, with the Rebel team gaining a majority victory with two wins to the Empire's one. There is still a way to go for the Rebels though, even with this victory they are still trailing significantly on points. There is also still the issue of low numbers of Rebels attending, with numbers once again made up by freelancing mercenaries. Despite all this the Rebellion also gained a sector winning map victory. Low numbers present meant we went with the co-op maps this week with Strike at Parmel substituted for Taloraan which was a shame. That said, the battles were still most interesting with fairly close results for all rounds.

The Rebels had two unregistered players for two rounds each, resulting in them gaining a score of 25 minus 2 points for unregistered players, and the Empire gained 20 points with no adjustments for unregistered players. Added to the total score for the campaign so far this gives us:
Rebels - 128.5
This doesn't look good for the Rebels going into the final endgame of the Battle of Yavin, however remember the finale has different rules applied, such as the loser getting no points at all for the engagement which can greatly effect the outcome. Additionally, for the grand finale the winning team will gain 50 points. So even at this late stage of the campaign, with the odds stacked against them (as it should be for the Rebels after all), it is still all to play for. So next week's final map is as follows:
The Battle of Yavin
So this campaign's grand finale is finally upon us. The Rebels really need to bring their 'A' game next week and attend in greater numbers if they hope to snatch victory from the jaws of defeat.
If you feel you have the skills to help out either faction in its quest to rule the galaxy, head on over to:
Rebel Defiance Campaign Registration
To register for the campaign and restore order/freedom to the galaxy.
Until next time...
See you on the Battlefield Troopers!