Greetings Troopers!

"I can hear it, but I can't see it!"
The demolitions specialist support trooper informed his squad leader. Where was this thing? They were used to having scanning support from orbiting Star Destroyers, a lack of this was currently proving inconvenient. They were deep in enemy territory, so none of the aforementioned orbital support. They did have Scout Walkers, but typically they were stationed all the way up the hill at the Garrison across the other side of town, not all that far away, but in their current situation it might as well be half a sector away. More heavy laser fire deafened him followed by concussive explosions throwing sand and debris into the air nearby. It was close. These damned womprat warren like alleys made it difficult to navigate though. He dashed out into a main street and saw the crimson flash of blaster fire cut across the street around a block away, a few of his squad mates pressed into alcoves of the adobe buildings for cover. He now had a clear direction to head for. Entering the next alley he sprinted at breakneck speed hearing the steady thrum of heavy repulsorlift engines. Turning the next corner he saw the brown grey battered hull of a Rebel Freerunner armoured transport, it's turret still laying down suppressive fire on his squad. He'd effectively flanked the vehicle. Reaching into his satchel he brought out two detpacks, magnetized them and running at the transport attached them under the heavy armour plate near the engines and then dove for cover while notifying his squad of the situation.
"Here comes the BOOM!!"
After a ground shaking explosion the crouching trooper is rained upon by burning debris. Turning he see's his squadleader who shouldering his blaster offers him a hand up, to which he responds.
"Damn I love my job."
With the sixth round of battles for the campaign completed, lets see how our two factions fared this week.
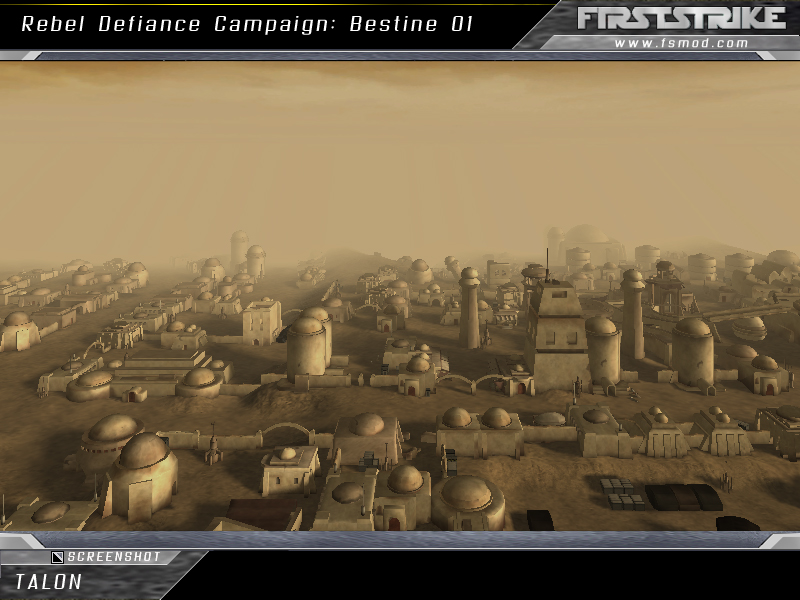
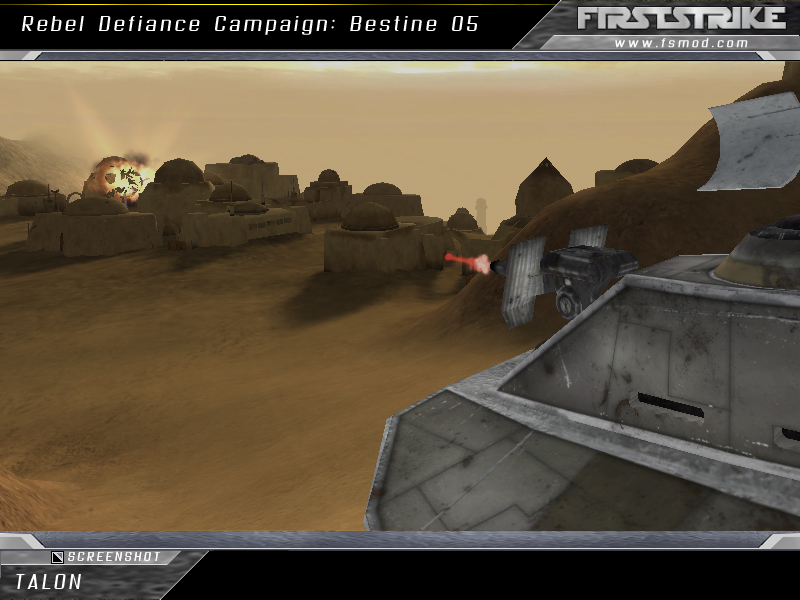
ROUND 1: TATOOINE: BESTINE
Despite already securing the sector containing the Tatooine system, Rebel forces must remain vigilant. An Imperial Company of Stormtroopers have been surgically dropped into Tatooine's ex-Imperial capital city of Bestine. With armoured support they have managed to retake the city and now control the Imperial Garrison complex overlooking the desert city. Rebel troops have been sent in to swiftly eliminate the Imperial threat. With the Empire holding the advantageous high ground this could be easier said than done however. With the Imperial forces already stretched thin the Rebel troops found advancing through the city to be a relatively easy affair, but when it came time to scale the hill leading to the Imperial Garrison, things did not go so well for the Rebels. Initially their push was successful and they gained a foothold at the top of the mesa. But when faced with the lethal firepower of Imperial Scout Walkers things started to turn. That said even in the face of those odds the Rebels still persevered, destroying the walker using guile and high explosives. However, the closer they got to the garrison, the more of the Empire's deadly toys they faced. When Viper Probe Droids were deployed this turned the tide and the Rebel troops had to retreat to their foothold location atop the mesa. It was here that the majority of the battle was fought with valiant Rebel troops holding on to that valuable territory as they awaited armoured support from Rebel Freerunner transports and military speeders, while taking the full force of further AT-ST Walker assaults and infantry incursions on their position. In the end the Imperial's hold on the area was just too strong and the Rebels fighting that day fell to the might of the Empire.
ROUND 2: LOK WASTELANDS
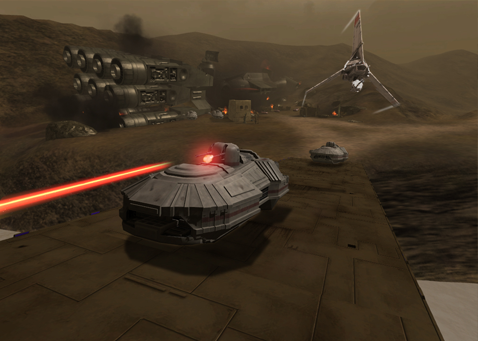
Following prior incursions into Rebel Alliance controlled space, Imperial forces have established a beach head on the remote world of Lok. Racing against a Rebel armoured division to secure valuable tactical assets in the region, an Imperial armoured column of Firehawke tanks move into the nearby valley. The initial contact is successful with Rebel T-1B tanks falling foul of the Firehawke's longer range weaponry. In conjunction with a scout recon force mounted on armoured Speederbikes the Imperial forces managed to sucessfully secure the assets in the region. This was followed by A Rebel counter attack which included additional waves of tanks and covert infantry units tasked with infiltrating the asset complexes. This resulted in a two teer battle with infantry firefights within the buildings while powerful tanks still engaged each other outside. The infantry caused the Imperial forces issues for a time, but we're eventually flushed out and eradicated, resulting in another victory for the Empire.
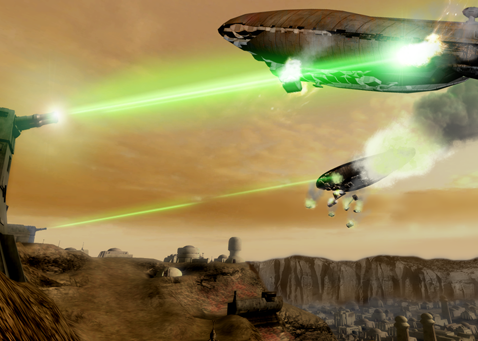
ROUND 3: ESCAPE FROM HOTH
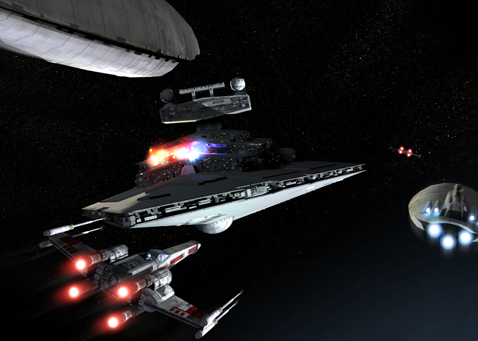
Hoping to avoid the brunt of the starships constituting the Imperial blockade of the planet, two remaining Rebel Transports head off in a different escape vector to the rest of the evacuating fleet, but unfortunately still run into a single Imperial Star Destroyer covering that sector of Hoth's orbital space. Ion Cannon fire from the surface disable the mighty ship temporarily leaving the transports and their escort fighters a good chance of escape if they can deal with the warship's compliment of starfighters and bombers. The Rebel Y-Wings swoop in swiftly to take care of the Star Destroyer's heavy guns. Though main power is out these guns are still operational due to tapping the capital ship's auxiliary power reserves. TIE Fighters are immediately launched to engage the attacking fighters, but they have support in the form of X-Wing fighters covering their backs. A pitched battle then ensues with both factions' fighters vying for position over the disabled war cruiser. With the last of the heavy turbolasers destroyed the Transports begin their escape run. TIE Bombers are deployed and execute bombing runs on various vectors to take out the Rebel ships before they reach the hyperspace beacon. The remaining Rebel fighters continue to run interference to hamper the Imperial pilots' efforts together with the defensive turrets mounted on the transports. Multiple torpedoes head the way of the fleeing ships, but expert shield deployment and steady handed gunners see both Rebel ships make good their escape. Looks like this Imperial Captain is in trouble now.
With the end of the sixth round of battles we've seen some solid games this week. The 32 player Tatooine: Bestine map played remarkably well despite relatively low numbers. Also being such a big map it allowed players who may have only played the co-op version the opportunity to explore huge areas not touched by that version of the map. The game here was lengthy, but never boring with the battle toing and froing right up to the last moments, a very close match indeed. Lok was also an interesting map that not many newcomers might have played due to there being no co-op version. This too played well with a nice balance of tank and infantry combat. Definitely two maps it was worth taking the time to go in there and play despite their respective galactic sectors already having been won.


With one victory for the Rebels, and two for the Empire we have a score this week of 20 for the Rebs, minus 1 for unregistered players. And the Empire gains a score of 25, minus 1 for an unregistered player. Adding that to the overall scores we now have:
Imperials - 153.5
Rebels - 105.5
With the Rebels now getting into treble figures it shows that the Alliance may be down, but they are by no means out. There were also a few more new faces this week to help bolster the Rebels' ranks, hopefully they'll stick around and we'll see a proper showdown for the end of this campaign. Also don't forget that the endgame rules mean bonus points for the victor, so even though the Empire look to have an insurmountable lead, that might not necessarily be the case.
Next week is the penultimate round of battles for this campaign. With only one sector left to fight for all the action will take place at that location with two battles taking place on the surface of the ice world of Rhen Var. Whoever is victorious there will gain power over the final sector, and the week after will see the endgame battle over Yavin. The full list of battlefields for next week are as follows:
Rhen Var: Research Facility
Rhen Var: Ice Plains
Battle of Taloraan
It is a dark time, the Empire looks to be tightening its iron grip on the galaxy. Can the Rebel Alliance ever hope to defeat their powerful foe?
If you feel you have the skills to help out either faction in its quest to rule the galaxy, head on over to:
Rebel Defiance Campaign Registration
To register for the campaign and restore order/freedom to the galaxy.
Until next time...
See you on the Battlefield Troopers!


Escape from Hoth looks EPIC!
I have never actually played Frist Strike, but I love coming here and reading the story telling. Whoevers writing this is doing a fantastic job.
It is Lord Starkiller, believe me, especially with a high volume of players. The 64 player version for example adds some of the capital ships featured in Battle of Taloraan into the mix. Check out the video section for footage of Escape From Hoth and some of our other maps in action.
Thanks for the compliments on the stories, they're doing their job then. They're based in part on the background fictions for the maps in question, but also on actual events which have occurred in the rounds played. I for example was the demolitions trooper on the Bestine blowing up Rebel Freerunners. It just helps to illustrate how much fun the game is and the exciting possibilities offered up by the gameplay. All being well it should encourage more people to give it a try.
Additionally if you like the stories you can find more examples on the First Strike forums, some by myself and others by FSDev Twigs who has written some absolute corkers that are well worth a read.