[Note: This is an archived post from my blog: Unrealpossibilities.blogspot.in written at an earlier stage of my project on the recreation of Helm's Deep in UDK]
Alright, welcome back to the blog. I've been posting quite frequently over the last few days because I just wanted to document what I did somewhere. Better to have it in Google's servers than my already getting worn out notebook. So I thought I might as well write it over here. Plus if the blog picks up more traction in the future, it might help prevent others from making the same mistakes that I did. So anyways getting back to the topic at hand, over the last couple of posts, I had managed to make all the textures necessary for making my basic material in UDK. Of course there is the option of baking normal maps of my static meshes (3D models), but I'm still considering whether to go that route or to improvise along some other direction. Of the four textures that I made, I will be using only my diffuse and normal map in UDK's material editor. I've already given the reasons for this in my previous post, so feel free to check it out. In UDK, you don't directly apply textures onto your models. You create a material first by combining your textures in the material editor. The material editor is basically a network of nodes. A texture is just a single image file, whereas a material not only helps to control the color of the surfaces, but also how each surface interacts with light. For starters, a very basic material would look like this in the material editor:
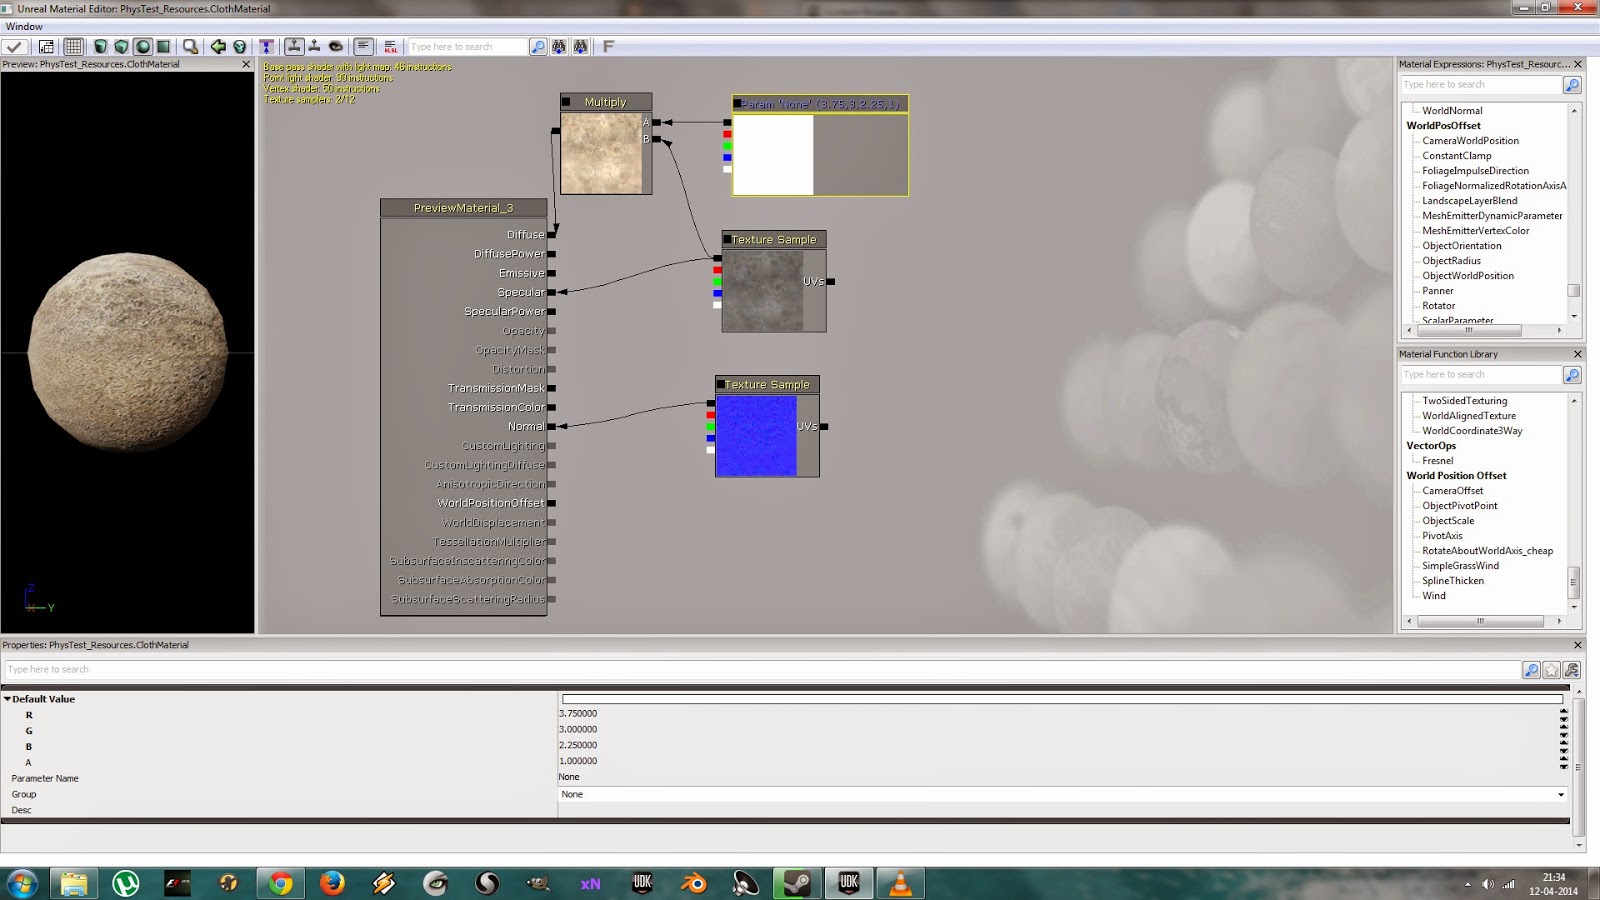
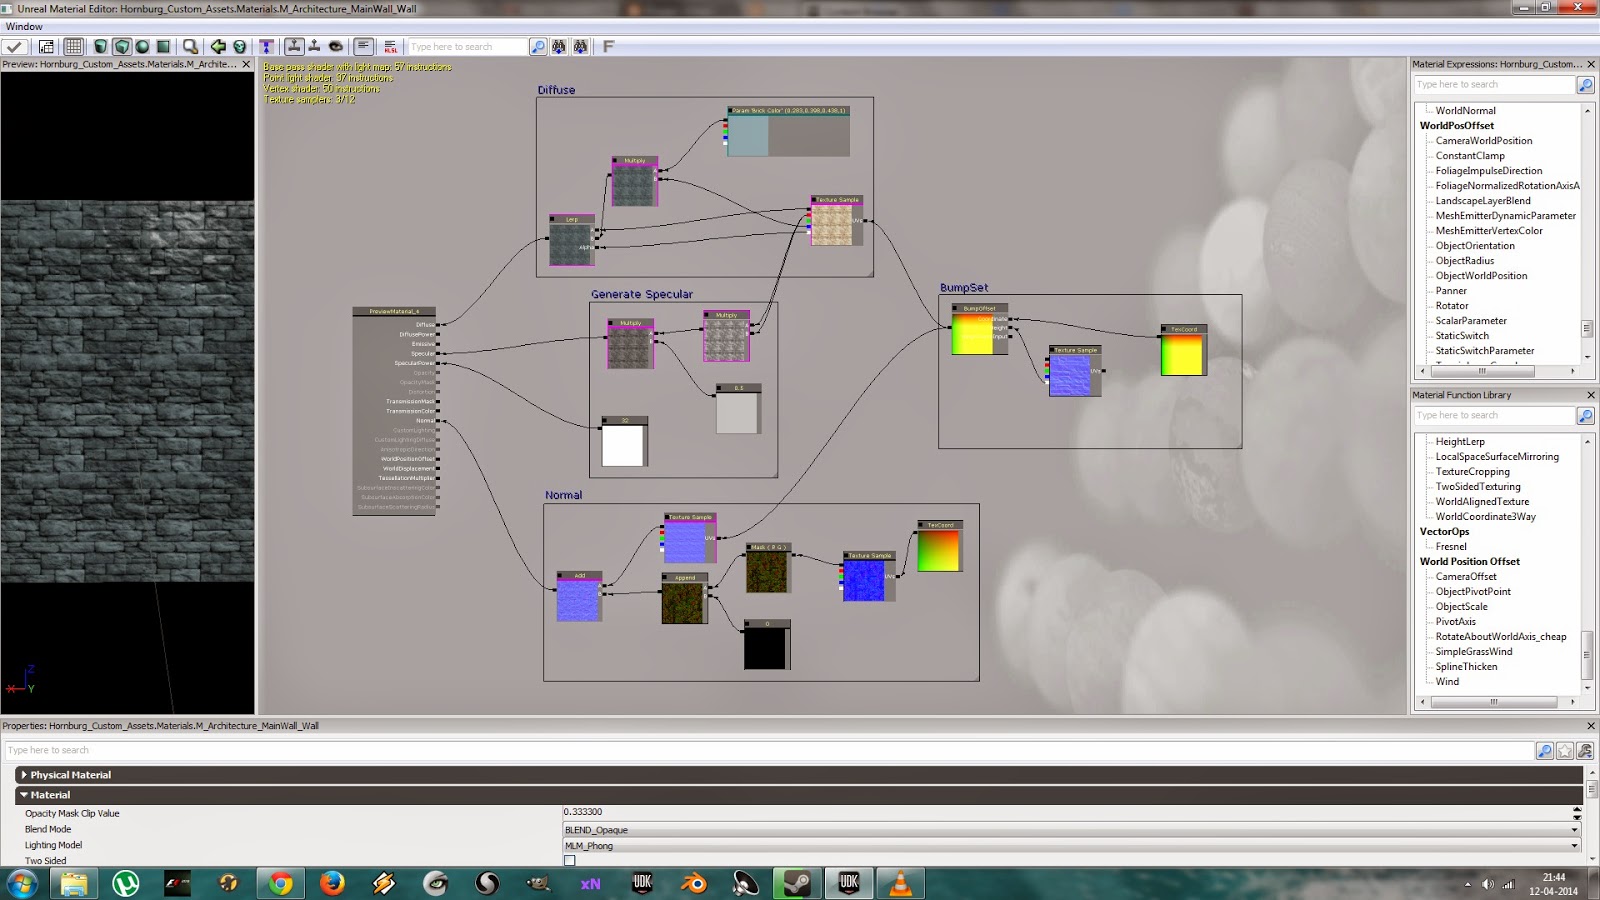
It can get a lot more complex as you start adding more nodes to control how your material behaves under various conditions. After importing my textures into the UDK, I created a material using my diffuse and normal maps. Ideally there should be a separate specular map as well. But since my meshes are mainly stone surfaces which are far less reflective that metals, I'm not gonna use a separate texture to control it's reflectivity. Rather I'm gonna use the red channel of my diffuse for my specular. This will also help a lot in reducing the memory usage. So removing an average of 1 MB of specular texture per mesh, I would be saving a decent amount of memory when you take the big picture. After messing around a bit in the editor, this is the material I made for testing it out.
Now that a basic material has been created, the next thing to do would be to test it out on the static meshes. And that I did. I haven't changed the UV layout of my meshes to match my new texture, so this is just a sample screenshot to see the new material in action. As a result, you may notice some stretching of textures here and there and also more than realistic reflections since the specularity is kinda high right now.
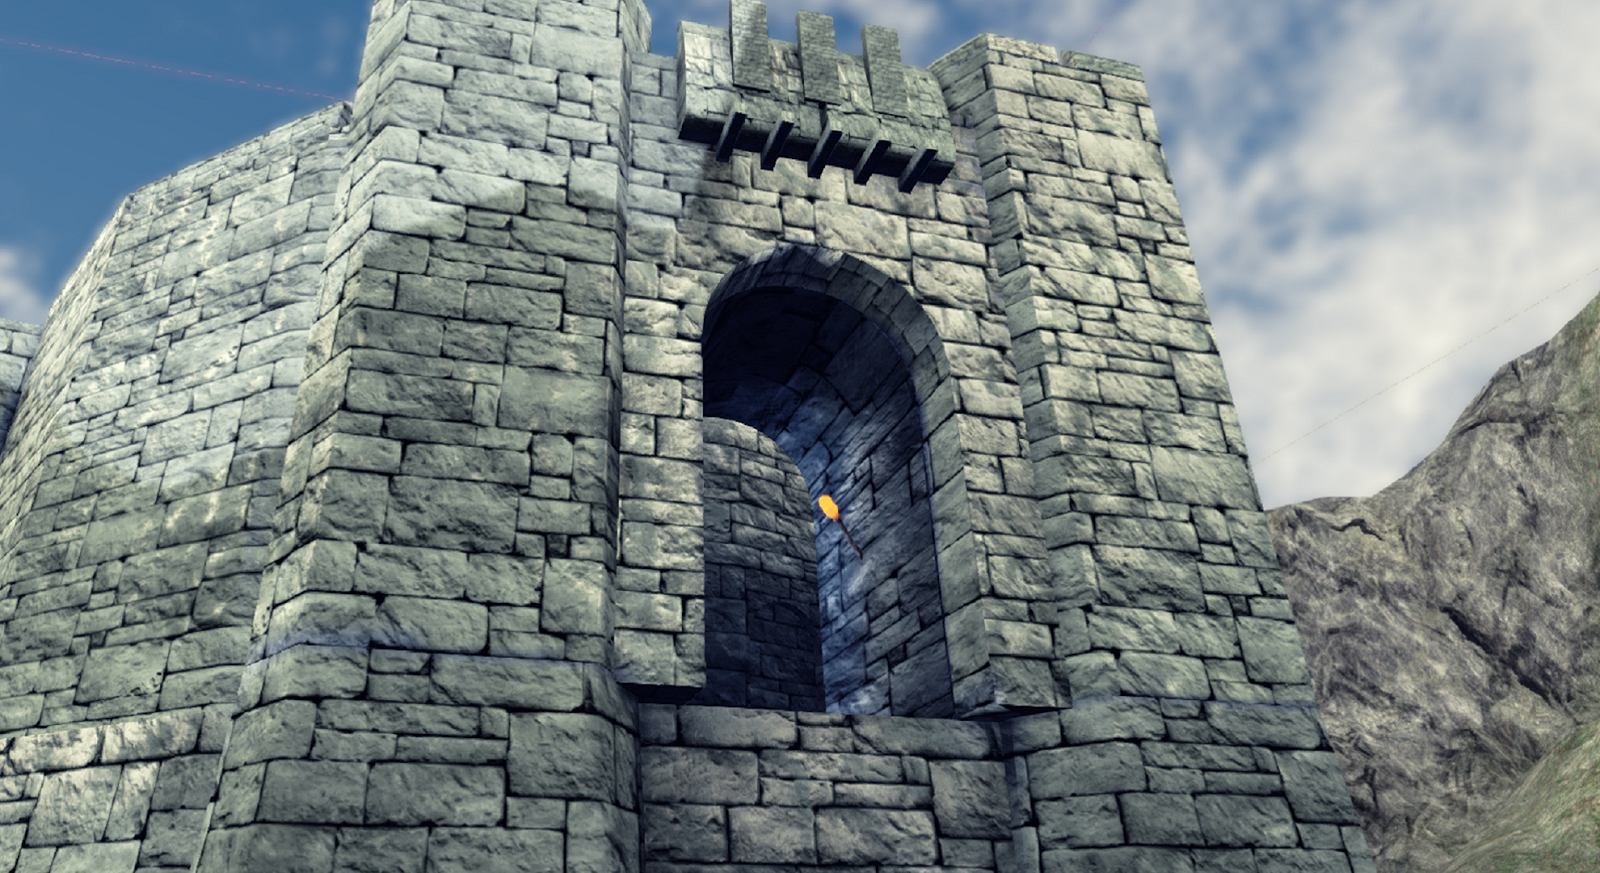
Honestly when I started out with this approach, I wasn't sure if it might work. It was just an idea born out of desperation. But after I saw this rough sample, I was happy with what I did. I mean it's not like super-awesome graphics or anything, but it looks a lot better than my previous iterations. I'll post a graphics comparison of this version and my previous iterations in another post. And with that I end this post. Goodbye and have a great weekend. :D

With the right lighting that could look pretty good as is.
Cool, I have to start working on lighting. Right now there's only one directional light for the sun.