The Terrain ToolKit is a Free Package for Unity created by SixTimesNothing a small Indie Games Company.
You can download Terrain ToolKit completely for free – Here
Much like Unity’s Terrain Editor the Terrain Toolkit allows users to create and generate different types of surfaces using a number of different presets and sliders to very quickly create diverse terrains to suit any landscape you can think of.
Installing a Package: Simply download the Package from the above link, Double click it will make it open with Unity. Click Import (Everything should be ticked already) and your done.
Adding the Terrain ToolKit to a Terrain: Once you have Inported the Package go to Terrain (Tab)/ Create Terrain. Then with the Terrain selected (In the Hierarchy) go to Component/ Terrain/ Terrain ToolKit. This will add the Terrain ToolKit to your Terrain.
Using the Terrain ToolKit: This is were things get complex. I advise watching this 8 minute Tutorial Videos from the developers on the basics of the Terrain ToolKit – Link
Basics of the Terrain ToolKit: I wont go into to much detail since I find that to become good with the Terrain ToolKit requires a lot of experimenting on your part. The Things I will go over will also be outlined in the above video.
You are given 3 main Tabs Create, Erode, Texture. Most of the different Create Types work best with testing. using a Fractal for example with a Rough Mountains Preset will give a jagged rock appearance, while a combination of Voronoi and Perlin will give a more rolling Mountain look. Its up to you and how much time you spend tweaking it to perfection.
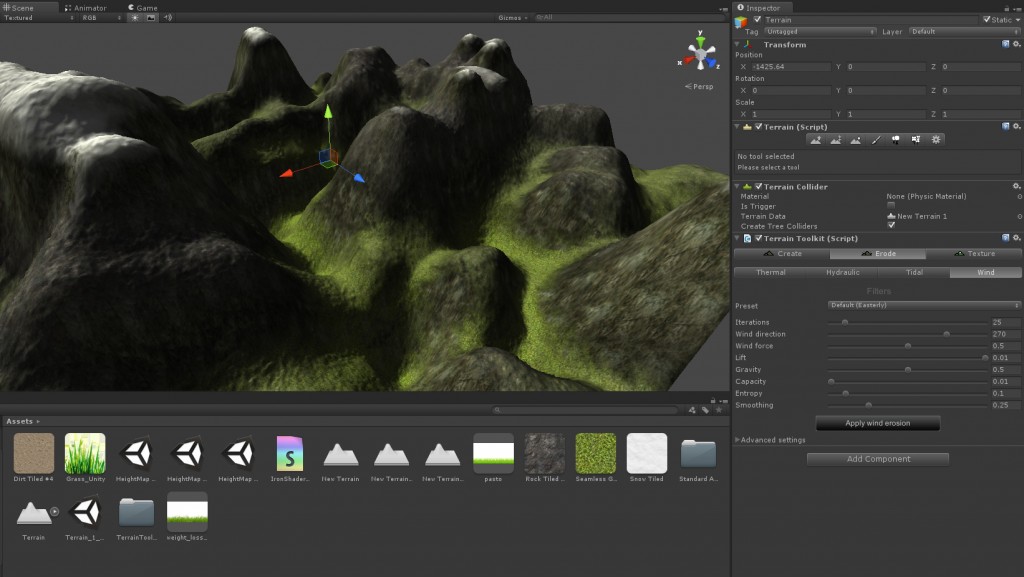
Erode: Will alter your terrain in the same way that weather and effects over time would change the landscape and shape. such as Rain, Ocean & Wind.
Texture: Allows you to add Multiple 2D Textures (Tiled) to the Terrain. You will be able to apply each texture to different areas of the Terrain. Low to High. You can change at what Height the texture will be effected. There is also a Texture Slope that change at what Angle different Textures will be applied.
a very quick Example of what can be done with the Terrain ToolKit
If you Plan to Sculpt, Work on the Terrain more or use it in a Different Engine. Theres a Terrain Exporter script thanks to Eric Haines & Yun Kyu Choi that can be found - Here
I use this Simply right click in Unity (Project Window)/ Create/ JavaScript. Name it “ExportTerrain” if you don’t, It wont run. Remove the Existing Code and Copy & Paste all the Code from ExportTerrain.js
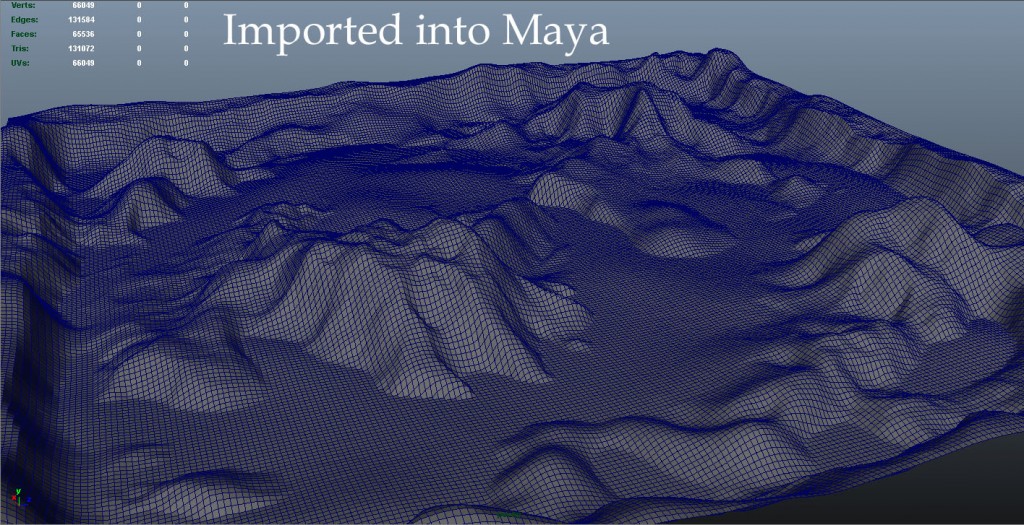
save it and put it in a folder named Editor this is found under Assets/ TerrainToolKit/ Editor. When you go to Terrain (Top Tab) there will be a button called Export to OBJ. Select you Terrain then select Export to OBJ. Choose Triangle or Quads & Resolution, Half should be fine but Full will have all the details. This is a High Poly Mesh so you will have to retopo or save out a Lower Resolution mesh

