Modular design: Big levels in a small indie studio
Say hello to our main module.
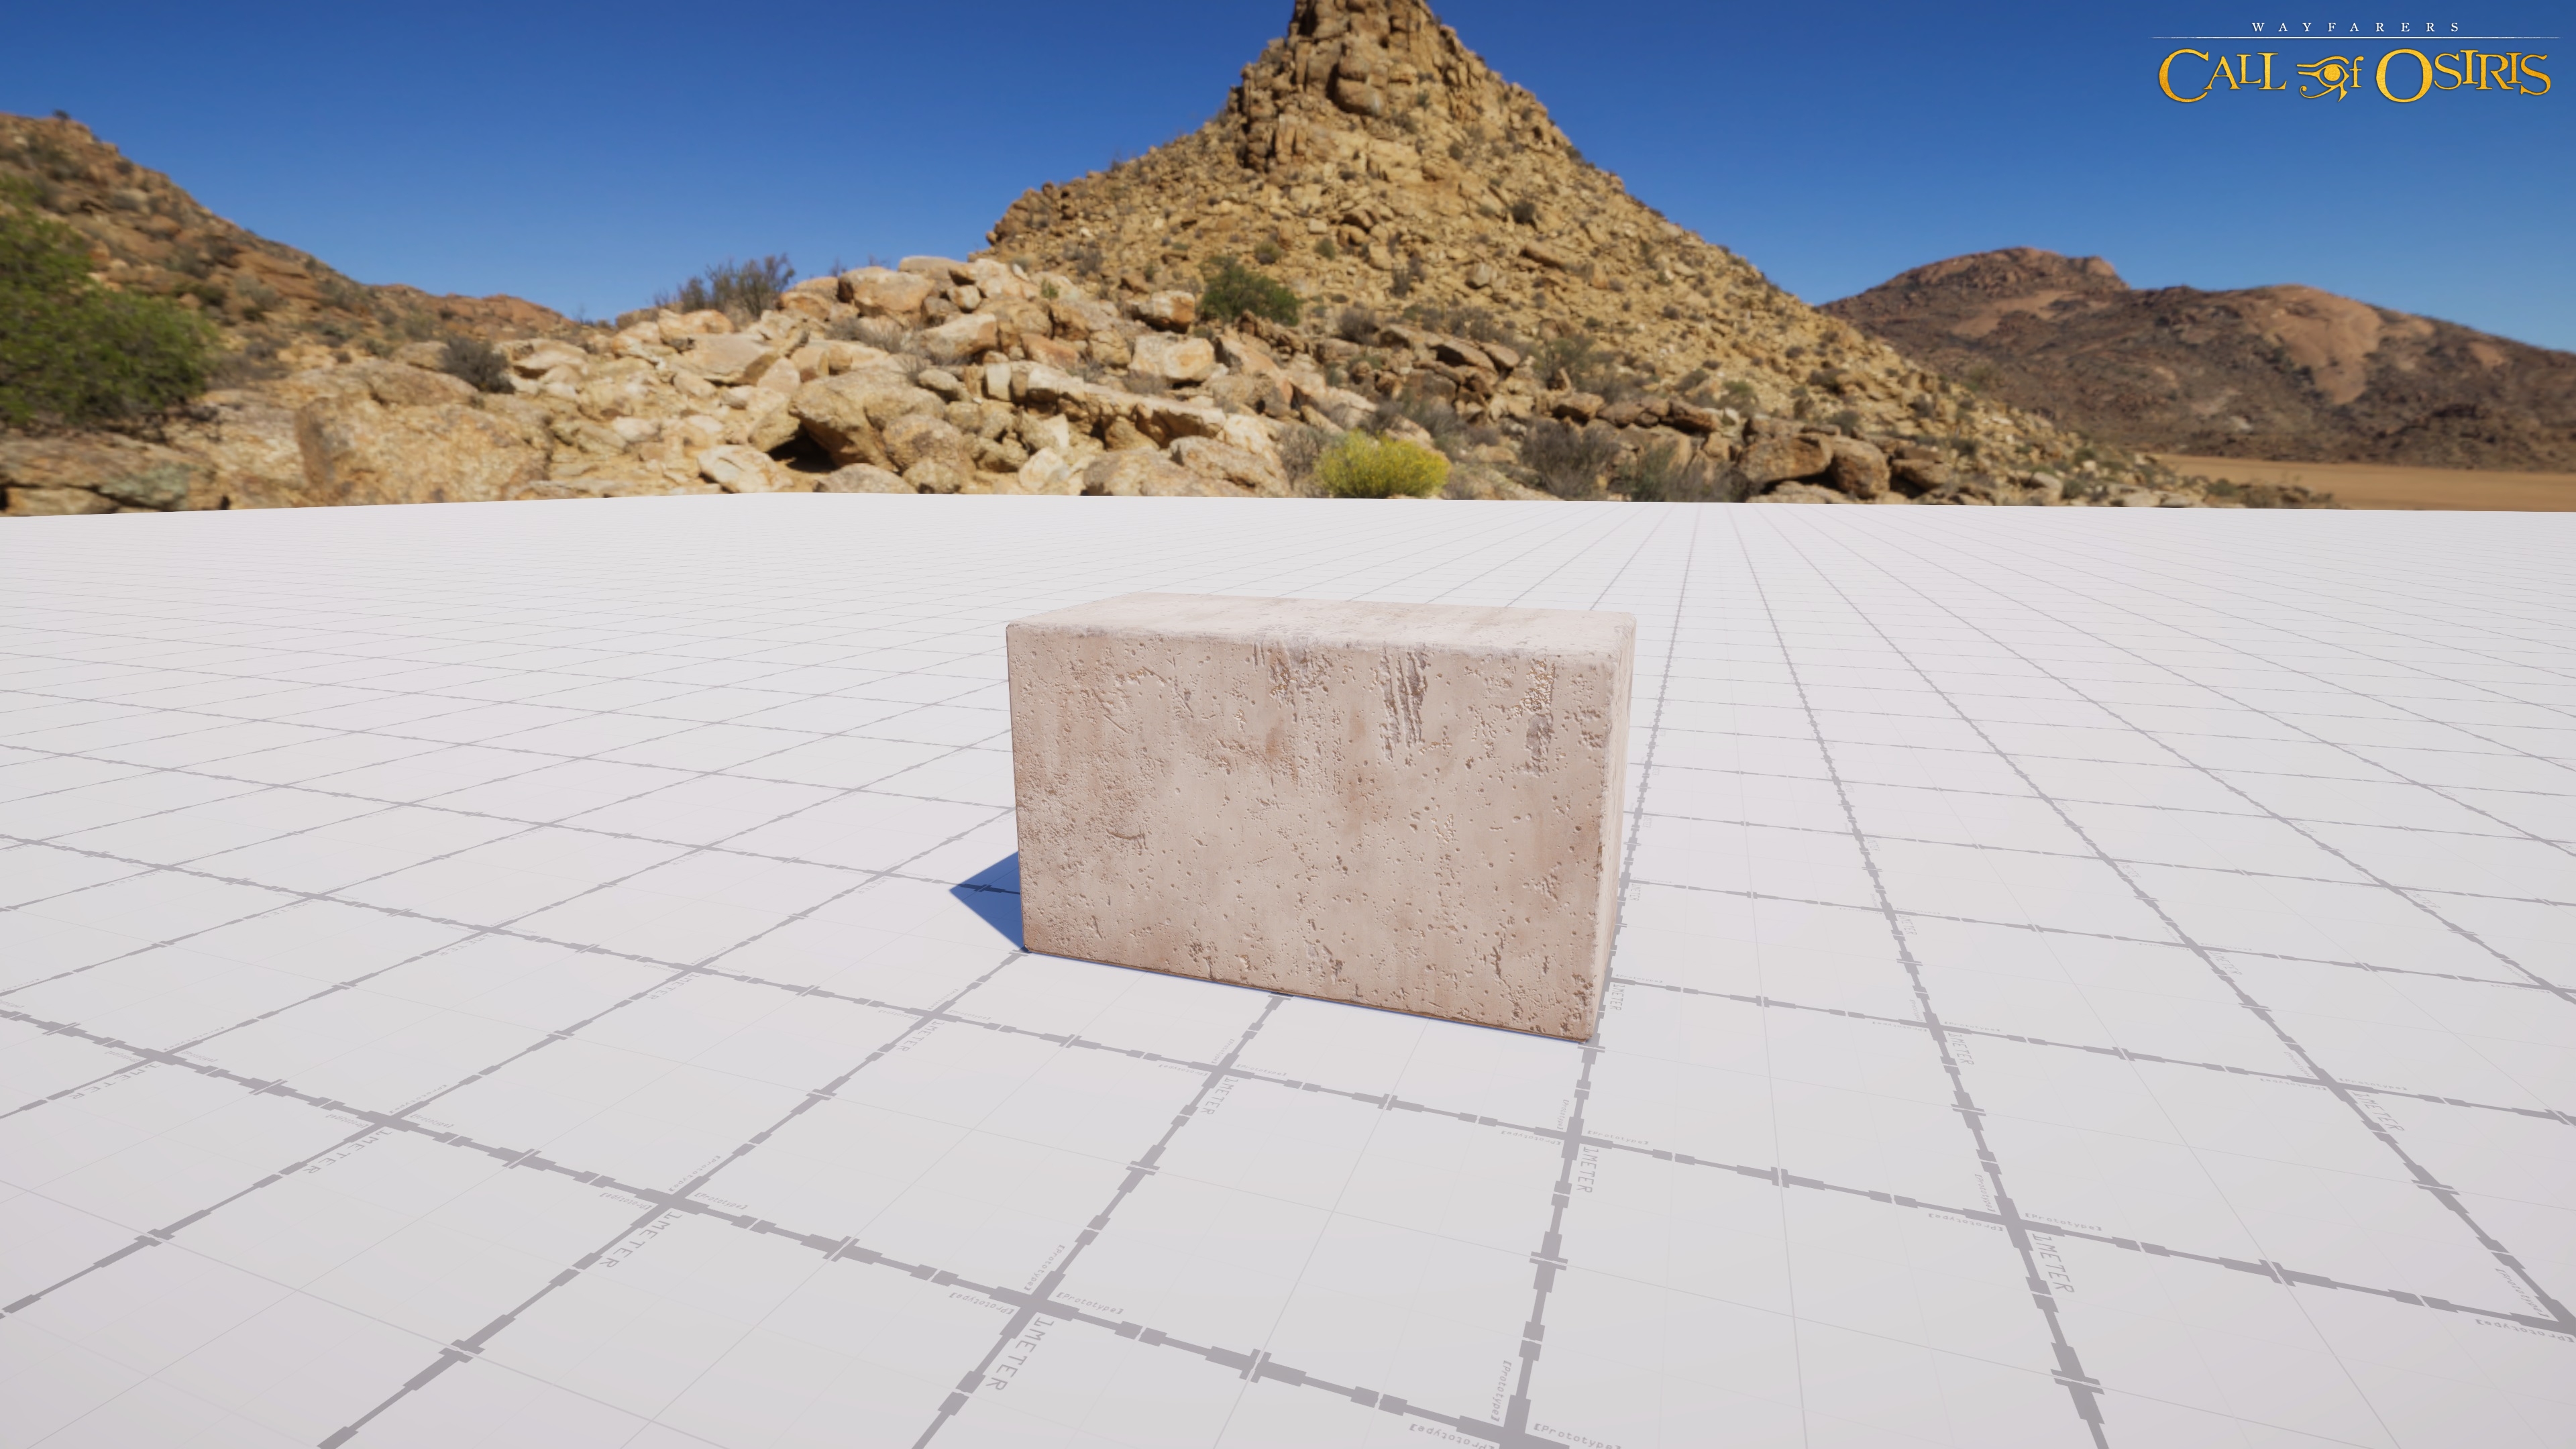
[Basic stone wall block.]
No, we’re not joking.
We have good reasons for this decision. ActaLogic is a fairly small team with less than 20 full-time members at the time of writing, but the project started development with even fewer people than that. We always had big ambitions for the type of game we wanted to create, so we had to try and find better and more efficient ways of working. Making games is hard, and any optimizations to the production pipeline were more than welcome.
But why?
Our levels started as blockouts predominantly made with external modeling software. These blockouts were imported into Unity as .fbx files, and gameplay was added on top of those. Unity’s ProBuilder tool was used for smaller iterations and updates where tweaks were necessary to facilitate gameplay. Once we had a functional blockout, we moved on to the next level. Pretty standard stuff.
Since we’re a small team, our 3D department was initially tasked with creating 3D assets with associated textures and materials. These were handed to our level designers whose responsibility was to dress up the blockouts with the assets. Since “initial geometry passes”, as we’ve come to call them, were pretty basic, the LDs could easily take over these tasks, giving more time to our 3D department to create more and better assets. In parallel, we were developing the player’s character, and sometimes we had to adjust the metrics. With modules this small, the designers could easily return to a level, tweak it and add or remove modules without much hassle. Much easier than redesigning large modules, or trying to cram them where they wouldn’t fit.
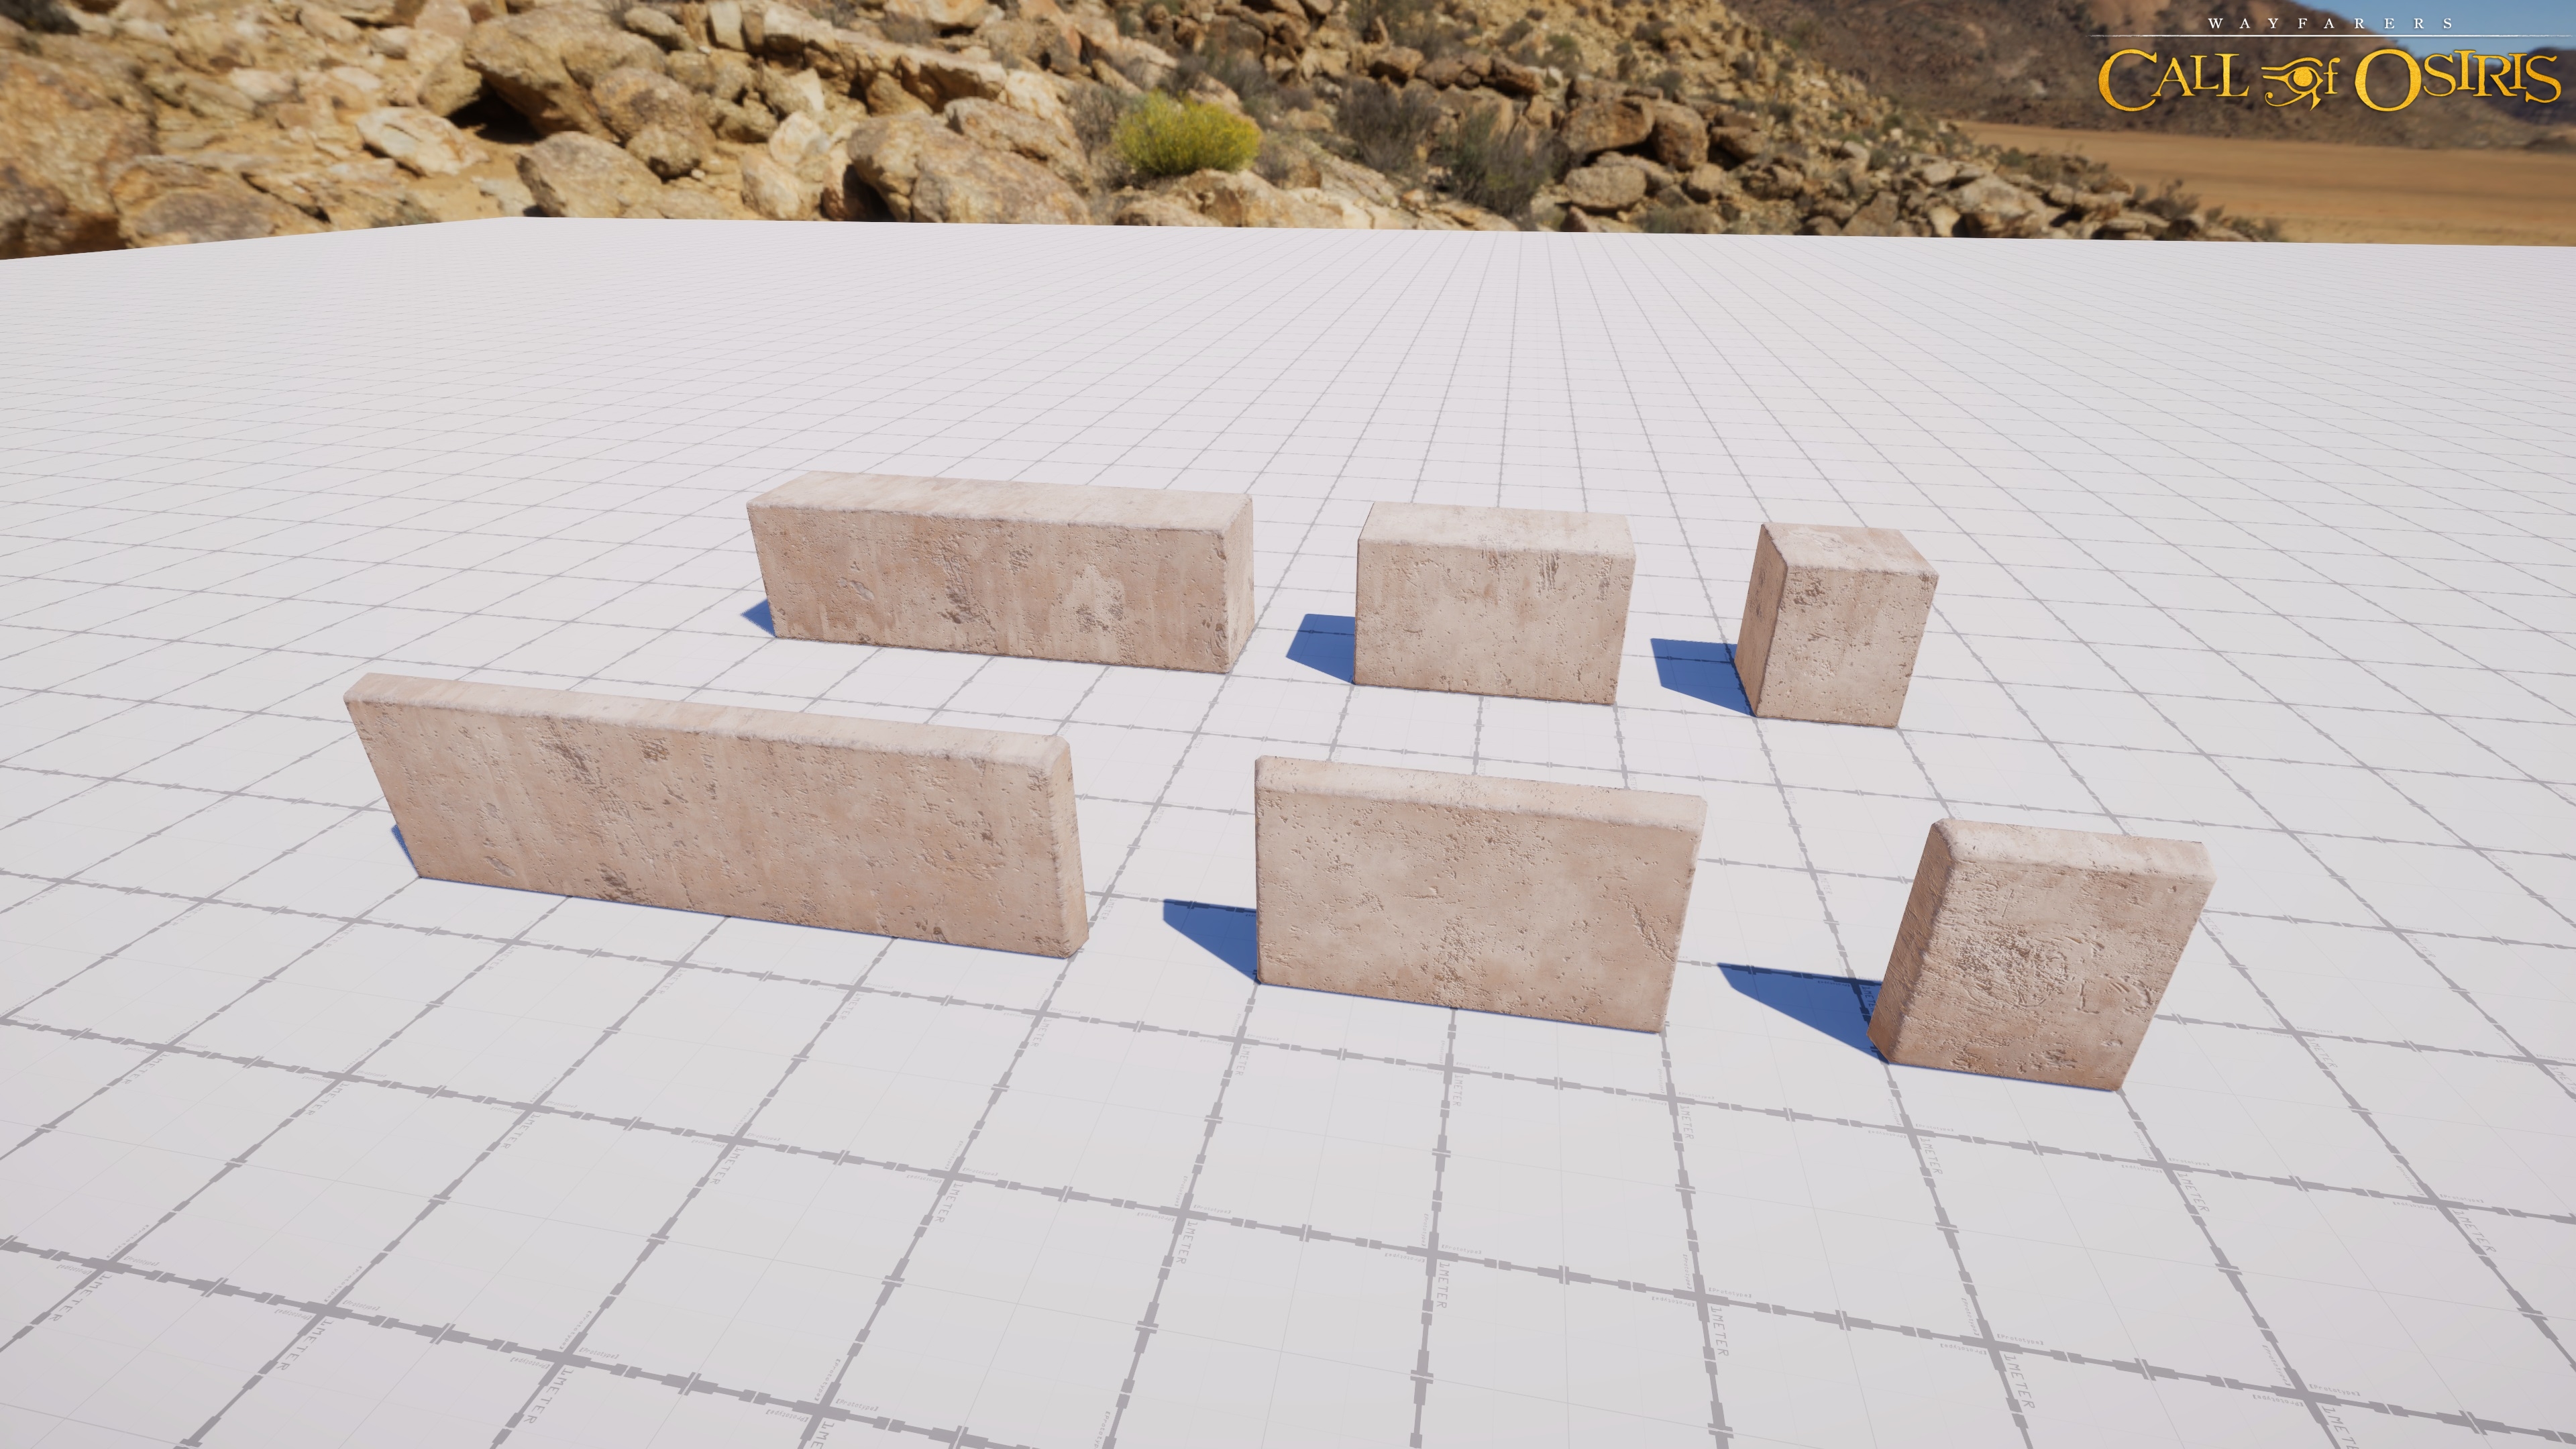
[Stone wall blocks and tiles.]
Our approach
Now let’s get down to the nitty-gritty. We have two main sets of modules (blocks or tiles), each comes in three main sizes (1, 2 and 4 meter length), and each size has several variations of materials. Blocks are mainly used in corners or to fill out geometry around holes. Tiles have lower polycount per module, so we use them frequently. Designers took any combination of blocks and tiles they saw fit and created different patterns which were saved as prefabs for ease of use (no, we didn’t place them manually one by one!). An added bonus was that these prefabs could be reused by other LDs if needed, but mainly it meant we could come up with a new pattern within minutes if needed. Prefabs were then placed into levels and interlocked, creating basic walls with varying patterns in a very short time span. This approach also eliminated those annoying pixel-wide gaps between modules.
The same approach was used for climbable tiles. Once the climbing paths were established, we swapped out standard tiles for the climbable ones.
[Climbing wall tiles.]
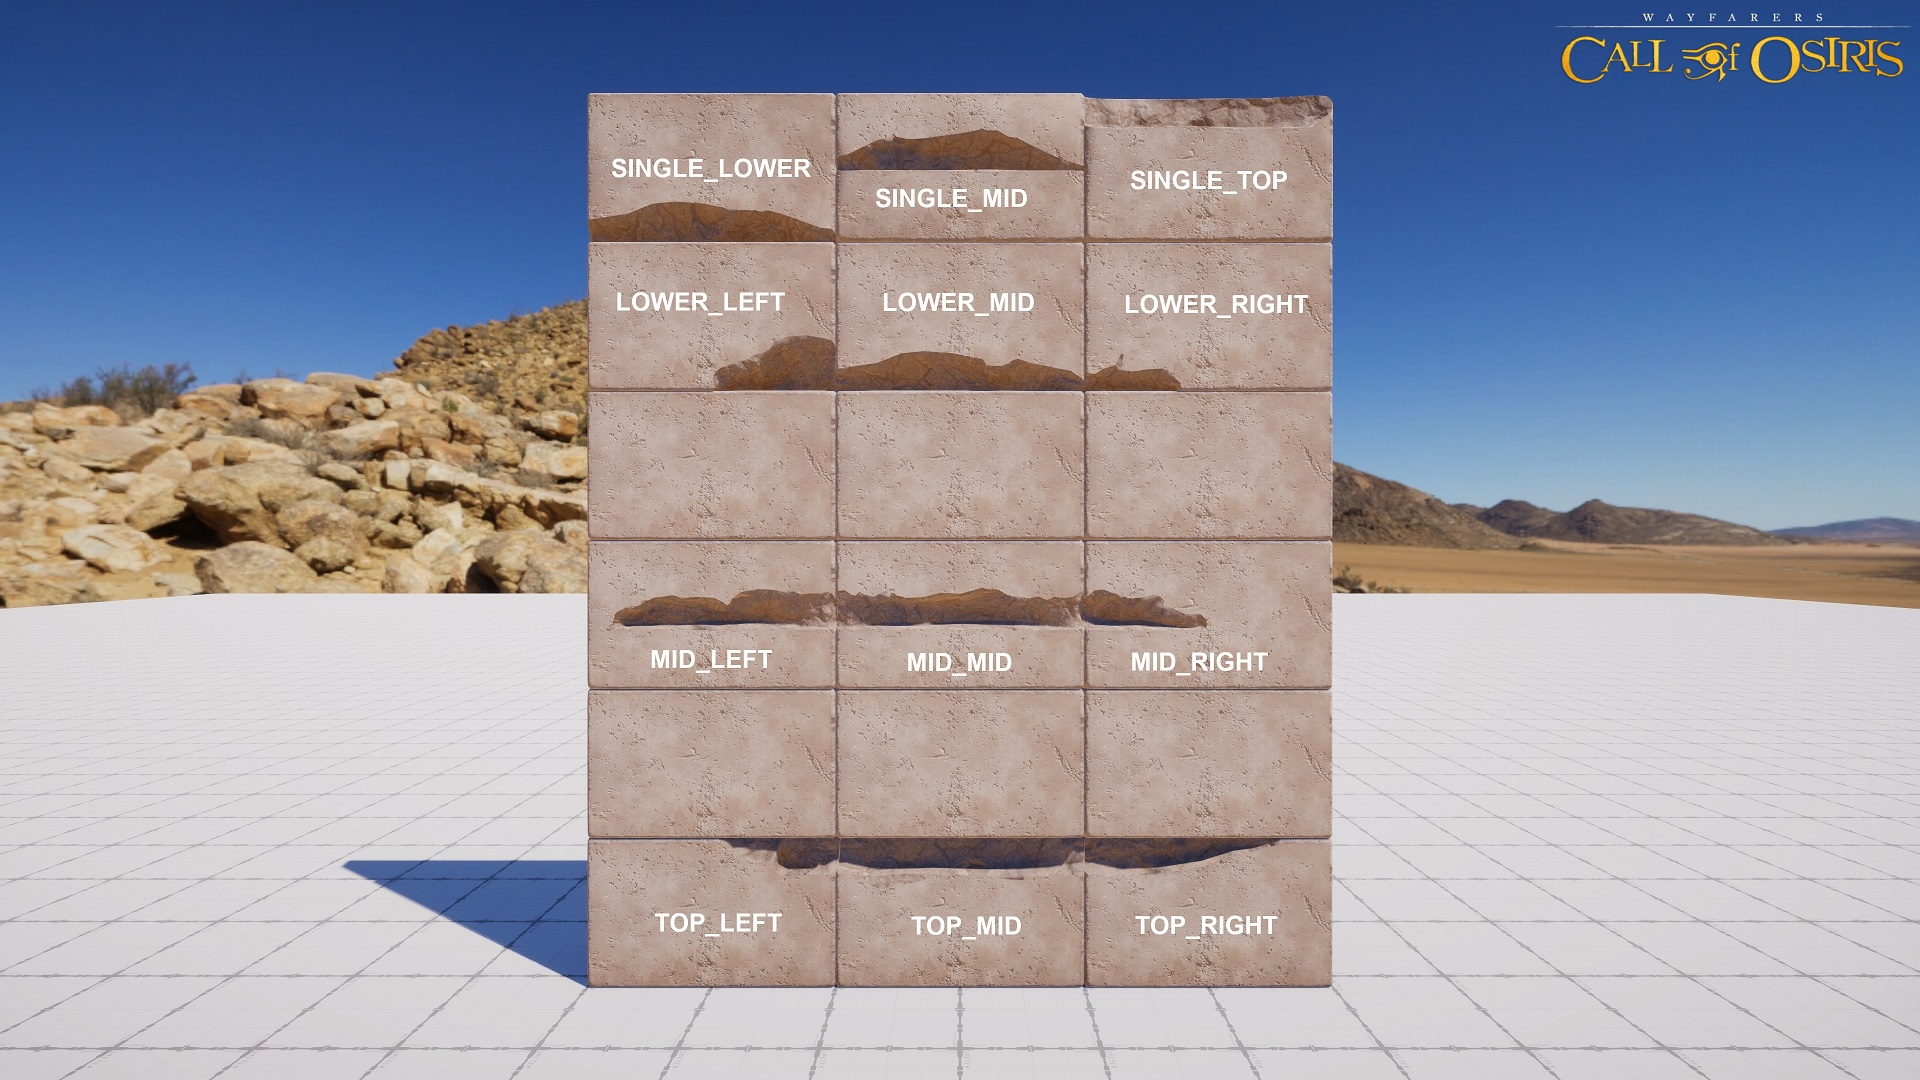
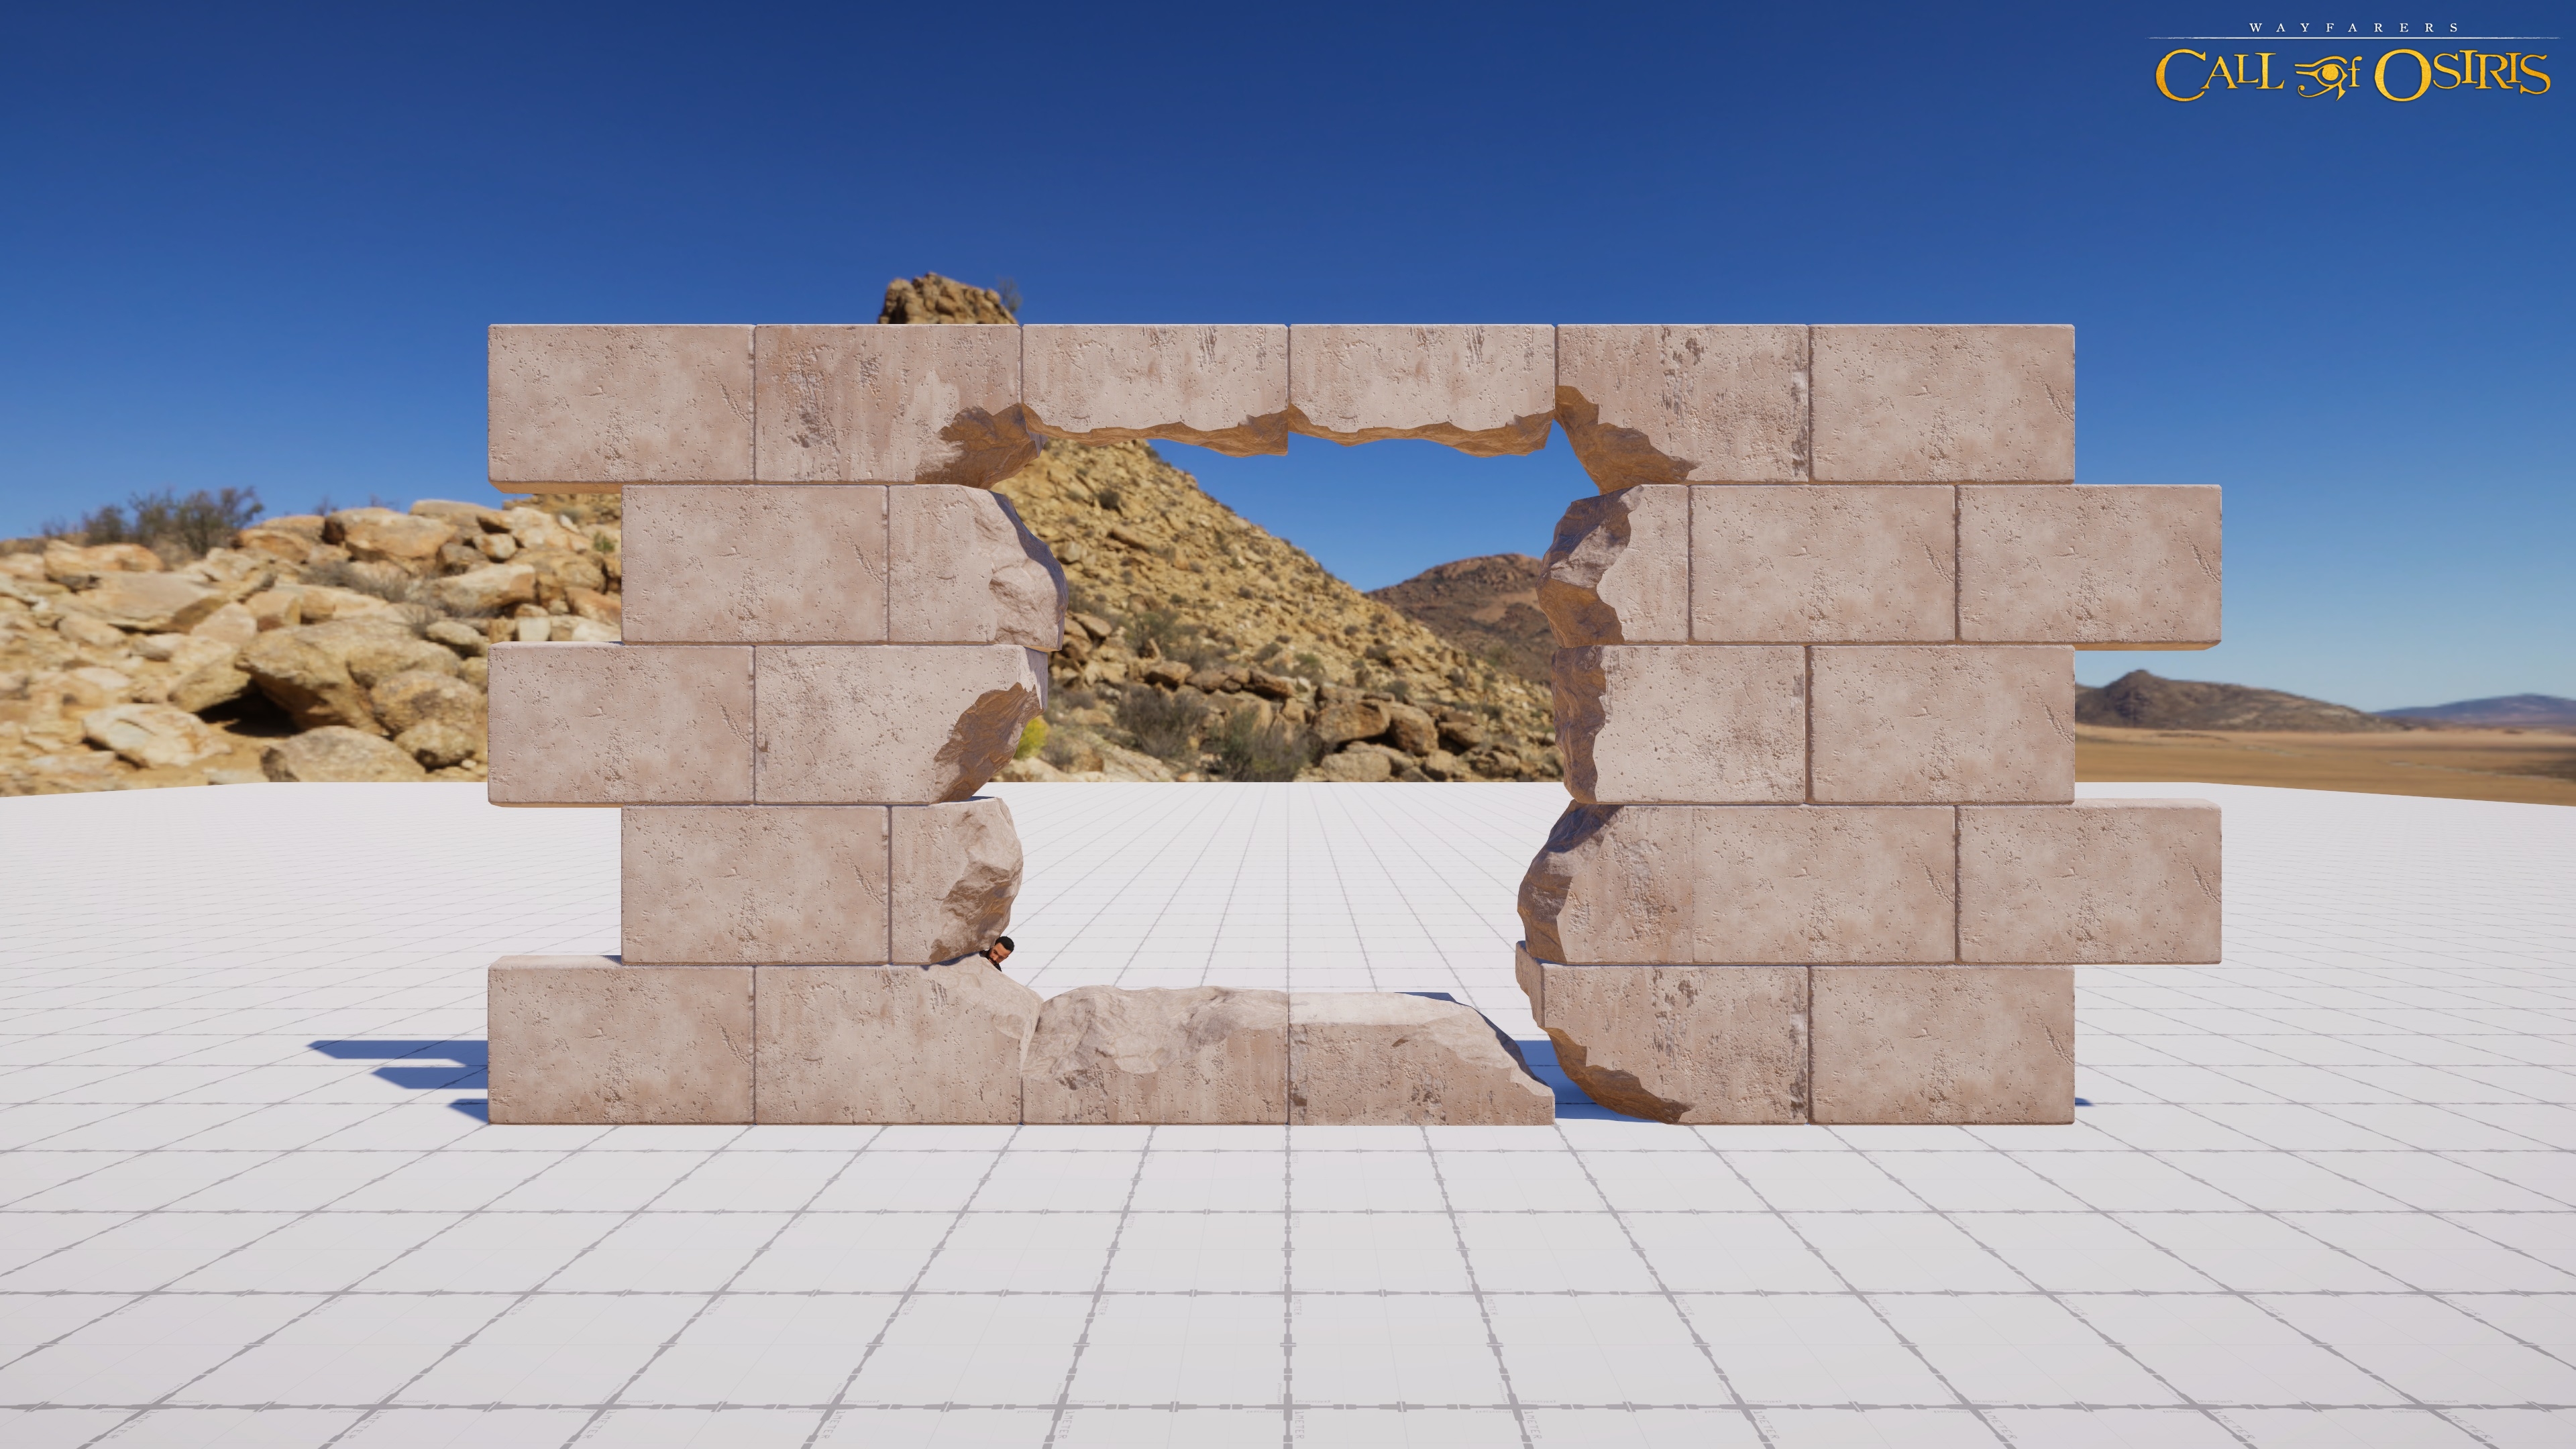
We created holes in walls in a similar fashion. Several types of damaged and broken stone pieces were created and assembled into various shapes inside different prefabs. We standardized holes that are associated with specific gameplay mechanics, but other than that, no two holes are the same. Great from the aesthetics point of view!
[Damaged wall blocks.]
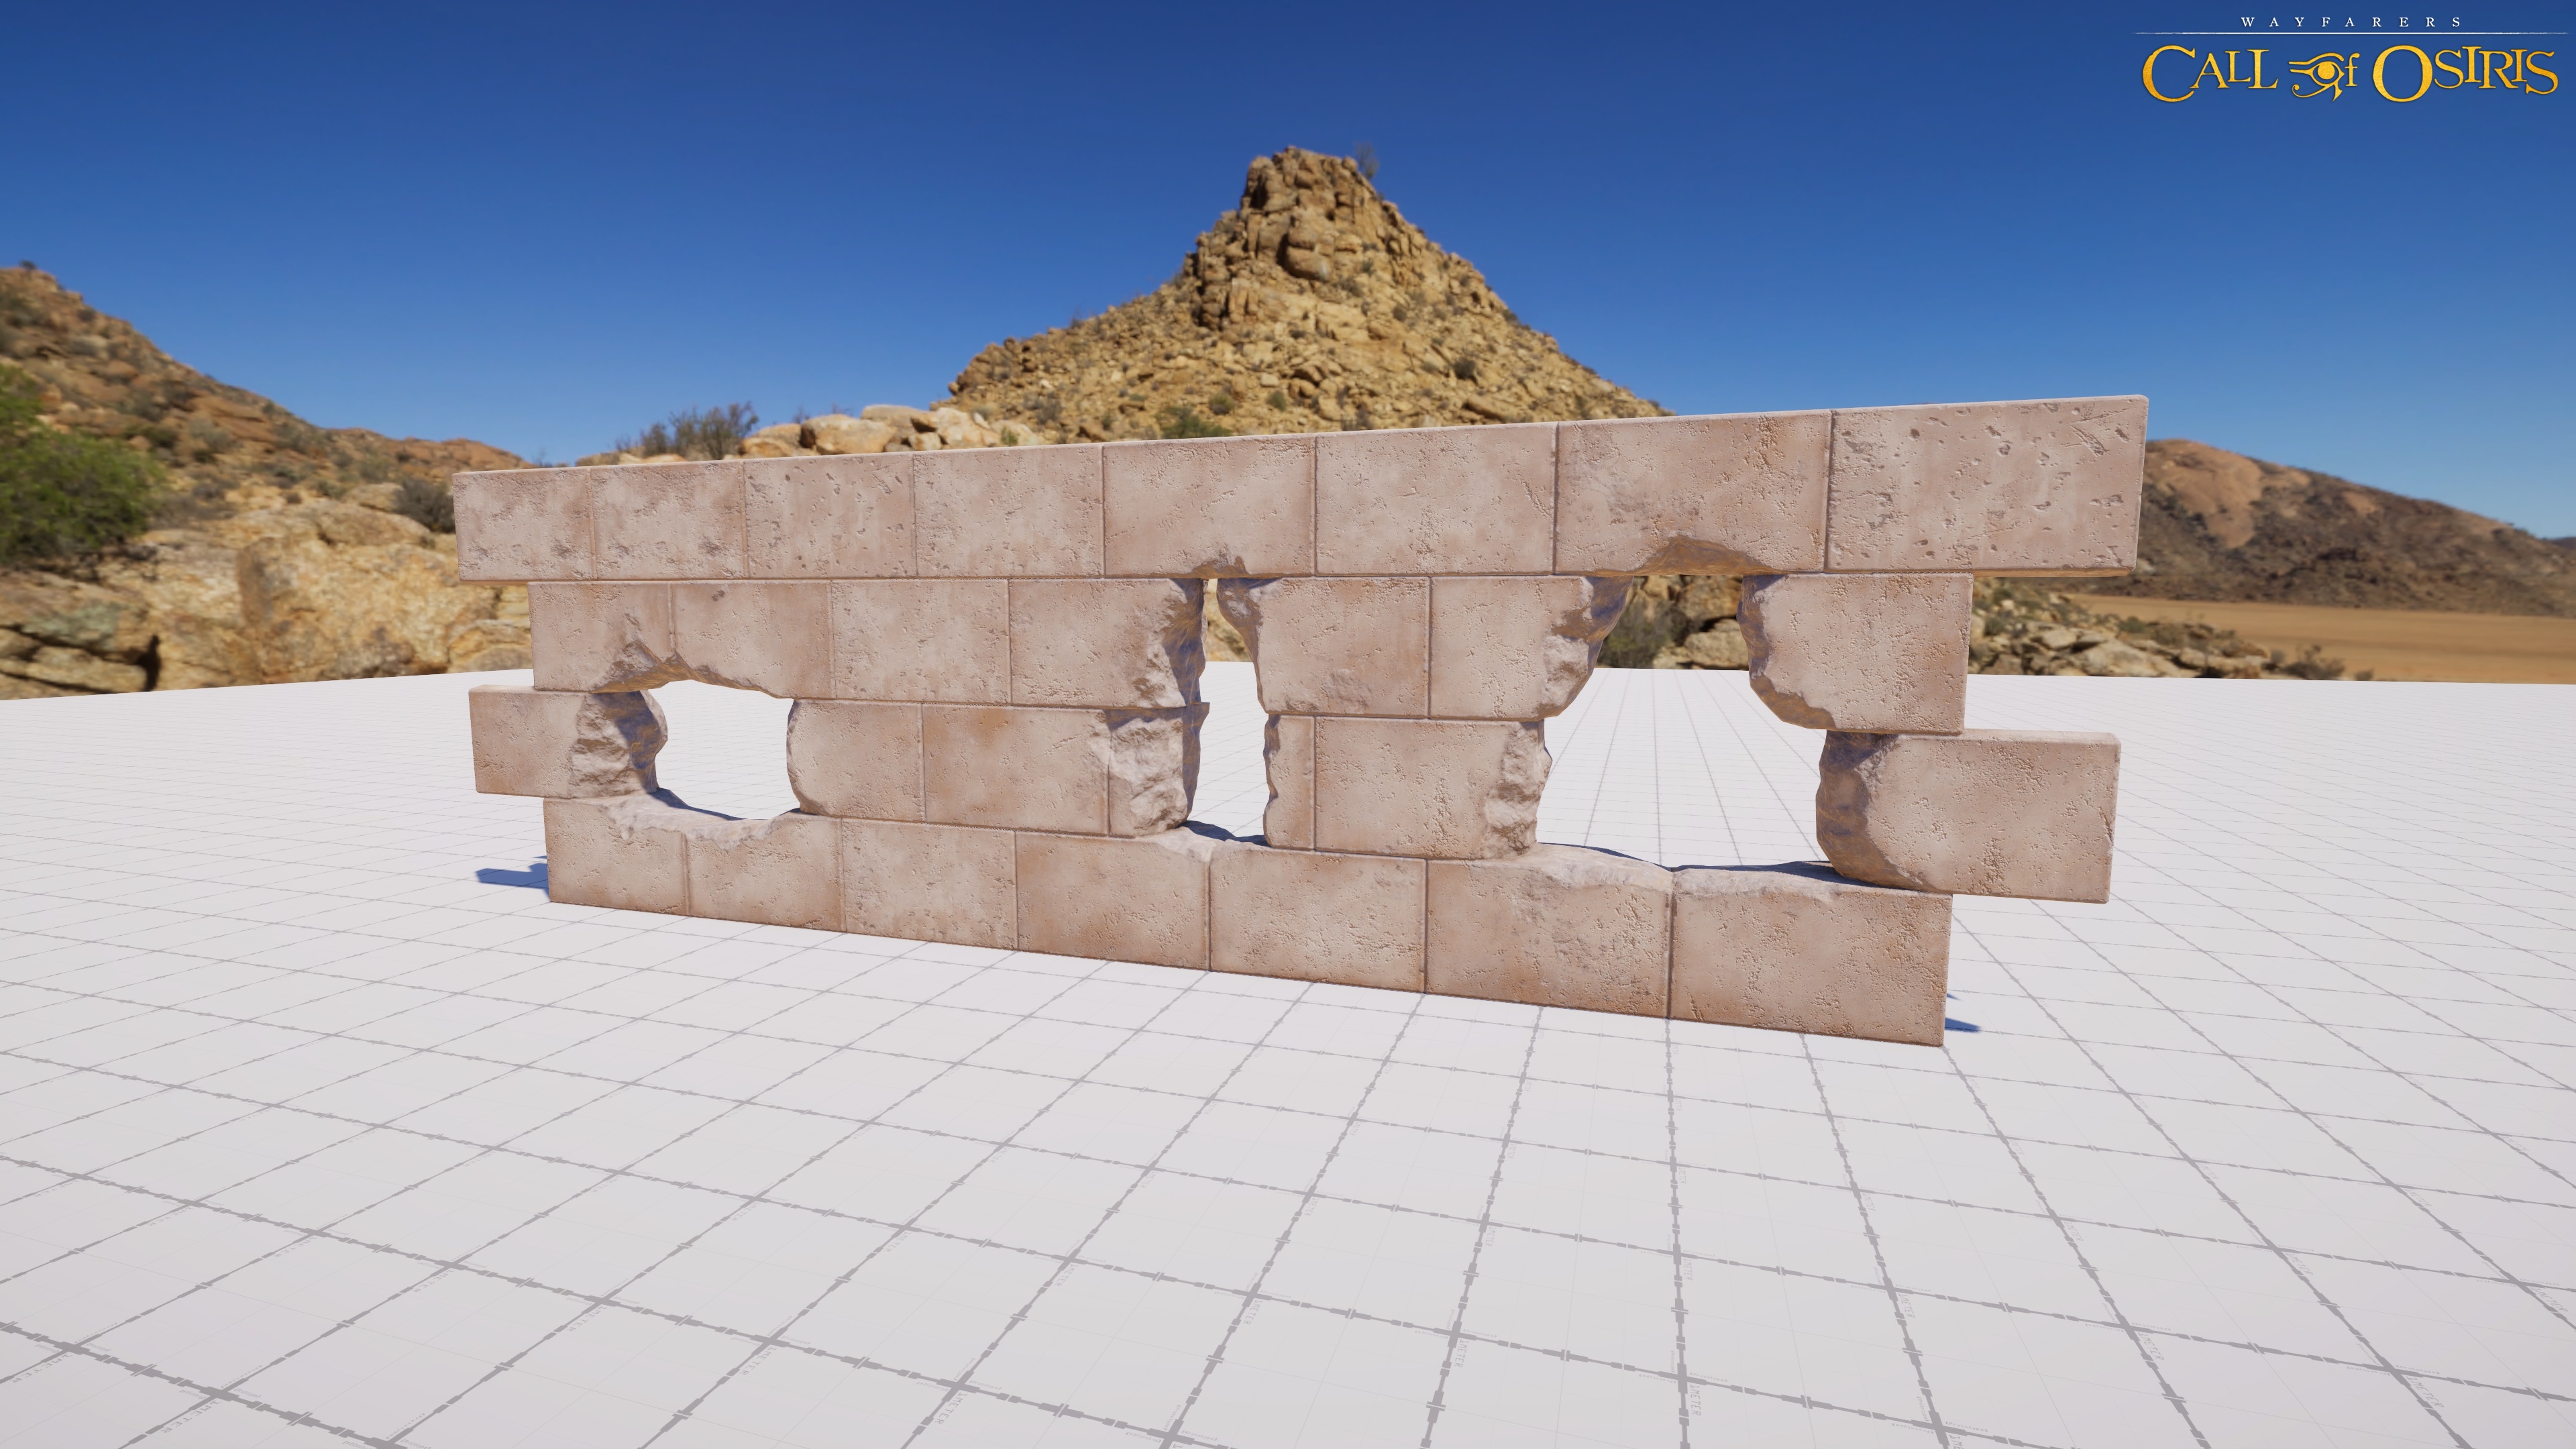
[Standardized wall holes.]
Customizing your toolset
I’ve already mentioned that each module has its own variations with different textures assigned. Basic modules were used only when constructing the prefabs. Further on, we used a custom tool that allowed us to randomize modules in a level based on their textures and break tiling patterns. We could also swap out basic modules for damaged versions, further randomizing the appearance.

[Part of our custom toolset.]
Optimization-wise, we had one more step to complete. Our main focus was to reduce the number of unnecessary object transforms in our scenes. Our programming team came up with a neat little tool we call Segment Generator that allows us to set up segments within a level and break these segments into chunks which the tool combines into a single mesh based on given size parameters. Since we use atlasing for our textures, we ended up with a small number of meshes per segment, and one or two materials for nearly all of the walls.
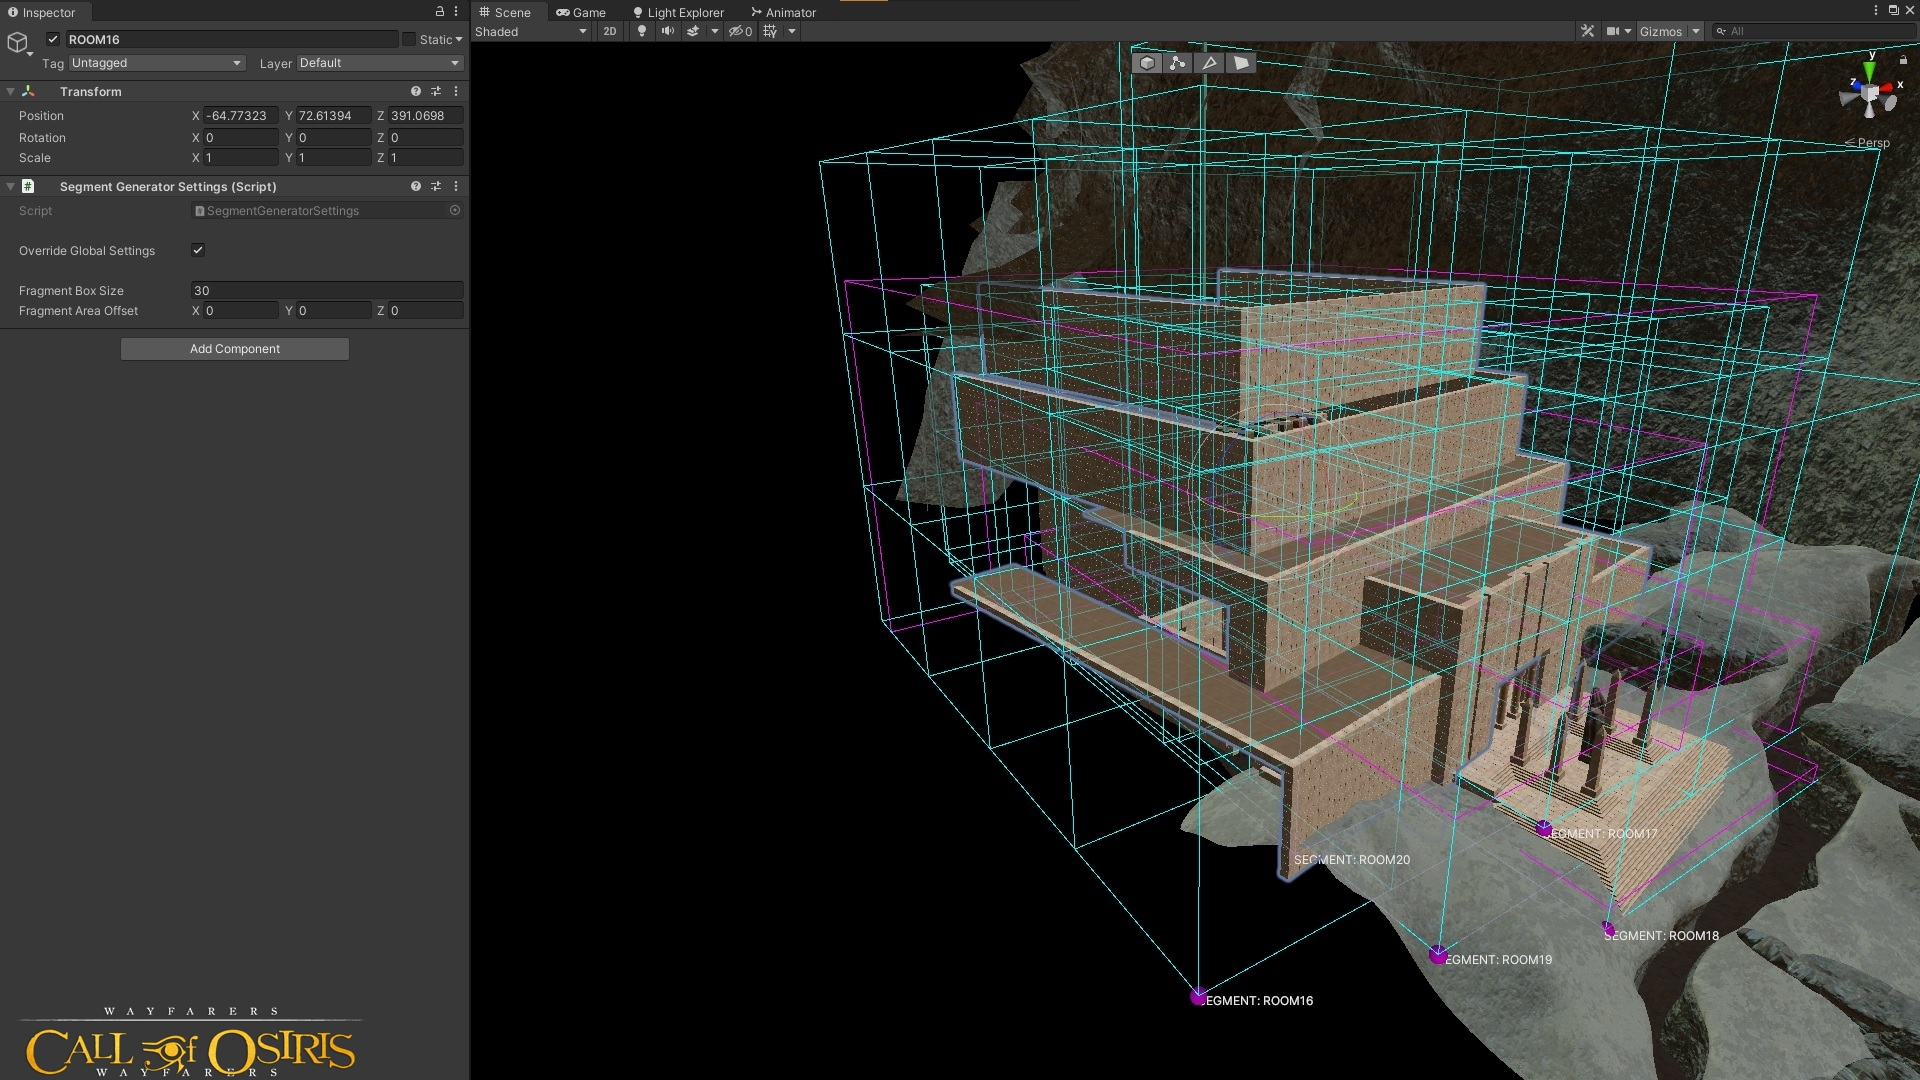
[Segment Generator in action.]
After all of this was completed, the levels were handed off to our 3D department. The 3D guys took a more traditional approach and added details, pillars, debris, cracks, hieroglyphs, dirt and much more to help bring the levels to life.
Conclusion
This form of workflow isn’t exactly the standard approach to dress up a blockout, but it allowed us to get more of the basic work done in a shorter period of time, giving us time to focus on more important tasks down the road. We gained a lot of visual variety and each room we made ended up unique. If we needed to make any changes to existing layouts, we could adapt our geometry without having to redesign any assets. It was a bold move on our part, but it paid off in the end.
Jure Vertelj, Level Designer, ActaLogic
Please consider backing us on