It has been a while since the last tutorial.
But the latest effect mods for the after burner plum made me realize that some of you might be interested in making new effects.
Because of that I upload a particle editor to help you on that.
I think that particle editor itself is very easy to work with.
You will immediately see the results, so I think with a bit of time and exploration you can quickly learn how to use it.
So instead of emplaning how to work with that editor, I’m going to make a tutorial how to make a particle from scratch and place it in the game.
Let’s starts with the idea, joke mods are usually the best way to practice, so I’m going to make something similar to the rainbow mod.
The idea is to make an afterburner effect that spreads glowing stars.
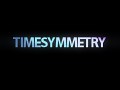
Okay that we have the idea let’s open the particle editor.
And I’ll also open the existing after burner effect.
But then I realized after looking at the Material list that there were no stars!
So now we also have to make a custom material.
For this I have two choices.
Will the texture be Additive or alpha?
Let’s make both and I’ll explain that is their use
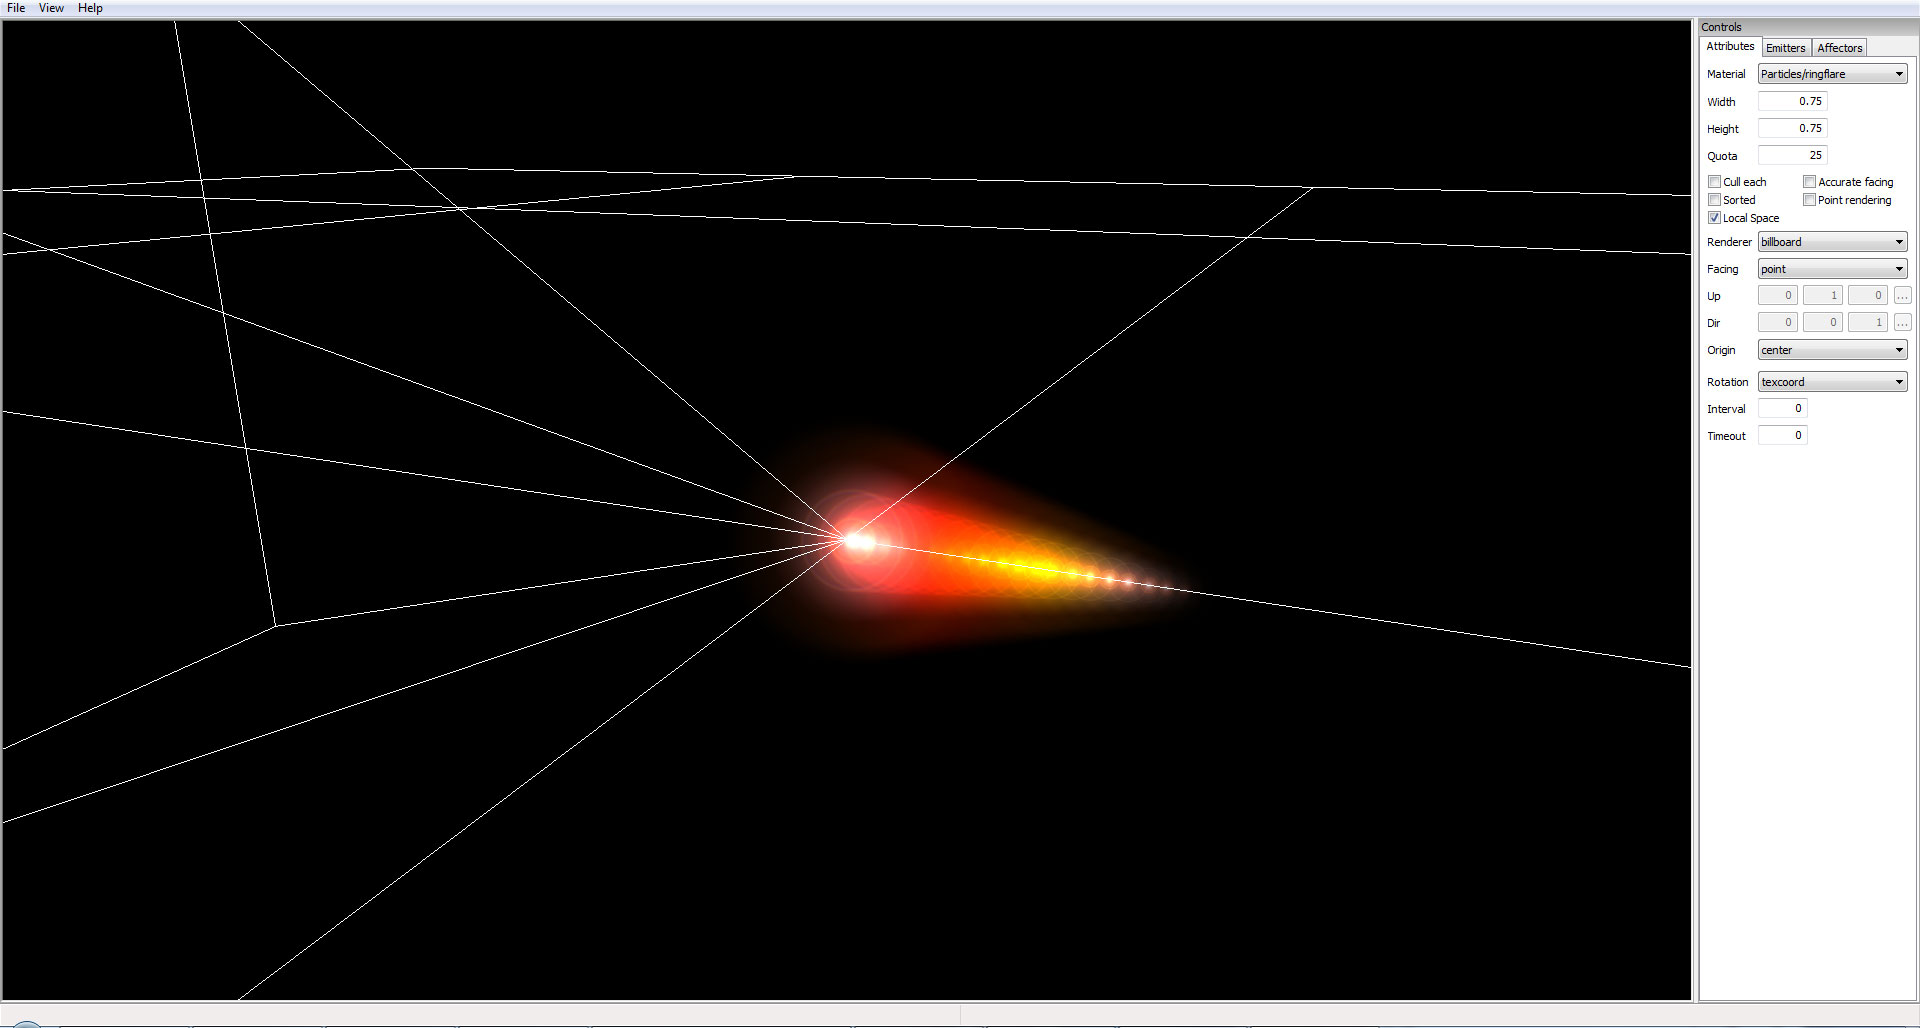
First particles usually are small textures
I think in this case 64x64 is enough.
For additive textures the background must be black.
For Alpha textures the background must be transparent.
Now we have both.
Additive is good for effects that appear to emit light, with alpha is for effects that appear to be solid (clouds or debris)
Note: the alpha must be saved in PNG or other format that allows alpha.
In this case I think both work, but I’ll go for the additive
To save the files there are multiple paths that can be used, but I’ll use this one:
Particle editor:
..\Resources\Materials\textures
VT:
..\Objects\Particles\Textures
Also, always save with a unique name!
Now that we have the textures done, we have to create a material that imports those textures.
For that go to these folders
Particle editor:
..\Resources\Materials\scripts
VT:
..\Objects\Particles\Materials
For create a txt file and then convert it to “.particle” extension
Open it with the note pad
Now let’s add the text for both textures
{
technique
{
pass
{
lighting off
depth_write off
scene_blend add
texture_unit
{
texture VT_CP_StarA.png
}
}
}
}
material VT/CE/StarB
{
technique
{
pass
{
lighting off
depth_write off
scene_blend alpha_blend
texture_unit
{
texture VT_CP_StarB.png
}
}
}
}
VT/CE/StarA is the additive
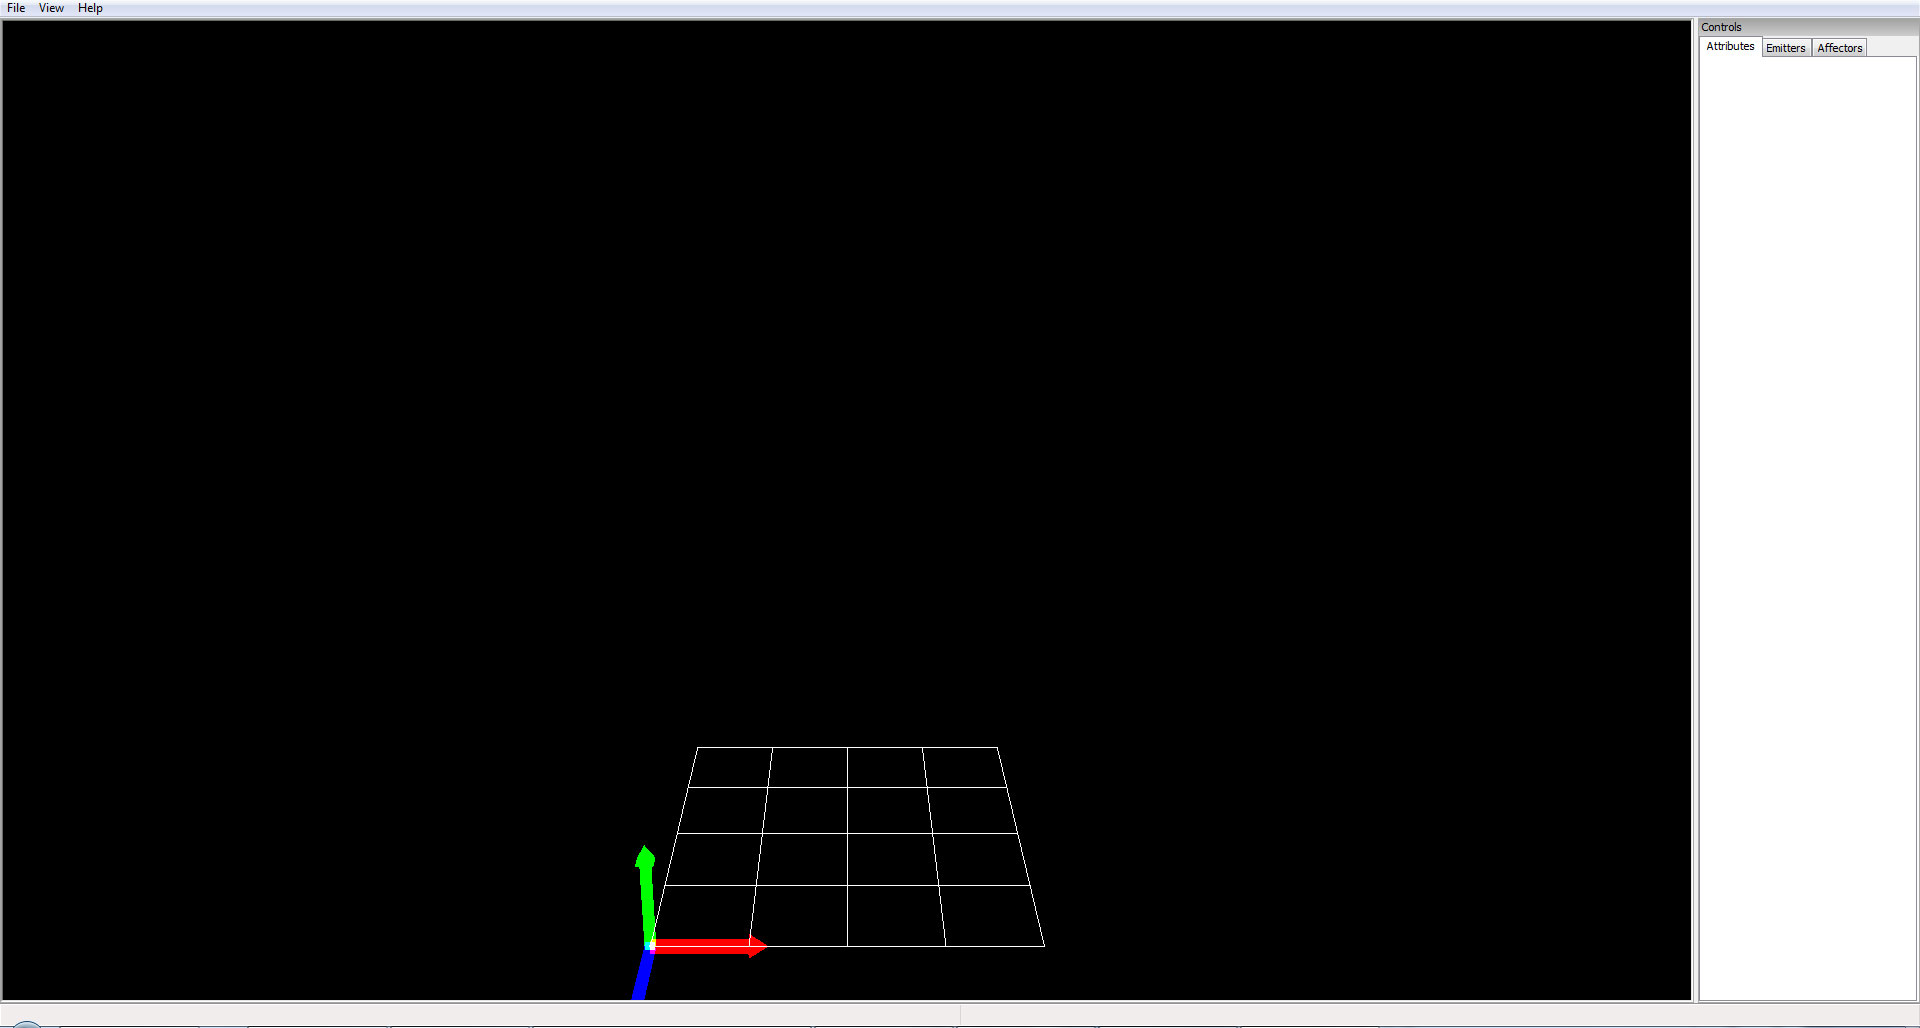
With that done, let’s go again to the particle editor.
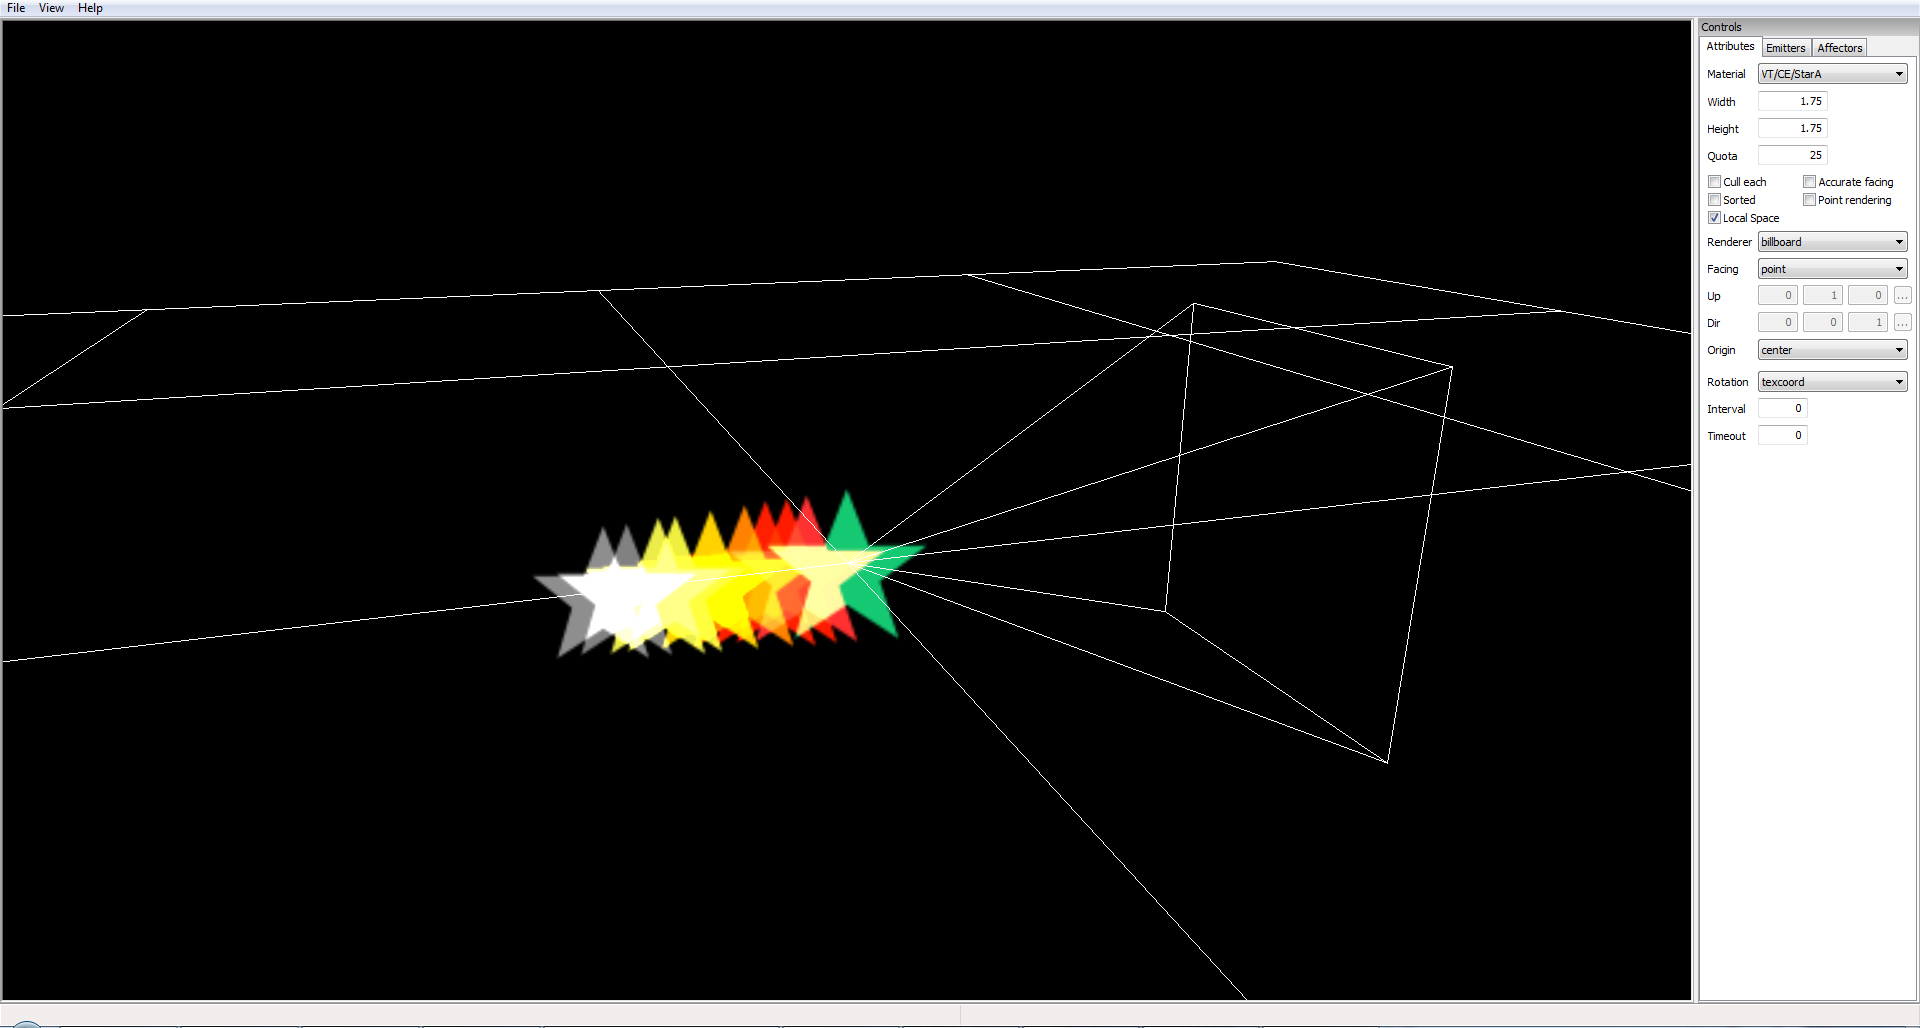
Ahhhh, cool but not exactly what I want
(Don’t forget to open the statistics
This will be important, if you want a continuous steam of particles, the particle count should never reach the quota)
You can change quota number, but do it with care because this editor is unable to reduce the number once changed

Now I’ve changed the emission rate, velocity and lifespan to make it longer.
Okay now it is perfect
Now other change, reduced the angle, changed the initial size, removed the affector color range and set to grow instead of shrinking
So let’s save it.
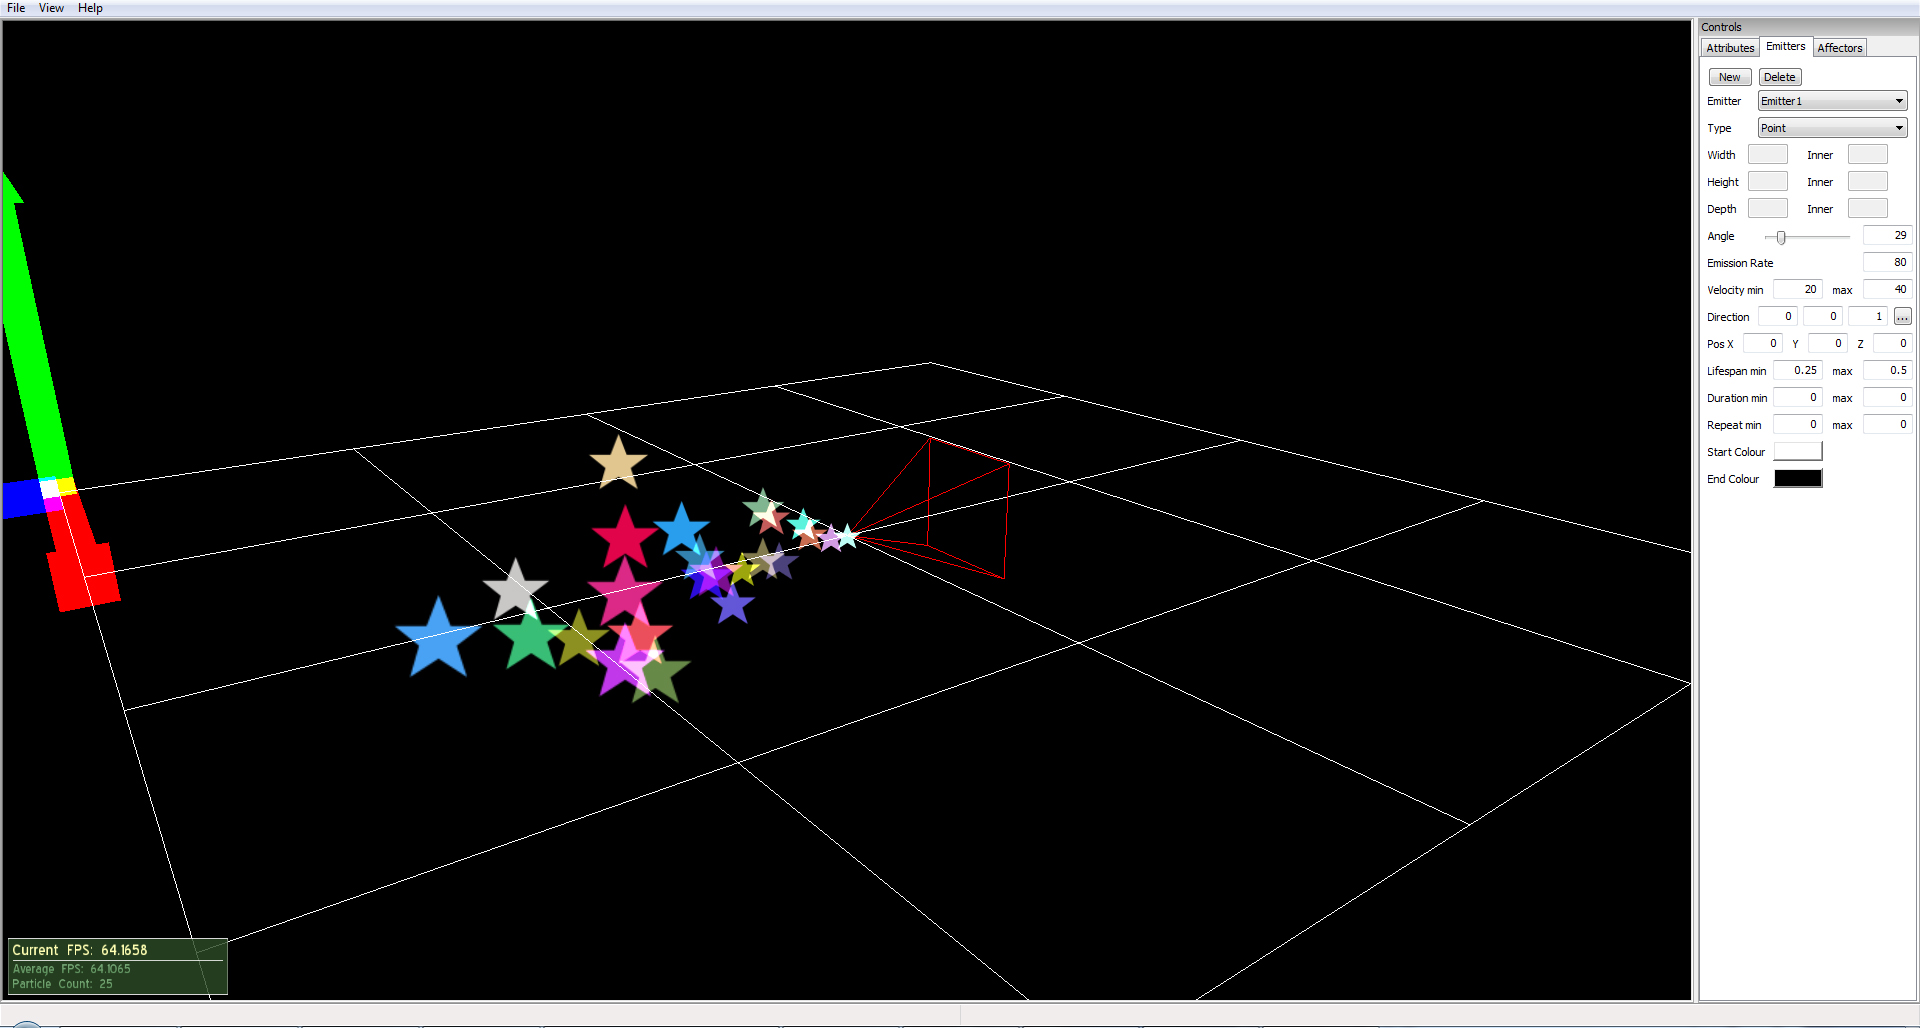
But how about leaving a persistent trail of stars?
For that let’s continue editing to make another particle effect.
First let’s remove “local space” this means now the particles won’t be attached to the model, and most like will be left behind

Now the particle is done, let’s save it with a new name.
Now that this is done let’s pick the files from the editor and place them in the game
But don’t forget to place “particle_system” before the particles names
And let’s make some adjustments in the material file.
Let’s make them compatible with the glow effect
{
technique
{
scheme glow
pass
{
lighting off
depth_write off
scene_blend add
fog_override true none
texture_unit
{
texture VT_CP_StarA.png
}
}
}
}
material VT/CE/StarB
{
technique
{
pass
{
lighting off
depth_write off
scene_blend alpha_blend
fog_override true none
texture_unit
{
texture VT_CP_StarB.png
}
}
}
technique Particle/Heat
{
scheme glow
pass
{
lighting off
fog_override true none
scene_blend alpha_blend
fog_override true none
texture_unit
{
texture VT_CP_StarB.png
tex_address_mode clamp
}
ambient 0 0 0 1
diffuse 0 0 0 1
specular 0 0 0 1
emissive 0 0 0 1
}
}
}
Now we have to create the reactor file
In this case is the “VT_CE_StarA.ini”
NumParticles= 2
1_ParticleName = "VT/CE/StarA_1"
1_TimeToLive = "1"
2_ParticleName = "VT/CE/StarA_2"
2_TimeToLive = "1"
ReactorType = 3
PositionOffset = "0 0 0"
[Billboard]
HasBillboard=true
Material = VT/CE/StarA
FadeIn_Time = 1
Size = "35 35"
OffsetPosition= "0 0 0"
DefaultColour = "0.15 0.15 0.15 1"
LowLight_DefaultColour = "0.85 0.85 0.85 1"
FadeRange = "100 300"
Now pick a victim and change this line
AfterBurner_Reactor = "VT_CE_StarA"
And it is done.
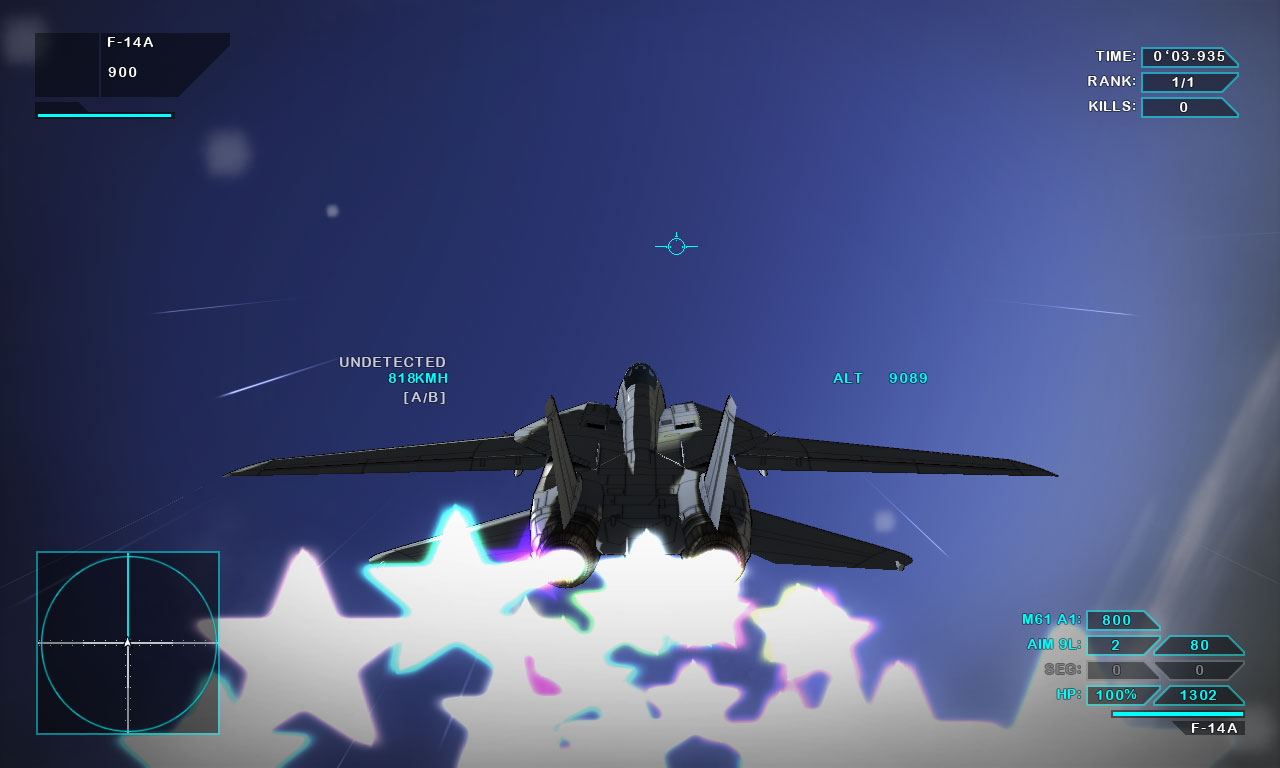
Done!

(the files of this tutorial should be available in the add ons page)