This short tutorial was already available in the forum, but it will be posted here to be easier to find.
After you have the modeling and mapping you can start this step.
First make sure your model has the default grey material and there is no other light.
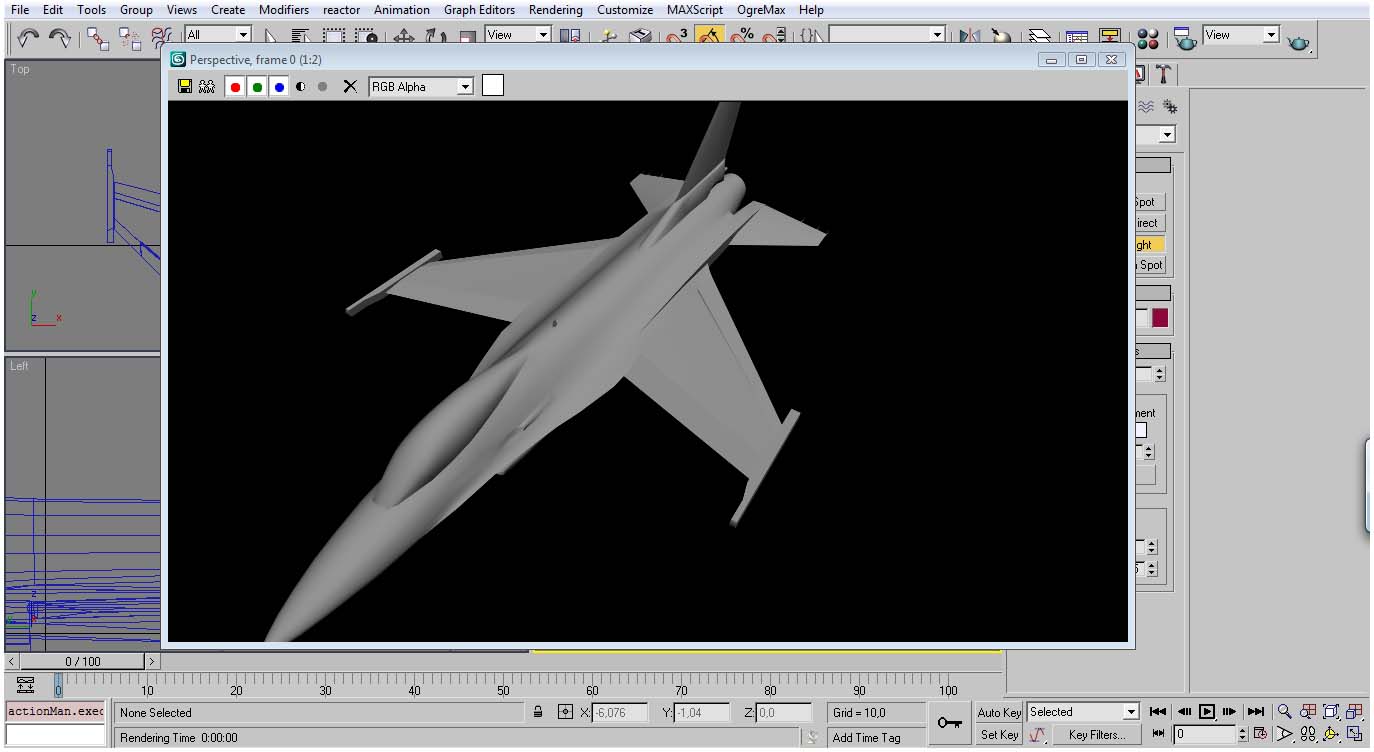
As you can see in this render.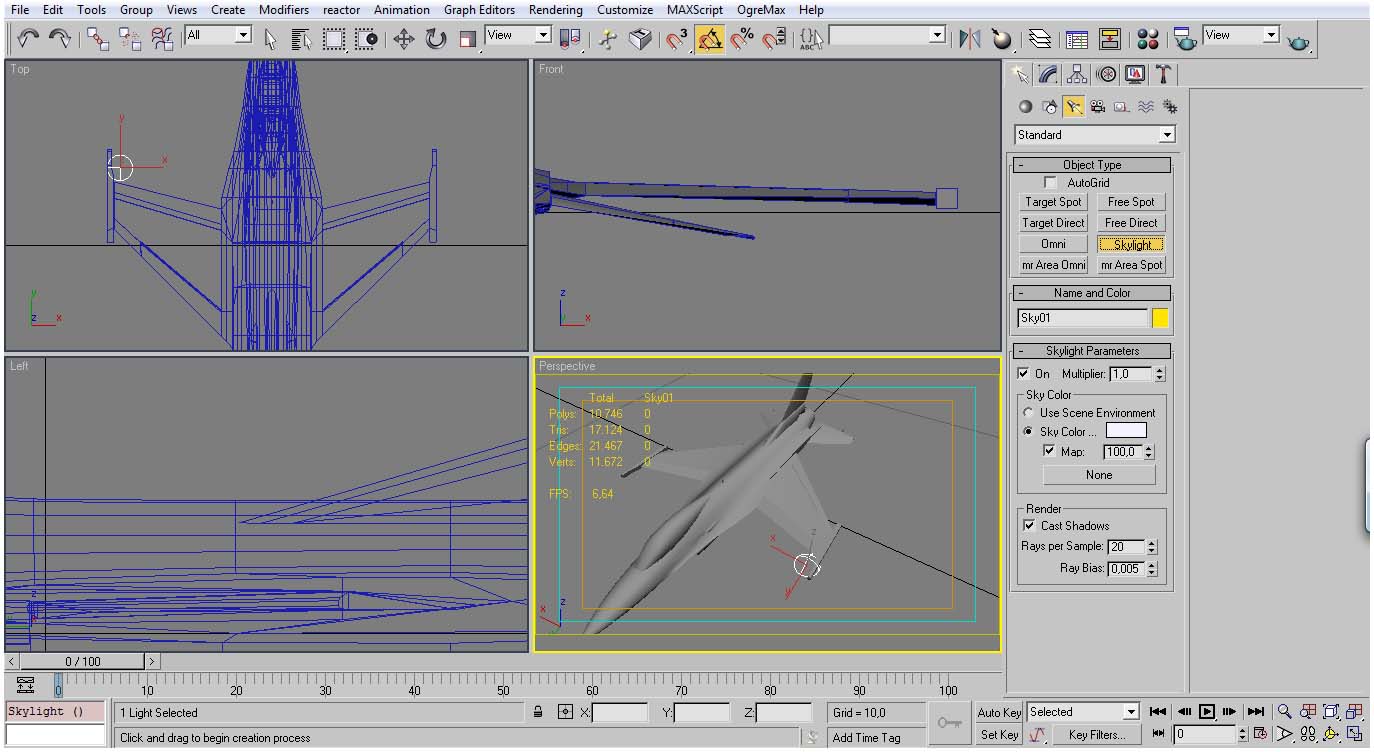
Then add the Skylight and activate the check “Cast Shadow”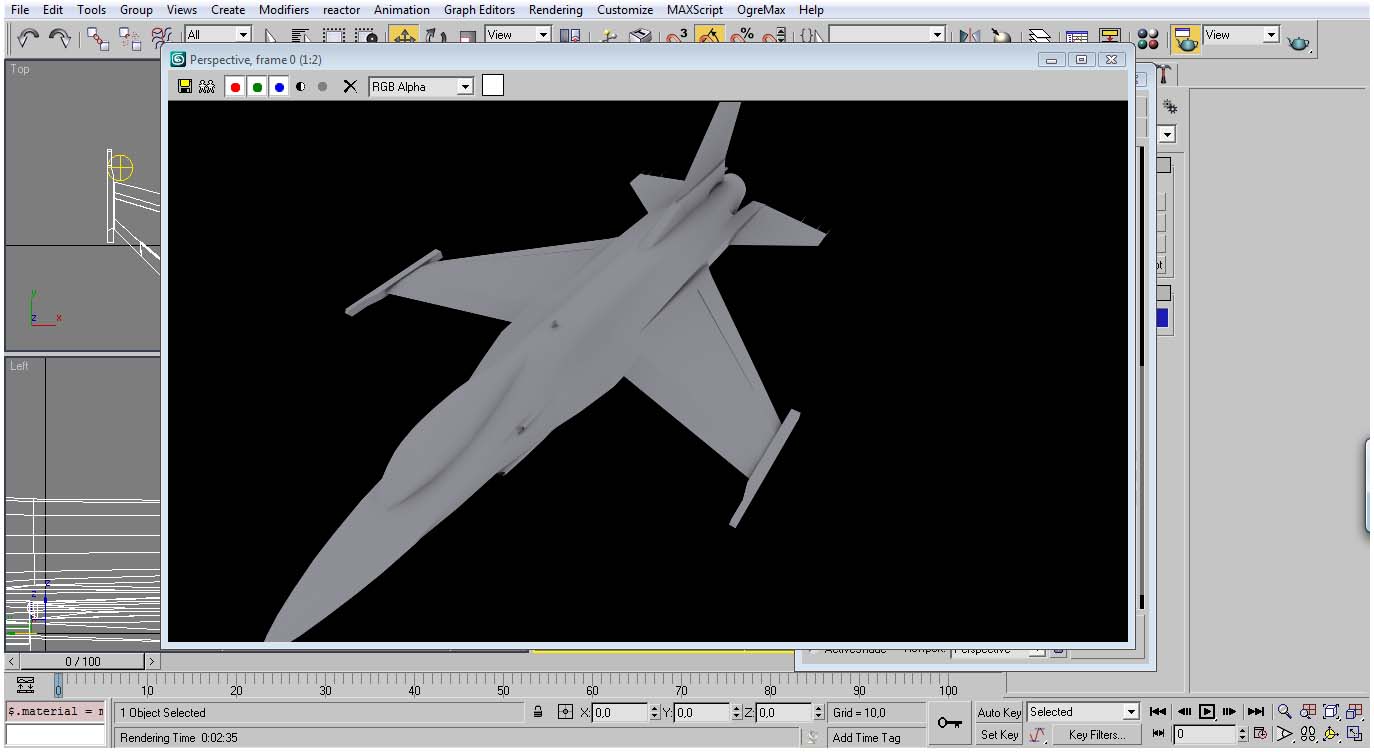
With this light the render takes more time, but now you see the ambient occlusion effect in the model.
(note: for ground objects add a plane below the object)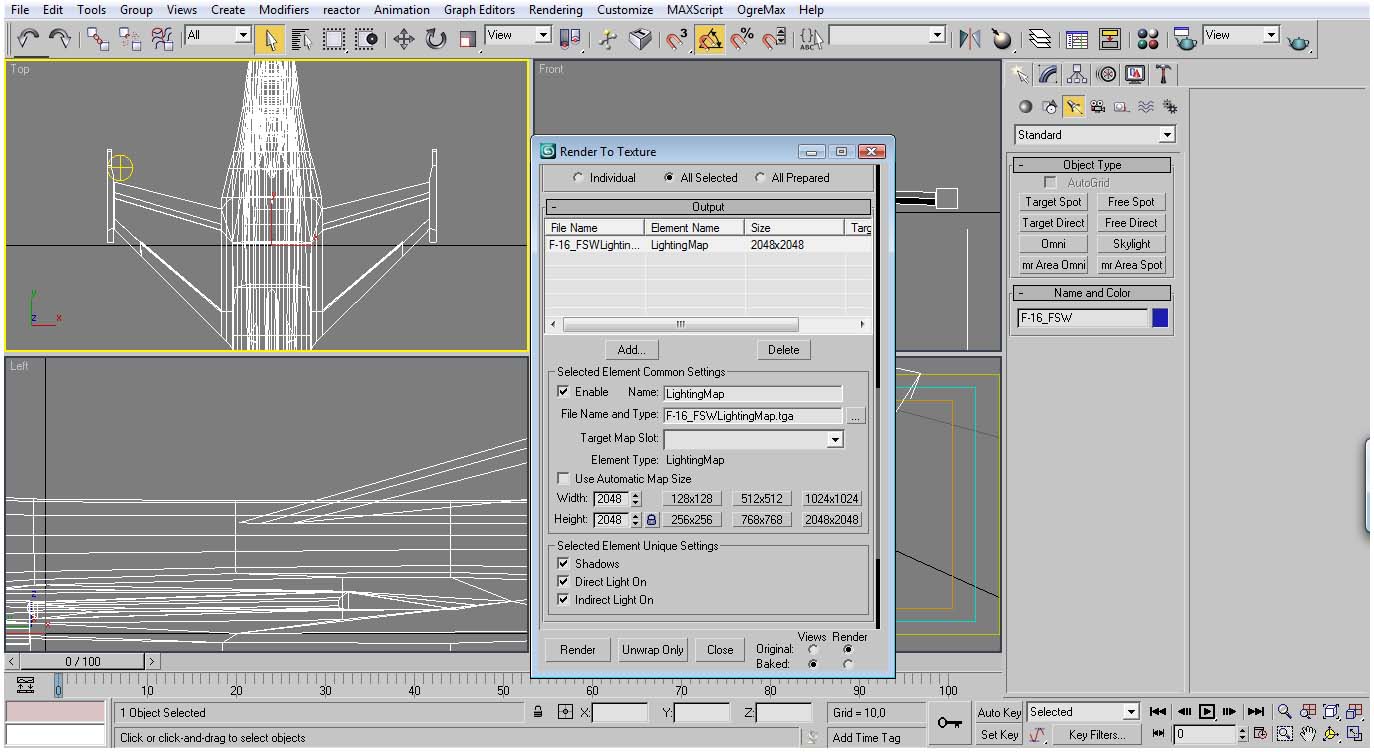
The next step is to write the light to a texture, open the Render To Texture by pressing “0”.
Add the “Lighting Map” option, set 2048x2048 and press Render.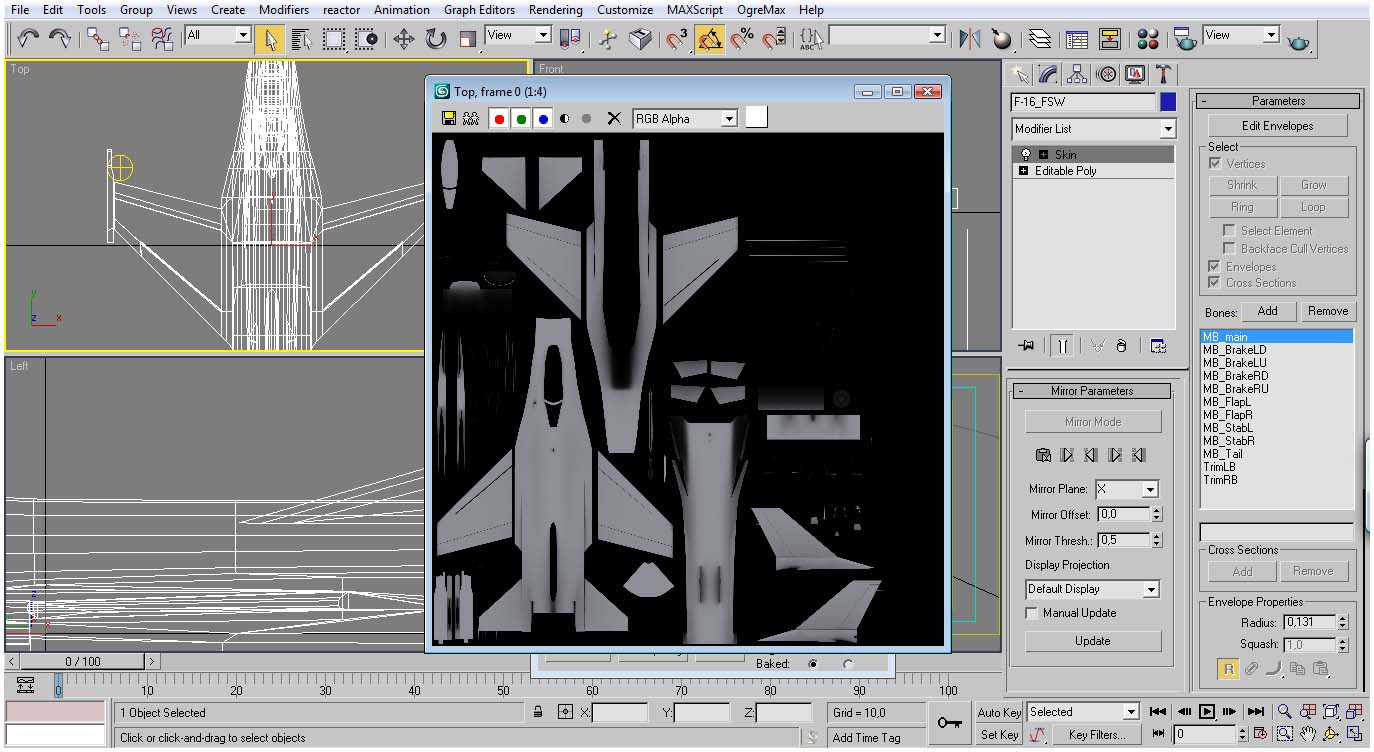
This process will take some time, but after it is done you will get this.
Save as a .png file.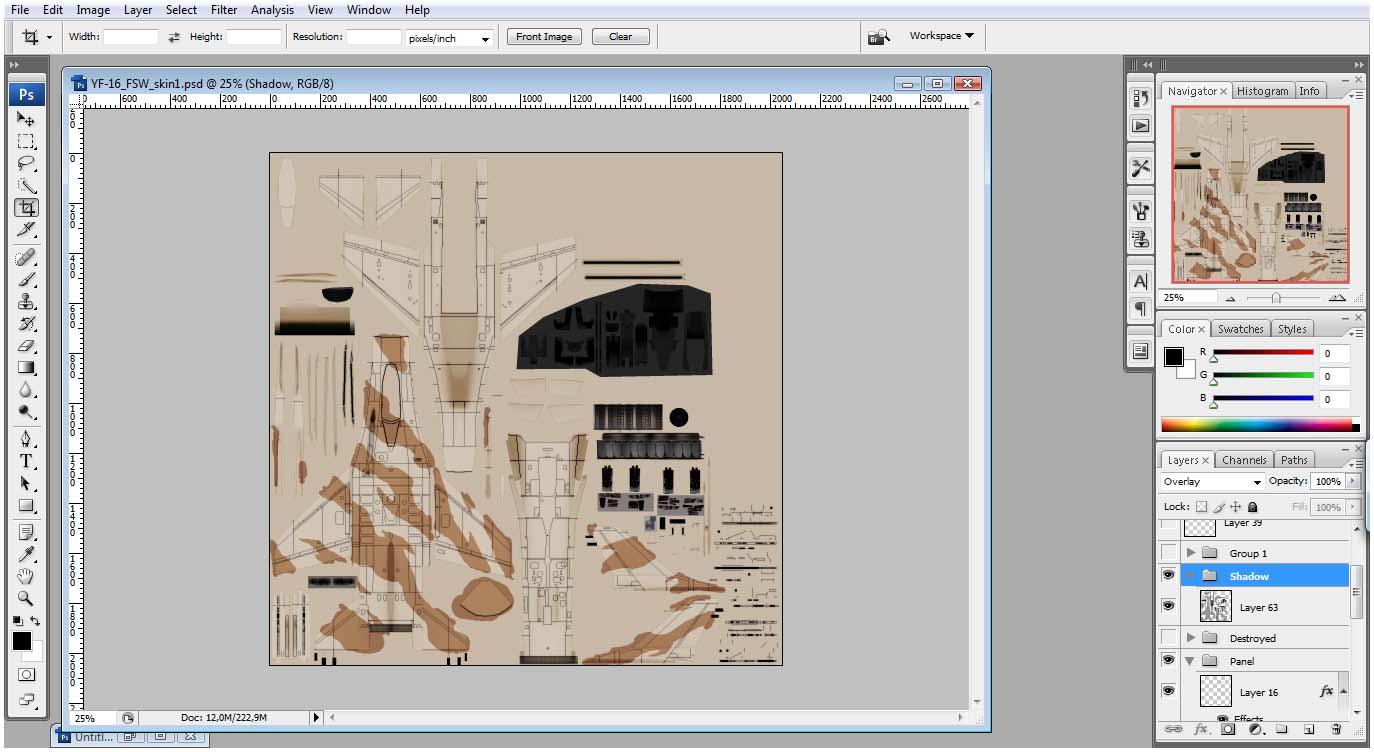
And finally when making your skins add that texture as a top layer and set the blend mode as “Overlay”.
And that’s it.


Quick and efficient way to make interesting textures. Baking is well worth the time it takes. I would like to add 2 things:
1. make sure your object for baking /cooking has a Uv map. It won't work without one. You will need unique uvs for baking.
- on a sidenote: make sure your object doesn't have more than one uv projection and it has no overlaps, or baking can take hours longer.
2. If you are using baked textures in a render scene (e.g. with Metal Ray), apply your baked texture to a constant material assigned to the model. This way it will render nicely and look great.
- sidenote: keep a copy of your scene with the original materials, if you want to bake more than one object in that scene (at a time). If you apply the constant+baked texture and bake another object the shot will be overblown from the constant light emission. Always bake things in the order they are stacked. (e.g. table + paper = 1 bake, objects on paper 2nd bake; make sure to switch back to the original materials when baking the next layer)
Got 2 love baking ^^ Good tut!
Thanks for posting this. Can you go over materials again too?