Tutorials originally created by Javokis. Mirrored here for archival purposes as his website now down.
Texturing for the Nod Engine using The GIMP
Here are the steps.
-First download The GIMP from Gimp.org
-Install it and run it
-Now create your new image by going into File/New in the GIMP menu dock.
Be sure to note that Redemption only supports the following pixel sizes when you set your width and height:
8, 16, 32, 64, 128, 256, and 512. As long as your picture's size is using these values for height and width then Redemption will allow them. Example: 64x128 or even 512x8 should work. Anything with those 7 values.
-Now fiddle around with the art tools. If you don't know what is what then check with The GIMP's home site.
-When you are finished go to File/Save As...
-Be sure to save the image as a Targe (.tga)
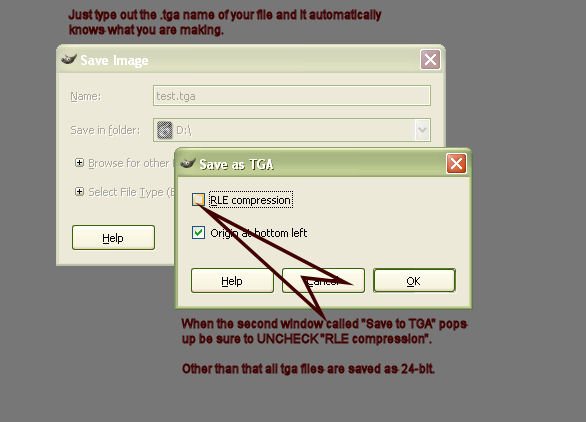
Well that's all there is to it. Your image should be saved at you desired location and ready to be applied to a model or a map in the Redemption game.
Here are the steps for making transparent textures for Redemption. The GIMP makes it quite easy.
-Now open up your image in The GIMP.
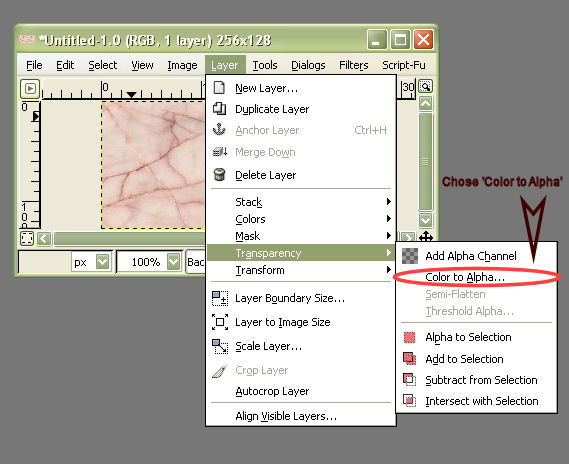
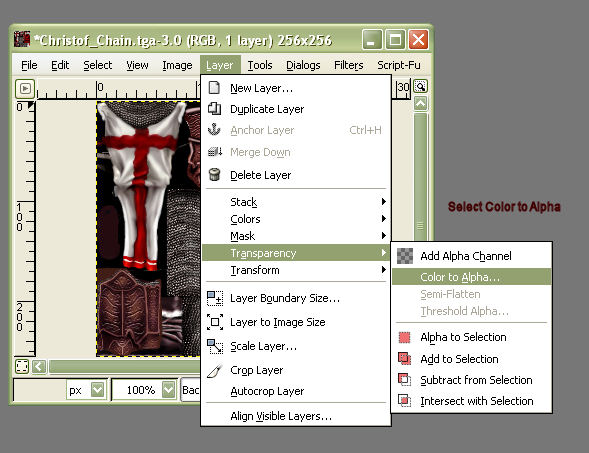
-Then go to Layer/Transparency/ColorToAlpha. Here's a pic:
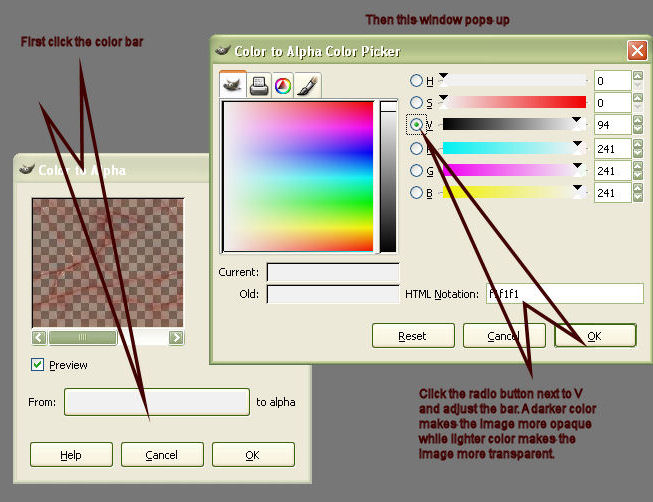
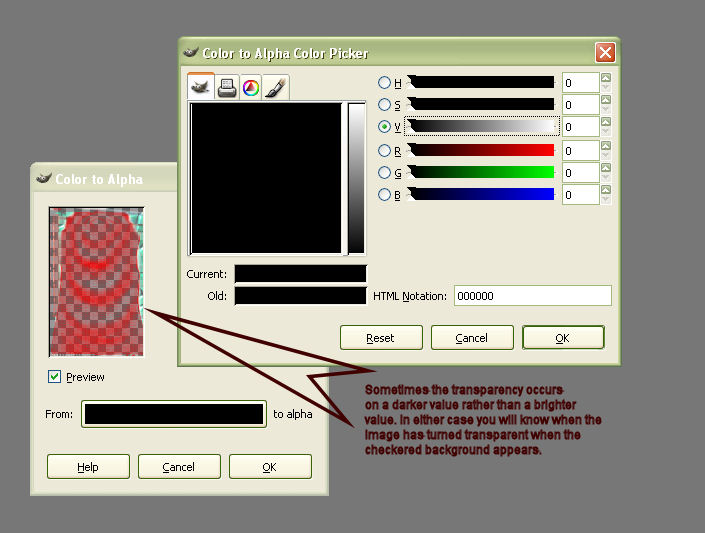
-Now setup how much transpency you want the texture to have. Here's a pic:
-Now save your file as instructed in the first post and you should have a transparent texture ready for use.
Here is a step by step tut on how to make Christof's chainmail upgrade have a transparent cape using The GIMP.
-First go into your main Vampire - Redemption folder located where ever you may have installed it.
-Find the Resources.nob file and open it with Winzip. Get winzip here: Winzip.com if you don't have it.
-Instead of unzipping the whole dang thing just go to classic mode and let's find the specific file we want.
-The image that represents Christof's chainmail upgrade is called Christof_Chain.tga located in 3d/Materials sub-folder of the Resources.nob file. Here's an image to help you:
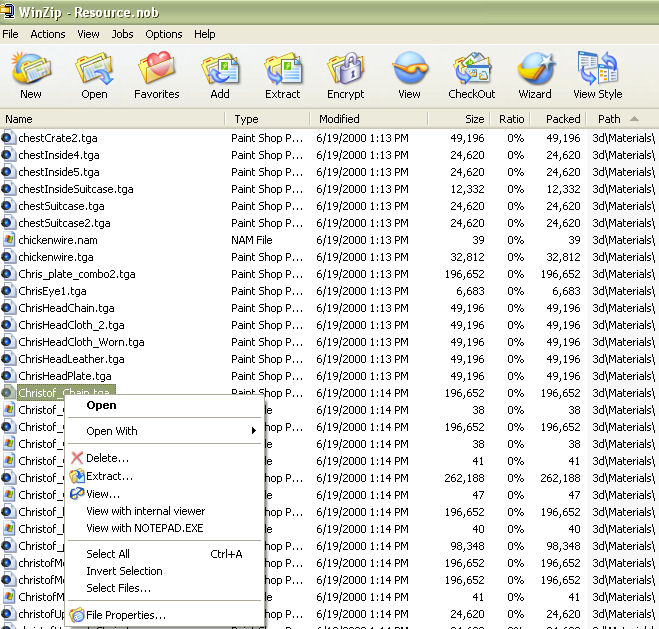
-right-click the file name and choose Extract.
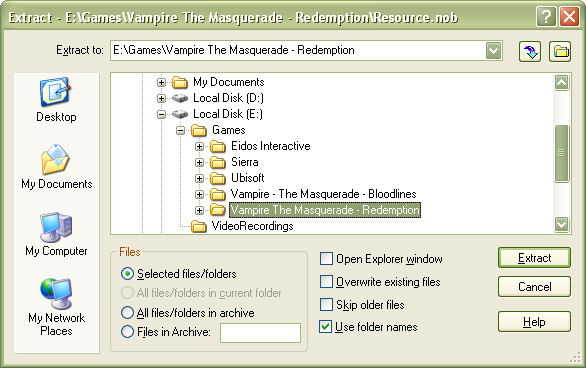
-Extract the file into your main Vampire-Redemption game folder like so...
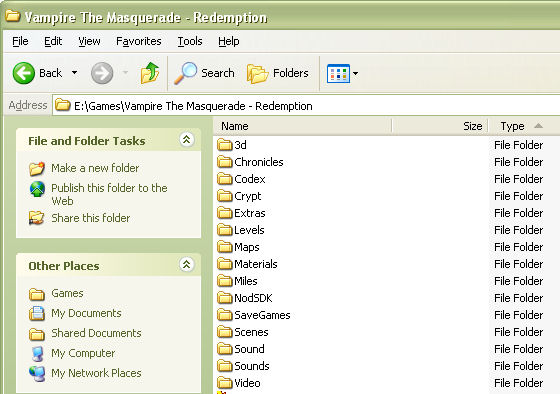
-A 3d folder should appear. Go into that folder and into the Materials folder to find the tga file.
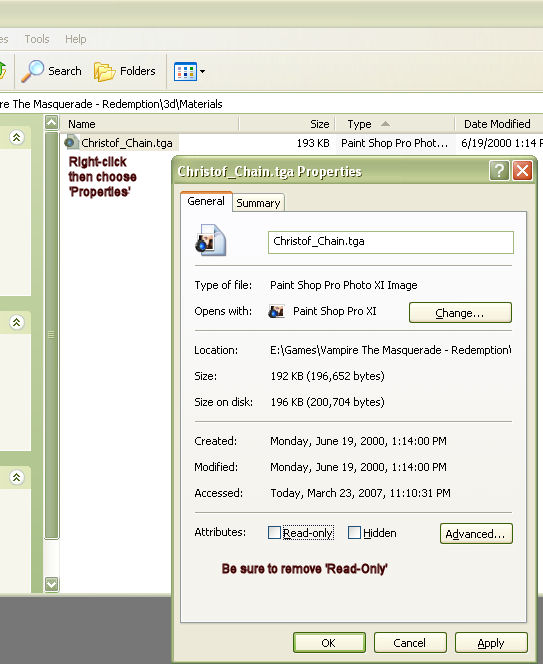
-Be sure to remove the Read-only tag on the tga file or we wont be able to edit it.
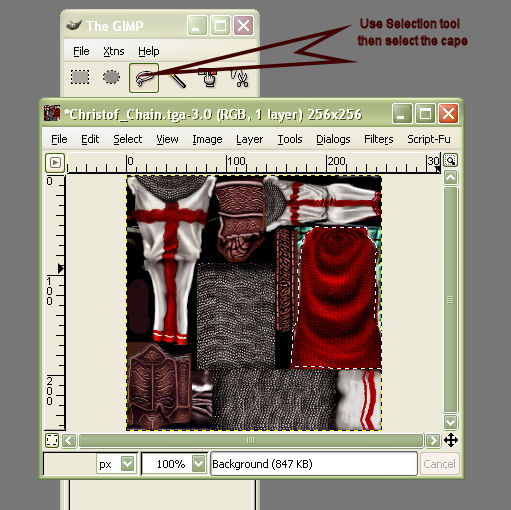
-Now open the file with The GIMP then switch to the selection tool and let's select the cape.
-Like before lets go into the Color to Alpha option.
-Some images require you to fiddle with the Color Picker to be able to get a transparency.
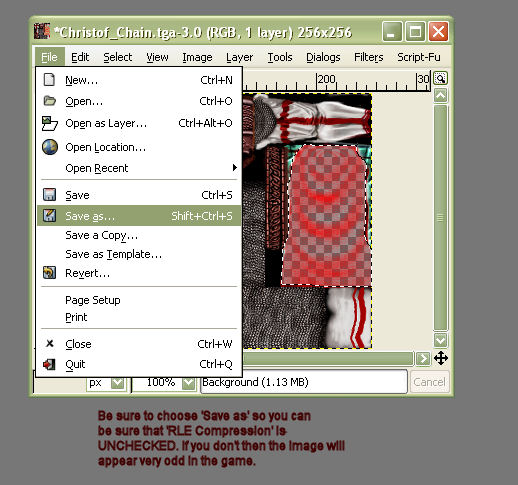
-Now we can just save the image. Be sure to use Save as... the first time you save this file.
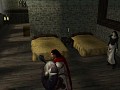
-If everything went right, you should get this result:

That's pretty much how it goes. I think The GIMP is quite a simple tool for this kind of stuff. It is a very complete program for something that is free.
 Adding Textures for Redemption Maps
This tutorial will show you step by step on how to add custom textures to Embrace. This tutorial requires knowledge of building tga files, which is available in the Texturing Redemption using The GIMP topic.
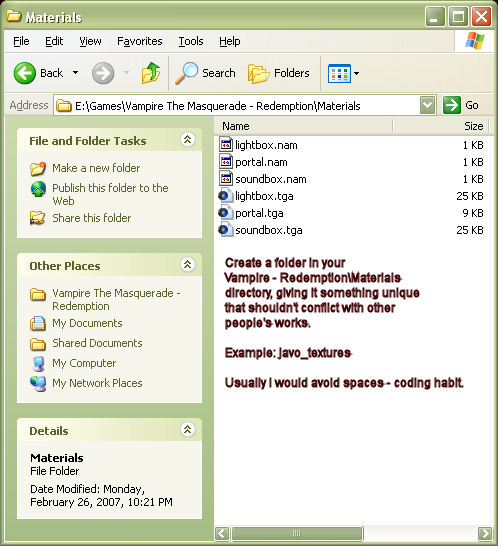
-First step is to go to main Vampire - Redemption folder and find the Materials subfolder. NOTE: Not to be confused with 3d\Materials folder. 3d\Materials folder is for models only. The Materials folder we want is for maps.
-Create a custom folder given a 'unique' name that shouldn't conflict with other author's works - try using your handle as a name.
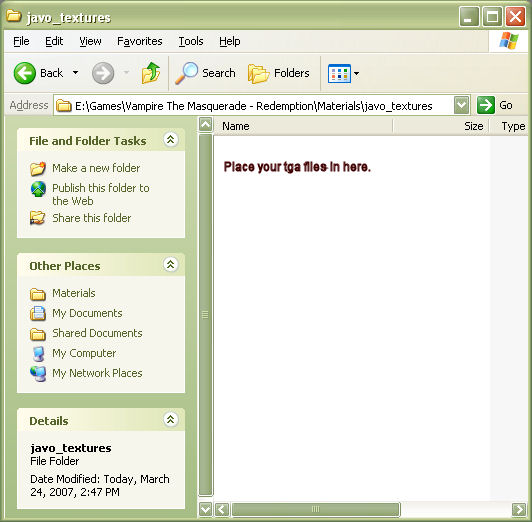
-Now place all of the tga files you want into the custom folder.
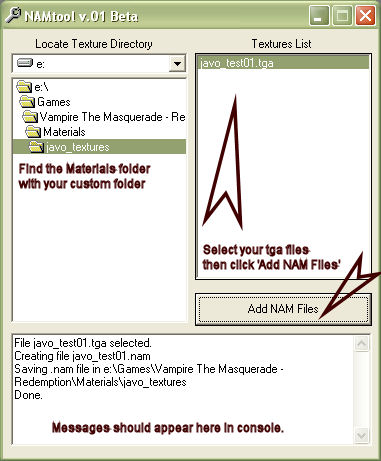
-Now we need to make NAM files for each of our tga files. Fear not, there is tool to make this process painless. Download the tool at this link: Download NAMTool
-Now load up the nam tool and find your Materials/custom folder inside you Vampire - Redemption folder.
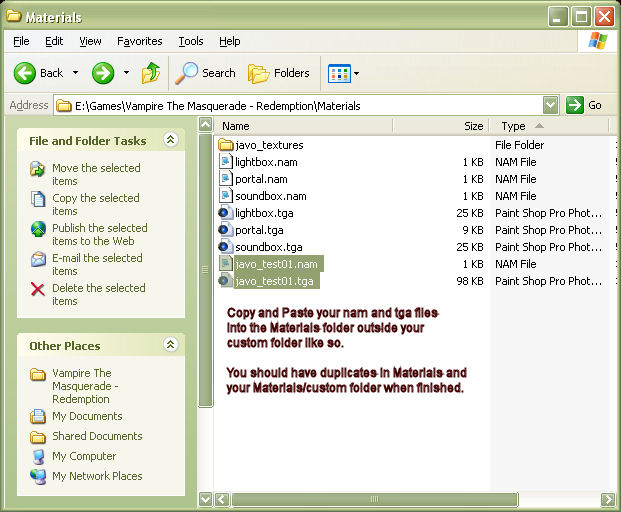
-Now copy all of the nam and tga files and place them into the Materials folder so you'll have duplicates in both Materials and Materials\custom locations.
-Now we're ready to load up Embrace. If you don't have it, get it here: Nod SDK v1.1
-Go into the Textures menu and your custom folder name will appear on the list like so...
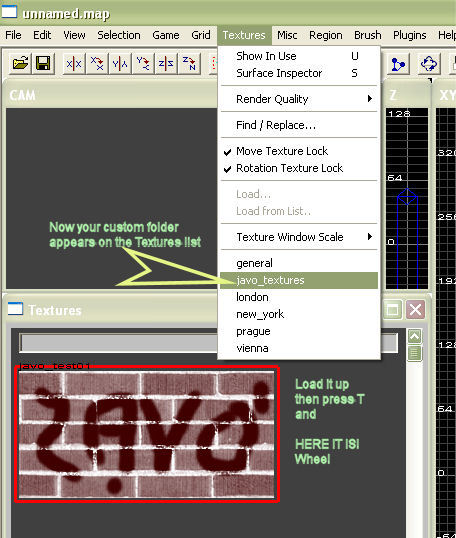
If all goes well in applying the texture to your map you'll get something like this:

Hope this helps.