Tutorial originally created by Shapeshifter123. Mirrored here for archival purposes.
Customizing the 2D character portrait for Vampire: the Masquerade – Redemption
This tutorial will teach you how to use your own images for the 2d character portrait in VtmR.
You need to know how to make nob-files and some experience with the NOT-editor. Tutorials about this can be found here:
You’ll also need an image editing program able to save TGA files, Notepad(or something similar) and a file compression program, like Winzip.
If you don’t have the folders “3d” and “misc” inside your main VtmR directory, extract these from Resource.nob to the main VtmR directory.
Start off by creating a new folder in the main VtmR directory and name it to whatever you like. I’ll name mine to “MyHeadTest”. Inside this new folder create the following folders:
3d\Models
misc\templates
strings
Ui\Materials
Open the image that you want to use as a character portrait in the image editing program of your choice. Resize the image to 128 x 128 pixels and save it to “MyHeadTest\Ui\Materials” as a TGA file. VtmR adds a black line at the top of the 2d character portraits for some reason, so images with a black background work best. I want to change the portrait for Pink, so I name my file to “PinkHeadTest.tga”.
Next go into the NOT-editor and open Multiplayer.not(found in “VtmR\misc\templates”). Be sure to remove the write protection on Multiplayer.not, so you can make copies of its templates. Create a new template file and in Multiplayer.not locate the character that you want to use your custom portrait on. All multiplayer characters can be found under _player_MP.
I first copy and rename “_player_MP” and move it to my new template, followed by the “MP_Pink” template. I now have the parent “_player_MP_Head” and its child “MP_Pink_Head” in my new template.
Take a look at the “ACTOR_HEADMODEL” tag of your copied player character and remember the file name, in my case “pinkH.nod”. Go into “VtmR\3d\Models” and locate this file. Make a copy and rename it so that it exactly matches the name of your TGA portrait file. So for me, I rename it to “PinkHeadTest.nod”. Move this renamed file to “MyHeadTest\3d\Models”.
Finally edit the “ACTOR_HEADMODEL” tag for your player character in the NOT-editor and write in the whole file-name of the file that you just moved. Save your new NOT-file to “MyHeadTest\misc\templates” with a name of your choice(it has to start with a “_”).
To be able to see your character when you create a new multiplayer character two additional files will be created. Open up Notepad and type in the template name of your character in the NOT-editor, in my case “MP_Pink_Head”, followed by a tab or two and then the same name, but in capital letters:
MP_Pink_Head MP_PINK_HEAD
Save this as a .npm-file into “MyHeadTest\misc”. Create a new file in Notepad and type in the caps version of the template name above followed by the name that you want to appear in the player model list in the multiplayer character creation window.
Like this:
MP_PINK_HEAD Pink Head Test
Save this to “MyHeadTest\strings”as a .nls-file and with the same name as your custom NOT-file.
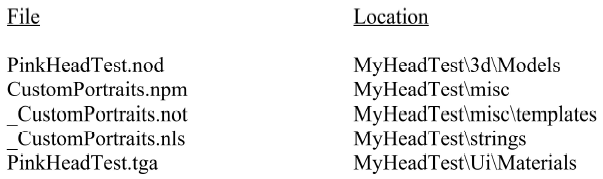
The contents of the folders that we created in the beginning now look like this:
All that’s left now is to compress the contents of “MyHeadTest” folder into a nob-file and put it into the main VtmR directory.
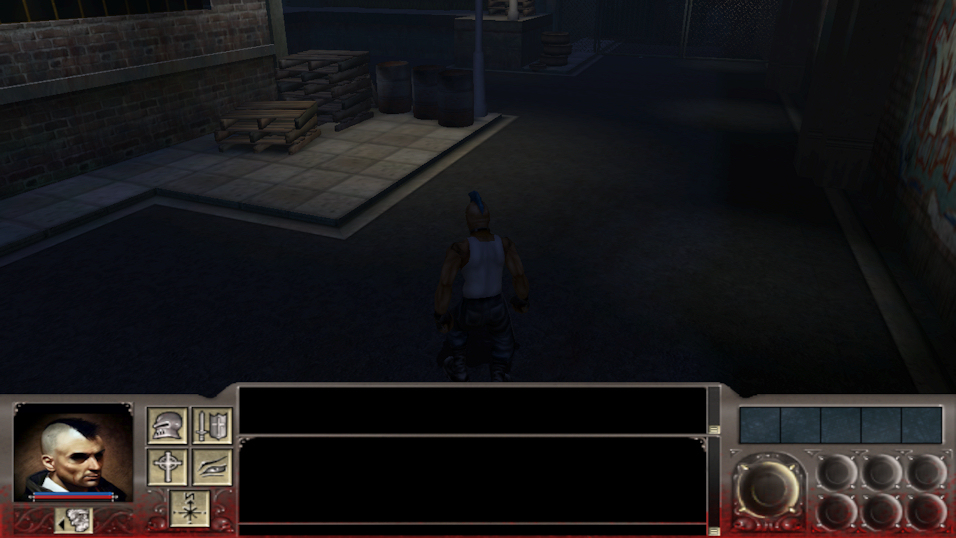
When you start the game and create a new multiplayer character your new character with the custom portrait should appear in the list with available player models. While in the game, if you don’t have 2d portraits enabled, go into Options>Display>Advanced Options and uncheck the “3d UI Heads” box.