So this has been a lazy week and i havent got much work done. So instead of the normal update on the map all just post a quick tutorial for the guys that enjoy Unreal mapping.
So ill take you though the process of adding a static prop, how to texture it and how to get it ingame.
This tutorial require basic ( i mean basic) skills in UV mapping and Modelling inside applications like 3ds max and Maya.
So lets get this goin.
We begin with booting up 3ds max and model out a very simple shape, a good thing to do before you start modelling is check how big you need the model to be. Im in use of a 126x126 unit mesh. with a depth of 16.
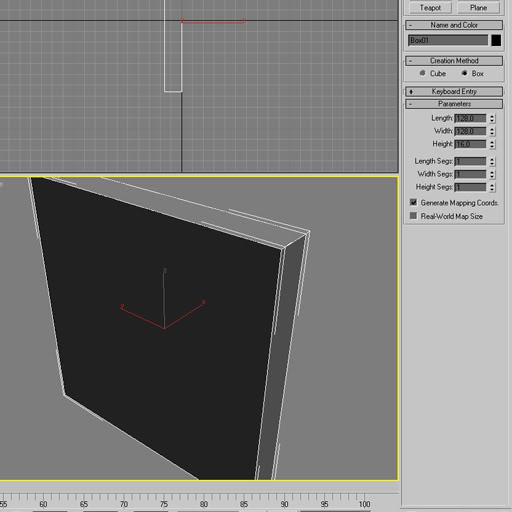
I will model this with the default unit therefor i only need a box to be 128x128x16.
When that is done we convert it to and ediable poly and start working.
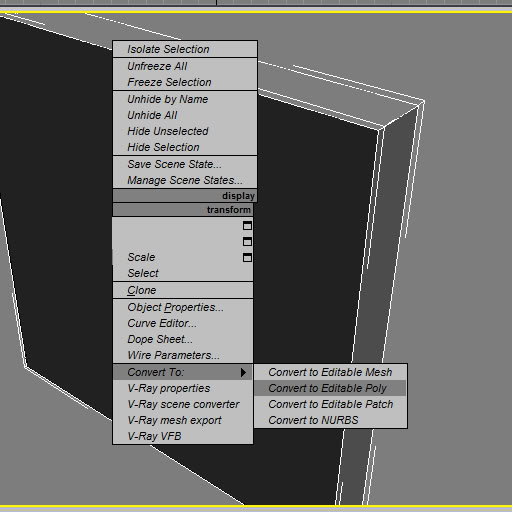
For the sake of the tutorial i maid pretty much the most basic mesh possible. Here is where you can really shine. There is practicly no limit on how many polys a static mesh can be. So if your a superb UV mapper you can go really crazy here.
Since im just in here for the simpelest doorway im gonna settle with this.
Remember, before you do anything further, reset the orientation of the model by rightclicking the spinners when in Move mode. the model have to be in 0,0,0 for everything to work properly with the pivot.
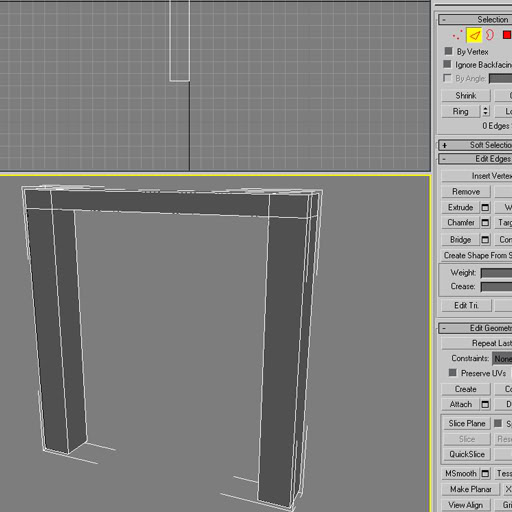
We will now apply a UV Unrwap modifier and start working with the UV's. If you dont know how to do this LOOK IN ANOTHER TUTORIAL. Beacuse this can be as deep as you want it, for my model ill be aditing the UV's for about....5 seconds.
And this is the results.
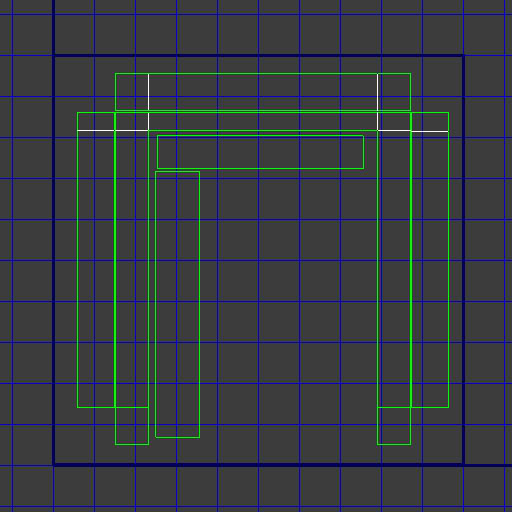
Now to export the UV's i suggest a plugin called Texporter, get it here. Cuneytozdas.com
So when that done load up the plugin and enter the same info i did (2). for a nice highres texture we are going to work with a 2048x2048 texture. (1)
Then click pick object and then click your mesh. (3)
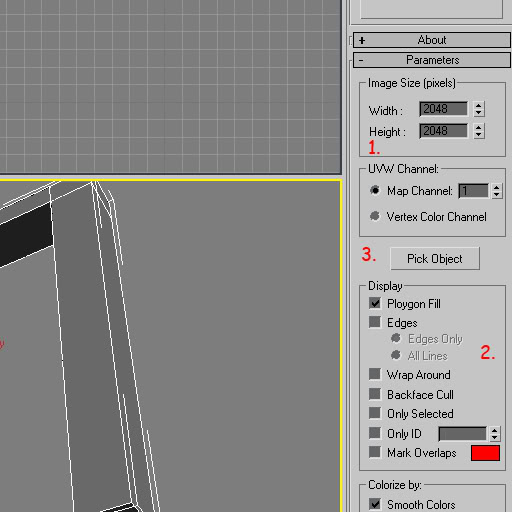
Now, you will se a new UV box, here you will press the save button and save it as a .bmp anywhere on your hardrive.
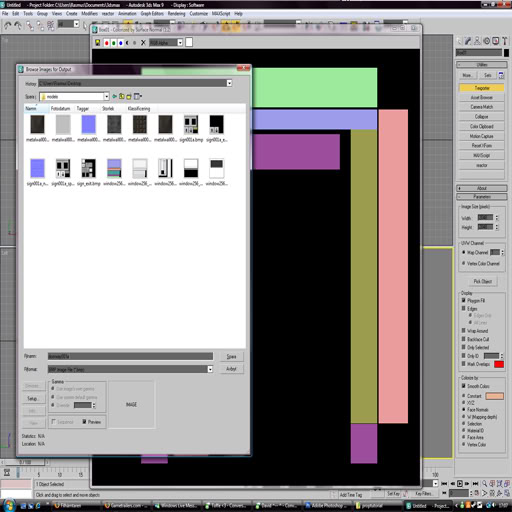
We are done in max for now, but dont close it just yet. We will be needing it later.
Now open Photoshop or any image editing program and open the BMP.
You will now have something like this.
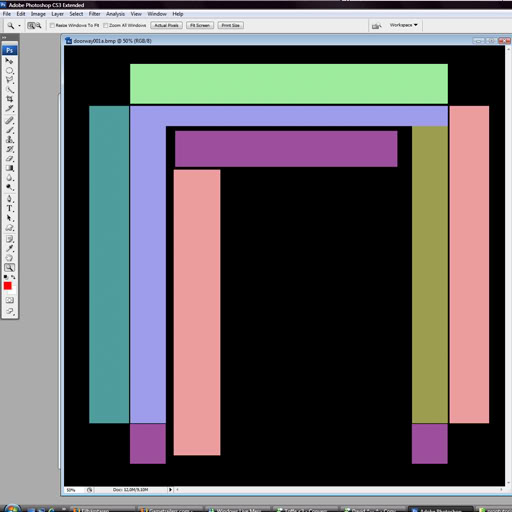
Time to paint our texture, this is also completly up to you and how you layout your UVmaps. You should be able to remember what faces are where on the image.
Ok now im done and here is the results.
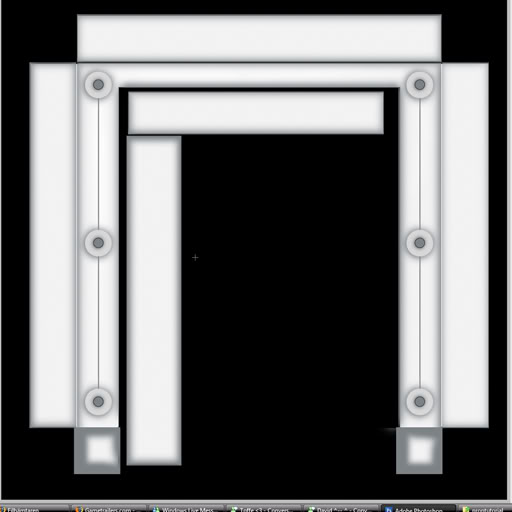
Kinda rushed, but its still good enough. Now save and replace the old .bmp. Time to jump over to 3dsmax if you dont wanna make a normal map or any of that stuff for your model.
Now open the material editor back in max and assing the texture you just created to the diffuse slot, do a test scanline render and if everything matches up your good to go for exporting.
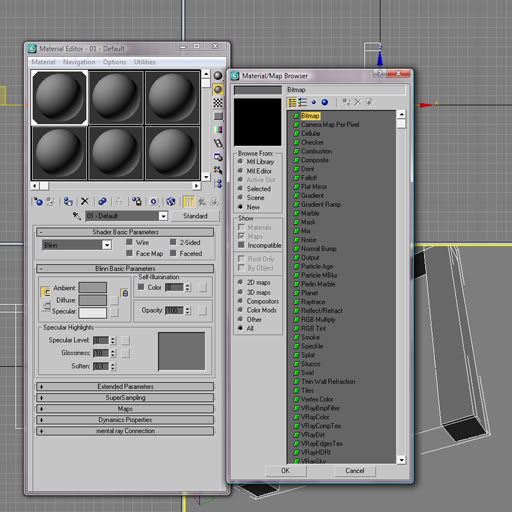
OK for the export we go to, FILE -> Export and export the file as .ase (important) and you would preferably name the model to something that matches the name of the texture.
After you press export a window will popup and you just click OK with default settings. You can now close max.
Time to take a short break and get some coffie. brb.
Ok back, time to open Unreal Editor and open your map up. Locate of create your package in the generic browser. And goto File -> Import and browse for your mesh.
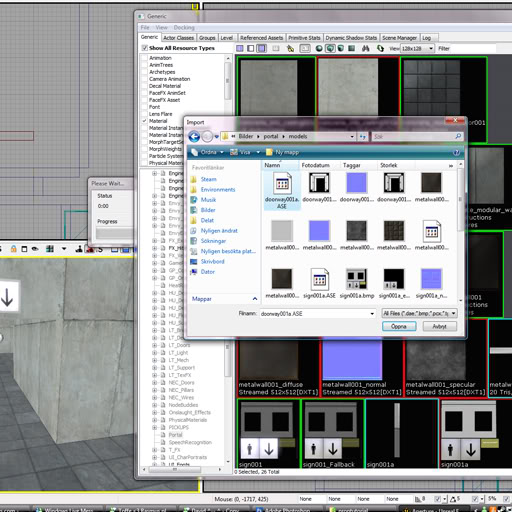
And there it is ^^ Now dubble click it and goto Collision and just press the first one on the list for the most simple collision.
Now select the mesh and just rigthclick anywhere in the level and select "Add StaticMesh here.
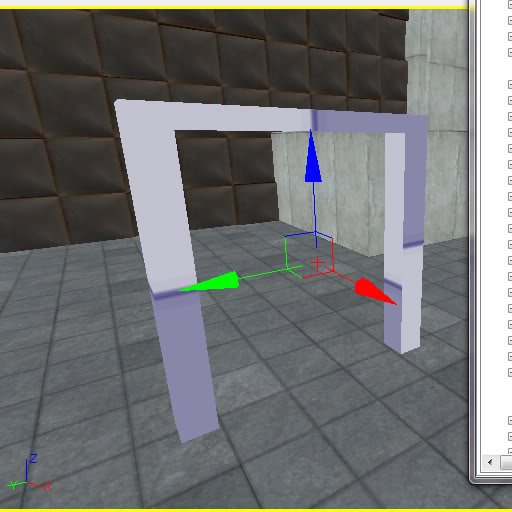
Now there is is :D......wait wtf ? it dosnt look anything like the one i rendered in max? what the shit? Thats right you have to reassign the material inside UnrealED but unreal need moore than just a diffuse texture. In unreal we have to create a material. So in your generic browser in the same package as you place your mesh, rightclick and select "New Material".
And now is the time where the tutorial writer goes "Oh and before that you should have..." but no, just close the new material editor that just poped up. And in your Generic browser import the diffusemap just like you imported the mesh.
Now with all the textures in there open up the material you created before. ( remember material and texture is NOT the same thing.)
Ok try follow with me here, with the material editor open, go back to the generic browser and select the texture for your mesh. Go back to the material editor and HOLD T and press anywhere within the gray area. If you did it right a node will appear with your diffuse texture assigned to it. ( diffuse is a fancy word for color information ). Now....this part is a easy as clicking and draging. Click on the black box on the node you crated and guess what? drag it to the diffuse box on the material node.
This is how it looks.
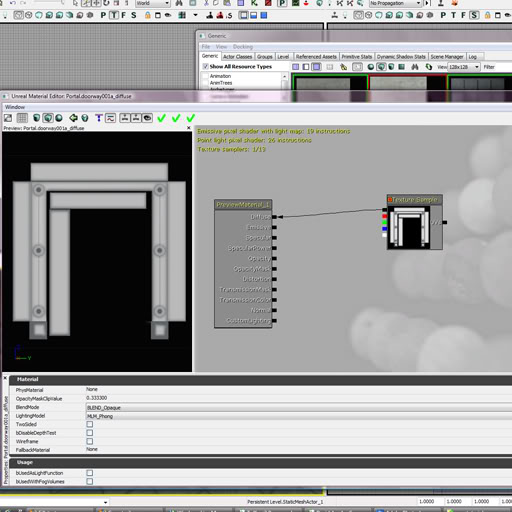
Now im gonna cheat a bit. I acctuly maid a normal texture and a specular texture, if you know 3d and photoshop this wont be a problem, its as simple as importing the texture but instead of connecting the texture sample node to diffuse, you just plug it in to respective channel.
This is how my completed material looks.
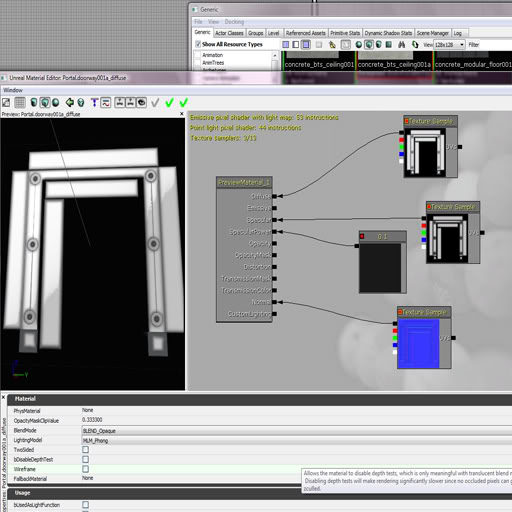
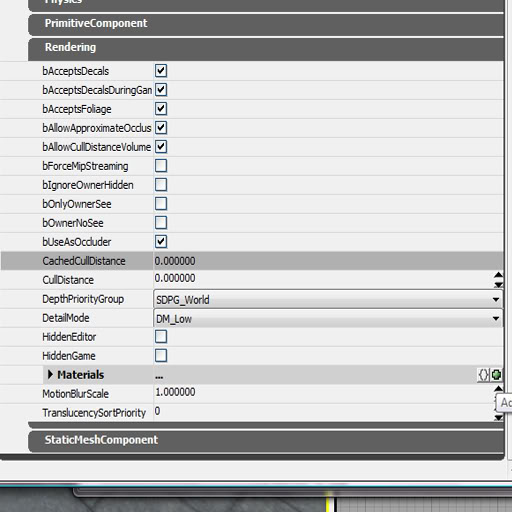
Anyhow, save your package and dubble click the static mesh you got into the level to get the properties window, scroll down to rendering and click "Add new item" in the material section. Now select the material in the generic browser and click the little arrow to assign selected material. And WOPEDOO your done.
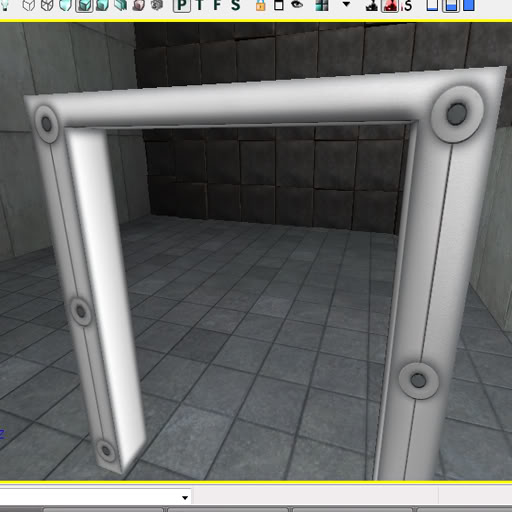
Looking sharp huh :P now go try it....while i sit here and uload all the images in this tutorial.....and help me god if there are to many symbols in the blog......nvm


Are those Portal materials I see?
Oh yeah, im making a portal themed map you see ^^ thoose are replicas of the portal materials. So far 100% handdrawn :D
lol @ texporter.
must be using an old version of max :P
You can just save the unwrap directly now
lol @ Mr kadish some people just dont know where the new uvw mapping option is.
xD buurrnnn...
Great tutorial! Helped me a lot.
ADDITIONAL INFO:
I believe you can also specify the material the static mesh should use by putting the name of the Unreal material into the MATERIAL NAME in 3D MAX. For example, an Unreal material named 'myMaterial' would be referenced by the static mesh in MAX by naming the appropiate material 'myMaterial'. The name goes into the BASE material or subobject - NOT into its diffuse section. That is, enter the name on the dialogue where you can specify specular, diffuse, opacity, etc.
Furthermore, it seems that if you change the material name and then re-import over an existing copy of the mesh, -it will not update the material!!-
You must first delete the mesh in the package, and then re-import; or else import to a new name.
Anyway, this is handy as it lets you specify a default material your mesh should use, saving the process of having to set the material each time you enter it into the level.
I spent some frustrating hours wondering why my meshes would sometimes have materials and sometimes not, and I think I have nailed down the process now; though if anyone finds any problems with this method, please let it be known so more investigation can take place (what mostly threw me was how Unreal would not update the material reference when re-importing an existing mesh).
Anyway, good tutorial also!
This is just a basic tutorial i wrote i while ago for the very very beginners to unreal 3, i wanted to see moore custom content so i wanted to help out, dont expect any pro tutorial here.
Omg! Thanks man. This was a great tutorial for me as a starter! Now i know somecool stuff. Man, your so cool! 8)
Hi there, this was a cool tutorial. But I'd like to ask a small question:
I have modeled a house that have two textures, both on their own layer in 3ds Max. How could I import these both textures to work in same mesh in UT3?
Did you use a boolean operation to cut out the box in the box modeling part? You didn't really elaborate on it as much as I would have liked. Though overall a helpful albeit brief tutorial on getting a custom mesh into the Unreal3 Engine.