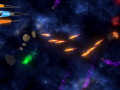
Subsideria is a modernised reincarnation of the classic arcade space shooters, re-imagined with boss fights, multiple game modes and more; how long can you survive the oncoming asteroid barrage?
You've been sent into the depths of Tenebra with nothing but your ship and its cannon. You have one task - you must locate and eliminate the source of chaos threatening your world. Annihilate everything in your way, exterminate all those that challenge you - you must conquer the cosmos!
Features:
-6 unique asteroids to keep you on your toes
-12 life saving abilities and power ups
-3 intense boss battles
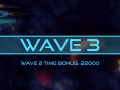
-3 game modes with 4 difficulty settings each
-Over 70 challenging achievements
-Online leaderboards to challenge the world
-In game Datalog of Tenebra's secrets
-Original orchestrated soundtrack with over 5 unique pieces
-Crisp HD graphics
Do you have what it takes to stay alive?


Articles
In this article I will be outlining and showing how I created the selectable inversion image effect I created for use in Subsideria.
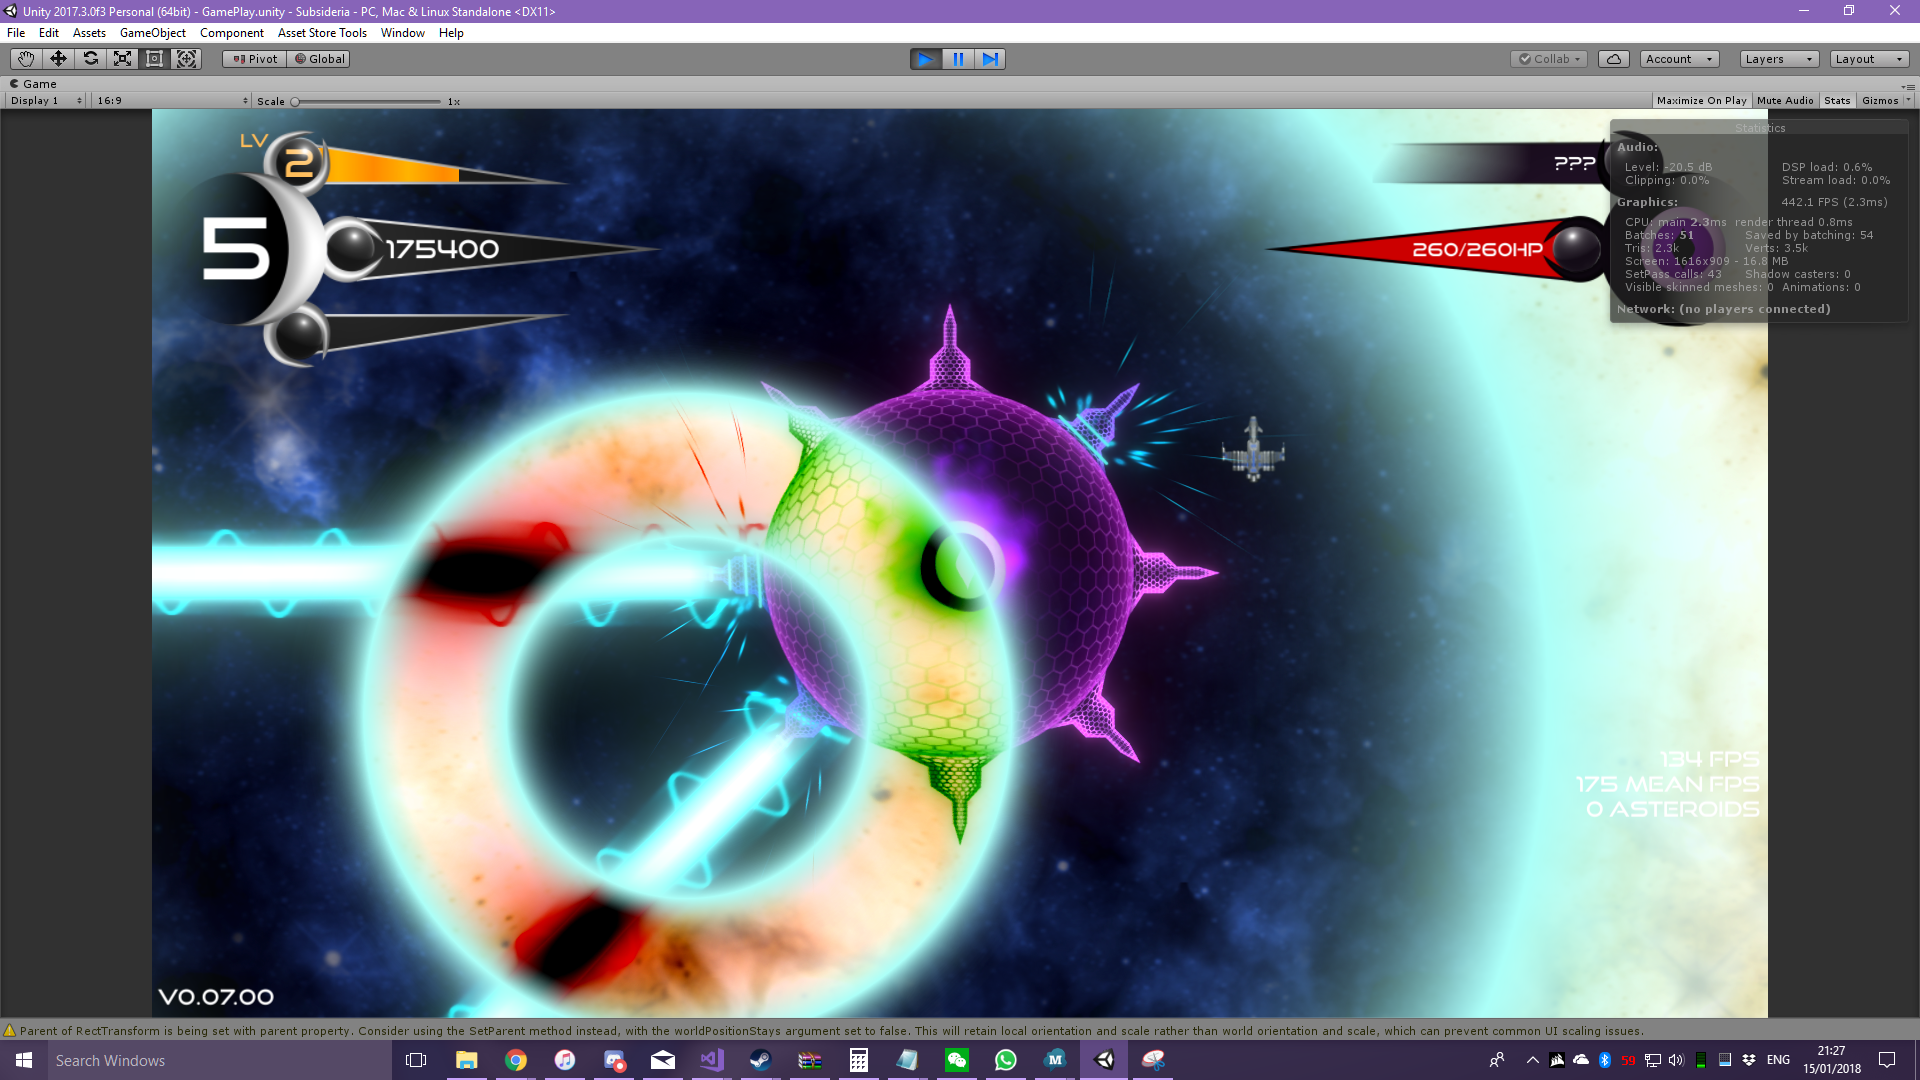
Image effects might seem incredibly daunting at first, with all the RenderTexture business and shader voodoo, but I've found that atleast for simple effects, it ends up much simpler than one would imagine. We will be using HLSL for the shader side, and C# for the camera and RenderTexture side, so make sure you are familiar with C syntax. So first, I need that shader witchcraft going. Here's the first version of the shader I wrote.
Shader "Hidden/ImageEffects/SelectableInversion"
{
 Properties
 {
  _MainTex ("Texture", 2D) = "white" {}
 }
 SubShader
 {
  ZTest Always Cull Off ZWrite Off Fog{ Mode Off }

  Tags { "RenderType"="Opaque" }

  Pass
  {
   CGPROGRAM
   #pragma vertex vert
   #pragma fragment frag
   #include "UnityCG.cginc"

   struct appdata
   {
    float4 vertex : POSITION;
    float2 uv1 : TEXCOORD0;
   };

   struct v2f
   {
    float2 uv1 : TEXCOORD0;
    float4 vertex : SV_POSITION;
   };

   sampler2D _MainTex;
   float4 _MainTex_ST;

   v2f vert (appdata v)
   {
    v2f o;
    o.vertex = UnityObjectToClipPos(v.vertex);
    o.uv1 = TRANSFORM_TEX(v.uv1, _MainTex);
    return o;
   }

   fixed4 frag (v2f i) : SV_Target
   {
    fixed4 Col = tex2D(_MainTex, i.uv1);
    float4 ColInv = float4(Col.a - Col.rgb, Col.a);
    return ColInv;
   }
   ENDCG
  }
 }
}
Seems daunting? Perhaps, I found it daunting too at first, however when you drill down to it, its much nicer than it appears to be. If you create a new shader in Unity, and chose the Unlit option you'll notice that this is very similar to what I use here. An unlit shader is arguably the most simple type of shader you could make. Shaders have multiple key sections, which I'll explain rather briefly, however I won't go into much depth since it isn't too important for this. When used as an image effect, an unlit shader will essentially act as a pass through shader, leaving the image unaltered.
Properties
Properties
{
 _MainTex ("Texture", 2D) = "white" {}
}
Here are all the properties passed to the shader. This is where you'd add textures, colours, settings etc. You can think of it as your shaders inputs or settings, and it's what would be present in the inspector.
Pass
Shaders allow you to have multiple passes, especially useful if you're targeting multiple devices that require different HLSL code, for this effect we'll only need one pass.
SubShader
 {
  ZTest Always Cull Off ZWrite Off Fog{ Mode Off }

  Tags { "RenderType"="Opaque" }

  Pass
  {
   CGPROGRAM
   ....
   ENDCG
  }
 }
Between CGPROGRAM and ENDCG is where the bulk of our important code will go. There are a few compiler preprocessors we need to get out of the way first
#pragma vertex vert
#pragma fragment frag
#include "UnityCG.cginc"
What does this do? The first two lines tell the compiler what to use as the vertex and fragment shaders (more on these later). The next line links the shader to Unity's graphics API Firstly, we need to declare any variables that we will be using, including those added in the properties section.
sampler2D _MainTex;
float4 _MainTex_ST;
What are these variables you might ask? _MainTex is a sampler2D, it allows us to get the colour of the texture at a specified location. But why do we have _MainTex_ST? That provides us with the offset and transform data about the texture. Vertex Shader Shaders have two key components, the vertex shader and fragment shaders (surface shaders and compute shaders are a thing too, but we wont be covering them in this article). The vertex shader handles anything relating verticies (duh). It's a stage in the render pipeline where the incoming vertices are coming from the mesh, which the vertex shader will process and output verticies and tris to the next pipeline of the shader. Since we are doing an image effect that's only concerned with pixels, we will use the default unlit vertex shader as that provides us a clean 1:1 mapping.
struct appdata
{
 float4 vertex : POSITION;
 float2 uv1 : TEXCOORD0;
};

struct v2f
{
 float2 uv1 : TEXCOORD0;
 float4 vertex : SV_POSITION;
};

v2f vert (appdata v)
{
 v2f o;
 o.vertex = UnityObjectToClipPos(v.vertex);
 o.uv1 = TRANSFORM_TEX(v.uv1, _MainTex);
 return o;
}
Fragment Shader
The fragment shader deals with each individual fragment, for the purposes of this article we can treat a
fragment and a pixel as being interchangeable. This is the most performance critical part of your code
as it runs on every single pixel, but it's also where all the magic happens. For now, we're simply going to
invert the colour of every pixel, leaving the alpha unaltered.
fixed4 frag (v2f i) : SV_Target
{
 fixed4 Col = tex2D(_MainTex, i.uv1);
 float4 ColInv = float4(Col.a - Col.rgb, Col.a);
 return ColInv;
}
This samples the texture at the given uv coordinate, inverts that color and then returns the color. So how do we test out this fancy new shader? For that we're going to need to switch back to C# a bit, and write an image effect.
/// Image effect for selectable inversion of the camera.
[ExecuteInEditMode]
[RequireComponent(typeof(Camera))]
[AddComponentMenu("Image Effects/Selectable Inversion")]
public class SelectableInversion : MonoBehaviour
{
    /// The material created for inverting the texture.
    [HideInInspector]
    [SerializeField]
    private Material InversionMaterial;
}
This is the shell of our class. The attributes mean that you won't be able to use this effect on an object without a camera (how would you??) and the second one lets you easily add it from the menu. We use [ExecuteInEditMode] because we're going to run some initialisation code, and would like that to happen in the editor if we can. So far we only have one variable, and that's where we store our material. But we need somewhere to create that material, so lets add an enable function.
void OnEnable()
{
    //Creates the inversion material
    Shader InversionShader = Shader.Find("Hidden/ImageEffects/SelectableInversion");
    InversionMaterial = new Material(InversionShader);
}
Fairly straightforward so far, we find our shader then create a new material using that shader. Now, how do we use it? We're going to add a function called OnRenderImage, and this is where the magic happens.
void OnRenderImage(RenderTexture src, RenderTexture dest)
{
    //Passes data to the shader and performs the inversion
    Graphics.Blit(src, dest, InversionMaterial);
}
What does it exactly do? src and dest are both RenderTextures, we don't need to worry about where they come from. If this is the first image effect in the stack, src will be the raw camera feed, if its not, it will be the dest of the previous image effect. Same for dest, if its not the last effect, dest will be the src for the next effect. So now we have our RenderTextures, what does Graphics.blit do? Well it sets the _MainTex of our material to the src RenderTexture, sets the output of our material to the dest RenderTexture and runs the shader. Let's give it a shot!

Woah, everything's nice and inverted! But you didn't come here for that, you wanted selectable inversion. For that we're going to need a second camera, which we are doing next. By now you should have a basic idea of what we're doing and how it works.
Jumping back to HLSL, we're going to need to add a second texture. This is going to be our mask texture to tell us where to invert the image. We're going to need to add this to the properties pass and vertex shader just like the first.
Properties
{
 _MainTex ("Texture", 2D) = "white" {}
 _Mask("Mask", 2D) = "white" {}
}
struct appdata
{
float4 vertex : POSITION;
float2 uv1 : TEXCOORD0;
float2 uv2 : TEXCOORD1;
};
struct v2f
{
float2 uv1 : TEXCOORD0;
float2 uv2 : TEXCOORD1;
float4 vertex : SV_POSITION;
};
sampler2D _MainTex;
float4 _MainTex_ST;
sampler2D _Mask;
float4 _Mask_ST;
v2f vert (appdata v)
{
v2f o;
o.vertex = UnityObjectToClipPos(v.vertex);
o.uv1 = TRANSFORM_TEX(v.uv1, _MainTex);
o.uv2 = TRANSFORM_TEX(v.uv2, _Mask);
return o;
}Thats the boilerplate all done and setup, now it's time to get back into the fragment shader. My first idea was to blend between the normal color and the inverted color based on the brightness of the pixel in a mask.
fixed4 frag (v2f i) : SV_Target
{
      fixed4 Col = tex2D(_MainTex, i.uv1);
      fixed4 MaskCol = tex2D(_Mask, i.uv2);
      float Ratio = (MaskCol.r + MaskCol.g + MaskCol.b) / 3;
      float4 ColInv = float4(Col.a - Col.rgb, Col.a);
      return Ratio * ColInv + (1 - Ratio) * Col;
}
This code samples the second texture, getting our color value for this pixel on the mask. Next I average the colors to find the brightness, then use that to determine how much of the inverted color to use. Thats the shader side of things done, now how do I populate this mask? We're going to need to jump back to C# to set up our second camera and RenderTexture.
We need to make our image effect set up the camera itself and have it kept hidden from the user, this makes the effect far simpler and less confusing to use. We're also going to need a reference to the main camera, let's write some C#. First we will need more private members.
/// The main camera used to render the scene.
[SerializeField]
[HideInInspector]
private Camera MainCamera;

/// The secondary camera used for creating the inversion mask.
[SerializeField]
[HideInInspector]
private Camera InversionCamera;
Let's write that function to generate our second camera.
/// Gets or creates the camera used to produce the inversion mask.
    private void GetInversionCamera()
    {
        //Attempts to retrieve the camera if it exists
        if (InversionCamera) { return; }
        Transform InversionTransform = this.transform.Find("_SelectableInversionCamera");
        if (InversionTransform)
        {
                InversionCamera = InversionTransform.GetComponent<Camera>();
                return;
        }

        //Creates a new hidden camera, initialises it and copies over the configuration from main camera
        GameObject CameraObj = new GameObject("_SelectableInversionCamera");
        CameraObj.hideFlags = HideFlags.NotEditable | HideFlags.HideAndDontSave;
        CameraObj.transform.parent = MainCamera.transform;
        CameraObj.transform.localPosition = Vector3.zero;
        CameraObj.transform.localRotation = Quaternion.identity;
        InversionCamera = CameraObj.AddComponent<Camera>();
        InversionCamera.depth = MainCamera.depth;
        InversionCamera.renderingPath = MainCamera.renderingPath;
        InversionCamera.projectionMatrix = MainCamera.projectionMatrix;
        InversionCamera.fieldOfView = MainCamera.fieldOfView;
        InversionCamera.orthographic = MainCamera.orthographic;
        InversionCamera.orthographicSize = MainCamera.orthographicSize;
        InversionCamera.clearFlags = CameraClearFlags.SolidColor;
        InversionCamera.backgroundColor = new Color(0, 0, 0);
        InversionCamera.cullingMask = 1 << LayerMask.NameToLayer("SelectableInversion");
    }
Ouch that'a a lot, but it's not too hard. Let's break it down. First we attempt to retrieve a camera if it already exists, no point creating extra. If it doesn't exist we make a new GameObject and add a camera to this. We assign this GameObject as NonEditable and HideAndDontSave so that the user doesn't even know it exists, let alone possibly being able to tamper with it Once we have our camera, we parent it with the MainCamera so that it perfectly matches its movement, then we copy over all of the relevant information from our MainCamera so that it renders correctly and matches the main camera. Lastly, we setup the culling mask so that it only renders things on the layer "SelectableInversion", this is important for later. Now lets jump back to OnEnable for more initialisation.
void OnEnable()
    {
        if (LayerMask.NameToLayer("SelectableInversion") < 0)
        {
            //Removes itself if required layer is not present
            Debug.LogError("Please add the layer SelectableInversion then add this image effect!");
            DestroyImmediate(this);
        }
        else
        {
            //Gets the main camera and the inversion camera
            if (!MainCamera) { MainCamera = GetComponent(); }
            MainCamera.cullingMask = MainCamera.cullingMask & ~(1 << LayerMask.NameToLayer("SelectableInversion"));
            GetInversionCamera();

            //Copies over aspect ratio and creates the render texture
            InversionCamera.aspect = MainCamera.aspect;
            InversionCamera.targetTexture = new RenderTexture(InversionCamera.pixelWidth,  InversionCamera.pixelHeight, 0, RenderTextureFormat.ARGBHalf);

            //Creates the inversion material
            Shader InversionShader = Shader.Find("Hidden/ImageEffects/SelectableInversion");
            InversionMaterial = new Material(InversionShader);
            InversionMaterial.SetTexture("_Mask", InversionCamera.targetTexture);
        }
    }
Now unfortunately, I'm far as I'm aware there is no way to create a new layer via C#, so the next best thing is to alert the user and terminate if they havn't added the correct layer. Once that error handling is over, we grab the MainCamera and the InversionCamera.
MainCamera.cullingMask = MainCamera.cullingMask & ~(1 << LayerMask.NameToLayer("SelectableInversion"));What on earth does this line do? Simply put, it takes the current layer mask from the MainCamera and removes our SelectableInversion layer from it; just removes one more step that the user would have to manually do otherwise.
Next, we need to create the RenderTexture. We set this RenderTexture to be the targetTexture of our InversionCamera, so that our second camera renders directly into this texture. After creating the material, we now set the _Mask texture of our material to be that very same RenderTexture; this is the magic line that lets our InversionCamera's output act as an input for our effect.
One more thing we're going to do is add some cleanup, we don't want to leave extra cameras around if the user decides to stop using the effect.
void OnDestroy()
    {
        if (InversionCamera)
        {
            //Destroys the second camera
            DestroyImmediate(InversionCamera.gameObject);
        }
    }
Let's give it a shot now! I just set up a simple particle system for outwards expanding rings, and set the layer to be SelectableInversion.
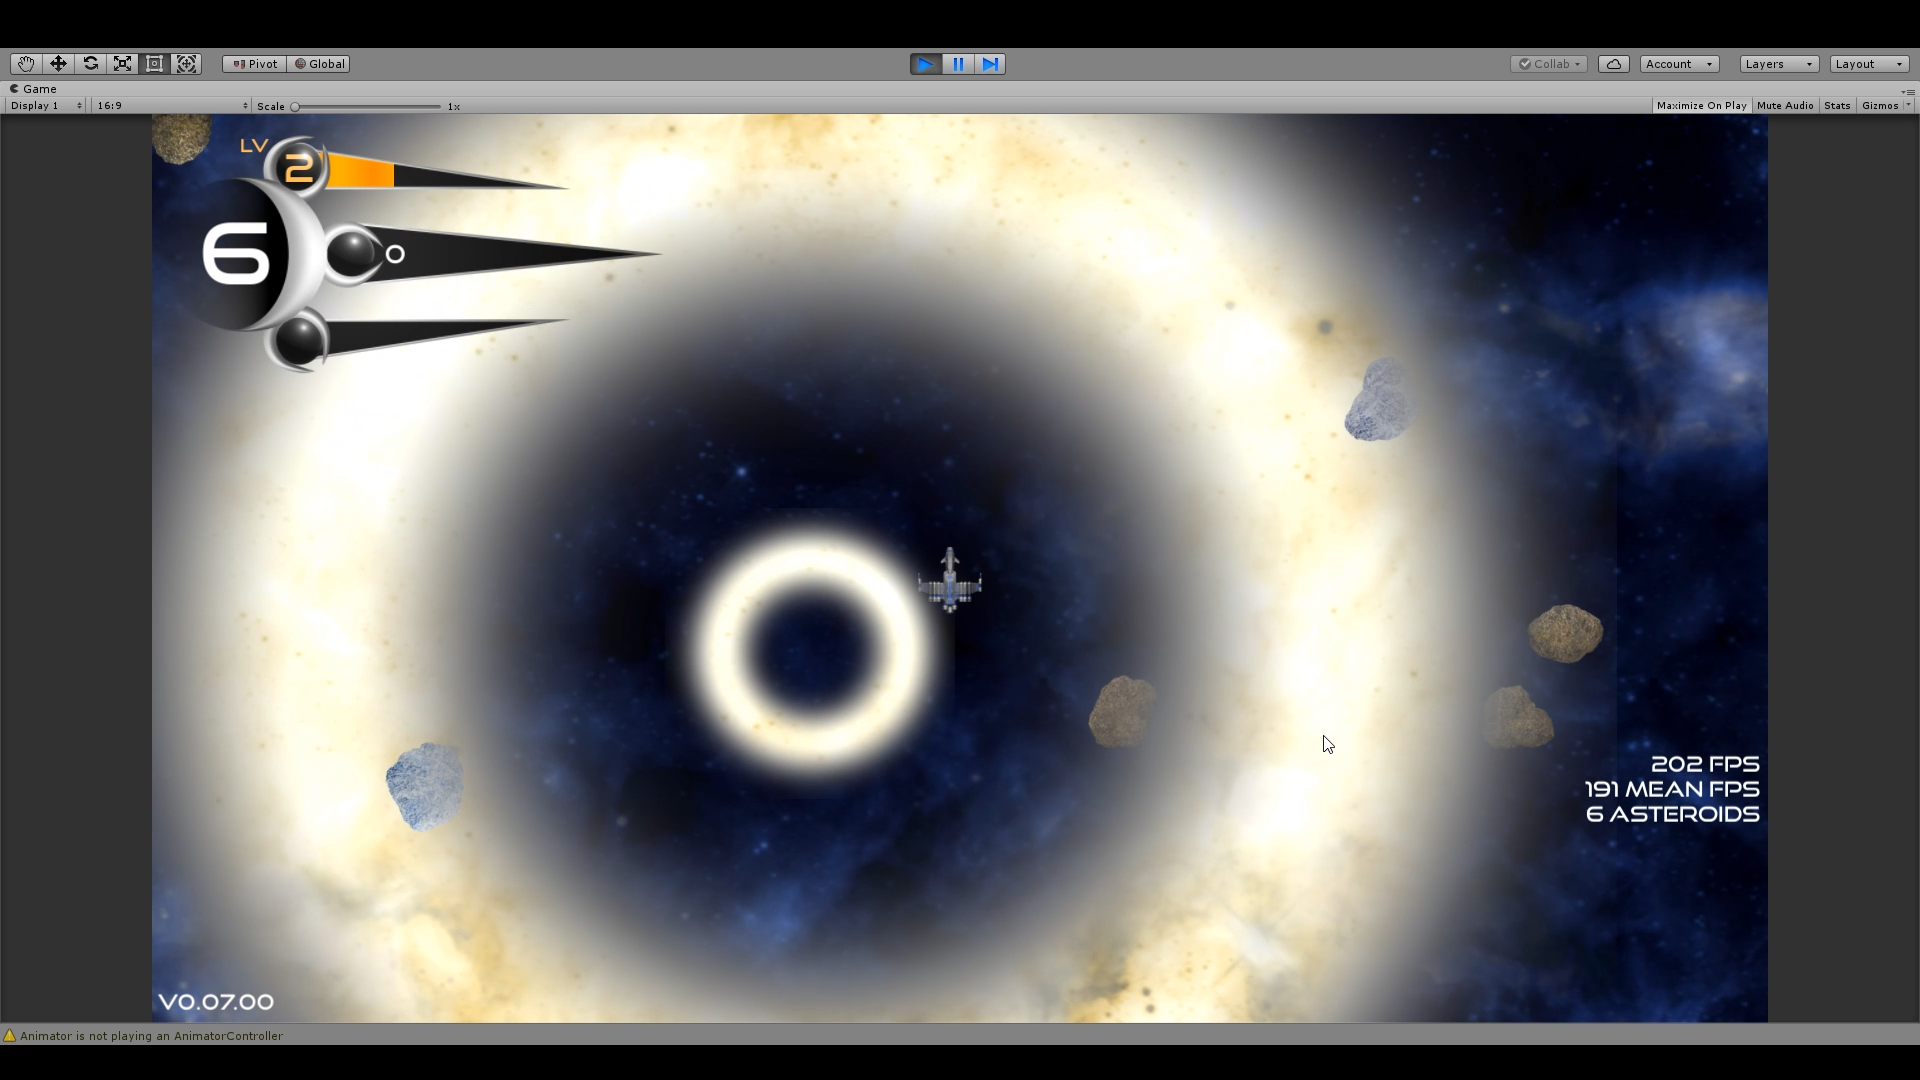
It works! Well, sort of. It does do exactly what I tried to make it do, but then I realised that perhaps what I originally wanted may not have been the best idea. By perfectly blending the inverted image and the non inverted image, we get far too much boring gray on the boundaries, as by averaging the inverted image with the non inverted image at a 50:50 ratio you get a perfectly boring gray. After mulling about it for a few hours, I thought of a solution. Instead of blending the inverted image with the non inverted image, I would blend it with a user chosen colour. That way instead of fading to gray, it'd go to the colour of your choice, and that color could be far more interesting. Let's jump back into the HLSL.
Properties
{
 _MainTex ("Texture", 2D) = "white" {}
 _Mask("Mask", 2D) = "white" {}
 _MidCol("Half Inverted Color", 2D) = "gray" {}
 _IsColoured("Coloured Inversion", int) = 0
}
We now have two new properties. One of them for the color of choice, and another (acting as a boolean) to give the user the choice to enable or disable this new feature. Naturally, these new properties must be declared in pass too. Lets jump back to the fragment shader.
fixed4 frag (v2f i) : SV_Target
{
 // sample the texture
 fixed4 Col = tex2D(_MainTex, i.uv1);
 fixed4 MaskCol = tex2D(_Mask, i.uv2);
 float4 ColInv = float4(Col.a - Col.rgb, Col.a);
 float Ratio = (MaskCol.r + MaskCol.g + MaskCol.b) / 3.0;
 if (_IsColoured > 0)
 {
  float MidColStrength = 1.0 - 2 * abs(0.5 - Ratio);
  if (Ratio > 0.5) { return MidColStrength * _MidCol + (1 - MidColStrength) * ColInv; }
  else { return MidColStrength * _MidCol + (1 - MidColStrength) * Col; }
 }
 else { return Ratio * ColInv + (1 - Ratio) * Col; }
}
If the user wishes to diable this new feature, then the fragment shader will just take the else route and render as previously, lets look at the if route. We first calculate MidColStrength, this tells us how we are to middle inversion, where we want to use our color instead. If the inversion is 0 or 1, this value will be 0, however as the inversion approaches 0.5, this value will approach 1. If the value is 0.5 (we have more inversion then non inversion) we will blend the inverted image with the user specified color. If the value is below 0.5 (less inversion than non inversion) then we will blend the non inverted image with the user specified color.
Jumping back to C#, we just need another member for the user to choose their color, and then we need to copy that color into the shader, as well as a toggle on whether to use this new feature or not.
/// If the inverted image should converge to a colour as the inversion approaches 50%.
[Tooltip("If the inverted image should converge to a colour as the inversion approaches 50%.")]
[SerializeField]
private bool UseColoredInversion;
/// The colour to converge to as the inversion converges to 50%.
[Tooltip("The colour to converge to as the inversion converges to 50%.")]
[SerializeField] private Color MidInversi Color(0.5f, 0.5f, 0.5f);
...
void OnRenderImage(RenderTexture src, RenderTexture dest)
{
//Passes data to the shader and performs the inversion
InversionMaterial.SetInt("_IsColoured", UseColoredInversion ? 1 : 0);
InversionMaterial.SetColor("_MidCol", MidInversionColor);
Graphics.Blit(src, dest, InversionMaterial);
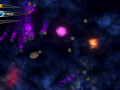
}Great! I chose a bright blue color, added some distortion to the effect using gotow heatwave and tested it.
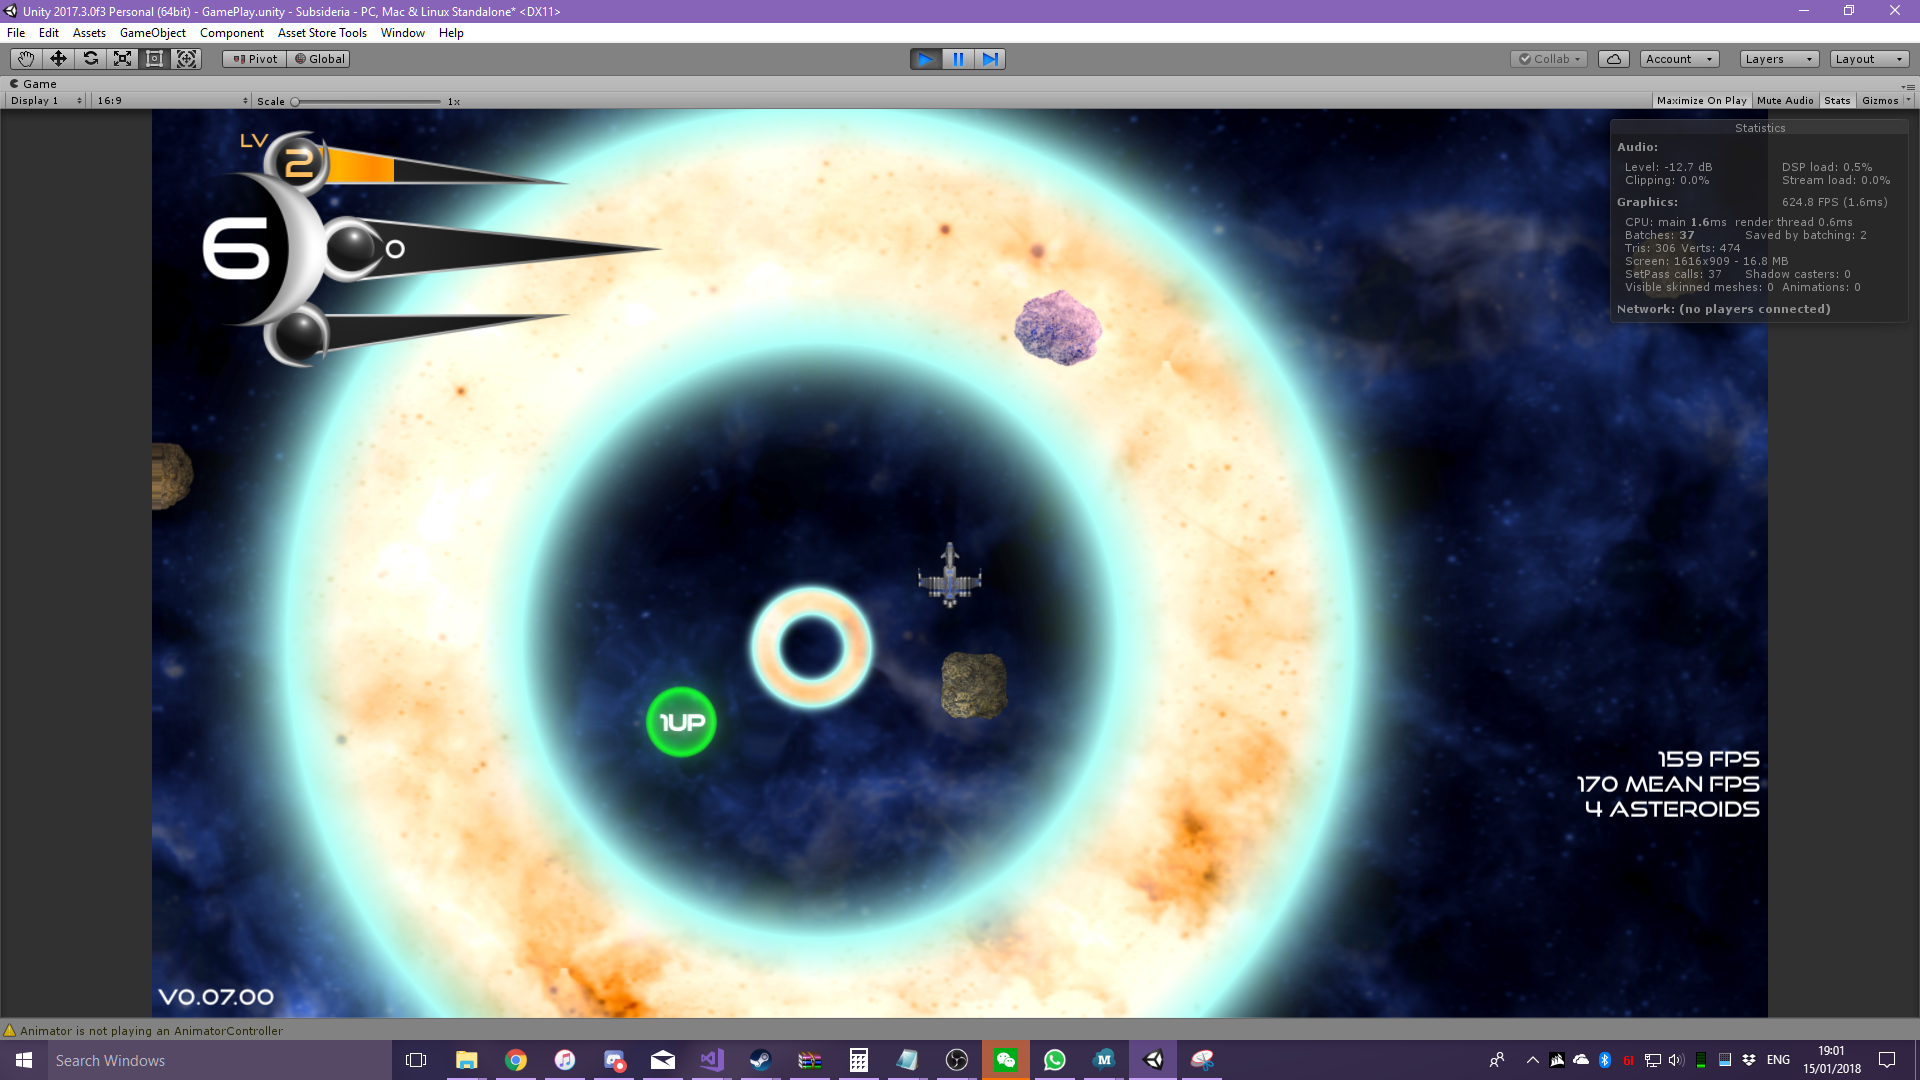
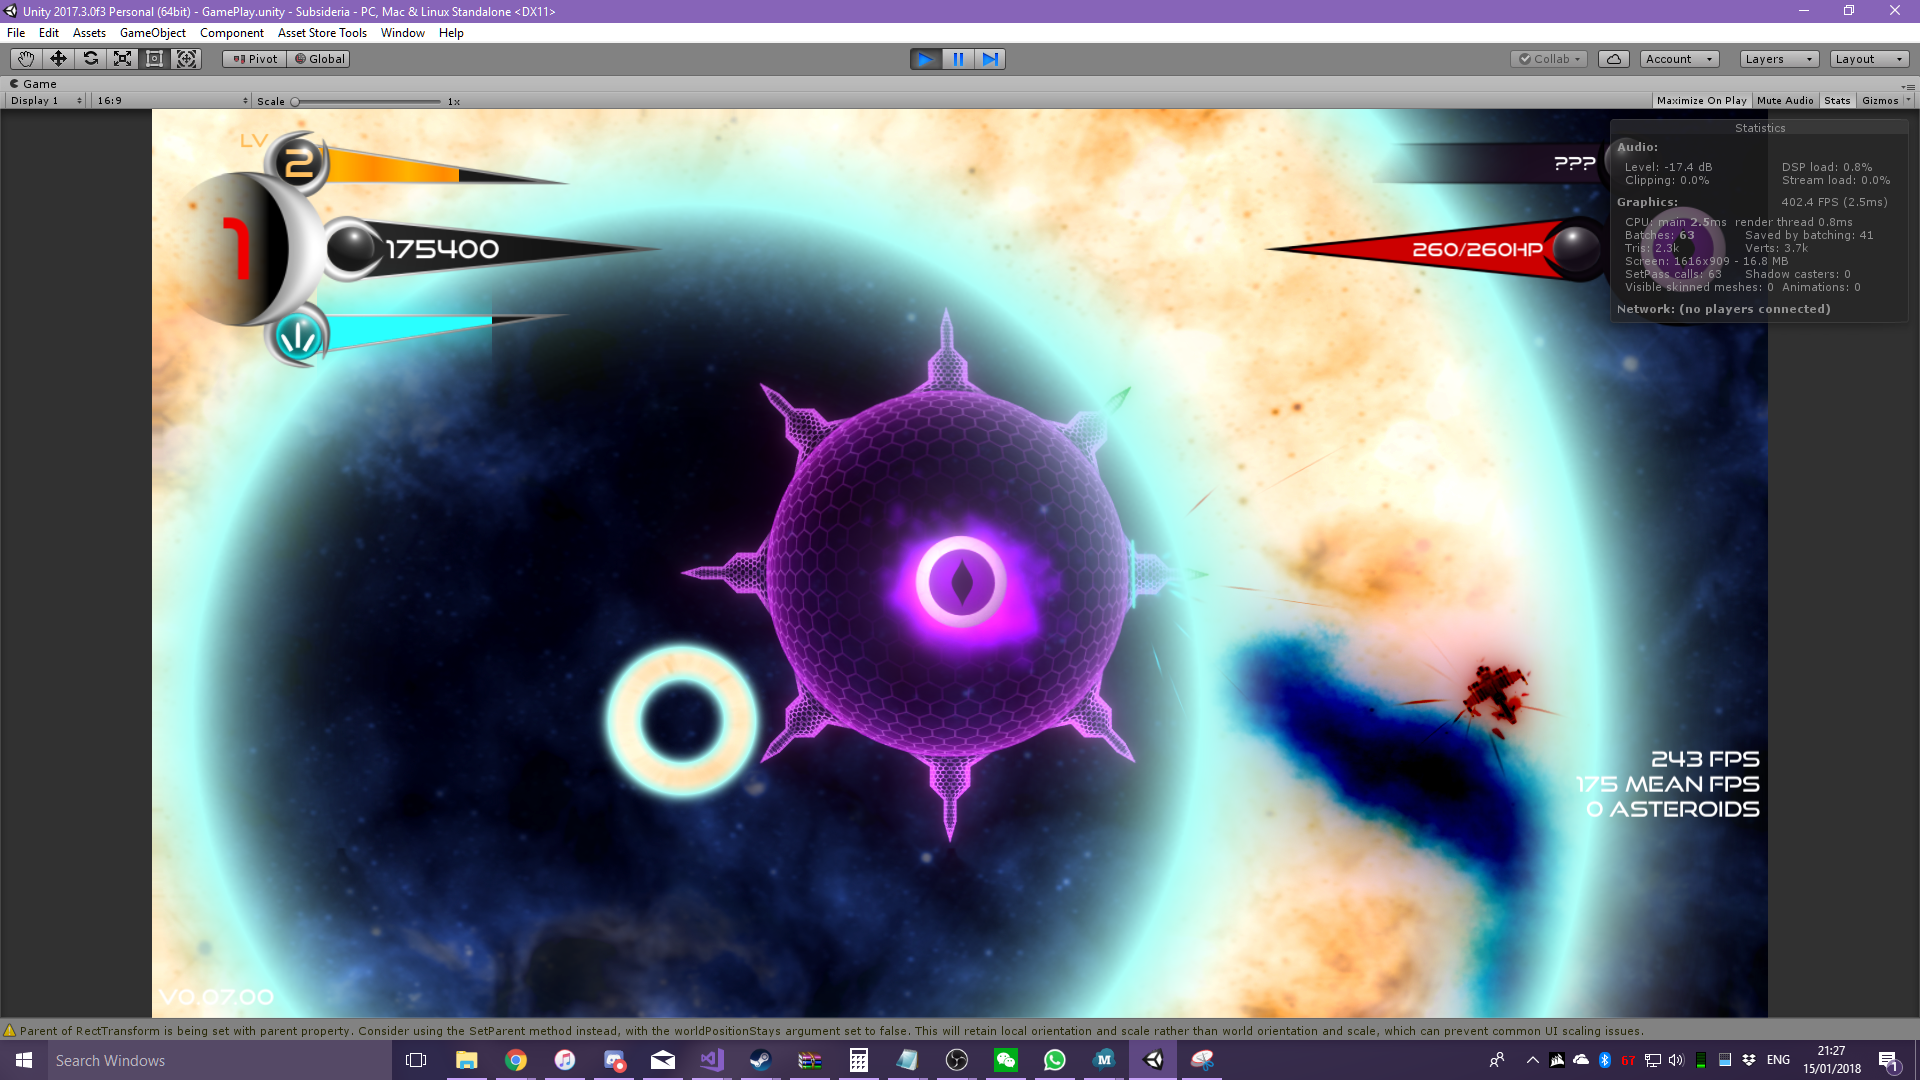
Looks awesome! Wasn't actually too hard was it? From here I added a few extra features, like selecting the clear color and using the mask color as the mid inversion color, as well as writing a custom inspector. I have put this effect up on GitHub who is interested, and I hope you enjoy seeing it in the final boss of Subsideria!

This Week In Indie Games: March 16 2018
FeatureThe biggest indie gaming stories for the week of March 16 2018.

How I Created the Unlock Display System for Subsideria
Client Side Coding TutorialIn this tutorial I will be outlining and explaining how I created the unlock management system that is used for all of the power ups, abilities and game...

How I Created the Attack Management System for the Final Boss of Subsideria
Client Side Coding TutorialIn this tutorial I will be outlining an explaining how I created the attack management system that is used for all of the attacks in the final boss fight...
Post a comment
Profile
Purchase

Style
X
Tags
Embed Buttons
Link to Subsideria by selecting a button and using the embed code provided more...


You may also like

Grab
Arcade

The Crop Circle Warriors
Arcade

Gravity Ace
Arcade
Pixel Planets
Arcade

Grav
Arcade
Xeno Crisis
Arcade