Tutorial originally posted on Massassi.net. Mirrored here for archival purposes.
Sunlight and Shadows
So, you want to create the effect of sunlight in your level? Before we start, you should already be familiar with the serious editor, and how to place a background into your level.. I suggest reading the basics tutorial, as well as the background tutorial before continuing. In this tutorial, we will be covering the following items:
- Adding directional lights to your world
- Determining which polygons will be affected by your light
- Casting shadows
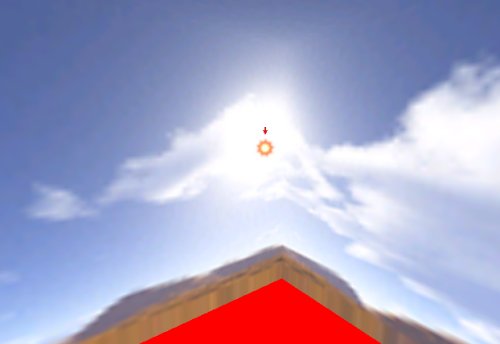
Our first step is to create your light. Click on your virtual directory tree and select basic entities. Drag out a light entity and place it in your skybox right next to your sun (assuming there is one). Try to position it so that when you apply a lens flare effect later, it will look like it's coming from your sun. Your screen should look like this:
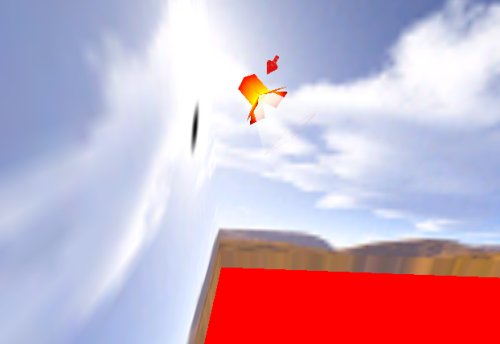
Now that the light is in place, it's time to do a little tweaking. Select your light in entity mode and in the properties dropdown, select type. Choose directional light, and then rotate your light so that it is pointing at an angle that corresponds with the direction of your sun. You can rotate your light around with [CTRL] + [LMB] + [RMB] and dragging your mouse around. Now select Lense Flare from the dropdown property box, and choose a "standard reflections" flare. The result should look something like this:
NOTE: If you cannot see the light marker, right click in one of your four views and go to view properties. Check "render editor models" and make sure your "Flare FX" is set to none.
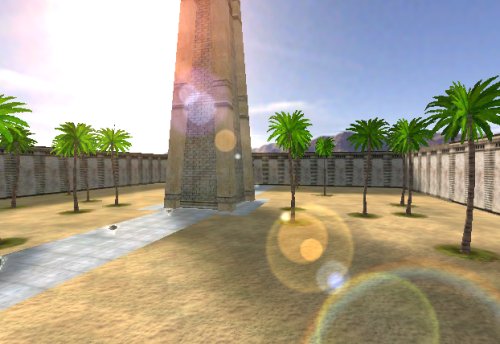
Now it's time to select which polygons will be affected by your light. Switch to polygon mode and select all of the outdoor surfaces in your world. Open up their properties box with Q and select the shadow tab. Check the "Directional" and "Dir. ambient" boxes. You'll notice that the selected surfaces have changed noticeably. That's because you just told the polygons that they can be affected by directional lights. It's important to note that directional lights should be used once per level considering one light affects the entire world. If your surfaces look too bright, you probably have other ambient lights around, so you can go ahead and get rid of those. Now your level should look pretty bright and shiny, but it's not done yet. The final step is adding shadows. Go ahead and re-select all of those polygons that you just flagged. Under the shade tab in the properties dialog, note the cluster size pull down box. This box controls your shadow settings, and although I have messed around with different settings, I am still uncertain as to how it works. I found that "0.5 m" generates realistic looking shadows, so lets stick with that for now. Now, simply click your "Recalculate shadows" button ![]() and viola, your level now has sunlight! The final result should look very pleasing:
and viola, your level now has sunlight! The final result should look very pleasing:
-Hoard