This is the third article in a series about the story and technical details of Goblin Quest: Escape!. If you’d like to support us on Steam Greenlight, you can find our page here: Botbiteindustries.com
This post is about the map editor we’ve created for the game. It’s built by extending Unity’s editor, and is essentially a 3D tile-based editor with lots of useful features.
Content is killer
Ask any experienced developer what your first indie game should be and they’ll tell you: anything that doesn’t require hand-made content. So of course we made a game that relies heavily on hand-made content. We did consider automatic dungeon generation, but our goals were very specific with each map, so we had to hand-craft them. However if you spend so much time on a game, speeding up the content generation process any way you can is extremely useful, so we implemented a lot of helpful features that make map editing quicker.
Unity as an editor
One of the most useful features of Unity3D is that you can extend the editor with ease. Making a game is as much about tool development as gameplay coding, so not having to worry about writing your own editor is great. The only down-side is that you’re forced into Unity’s own serialization system and if you want to make map-saving a simplified process, you have to hack your own system to match Unity’s expectations. This, however, is a small part to pay.
Another great Unity feature is that it makes reusability extremely easy. Both its object hierarchy and component-based design help with adapting and mixing different solutions for your new needs. You’ll see examples of this later.
The basis – 2D tile-based editing
Since our prototype was a 2D game, we’ve started with a 2D tile-based editor. This is essentially a simple painting solution that directly modifies a mesh (adds vertices and UVs) to build a tile-based map. In a certain way it’s like a pixel-based editor, except each pixel is a large tile. Later several types of layers were added. This one is called the PaintablePlane.
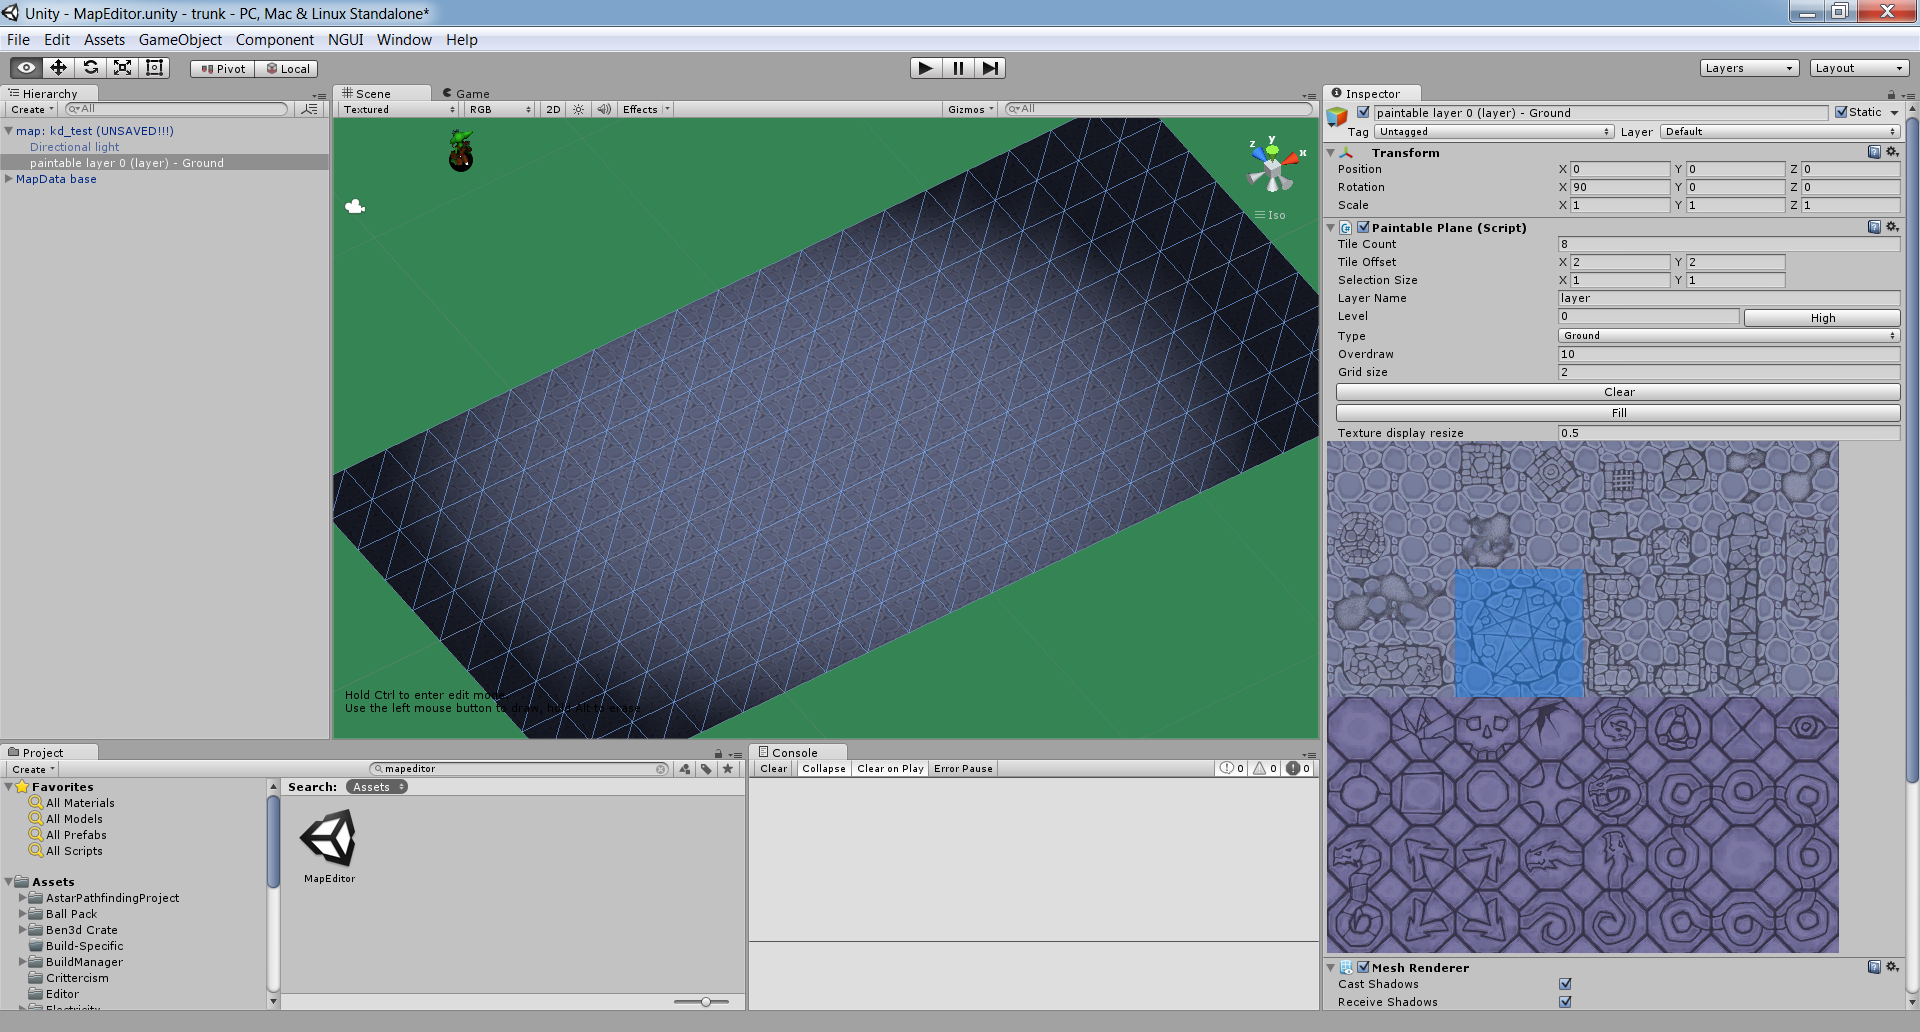
Using the Fill function you can easily create the basis of the layer.
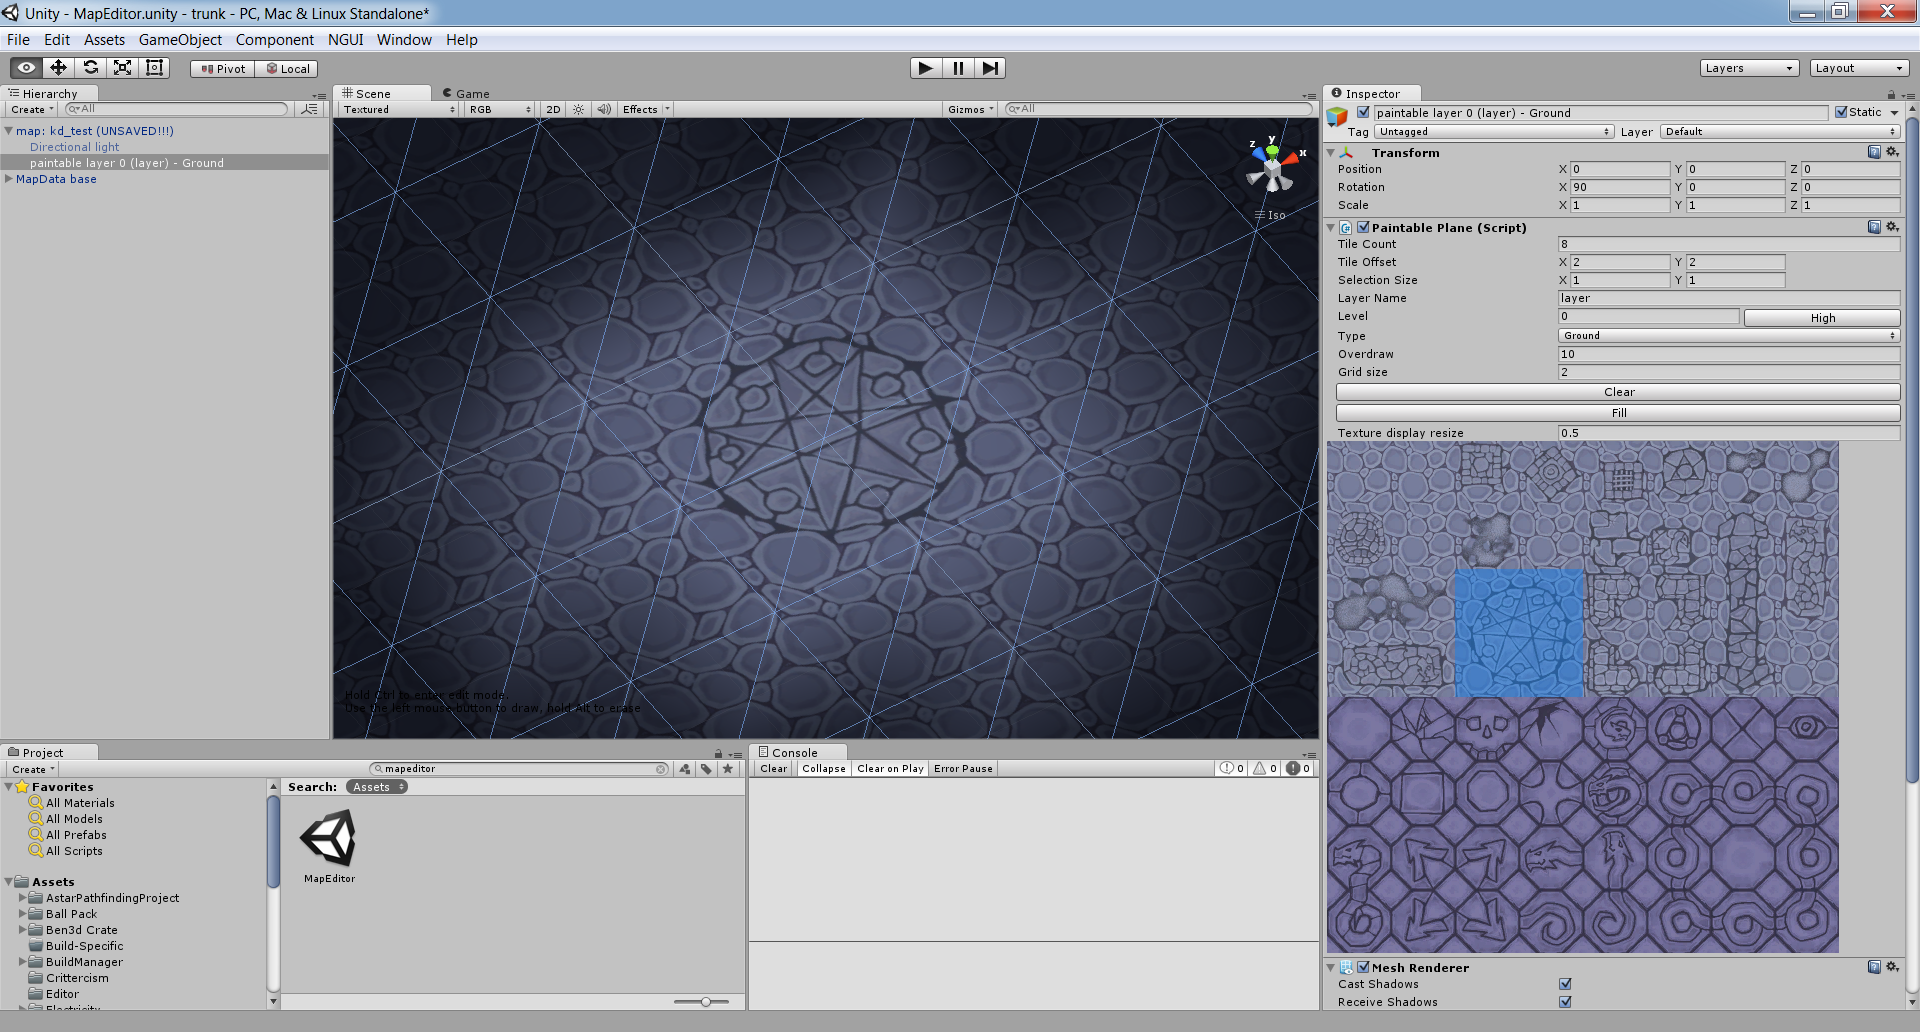
You can draw additional details on the layer by simply selecting the tiles you want to use on the texture and drawing them on the ground.
3D tile automation
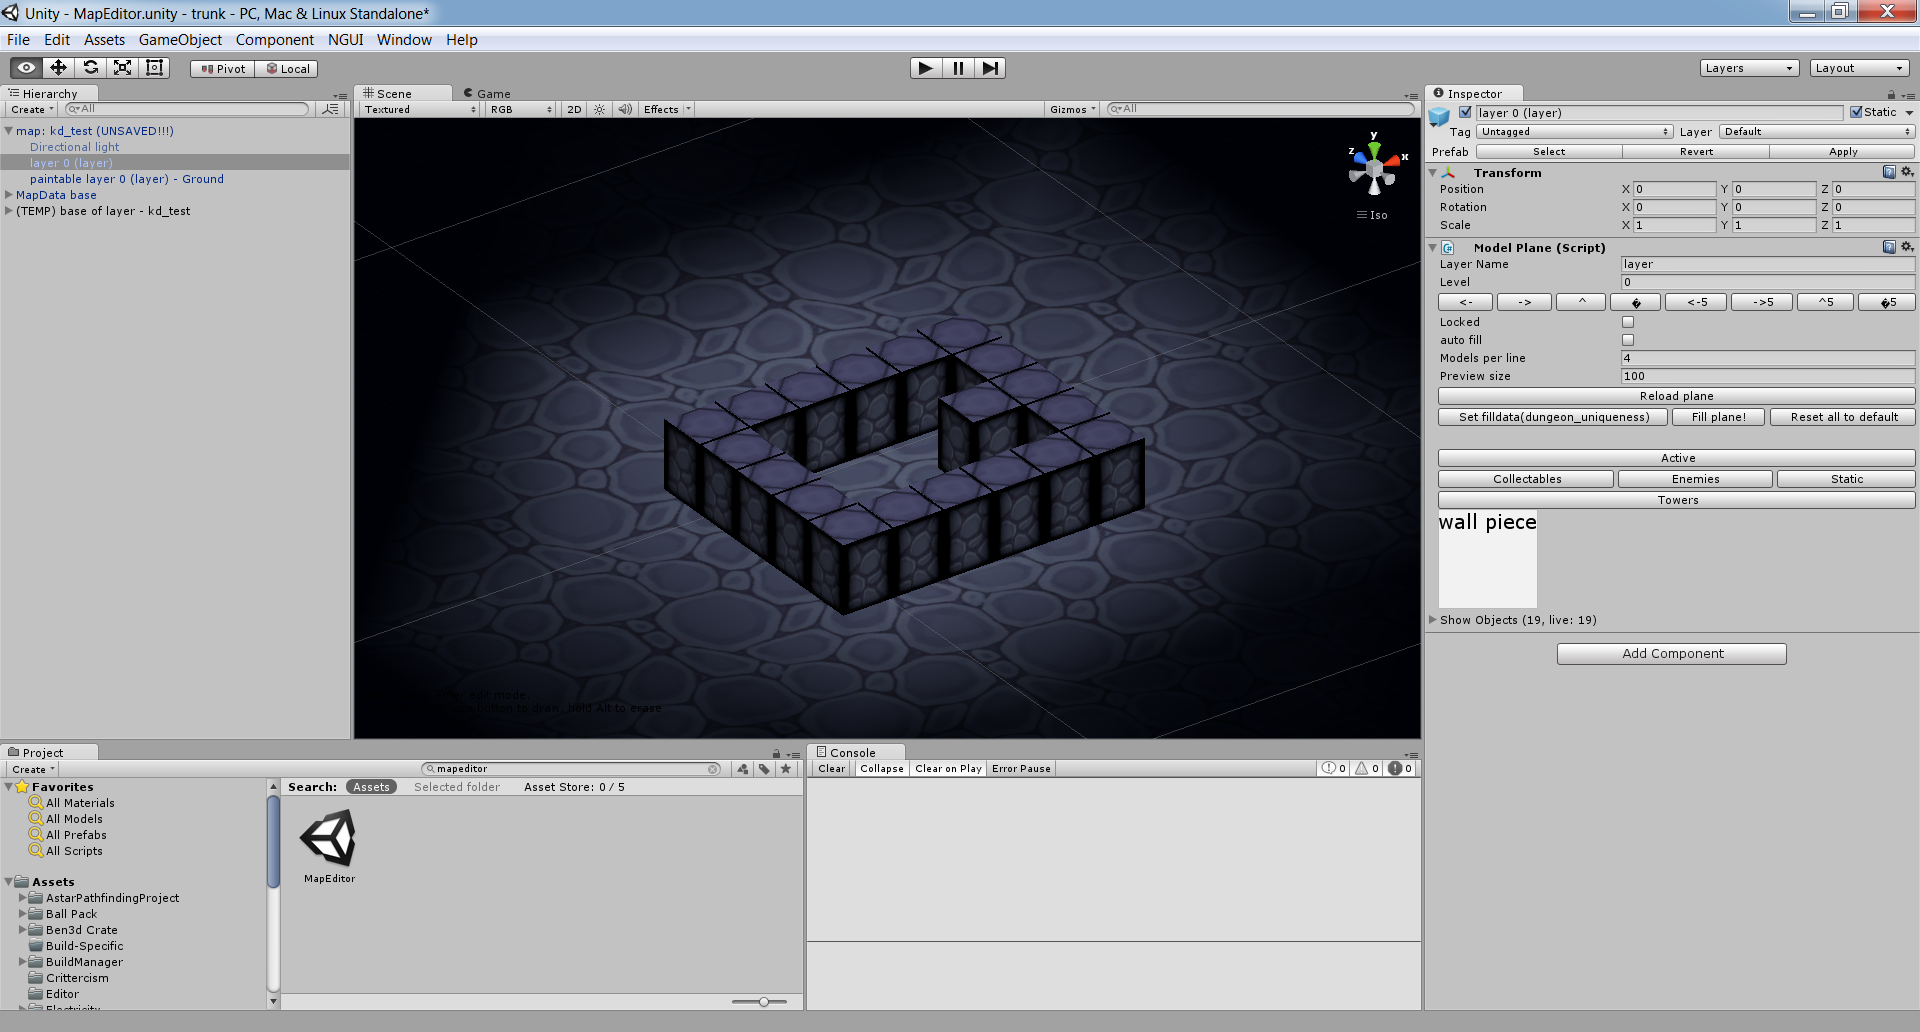
As mentioned in the previous post, one of the important changes after going 3D was switching to the blocky dungeon-based look. This made editing very easy, because one base block and some variations could be used anywhere on the map.
This base block is a really simple placeholder with square meshes. This block is used when editing and testing maps because it’s a lot faster to start up a scene with such a simple block.
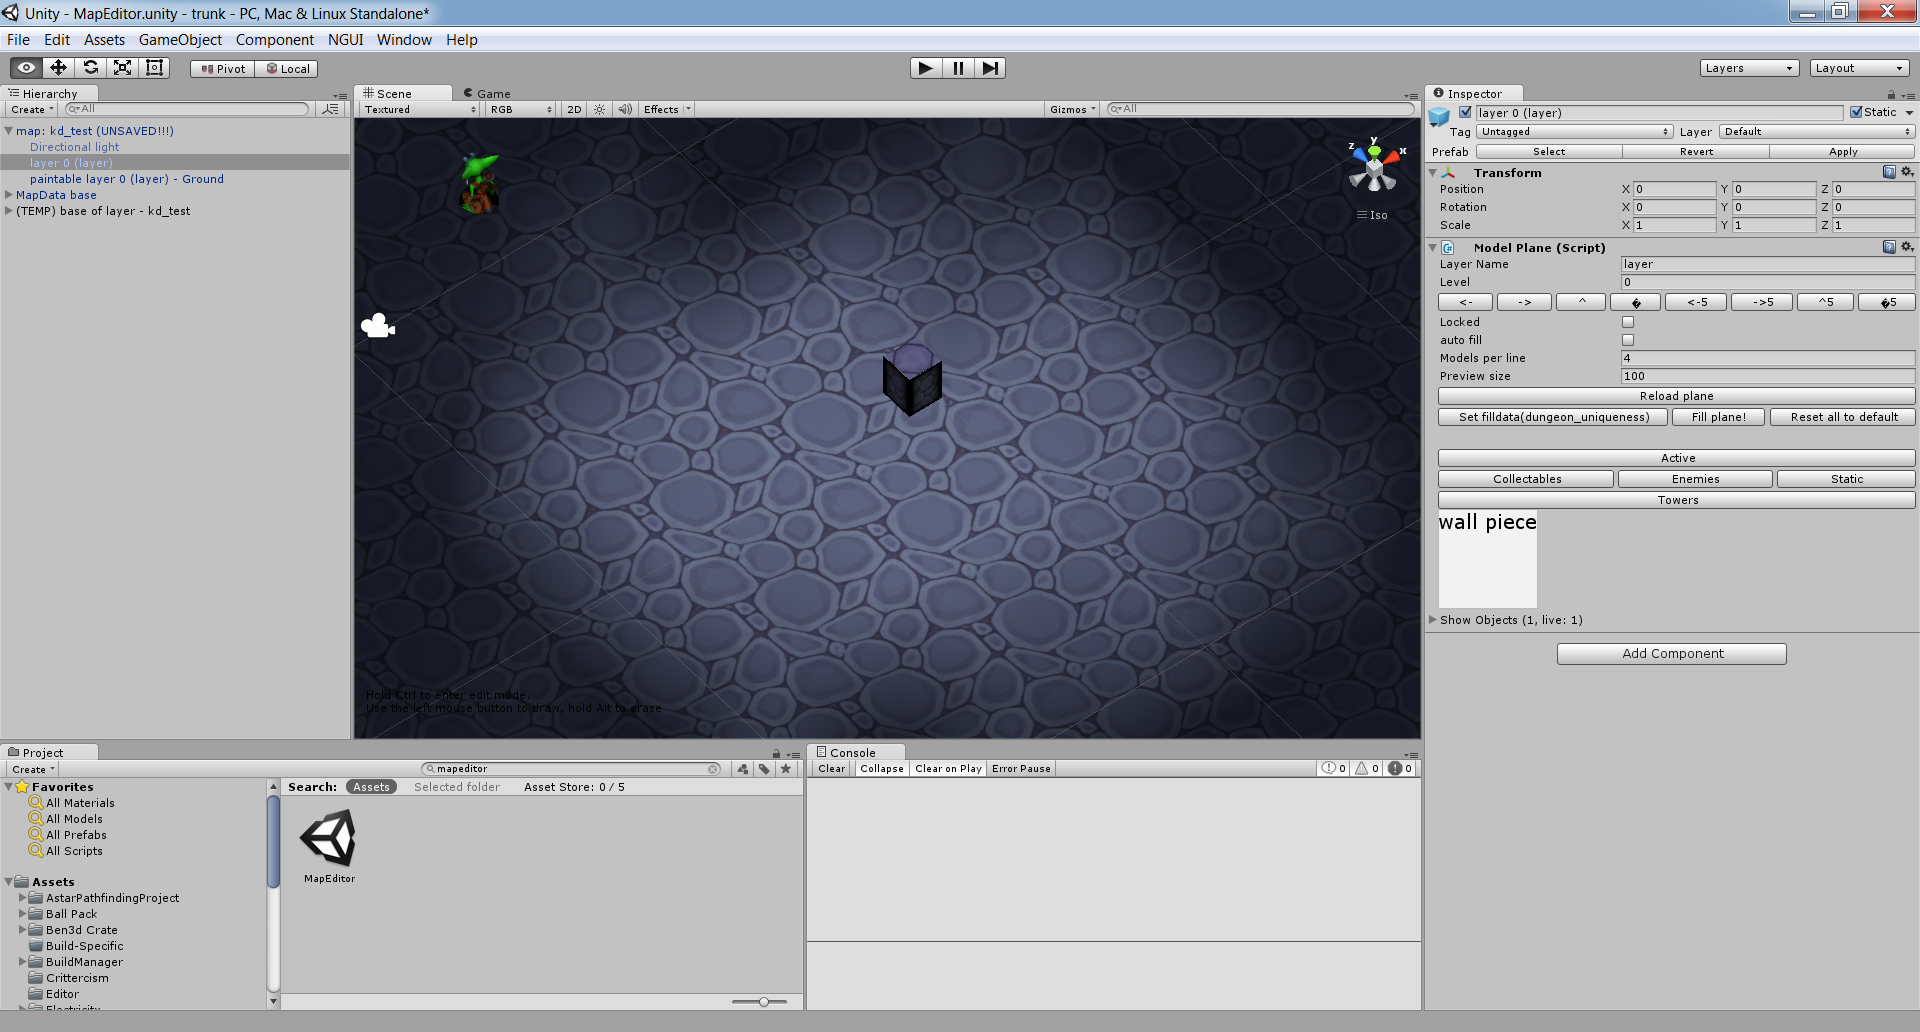
As you can see, the block is optimized to only contain the sides that are actually visible. Such a simple optimization may seem unnecessary, but when editing maps with up to 10k tiles, every bit counts.
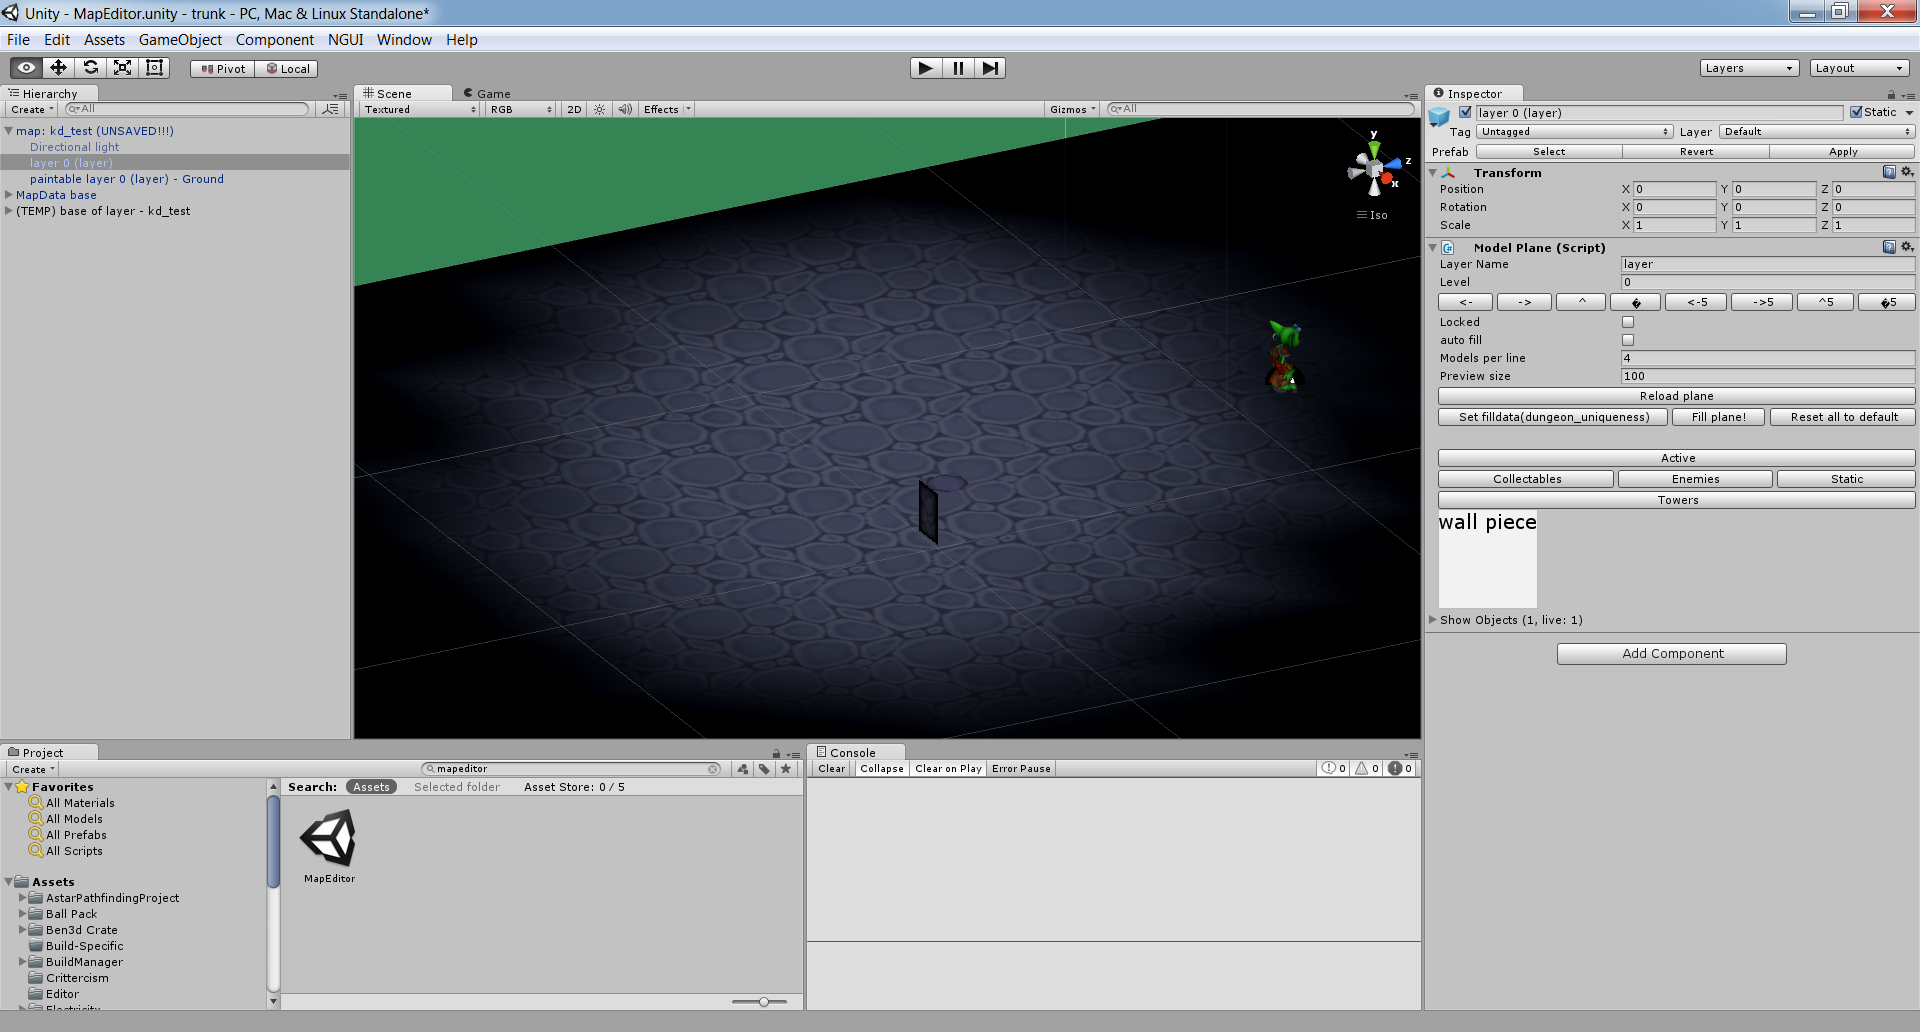
You can build maps by placing several of these blocks next to each other. This is pretty trivial. More ways to build maps will be explained later.
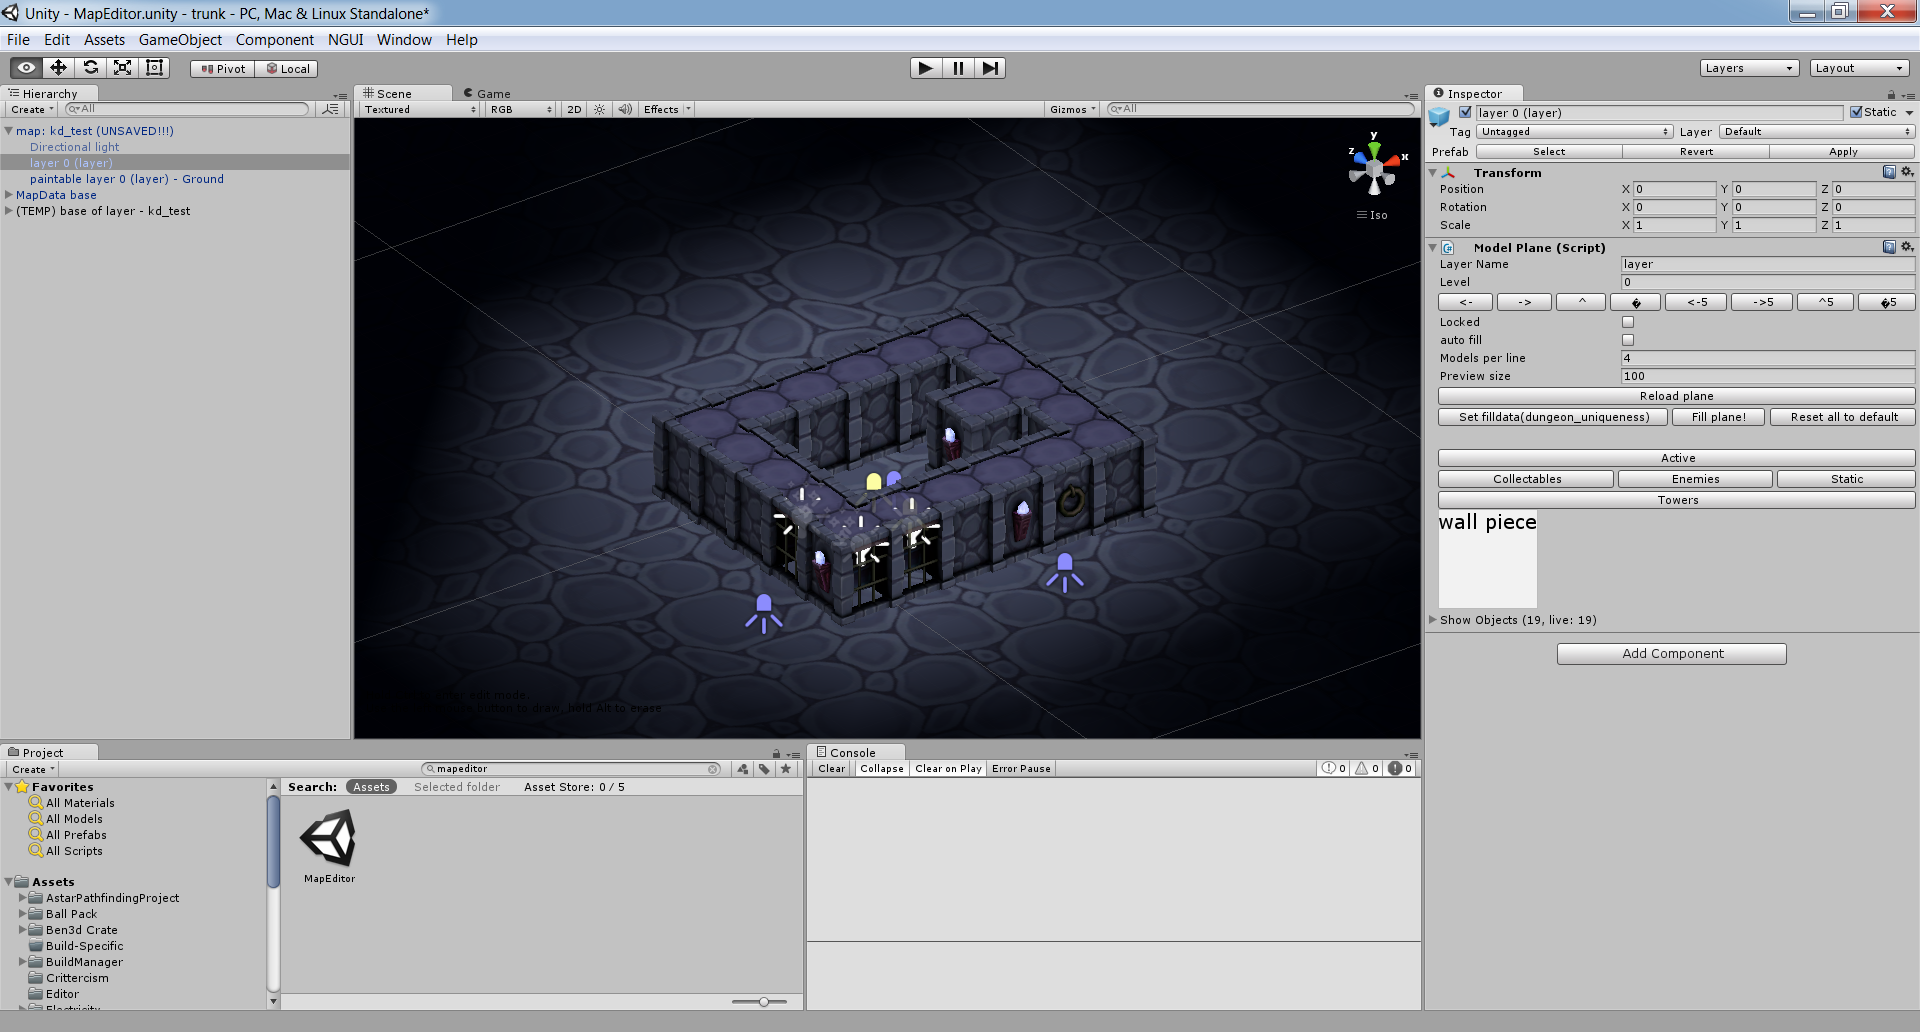
This is the magic step – with the click of a button, the placeholder blocks can be automatically converted to actual tiles. The walls of each tile are randomly selected out of a pool of about 7 (the simple wall module has more weight to make it more common). Unnecessary and overlapping objects are discarded to create an optimized, continous setup.
3D tile editing
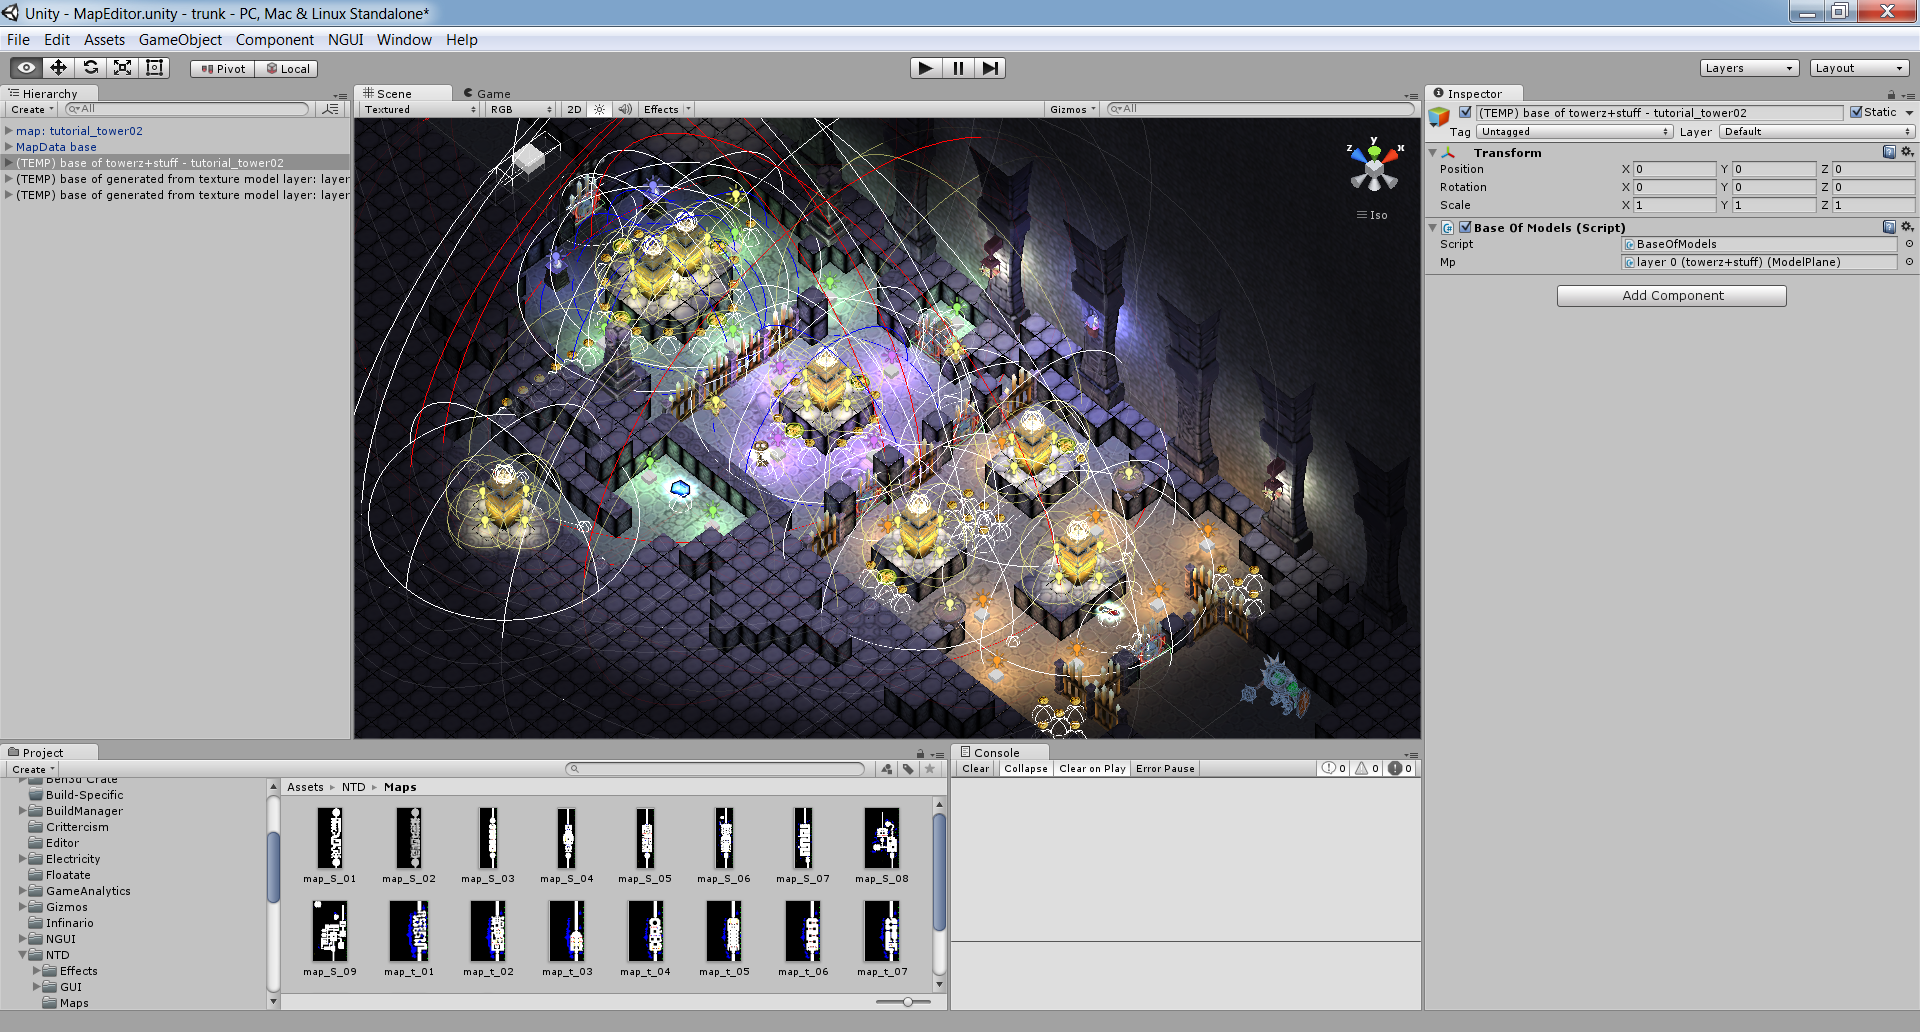
Now that we see how the basic building blocks work, let’s see how they can be placed with ease on the map. The layer that holds these blocks (and any other prefab object, including towers, enemies, decorations, light, etc.) is called the ModelPlane. The ModelPlane editor automatically finds prefabs in a certain directory (organized by sub-directory) so placing them is extremely simple. The scene is not actually saved in Unity as-is. Instead, only the location, prefab type, and special attributes are saved. This means the saved version of the map is lightweight and easy to manage.
You can place a single tile by Ctrl+clicking, remove it by Alt+clicking.
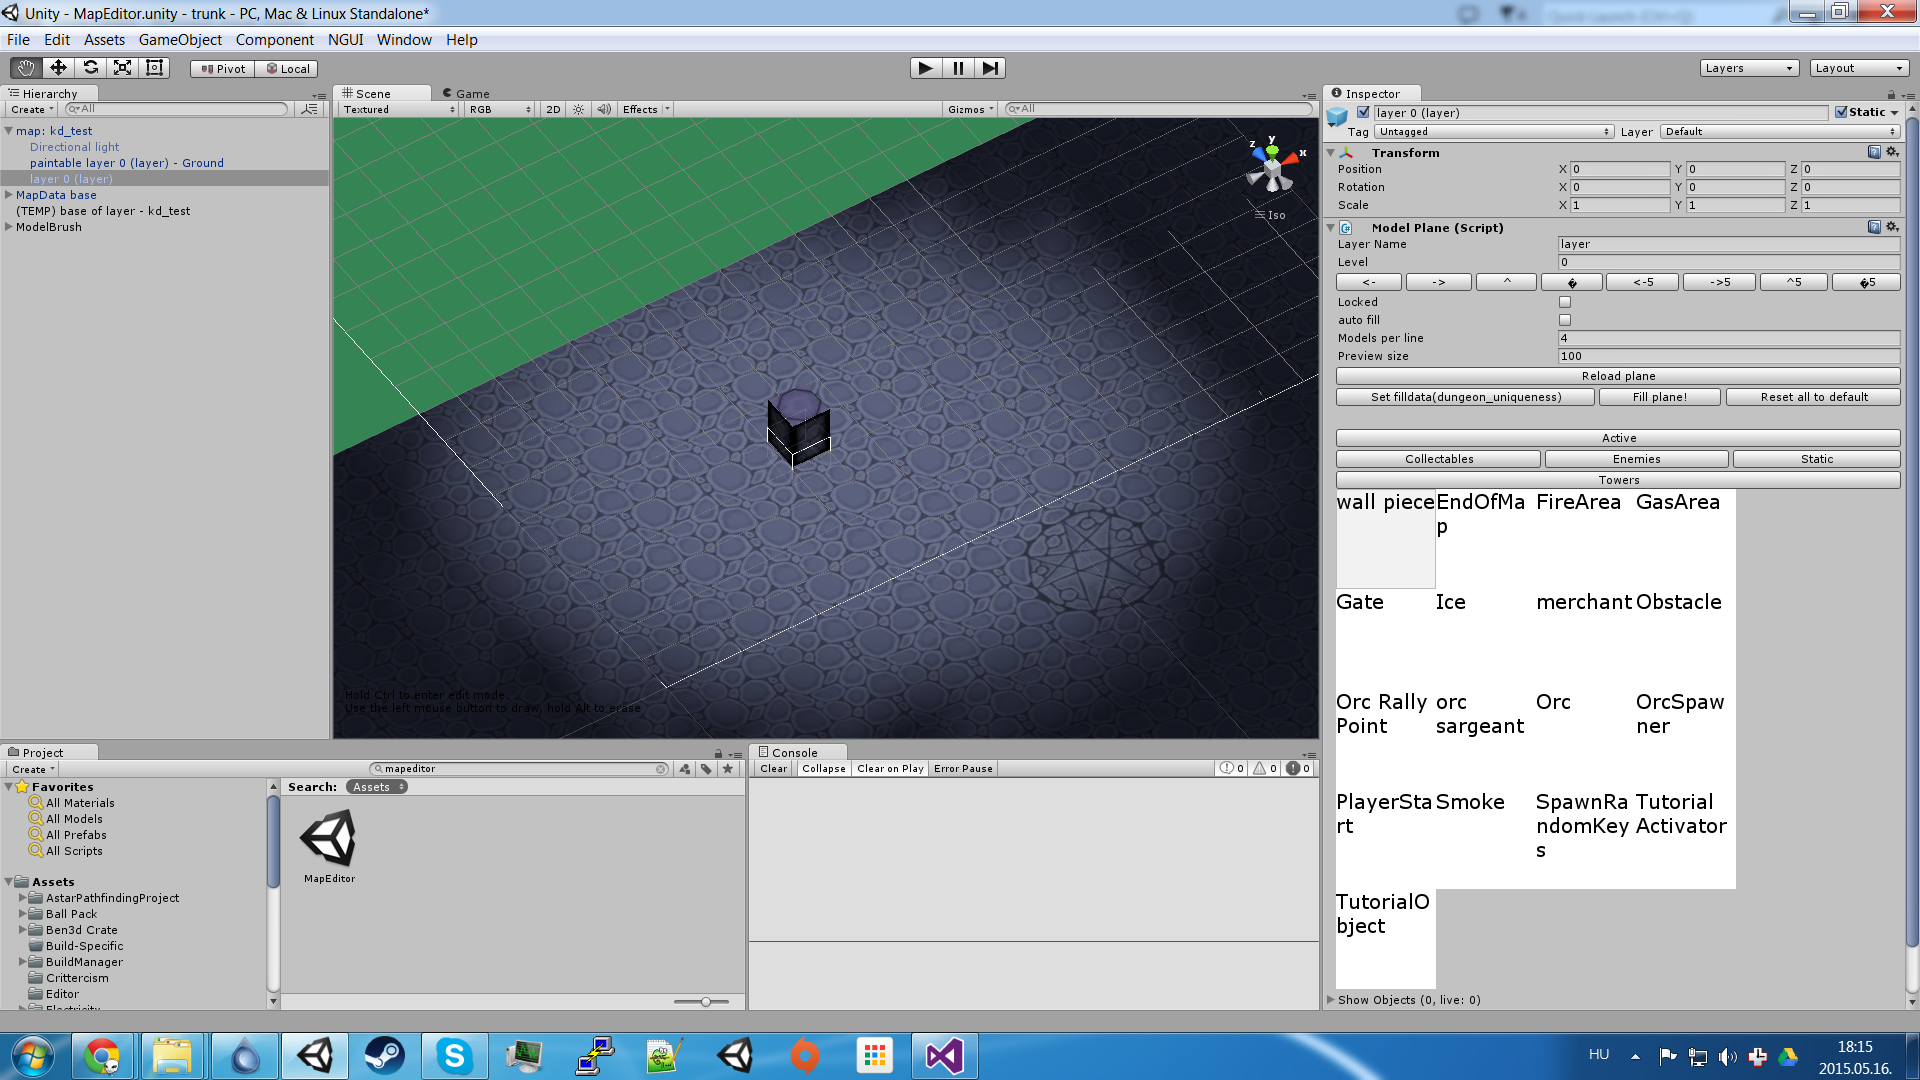
Multiple tiles can be painted on a rectangle by shift-clicking.

Specialized layers
As it turns out, painting maps by hand in-editor is still a tedious process. Matt, our map designer is also the 2D artist so we came up with a solution that helped him create the basis of maps extremely quickly. The new system (called TextureModelPlane) takes an input texture, assigns pre-defined prefabs to the colors and automatically builds a map based on this. This map can of course be modified later. This is where the power of reusability comes in – writing the texture importer is extremely simple, and it simply generates additional ModelPlanes, so there is no code duplication.
Take a look at the inspector on the right. The map is generated based on the selected texture.

Another specialzed layer we created is called the PaintableModulePlane. This tool is also enabled by the power of reusing existing solutions. This layer allows you to copy any other map (well, simplified map called module) onto your existing map. You can use pre-made components on your new maps with ease.

A final element we created by re-using an old component is the dungeon’s walls. Guess what – it’s the good old 2D PaintablePlane, but rotated by 90 degrees.

Other objects
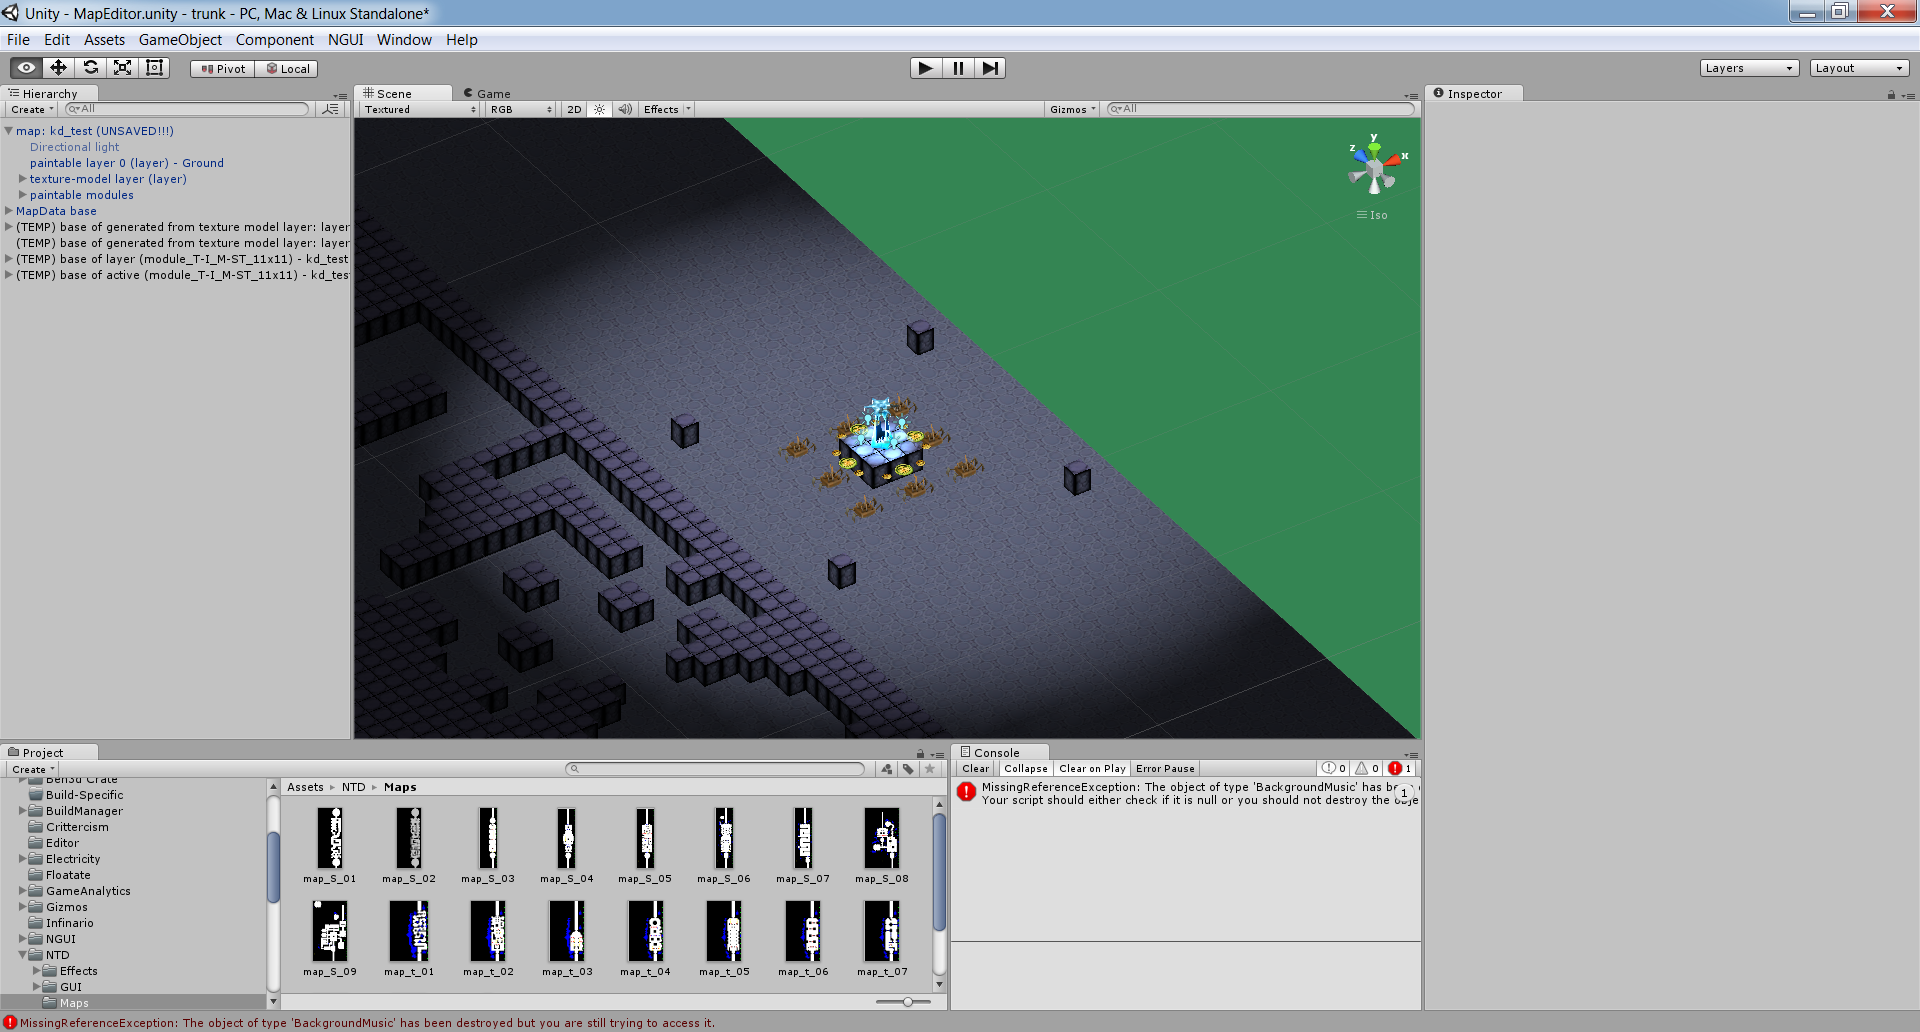
As I mentioned above, we used this editor to build and setup everything on the map, not just the walls. Any object type can be placed. If you modify a special property on an object (like where a tower should aim), it’s serialized and saved as part of the map itself. Here’s a fully setup map with some visible properties.
The end – export process
Now that the map itself is created, it needs to be exported. Exporting is an automated process that finalizes and optimizes the map. The result is a completely stand-alone scene in Unity that contains a lot of custom meshes, modified prefab attributes, etc. and can be loaded very quickly when switching scenes.
The export process has several steps:
- the scene is cleaned as a pre-cauton – all objects are removed and re-created by the map
- 3D objects on top of each other (like a tower on top of a block) are moved to their proper heights
- the placeholder block tiles are converted into their final version, as shown above
- some sub-objects are separated from their roots to be preserved (lights, etc.)
- static objects (blocks, the ground, static gates, fences) are batched into a few meshes – note that we don’t use Unity’s static batcher
- meshes are optimized by removing outward-facing and blocked faces
- square colliders (one on each block) are merged into large rectangular colliders
- lightmaps are generated
- the map is scanned by the pathfinding system and cached for faster startup
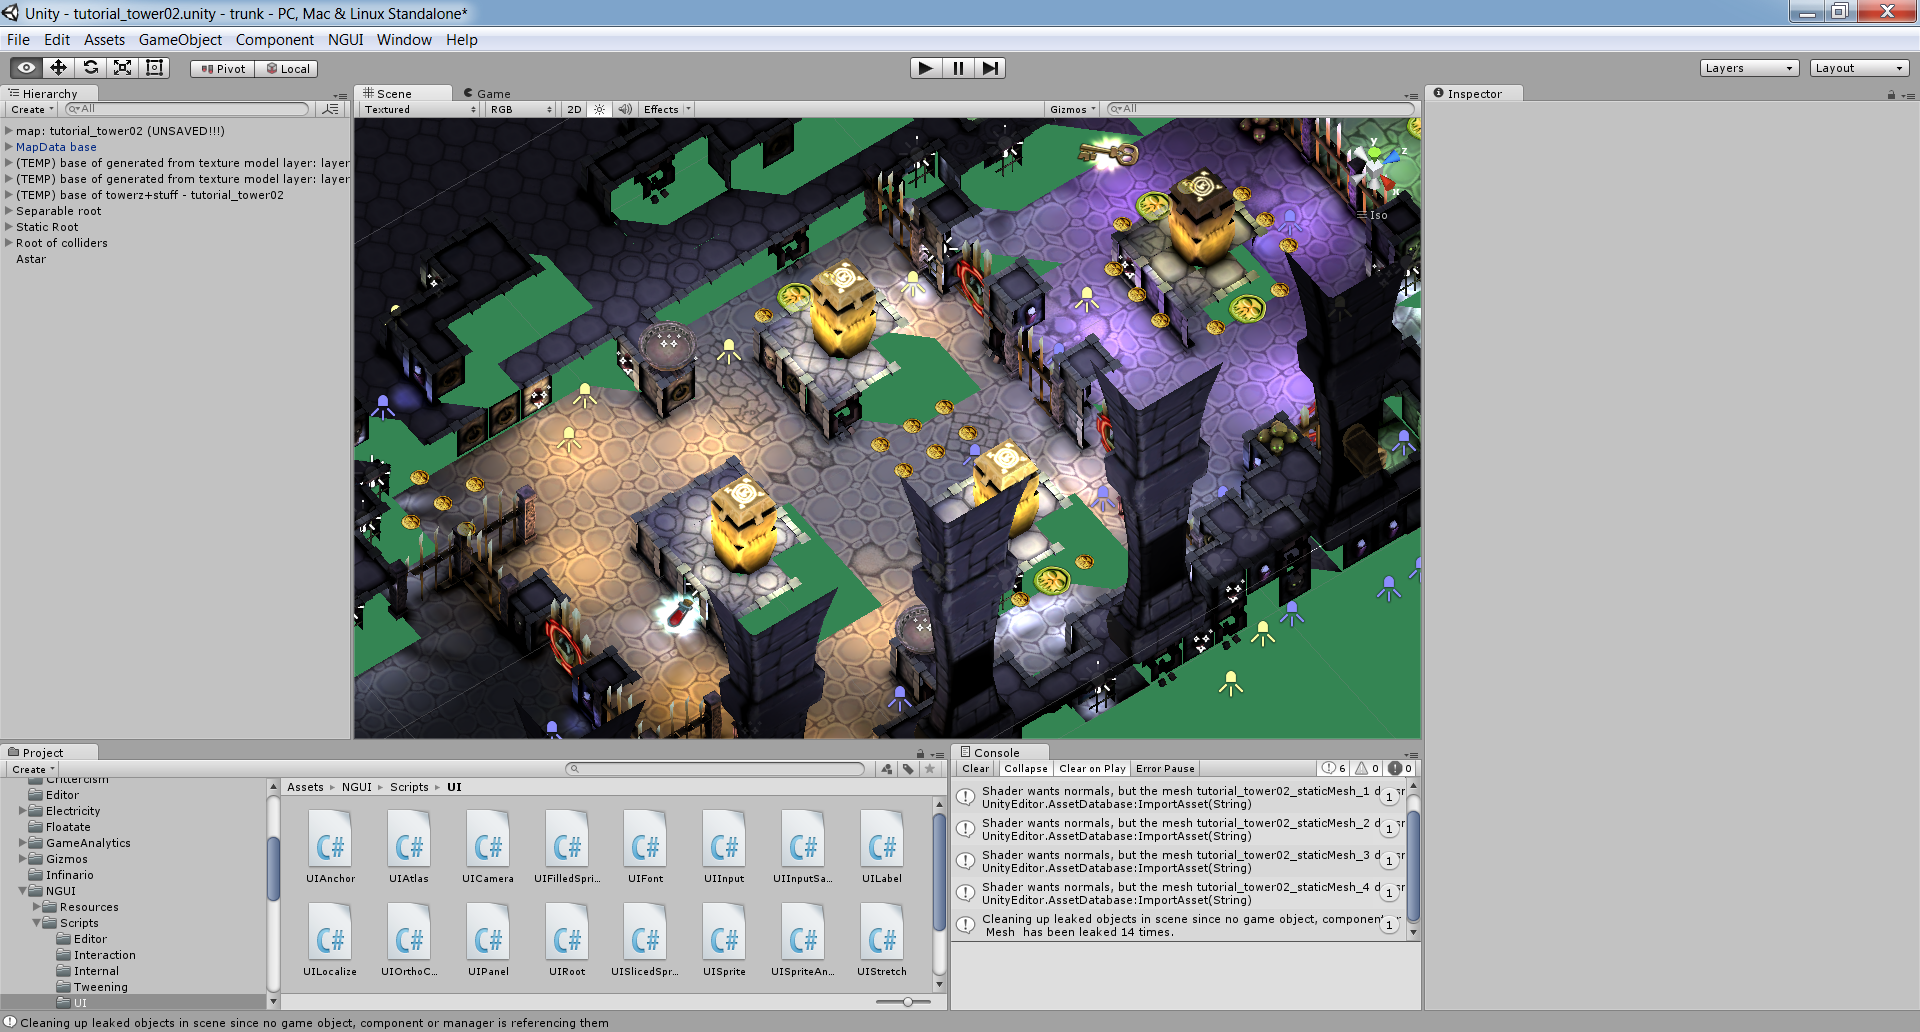
You can see the final, exported version of the map shown above here. Note how much better the lighting looks, how natural dungeon-y it gets with everything in place.

And of course by rotating the view you can see the results of the optimization – every vertex that is not seen by the user is removed from the static meshes.
What’s next
Again, thanks for reading the article, hope you enjoyed it!
In the next post we’ll take a look at map eidting from a designer’s perspective – AKA map design.
And again, if you wish to support us on Greenlight, the link is: Botbiteindustries.com

