Tutorial
Making Your Own Zombie Faces for Mount and Blade by xPearse
Ok this tutorial will tell you how to make your own zombie faces for use with mount and blade, but there are a few items that we need first before we continue. They are
- Photoshop
- A mount and blade face texture
- Images of Open Wounds
- And a little patience and concentration
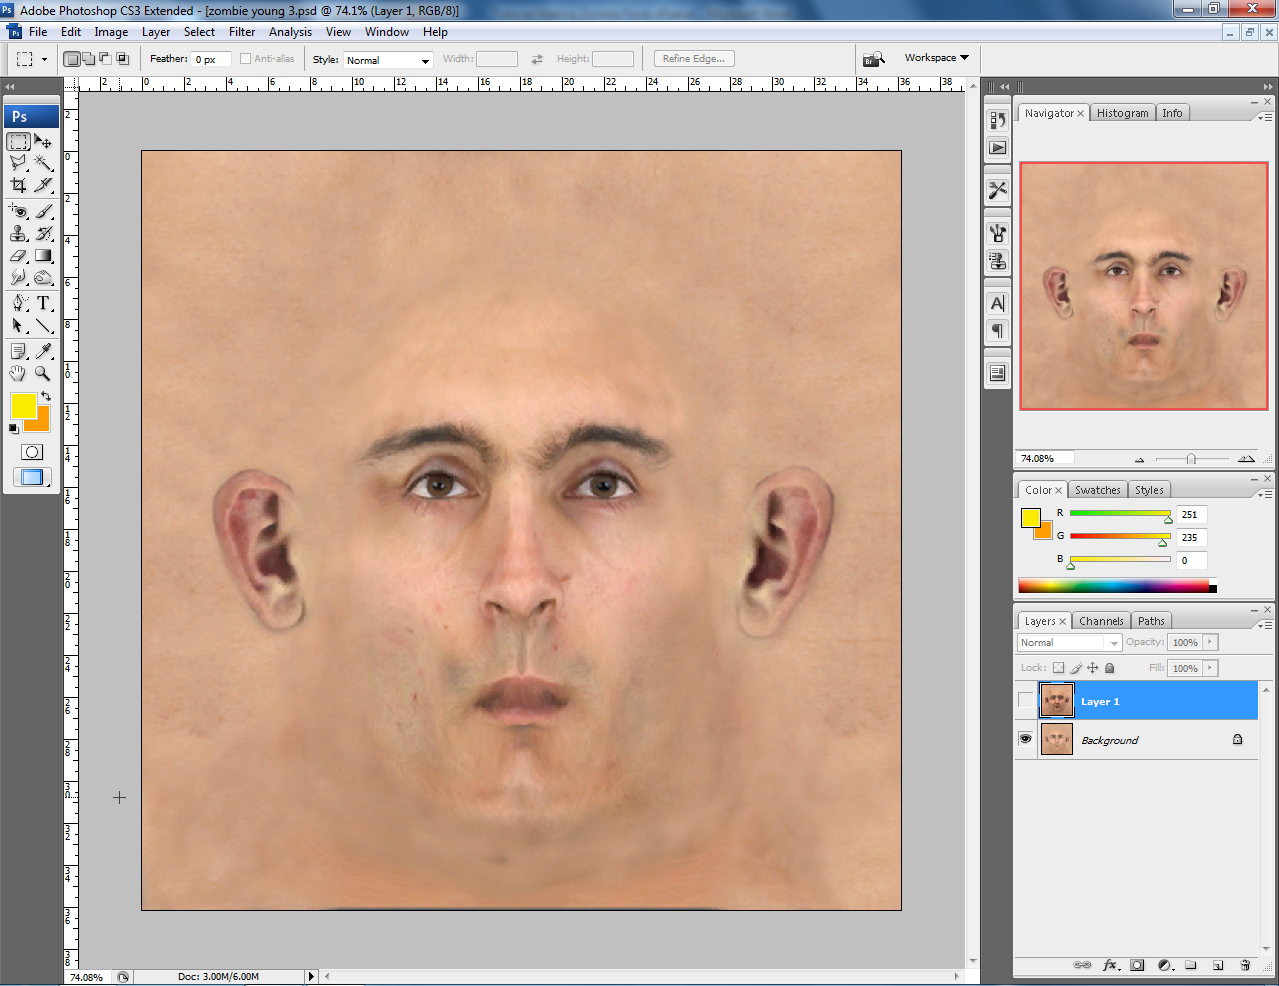
Ok here we go, open up a mount and blade face texture with Photoshop and whatever size it is make it at least 1024x1024 so the added wounds and details will look better. To do that click Image, Image Size and then type in your wanted resolution of the image into the width and length boxes. Also add in the aged version of the face you want as a new layer, to do this just click on your aged image and click select all then edit copy and then paste it into your younger face image and it will be a new layer.
Here is the face I am using for this tutorial loaded up in Photoshop.
Ok now we must put down the saturation of the skin to make it more zombie like. Image, Adjustments, Hue Saturation and lower the saturation to -60 to grey the skin (May differ if you want to make the skin a bit less grey or more). Now do the same for the aged face to grey the skin.
Step 2 - The Eyes
Now this part will show you how to make the eyes bloodshot, the other ways I did the eyes were just using the burn and dodge tools around the eyes and the other one was just making the eye totally white using the dodge heavily. This part is easy so it won't take much time to do.
Ok now click edit in quick mask mode or simply hit the q key, now choose a small brush and paint around the eyes but don't touch the pupil as that doesn't get bloodshot (If you want to you can), if you are correct so far it should be painting red while in the quick mask mode.
After painting the eyes in quick mask mod it should look like this.
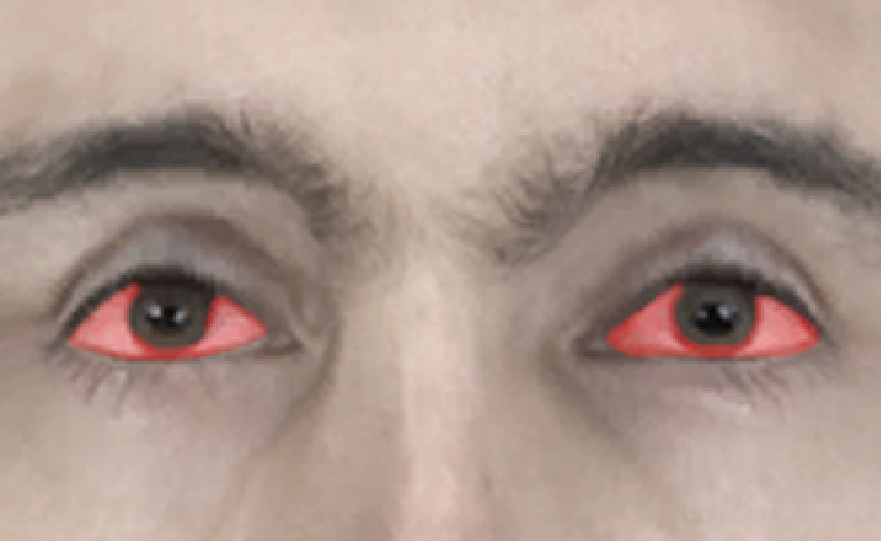
Now click again on the quick mask button (or press q) and you should now be selecting the eye part, now inverse the selection or press shift+ctrl+I to inverse and you should have the eyes selected.
Click Image - Adjustments - Colour Balance and then move the slider towards the red part to bloodshot the eyes (The red could range from +60 to +100).
The final result should be like this, make sure you do the same for the aged face.
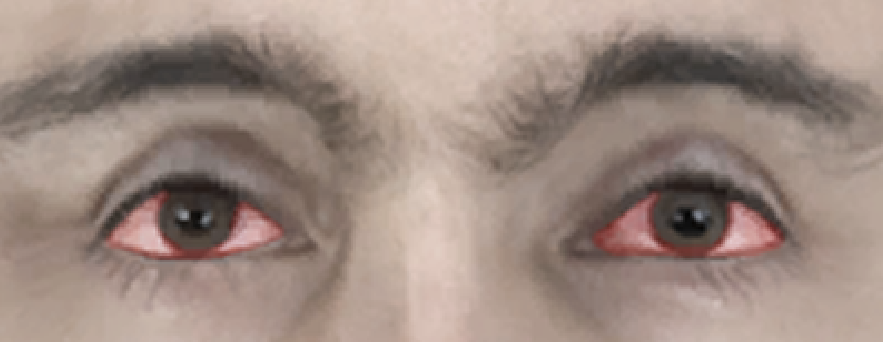
Step 3 - Adding the Damage and Wounds
Now we are going to add damage parts and such onto the face to make it uglier.
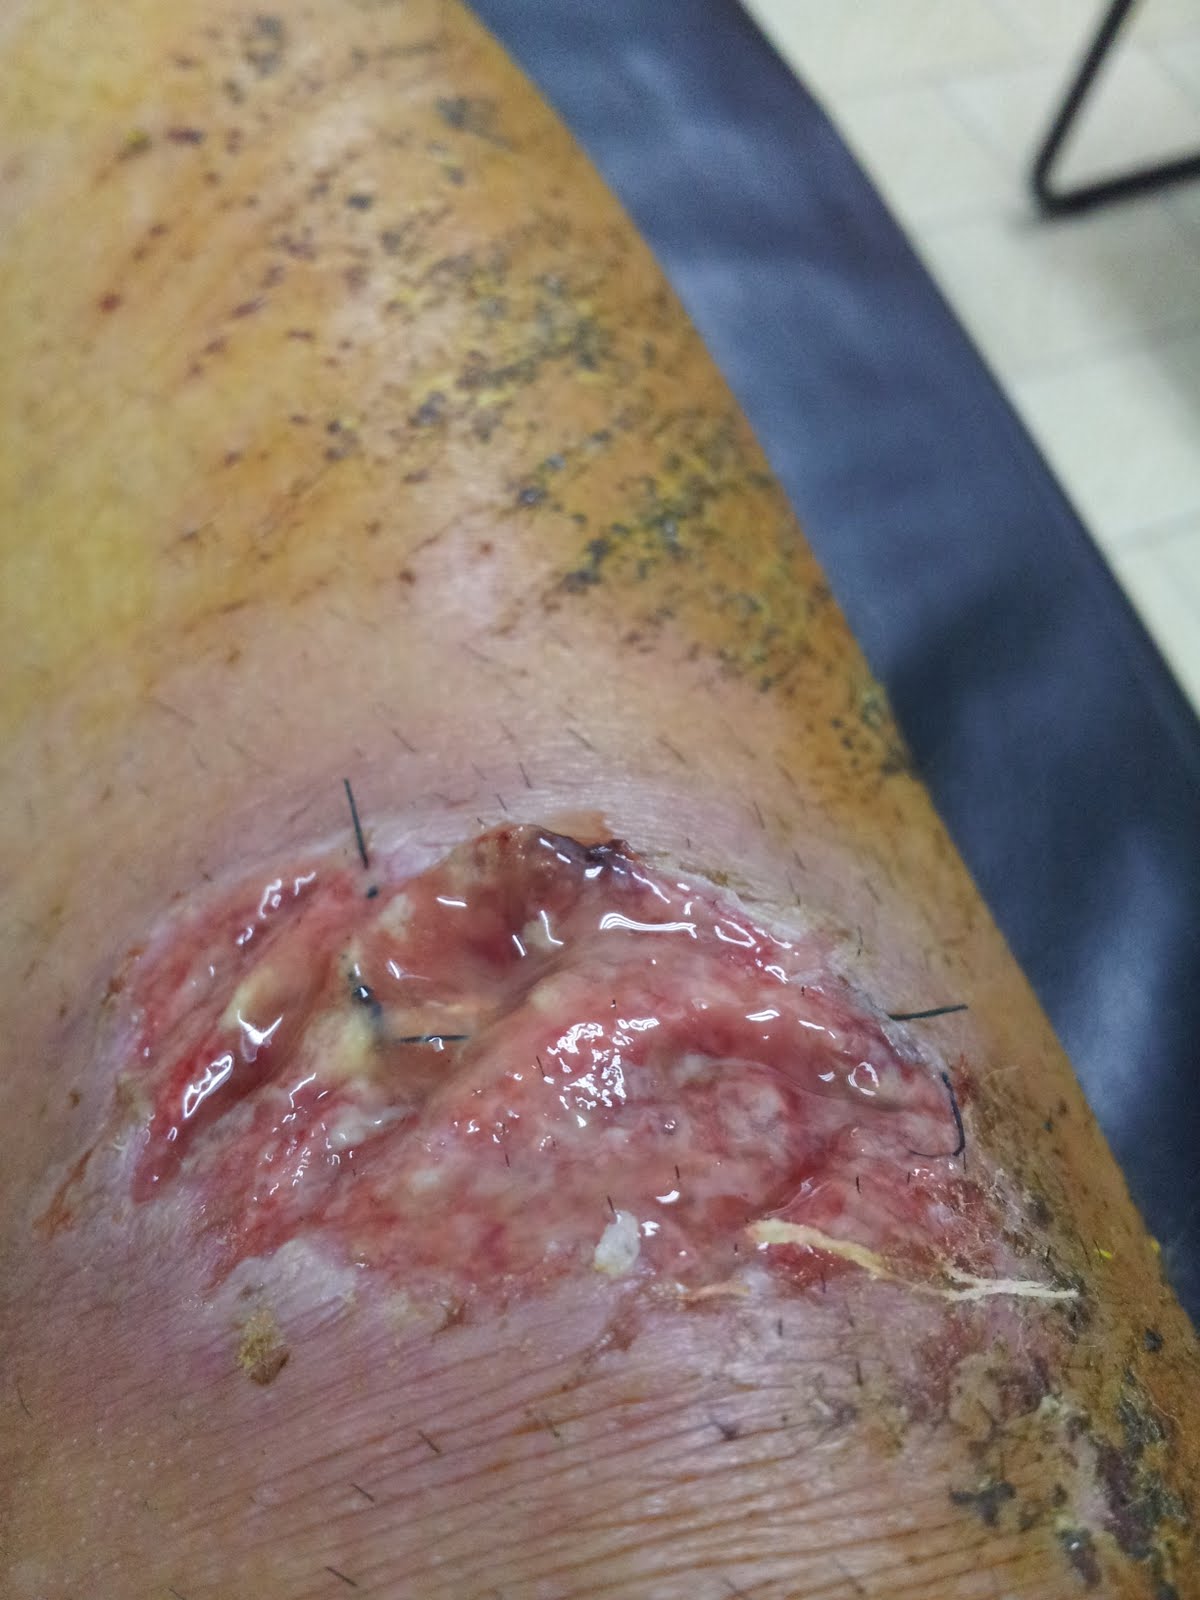
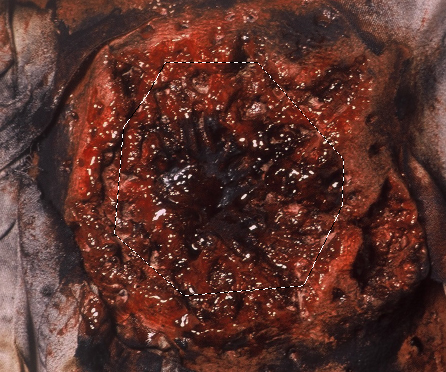
Here are the images I am going to take parts from, warning these pictures are not nice to look at so don't make me say I told you so. I know these pictures are disgusting but don't throw up just yet we still have a bit ahead before we finish.
Now we can cut certain parts of these images off for use with the face texture. First let's cut a piece of the gunshot wound out, select your Polygonal Lasso Tool and place it around the image like this
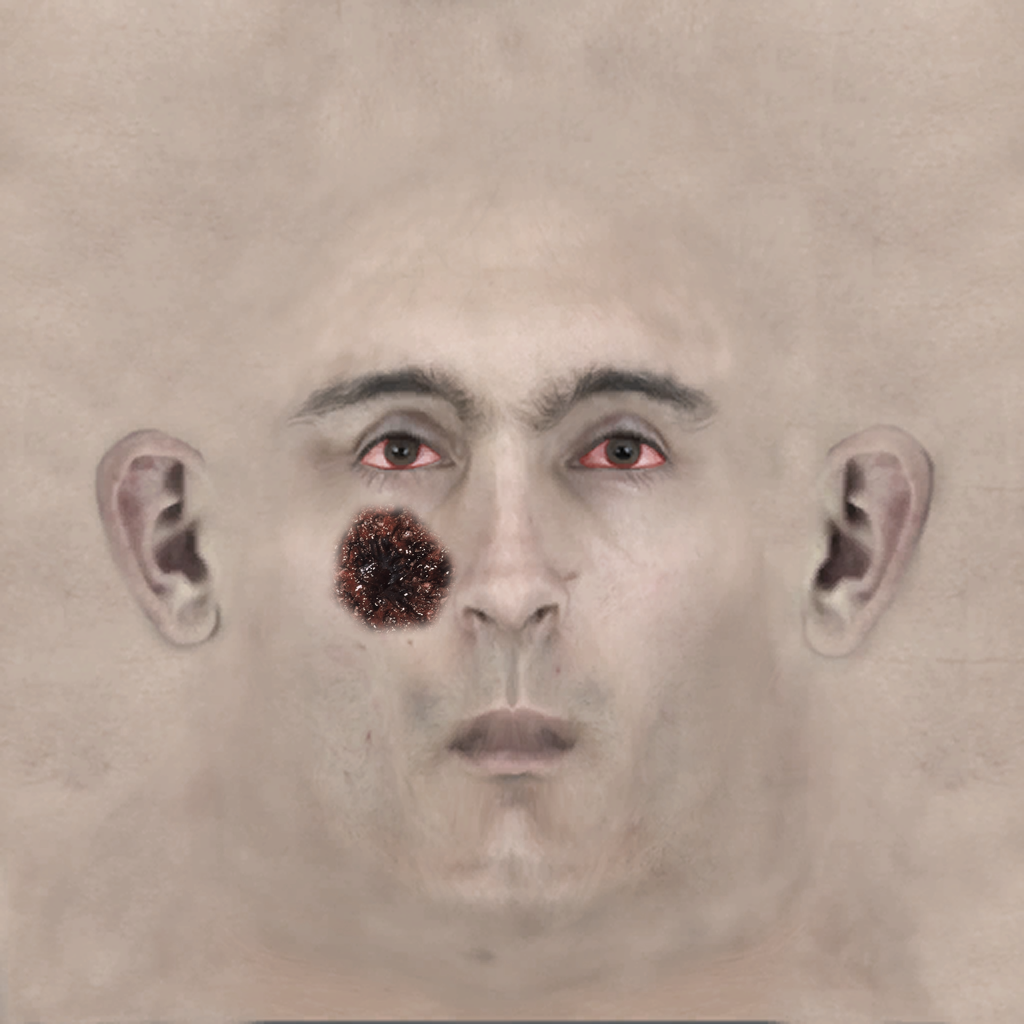
Now you must click select - modify - feather and choose a number between 1-20 (May differ when selecting parts of images or how big a resolution your image is). I feather by 20 for this image. After you have feather the image you then copy it on your face texture as a new layer and place it onto the location you want it to be. Also after moving your ugly picture make sure you lower the saturation (I lowered this part by -60) to make the flesh more dead.
Here is a picture of mine so far, notice the wound. We are going to add a couple more.
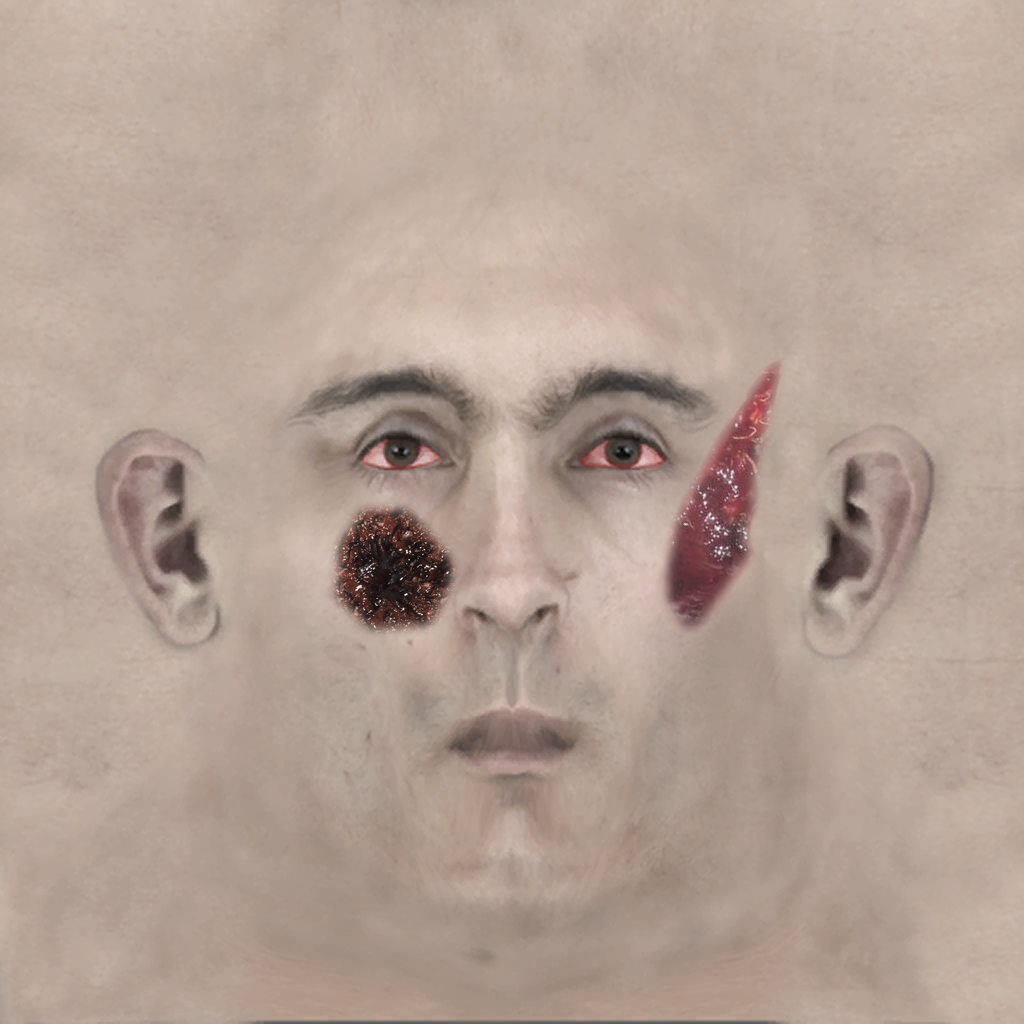
Now here another part of a different image I have selected, do the same stuff that you did for the first piece
Now on the face
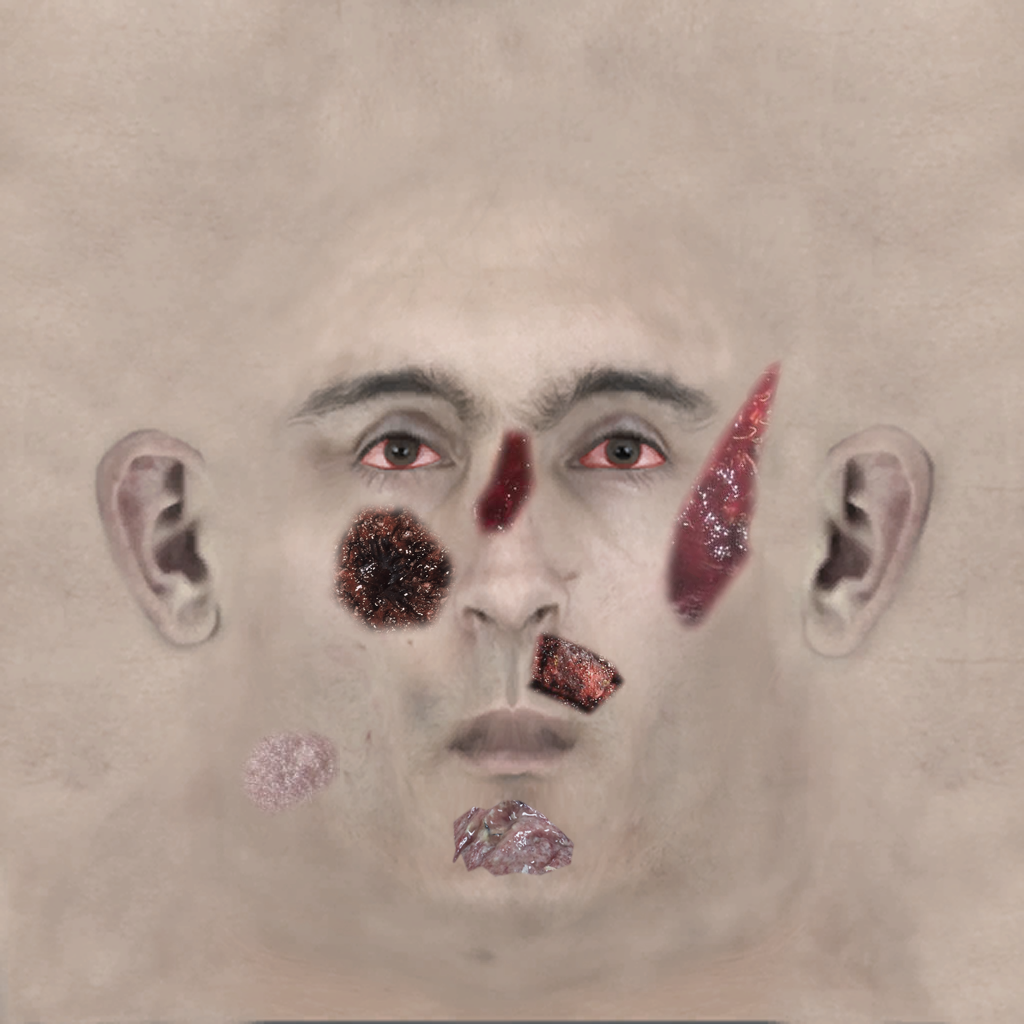
Ok I flick onto the finished zombie face since you can see what the final product looks like and you can just do the same with what you have done with the other images. Here it is below.
You can mix and match whatever to make your final zombie face but remember many of these steps and you will do it right. This face may look a bit off from the rest I did but its better than nothing so I hope this helps you a lot. Remember to save two versions of the image one which is young version and one which is aged.
xPearse






Imageshack.us
I tried to edit yours a bit, didn't workout to well, but i felt yours wasnt zombiefied enough so i just ran around with the burn tool, what do you think?
Yea thanks for that, I can accept that as a user submitted zombie face so thanks for that. I'll add you to the credits list, im not that very good at using photoshop anyhow but this tutorial is just to show kinda how I did the other faces.
I'll also add this into the images section as the zombie face 5 v2 by nijbu.
u should make bites on there arms
Yea I will do that when I get back around to doing costumes again, just at the moment im doing the koban scene.