Tutorial of my own creation for Elite Force 2. Can also apply to other Quake 3 engine games. Note this is just focused on getting textures into the game. It doesn't focus on shaders which is a separate subject.
Special thanks to Chrissstrahl for his information on this subject.
Star Trek Elite Force 2 uses .dds files for textures. There are several image editors that can save as .dds but the one I'm going to use is paint.net. Because it's free and is very useful.
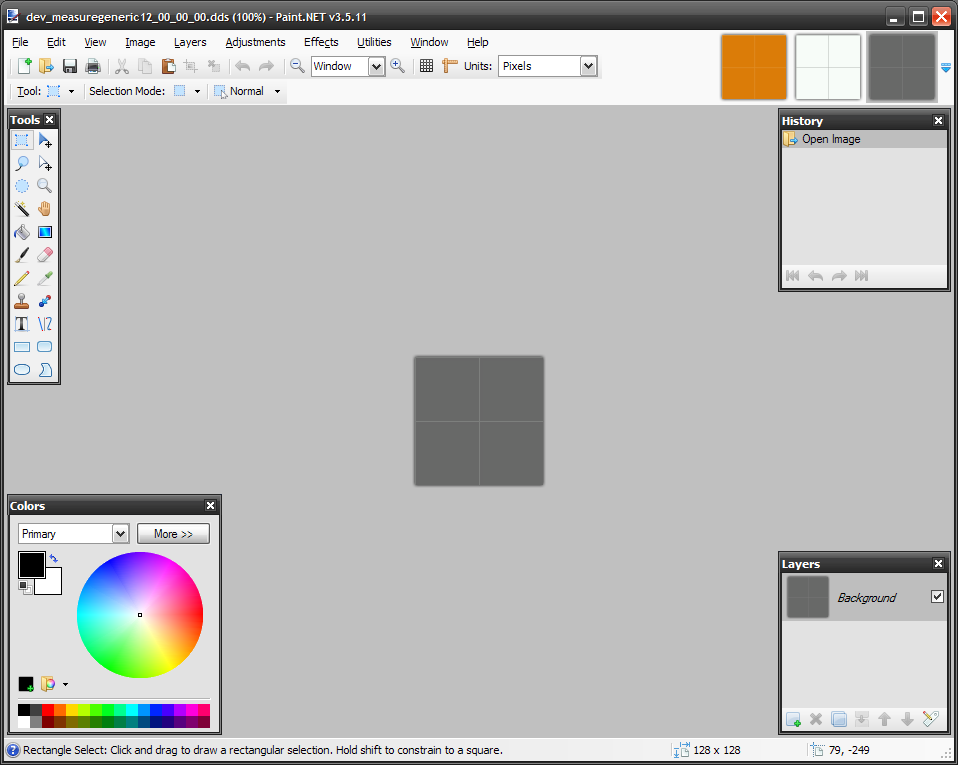
Download Paint.net and open up your texture. In this case I'm using a Source engine dev texture
Now go to File -> Save-as, and select .dds as your file type. You will be greeted with this screen
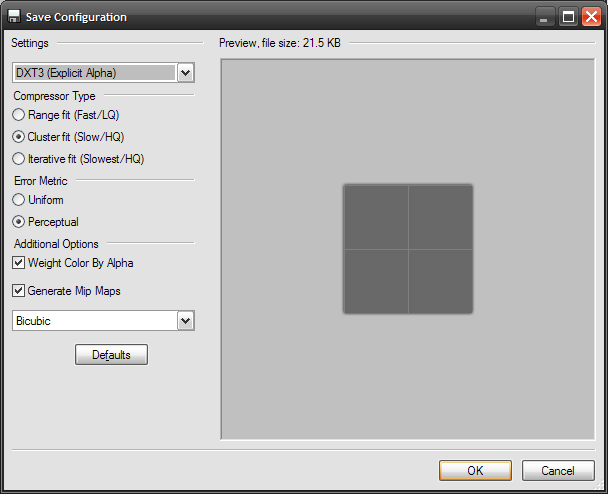
Make sure your settings are similar. Select DXT3, check "weight color by alpha", check "Generate Mip Maps" and select "Bicubic"
Now save your .dds file. Elite Force 2 like most Quake 3 engine games loads textures from the "base" directory. This is commonly located in C:\Program Files\Activision\EF2\base
Now you can either make a .pk3 to load your texture. But if you quickly wish to test it, create a folder in your base directory called "textures" and create another folder in that to place your custom textures in. In my case I created one called "Dev". Place your .dds files here.
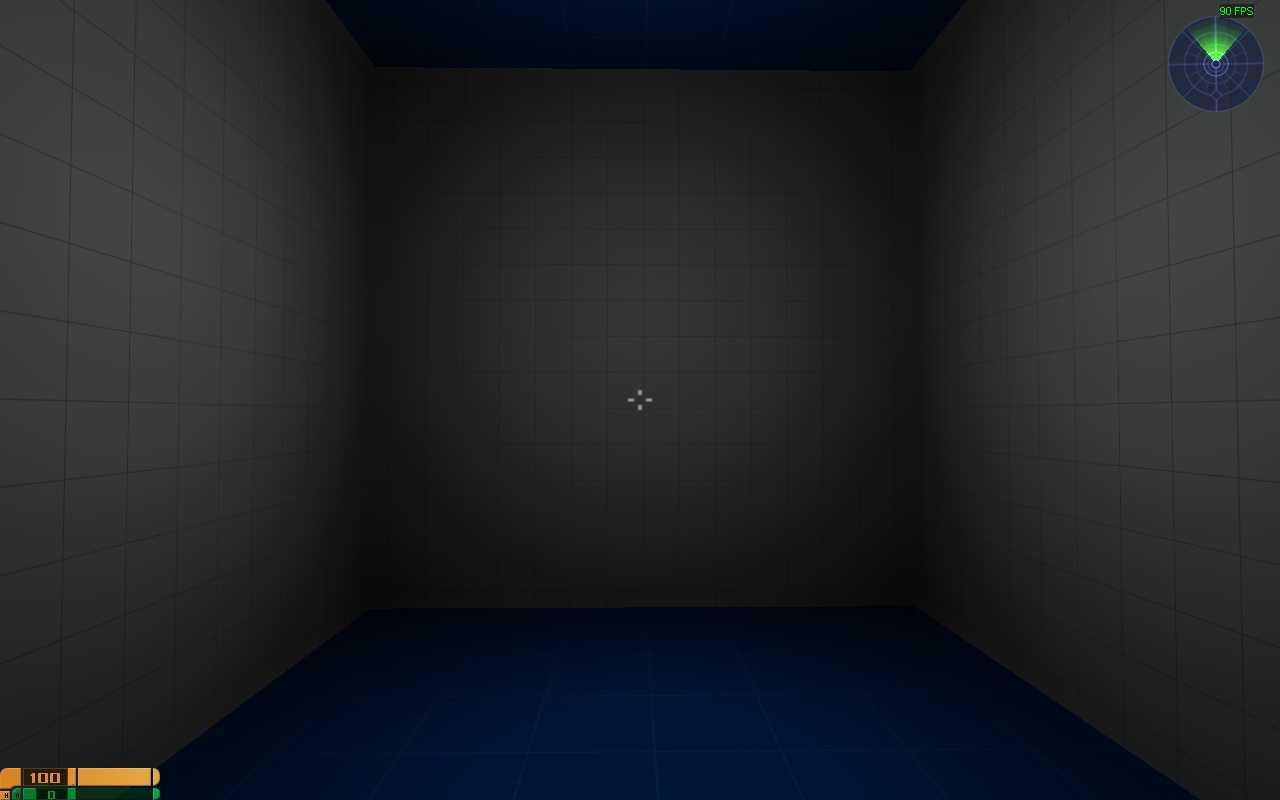
Now go into Uberradiant and go to textures. Your texture folder should appear. If your .dds settings were correct your textures should load properly ingame.