This tutorial will teach you one of the simpler ways to texture a unit in Call to Arms(or MOWAS, MOWAS:2) There are plenty pictures to help you follow along the way in case my poorly explained sentences confuse you. This can be confusing and a lengthy process when you are new to it, but once you get used to it, it becomes second nature
Things you will need::
- Gimp
- .DDS plugin for Gimp
- Winrar or an equivelvant
- Call to arms (duh)
--Step 1: Finding the texture.The texture files are located as follows:
C:\Program Files (x86)\Steam\steamapps\common\Call to Arms\resource\texture\common
Once you are there, you will find zip files as follows:
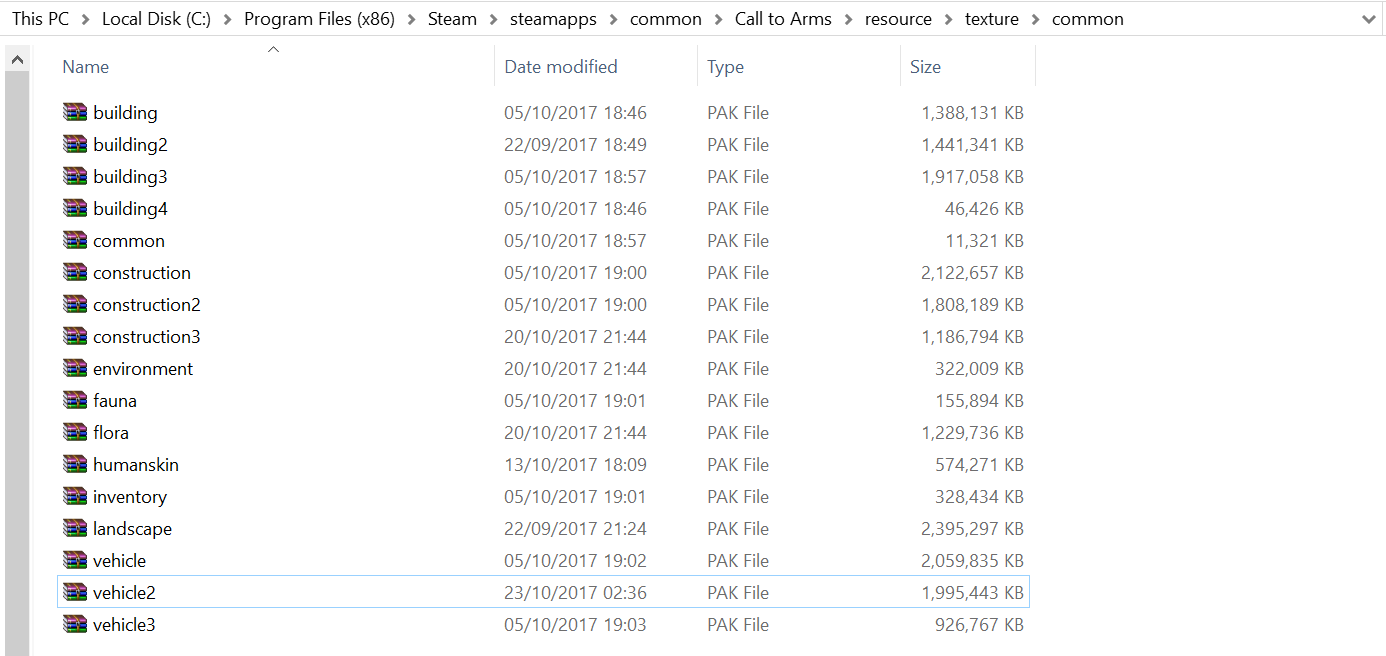
The textures are obviously located in the Vehicle^ zip file. In the instance of this tutorial, we will using the M1A2 Abrams, which is located in Vehicle2 -Open Vehicle2 and open the folder that inside which is also called Vehicle2. --Now you will see various .dds files for different units::
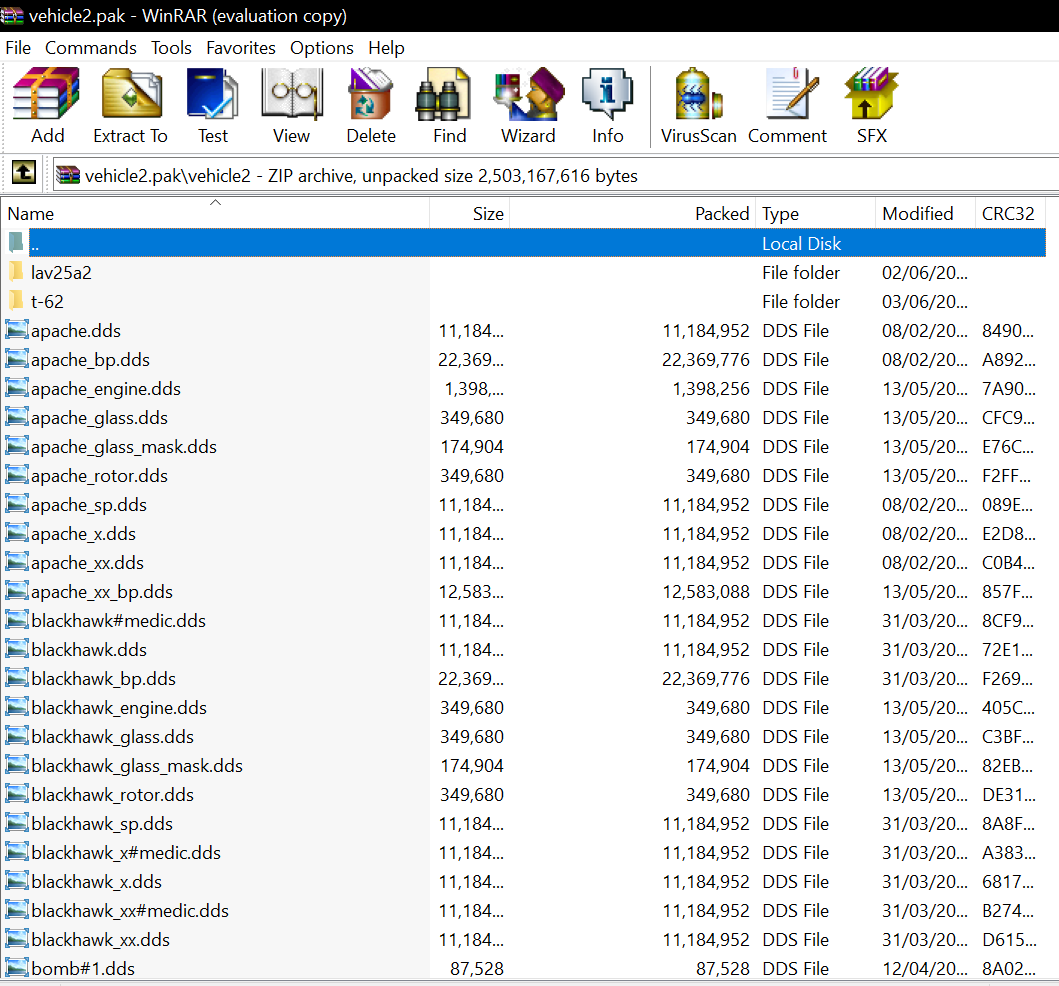
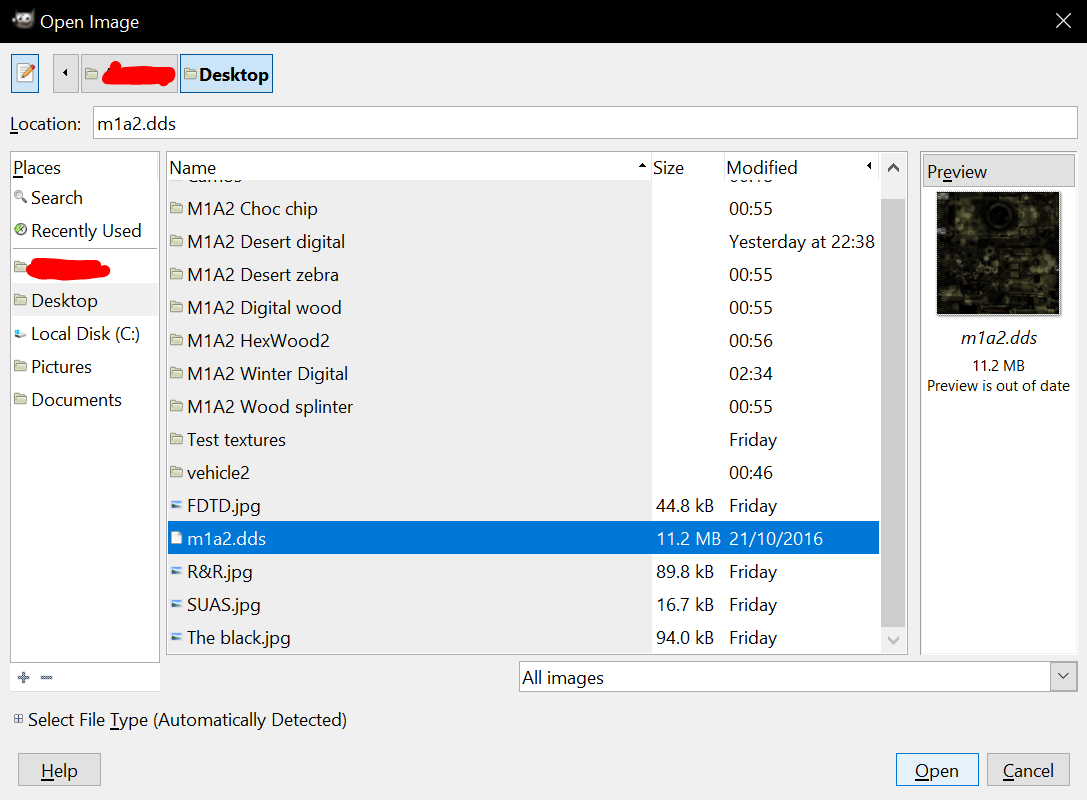
Now you need to find the texture you want to edit. (In this case its "m1a2.dds")
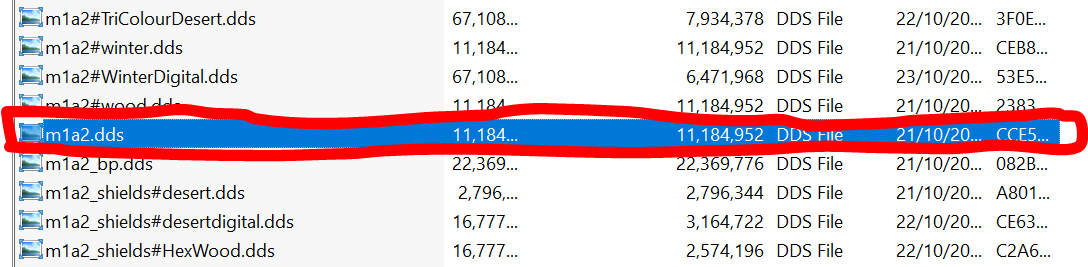
Extract that file to your desktop so that you can open it up in Gimp, as it can't open zip files.
--Step 2: Inserting the texture we want to overlay Now that the texture file is on your desktop, you need to open it up in Gimp::
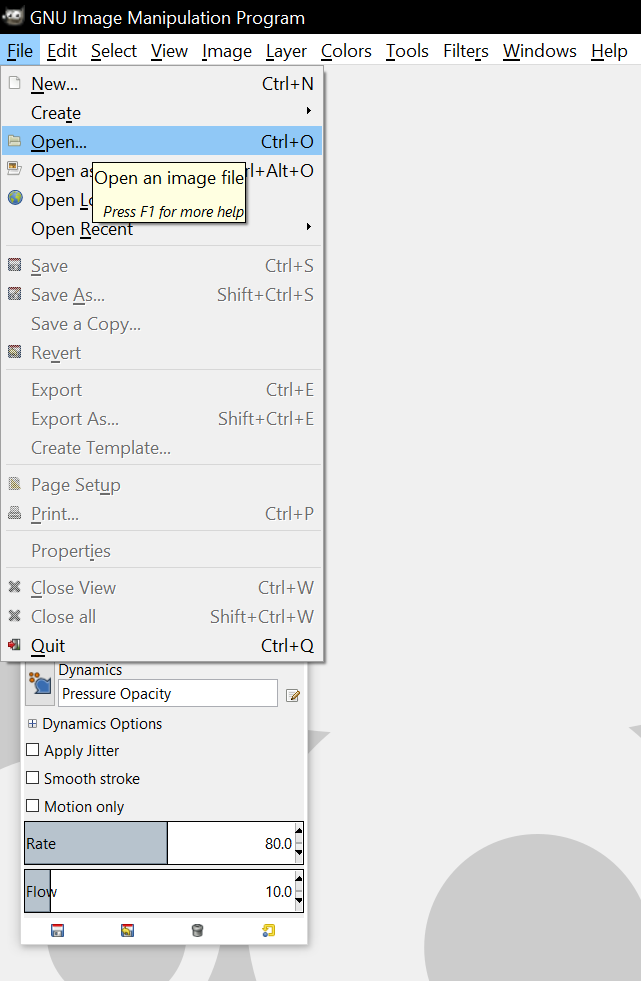
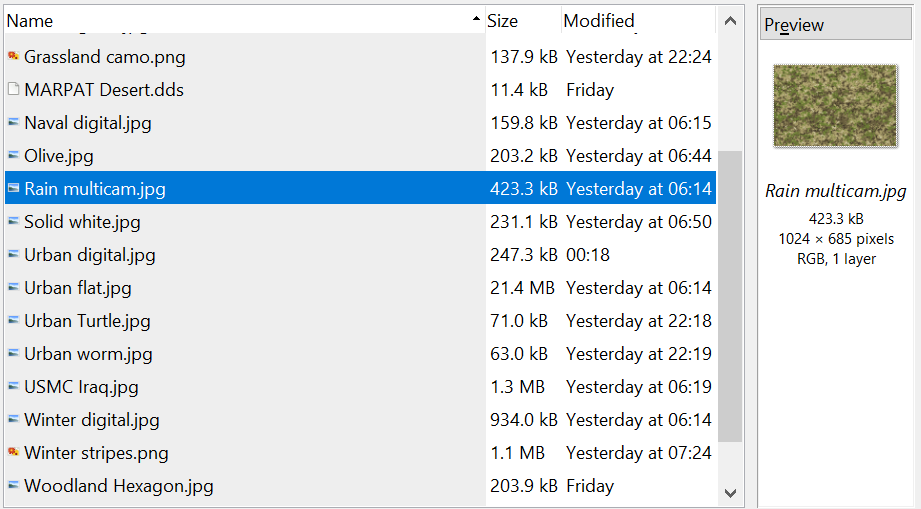
Now that we have opened the texture file, we can now import the texture we want to overlay over the top of the unit texture. Do the same as what you did to open the unit texture, however this time click "Open as layers" This will insert the texture we want to edit as a new layer that we can edit::
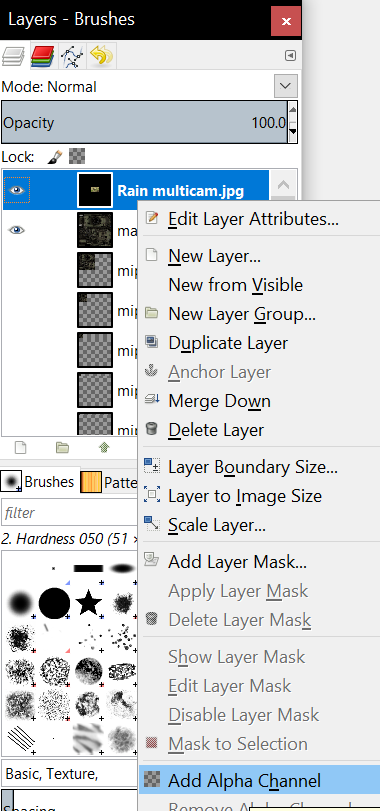
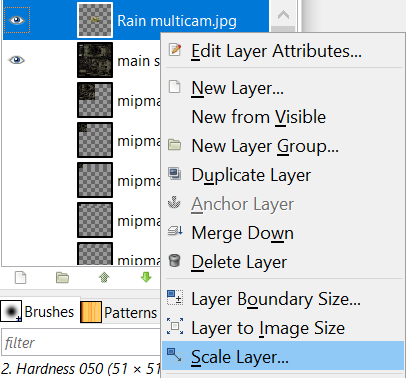
---- Step 3: Editing the new inserted texture Now that the new texture has been inserted, we can begin to overlay it over the top of the unit texture. First however, we need to add an Alpha channel to the new inserted texture, and make sure it is the same size as the unit texture so that it overlays correctly::

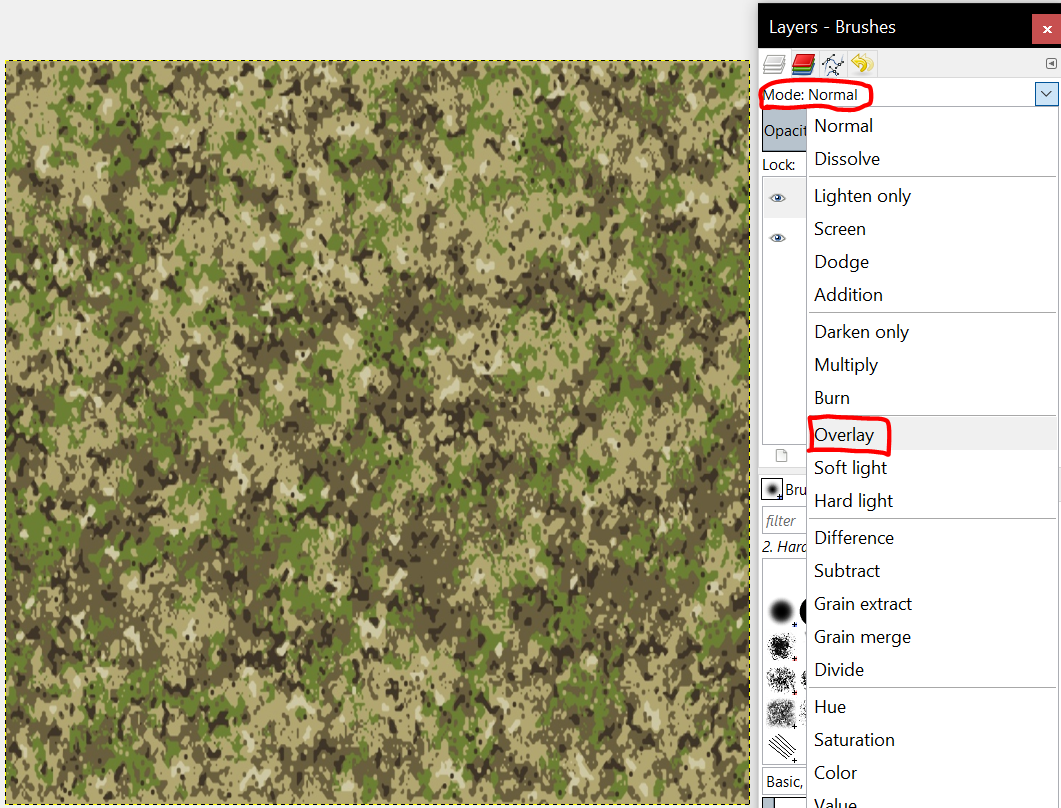
Now that we have done that part, we need to overlay the texture onto the top of the unit one:: Right click where it says "Mode: normal" and select "overlay"
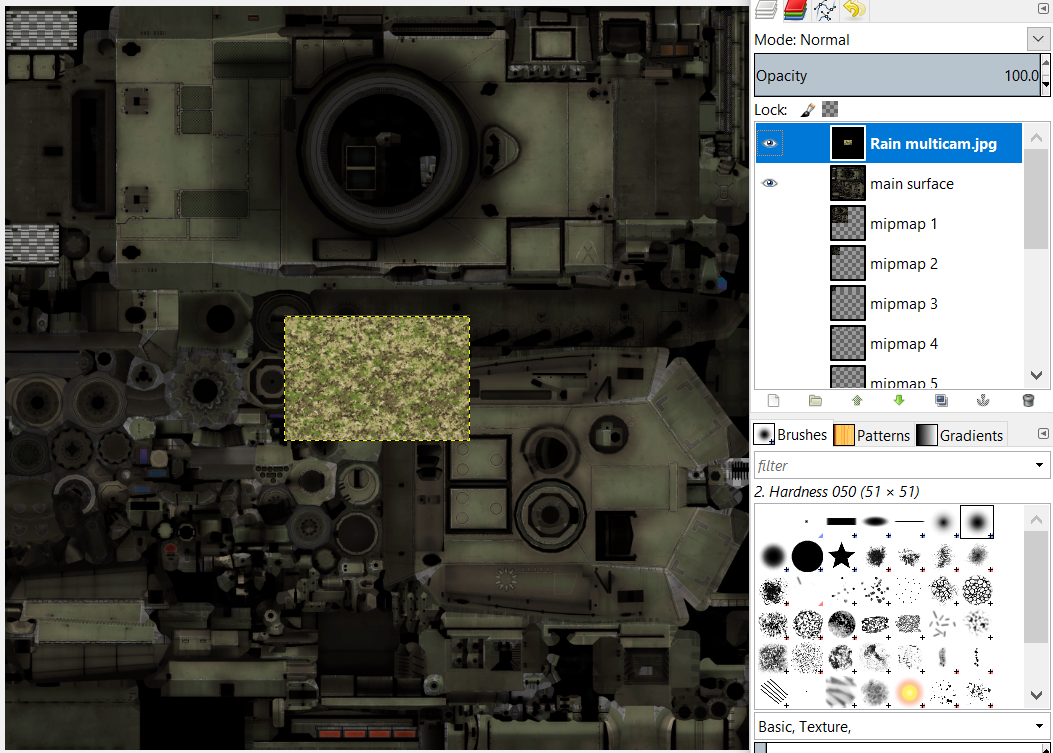
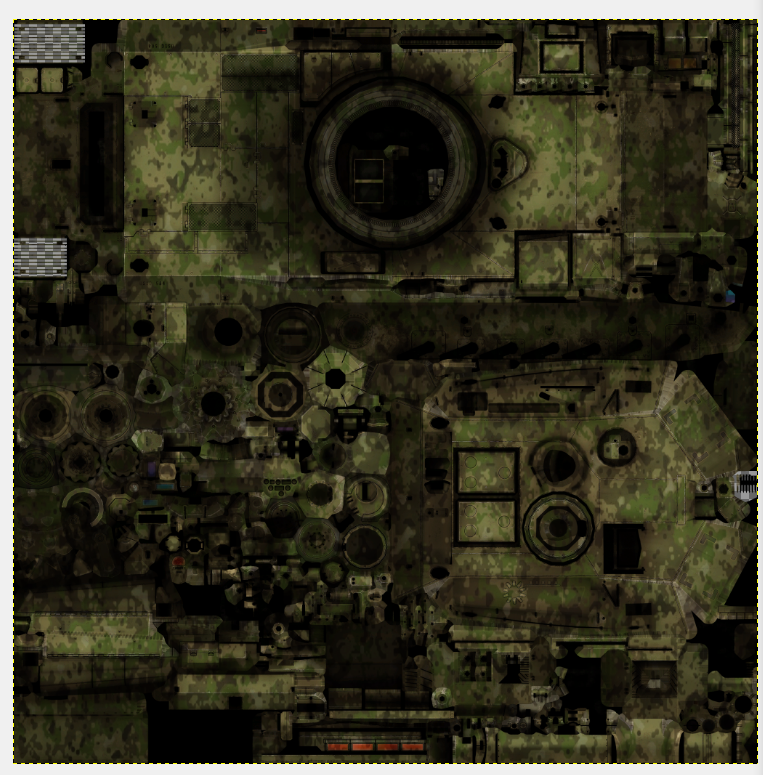
Once you have clicked overlay, the texture will turn transparent, as if it has been painted onto the texture on the layer below it. It should look like this::
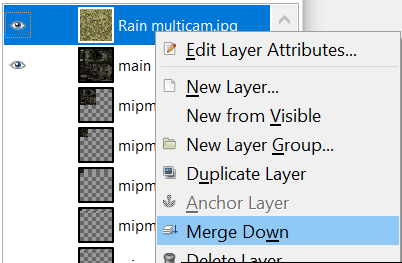
Now that the new texture has been successfully overlayed onto the unit's texture, we need to combine the two layers, and export it as a .dds file::
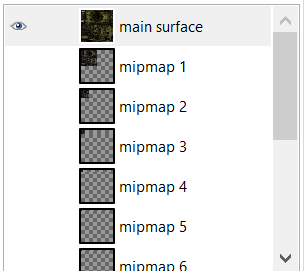
*PLEASE NOTE* When texturing vehicles, you also need to do this same method for the 'shields' as well as the damaged and destroyed variants of the vehicle
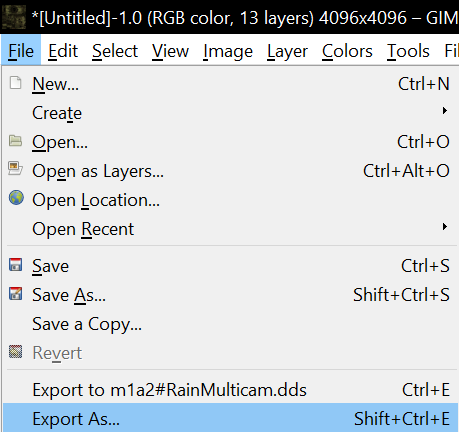
-----Step 4: Exporting the new texture as a .dds Now that we have successfully overlayed and combined the layers of the two textures together, we now need to export the file back to the desktop as a ".dds" file so that we can put it back in the game files ready to be used::
**IMPORTANT** Rename the texture file to whatever you like at the top of the menu ----When renaming a texture file, you must name it as follows:: ""[unit name] *#* [texture name]"" So in this case it would be:: ""m1a2#RainMulticam""
----BEFORE you press export, make sure to click the drop down box at the bottom, and select "DDS image" Once you have done that, you may press "Export"

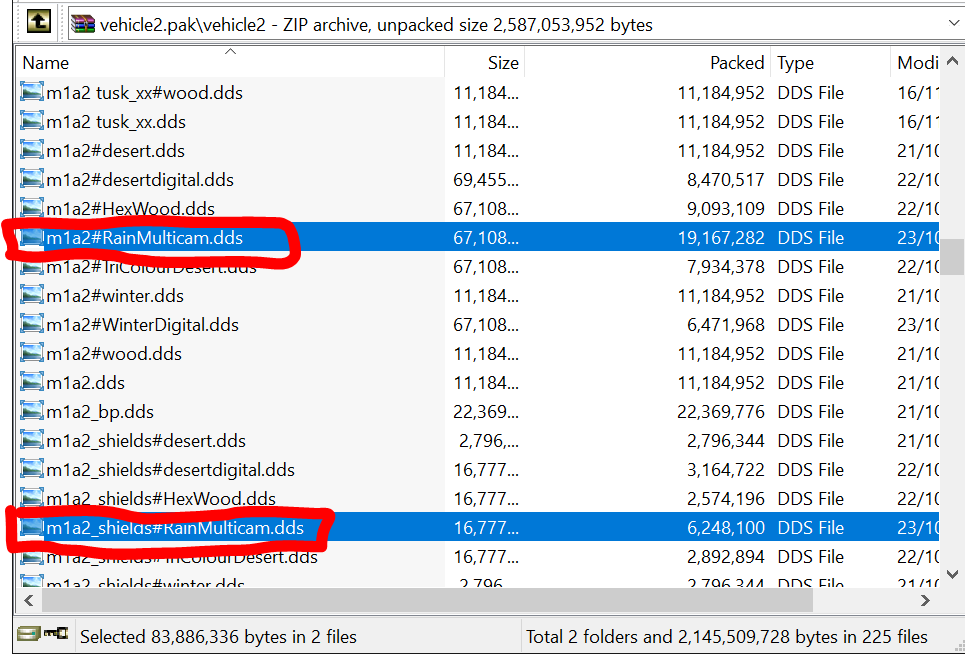
Step 5: Placing the new texture into the game files ready for use::
Now that we have exported our new texture to the desktop, all we need to do, is place it back inside the zip file where we had the original unit texture from by simply dragging and dropping the new texture.
Step 6: Use the textures in game::
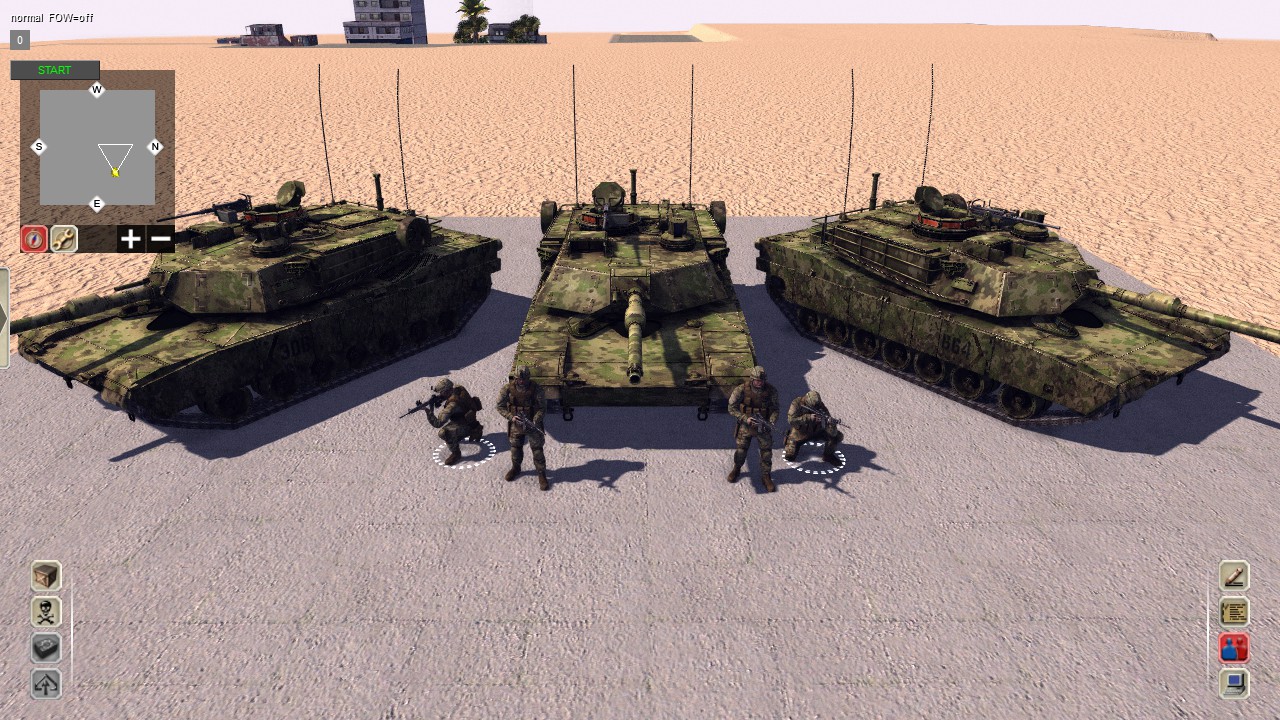
Congratulations, you just created a texture for a vehicle in Call to Arms. Have fun creating loads more in the future
That concludes this tutorial

nice job. very detailed.
Thank you very much. Very useful tutorial.
This comment is currently awaiting admin approval, join now to view.
This comment is currently awaiting admin approval, join now to view.
This comment is currently awaiting admin approval, join now to view.