Tutorial Description
In this Tutorial, you'll learn about :
- New Wav : Add a Soundscript to your "dialog" channel
- Lips Synchronization : Synchronize the movement of the lips with the Wav file
Requirements :
- Adding custom voice files
- Faceposer (1/5) : Setting up the workspace
New Wav
Our first and easy step
1) Right click on the timeline of our "dialog" channel > New Wav...
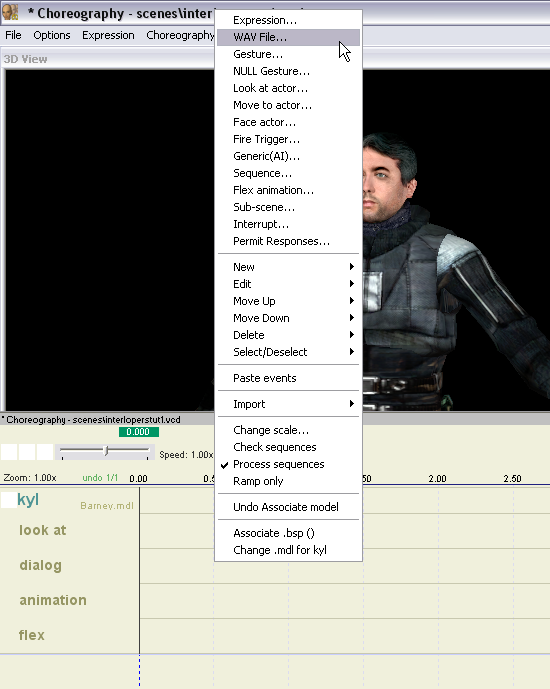
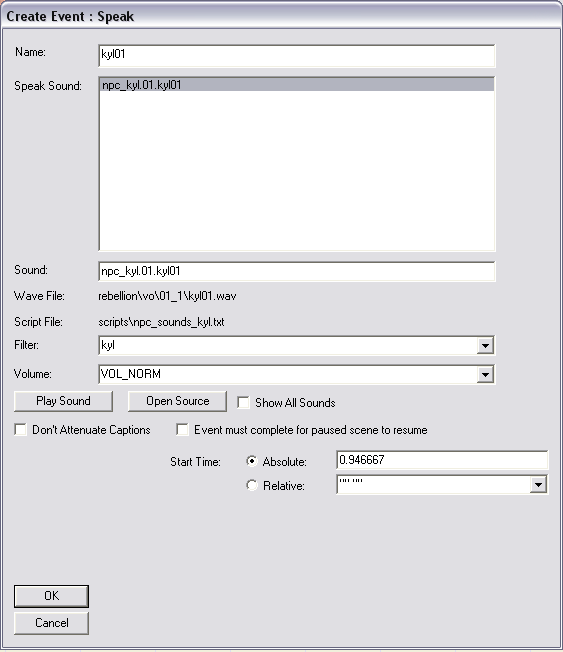
2) Select your Soundscript, name it and press "OK"
Note : If you don't know what I'm talking about when I say "Soundscript\", make sure you've been through my previous tutorial Adding custom voice files
Lips Synchronization
Lips synchronization works by associating what we call "phonemes" to each syllable of the Sound.
A phoneme correspond to a specific movement of the lips, which linked together with other phonemes makes your NPC "speak" the sentences
And when you see that, you'll feel great satisfaction. I promise
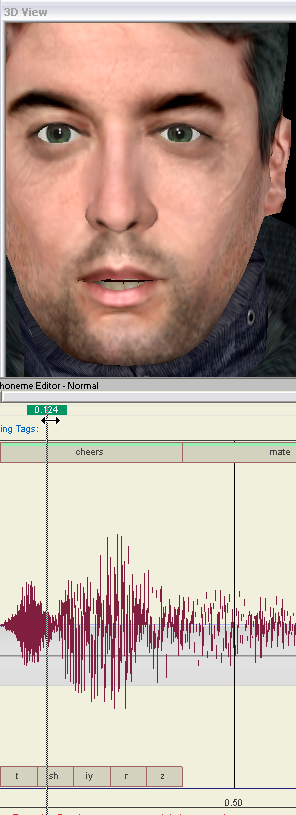
1) Select your Sound, then double click on the "Phoneme Editor" tab, in the bottom left of the window
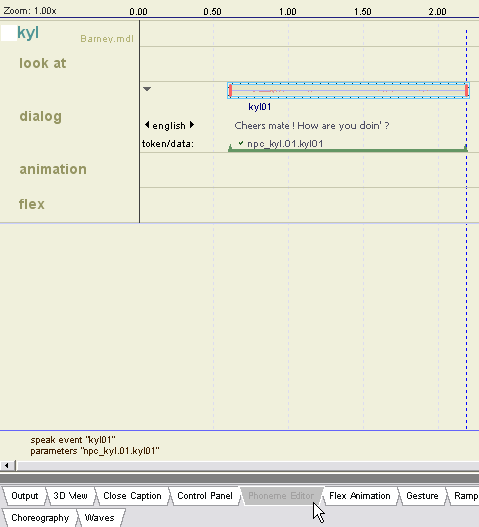
2) A new window with the spectrum of your Sound appears
Now, we'll split the work in 3 parts :
- synchronize words with the sound
- create phonemes for each words
- synchronize phonemes with the sound
Synchronize Words with the sound
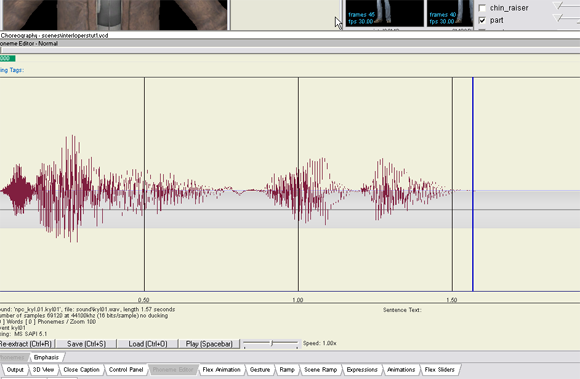
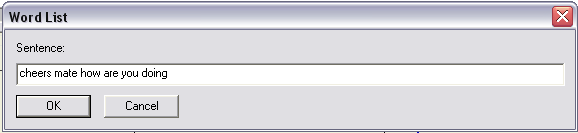
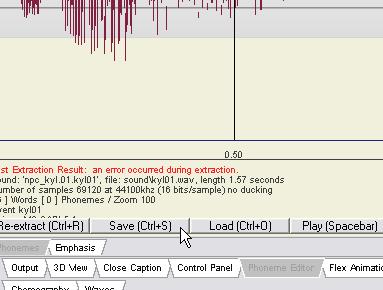
1) Press the "Re-Extract" button, a window appears
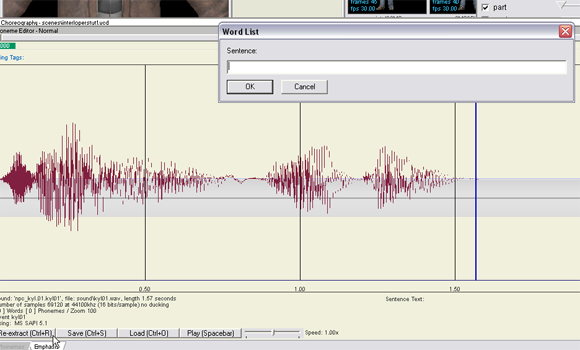
2) Write down all words spoken in the Sound
Note : Here, no need for punctuation, all that interrests us are the words that are spoken.
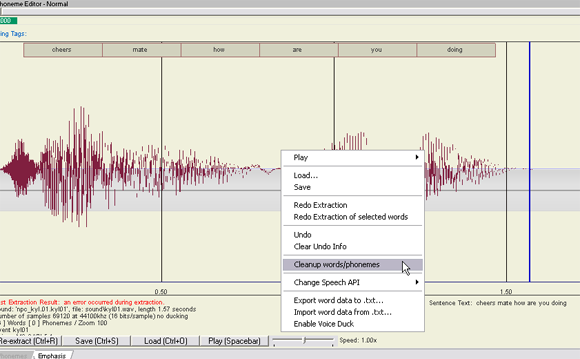
3) Sometimes, Faceposer automatically creates and synchronizes phonemes for the words inserted.
Forget about this, it's just crap.
Note : If you do have phonemes proposed by Faceposer :
- Right Click on the Sound > Cleanup words/phoneme
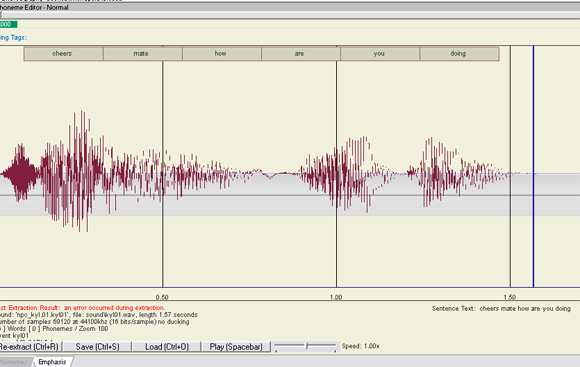
Now your workspace should look like this :
4) Time now to synchronize our words with the sound
Understand : Put them at the right place.
Note : How to manipulate the words (select it first with Left Click) :
- a) Move left / right
SHIFT + Left Click on the word
b) Widen / Shrink
CTRL + Left Click on the border of the word
c) Unselect a word
Left Click right above the words
d) Separate two words
- Select the word on the right (Left Click)
- Right Click on it > Select All Words After...
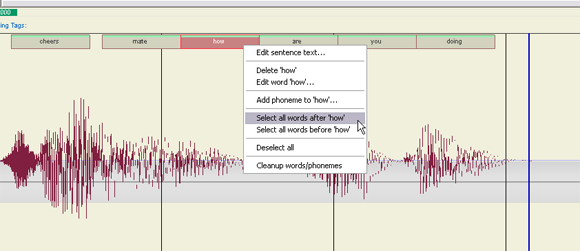
- SHIFT + Left Click > Move mouse to the right, to move all words
Note : In a normal spoken sentence, you don't need to seperate two words. Do this only when you have a clear and audible blank between two of them.
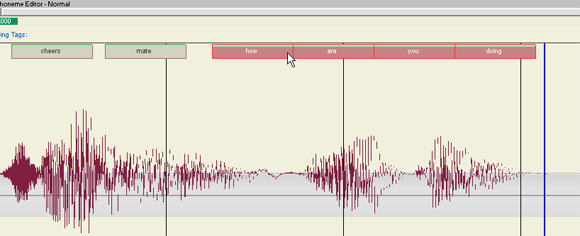
Now that you know how to manipulate the words, move around the green time cursor to know exactly where the intersection between two words lie.
Make sure each word is synchronized exactly with its spoken word.
Take the time to do this, it's the base of the upcoming work. If you're not precise at this point, the rest won't be precise either.
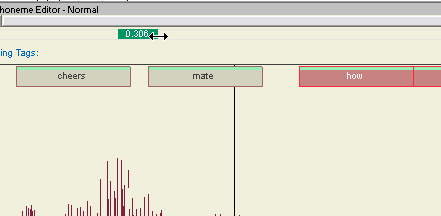
This is what my sound looks like :
5) When it's done, Click on the "Save" button
Create phonemes for each words
To see what a specific phoneme looks like, you can open the tool tab "Expressions"
As you click on one expression, you model in the 3D view will show you how it looks like.
Now that you know what every phoneme looks like, let's get back to our "Phoneme Editor" tab.
1) Select a word
2) Right Click on this word > Add Phoneme to 'word'
2)Select all phonemes needed in the word, then press OK
Note : Because you have previously synchronized the words, the phonemes now automaticaly adapt to the size of the word.
3) Check your freshly added phonemes on the 3D model
It's a little bit tricky to have the correct phonemes for our words, so you better check them out after you choosed them. Move with the time cursor to do that. At this point, don't worry about phonemes synchronization with the sound, we'll worry about that later.
Note : If you're not happy with one of them :
- a) Select a phoneme
b) Right Click on it > Edit 'phoneme'
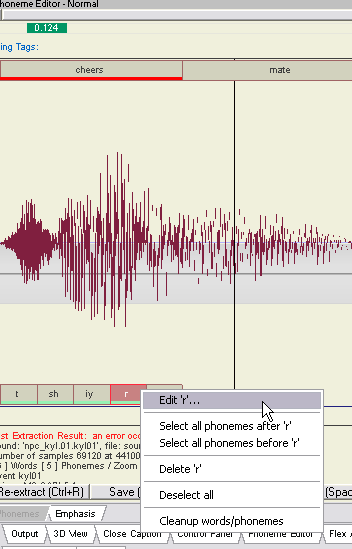
c) Select the new one
Tip : If you want to add more phonemes to a word that already has phonemes assigned, you better delete all existing phonemes for that word, and recreate the phonemes for you word.
Do that for every words now, and don't worry about the synchronization of these phonemes. That's our next step.
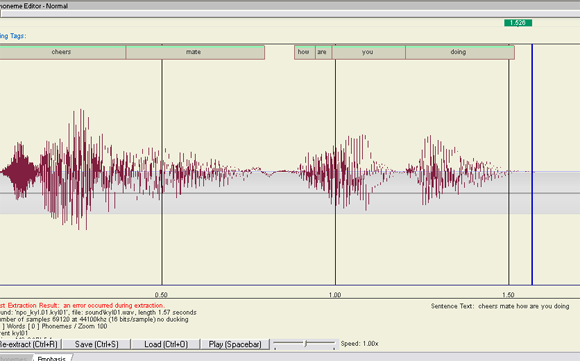
Here's how it should look like :

4) Save your work
Synchronize phonemes
The movement of the lips might not be (and certainly won't be) synchronized yet, so let's do this, as we did it with the words previously.
1) Listen to each syllable of the sound with the time cursor
2) Compare the syllable of the sound to the phonemes you've just created
3) If it's not synchronized, widen / shrink the phonemes
4) Do that for each phoneme
5) When you're done, press "SPACE" to play the sound, check for the movement of the lips of your model in the 3D View
Tip : Now that's the most accurate way of doing this. But obviously, it takes time.
If you don't want to spend too much time on this (and thus accept not to have a perfect synchronization), on step 2), here right above, you can just compare the movement of the lips of your 3D model with the sound and see if it looks good enough.
Some scene, that take place during combat for example, don't need to much polishing since the player probably won't be paying too much attention to the talking NPC. On the opposite, if the player is alone in a room with a talking NPC, the player will certainly focus on the NPC only. That's when Lips Synchronization should be perfectly accurate.
Here's the final result :
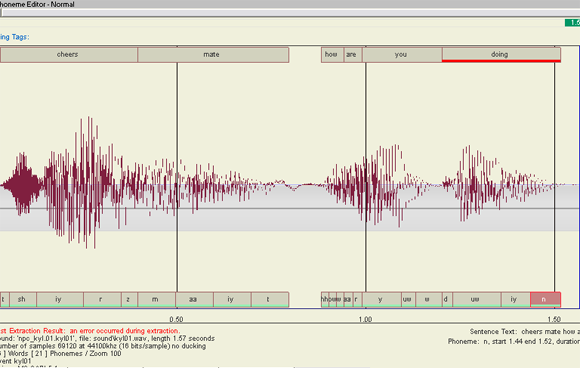
See, all phonemes in one word don't have the same size. They are synchronized to each syllable of my sound.
That's it guys !
Now that was a very big part of scene creation. If you've done that, first, you can be proud of you. Second, you did almost half of the work on your scene. The other steps go way faster, you'll see in the next tutorials.
Until then, enjoy and have fun !
Cheers
Kyl'


Could you post this on VDC? Developer.valvesoftware.com
Hey Varsity :-)
I never really thought about that, but yeah, that would be a good idea !
Cheers mate.
For some reason it crashes whenever i try to move a word or resize it. Any idea whats causing it?