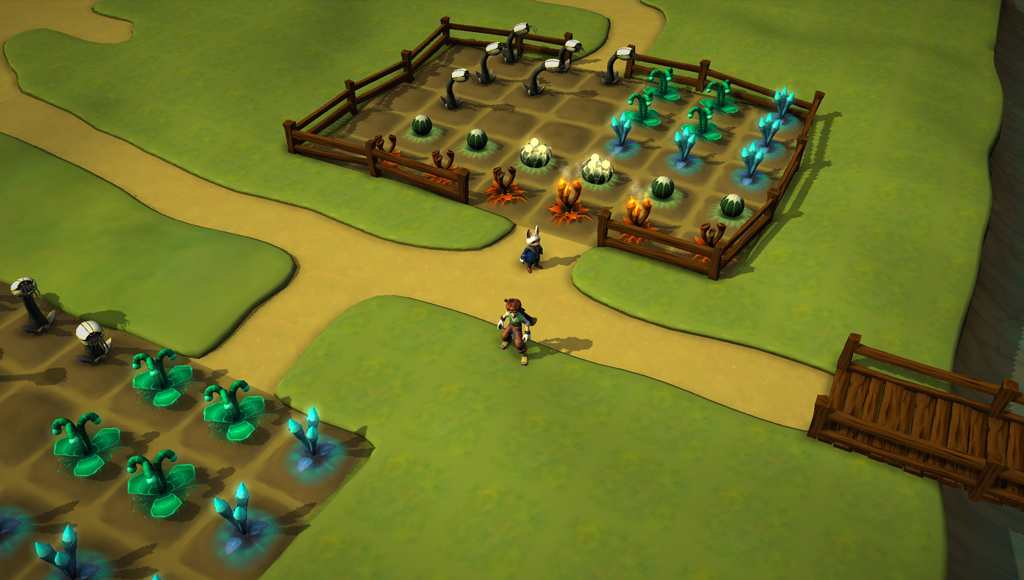
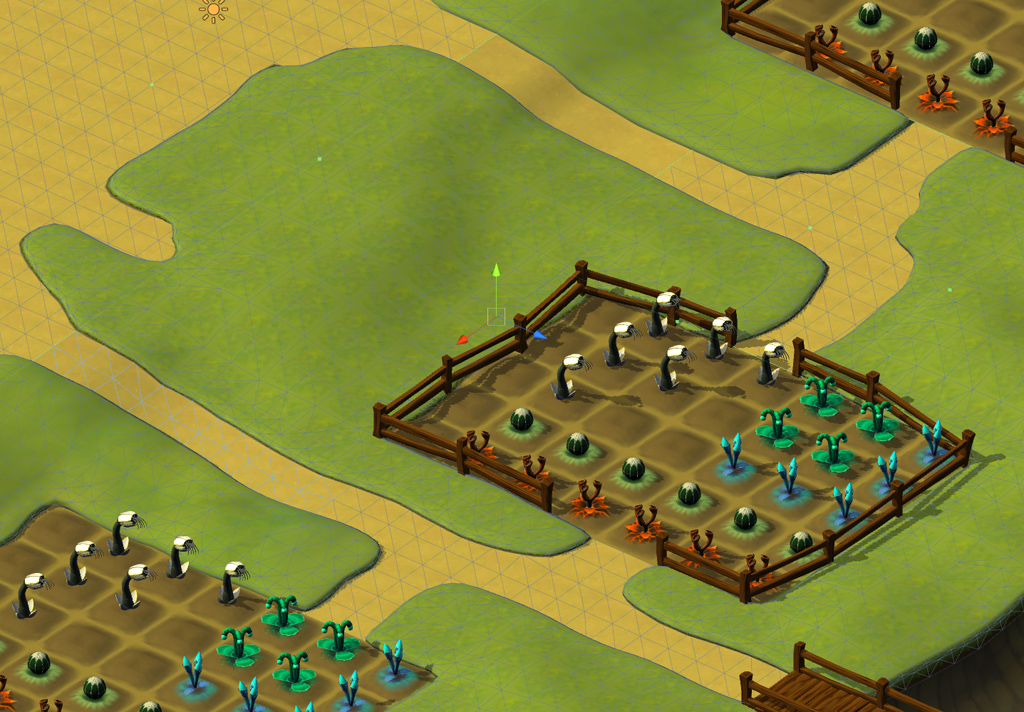
Take 3 (Big chunks of terrain - custom made):
So, we had lots of smaller pieces that kind of worked, but everything became too straight. By using the same process as I did while making the smaller terrain pieces, I instead made relatively big pieces, like 20x30.

I could now give the terrain some nice bumps and the road could get small natural bends. This matched the concept art a lot better, and also gave a more village feel over the previous Roman structure. There are still some seams, but they are few and easily covered up by rocks and plants.
We still have not added everything that will make the scene look nice, but there is a whole different feel to the environment now. One thing that also will need to be redone is the texturing. At the moment it is still tiling like it did originally at a 2m x 2m grid. The tiling is very visible especially when zoomed out.

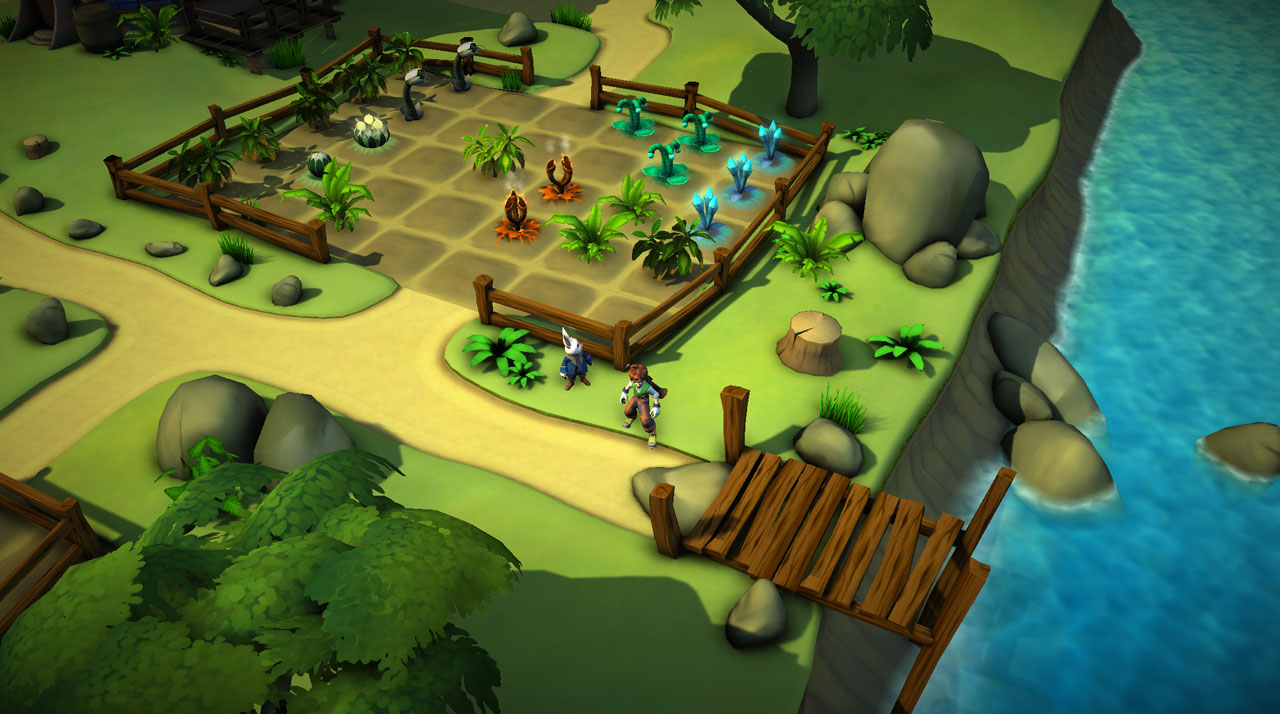
We will now redo the texturing and at the same time fill the scene with buildings, trees, flowers, rocks, grass and other props.
And here is the almost final result...

If you missed part 1 you can find it here.


Awesome, much better! Looking forward to seeing how it fills out!
Just uploaded a screenshot to the gallery. We are not quite there, but getting closer. :-)