Welcome to this month's 3D Artists Group Newletter!
Community News:
Maxon CINEMA 4D R12

September saw the immediate announcement and release of the latest version of Maxon's 3D suite, targeted at modelling, texturing, animation, rendering and generally anything you can shake a 3D-stick at. As always, its both Microsoft Windows and Apple Mac compatible. New features include new Dynamics, new Character Tools, Python script integration amongst others.
CINEMA 4D, as always, includes updates to Bodypaint, a 3D texture development tool that is compatible with Max, Maya and CINEMA 4D.
The full press release is available at Creative-3D.net. For additional information please visit Maxon.com.
Team Fortress 2 - Mann-Conomy

Valve announced this week the new 'Mann-Conomy' update for Team Fortress 2. This update allows players to buy, make and sell in-game items to other players. So, think you're good enough to make a must-have TF2 item? Get creating - you could be making some "f$*&ing money already"!
Confused? Simply head on over to Valve's Mann-Conomy update page for more details: Teamfortress.com.
Featured Tutorials
We've had two excellent little tutorials uploaded during September that both deserve a mention and checking out:
Dexter.InOrdinate's Cartoonish Outline for models - Made easy!
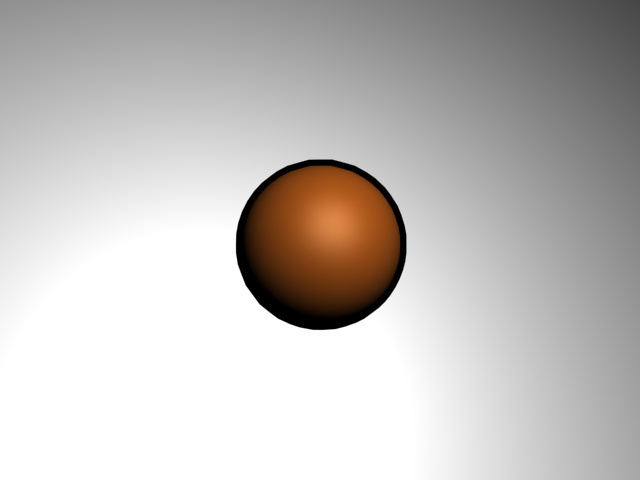
This is a simple little trick using flipped normals on a duplicate of your model. Confused to what that means? Fear not - this little tutorial shall explain all.
Dexter.InOrdinate wrote:
I wanted to spice up my TFC experience, so I was looking to make it look better. On FPSBANANA.com, they had all kinds of skins, a lot of them cel-shaded, and on a lot of those, people asked how they do it. It's very simple, as I found out. That's what I'm gonna tell you today. Remember, it requires NO coding whatsoever. No special effects. Just editing the model a bit. If it doesn't work on a particular system, or a particular setting, tell me.REQUIREMENTS:
-A modelling program, such as 3ds Max, g-max, or blender. I will only explain for 3ds Max, though the other programs should be quite similar.
-A basic knowledge of modelling
-Some cake. Trust me, it's not a lieAnyways, let's start, shall we?
Step 1) Make your scene. I won't give information on doing this. What I've done, for the purpose of the tutorial, is make a simple sphere. You might want to add a background, such as a white plane, so you can see better - for render's sake. When you're done rendering, you can remove it.
fdslk's Texturing human Skin without photos in Photoshop
This tutorial covers creating human skin textures and tones in Photoshop without the need for reference photographs. Its a detailed step-by-step and should help even the novice artist understand the basics.
fdslk wrote:
1. Make sure your map is completely on a grayscale. But, do not use desaturate or grayscale mode to do it, because this will delete our color information, that indeed is something we don't want. For that, we'll use the Channel Mixer, just be sure to check monochrome. Adjust it to your belief. In this case, I used this setting.
2. Now, here comes the fun, create another layer on top, this one will be your Flood color layer (This means: name it flood you idiot!) and fill it with a color you find attractive to your needs, since this is a human girl. Set it to overlay. I used this gamma of colors.
3. Now, duplicate your grayscale layer and put it on top of your Flood layer. This layer will work as the Scattering color layer (name it, being organized is very useful, especially if your file can get very heavy on layers) and apply on every channel a Difference Clouds filter (Filters->Render->Difference Clouds) then set it to overlay.


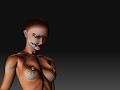
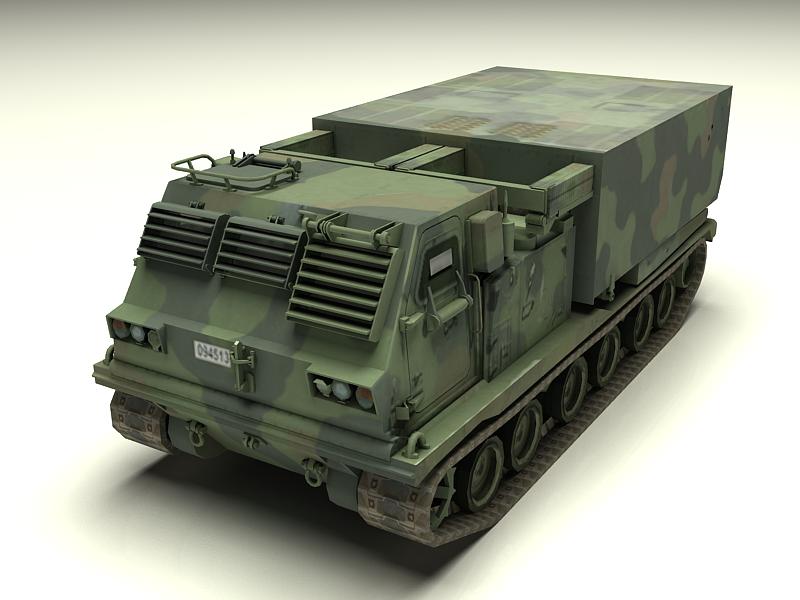
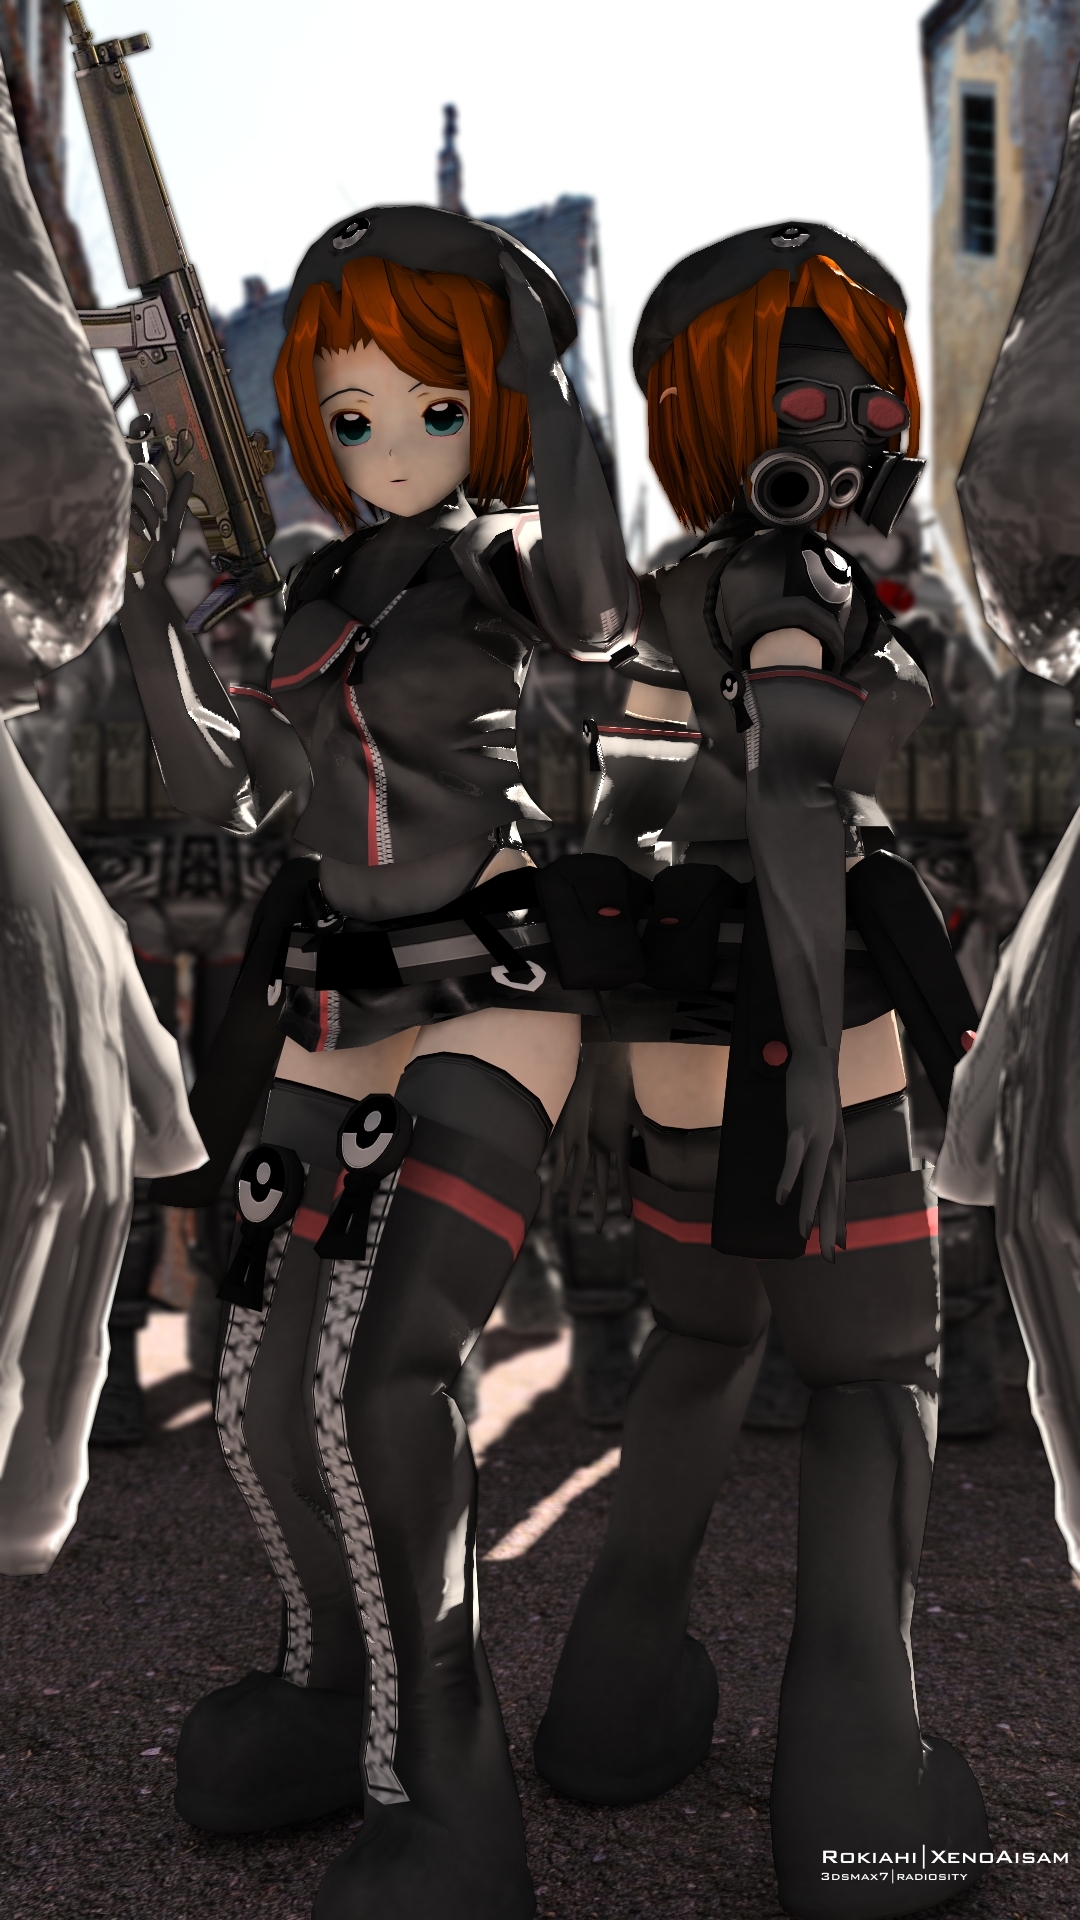
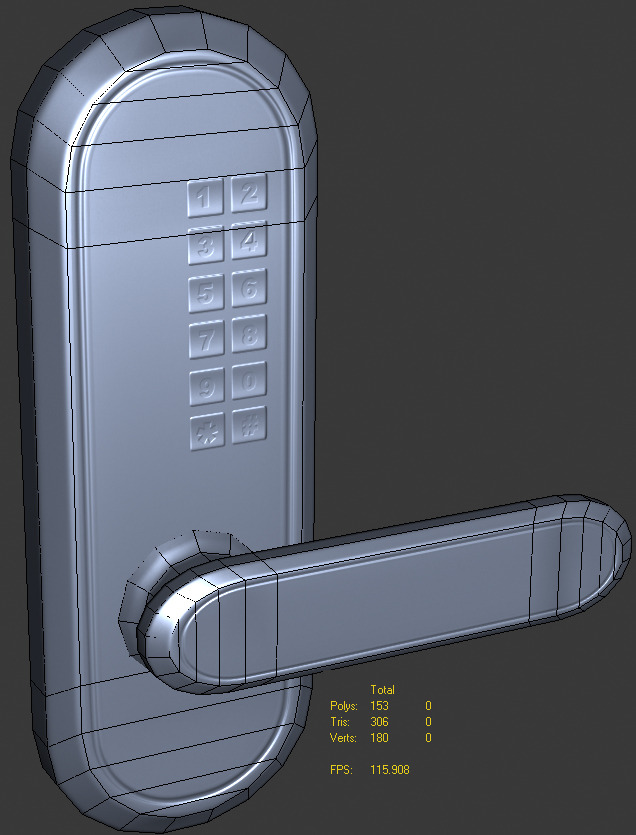
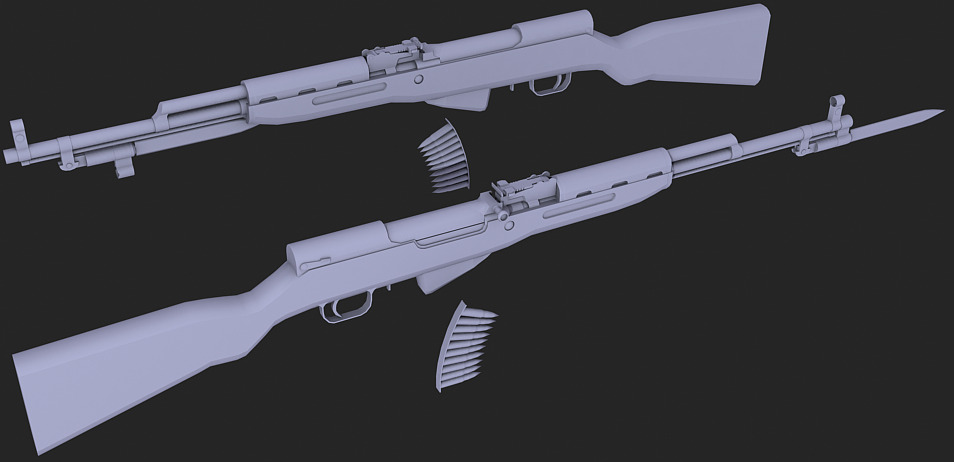
Featured Artwork
More great artwork has been uploaded this month, we'll be showcasing the best again! As from last month, much of the art that has been uploaded has been vehicles, props and weapons - it would be great to see more characters! We've included the best from a sprectrum of model types!
For this month, that's all we have! We'll be back next month on time - promise :). Any nominations? Suggestions? Send them our way!
Nice work!
News and models :)
Want more charakters? Give me a tutorial :D
Nice work dude, as always!
Good newsletter again m@ty keep it up son!