DETAILS: A guide to adding detail to your maps
This tutorial will mainly cover Source and the Hammer Editor but most aspects could be copied over onto other things. These will be in no particular order, just the order I thought of them.
Pt.1: Ropes/Cables etc
Ok, these really add to the atmosphere and the realism in maps and yet I have seen so many maps either use no ropes, or way too many with virtually the whole sky blotted out with telephone wires and the like.
To make a rope going between two points follow this:
Start with a Move_rope, this doesn't have to be named but I like to anyway, I named mine "mr01" put it in the place where you want the rope to begin. Open its properties and where it says: "NextKeyframe" put "kfr01". Create a Keyframe_rope, put it where the rope should go next and name it "kfr01". If you have done this correctly a line should appear between the two, unless you want a pretty taut rope read on. Set the Slack on the Move_rope to a value between 80 and 120, these are the best looking in my opinion. It's up to you how you set the rest of the values, mess around with it and find out how the more advanced ones work.
Some examples of ropes in action:
Between two power boxes
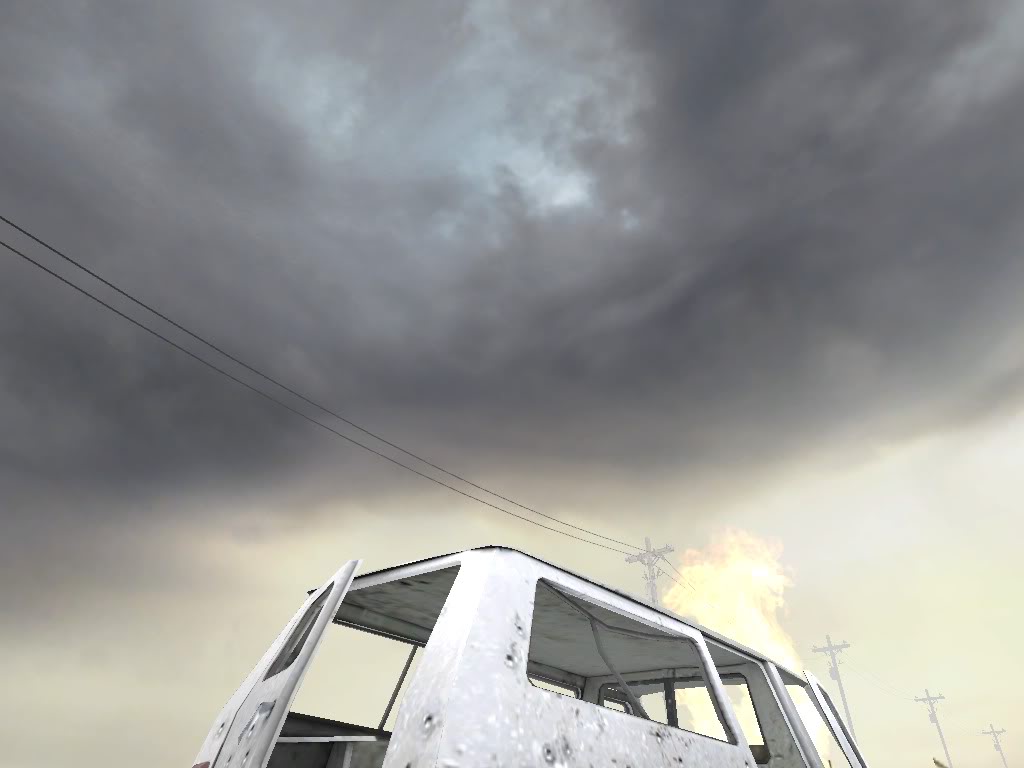
Between two telegraph poles
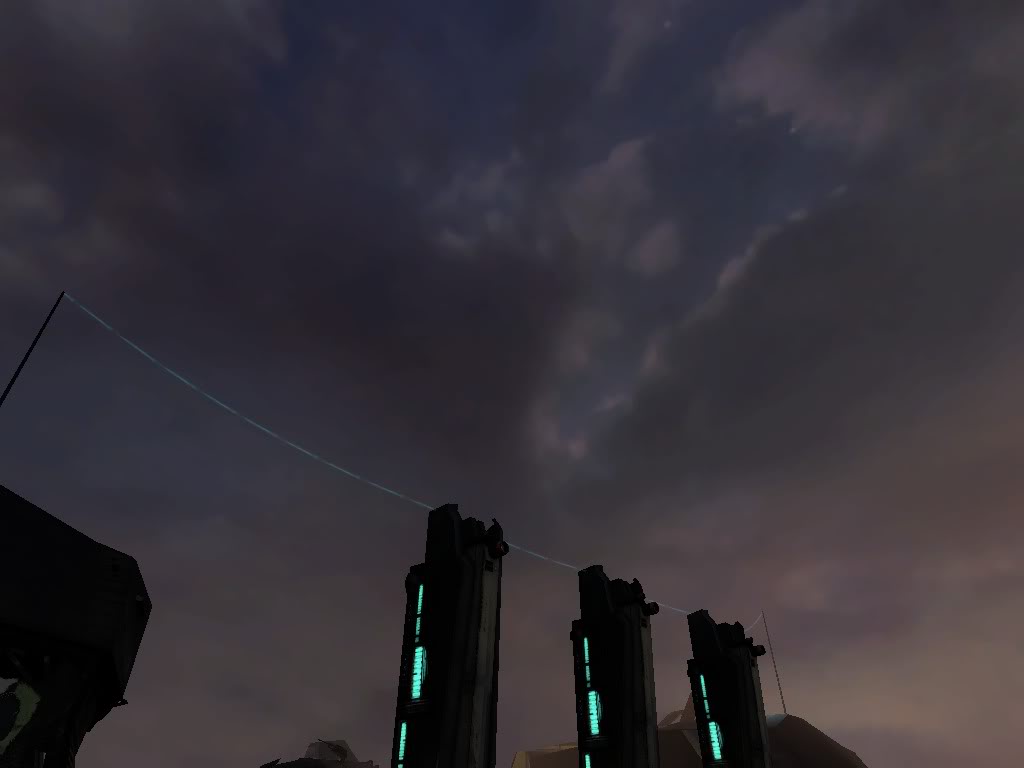
Combine power lines
Pt.2: Breaking up textures
These examples will show you how a bland, uninteresting wall can be made a lot better with a minimum of effort using props, overlays and brushes.
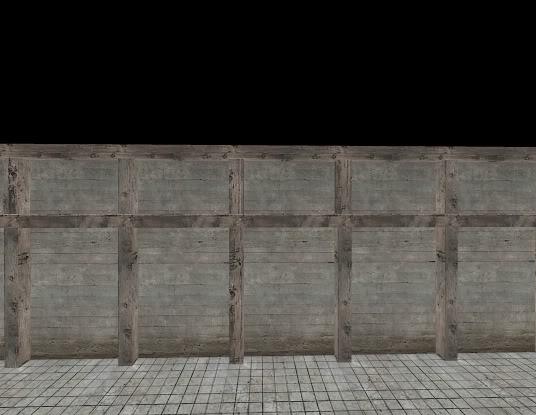
Okay, you have this wall:
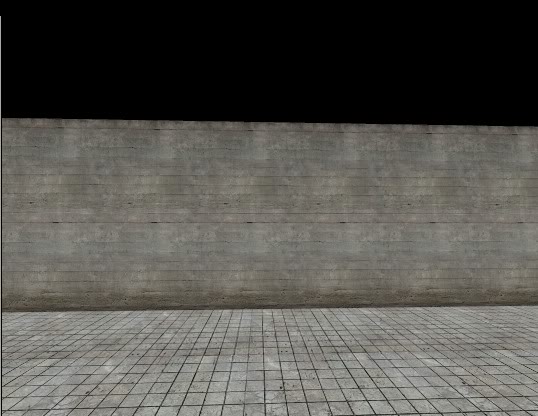
Stupidly boring right? Wanna spruce it up a bit? Of course you want to.
First lets add some supports:
Those textures are still a bit bland though so lets add some overlays:
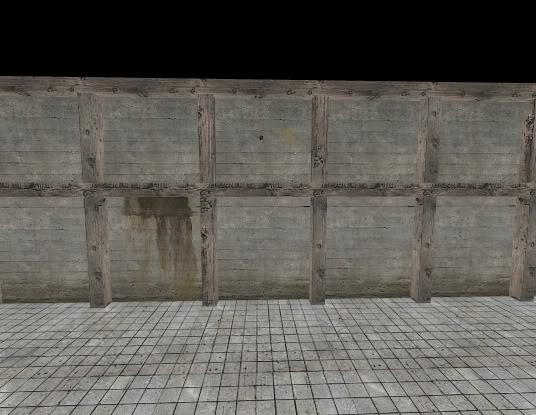
I found these by typing "stain" into the texture browser.
Now add some lights and props and whatever extras you want and you are pretty much done, here is mine rendered ingame with a roof and some details on the floor:
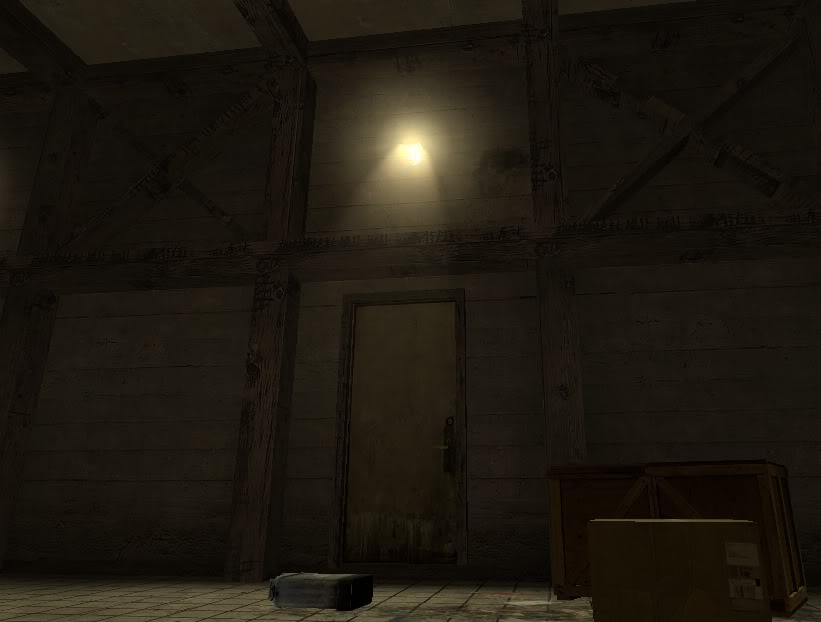
As you can see it is mightily improved, so much better than the blocky piece of crap at the start.
I'll leave all the experimenting to you, use these ideas and make them better and you will have lovely looking maps (eventually :) )
IDEAS: Add: Vents, pipes, grates, supports, I-beams, chimneys, rafters, rubbish, debris etc...
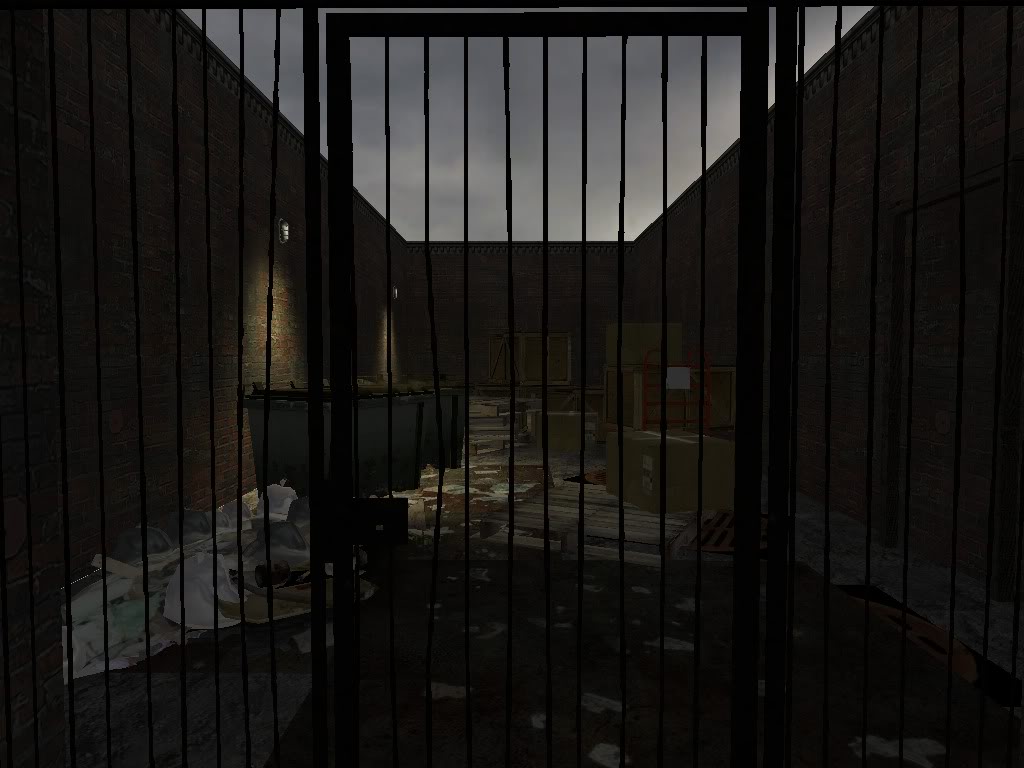
Pt.3 Inaccessible areas
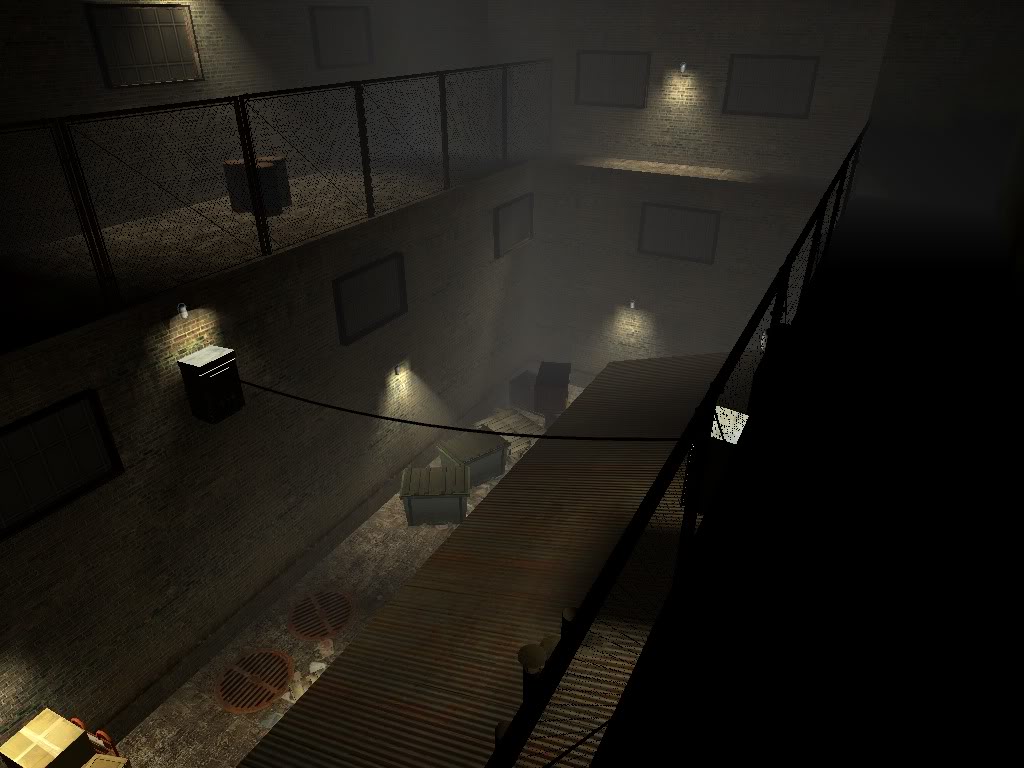
These add significant amounts of detail to an area, making it feel larger and actually used for something other than a battlefield, unless your map is an arena or something. For example to make a simple corridor more interesting you could add a hole in the floor, with some sort of storage area below it (see example 1).
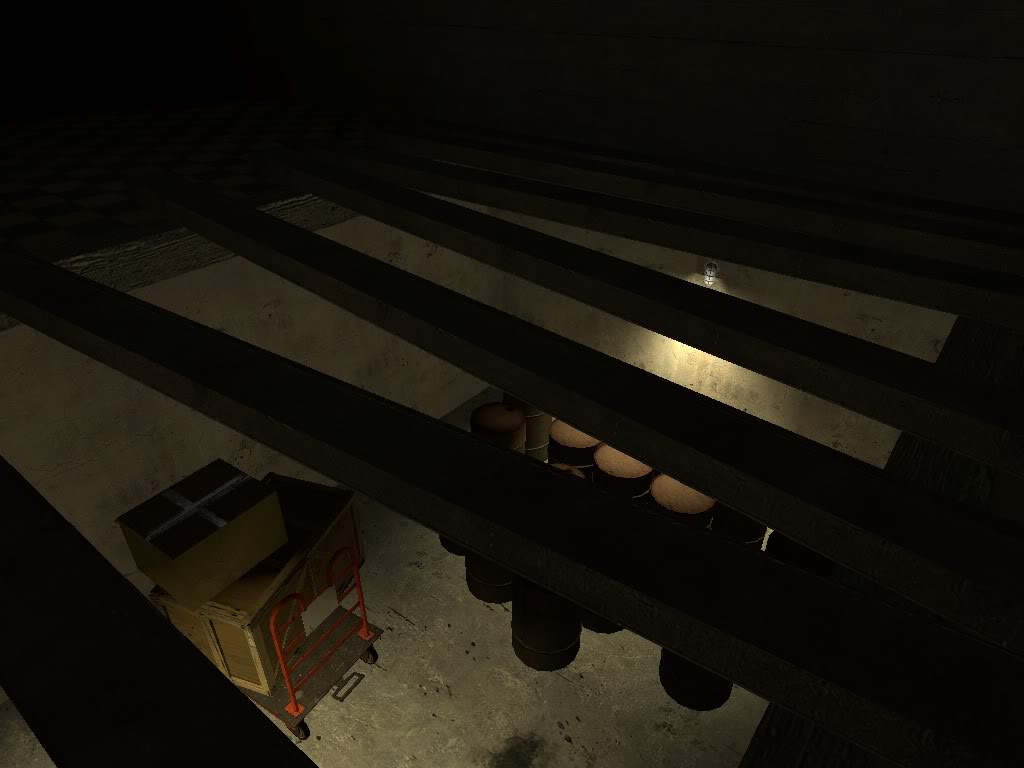
How and where you add them is up to you and your imagination...
Watch for more parts coming soon!
Hope you found it useful!


Awesome tutorial
An excellent tutorial that could be used on multiples editors. Well explained and nice pictures.
Great work!
Glad you enjoyed it. :)
Hey I'm a quake mapper.I use worldcraft(VERY simular to valve's hammer) can I still do all this?
You can use everything apart from the very specific parts like the move_rope & keyframe_rope bit.
great tutorial!
Fantastic, I am using this for a reference every time I make a map now, thanks man...
ty for detailing tips :)
No probs :) I will get more done when i get time off revising for exams...
This guide helped a lot. Thanks!
This is a nice tutorial! Well done!
nice)
Thanks. XD
This is delicious!
YES!
YES!