Taro's bag o' tricks
Hello everyone! Some may know me, but most probably aren't as I'm active in Third Age sub-mods forum. My biggest project was (and still is) a New Units for Gondor submod: Twcenter.net
I went a long way from start and learned a few things, about modeling and texturing, that are not describied anywhere on TWC (at least to my knowledge. So I decided to start this thread where I could share my tips with community. I will add tips as time goes on.
NOTE: I'm NOT and expert and some of my tips may in fact be the stupid way of doing stuff. In such case please let me know, and if you have better way of doing stuff, then even better.
Ok, let us start then!
TIP 1: The Basics
It is important to grasp the basics of modeling and texturing. I used few programs and let me tell you that basic principles of such programs are IDENTICAL. So if you know how 3D models work then you can use blender, milkshape or 3D Max. All those programs have different tools and UI, but basics are the same.
Before you continue you MUST read "Unit Makers Tome of Knowledge by Alletun": Twcenter.net
It is ESSENTIAL for your future work!
TIP 2: The Toolbox
Ok now that you read through Unit Makers Tome you can create your toolbox. You must gather all the tools that are essential to making units and putting them in MTW2. A good toolbox will make work easier and faster. I will put links to most of the stuff I use.
- Milkshape 3D- Chumbalum.swissquake.ch - the most important program where all 3D modeling takes place. It has its limitations, but even then it is a powerfull tool in capable hands.
- Photoshop - This is where all texturing magic takes place. Others may prefer Gimp, but I only use photoshop so I'm not to judge with is better. You will also need "Nvidia plugin" to create normal maps
- Model converting programs - these programs are required to properly convert .ms3d models into .mesh format that is used by MTW2. I use two of them:
Mesh 2 ms3d beta 0.18 by GrumpyOldMan - Twcenter.net - this simple to use program that will suffice for most of the time. Personally I use this one when I can as its quick and easy. However it does NOT support custom skeletons.
GOAT GOAL ver1.0a by KnightErrant - Twcenter.net - this is a powerful collection of tools that will allow you to work with models that have custom skeletons or with siege engines. This one requires Python (2.6?) to be installed. Personally I only use this one when I have to. - Texture converter - this one is required to convert DDS files to .texture format used by MTW2.
texture/dds converter by alpaca - Twcenter.net - This easy to use converter that is all you really need. However it does require Python (again 2.6?) to work.
- Text editing tool - this one is for editing EDU and battle_models.db
Notepad ++ - Notepad-plus-plus.org - my personally favorite thanks to good searching interface, ability to count characters and multi tabs and it is FREE.
These are the basic tools that you have to have in your toolbox to do some serious work on MTW2 units.
Also I suggest you to have all those tools in one place, main folder + subfolders for each tool (with exception of notepad ++), it is easier that way.
TIP 3: Basic materials
When making textures for your units it is VERY good idea to have basic materials at hand. Here are ones I use (you are free to use them as well):
Cloth (made by me)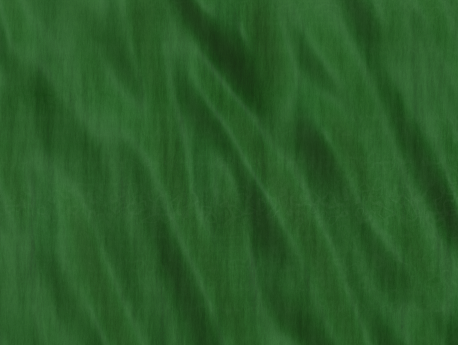
Leather (also by me)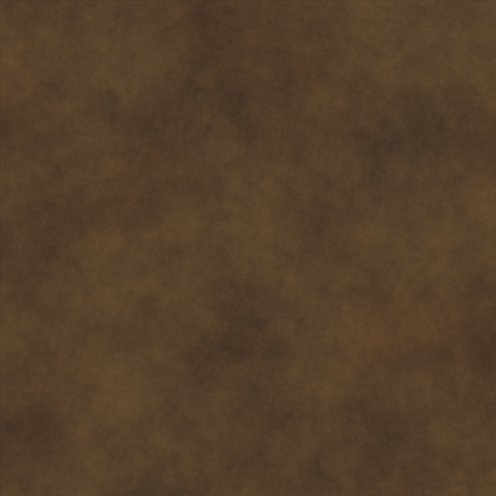
Mail (from rusichi, but I made a few tiles from it to be usable anywhere)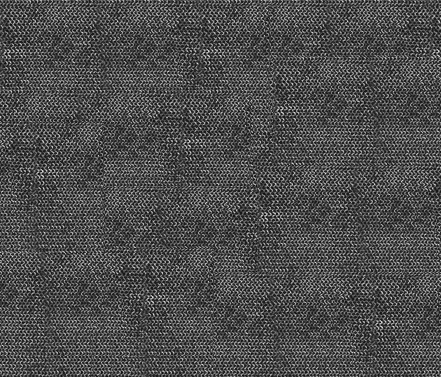
Metal (by CounterPoint391)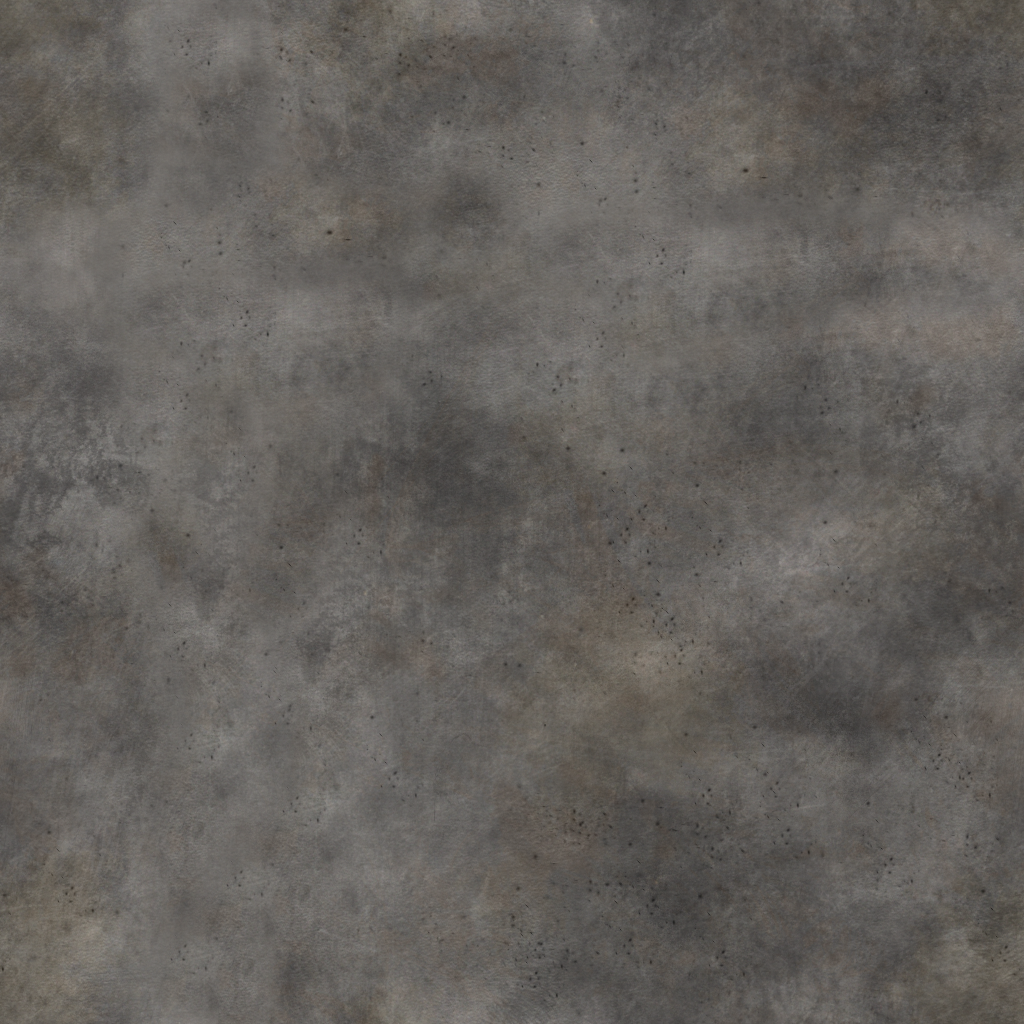
Wood (from Mount & Blade OSP)
It may not be much, let me assure you that you can do pretty much anything with these basic materials, it is just a matter of your imagination.
TIP 4: The databases
It is a good idea to have databases of models found in MTW2 along with screens. They are go to material when you need base for your units. Also they are great source of inspiration.
Here are my databases containing:
Vanilla MTW2 units - converted models and textures, with screenshots
Rusichi Total War units - converted models and textures of most units, with ingame screenshots
Burrek textures for MTW2 units - converted models and textures, with screenshots
Lord Calidors Weapons - converted models and textures
Baltic Total War - just ingame screenshots
Additionally I have screens of items from Mount & Blade. However DO NOT DARE TO USE ANYTHING ELSE THEN OPEN SOURCE MATERIAL! You will make baby Jesus cry and scary moderators will raid your house!
Download Databases (144 Mb): Mediafire.com
That's it for now, more tips MAY come, but I'm not promising anything solid  .
.
Tip 5: The glint (or normal maps alpha channel)
Kudos for showing me this goes to my buddy Turambar.
A well made glint will make units that have leather or metal armor look much more natural. For a long time I followed the advice I found on forum and just changed brightness and contrast of whole image. So I got this:
Making alpha the wrong way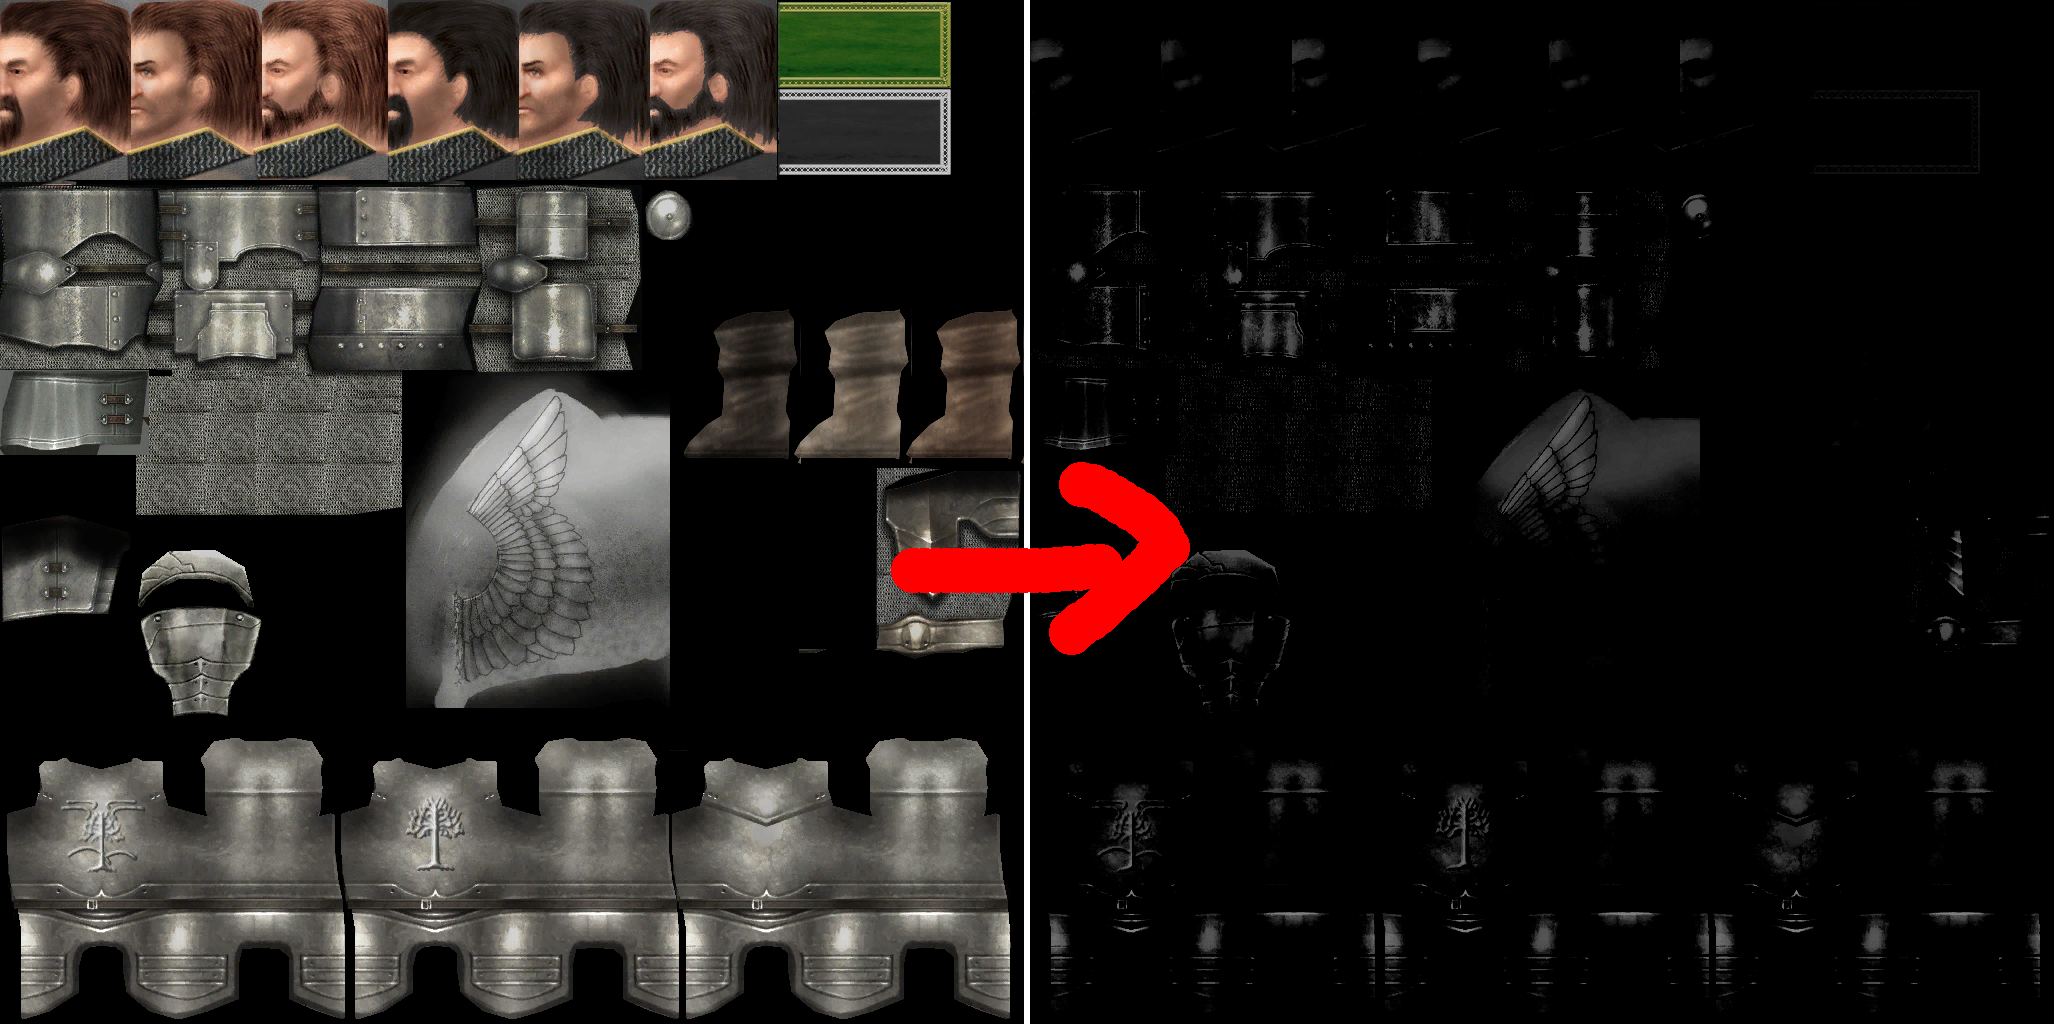
Do you notice the problem with what I did? If not then let me tell you how does alpha channel work on normal maps: the brighter the alpha in some section the more reflective that section is. As you can see my old alpha had metal pieces reflect light only in some parts that were brightest before I messed around with brightness and contrast settings. Also faces would reflect light with made them look rather weird ingame.
When was working with Turambar I noticed that he did alpha different way: all metal parts were simply solid color. It is a simple, but very effective solution, because that way all the metal armor reflects light same way with makes armor look much more natural and well... metal. Here is how I make my alpha channels now:
Better alpha channel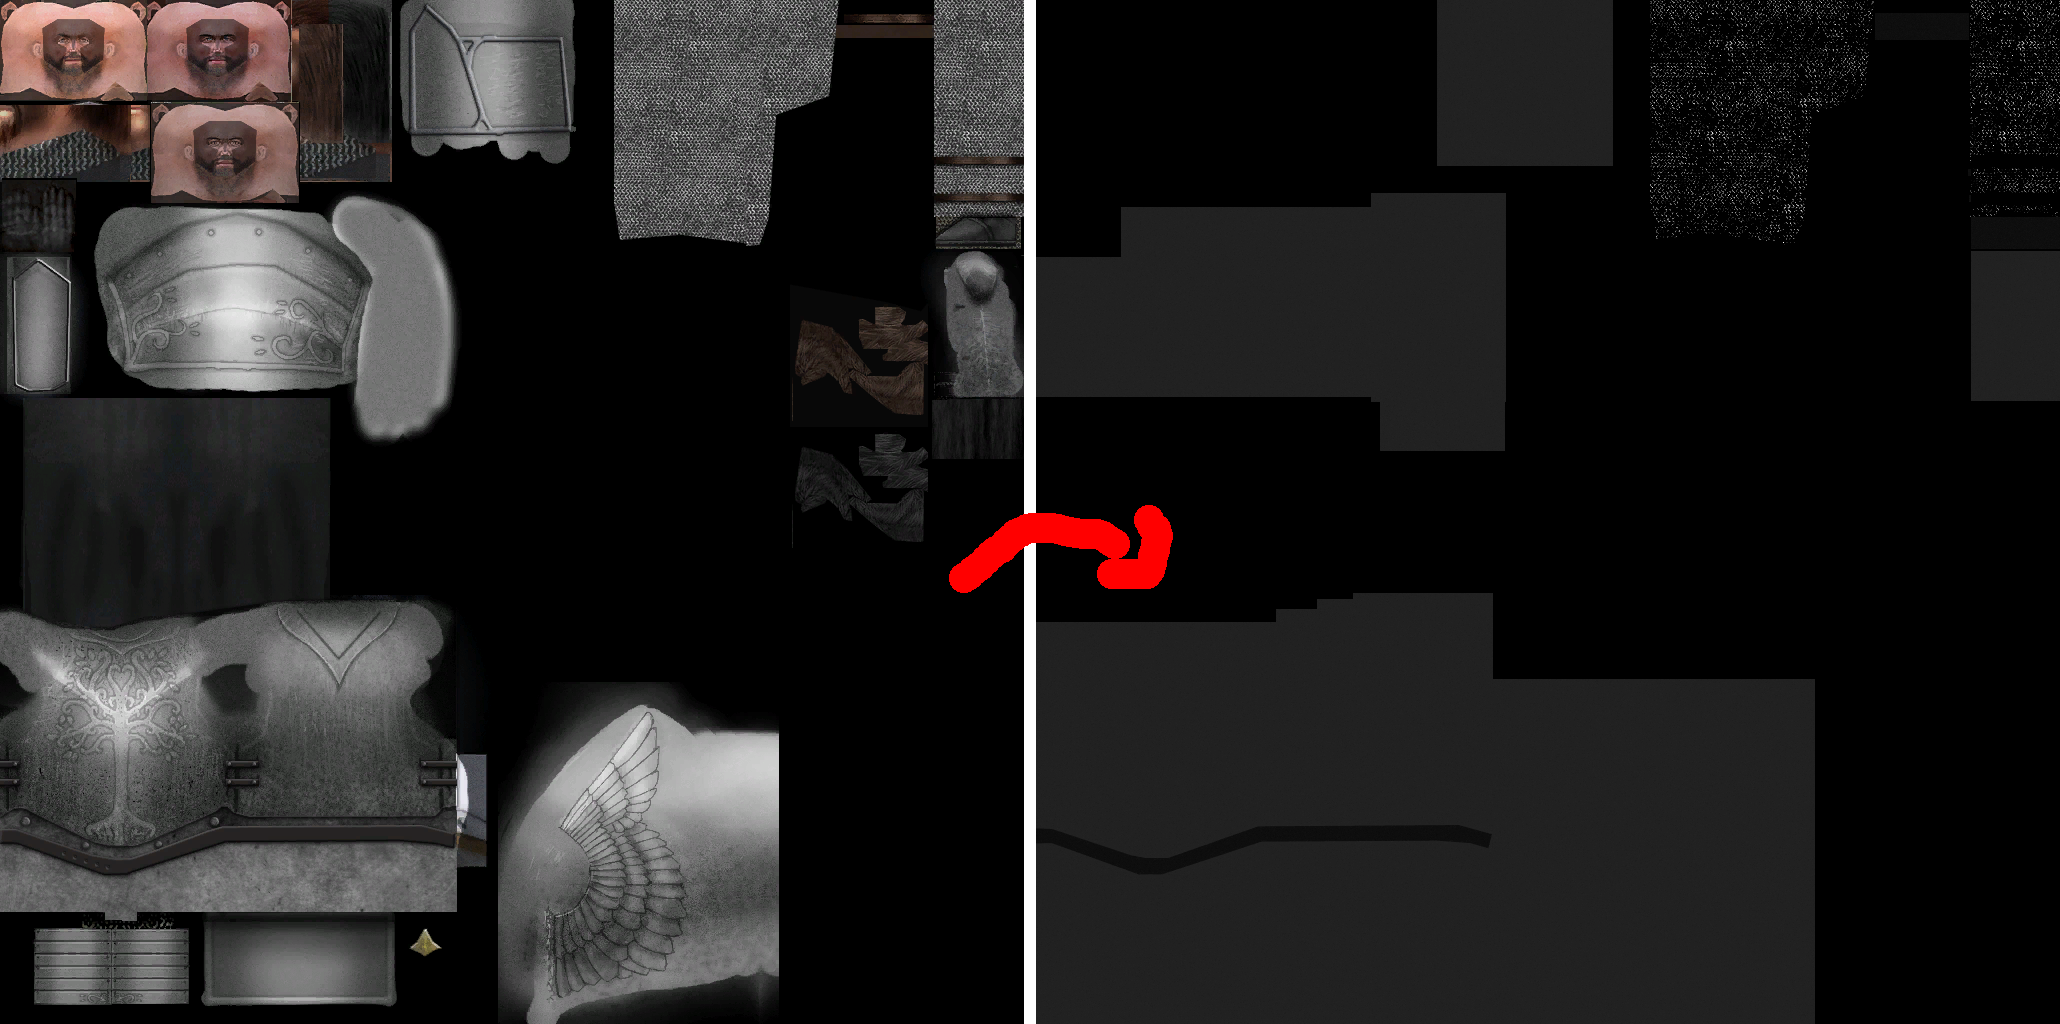
I expanded that technique a bit to include leather pieces as well. I spied that one in Mount & Blade. You see, if you give leather very slight glint it will look more natural. Unfortunately MTW2 has different shaders then M&B and achieving that soft glint is impossible. However very slight glint still adds some life into leather clad units.
Now I add glint to ONLY 3 materials: metal, leather, chainmail. Rest is simply left completely black. To make things easier I prepared small palette that you can use:
Glint palette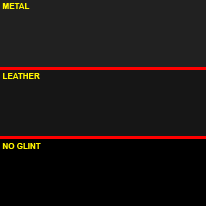
Making better alpha channel for normal maps takes a few minutes, but is not a hard process. Here is my system.
You take diff texture (one with colors) and create 3 new layers:
*base - completely black
*metal - you simply use selection tools to select all the metal sections in your texture, then you just fill them with metal gray from my palette
*leather - same as with metal, but you select leather parts and use leather gray
I use different technique for mail. If you use mail I provided, then you do this:
- Select all the mail from diff texture (only mail)
- Create new layer via copy
- Desaturate that new layer
- Got to "Image > Adjustments > Brightness/Contrast"
- In dialogue window that will show up check "Use Legacy" checkbox
- Now set settings to this:
*Brightness -90
*Contrast +70 - Click "OK"
If you do it this way mail will nicely glitter in sunlight without looking like a solid piece of metal.
After you finish all layers, then you merge them (black base on bottom) and you can paste them into alpha channel of you normal map.
It may seem like a lot of work, but after making it few times it gets really easy and it will only takes couple minutes.
Tip 7: Stuff painted on stuff
Today I will tell you how to make very nice looking textures that contain stuff painted on other stuff along with coloring. There is a bit of a trick to make it look very natural, but not everybody may be aware how do do so.
I will describe how to do so using CoA painted on wooden shield I made few days ago. Also I assume that you have shield modeled and UV mapping is prepared for texture.
- You start with base of you shield texture in my case it is wood texture I provided earlier, it is cropped to the shape of my shield's UV map. (figure 1)
- Copy the base as new layer and desaturate it (ctrl+shift+u). (figure 2)
- If it has to be colored then: create new layer, select only the parts you want to color (in my case it's just whole shield). Then "Fill" new layer with the color and set its "blending mode" to "overlay". (figure 3)
- As new layer, place your pattern where you want it (in my case it's coats of arms with two white and crossed axes). (figure 4)
- Now here's a bit confusing part: use magic want tool to select ONLY your pattern area ( on layer with your pattern just use magic wand and click anywhere beside your pattern and press: ctrl+shift+i). Now go to desaturated layer and create new layer via copy. After that change layer order so copied desaturated is on top of colored layer, BUT under the pattern pasted in step 3. (figure 5)
- Now you can switch your pasted pattern (one used in figure 4) "blending mode" to "overlay". And voila! You have nice texture of coat of arms painted on shield with shield texture showing on it. (figure 6)
- One last step to make it look good in game. This is a bit counter intuitive step: when creating normal map for your shield make sure you use either base or desaturated layer. If you do so then normal map will only have wood showing up. If you leave your pattern it will be bumped as well with would spoil the effect ingame. Make sure that your normal map looks similar to (figure 7).
Steps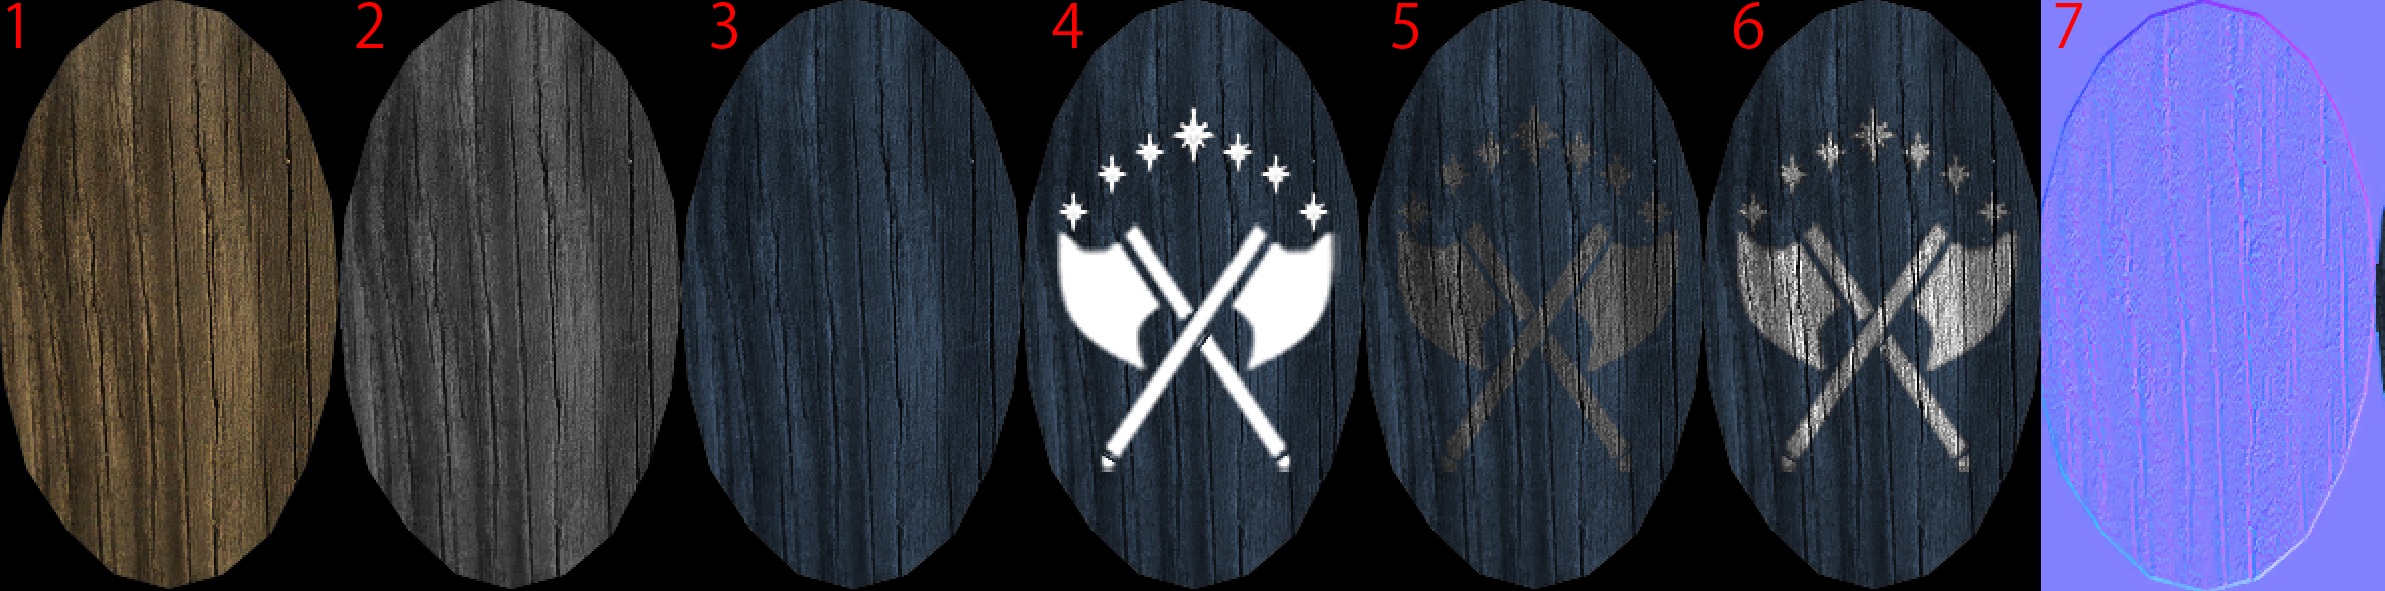
And that's it, just seven easy steps. Also while I used wooden shield as an example this technique can be freely used on all surfaces: cloth, leather, metal etc. Nothing changes.
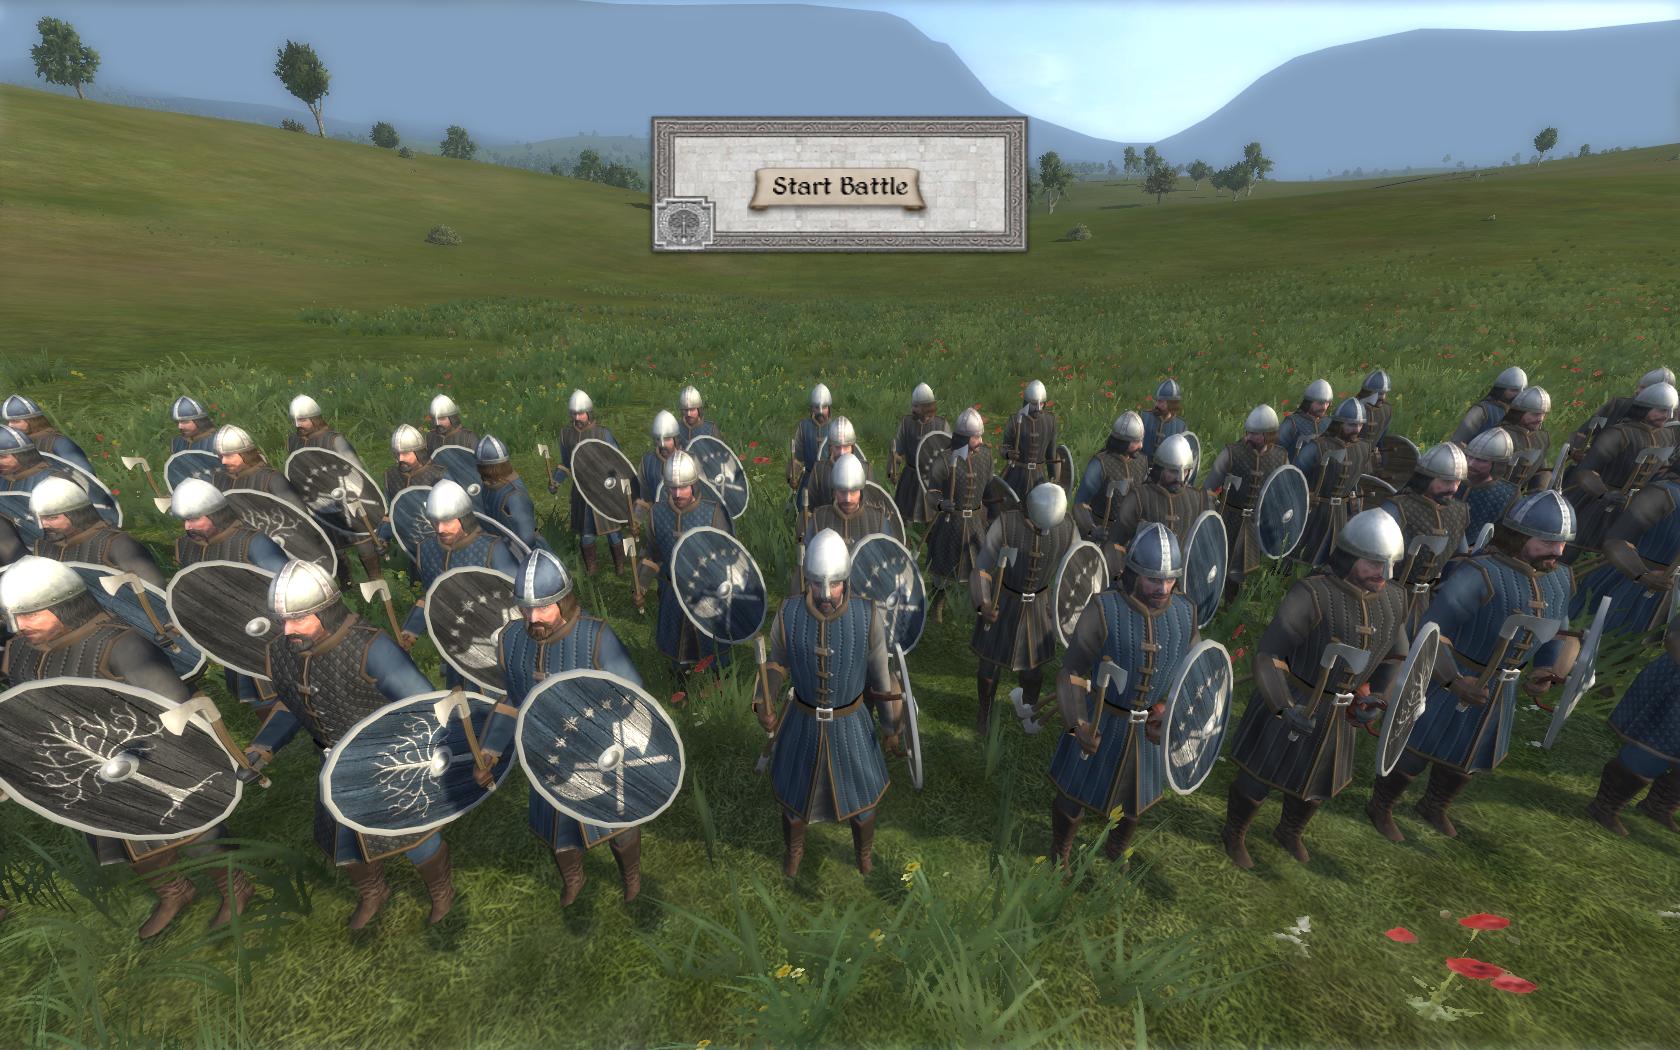
Here's how my shield looks in game:
Shield in game
 Attached Thumbnails

Why is this article attached to the Homeworld 2 Modders Group?
Haha I was thinking the exact same thing.