Animating in the Gimp
Here, I'll show you some of the basics of animating in the gimp. With these animations you can create cool, professional looking .gif files which you can later post on websites, use as avatars, etc.
First, let's create a new image, about 1000-1000 is a nice size for a high quality preview:
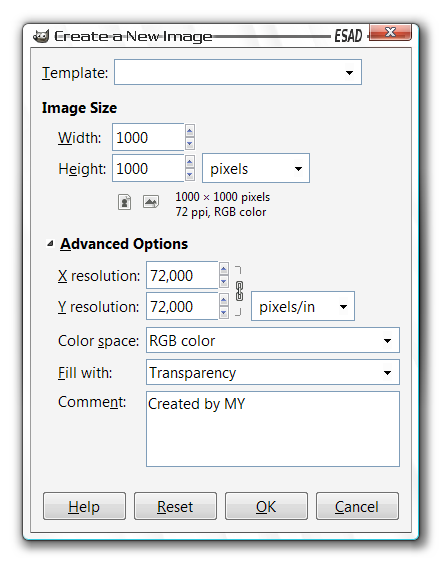
I will re-size the image later when exporting it to .gif format.
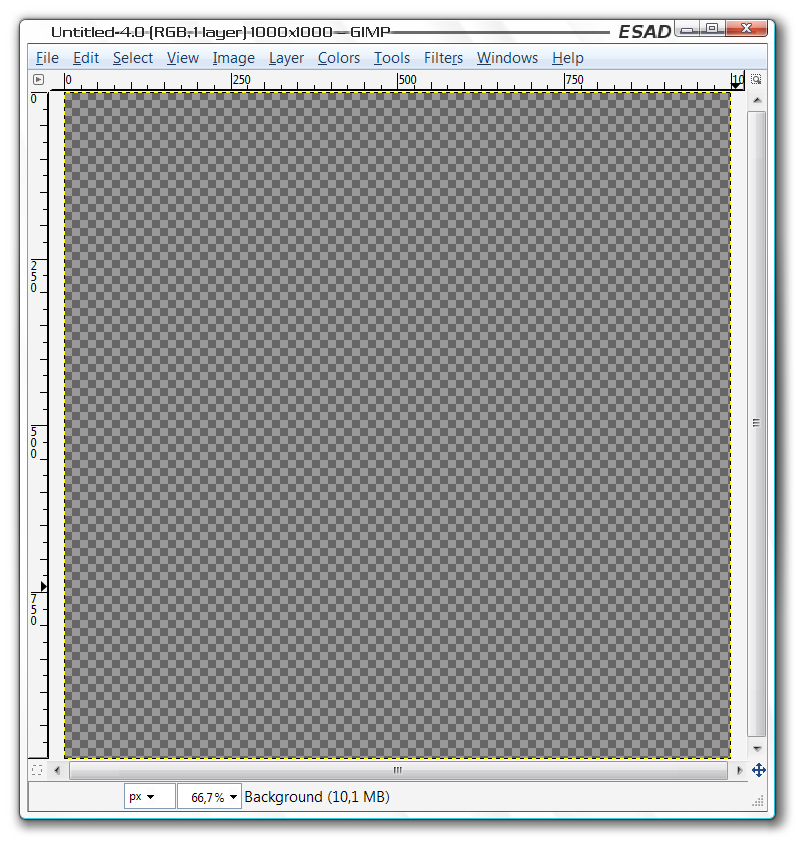
Now you should have something like this:
Then I'll create a circle, my idea is to make a circle that grows bigger and smaller in a repeated pulse:
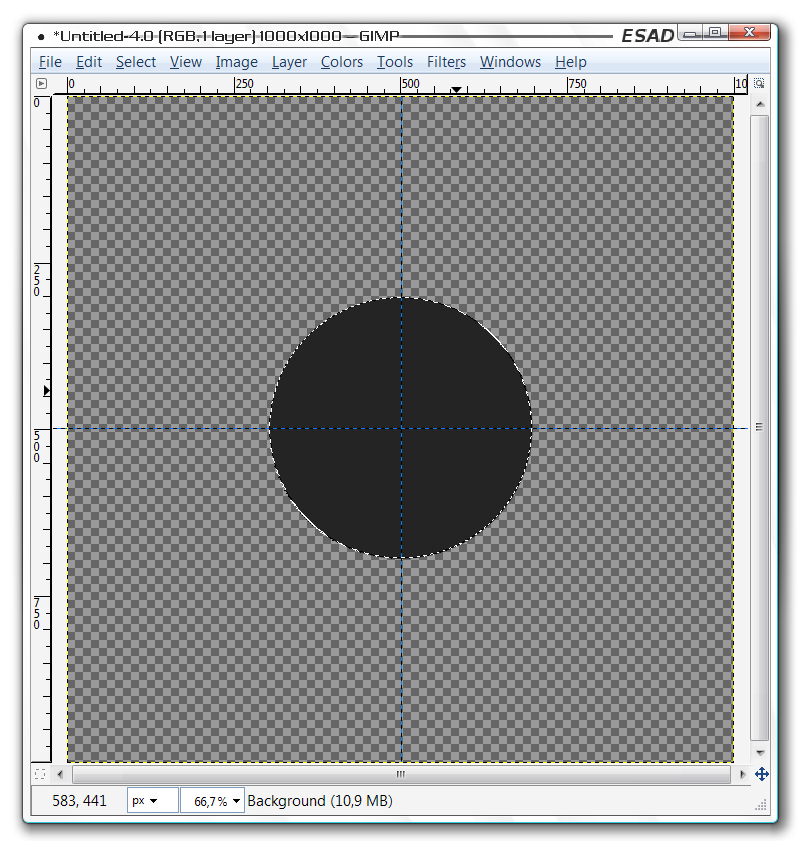
This is the first frame of my animation, don't forget that the layer panel is now the frame panel, therefore it is recommended that you create each image (if it has multiple layers) in a different window.
Now I will create 4 more layers where the circle increases in size:
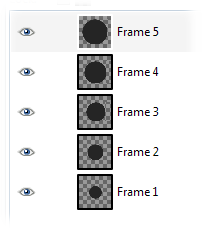
Note that I renamed the layers "Frame 1-5", on your computer they will just be called "Background", "New layer", "Pasted layer", etc.
Now I will duplicate each frame to create a descending size of the circle.
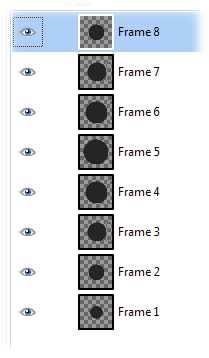
Now I've completed in making the frames of my animation.
You can preview your animation here:
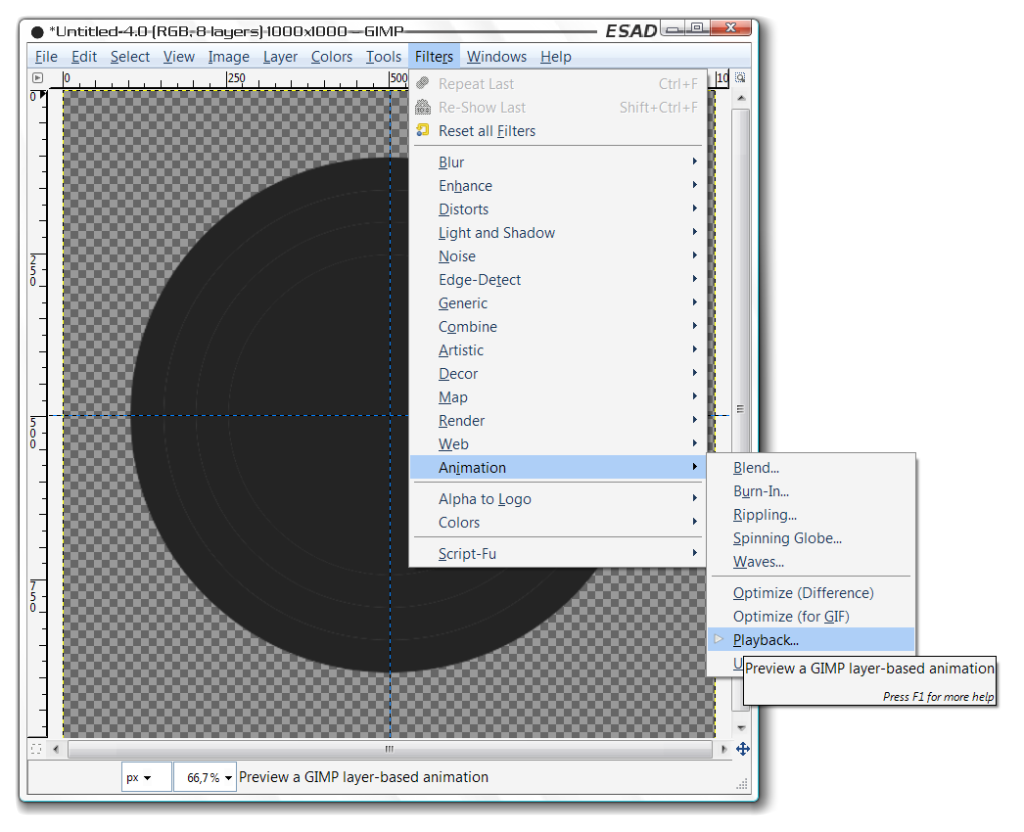
Now I will re-size the image for exporting, you can simply do that by going to "Image" and then "Scale Image".
I will make this image about 200-200. Then I will export it to .gif.
To export, go to "Save" then save it as "name-of-your-choice.gif"
When this window pops up...
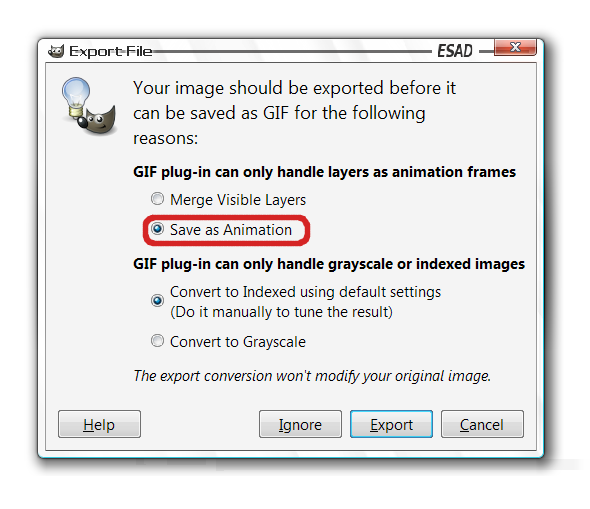
...select "Save as Animation" and export.
Then another window will pop up where you can select further settings for your .gif file, if you know what you are doing feel free to experiment but otherwise just press "Save".


Please excuse my rather unusual windows theme, I made it myself you see...
I did this tutorial and it worked great!
But I have a question about only part of the picture moving while the rest stays still (kinda like your profile pic). How would that work?
Hey, thanks for continuosly contributing to the group, I really mean it. Great to have tutorial here, maybe I will do some too. Good job!
You know, I just installed Gimp again after years so my wife could learn to have some fun with her photos. Great program and fine tutorial to have here ! Thanks Skeybar !
This comment is currently awaiting admin approval, join now to view.