Part 2 - Enemy Art
Hey everyone! This is Comet reporting in, and I’m here to continue The Art of StarBreak®, with part 2!
I design and animate the enemy monsters in StarBreak®
A. Enemy Animations Before Spriter
Last week, Ransom gave us a great introduction on how we use Spriter’s* animation system, but I wanted to relate a personal experience on how much it actually gives us a better working environment as animators. Before Spriter was implemented into the game’s production pipeline, animation sequences were done through numbering the image file names with the specifications that would be called through the code. This meant the animation process had to go through extra stages in order to ensure the timing the animator wanted. Spriter helps us to not only be able to easily drop in assets and switch Z-orders on the fly (as mentioned in Ransom’s previous post), but also be able to set the animation timing as we wish. If we want to hold a particular frame for over a second, Spriter makes that process easy. Originally, the animators had to specify the timing through the file names, as shown in this example:
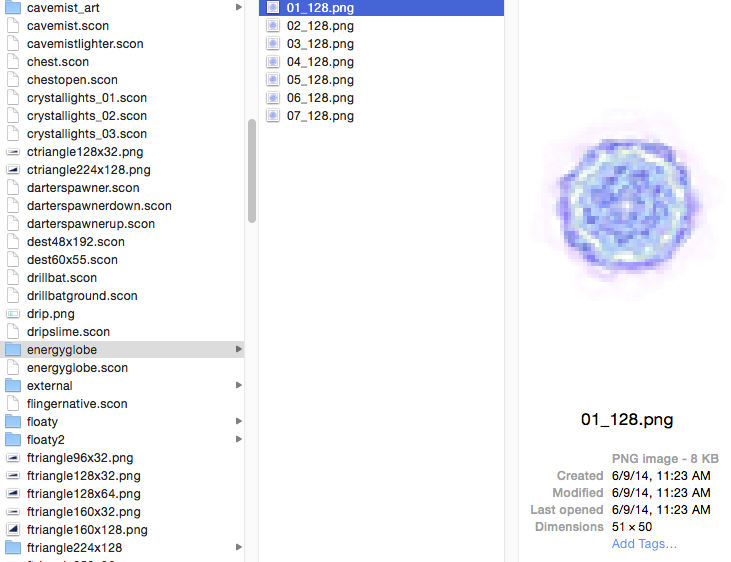
If you are an animator, you can probably see how this way of animating can quickly drive you mad!
The numbers on the front signified the order of the animation frames, and the numbers on the back specified the duration of how long the frame was held. If we use 15 frames per second (or ‘fps’) for animating, each frame is 66 milliseconds. So, holding each frame for 128 milliseconds would’ve roughly translated into holding 2 frames per image in a 15 fps setting.
B. Enemy Animations Using Spriter
If this sounds crazy, it totally is! Thankfully by the time I joined Crunchy Games, they already had Spriter integrated into the pipeline, so I was able to avoid all of that madness. Here is the same object now, in Spriter:
![]() Dodged a bullet there for sure... Much simpler! (Also, changed colors!)
Dodged a bullet there for sure... Much simpler! (Also, changed colors!)
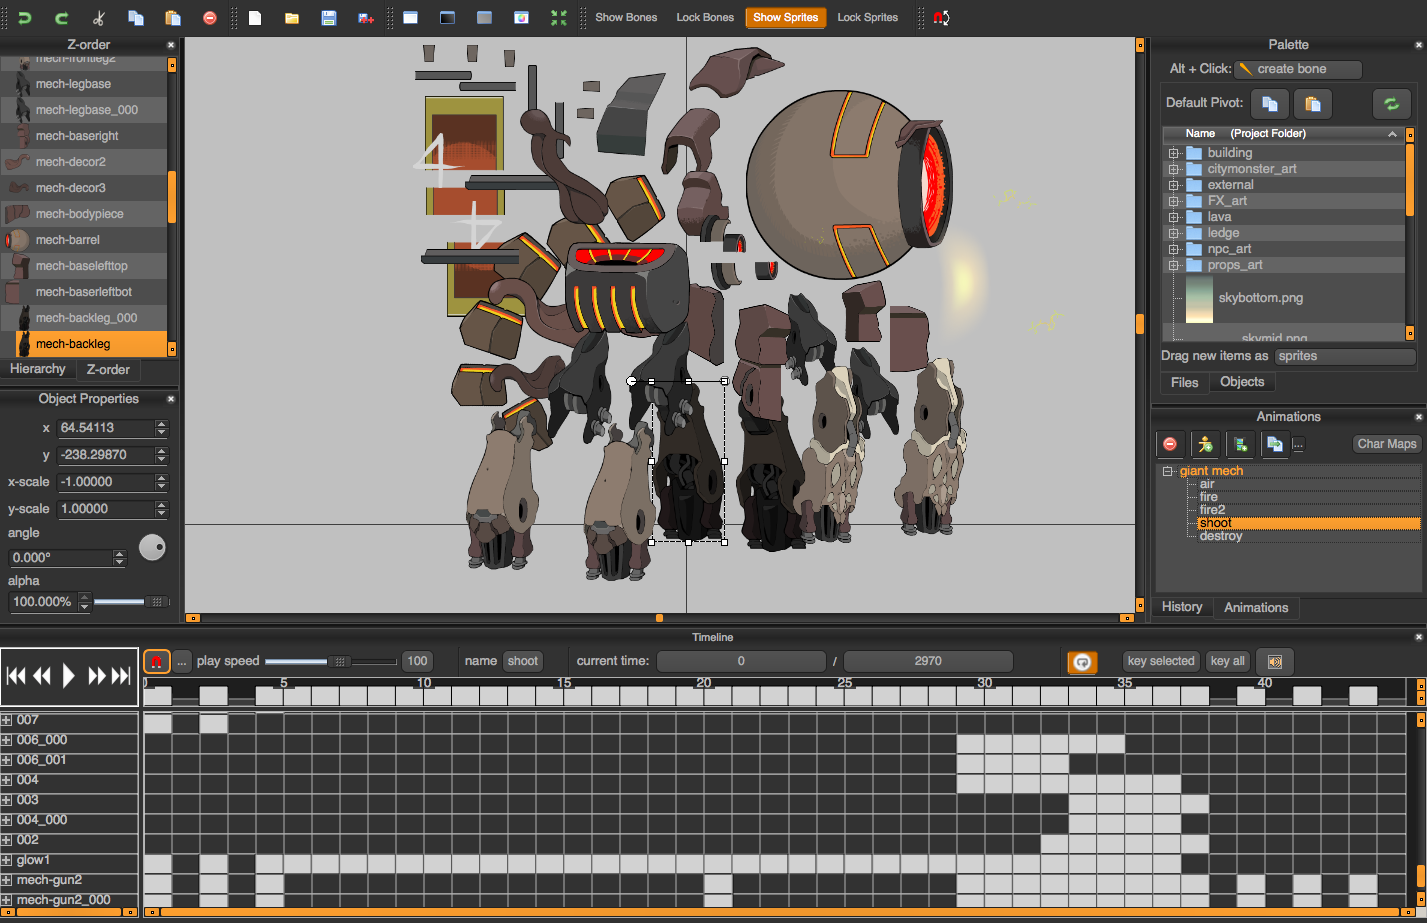
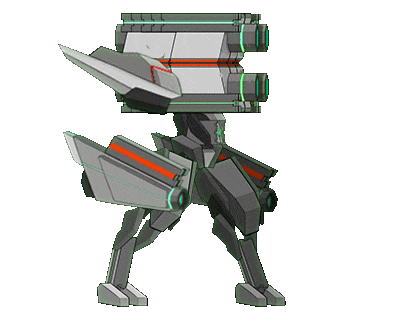
It may sound trivial, but timing is crucial for animating, and these type of timings are hard to tell without seeing them in real-time. Having an instant preview with Spriter has made the process intuitive to those who are familiar with timeline based animation software such as Flash or After Effects. While the ‘energyglobe’ animation was very uniform, you can see how the timing is more complex with this giant mech enemy here:
![]() The little white blocks on the bottom represents a frame in a 15 fps setting (fps can be modified)
The little white blocks on the bottom represents a frame in a 15 fps setting (fps can be modified)
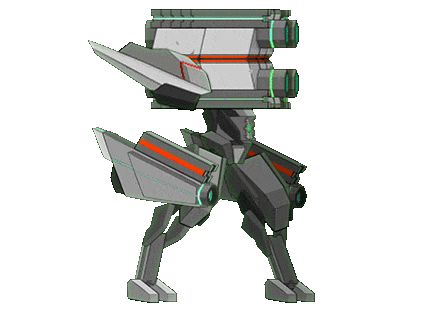
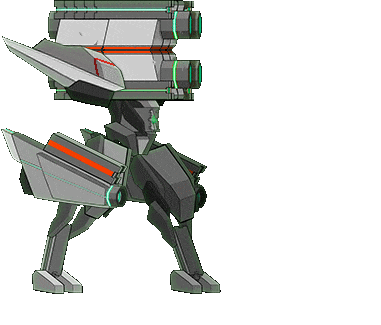
As Ransom mentioned before, Spriter allows us to really go crazy with puppet style animations. If this were a frame-by-frame animation, this enemy alone would’ve taken up all of the game’s sprite sheet space :p. Mechanic-type enemies are definitely one of the designs that can take advantage of Spriter’s puppet animation system:
 Behold the puppet-y craziness!
Which allows us to animate the Mech for specific purposes, like an idle pose:
A destroy animation:
Timber!
Or an attack telegraph:
Spriter also makes the overall artist-to-programmer ‘bridging’ very robust. For instance, the programmer can call the animation based on the names I assign in Spriter. No need to open a separate program or name the files. Instead, I just name the animation on the Spriter’s Animation layer, and let the programmer know which names goes to which animation. I’ll use the Heavy Mech from the Underground Base as an example:
![]()
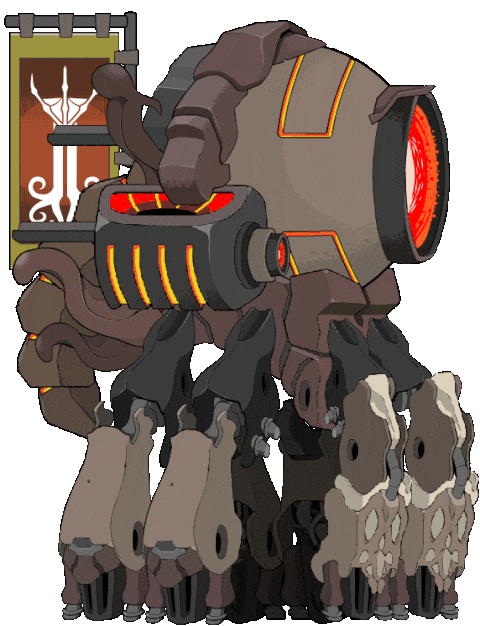
You can see an array of animation names that I’ve assigned for each behavior. “shoot” is the Heavy Mech’s normal rocket shot:
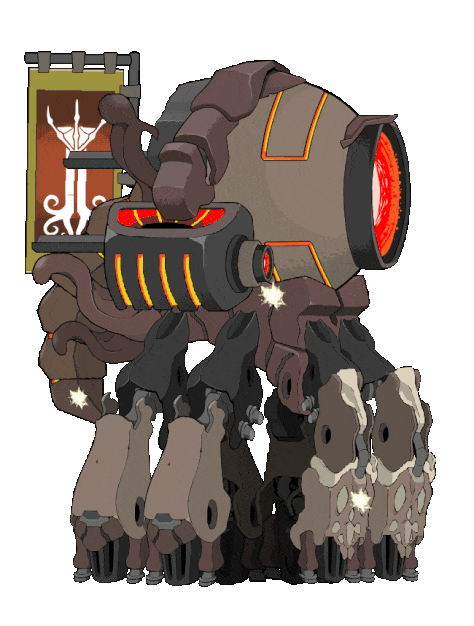
“Shoot2” is the armor piercing super shot that is unblockable:
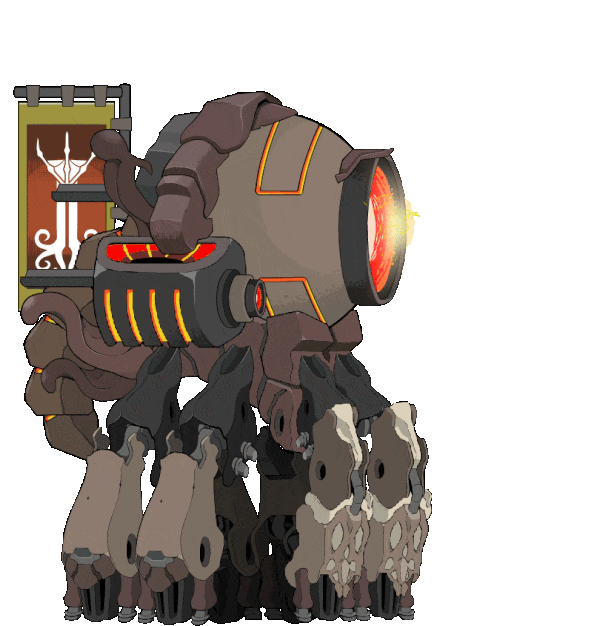
And “swing” is the sweeping laser when you get too close (also unblockable):
It makes the animation implementation process very straightforward and easy, that I almost feel guilty in terms of how easy I have it! (...almost).
I salute the artists who had to use the old system! And that is just a little segment of our enemy art creation process from StarBreak®. I’m sure I’ll see you lovely folks again soon, but until then… Happy uh… Breaking everyone! -Comet
*The UI of Spriter is a copyright of BrashMonkey and used with permission. StarBreak® assets are a copyright of Crunchy Games® all rights reserved.