One of the biggest problems that comes from being a recovering perfectionist is the amount of work you do that you end up just throwing away... Perhaps not such a unique problem in game development though, as I have come to realize that there is a great deal more work that goes into creating a game than what you end up with in the completed product.
I recently decided to spend the remainder of a week (after spending the beginning of it finishing my code re-factor I did over the previous week... more on that later) just working on the art for the game. Over the 3 days I finished only a hand full of art items I have on my backlog, and even some of those I was not completely happy with. So after a total of almost 28 hours, I had maybe a dozen pieces of art that I was happy with, and a half dozen that I may or may not use. Defiantly not as productive as I had hoped.
So, lets take a look at the process, and see where I went wrong?
From start to finish, the art process will look slightly different for each piece, but for the most part, they will all go through some form of the following steps. 1) Concept, 2) Draft, 3) Polish and 4) Completed Work.
Concept
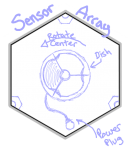 As I said before, each piece is different, and in this stage of the process, that fact is most true. The Concept Stage begins with an idea (often written down with words or as a sketch). The idea then begins to have requirements placed upon it (size/scale, use in game, an animation) that help to give it some more shape.
From there, a hand full of sketches, usually really ugly ones, with some words describing each component and its purpose are made (though not always), and it moves onto the next phase.
Draft
With the idea firmly rooted, and some basic requirements set, I get to work creating a first draft of the piece on the computer using my tablet and Paint.NET. For this first project, because I cannot afford Photoshop or Illustrator, I was stuck with either Paint.NET or Inkscape... and while Inkscape is a wonderful tool, I just didn't have the time to familiarize myself with the tool in how to create more retro looking art with it, so I went with Paint.NET instead. Often what this ends up looking like is two layer piece, the first being a very rough, messy sketch (usually in a low alpha), and then a cleaner one created from the sketch on a layer above it. I often go back and forth between these two, expanding on my base sketch as I give it shape and form in the cleaner sketch above. But when this is all done, I break the first rule I learned in art class, never throw away your work, and that is I delete the first layer sketch, Save the Piece, and select my color Pallet.
Polish
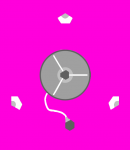 If this were on a canvas, I would be painting over the pencil sketch, or a scrap book, I would be cutting out the color paper in layers, and placing the over the prefab on grid paper... but because its Paint.NET, I take a modest size brush, and a custom pallet of colors, and I paint on a layer under the sketch. I don't worry too much about shading, I will save that for Polish, instead I just work to separate the core aspects of the work, defining its shape, and ensuring that my color pallet has what it needs to finish the piece. Once color is on, I remove (make invisible) the sketch, and fill in any spaces that were left behind, and get to three things. Outlining, Shading, and Effects.
Complete Work
I often work with a much larger canvas than my final piece (though not always), so after resizing the Canvas, and maybe Cropping it for center, taking it from the Polished piece to the Complete Work simply means saving it to a single layer file (in my case .PNG because of the transparency) and adding it to my games content pipeline.
So there you have it. My process in all of its ugliness.
If you are an Artist, and you have any advice as to how I can improve my process... I would be delighted to hear it! While I realize art takes work, because I am not well practiced at it, the time it is taking me to churn out the art I am creating is taking a lot longer than a professional would, and anything I can do to cut down that time would be a huge bonus.
So thanks for listening, and sorry for the delay in getting this up for you to read. It took me longer than I had hoped to get the demonstration piece ready for this thing.
Cheers,
- fidgetwidget
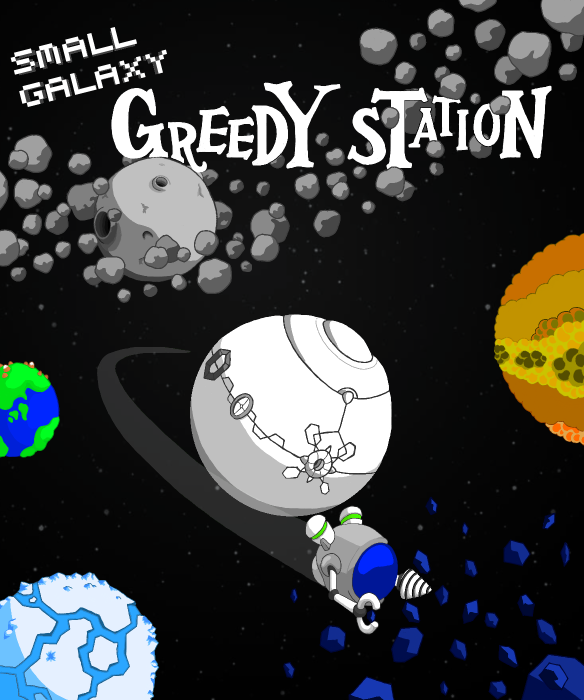
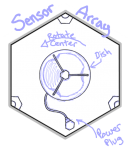
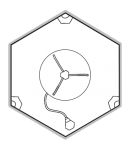
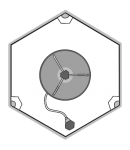
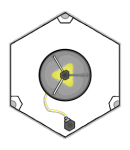

I saw how was the process for the thing there, really good to see how things started and the process for it until finished, and yes, I agree, neds some more colors... try putting some green and/or blue lines on it, to make it feel more "alive".
But great work!
Just in case anyone is worried, I have since tossed out that piece, and replaced it with something else.
This is what I mean though, art is easily taking up the majority of my time on this project... I didn't expect that to be the biggest consumer of my time, but art is work.