
Space Engine has such cool stars. Wouldn't it be great if we had cool stars too? In this tutorial you will learn to create realistic stars that follow the blackbody color spectrum, as well as learn how to add cheap screen space lens flares and other cool screenspace star effects. If you haven't read the gas giant blog, go read that first, since it talks about noise and shaders and I don't want to reiterate it here. John Wiggham has a star blog as well that you should check out if you are really interested in star rendering, though his stars are more on the flashy side than the realistic side. You could combine elements of his stars with mine to get some really neat looking stars. If you don't give a damn about the blog and want to just see the result, click here.
Step 1: Sphere
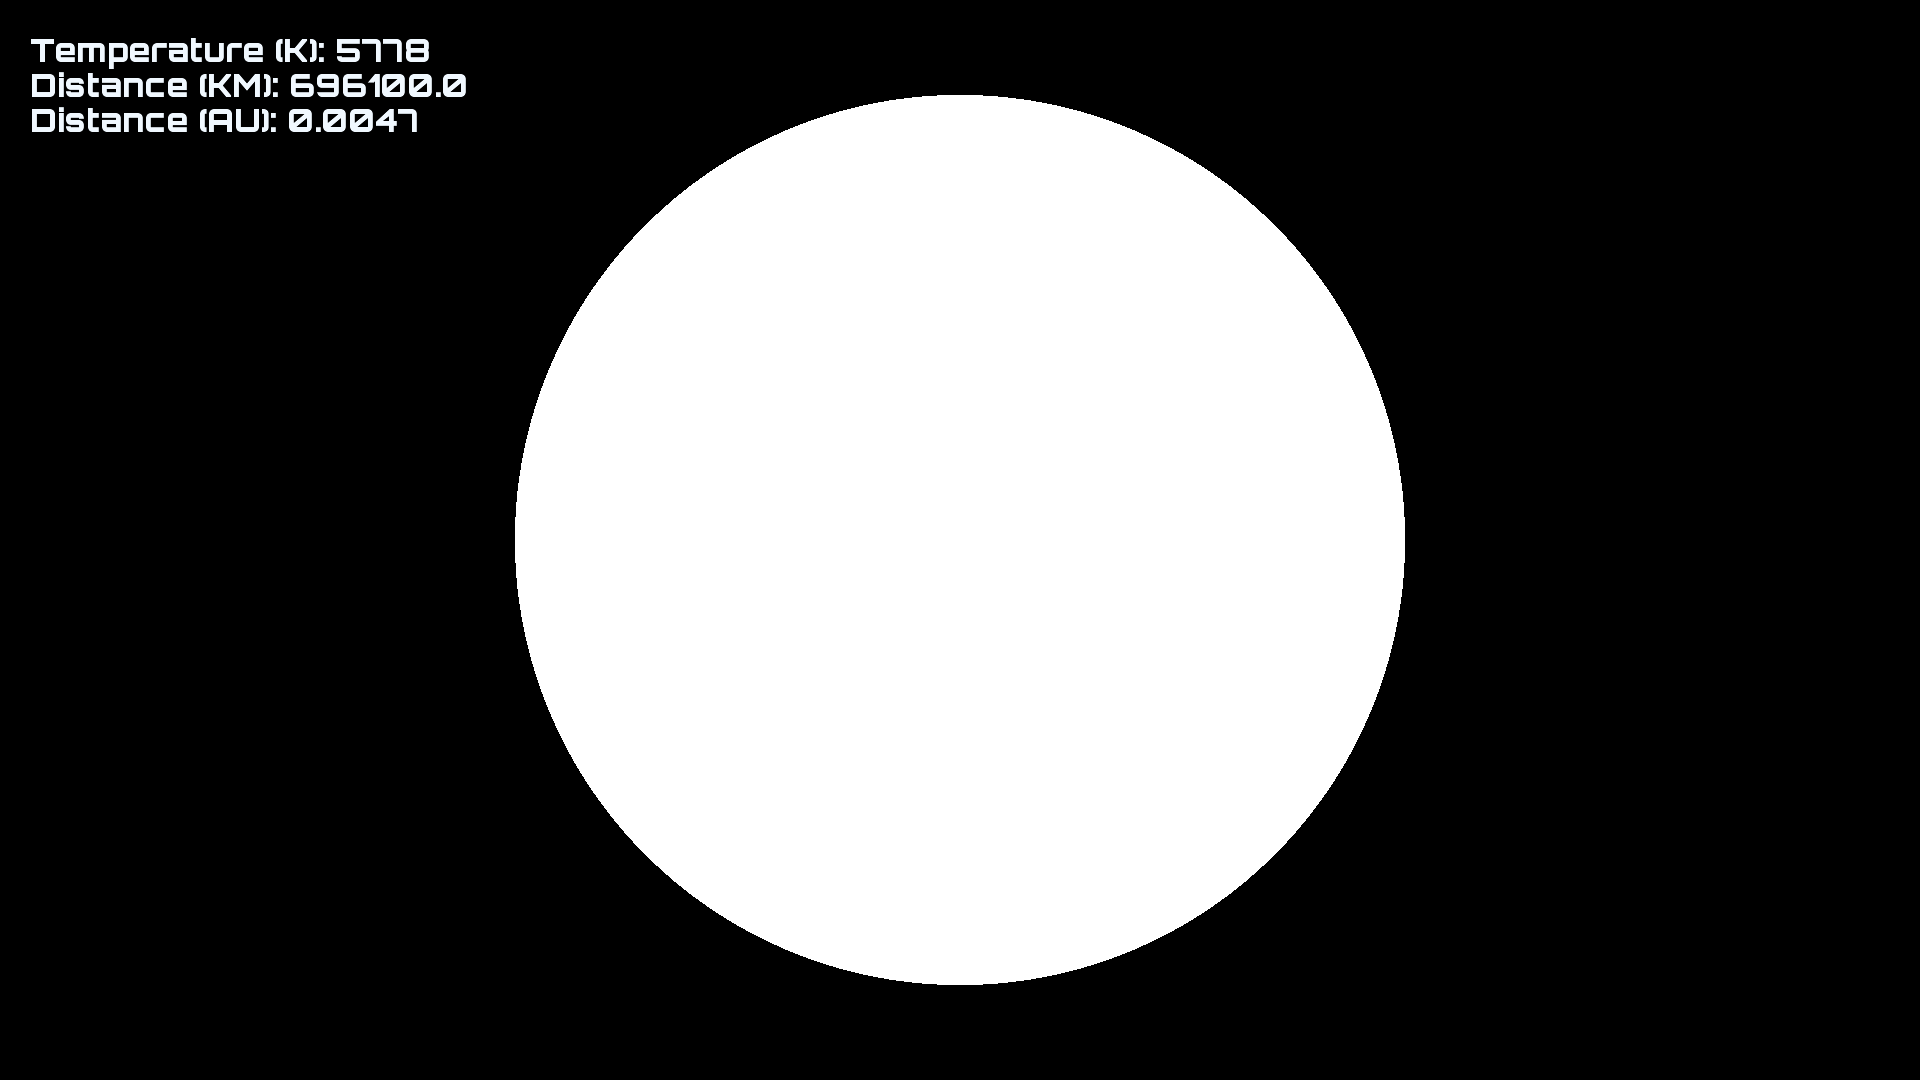
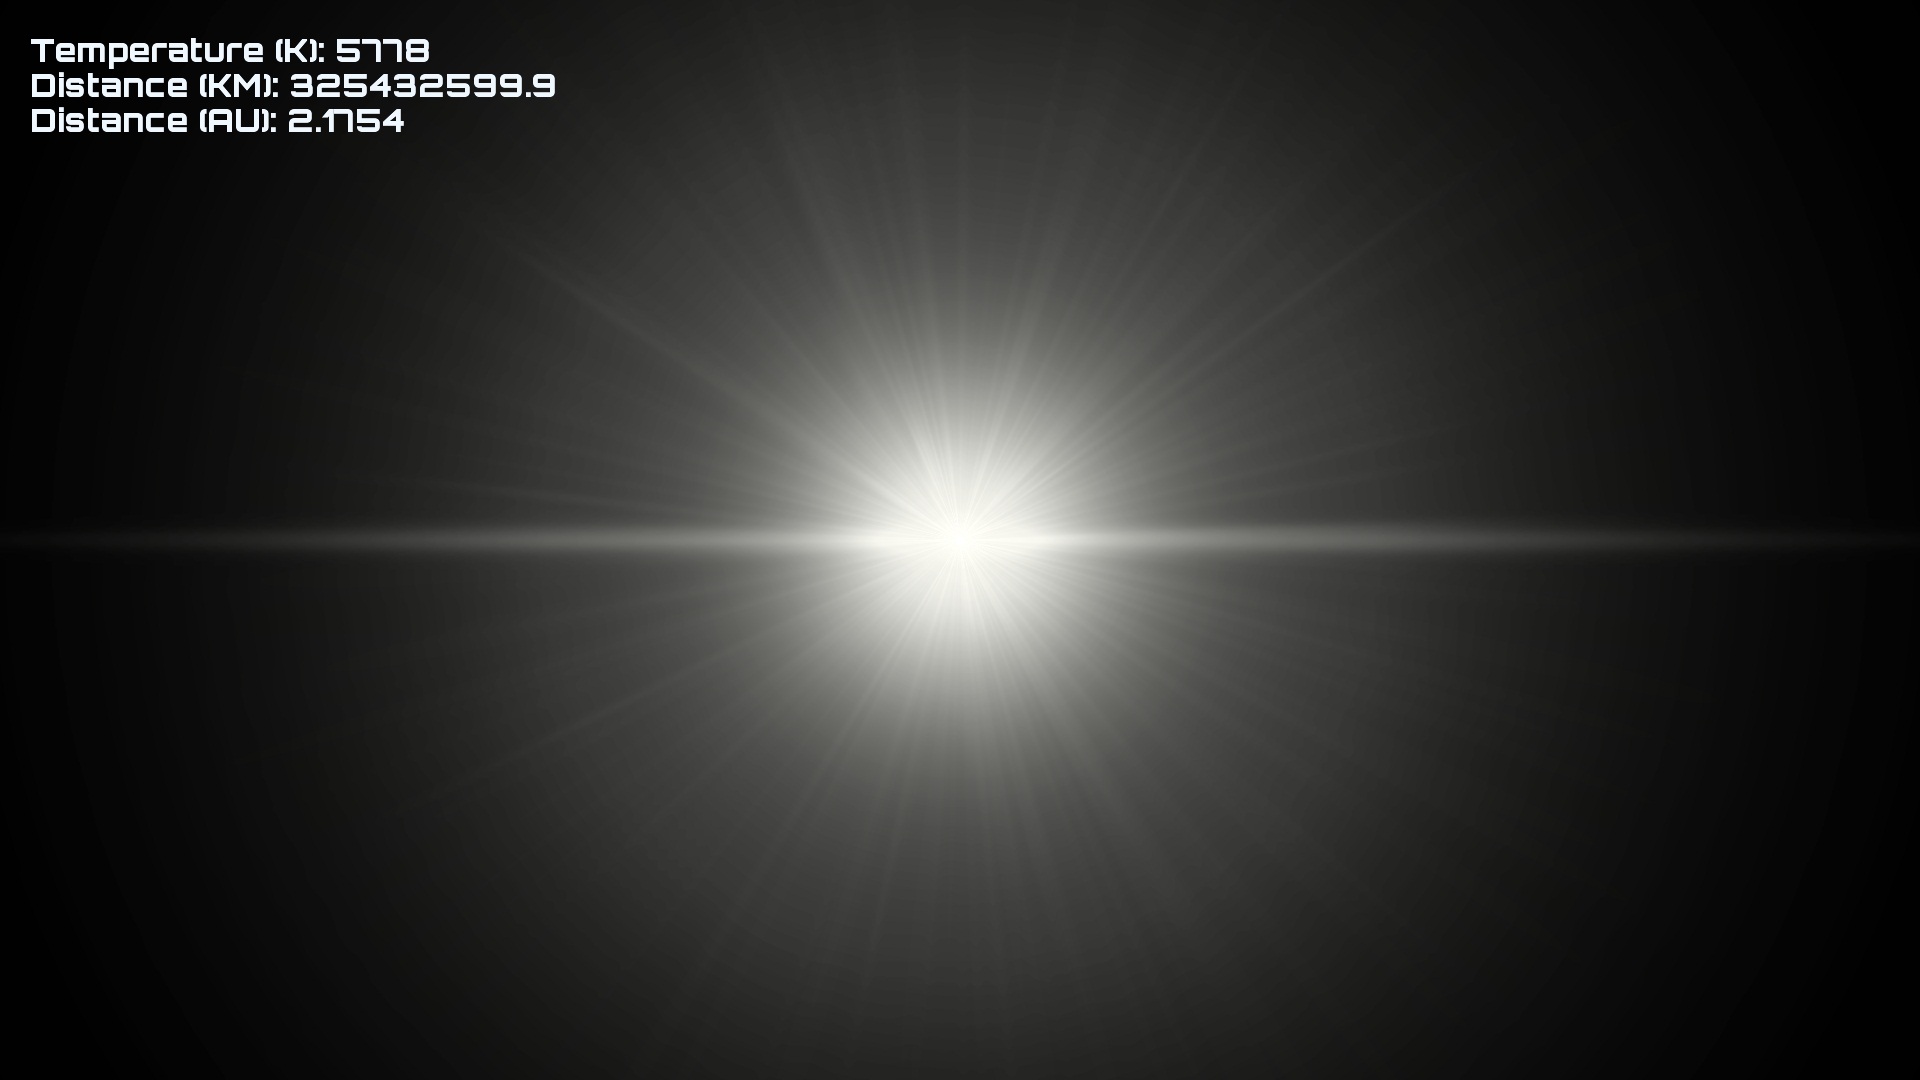
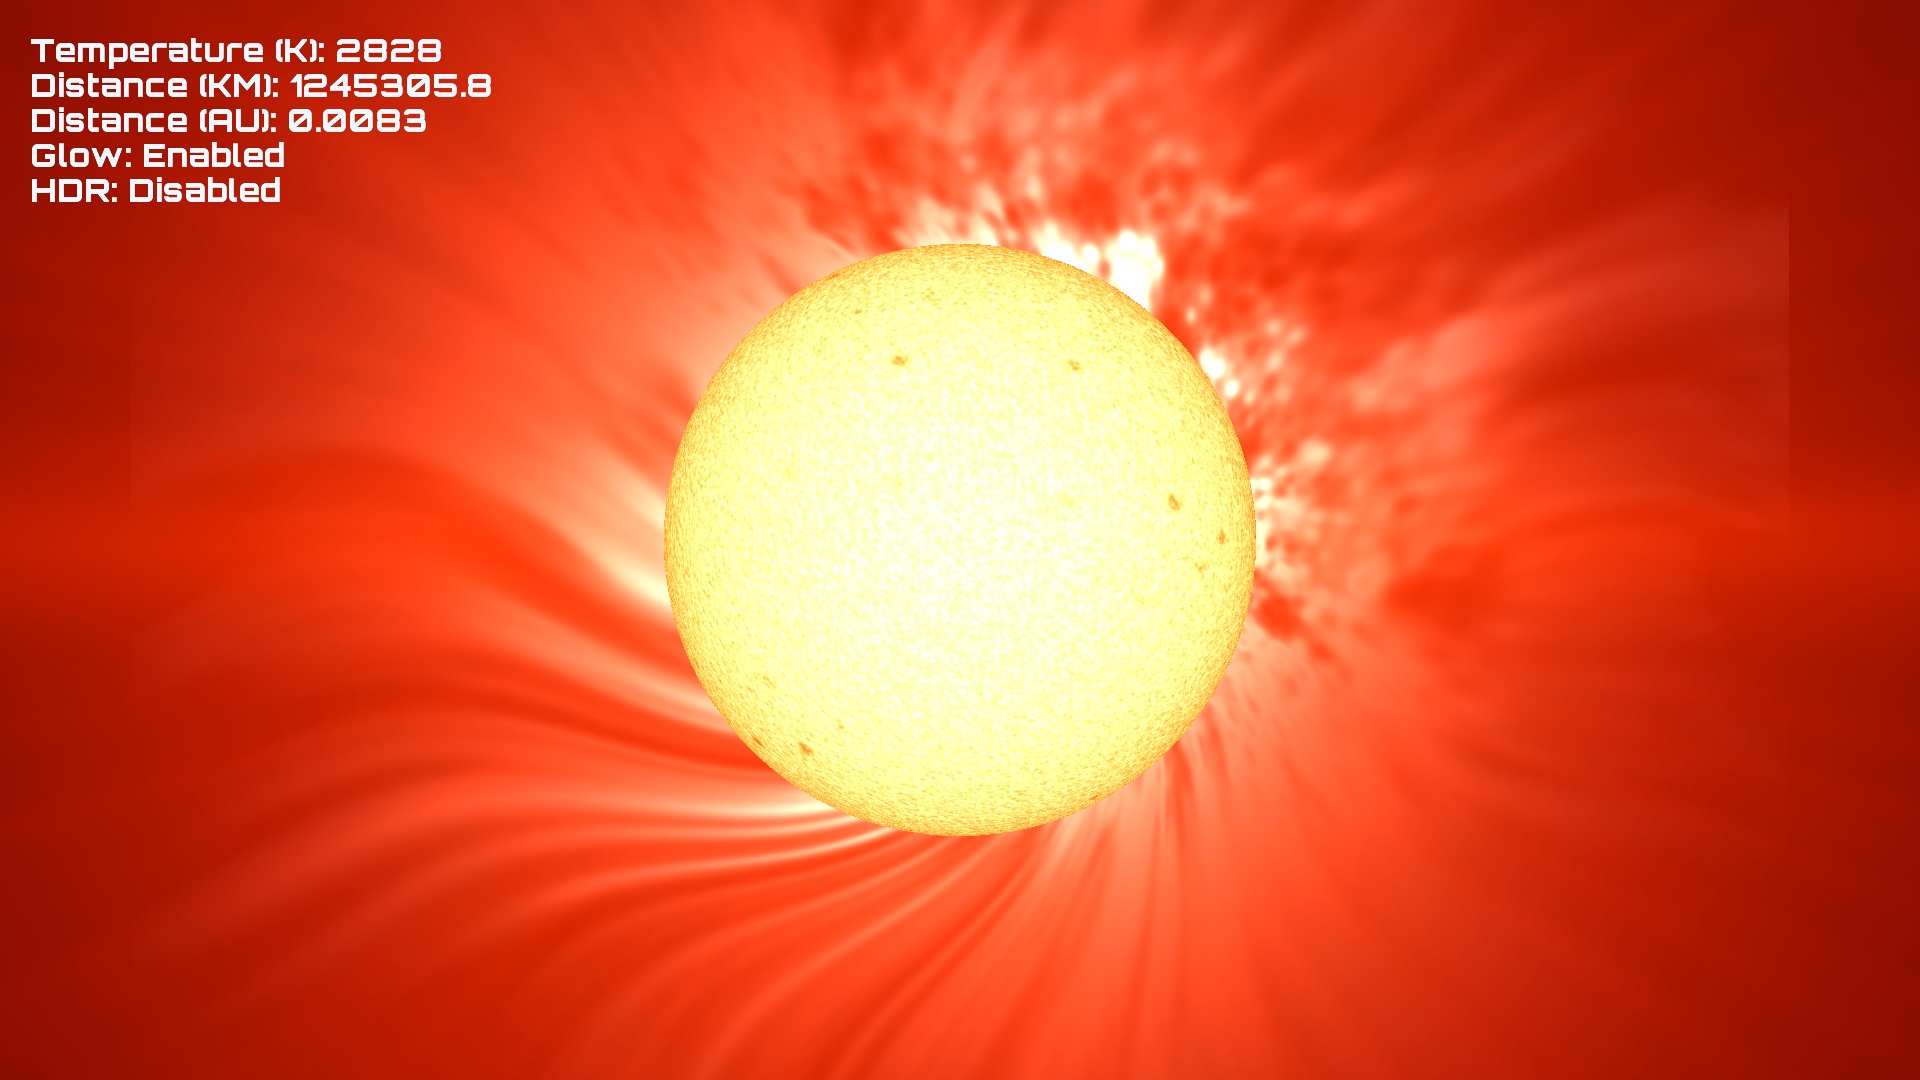
As in the gas giant blog, we will start with a simple icosphere mesh. You should create a testbed for creating your star renderer. Here I am showing the distance in KM and AU, as well as the surface temperature of the star in Kelvin. I chose 5,778K for the temperature, and 696,000KM for the star radius, which are the same values of the sun.

Step 2: Granules
Lets focus on the surface of the star for now. Stars have granules that are caused by convection currents. We can easily render granules with a bit of GPU noise, just like we did in the gas giant blog. I'm going to use four octaves in the fragment shader and output to color. The reason I am adding 1.0 and multiplying by 0.5 is to scale the noise output to the range (0, 1) instead of (-1, 1). Notice that I am using unDT as the fourth component into our 4D noise, which makes the star change over time.
vec4 position = vec4(fPosition, unDT);float n = (noise(position , 4, 40.0, 0.7) + 1.0) * 0.5;float total = n;
pColor = vec4(total, total, total, 1.0);
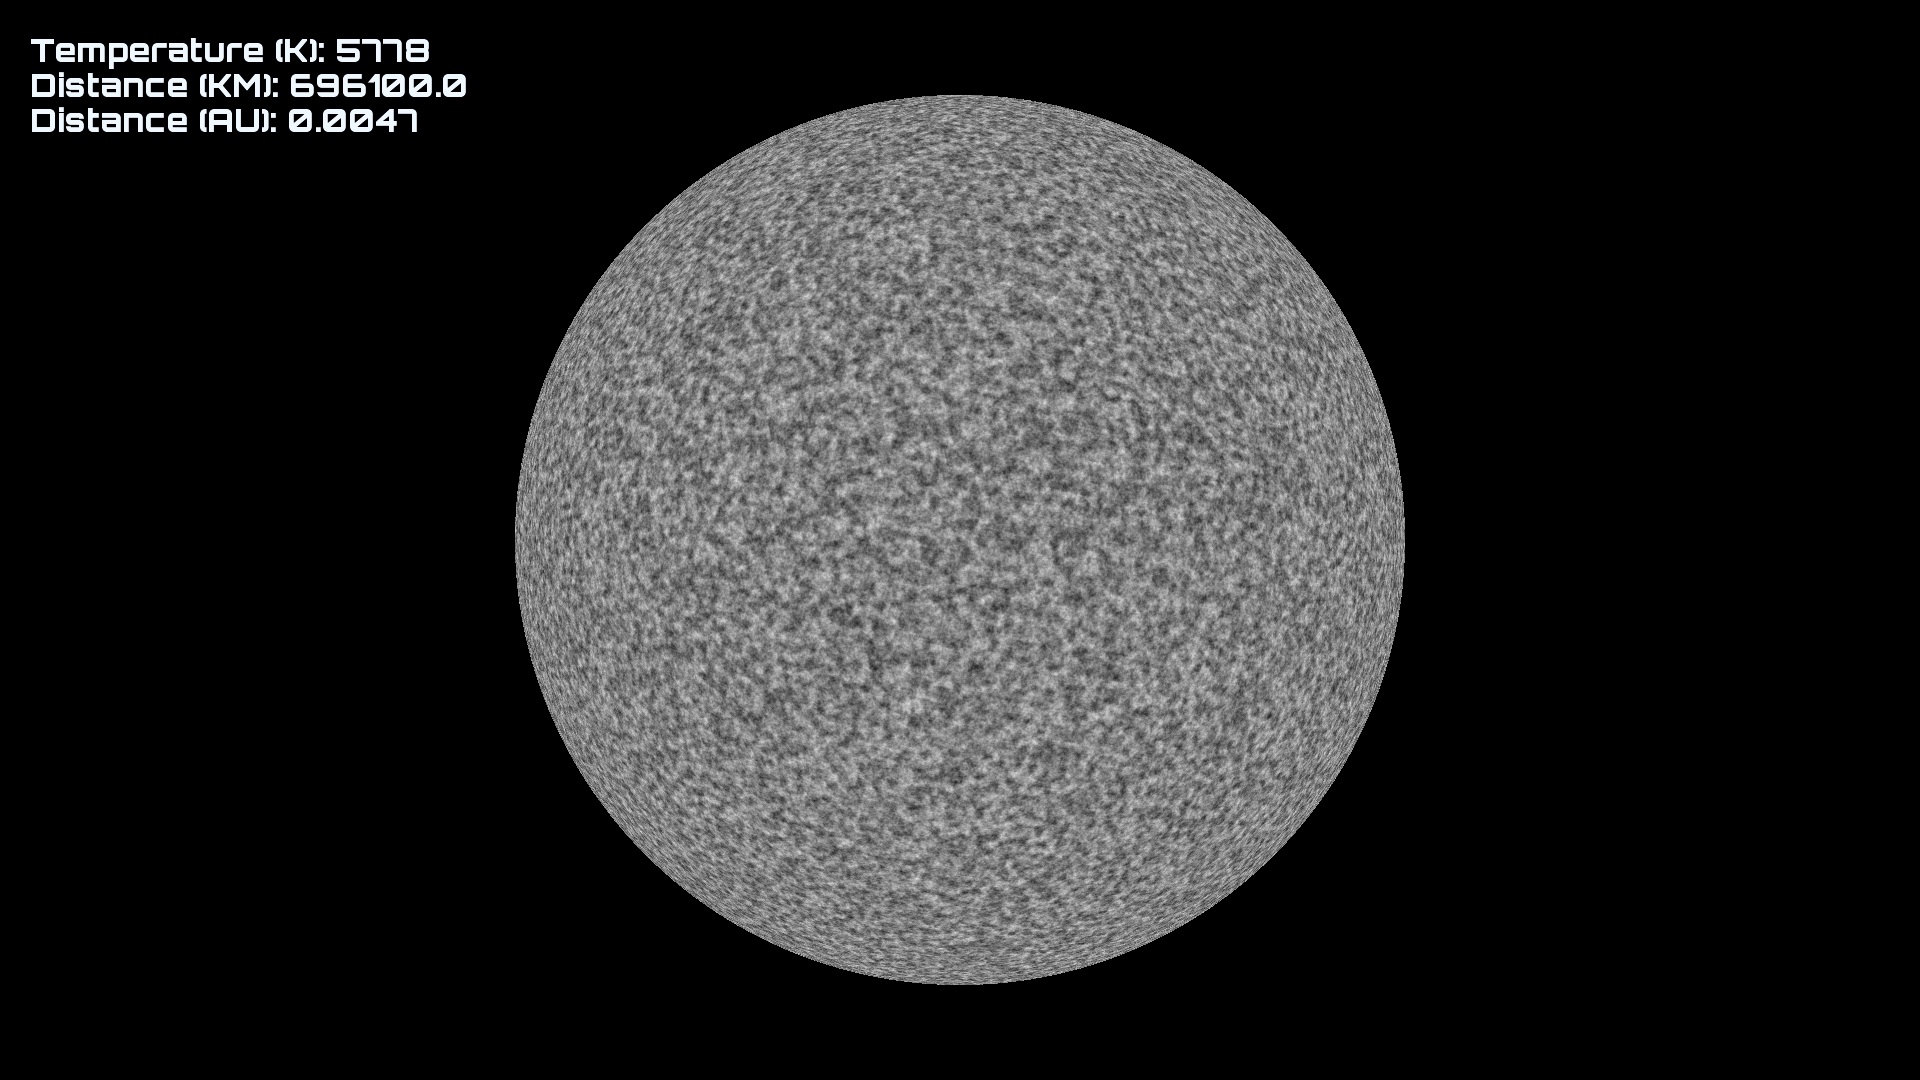
Not bad! It doesn't look exactly like granules, but its close enough. Further tweaking could undoubtedly make it look much better, but users typically won't even see these granules since the star is so bright.
Step 3: Sunspots
Stars have sunspots, which are dark spots resulting from magnetic field concentrations. We aren't going to try to be hyper realistic here, but let's try to at least emulate the look of sunspots. Generally, sunspots are about the same size no matter the size of the star, so bigger stars will have more sunspots, though that is a gross oversimplification. For this reason, we will multiply the position by the radius before using it in the sunspot noise functions.Let's try using only 2 samples of noise as a threshold, similarly to how we did storms in the gas giant blog.
// Get worldspace position
vec4 sPosition = position * unRadius; // Sunspots
float s = 0.3;
float frequency = 0.00001;
float t1 = snoise(sPosition * frequency) - s;
float t2 = snoise((sPosition + unRadius) * frequency) - s;
float ss = (max(t1, 0.0) * max(t2, 0.0)) * 2.0; // Accumulate total noise
float total = n - ss;
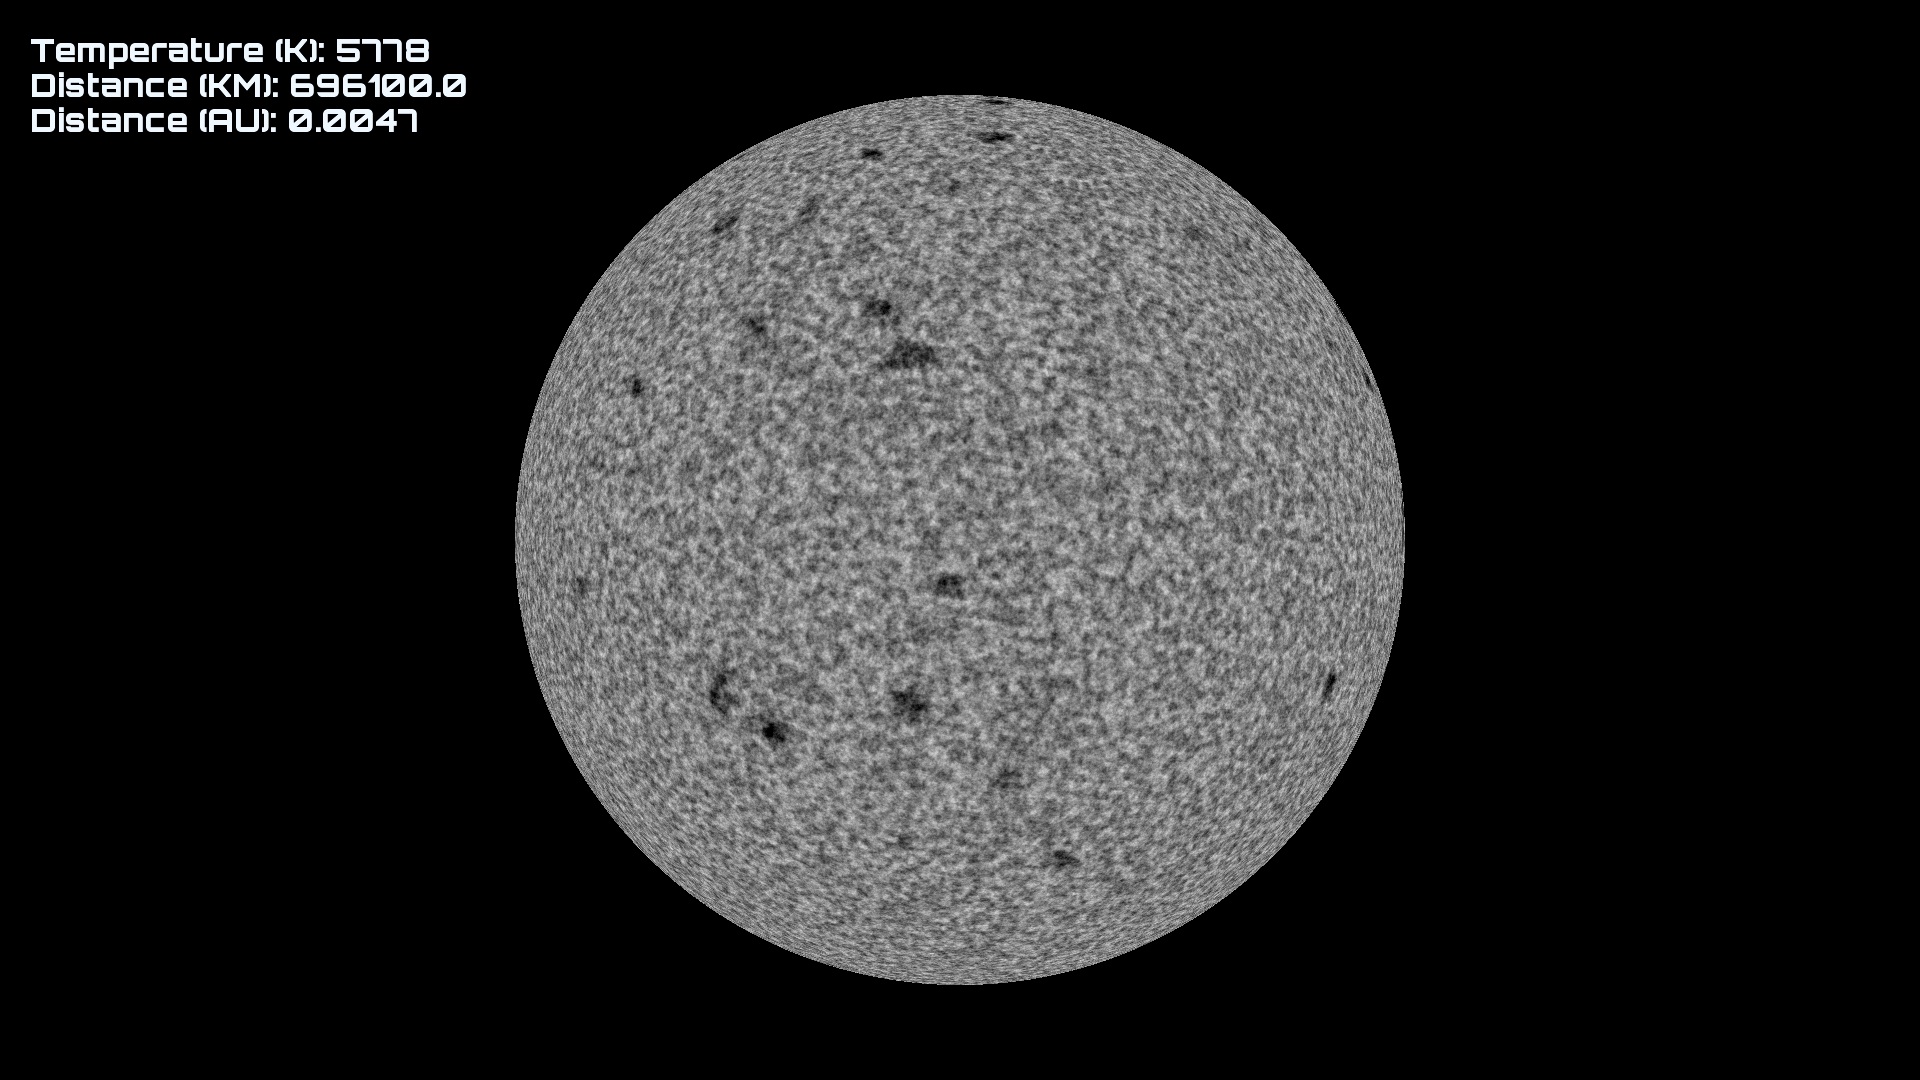
Seems reasonable enough. This seems like a fairly good looking star surface, but it's not the right color! Let's fix that using physics!
Step 4: Color
The color of a star depends on its temperature. The cooler a star is, the redder it is. The hotter a star is, the bluer it is. This happens according to blackbody radiation. What we need to do is look up the color for our star in a 1D texture, where the U coordinate (the X coordinate) of the texture corresponds to the temperature in kelvin. The left side of the texture is 800K, and the right side is 30,000K. Since we are going to use the same color for the whole star, we can actually compute this on the CPU as an optimization and pass it in as a uniform. Otherwise you can use a texture lookup in the shader. Here is the texture that Georg made: Getting the X coordinate in the texture from temperature is as easy as:
float u = (temperature - 800.0f) / 29200.0f;
Let's look at a few examples of the different colors at different temperatures:
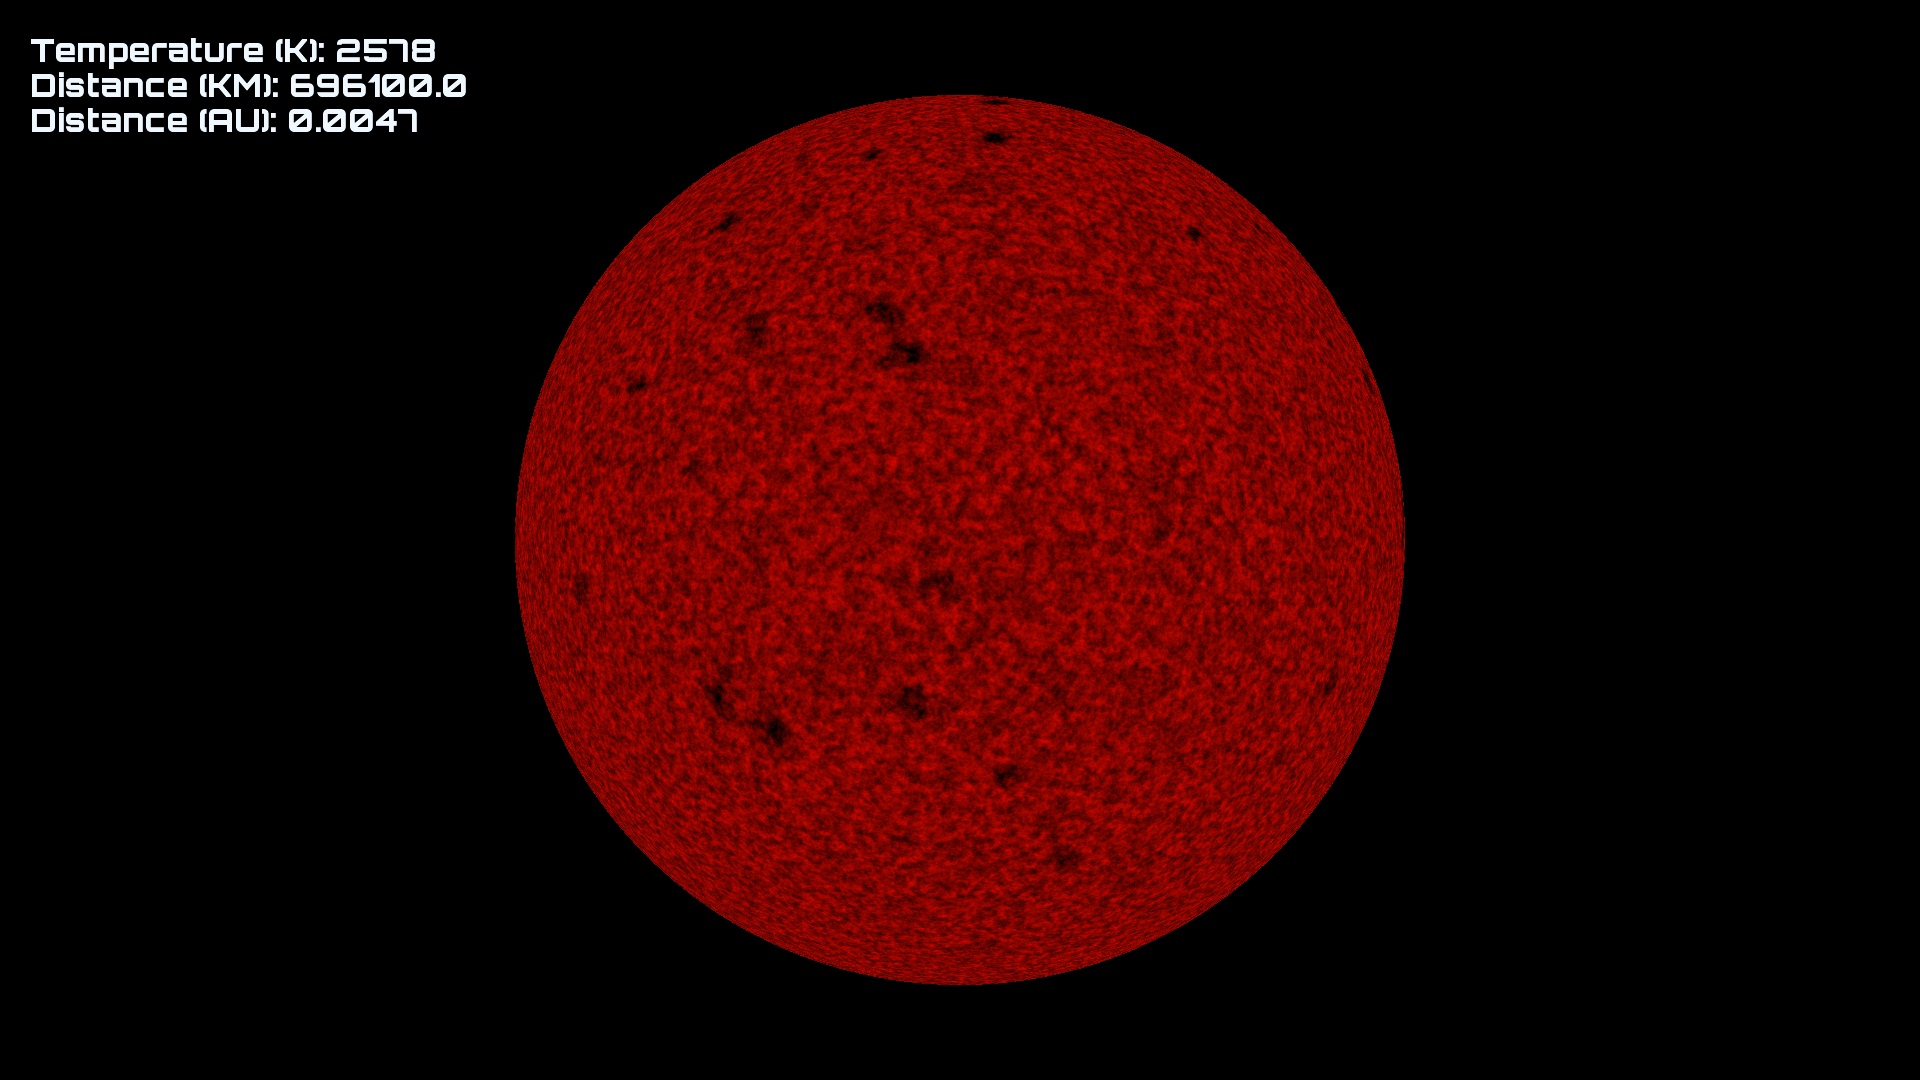
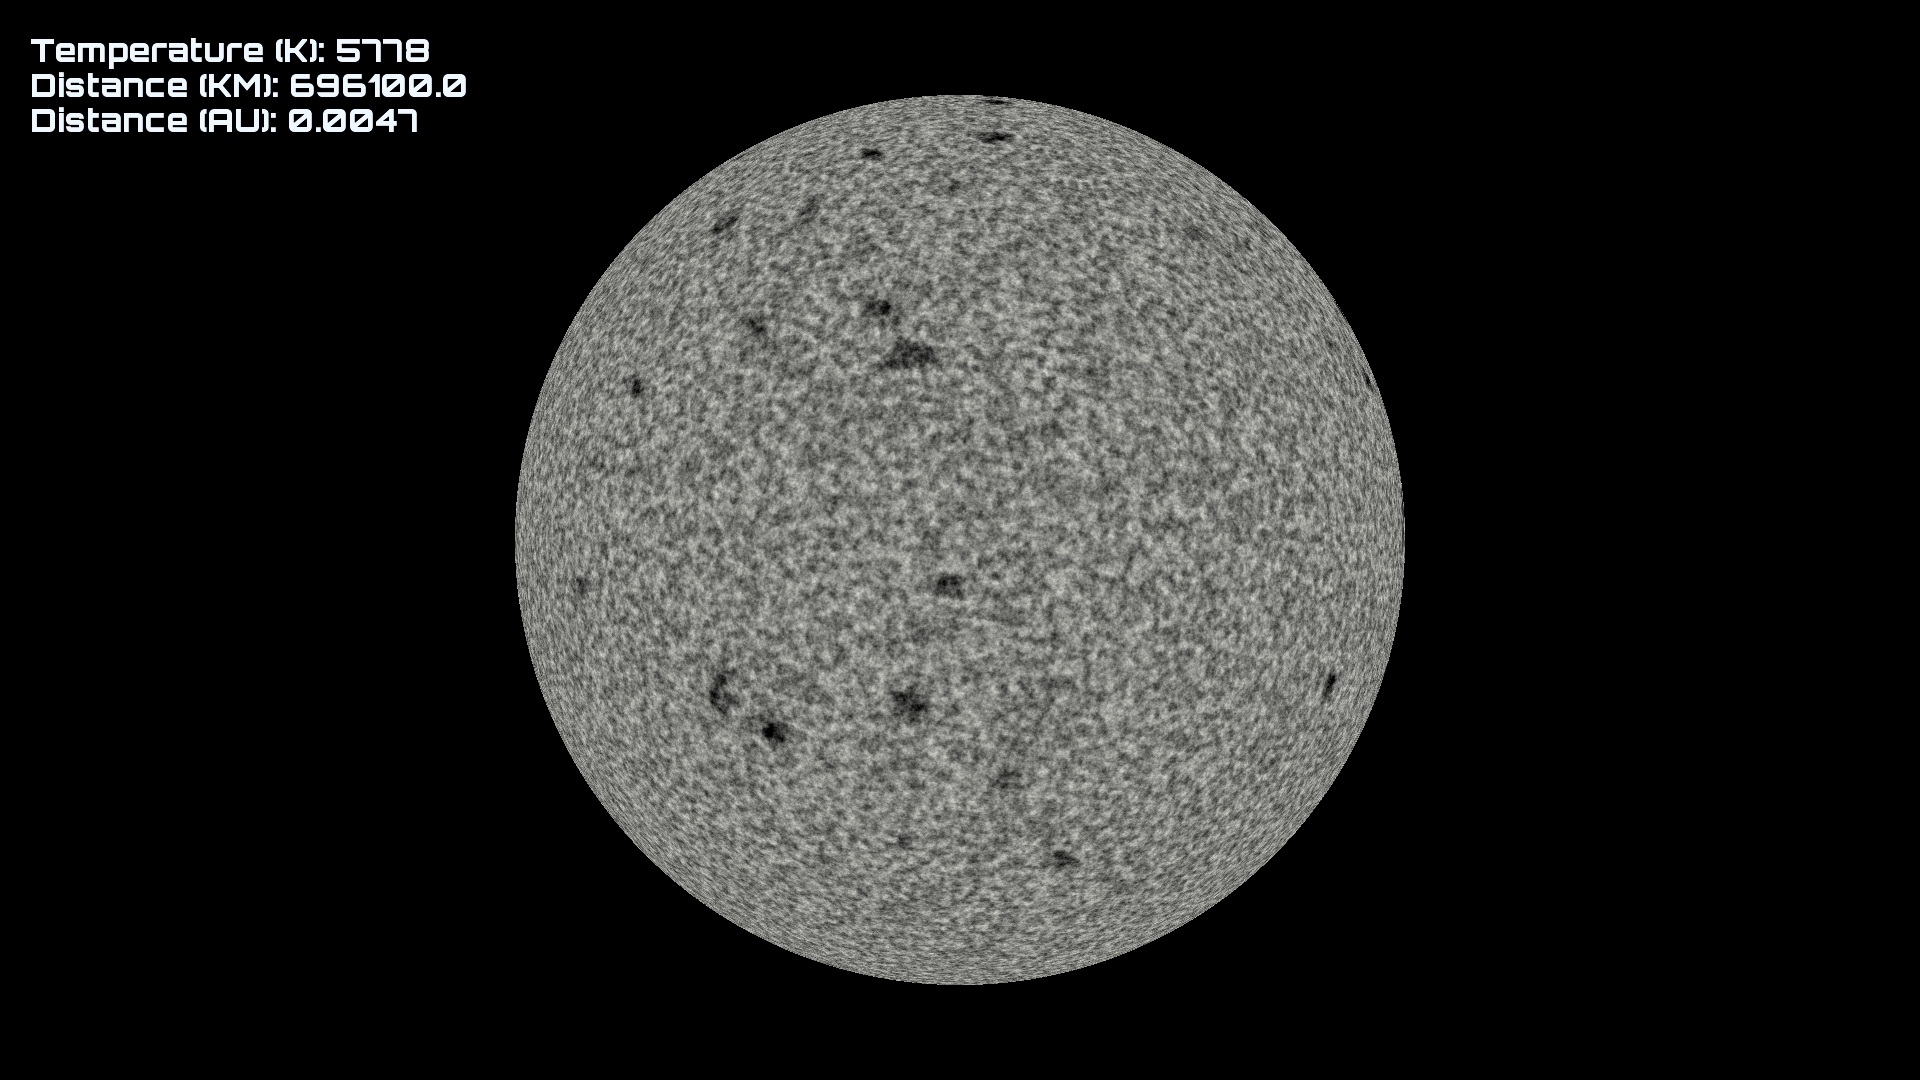
Well, the color matches, but shouldn't stars be... brighter? Yes!
Step 5: Color Shift
As temperature gets hotter, the stars should also get brighter. We can simulate this by shifting the color of the stars based on temperature. Georg came up with this magic formula for realistic color shifting for RGB on the range of (0, 1).
glm::vec3 getTempColorShift(float temperature) {
return glm::vec3(temperature * (0.0534 / 255.0) - (43.0 / 255.0),
temperature * (0.0628 / 255.0) - (77.0 / 255.0),
temperature * (0.0735 / 255.0) - (115.0 / 255.0));
}
Notice that the RGB components aren't shifted equally. Let's take a look at our original star:
Well... it IS bright... Why is it solid white? Because we can only display colors in the range of (0,1) but we are shifting it past 1.0 at high temperatures! After about 4,300K the star looks solid white. However, this is desirable, as in real life when you look at stars, you pretty much just go blind. To properly view the features of the stars surface, a black color filter (basically sunshades) is needed, which we will add later.
Step 6: Corona
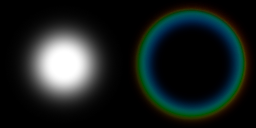
The corona is a huge aura of extremely hot plasma that surrounds stars which is visible during a solar eclipse. We can't have a proper star renderer without a corona, so let's make one.To do this, we will render a 3D billboard that is centered on the star, and use noise in a shader to make the corona effect. I am using a billboard that is 3x the diameter of the star. I zoomed out in the below image to show the proportions. We want to keep the billboard as small as possible without chopping off the corona so that we minimize fragment shader overhead.
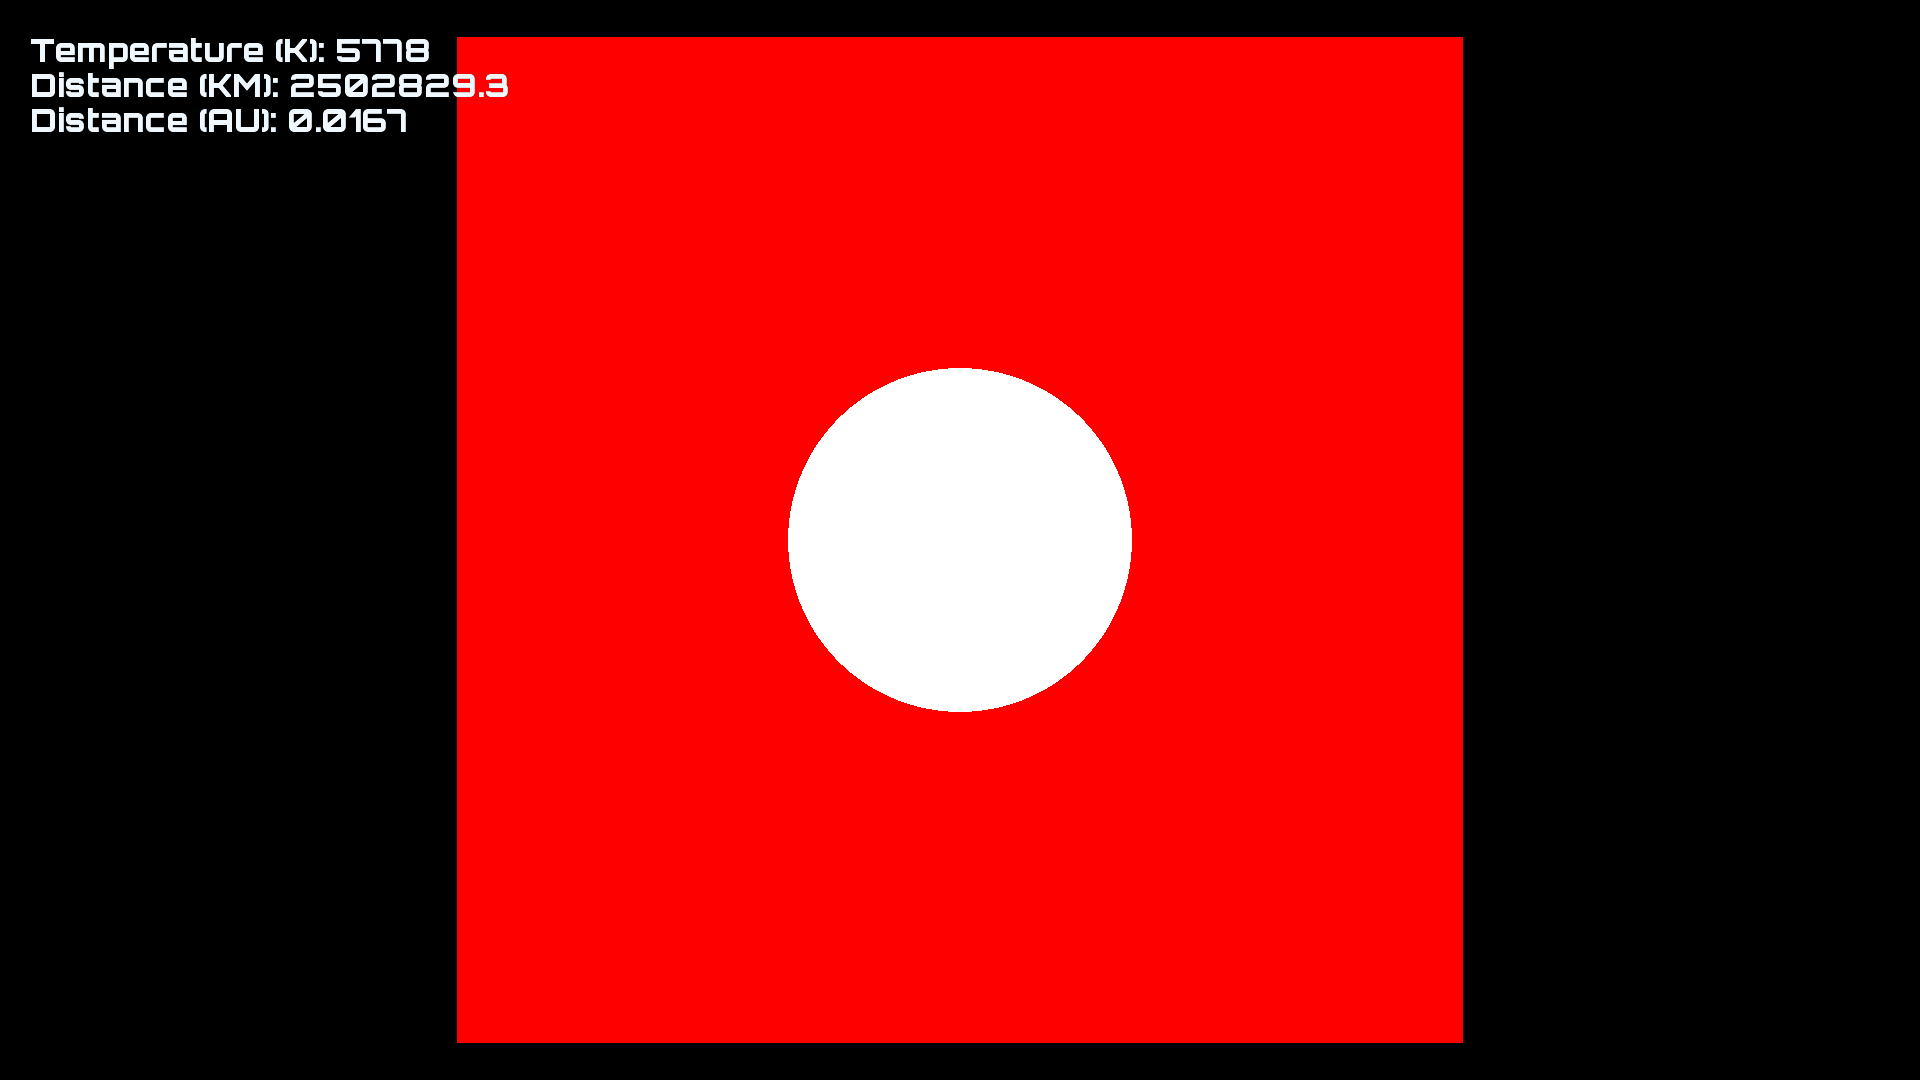
The billboard quad should have vertex positions on the range of (-1, 1) that get scaled in the vertex shader. Transform the unscaled vertex positions so that they are facing the camera in world space, and then pass them to the fragment shader as the fPosition input. We will use fPosition for our noise. Of course you should scale gl_Position by the size of the billboard, but don't scale fPosition!Let's start by just making a fading glow for the corona that fades according to the inverse square of distance.
// Calculate brightness based on distance
float dist = length(fPosition) * 3.0;
float brightness = (1.0 / (dist * dist) - 0.1) * 0.7;
I'm using a little magic with the constants to get it to look like I want, you can tweak this formula however you wish. Here's the result when outputting brightness to color:Now that we have a fade, we can apply some noise to try to get it to look like a real corona. The key is to use noise to offset the position that you use when doing the distance calculation. However, we can't use noise with the fPosition, or it will look stupid. Instead we should use the normalized position as the input parameter for our noise. I am using 4D noise so that time can be the 4th parameter. I am always using white for corona color, since the corona is always extremely hot, even hotter than the surface of the star.
// Get the distance vector from the center
vec3 nDistVec = normalize(fPosition);// Get noise with normalized position to offset the original position
vec3 position = fPosition + noise(vec4(nDistVec, unDT), 3, 3.0, 0.7) * 0.5;// Calculate brightness based on distance
float dist = length(position) * 3.0;
float brightness = (1.0 / (dist * dist) - 0.1) * 0.7;

We're getting somewhere with this, but it would be nice if the streaks were wobbly instead of straight. Let's try offsetting the input position for the normalization with 3 noise samples, one for each axis.
// Offset normal with noise
float freqency = 0.8;
float ox = snoise(vec4(fPosition * freqency, unDT));
float oy = snoise(vec4((fPosition + 2000.0) * freqency, unDT));
float oz = snoise(vec4((fPosition + 4000.0) * freqency, unDT));// Get the distance vector from the center
vec3 nDistVec = normalize(fPosition + vec3(ox, oy, oz) * 0.25);
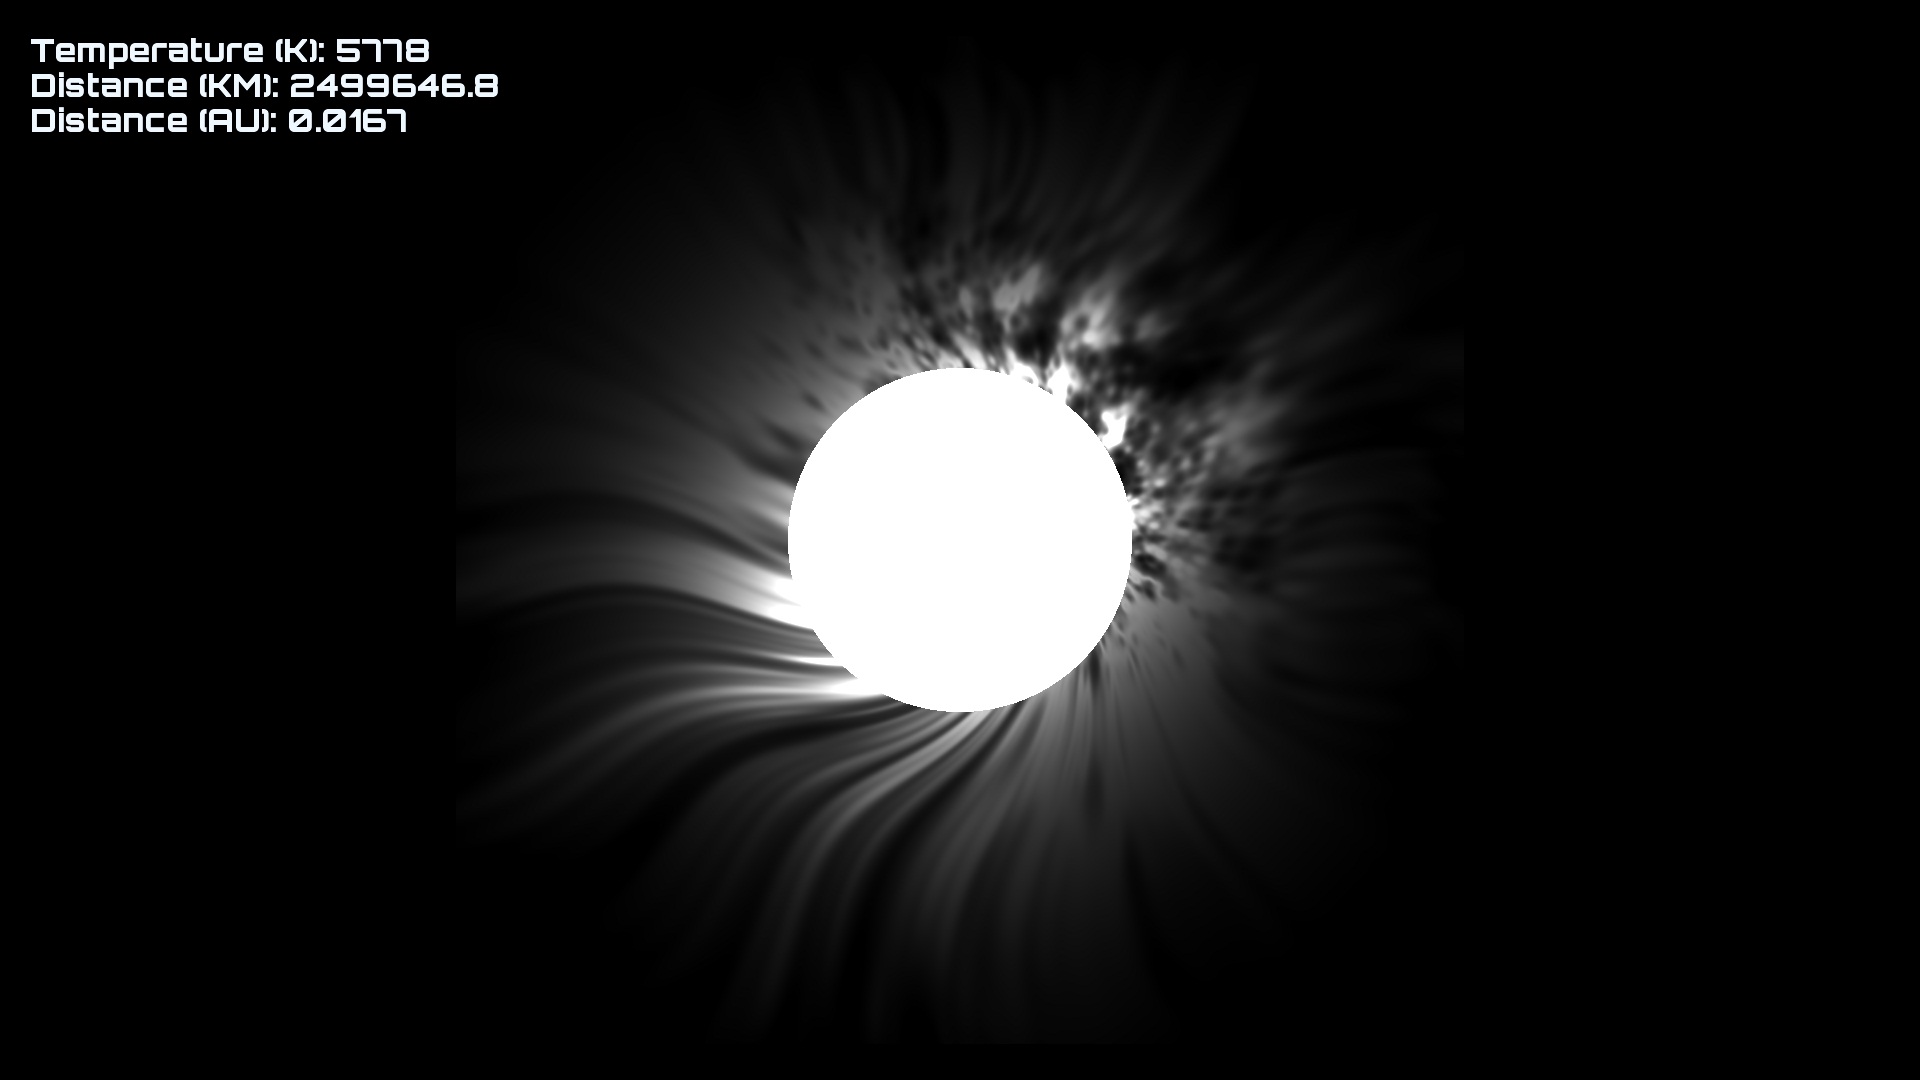
Looks good enough to me! More tweaking could produce better results, as always.
Step 7: Lens Glow
This could also be called lens flare but there's a separate section for that. I am going to call this lens glow for lack of a better word. First thing we need is a good texture. Below is the texture that Andreas Ressl and Georg Hammershmid made. If you want to steal it, remember to credit them somewhere!

This glow texture is displayed as a fixed size 3D billboard centered on the star. The size of this billboard is dependent on the distance from the star as well as the stars temperature and diameter. We approximate the luminosity of the star by comparing our temperature and diameter to that of the sun, since we know the luminosity, diameter, and temperature of the sun. This can of course be tweaked if you want smaller or larger glow.
double calculateGlowSize(double diameter, double temperature, double distance) {
static const double DSUN = 1392684.0;
static const double TSUN = 5778.0;// Georg's magic formula
double d = distance; // Distance
double D = diameter * DSUN;
double L = (D * D) * pow(temperature / TSUN, 4.0); // Luminosity
return 0.016 * pow(L, 0.25) / pow(d, 0.5); // Size
}
This is used to calculate the size of the glow in screen space. Be sure to take the aspect ratio into account when sending the dimensions uniform for your billboard. For instance:
glm::vec2 dims(size, size * aspectRatio);
For the color, pass in the non-shifted color as calculated from the temperature. Now lets see how it looks!
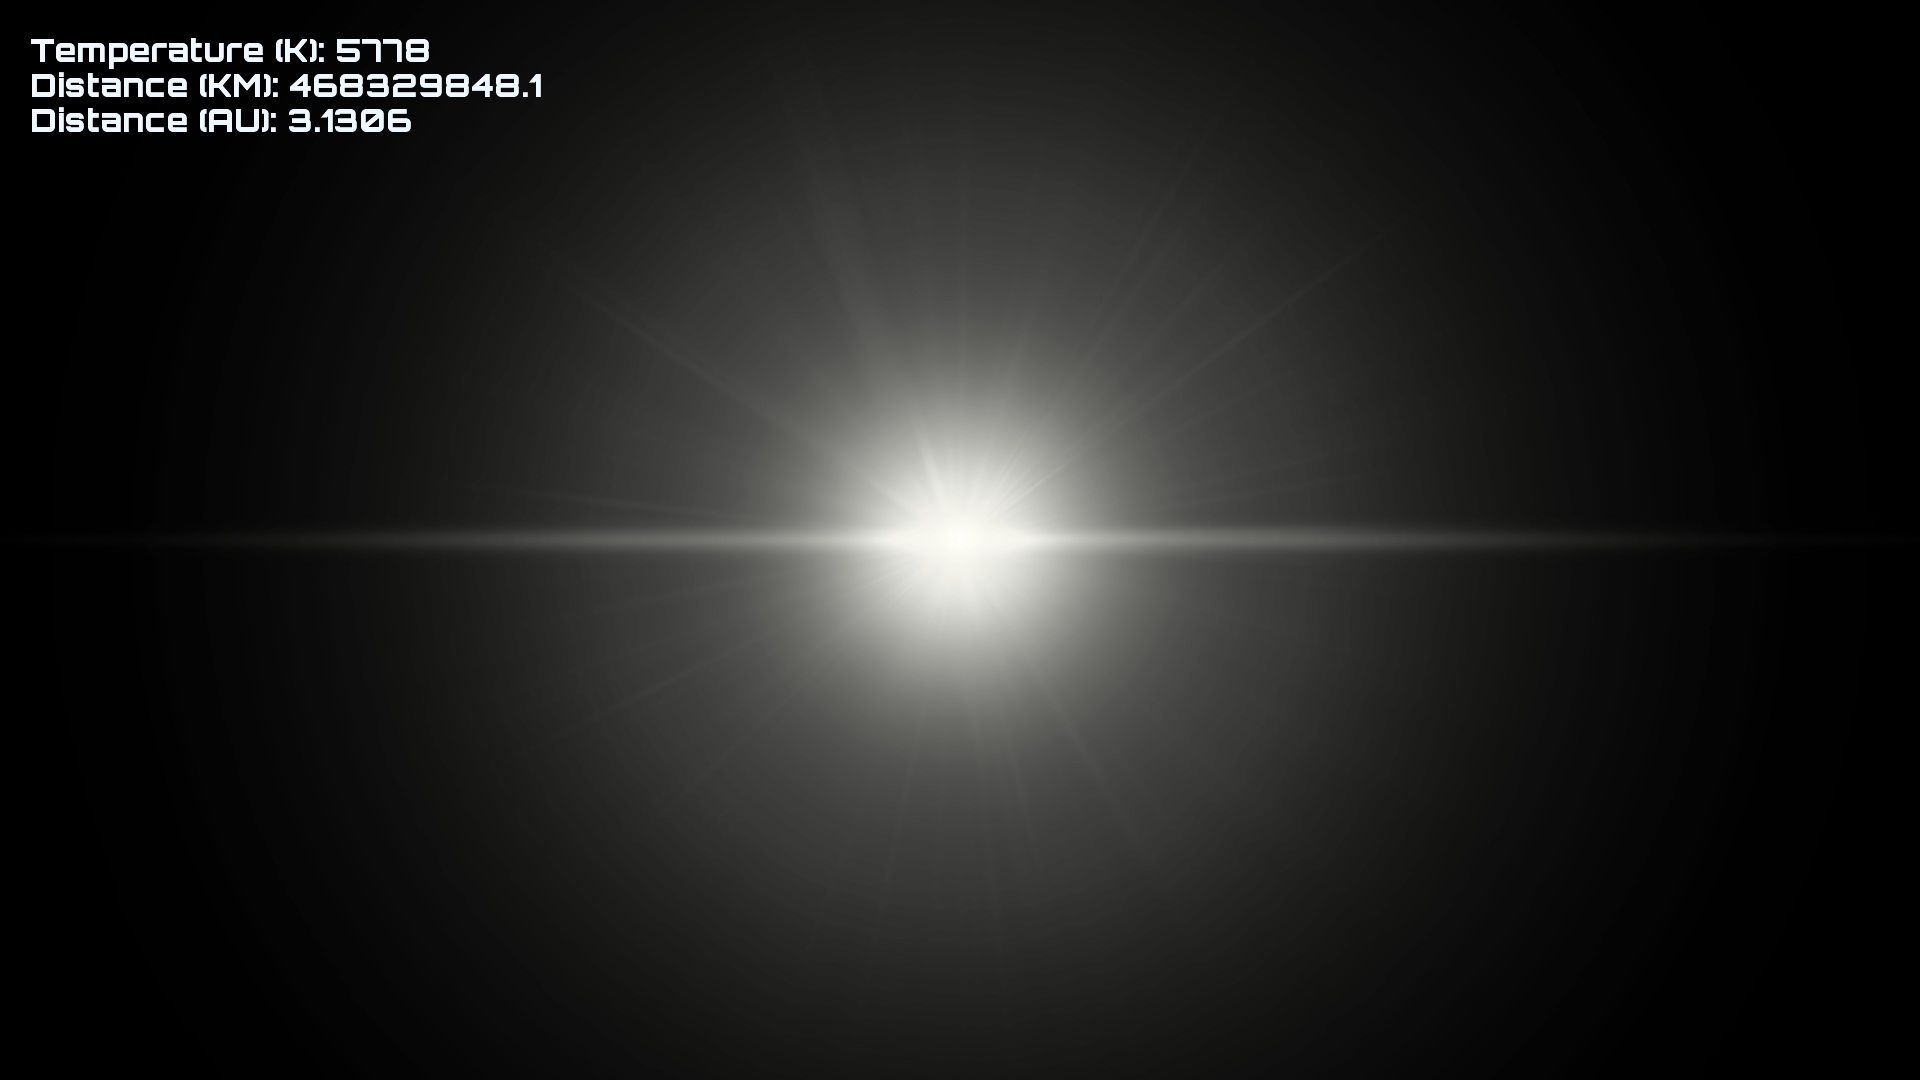
Looks great! Notice that I am zoomed really far out. However, look at what a blue star looks like (zoomed out even further):

That doesn't look right! It should be white at the center and then fade out to blue. To solve this, we used 3 color maps instead of 1 for glow color, and we fade between them based on the greyscale value of the original glow texture using bilinear filtering.
![]()
![]()
![]()
I stacked these three textures on top of each other, and duplicated the last texture to make a 512x4 texture. In the Lens Glow shader, I calculated the V texture coordinate (Y coordinate) as follows:
float texV = 1.0 - texColor.r + 0.125;
And of course the U coordinate is the same U coordinate we calculated before with temperature. Now let's look at that same blue star:

That looks a lot better, but there's even more we can do! We can randomly generate some extra spikes and change them as the view changes so that we get a sort of shimmering flicker effect. Note that unNoiseZ is a uniform that is passed in. You can calculate unNoiseZ as some function of the angle of the camera, or as dot product of the direction vector with itself plus the dot product of the right vector with itself, or something equally hacky.
vec2 nDistVec = normalize(fPosition);
float spikeVal = snoise(vec3(nDistVec, unNoiseZ) * 15.5) + 0.2; float dist = length(fPosition);float spikeBrightness = ((1.0 / pow(dist + 0.15, 0.5)) - 1.0);
spikeBrightness = spikeBrightness * 0.02 * clamp(spikeVal, 0.0, 1.0); texColor.rgb += spikeBrightness;
It's subtle, but it makes a difference!
Step 8: Screenspace Lens Flare
Now for the awesomeness that is lens flare. We want a fast and cheap lens flare effect that gets calculated in screen space. The fragment shader will just apply color to the lens flare textures, you can use any old textures you find online. Here's a crappy texture sheet that I stole from space engine that you can probably use.
To render the flare, you should create a buffer of quads of varying sizes with varying flare textures that are all centered about the origin. Each quad should have an offset variable as a vertex attribute that gets used to offset the flare in screen space. The offset can be negative, which will cause flares to go in the opposite direction. For modability, we specify our flare in a YAML file:
intensity: 0.2 #gets used for unIntensity
sprites:
- offset: 1.0
size: 1.3
textureIndex: 1
- offset: 1.25
size: 1.0
textureIndex: 1
- offset: 1.1
size: 1.75
textureIndex: 0
- offset: 1.5
size: 0.65
textureIndex: 0
- offset: 1.6
size: 0.9
textureIndex: 0
- offset: 1.7
size: 0.45
textureIndex: 0
We will offset the quads starting from the center of the star, towards the direction of the center of the screen. Here is the entire vertex shader. It should be pretty self explanatory. Note that we square the vOffset.
// Uniforms
uniform mat4 unVP;
uniform vec3 unCenter;
uniform vec2 unDims;
uniform float unIntensity;// Input
in vec2 vPosition;
in vec2 vUV;
in float vOffset;// Output
out vec2 fPosition;
out vec2 fUV;
out float fIntensity;void main() {
fUV = vUV;
fPosition = vPosition;// Fixed size billboard
// Get the screen-space position of the center
gl_Position = unVP * vec4(unCenter, 1.0);
gl_Position /= gl_Position.w;// Get the vector from the star position to the center
vec2 centerPos = gl_Position.xy;
vec2 offsetVec = vec2(0.0) - centerPos;// Calculate the intensity, which is basically the alpha
fIntensity = max(0.0, 1.0 - length(offsetVec) / 1.0) * unIntensity;// Move the vertex in screen space.
gl_Position.xy += vPosition * unDims + offsetVec * pow(vOffset, 2.0) * 0.5;
}
And here is the result:
You can easily tweak the lens flare by adding more flare types with varying sizes.
Step 9: Occlusion Testing
Our lens glow and lens flare need to be hidden when the star is occluded by a planet or some other object. To do this, we can use an occlusion query. We can do an OpenGL occlusion query each frame on a billboard that is the size of our star. However, we shouldn't check the result of the query in the same frame. Instead, we should wait until the next frame to check the result so that we don't have to wait for the query to finish.A single query will tell us how many pixels passed, but we also need to know how many pixels are visible when the object isn't occluded so that we can determine what fraction of the pixels passed the test. For this reason, we will actually do 2 occlusion tests. One will turn off depth testing so that it always passes, and the other will enable depth testing. We can determine what fraction of the star is visible by taking passedSamples / totalSamples and use it to shrink or fade the lens flare and glow as the star gets occluded by an object.Enough blabbering, here's some code.
// Update queries from previous frame, or create the query objects if neededif (star.occlusionQuery[0] == 0) {
glGenQueries(2, star.occlusionQuery);
} else {
int totalSamples = 0;
int passedSamples= 0;
glGetQueryObjectiv(star.occlusionQuery[0], GL_QUERY_RESULT, &totalSamples; );
glGetQueryObjectiv(star.occlusionQuery[1], GL_QUERY_RESULT, &passedSamples;);
if (passedSamples== 0) {
star.visibility = 0.0f;
} else {
star.visibility = glm::min(1.0f, (float)passedSamples/ (float)totalSamples);
}
} ... // Bind your VBO and set up your shader and such // Disable depth writeglDepthMask(GL_FALSE); // Query for passed samples
glBeginQuery(GL_SAMPLES_PASSED, sCmp.occlusionQuery[0]);
glDisable(GL_DEPTH_TEST);
glDrawElements(GL_TRIANGLES, 6, GL_UNSIGNED_SHORT, 0);
glEnable(GL_DEPTH_TEST);
glEndQuery(GL_SAMPLES_PASSED); // Query for total samples
glBeginQuery(GL_SAMPLES_PASSED, sCmp.occlusionQuery[1]);
glDrawElements(GL_TRIANGLES, 6, GL_UNSIGNED_SHORT, 0);
glEndQuery(GL_SAMPLES_PASSED); // Re-enable depth write
glDepthMask(GL_TRUE);
Step 10: HDR Rendering and Gamma
Since we are creating colors that are > 1.0 in our star, they are just getting clamped to 1.0 and we are losing information. If we instead render stars to a 16 bit or 32 bit floating point color buffer and use HDR rendering, we can get slightly more attractive results and not lose any information, which is important for the color filter step. While were at it, we might as well add gamma correction as well. You can use any tone mapping operator for HDR, but here is our fragment shader code for HDR and gamma correction. We use 3.0 for unExposure and 1.0 / 0.5 for unGamma.
color = 1.0 - exp(color * -unExposure); // HDR exposure
color = pow(color, vec3(unGamma)); // Gamma correction
pColor = vec4(color, 1.0);
We found that HDR rendering actually makes the lens glow look worse, so we didn't apply HDR to the glow.
Step 11: Color Filter for Star Viewing
Since we made stars realistic, you can't view them up close; they are just too bright. However, if we are using HDR, we can render a grey filter over the entire screen onto the HDR framebuffer at the end of our rendering pipeline. We will use normal alpha blending, and it will reduce the intensity of color across the screen. Here is a side by side of no grey filter, and a grey filter that is a fullscreen quad of color (0.0, 0.0, 0.0, 0.9).
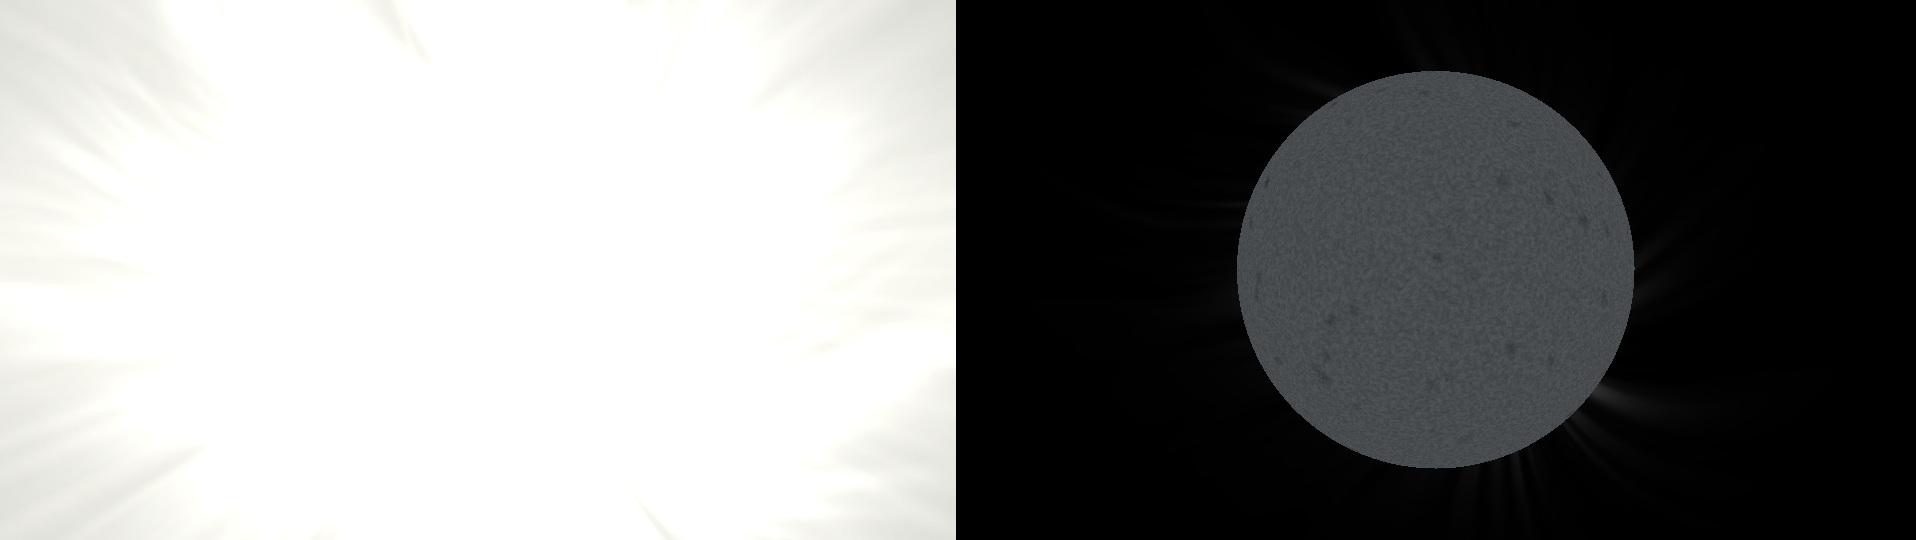
Note that without HDR, since the star surface colors would be clamped at 1.0, the image would be much darker and you would not be able to see any visible details.
Step 12: Darken Edges for Apparent Depth
The stars look a bit too flat right now, but we can easily darken the edges by computing the angle between the ray to the center and the position on the normalized sphere. Pass in the normalized camera relative position of the star as unCenterDir.
float theta = 1.0 - dot(unCenterDir, fPosition);
pColor = vec4(unColor + total - theta, 1.0);
Ahhh... much better.
Conclusion:
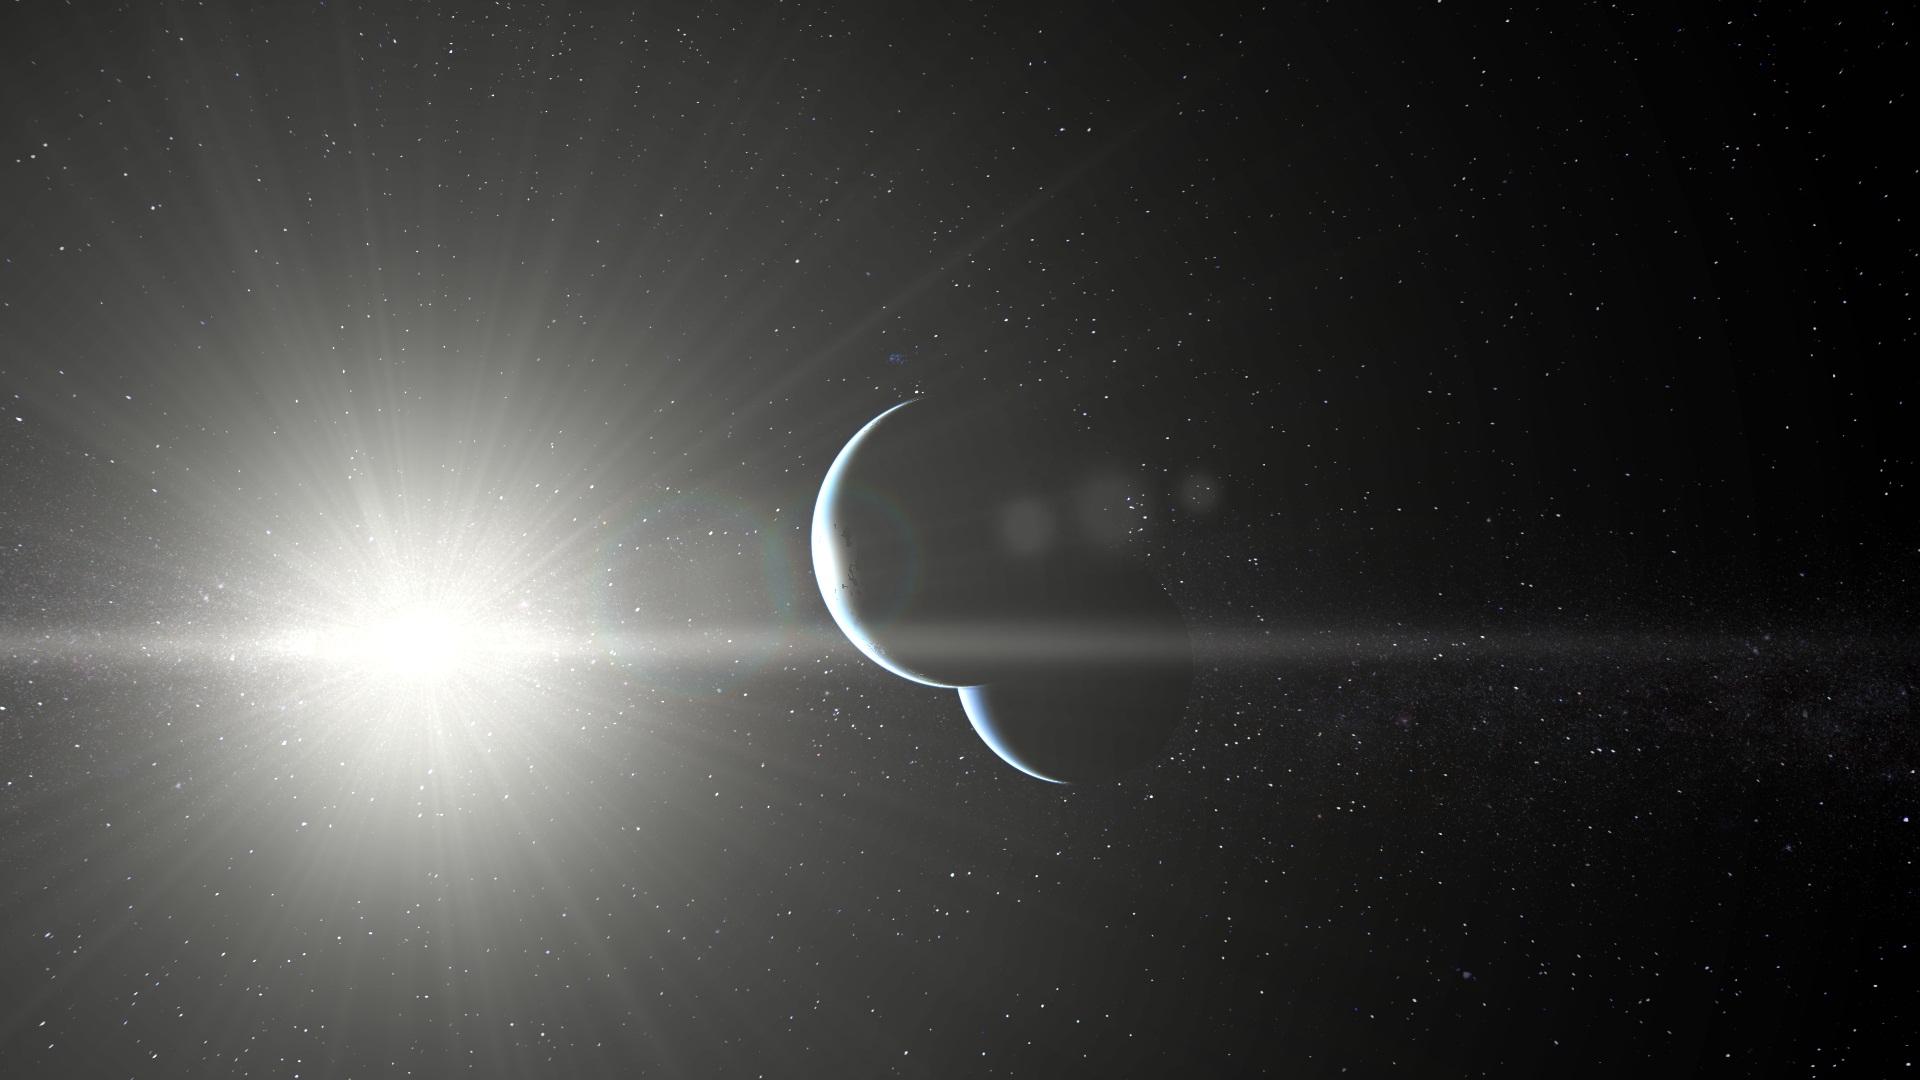
You should have a fairly decent star renderer after following all of this. As always there is still more work that can be done to improve it, and if you have any suggestions or questions be sure to leave them in the comments! Check out the video embedded below to see the renderer in action. I have made a few additions in this video that are not detailed above, but it should look mostly the same.
Also, if you haven't seen the recent community spotlight #3, you can see it below:


Wow thats a really good description of how you made it. I will use this some day.
you know all this in a editor would be neat XD
This is awesome. Procedural FTW!
Most excellent.
This one totally was awesome! Very well explained so that it's easily mergeable with any other engines. Really loved it.
This comment is currently awaiting admin approval, join now to view.