Hi everyone, two weeks ago, I did a more technical post on how the basics of my ligthing system work. Various people, both strangers from the internet and people from real life, told me they're really interested in seeing how I solve problems like that (as opposed to descriptions of what I accomplished). Therefore, I'd like to spend this week's blogpost on how shadows work. Or the color of the shadows, to be precise; how I calculate the shape and the location of a shadow will be a topic for another time.
My first try: erasing light at the end
Shadows are not really 'a thing'; they're the non-presence of light. You may remember that for the lights I create a 'lighting layer' which drawn over the world, like this:

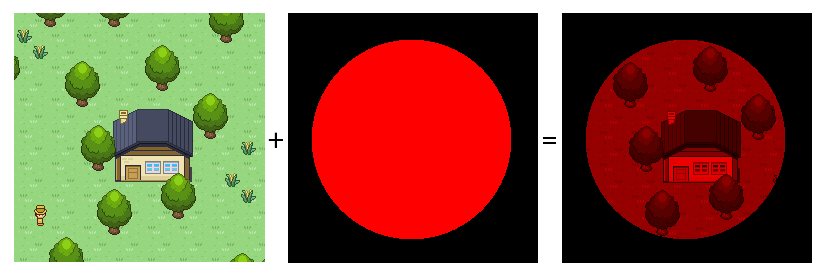
So, if I know the shape and location of the shadow, what if I make this part black in the lighting layer? This indeed works pretty well:

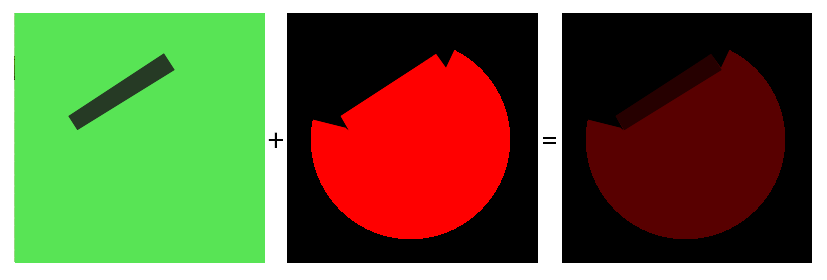
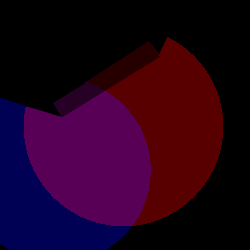
Or at least, if you have only one light. Two lights in one scene create two different shadows for the same object, and if you draw both of these on top of the lighting layer, this starts to look really unnatural:

My second try: erasing light for each light
The solution to this is relatively simple, however. You may also remember that the lighting layer is made by combining separate layers for all lights (by blending them together using the 'screen' blending mode - you can try this out in GIMP or Photoshop):
I draw the correct shadows on the correct layers before they are combined into one general lighting layer, we get what we want:

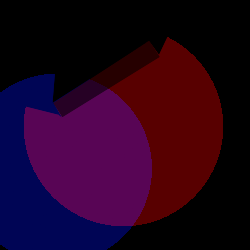
I should add that I realize it does not look that natural in this hand-crafted example. I promise it looks good in-game ![]() .
.
Anyway, this works well for topdown games. Olvand, however, is 2.5D. This means that Olvand is not fully top-down, but also not fully a sidescroller, but something 3D-like in-between; you can see the players disappear behind houses and trees if they go stand behind them, but it's not like you can move the camera around in the world. If we apply the lighting system above to Olvand, we get something like this:

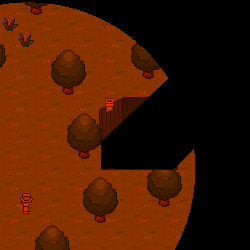
The shadows are drawn on top of the objects!
My third try: a separate shadow layer
Apparently, after we draw the shadows, we want to 'take away' the shadow again on places where an object is in front of the shadow. With the system above, this is not possible; by drawing the shadow directly onto the light layer, the system forgets how the light looked there. That means we'll have to 'cut out' the shapes of all objects in the shadows before they are drawn. I discovered this can be achieved by also creating a separate shadow layer for each light. The ligthing system now works as follows:

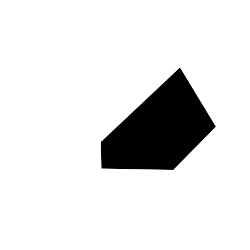
I start out with a fully white screen on which the shadow are drawn.

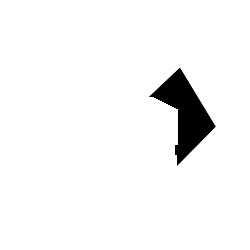
I then create a white version (which turned out to be quite hard, by the way) of each object, and draw this on top of this shadow layer.


A light layer is created. This shadow layer is then merged with the shadow layer with the 'multiply' blending mode, which in practice means that all parts which were white are now transparent.

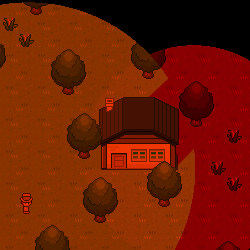
The same is done for all other lights in the scene. The results are combined with the 'screen' blending mode. The result is drawn over the scene with the 'multiply' blending mode, and voila! This is more or less where I am now!
If you want more development, see [twitter] or [facebook]. If you want to be a tester, you can subscribe on [olvand.com].
PS
There won't be a blogpost next week, as I'll be in Bratislava by then for work!


Excellent article. :)
looking good
awesome