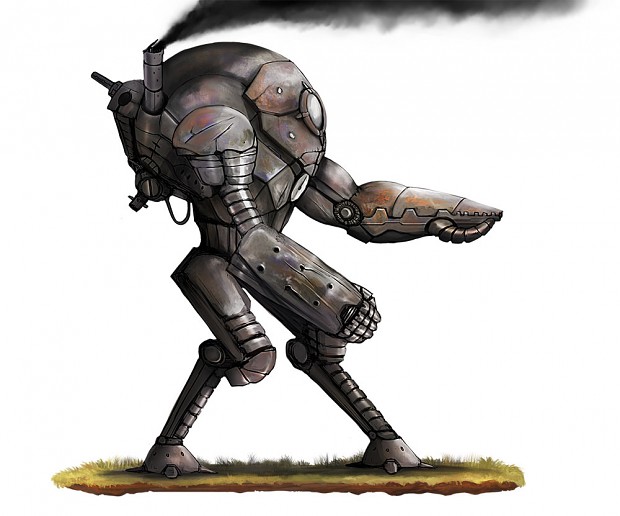
Creating a digital painting or design takes careful planning and knowledge of form, shape, proportion, and lighting. However, the workflow to create a piece of concept art can be broken down into individual steps. There are many proven methods to create concept art, such as starting from line art or silhouettes and refining as you go. This tutorial will focus on the basics of starting from a sketch, polishing the line art, and then adding color. This tutorial will take you through the process of creating the Hydra Mech. Hydra stands for Hydrogen yielding destructive ray armor. This unit is a powerful suit of armor for a soldier to wear that has massive power with it's hydrogen laser.
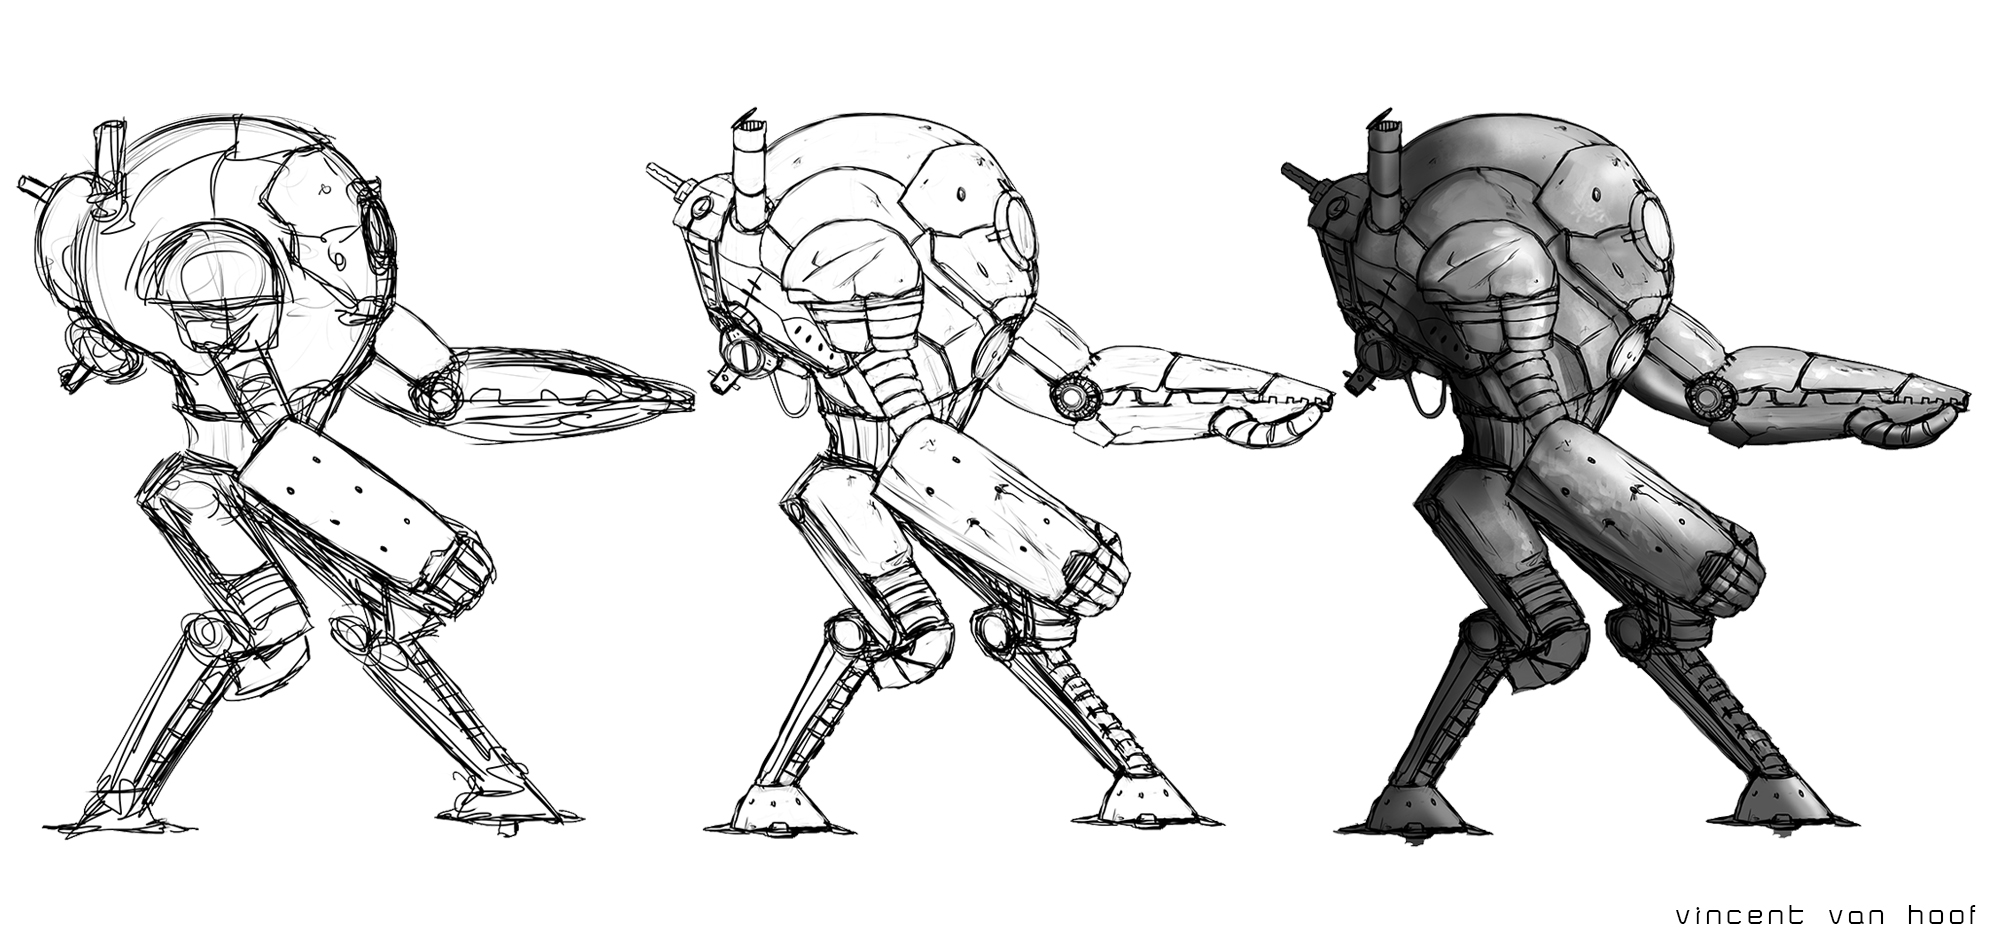
1. Sketch
The first stage is starting with a very rough sketch. At this point, try not to worry about the details or how awesome it looks. Focusing on big shapes and correct proportions is vital at the beginning. Always start big and refine as you go. Looking at reference can be a big help in making design solutions and getting things to look right. So don't be afraid to collect a ton of reference images. They really help!
2. Line Art
Once you are happy with your sketch, it is time to polish the line work. This is mainly clean up work, ensuring that lines are not too wonky, fixing any perspective issues, and nailing down the design. This method can be a bit more time consuming than just starting with a silhouette and painting values, but it can offer a nice clean look in the finished piece.
3. Value
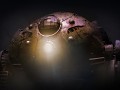
Next is adding value. Essentially the lighting of the piece. It is important to pick a light source and base your shadows and highlights off of it. Filling in the line art with a basic a grey and then adding in the values is the simplest way to accomplish this. Using the dodge and burn tools in photoshop can make this task a breeze.
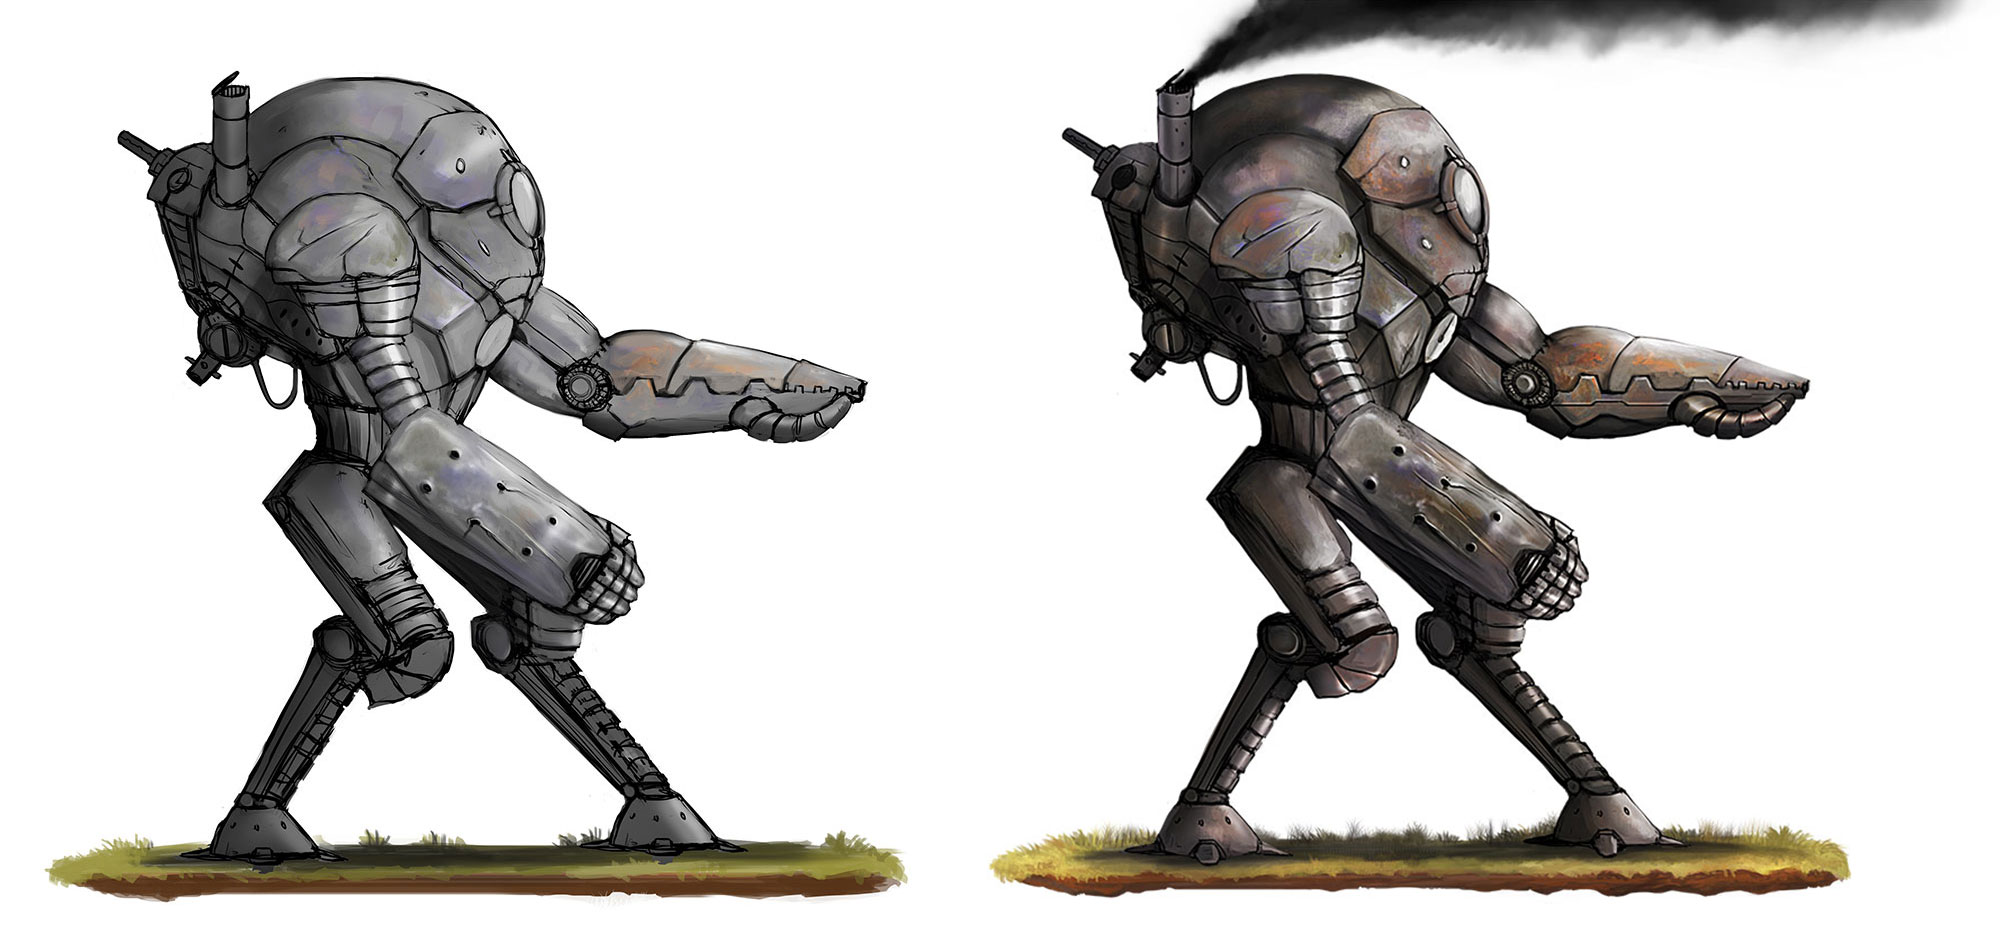
4. Surface
After the values are figured out, adding in surface detail and texture is next. This is where you make things look scratched or beaten up. This is the stage where you can start to add small details and really make the piece shine. Adding color is also a part of this, which can actually be much easier then you think. If all of your values are painted already, using an overlay layer above your value layer will make it very quick and easy to add color.
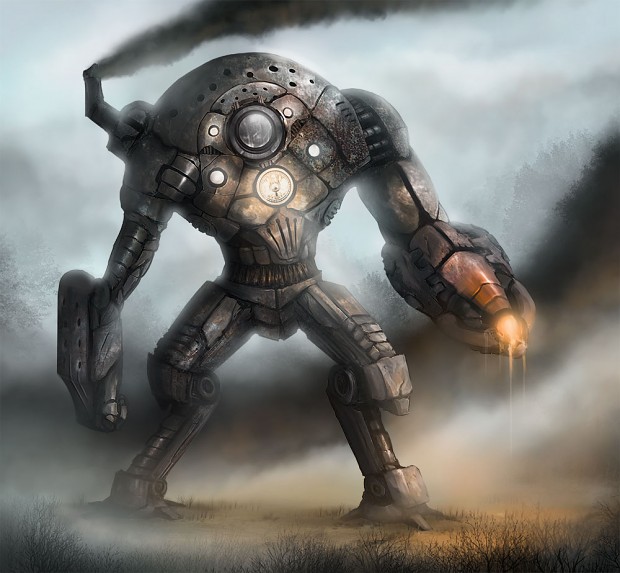
5. Polish
The final stage is polish. This is usually where you fix any minor issues, add the super fine details, and really bring the piece to a finished quality. In this case it was adding smoke and making the ground plain pop out more.
That's about it for this tutorial! I hope this helps some aspiring concept artists out there! Be sure to check out our game No Man's Land. If you have any questions feel free to email me or contact Black Howler Studios. Until then, have a great weekend!
Vincent Van Hoof Email: Vincentvh@msn.com
Black Howler Studios Email: BlackHowlerStudios@Outlook.com


Awesome!