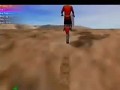
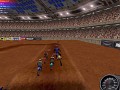
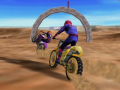
Motocross Madness is an off-road motocross racing game with all the thrills, chills, and spills of true Supercross competitions. Inpired by the finest motocross riders in the world, Motocross Madness offers new levels of visual quality, control, and most of all fun! From the wide open deserts and stunt quarries, to the huge outdoor Nationals tracks, to the tortuous indoor Supercross tracks, Motocross Madness will challenge you on over 35 different tracks and events.


Articles
Prelude
When Motocross Madness 1 released, Rainbow studios created its levels through using several textures alongside a heightmap to build individual level terrain meshes. I've reuploaded a document going over the process here. This process is hard to reverse but was figured out close to the game's original release by Twisted Dirt. Unfortunately they refused to release this information publicly but did port MCM1's National levels to MCM2 in the process.
For 25 years it's been publicly impossible to replicate what they did but that changes today. Thanks to the generous help of a programmer, MCM1's level format has been successfully reverse engineered and we can now extract the level geometry. And with a bit of additional work in Blender we can subsequently generate a heightmap for use in a variety of additional applications.
This process is somewhat complicated, but I will go over every step and what you can do with the heightmap after generating it.
What you will need
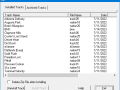
1. The MCM1 TRN2OBJ script
2. Python 3
3. Pillow for Python 3
4. Blender (or another mesh editor however this tutorial will go over the process in Blender)
Installing Python 3
This tutorial won't go over the exact steps of installing Python 3 and Pillow as there are no shortage of tutorials on the subject. I'll link one down bellow that explains how to do it very easily.
Once you've successfully installed Python 3, PIP and Pillow you can now run the script.
Running the script
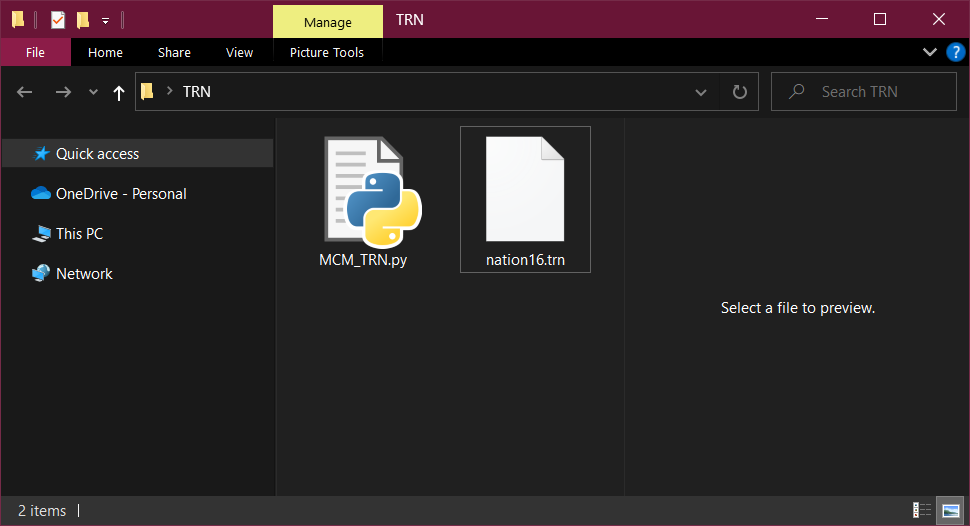
Copy the script file into a folder along with the terrain file you want to extract. In this case I'm going to use National16 aka Skylane.
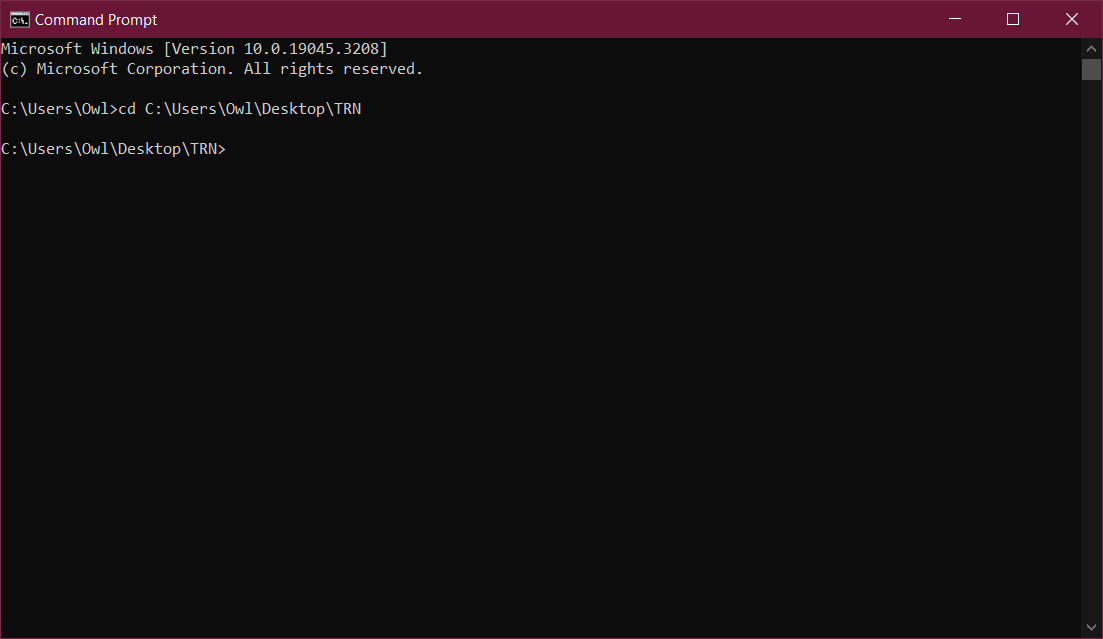
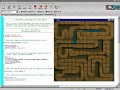
Now open a command prompt and change directory to your folder using the cd command.
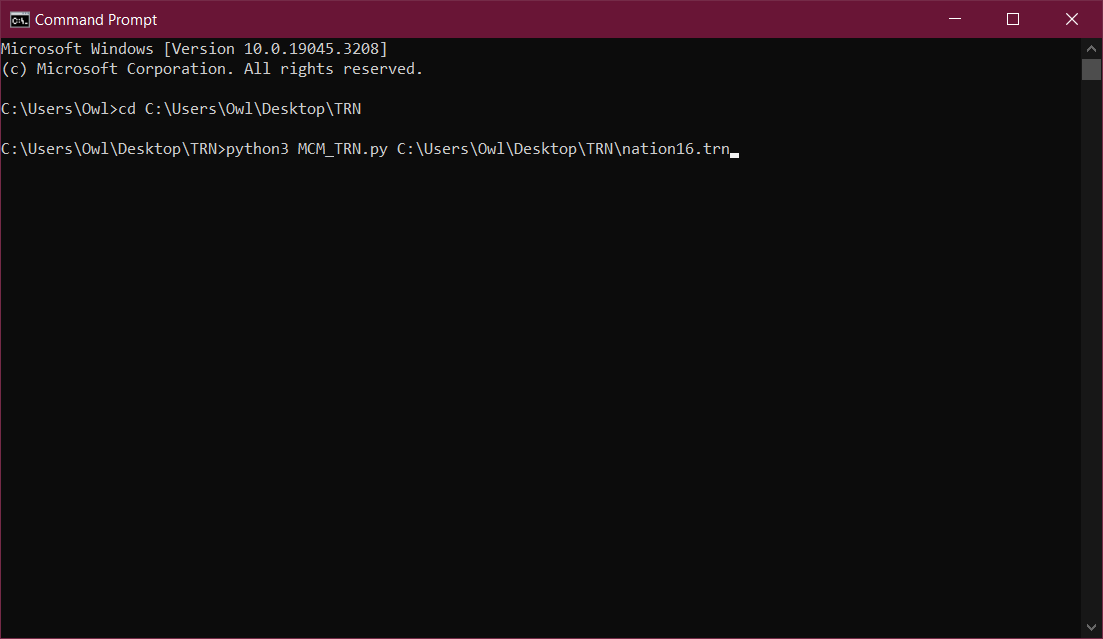
Now run the script using the following command.
python3 MCM_TRN.py [link to your directory]\***.TRNReplace the *** with your terrain file. In this case I'm going to use National16.trn
Now run the command. It will now extract the level as a .obj with textures. If you don't see any textures in the folder make sure you ran the cd command to change directory into the folder where the script is located. As it extracts the texture files in particular to the directory you're currently in.
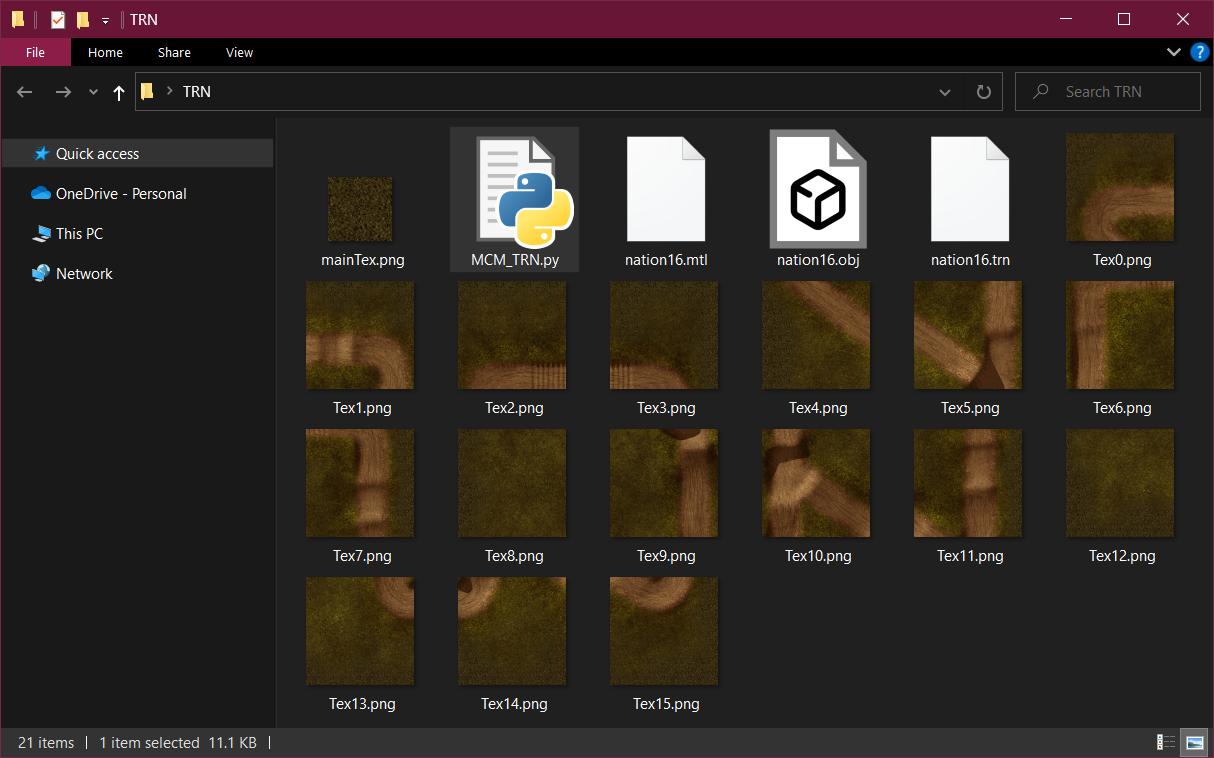
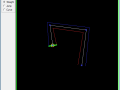
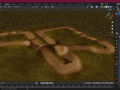
Now open up the .obj using Blender. Congratulations, you now have ripped the level file successfully.
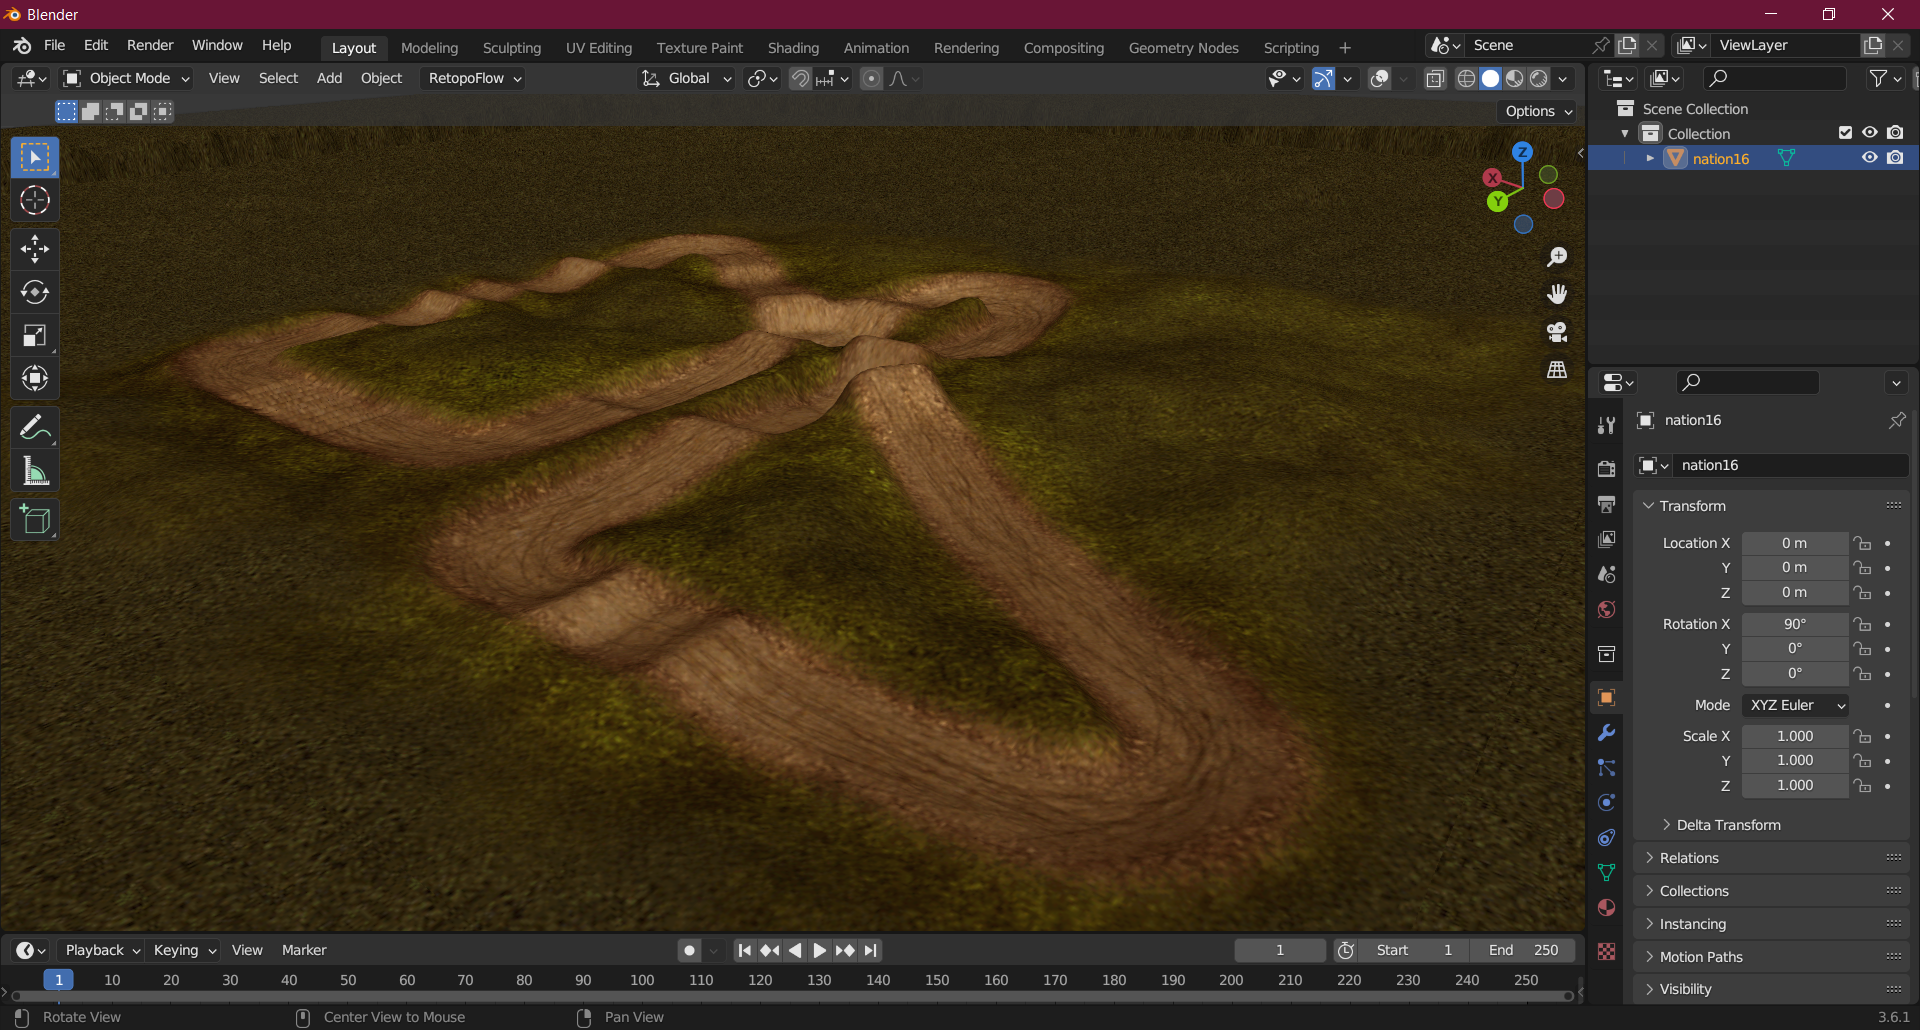
Rendering a birds eye texture of the level
The script while incredibly useful does have two drawbacks
1. The map is flipped in the X axis
This is fairly easy to fix by just going to object->mirror->X Global while in object mode.
2. The model file is way too high poly
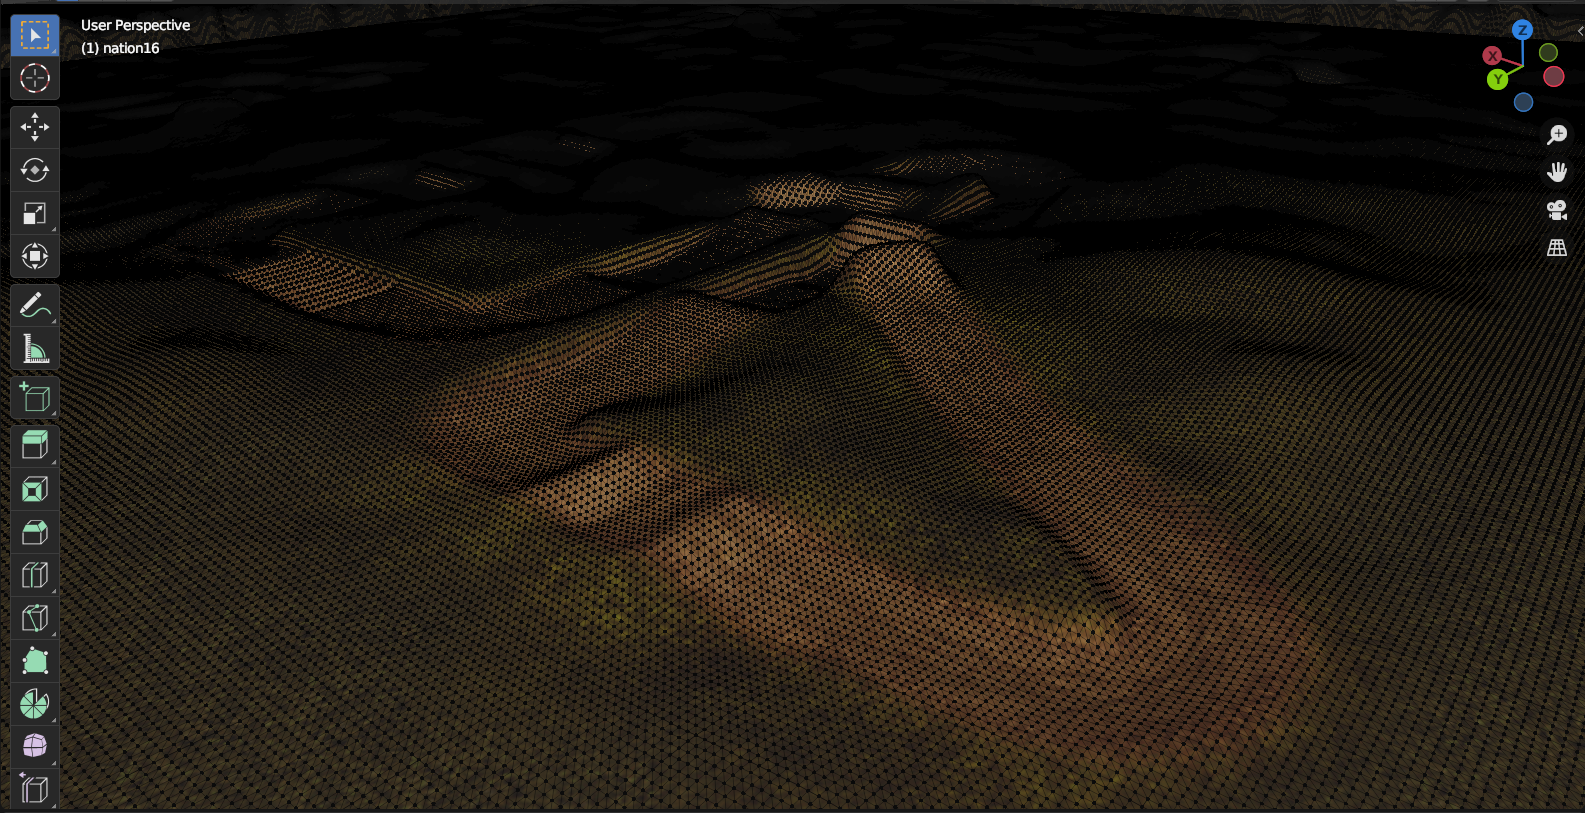
The second issue is a bit trickier and doesn't have a straight forward way to fix it. You can retopologize it by hand (or by using an automated utility), you can decimate the mesh but this ruins its topology, or you can use a custom shader and render the heightmap, then recreate the terrain using a grid mesh. This last option is my favorite one as it's much more flexible.
The first thing we're going to do is generate a texture of the middle part of the level. This is handy because you'll want to avoid painstakingly UVing it later.
First, spawn a camera. Now position your camera over the mesh while in Orthographic view. You can most easily do this by going to view->viewport->top
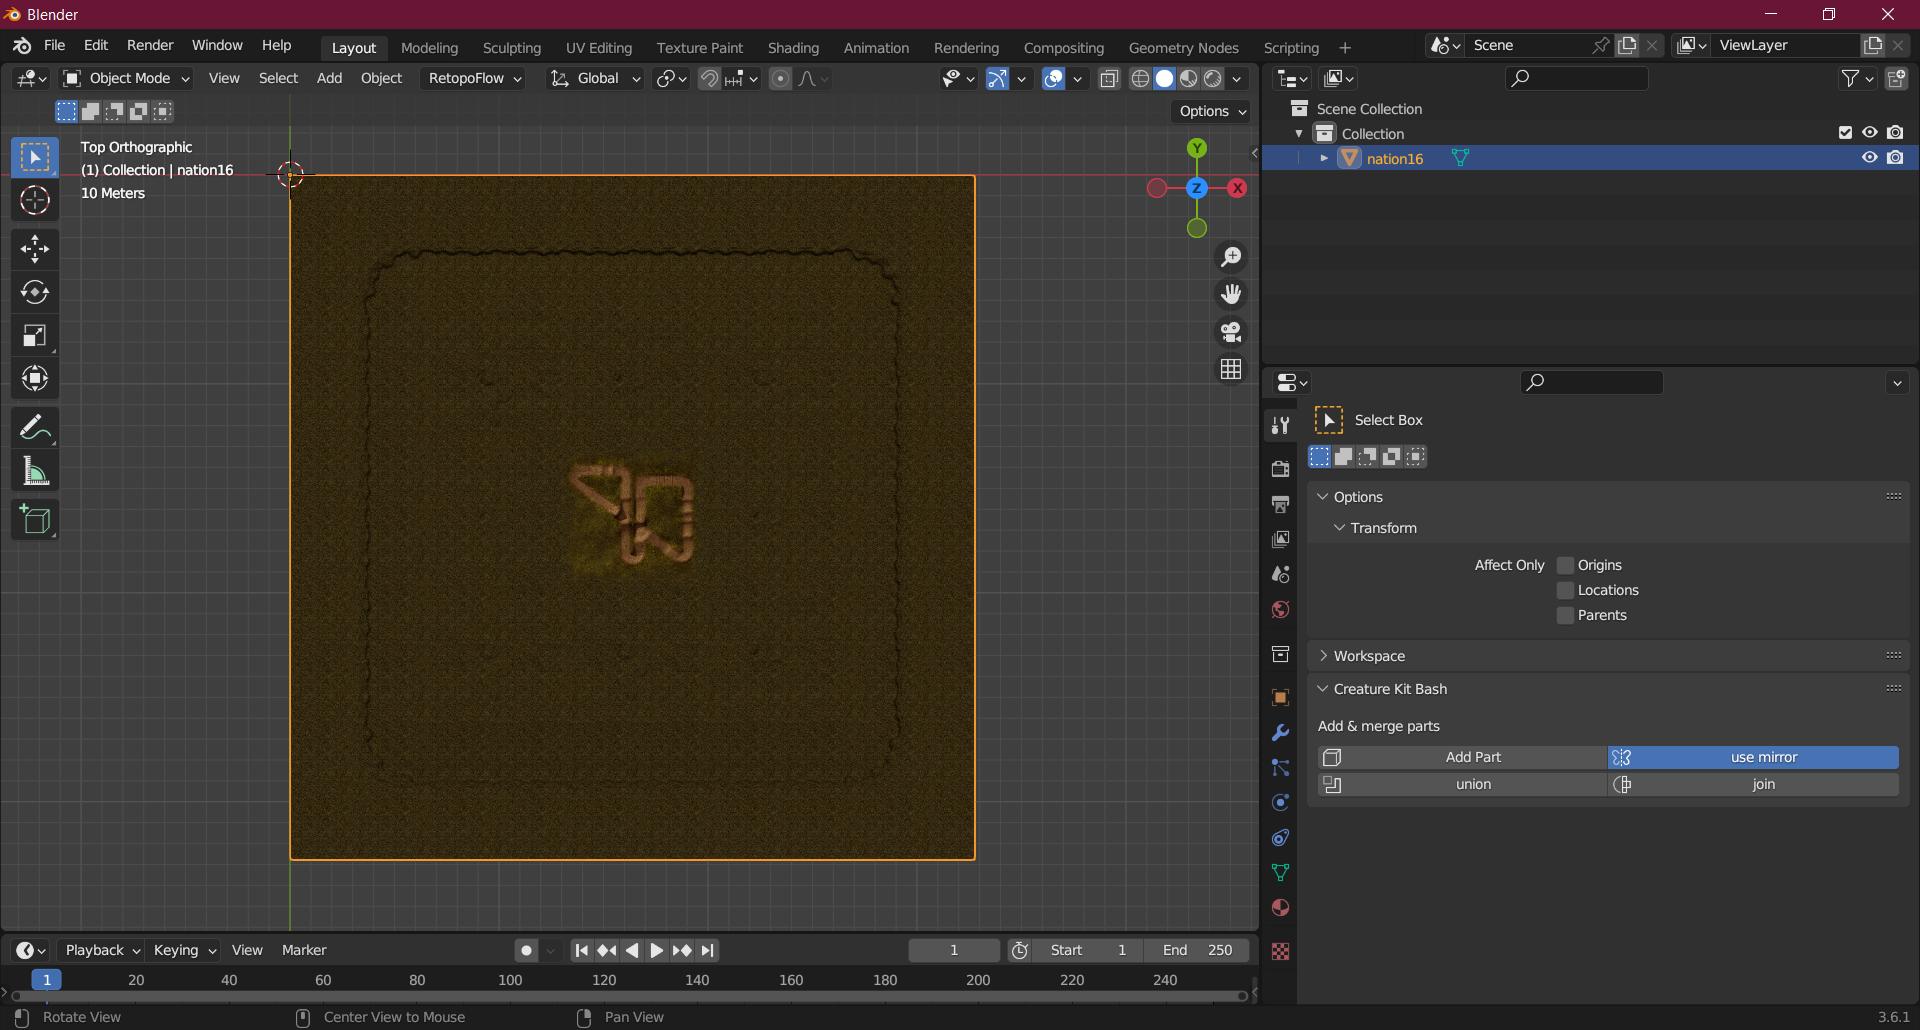
Now press ctrl alt numpad 0 to align camera to view. This automatically makes the camera you just spawned move directly to where the viewport is.
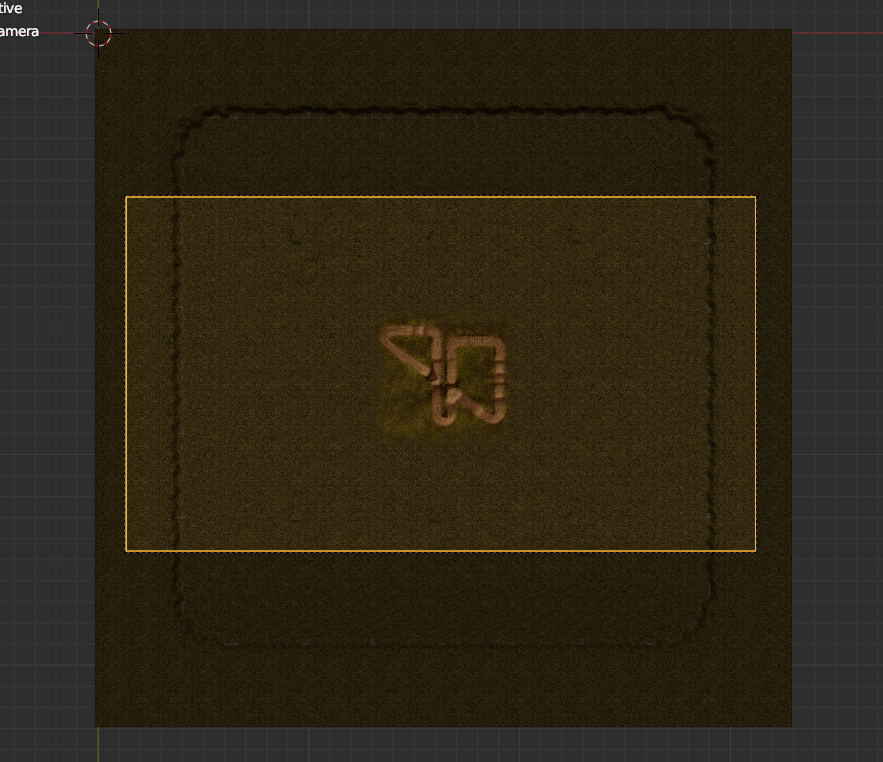
On the right in Blender go to Output and change the resolution in X and Y to 2000x2000. And in the camera's settings adjust the focal length so it just about only focuses in on the middle of the level.
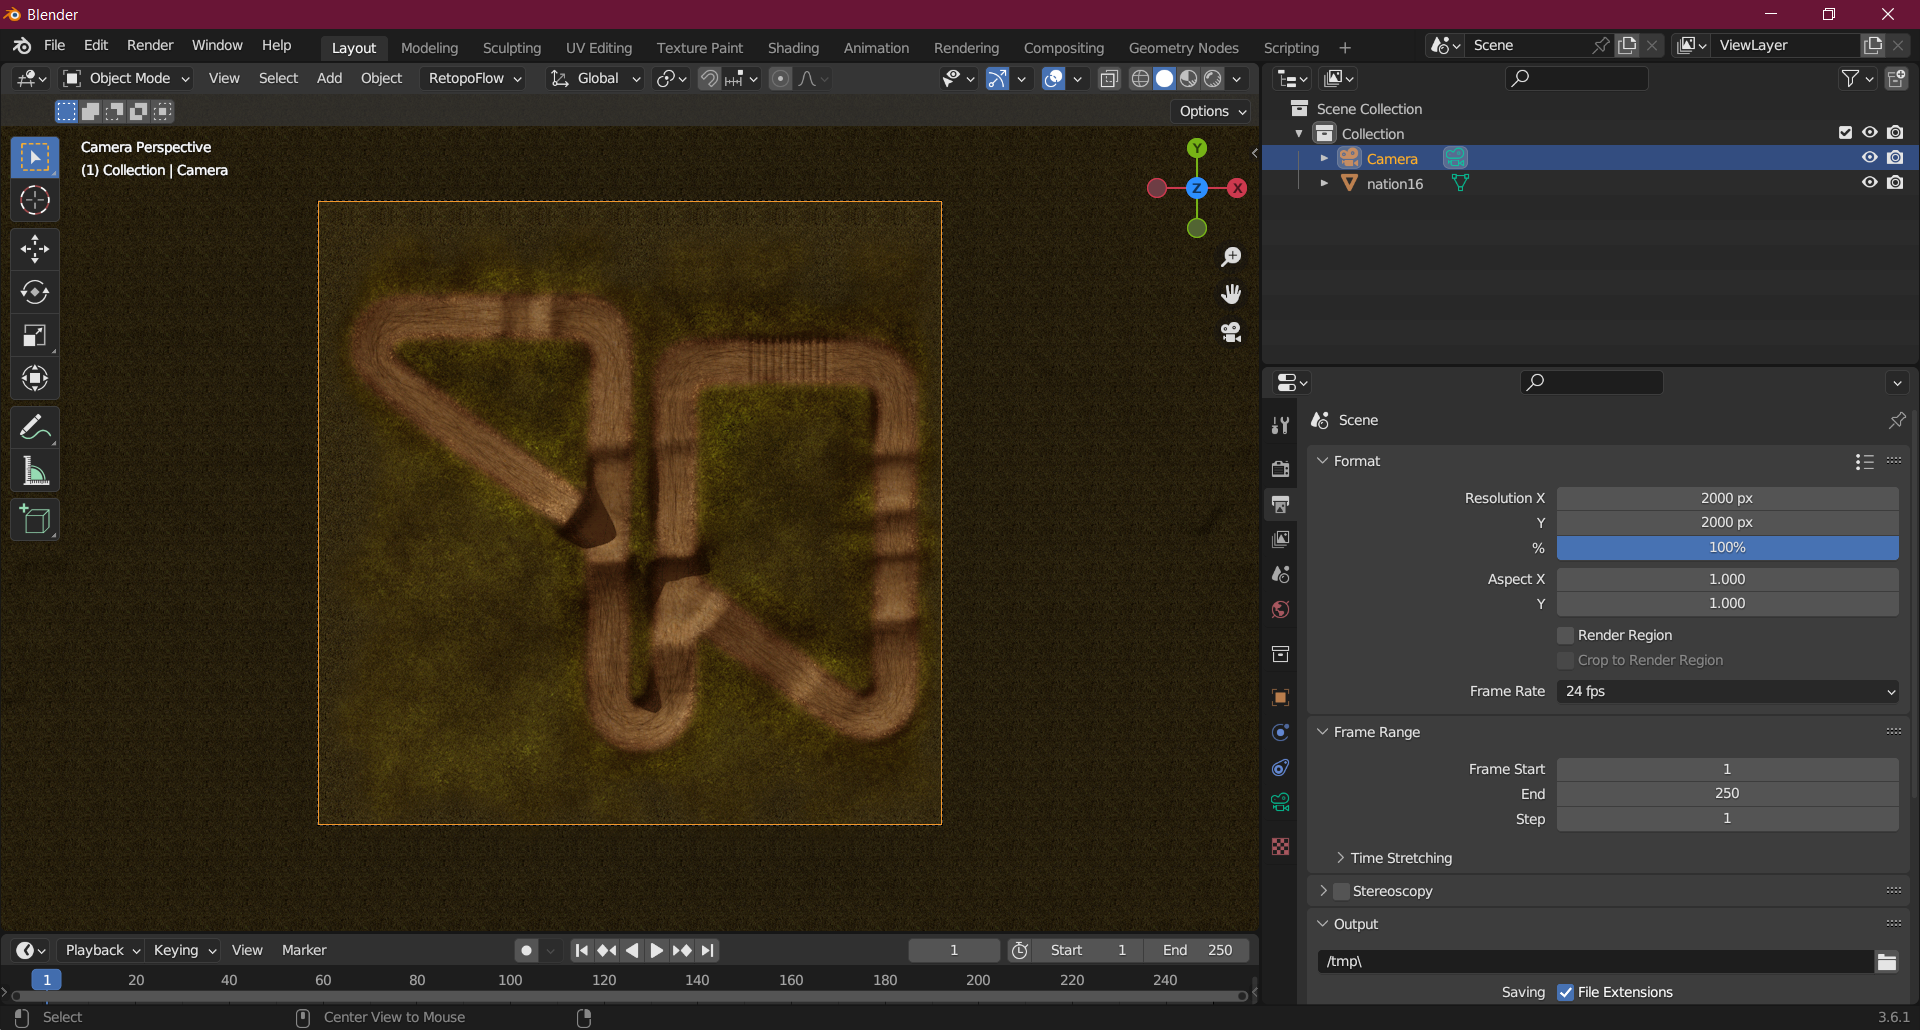
Now hit render and render the image out and save it. You now have your texture for later.
Generating a heightmap and rendering it
Next, we'll need to go to our level object's materials tab.
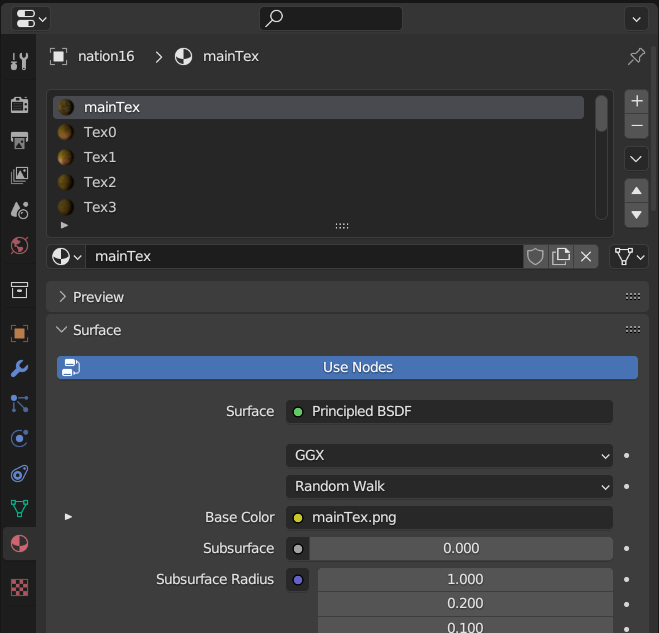
Unlink all of the materials using the - button on the right, underneath the +
Now create a new material. Then let's switch over to the shader editor.
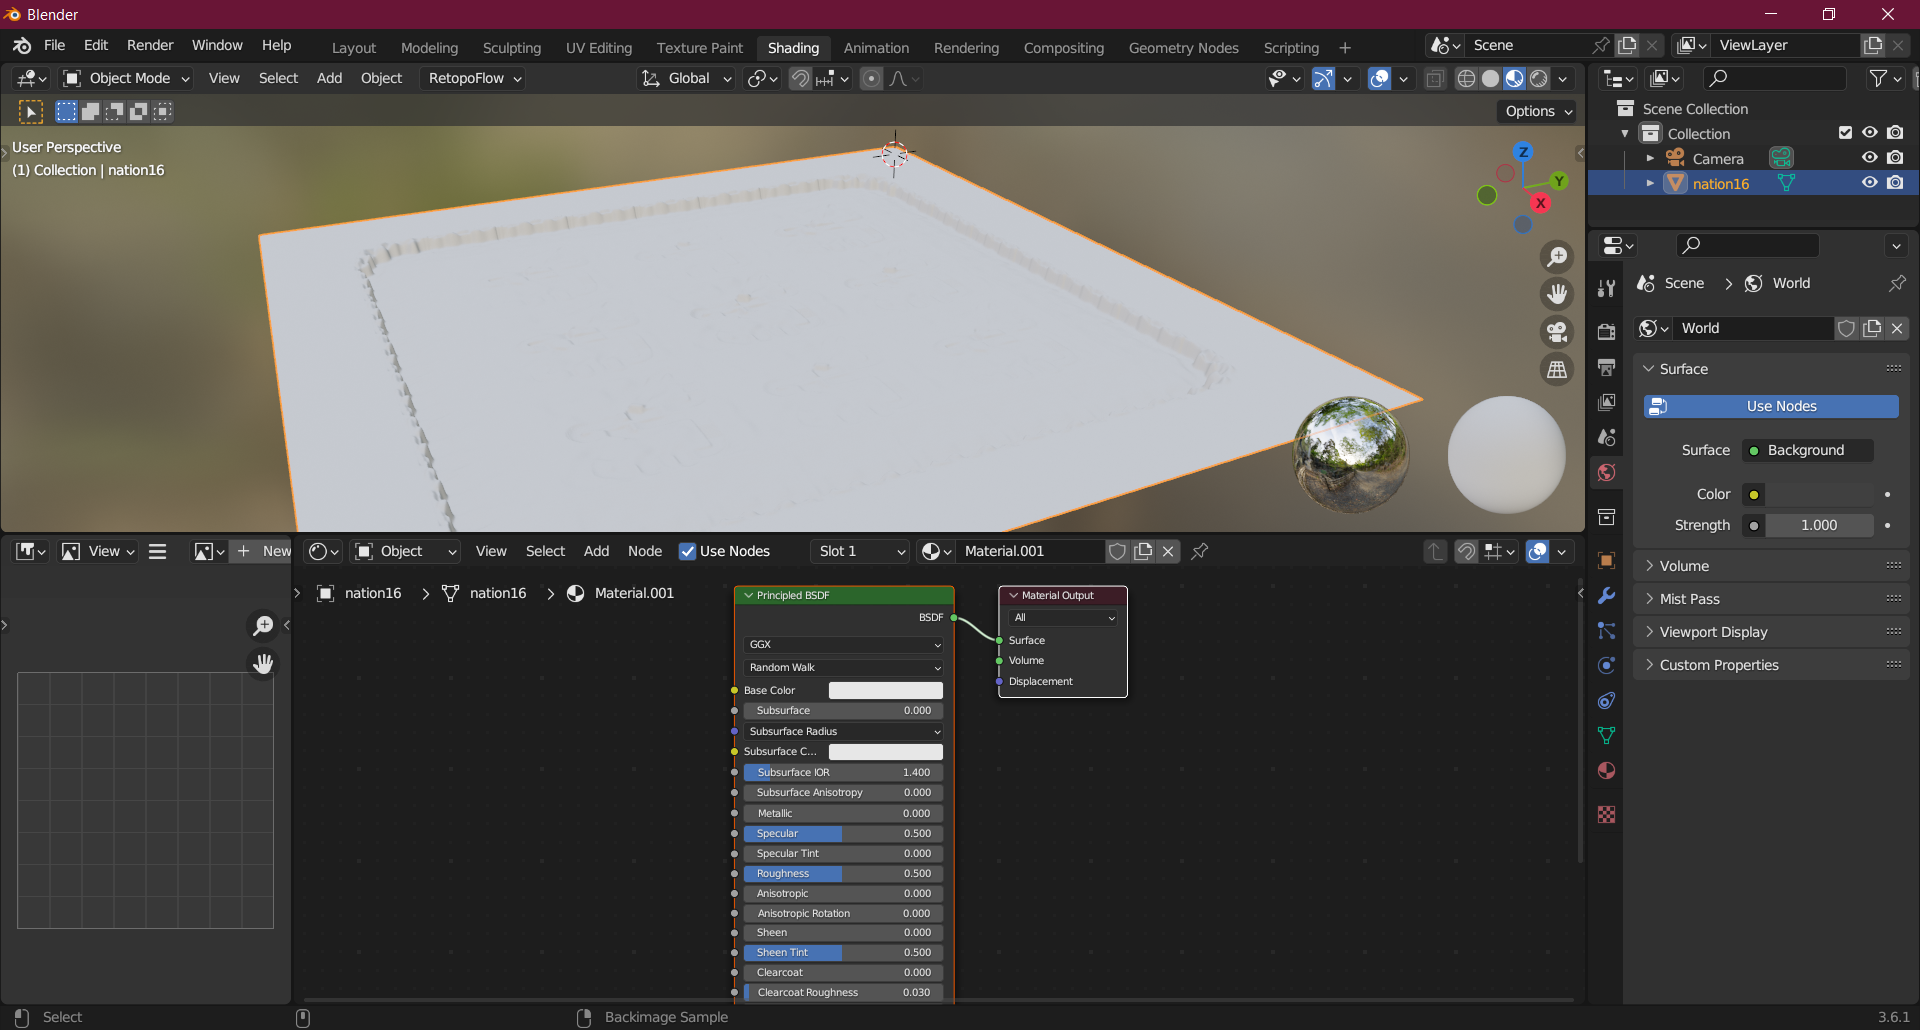
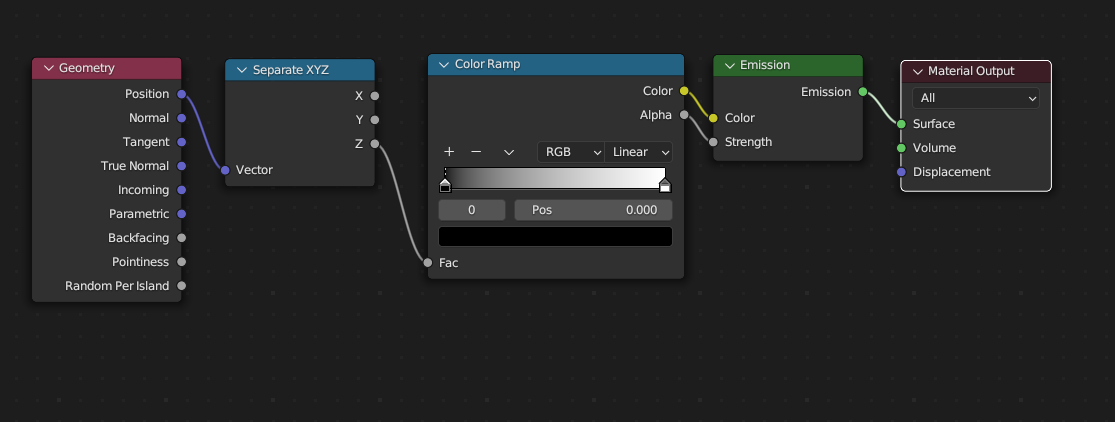
Delete the principled BSDF. Now we'll need to create a new shader. I won't go over what each node does but this is the basic setup you'll need to do in-order to render the heightmap.
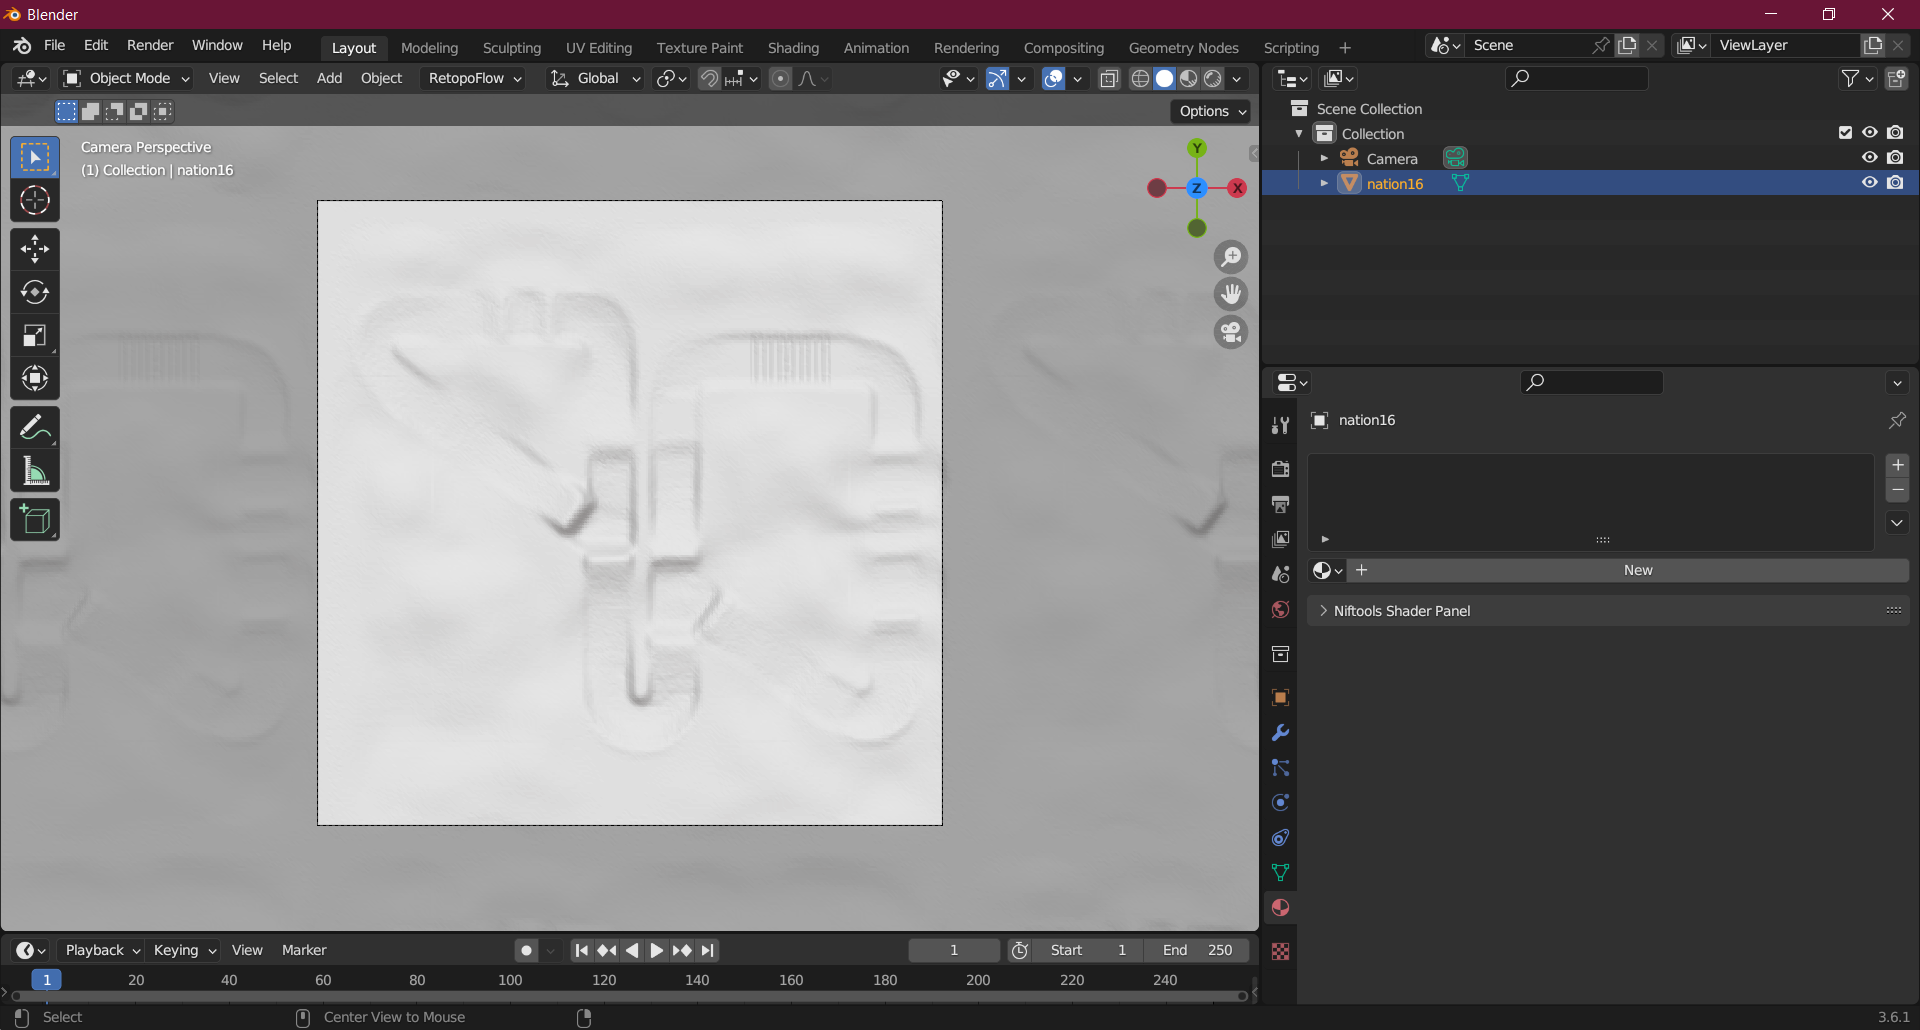
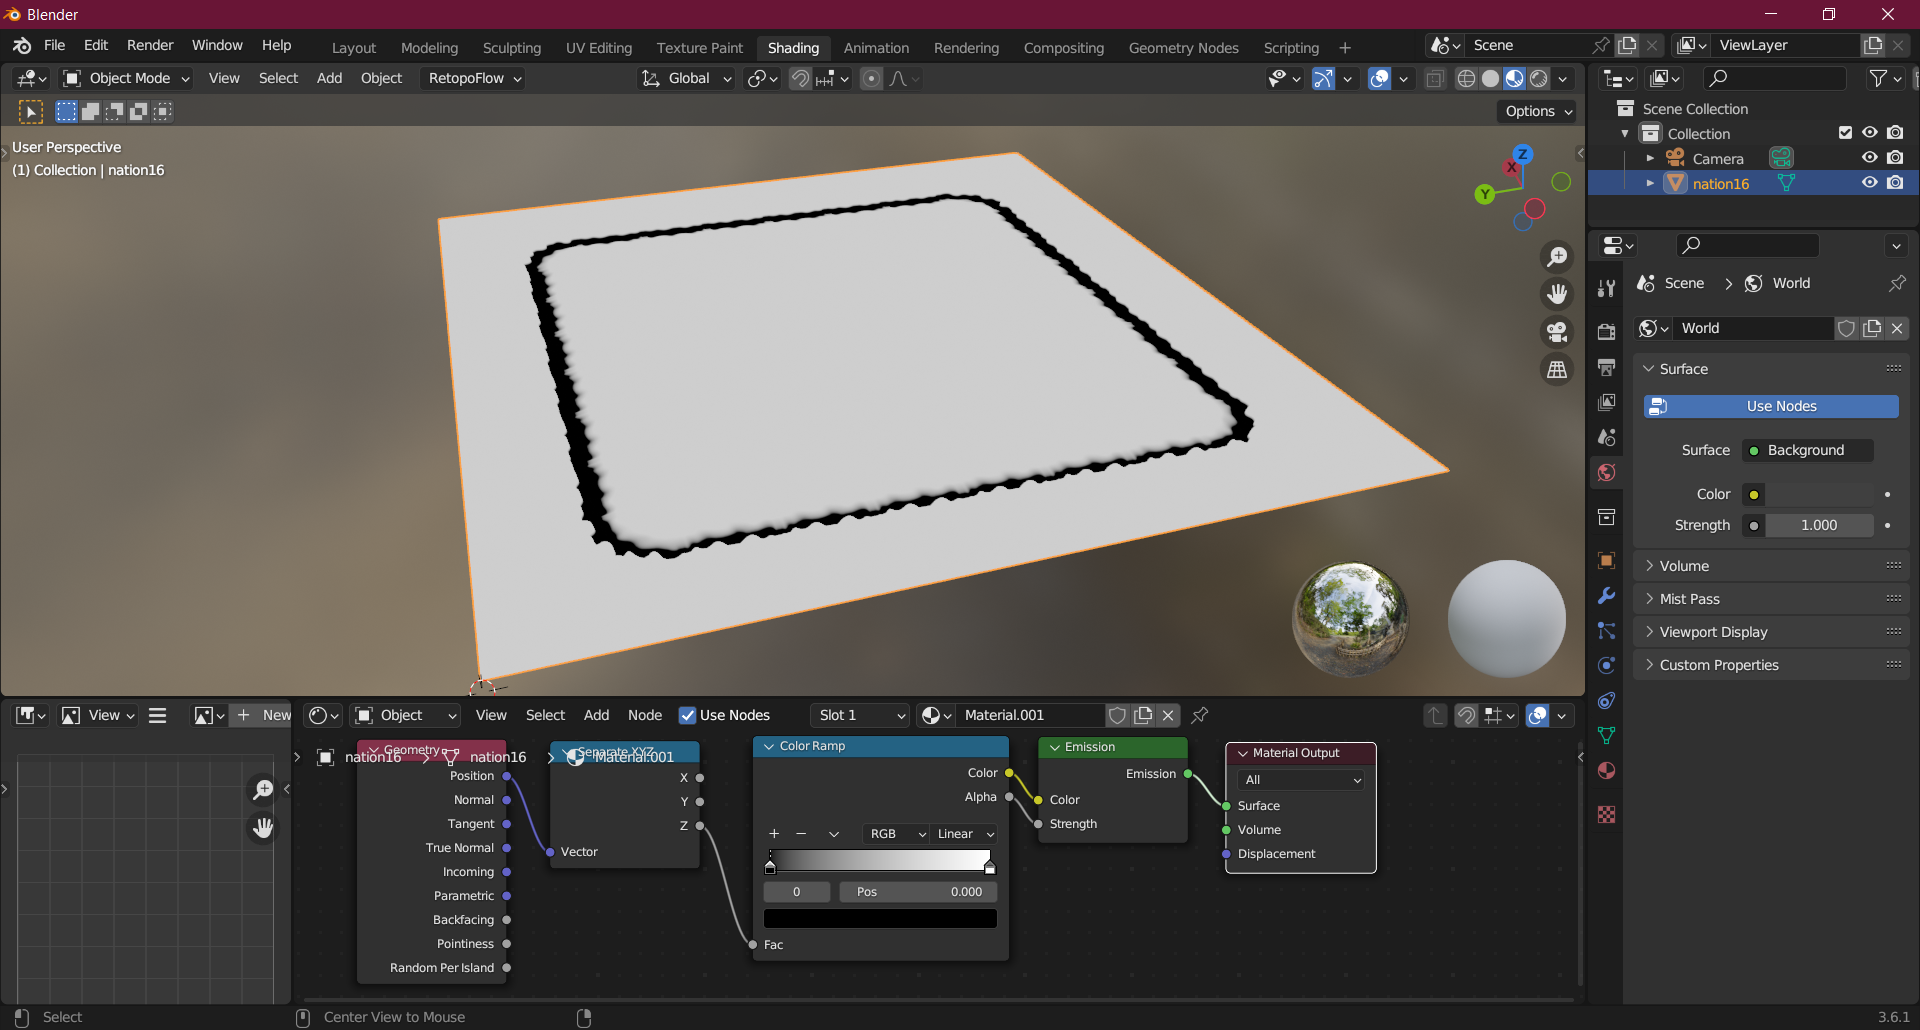
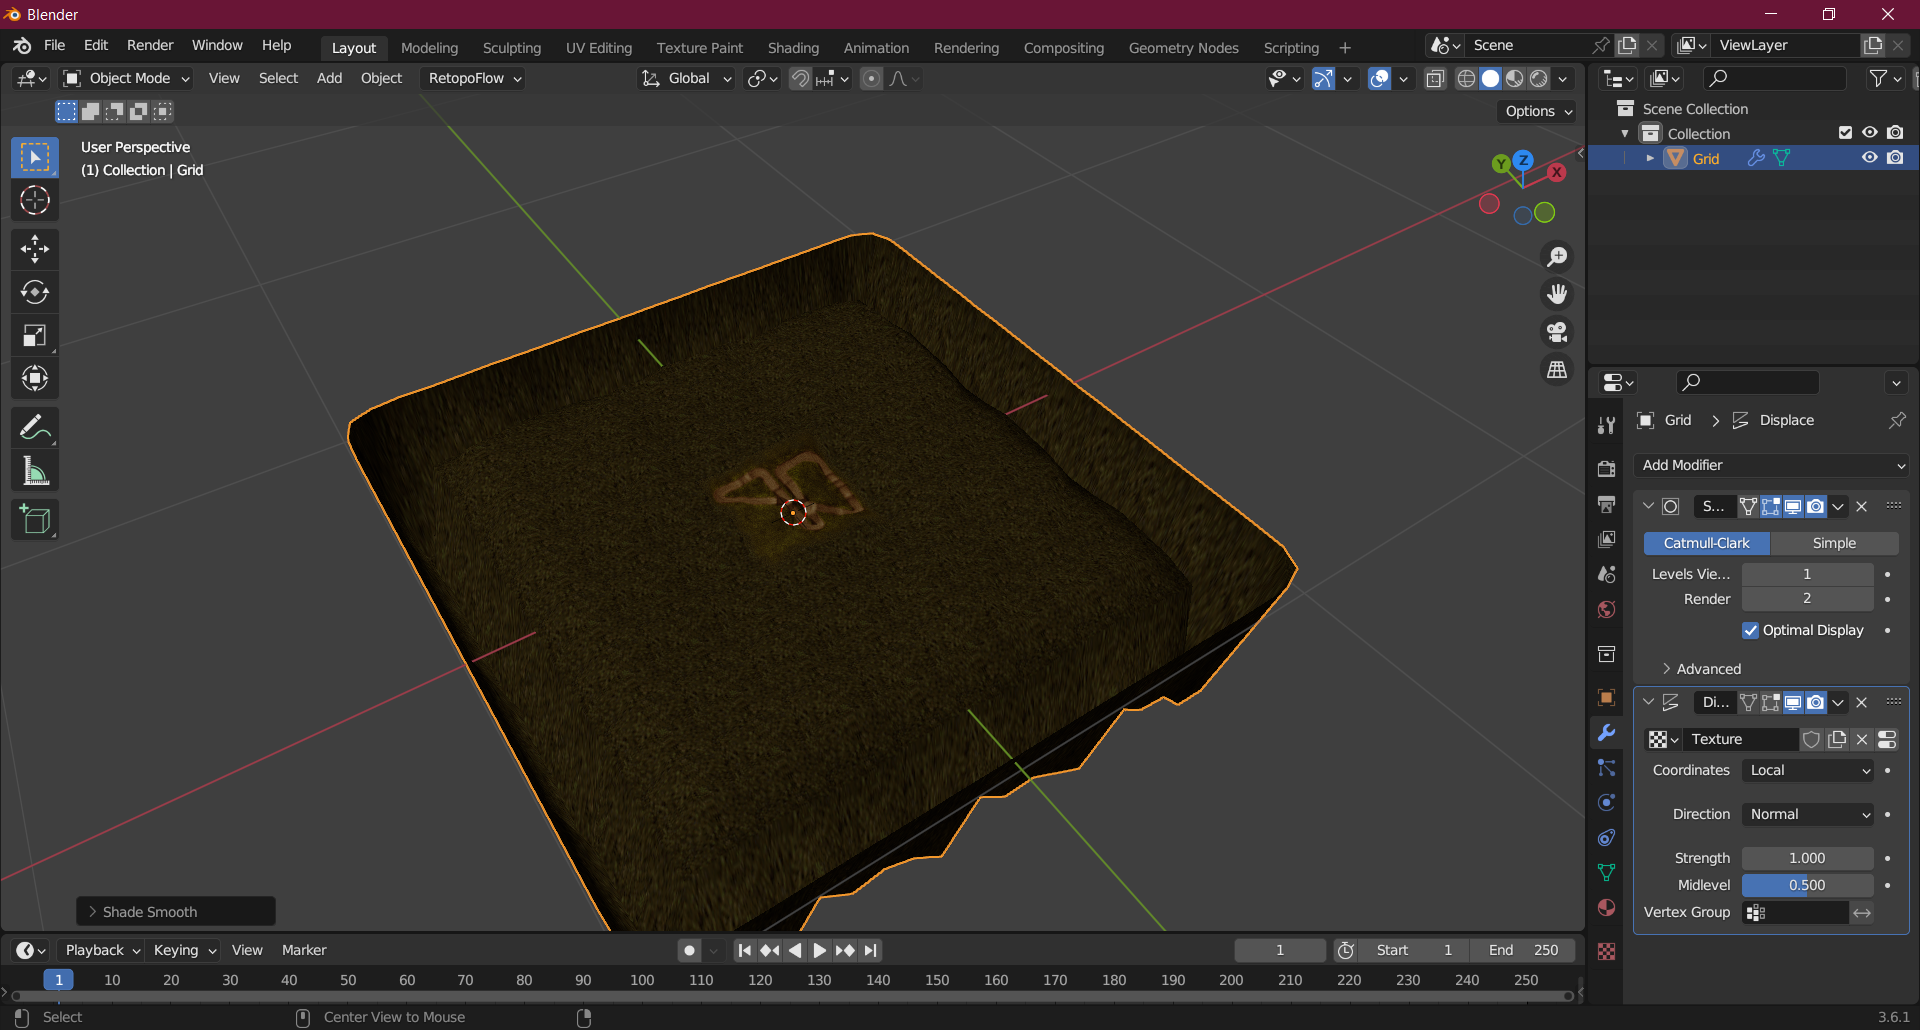
Now you'll see the mesh has changed color
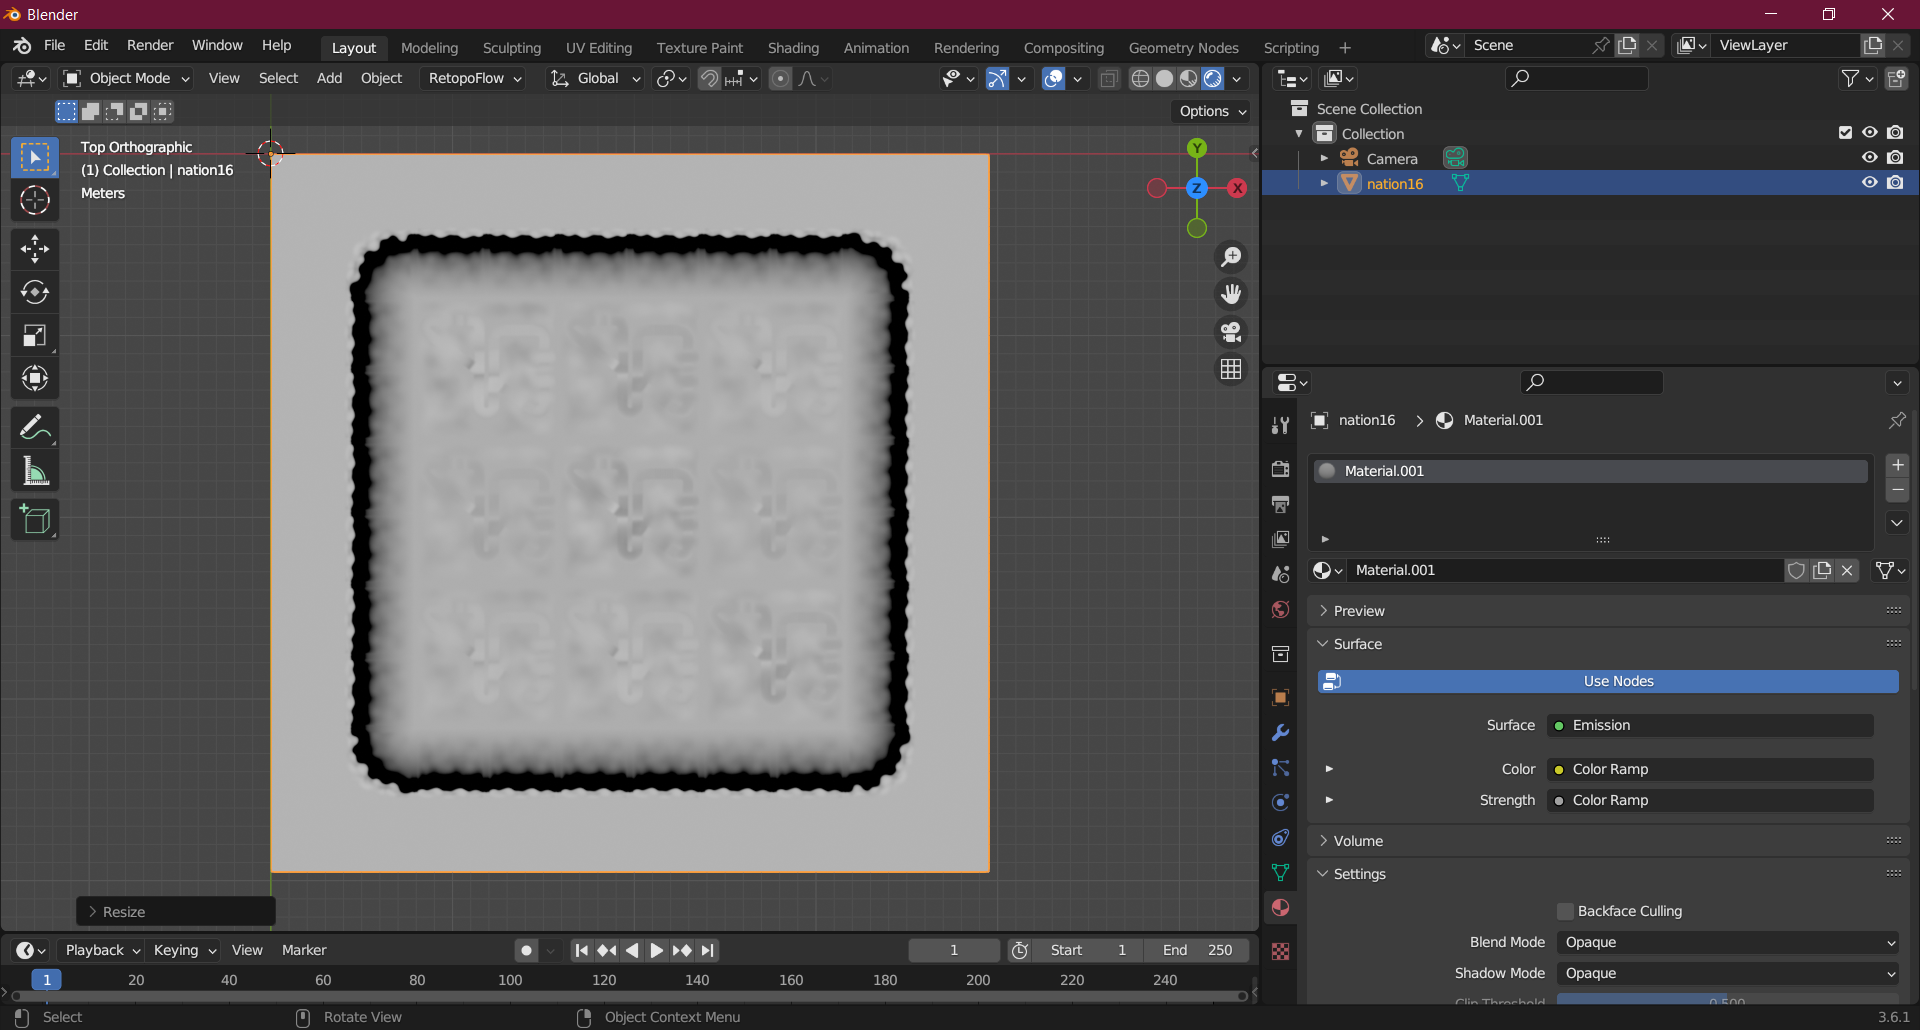
Switch back to the main view. You'll notice that the middle of the mesh is completely white. To fix that adjust the size of the mesh smaller. You'll gradually notice the shape of the level begin to appear.
We're almost done. Now we just need to adjust the camera again like we did before. This time size it so it fits the entire level and render it again.
Creating the new terrain mesh
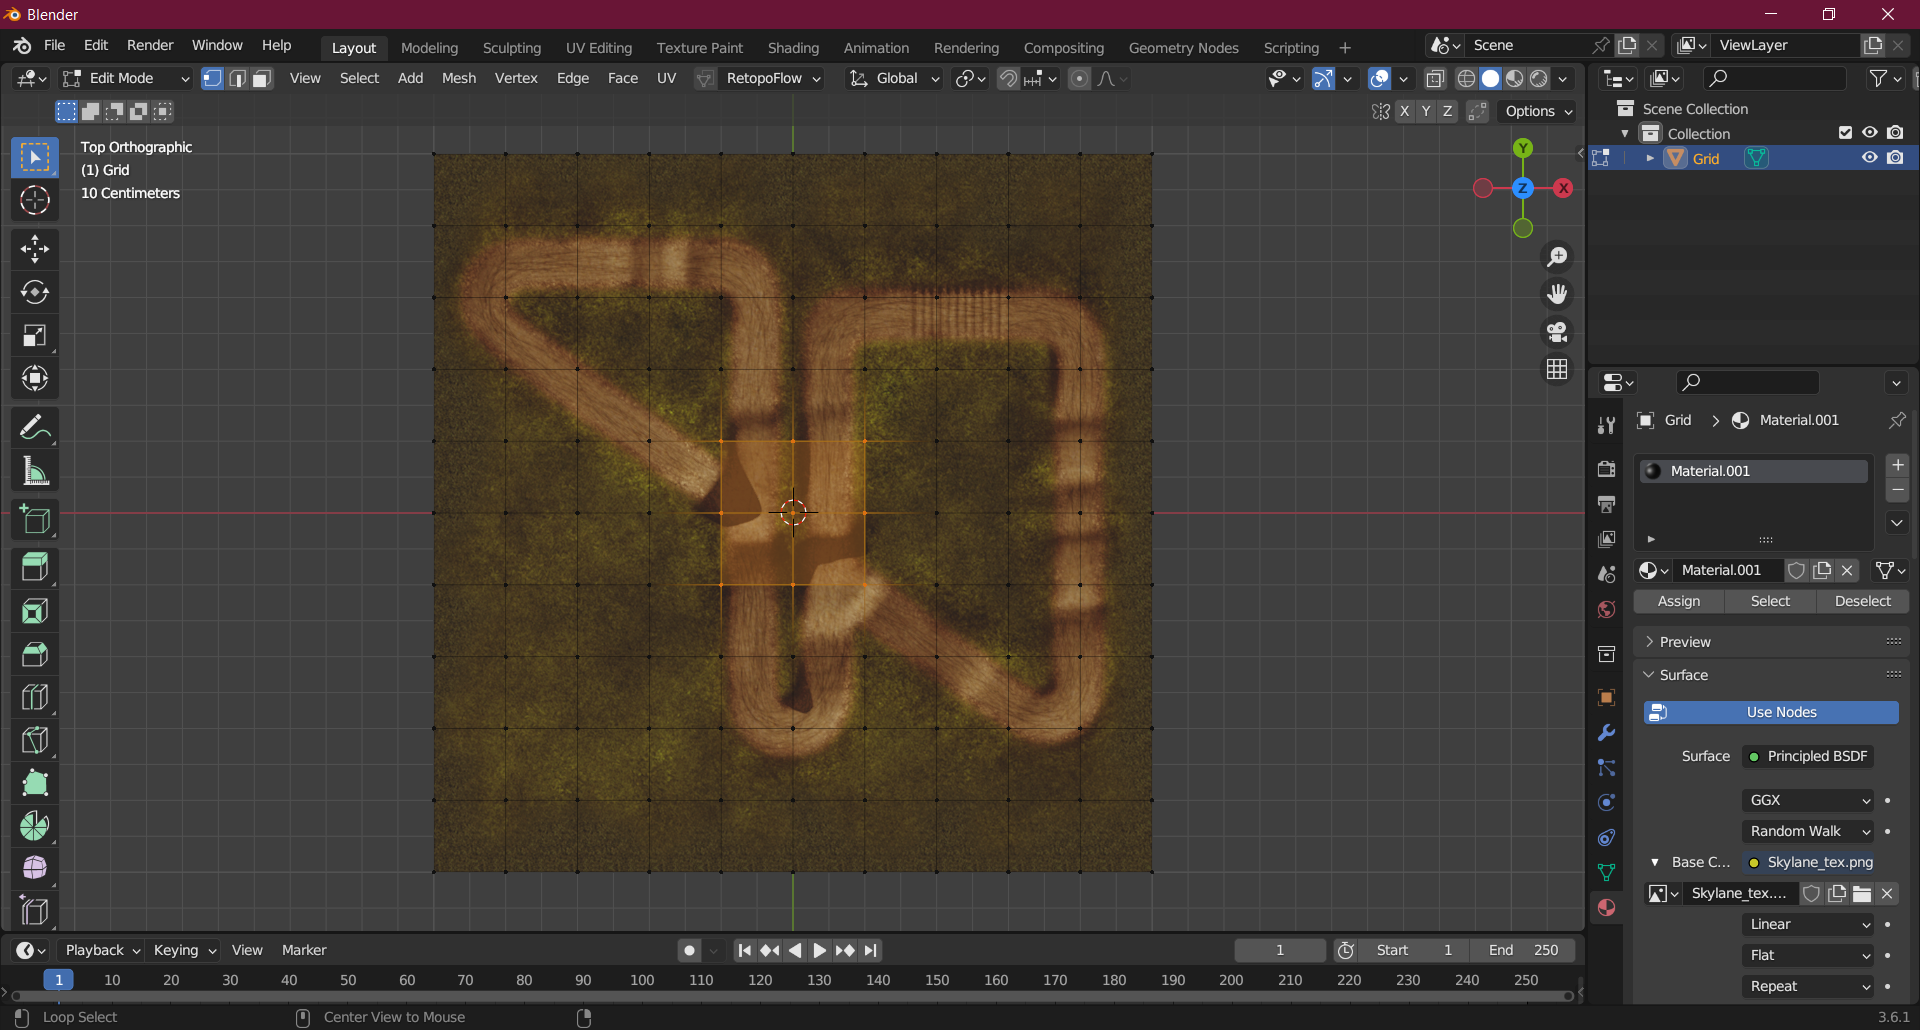
Our last step is to create a new mesh using this heightmap. This one will be much smaller and more compacted. First, spawn a grid mesh in Blender.
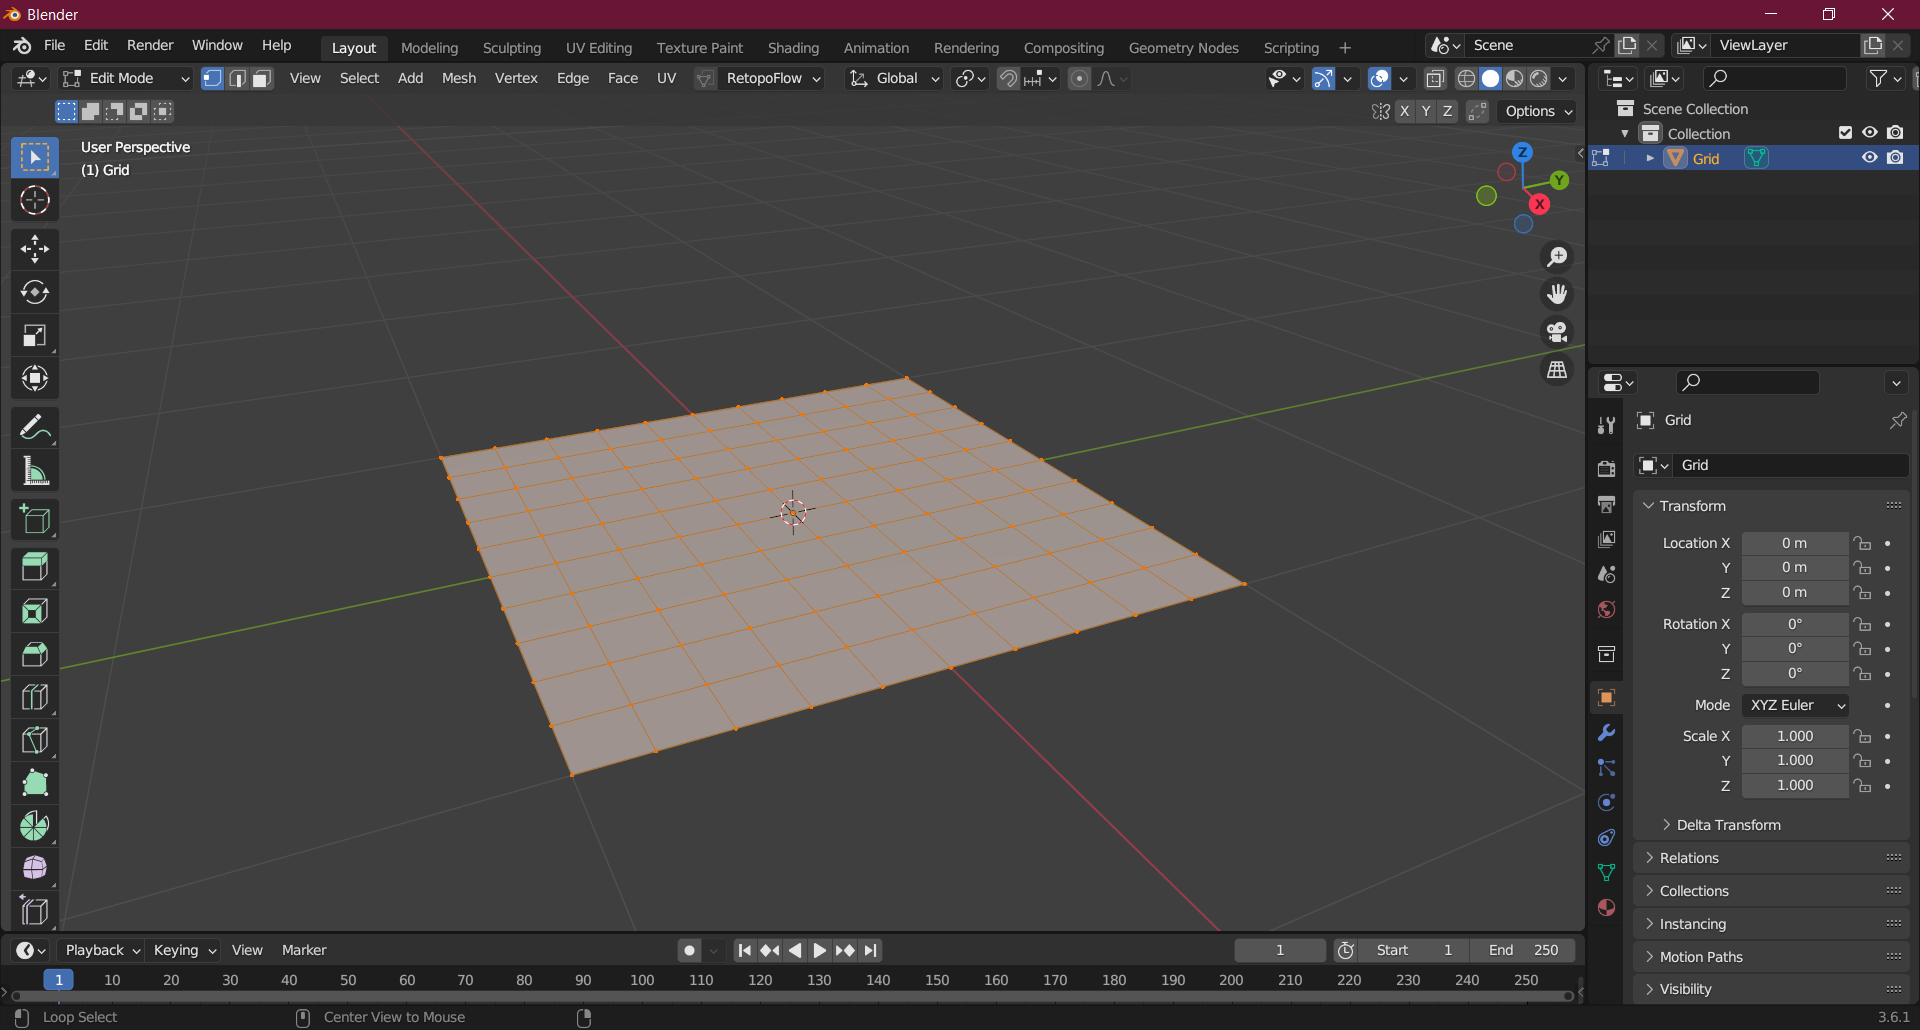
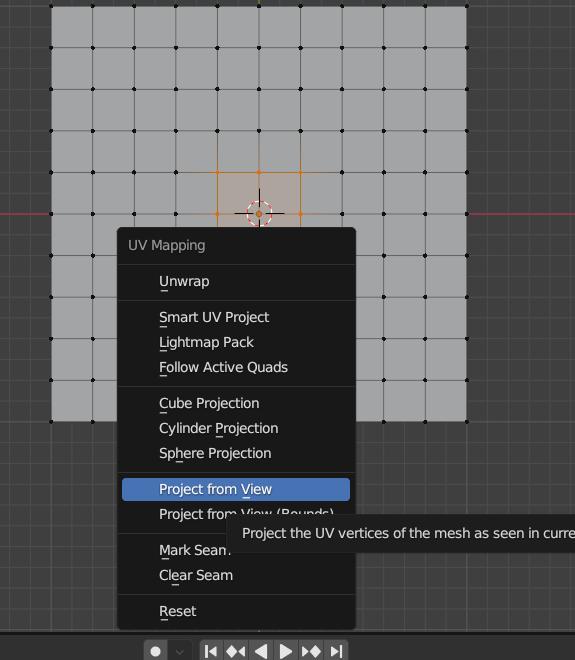
Next assign it a material. Then select the middle square's vertices, go to the top view and press U, then select "project from view"
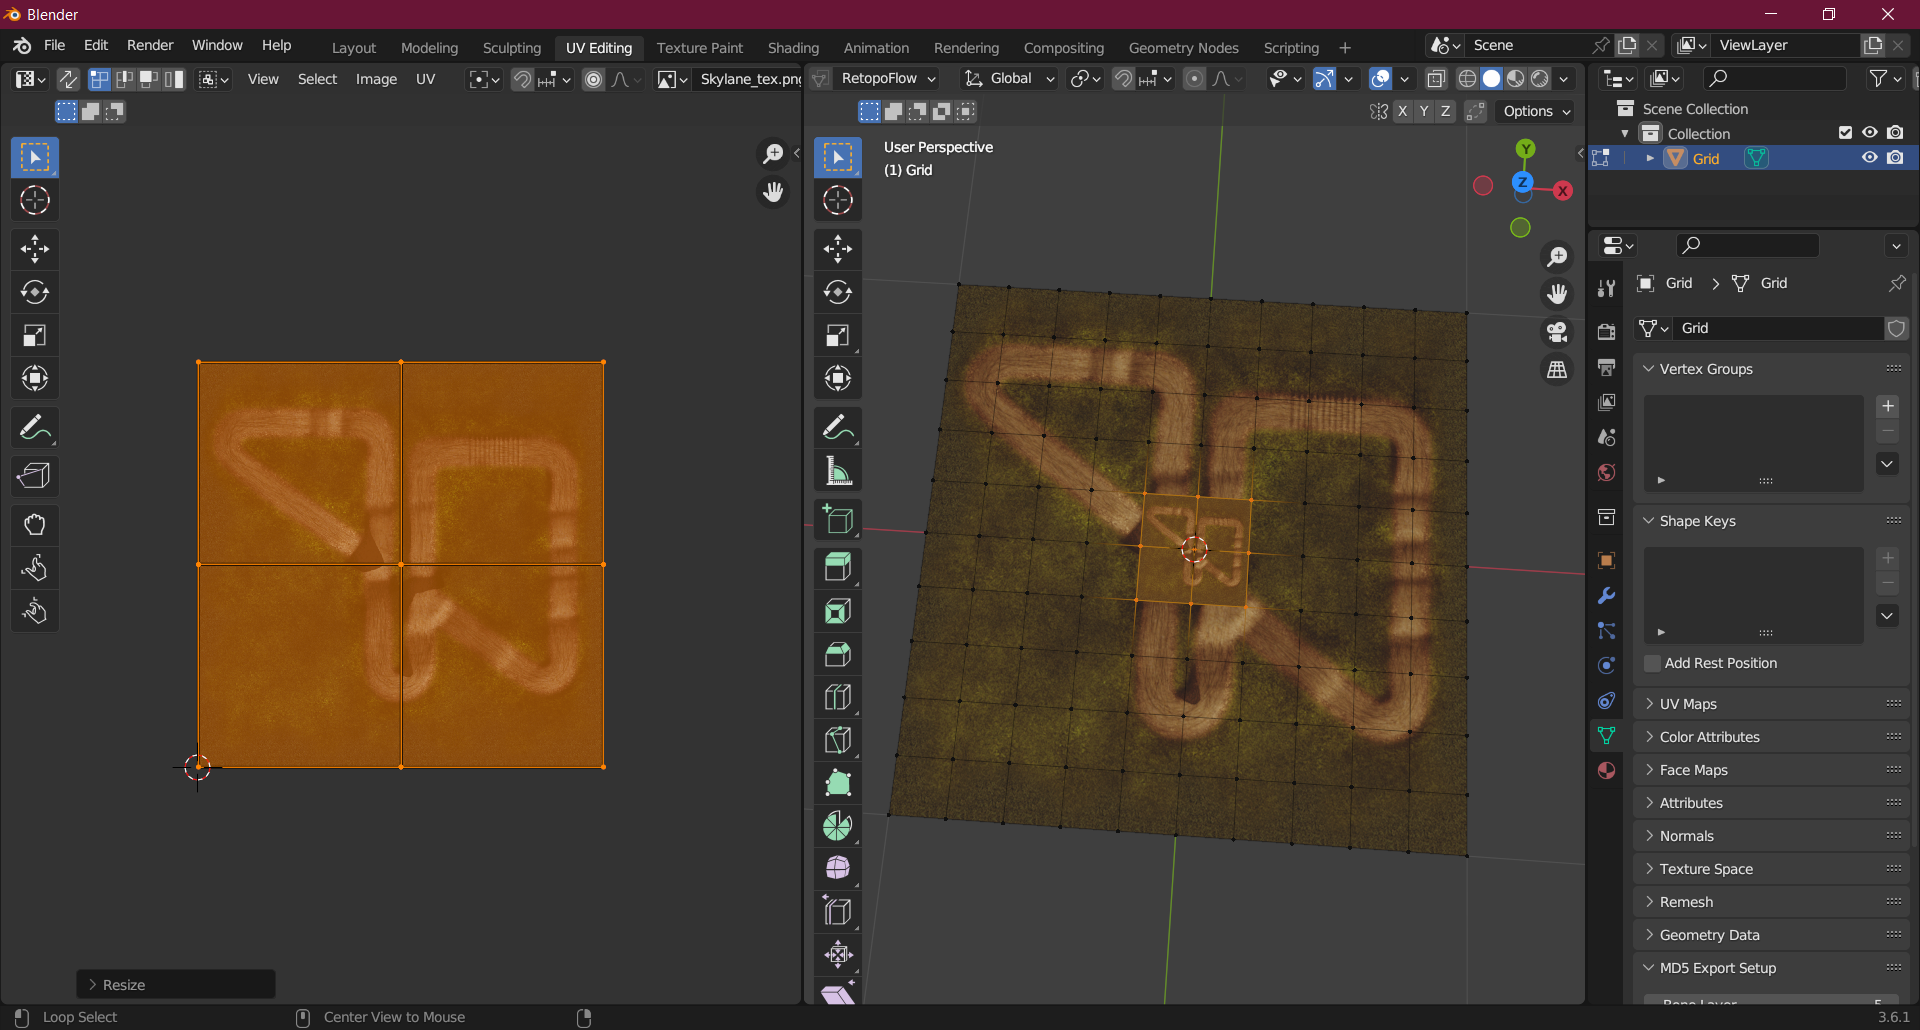
Now assign the texture of the middle part of the level we generated before.
Now adjust the UV so the middle square encompasses the entire texture.
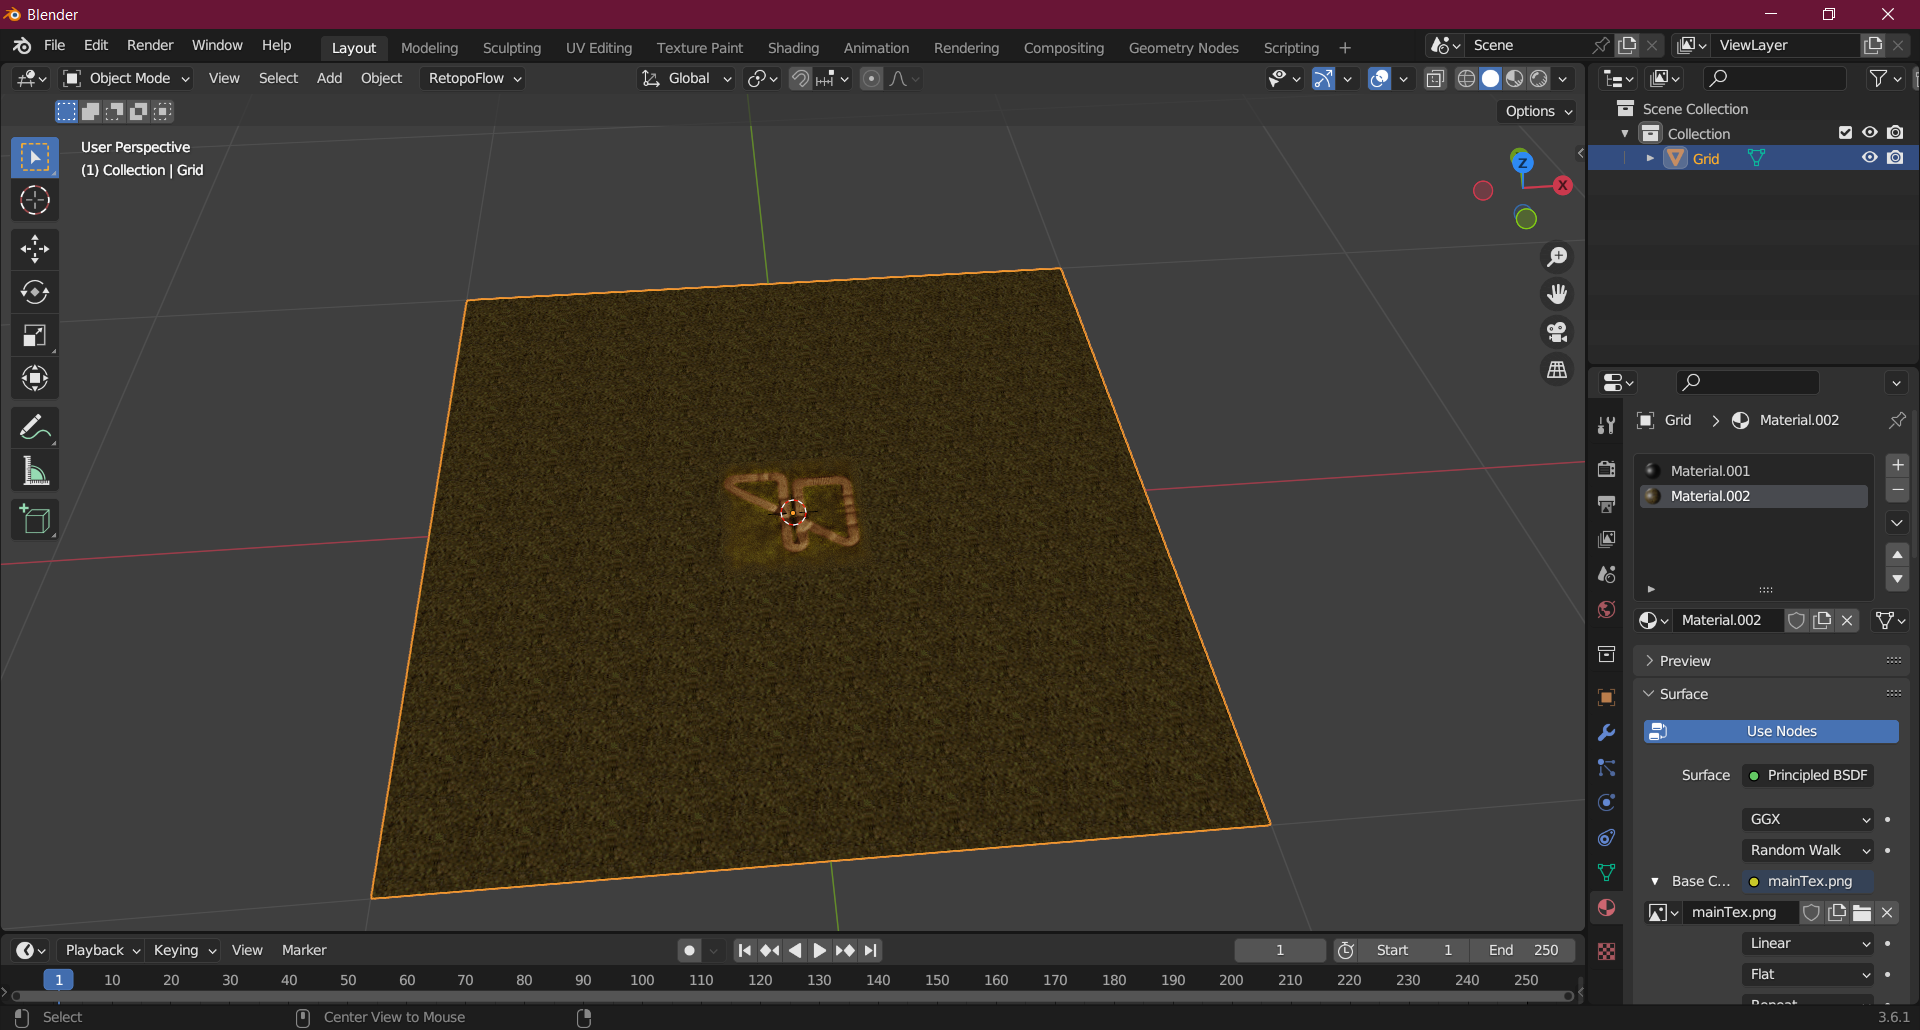
Now invert the selection. Create a new material and assign a new texture. This one is going to be mainTex.png. One of the images generated by the script. You may need to adjust the UV up to get it right but it should resemble the higher poly version.
Next we're going to add two modifiers to our mesh. One is a subdivision surface modifier, the other is a displace modifier.
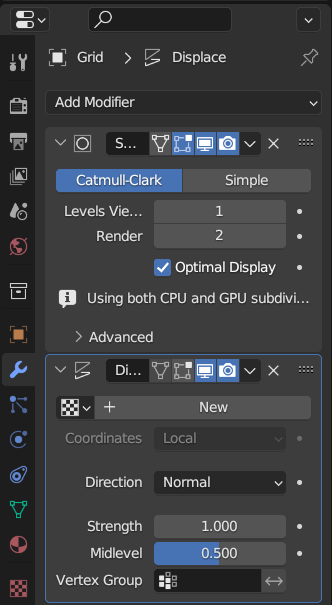
Now under displace, click "New", then select "show texture in texture tab" (The furthest right button). And from there assign our heightmap from before.
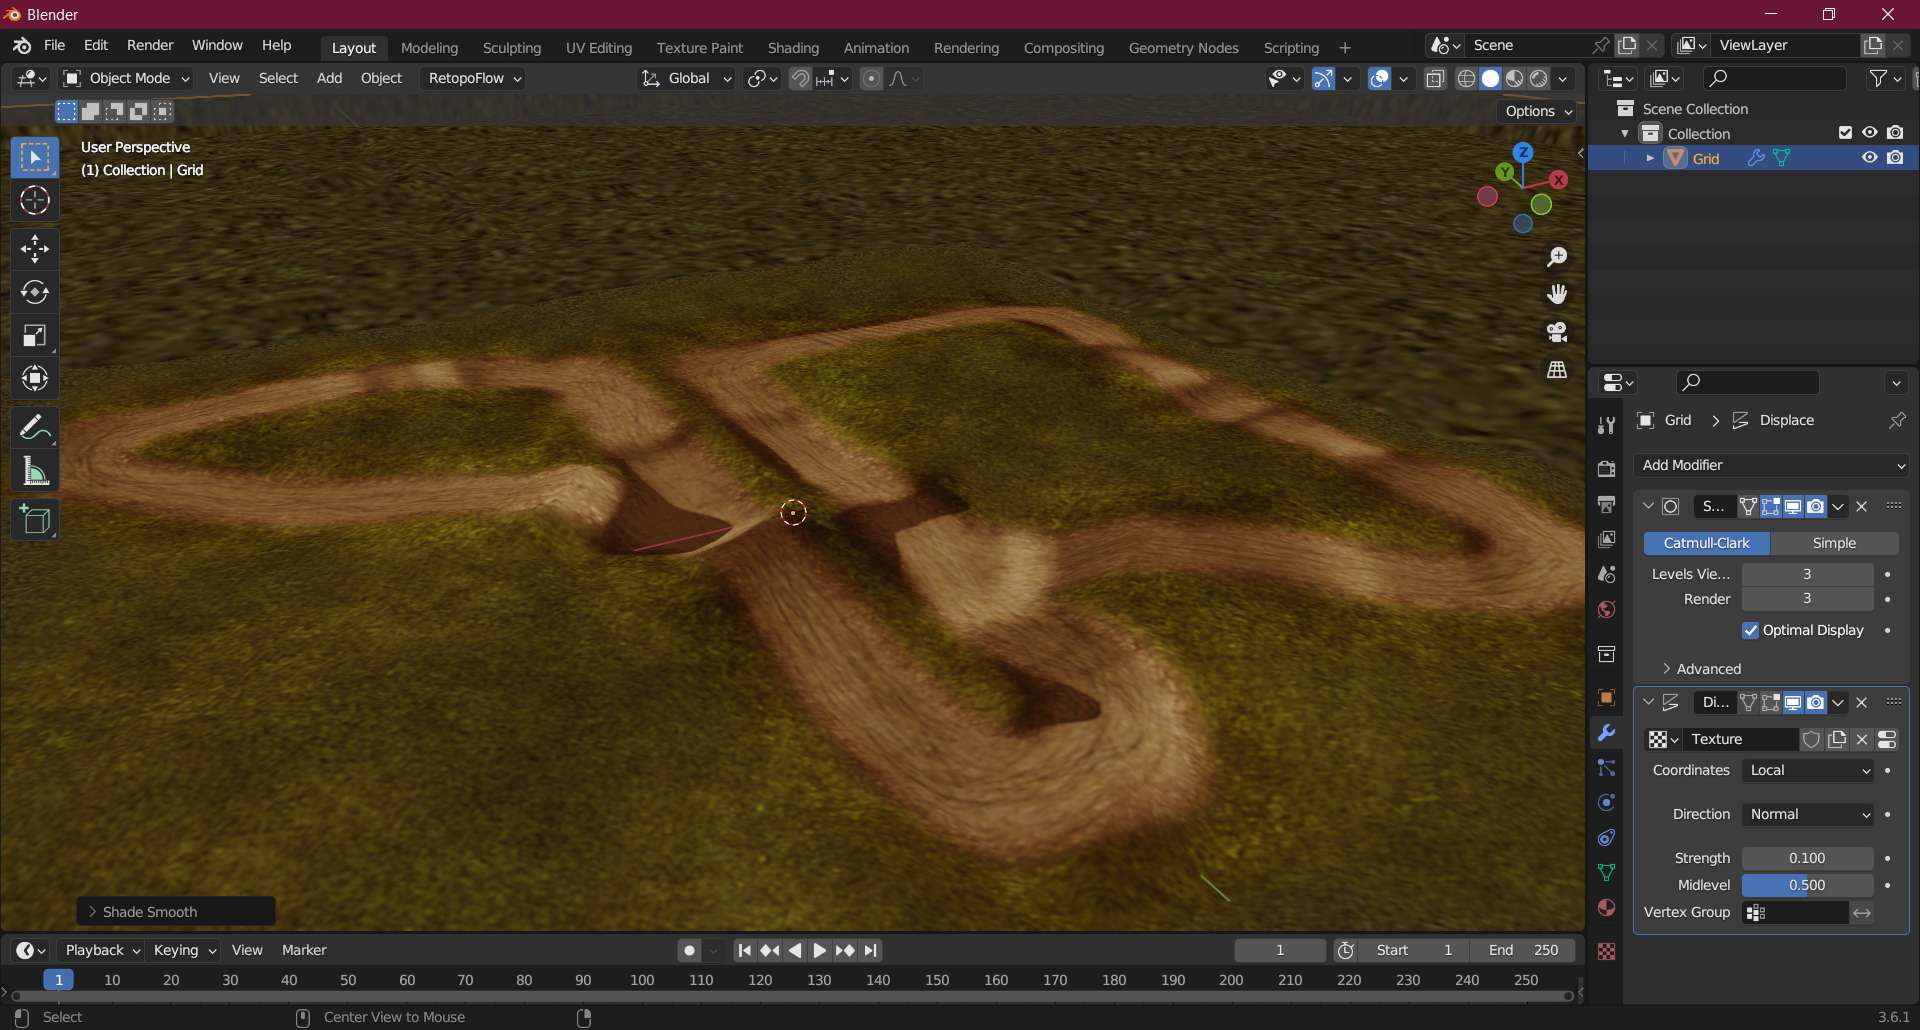
You may need to play around with the settings for how many subdivisions to assign and at what height to go with. Try to match the original mesh as closely as possible.
Conclusion
That's about it. You now have a lower poly version of the MCM1 level, and a heightmap. You can now import the level into any type of game engine you want. If you want to convert meshes from MCM1 I recommend the .slt noesis plugin included with the MCM1 advanced tools. This will allow you to convert the racer/bike/finish line models.
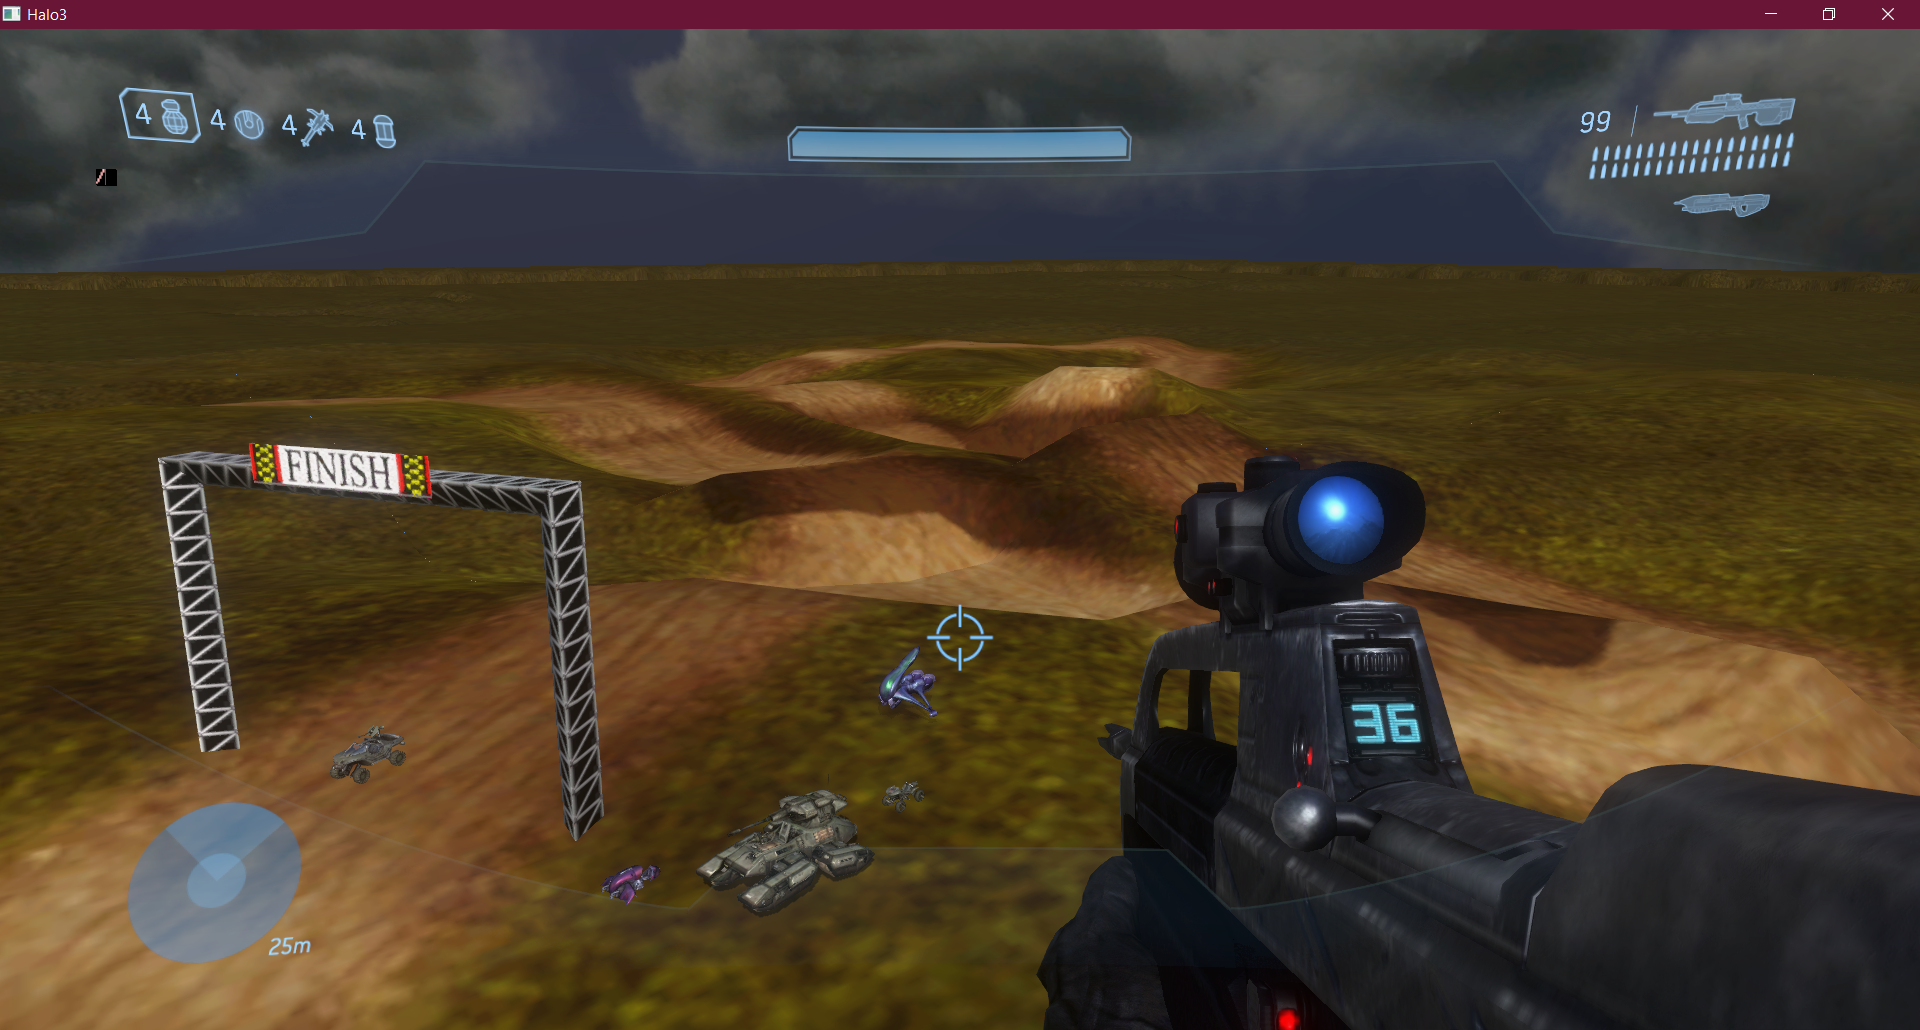
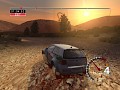
For an example of a potential project to do. I successfully imported the level from one Microsoft game to another.

Creating Outdoor Motocross Madness Tracks
Level Design/Theory TutorialThis is an official compilation of tutorials on how to make outdoor levels in Motocross Madness 1.
Files
MCM Spline Editor
Mapping ToolThis is a little program for all the national track creators out there. Very easy to use for making splines for your national track creations.
MCM POV Ray plugin
Graphics ToolWay back when everyone was first learning how to make tracks for MCM 1 there was an MCM racer named ThroughPut. He figured out how to use the free rendering...
TRN2OBJ
Full VersionThis is a python script that allows you to convert Motocross Madness .TRN files to obj.

MCMLaps
OtherMCM Laps is a program that lets you set the number of laps in Motocross Madness to more then 10 laps. It does this by letting you edit your profile. The...
Post a comment
Profile
Icon
Platforms
WindowsDeveloper
Rainbow StudiosPublisher
Microsoft StudiosEngine
CustomContact
Send MessageRelease date
Game watch
Follow
Style
Series

Motocross Madness
Racing
Motocross Madness 2
Sport
X
Tags
Embed Buttons
Link to Motocross Madness by selecting a button and using the embed code provided more...


You may also like

Re-Volt
Racing

F1 2014
Racing
Colin McRae Rally 04
Racing

Live For Speed S2
Racing

BeamNG
Racing

FlatOut 2
Racing