So here it is. I'm no film pro, but I did have a lot of fun making it.
Alright, now on to the fun part: production
I used Blender. Blender is an amazing program for a ridiculous range of uses. Every time I use it, I'm amazed that it's free. Between GIMP and Blender, we're all quite empowered to tackle professional grade artwork.
That said, I'm also pretty frustrated for awhile when I start using Blender. In all fairness though, I've only really used it twice. Once for altering a 3D model and once for video editing. So obviously there is a learning curve to be tackled but... well, Blender seems to want to reinvent UI norms. Which is admirable, I guess. But if your UI layout is working for the better, it shouldn't require a browser constantly open to the tool's help wiki page. But it could be that Blender just uses more Mac norms and I'm predominantly a PC/Linux guy.
Anywho, Blender really is great. Here's what I referenced to jump start the trailer:
I like the layout Paul proposes, but decided to keep my shortcuts the same as the Blender defaults. Essentially, by the time I was done with this video (having started and stopped it 20+ times) I had enough knowledge in Blender video editing to get my project done. You can check out his website here. Seems like a cool guy.
So here's what the finished project looks like within Blender
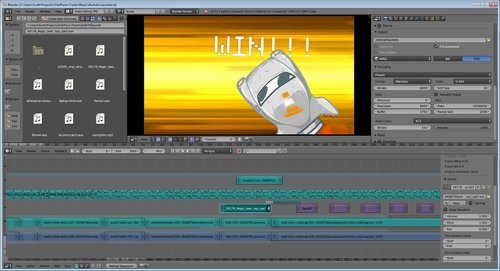
Some notes on the assets involved:
- Sound came from Audio Blocks ($100/yr), including music and sound effects. I'm hoping to have an original sound track and some point, but have been too timid to actually approach anybody as of yet.
- Video footage is from FRAPS ($37). Captured at 30fps (which may not have been a great idea) at full size. Keep your clips short! These files get huge quick.
- Video is captured with sound effects on but music off. Which forced me to finally make an options menu :)
- Animations and anime speed lines were done using the Unity3D animator/animation. I finally took the time to learn how to use it for this trailer... and I can't believe I didn't do it sooner. The result was a 1 scene project where I pressed a numerical key to start an animation right after telling FRAPS to start recording.
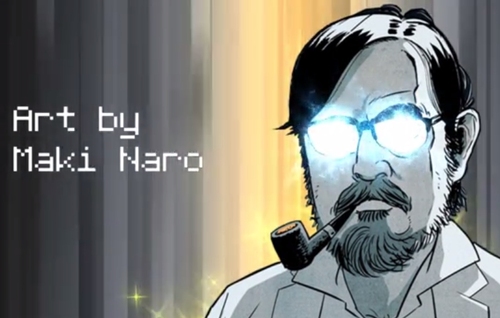
One thing I did completely wrong was making the following before actually asking Maki if he was cool with it. Luckily he liked it :) But definitely ask first if you're referencing someone or using one of their avatar drawings, it's just polite.
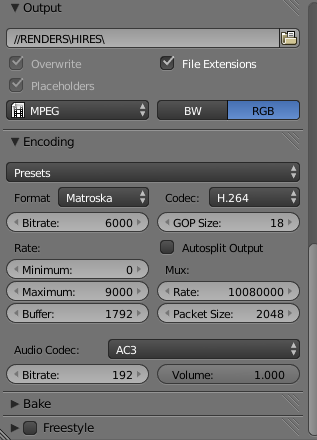
Quick note on output settings (since I had some trouble with it initially)
- Render Presets: HDTV 1080p (1920 x 1080)
- I upped the frame rate to 30fps - not sure if that was necessary, but wanted it to match the FRAPS captures
- Encoding was MPEG: Matroska (Format, MKV), H.264 (Codec), AC3 (Audio Codec). To be perfectly honest, I don't know what most of these settings below mean, but they're what I went with :)
TLDR: Blender is awesome. Give it a try.
-Scott


amazing! =D
Thanks :)