First off download and install Blender 3d blah blah... If you can't get past that step, then this tutorial isn't for you... Look I'm nice: Blender.org
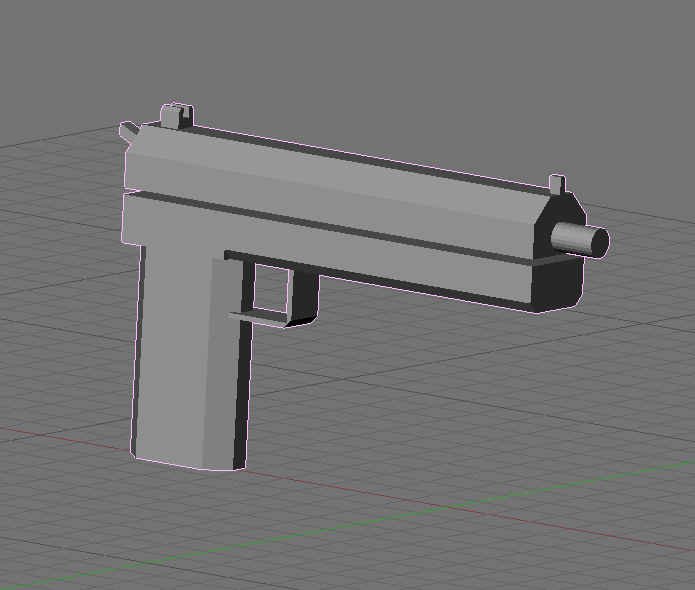
Once you have it installed, run it. I have taken the liberty of modeling a quick gun for you. Sendspace.com Go to file/open and navigate to my gun. Once it's open it should look like this:
Now we have to set up our view. On the bottom where the grid and buttons meet, right click and press split area. Click the little box in the new-found space and pick timeline.
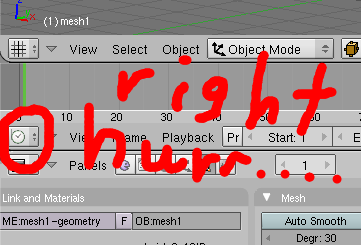
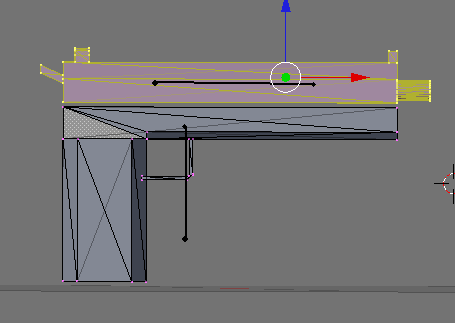
The timeline shows you the animation basically. Every frame should have a different movement by the time you're done with the animation. Now we have to set up a basic rig so that you can move the parts of the gun. Press space then go to add/armature. Now you'll see a highlighted, oddly shaped object. Look at the bottom of the screen and there should be a box that is titled armature. Make it look like mine:

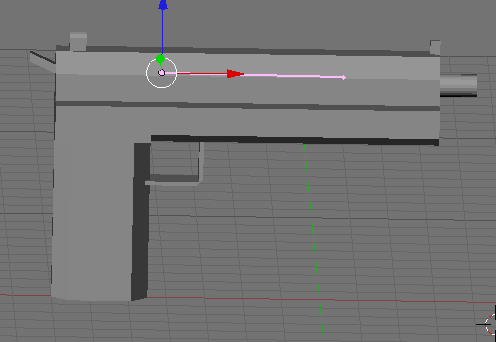
Now, position the bone in the middle of the gun's slide by using the blue, green, and red arrows. ( Use s to scale it bigger and r to rotate it.) It should look similar to this:
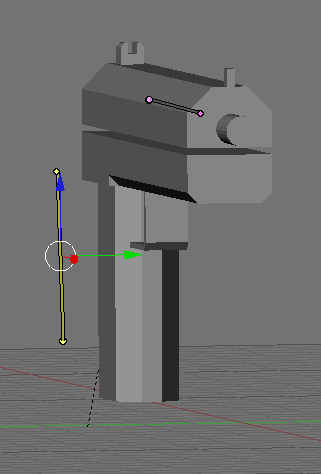
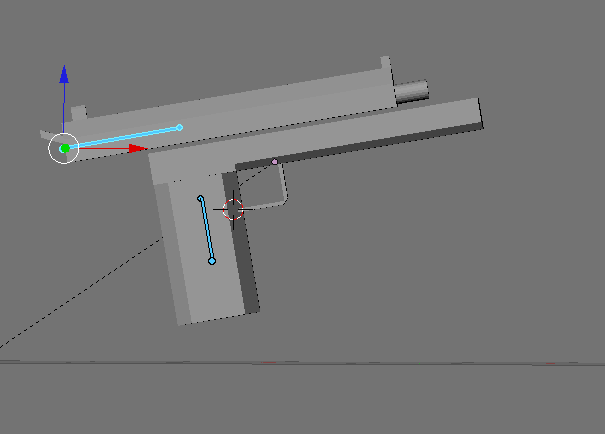
Now look towards the bottom where it says object mode. Click it and change it to edit mode. Next, right click the bone and press space, and go to add/bone. Now there should be another bone. Right click it and move it next to the gun model. It should look like this:
Now right click on the actual gun model, and change it from object mode to edit mode. make sure nothing is highlighted. If anything is, press a. On the bottom right, you should see a screen that is titled "link and materials." Press new and rename it to Bone (It is case sensitive!)
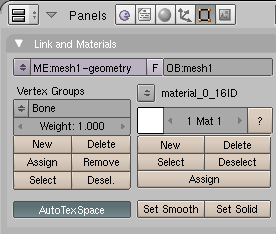
Now press b, and highlight the entire top slide. It should look like this:
Now back in the box, press assign, then select. Then, press new again. Rename this one to Bone.001 Press a, then a again so that everything is highlighted.
Once again, go to the box and press assign, then select. You have now assigned the verts to each bone. Go to object mode. Hold shift and right click on the bones and gun so that they are both highlighted.
Then, press cntrl and p at the same time. A box that says make parent to should come up. Click armature, then name groups. Lastly, go to pose mode and when you move the bone, the parts should move also! Now it's finally time to animate! Remember that timeline we set up at the beginning? We'll be using it...
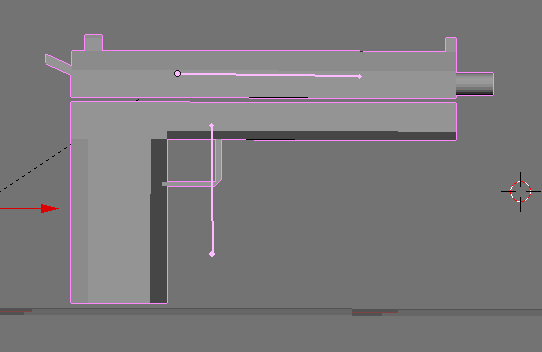
Make sure you are on frame 1 and highlight both bones. Press i, and choose locrotscale. Go to frame 6, and do the same. Now go to frame 3 and set the bones where you want them to be at the peak of the shot. Blender will automatically move them during the blank frames :) Use mine for reference:
Kepp in mind that to move the entire gun, both bones must be selected. Also, if your animation is playing too fast, go to playback, then set frames per sec. Set it to about 15.
With a more complex model and rig, you can make stunning animations! Look into weight painting for rigging which makes the job 10 times easier! Now that you have the basic idea how to rig and animate, go try your own model. Some models with hands may need over 100 bones; it all depends on how complex the model is and how much you want to be able to move it.
I hope you enjoyed this tutorial, but learned from it too. It may not seem like much, but it's where every animator starts...
-Mobster


lol.
Will come back tomorrow..
It's done :)
So if I used weight paint for this, it would be easier ? :D
haha not this necessarily but for more advanced rigs, yes
This is for Blender 2.49 right?
I can't seem to find the armature settings in 2.56a :/ I picked up Blendering (lol) after about two years and I'm having trouble finding everything in 2.5 :(
EDIT: Nevermind, the tutorial wasn't very clear were I had to look.
ahh yes sorry. This is 2.49
Go to add, up at the top. Then it will have a scroll bar. Look at it until you find bone click it and their you go
Cool tutorial... One day I will hop into animation...
do the bones and frames of animation export with FBX or PSK formats to use in UDK?
I read this, and just felt that i should comment. Anyone looking to start animation. you should never animate to 15 fps. if your animation is too fast, move/scale the keyframes, do not get in the habbit of changing your fps for the desired speed. its best to stick to 30 fps for games, and animate to it. don't just animate and then set an fps to make it look like its the best speed, in the end you want your animation playback to be 30 fps. use your keyframes to control speed, not fps
also the best place to start is a bouncing ball animation. a gun isn't the best area to start learning animation.
its good to make an animation tutorial, not enough of them floating around, and its a very entertaining yet underappreciated aspect of game developement
I do realize that it is best to animate at higher frames per second, however Quake mods tend to run better when the mdl models have less frames in them. If you let the space between each key determine your speed, that will obviously result in a much higher frame count. My main goal was to inform the psp mod community, so maybe I should have stated that more clearly. Thanks for the feedback regardless!
could i use blender to change the moddle of a person in a game